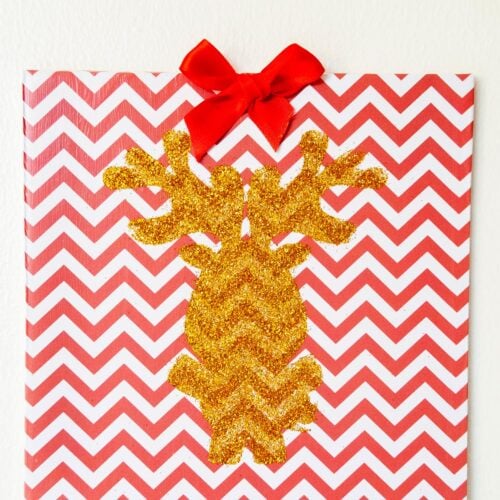
Glitter DIY Christmas Wall Art Trio+ Cut File
Craft some joy moments this season with this Cute Glitter DIY Christmas Wall Art Trio! Get crafty with lots of glitter, spread the joy, and let’s get crafty together.
Equipment
- Cutting Machine – Silhouette Cameo or Cricut. Alternatively, print and cut by hand.
- Scissors and cutter
- Ruller
- Pencil
- Hot glue gun and glue stick
Ingredients
- 3 foam board squares {8 x 8 Inches or 20 x 20 cm}
- 3 Patterned papers or scrapbooking papers.
- Mod podge
- Spray glue {optional}
- Glitter
- Satin Ribbon
Instructions
- Cover the foam boards with your chosen paper. I used printed digital papers but you can use your own or even scrapbooking papers.
- Use mod podged to adhere the paper to the foam board squares without leaving bubbles and wrinkles.
- Let them dry for about 30 min.
- The apply a sealant coat of mod podge all over the surface of the paper.
- Let it dry until it’s fully dry to the touch. For best results consult the product instructions.
- Then I made some cutout stencils of a reindeer, a snowman and the word Joy. You can create different designs if you would like.
- I cut them on regular cardstock because that’s what I had.
- Then go outside if possible or close to a window or ventilated area to use the spray mount adhesive.
- Slightly spray the spray mount on the back of each stencil and placed them centered on the squared prepared foam boards.
- The reason I used spray mount is so the stencils would stay in place without damaging the foamboard paper and also avoid the glue leaking in.
- Then spread some mod podge with the foam brush all over the stencil.
- Right after that pour the glitter on the mod podge and let it sit like this for a while.
- Move on to the next 2 wall arts.
- Then lightly dusted off all the excess glitter by tapping on the top edge over a tray or cardstock sheet.
- Give it a soft brush to remove all the non-glued glitter and around the design because the spray mount might leave some stickiness. But don’t worry, the brush removes any unwanted glitter.
- Lastly, use a spray that is clear and made of acrylic to protect your glitter artwork and stop it from coming off.
- Here you have all 3 designs Finished
- The final touch was a cute red satin ribbon bows. Glue it to the top center of each wall art with a dab of hot glue.
- Like I mentioned before since they are SO light, I didn’t have to make holes in the wall. I just taped it on the back to the wall and Tadaaaaaa!!!! Super easy!