How to Make a Pillowcase in 20 Minutes or Less
Learn how to make a pillowcase in 20 minutes or less! Easy, fun tutorial with simple steps and playful fabric ideas to customize your style!
Equipment
- Sewing Machine
- Sharp Fabric Scissors or rotary cutter
- Pins
- Measurement tape
- Ruler
Ingredients
- 2 Pieces of Fabric A: rectangles of 52 cm X 65 cm 21 x 25 Inches.
- 2 Pieces of Fabric B: 2 strips of 52 cm X 22 cm 21 X 9 Inches
- 2 Pieces of Fabric C: 2 strips of 52 cm X 5 cm 21 X 2 Inches
- Color matching thread
- Fabric Marker
Instructions
Prep Work
- First, cut all your fabric pieces.
- You will have 6 pieces in total. The way your pieces would work is a white base, a thin strip, and a thicker piece.
- Then press all your pieces for easier handling.
- Next, fold in half lengthwise both fabric B pieces wrong sides together – 52 cm X 5 cm (21 X 2 Inches). Press and set aside.
- Fold in half lengthwise both fabric B pieces wrong sides together – 52 cm X 22 cm (21 X 9 Inches). Press.
- Fold inwards the edges of fabric B to make a hem – about 1cm (1/4 inch).
Assembling the Pillowcase
- Then, take the main fabric A and place fabric C on top aligning close to the raw edge and pin.
- Then Insert fabric A and C between both folded hems of fabric B.
- For this match fabric A edge of fabric B hem edges.
- Then lay the other edge over the fabric C leaving a little more than 5 mm.
- Pin in place to keep layers of fabric together. Make sure both sides are aligned and pinned correctly. Repeat with the pieces of the other panel.
- Stitch along fabric B close to the edge on both panels.
- Then put both panels with right sides together (the one with fabric C) aligning all the edges, stitch all 3 sides of the pillow pieces leaving the cuff open.
- Serge or zigzag the edges.
- Trim any excess of fabric along the zig-zag.
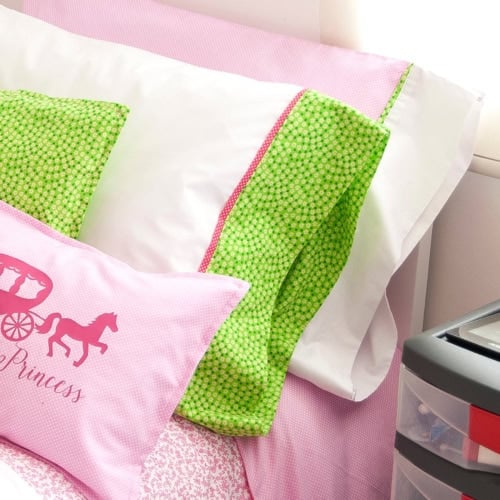
- Dinally. do the same for the other simple pillowcase using your favorite fabric combination. These are the ones I did for my girl.
- There you go! We have our first pillowcase finished.
Notes
This easy pillowcase tutorial makes 20” x 30” standard pillowcases. It will fit standard-size pillows and some queen-size pillows too.