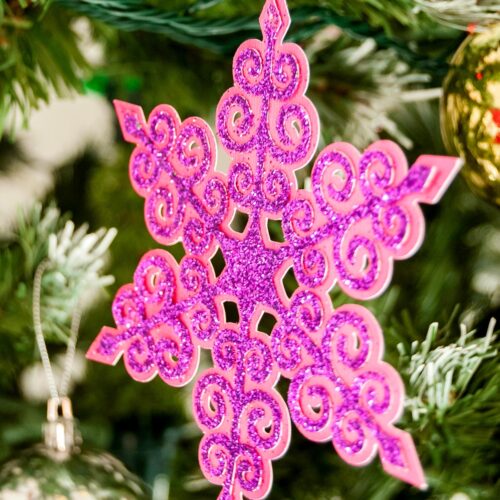
DIY Paper Glitter Snowflakes Ornament with Silhouette Cameo
Let’s get into the holiday spirit with these easy and cute DIY glitter snowflakes ornaments! Learn how to create these sparkling decorations using cardstock and your Silhouette Cameo. Easy, fun, and oh-so-cute!
Equipment
- Silhouette Cameo Machine – Other cutting machines like Cricut can work too.
- scissors
- Foam brush
Ingredients
- Colorful cardstock
- Glitter
- Mod Podge or white glue
- Spray glue
- Nylon thread
Instructions
- Firstly, download and upload the file to your silhouette studio app.
- On your app canvas, put the backing of the snowflake on one side of the mat and the cutout of the snowflake on the other as shown below
- Apply the proper settings on your app. I set it for patterned cardstock and set the knife to the recommended number.
- Load the mat with the cardstock on it to the silhouette machine.
- Send to cut the shapes of the snowflakes.
- Repeat the process with as many snowflakes as you like. I made some blue, some green, and some pink.
- Remove them carefully from the mat.
- Protect your surface with plastic or paper.
- Then spread some mod podge all over the snowflake’s inner shape.
- Right after that, pour on the glitter and I let it sit like this for a while, around 10 minutes.
- Then lightly shake off all the excess glitter.
- You can play around with the glitter color. You can use the same color as the cardstock or make different combinations.
- Do the same process with the other snowflake inner shapes.
- Let them dry completely.
- This part is your choice you can use normal glue or as I did, you can use spray adhesive. I did it with spray because it was easier to adhere both parts of the snowflake without messing up with the glitter.
- If you decide to use spray adhesive make sure you are outdoors or close to a window in a ventilated area.
- Spray a coat of adhesive on the back side of the glittered snowflake shape and immediately place it on the snowflake background.
- Repeated the process with the rest of the snowflakes and I let them sit and dry for a couple of hours.
- Lastly, make a small hole on one tip of each snowflake and insert a strip of nylon thread, make a knot with both ends of the strip to hang the snowflakes.
- Hang your brand new diy paper glitter snowflakes on your Christmas tree!
Notes
Pro tip: Use a piece of paper to cover the snowflake and make some pressure so both pieces stick well without damaging the glitter.