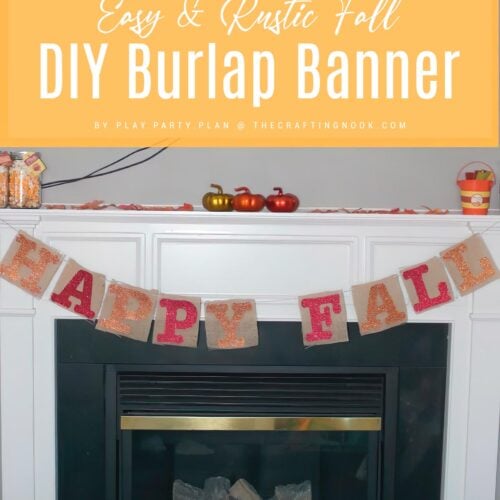
Easy DIY Burlap Banner for Fall
Craft a cute Fall Burlap Banner DIY with glitzy letters! A DIY tutorial for a rustic touch to your décor. Sparkle up your Fall with this easy project
Equipment
- cissors
- Silhouette Cameo or letter stencils to cut out your letters
Ingredients
- Glitter Cardstock paper
- Burlap
- Fabri-Tec or another fabric glue
- Baking twine string, ribbon, or something else to hang your banner
- Tape to hang your banner
Instructions
PREP WORK
- Gather your supplies.
- Cut out your letters from the cardstock. I used my Silhouette Cameo to cut out the letter shut you could easily trace letters using stencils onto the cardstock and cut with scissors as well.
- If you use your Silhouette, I just used the glitter cardstock cut settings and it worked great. One piece of advice if you choose to use glitter cardstock – tape the cardstock down to your mat so it doesn’t move.
- I’ve always struggled with glitter paper and taping the paper down made it so much easier, no slipping!
ASSEMBLING THE DIY BURLAP BANNER
- Place one of your letters on your burlap and measure out how big you want the burlap pieces to be.
- You can either make all of the burlap pieces the same size (amount of space between the edge of each letter and the edge of the burlap will be different) or make the amount of space between the letter and edge of burlap the same (burlap pieces will be different sizes).
- I chose the latter. Place each letter on the burlap and cut out a square around it. Continue until you’ve cut out a piece of burlap for each letter.
- Glue each letter to its piece of fabric using clear fabric glue.
- I recommend doing this on a piece of cardboard, newspaper, or something else you can throw away because the glue tends to go through the holes in the burlap.
- Make a small hole in the corner of each piece of burlap being careful to not get the hole too close to the edge because the burlap will come undone and your hole will no longer be a hole.
- Once you’ve carefully made holes, thread your baking twine (or other hanging string) through the holes making sure to be consistent in the direction you thread each piece (i.e., if you go from top to bottom on one piece of burlap, do that for all).
- Hang your banner then step back to enjoy your creation!