Easy DIY Burlap Banner for Fall
This post may contain affiliate links. Please read our Disclosure Policy.
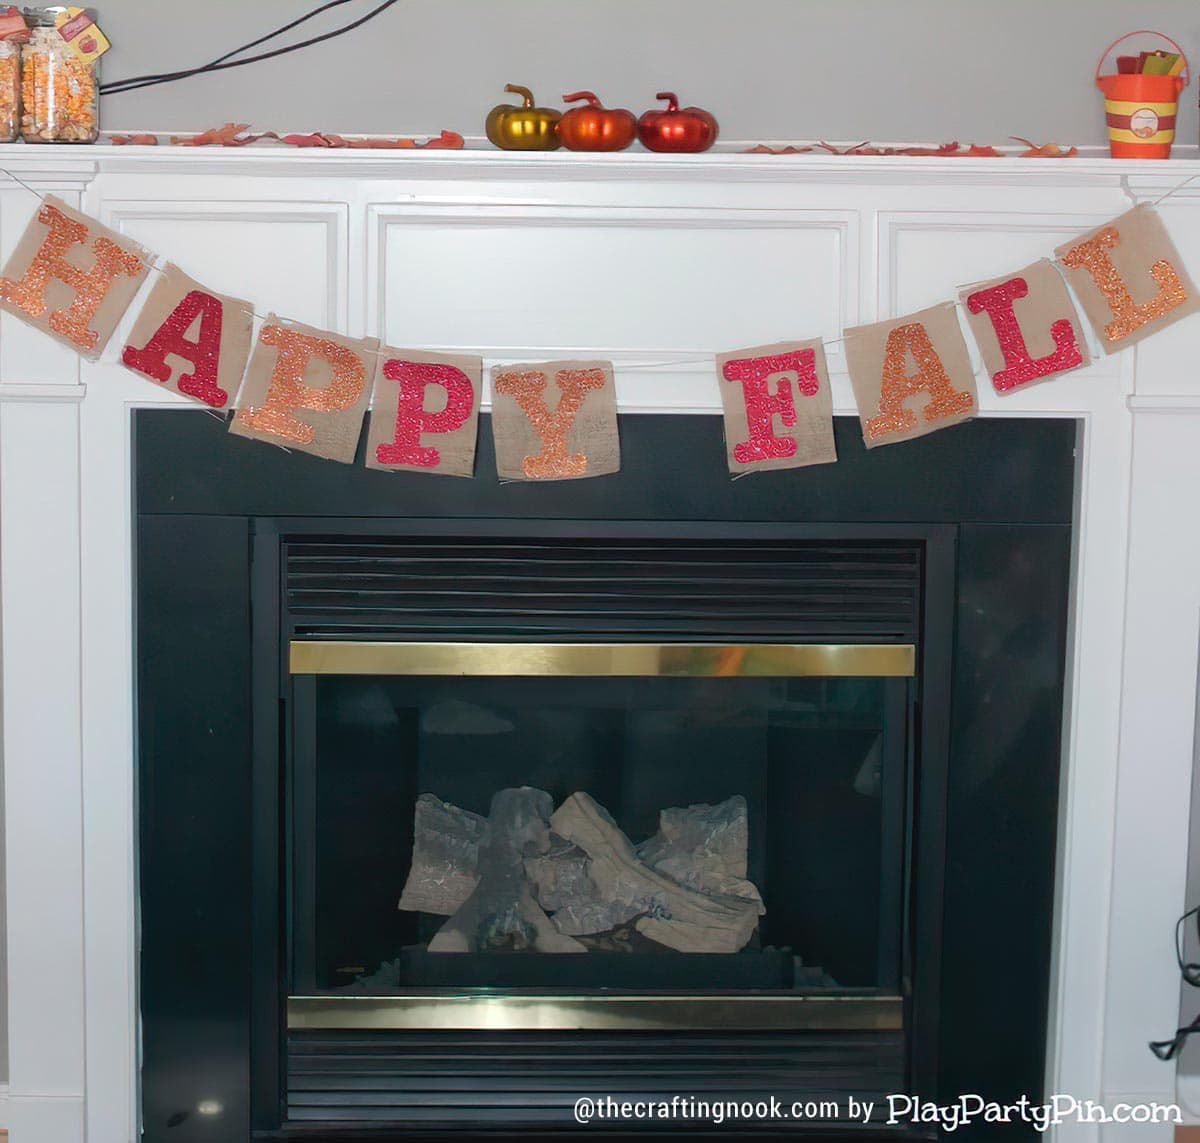
Craft a cute Fall Burlap Banner DIY with glitzy letters! A DIY tutorial for a rustic touch to your décor. Sparkle up your Fall with this easy project
Giving our home a little fall spirit couldn’t be easier. This cute and easy Burlap Banner made by my friend Britne from Play Party Plan will give your home a warm and rustic touch for this Fall.

Table of Contents
Cute Fall Burlap Banner DIY by Britni
Hi everyone! My name is Britni and I blog over at Play Party Plan. My blog is full of fun party ideas, crafts, recipes, and family activities. I’d love for you to stop by and say hi.
I am so excited to be a guest here over at The Crafting Nook and I am excited to get to know all of you.
Today I’m sharing an easy DIY burlap banner. I made one for fall but you could easily make one with different colors of burlap for fall, Thanksgiving, or any other holiday really.
Making a burlap banner is simple and really adds so much to a mantle, party table, or even just a doorway. If I hadn’t been interrupted by my baby multiple times, this would’ve taken me less than 30 minutes.
What is the difference between jute and burlap?
According to multiple sources, “Jute” is the name of the plant or fiber that is used to make burlap. Jute is one of the most affordable natural fibers in existence and it is second only to cotton in the amount produced and variety of uses. The industrial term for jute fiber is raw jute.
Burlap (Also known as Hessian fabric) it’s a dense woven fabric, that has historically been produced as a coarse fabric, but more recently it is being used in a refined state known simply as jute as an eco-friendly material for bags, rugs, different crafts, and other products.
How to make An Easy Burlap Banner DIY for Fall
Supplies:
- Glitter Cardstock paper
- Burlap fabric
- Fabri-Tec or another fabric glue
- Baking twine, jute twine, string, ribbon, or something else to hang your banner
- Tape to hang your banner
Tools:
- Fabric Scissors or shears
- Silhouette Cameo or letter stencils to cut out your letters
Instructions:
Prep Work

Step 1 – Gather your supplies.
Step 2 – Cut out your letters from the cardstock. I used my Silhouette Cameo to cut out the letter shut you could easily trace letters using stencils onto the cardstock and cut with scissors as well.
If you use your Silhouette, I just used the glitter cardstock cut settings and it worked great. One piece of advice if you choose to use glitter cardstock – tape the cardstock down to your mat so it doesn’t move.


I’ve always struggled with glitter paper and taping the paper down made it so much easier, no slipping!

Assembling the DIY Burlap Banner

Step 3 – Place one of your letters on your burlap and measure out how big you want the burlap pieces to be.
You can either make all of the burlap pieces the same size (amount of space between the edge of each letter and the edge of the burlap will be different) or make the amount of space between the letter and edge of burlap the same (burlap pieces will be different sizes).

I chose the latter. Place each letter on the burlap and cut out a square around it. Continue until you’ve cut out a piece of burlap for each letter.

Step 4 – Glue each letter to its piece of fabric using clear fabric glue.
I recommend doing this on a piece of cardboard, newspaper, or something else you can throw away because the glue tends to go through the holes in the burlap.

Step 5 – Make a small hole in the corner of each piece of burlap being careful to not get the hole too close to the edge because the burlap will come undone and your hole will no longer be a hole.
Once you’ve carefully made holes, thread your baking twine (or other hanging string) through the holes making sure to be consistent in the direction you thread each piece (i.e., if you go from top to bottom on one piece of burlap, do that for all).
Step 6 – Hang your banner on your fireplace then step back to enjoy your creation!

Crafting Tips:
- To keep burlap edges neat and tidy, you can use clear nail polish or fabric glue on the cut edges. This will stop them from fraying.
- To make sure the letters are evenly spaced, use a ruler and mark the banner with a special pen that disappears. Then, stick the shiny letters onto the marked spots.
- You can make your paper letters shiny by putting a little bit of clear nail polish or Mod Podge on them.
- Use a special brush or sponge to put paint on the paper letters for a neat and accurate finish.
- Make the letters on the banner dry faster by using a hairdryer in a low-heat setting.
- Attach the shiny letters to the burlap using fabric glue or a hot glue gun to make sure they stay in place for a long time.
- Try using different styles and sizes for the letters on the cardstock to make your banner more unique and visually appealing.
- Make your banner special by adding extra decorations like ribbons, buttons, or fabric flowers. You can use fabric glue or a needle and thread to attach them.
- You can use mini clothespins or fancy clips to hang your completed banner for a fun and playful look.
Hope you enjoyed this cute and easy tutorial.
Frequently Asked Questions
No, you don’t need a sewing machine for this project. We will use either fabric glue or a hot glue gun to easily put things together.
To stop the burlap from fraying, put clear nail polish or fabric glue on the trimmed parts. This will make sure that the fibers are closed tightly and stay where they are supposed to be.
Absolutely, you can paint on the burlap without any additional steps. However, if you want a smoother surface for your painting, it is suggested to iron the burlap on low heat with a damp cloth before you start painting.
You can use special glue for fabric or a hot glue gun to attach the shiny paper letters to the rough cloth called burlap. Put a little bit of glue on the back of each letter and stick it firmly onto the burlap.
Sure You can! Make your banner unique by adding things like ribbons, buttons, or fabric flowers. You can use fabric glue or a needle and thread to attach them together really well.
To hang the banner when it’s done, you just need to attach it to a string or ribbon using small clothespins or decorative clips. Instead, you can make small loops at the top corners of the banner so you can hang it straight away.
That will be different depending on what kind you use. You should read the instructions on the paint and glue labels to know how long they take to dry properly. You can make things dry faster by using a hairdryer at a low temperature or a hot glue gun to make it even faster.
More Fall Projects to Try
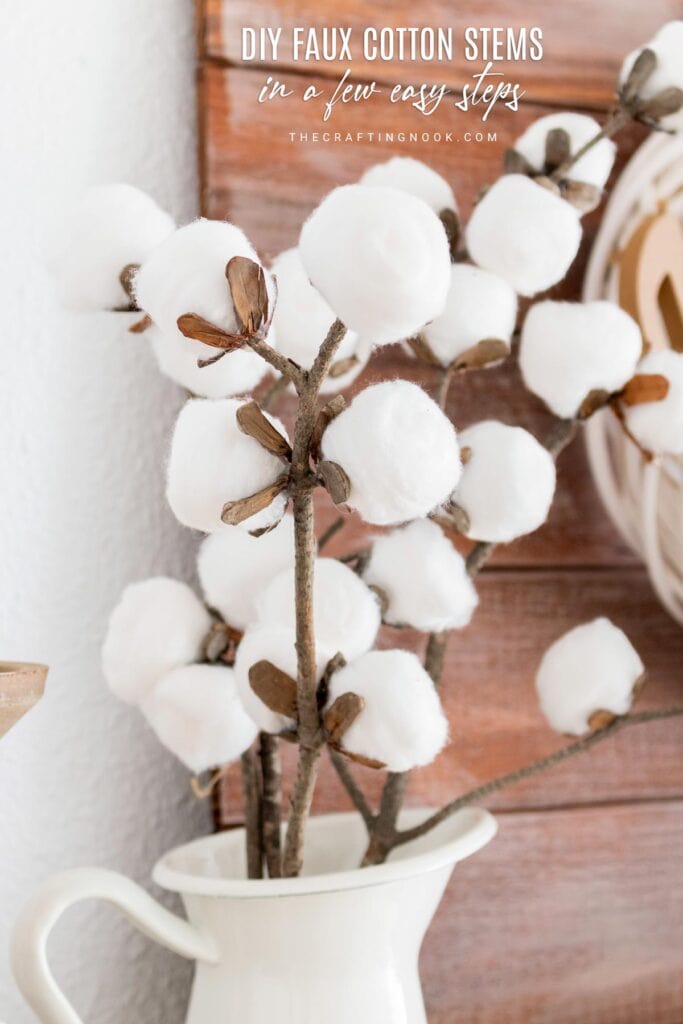
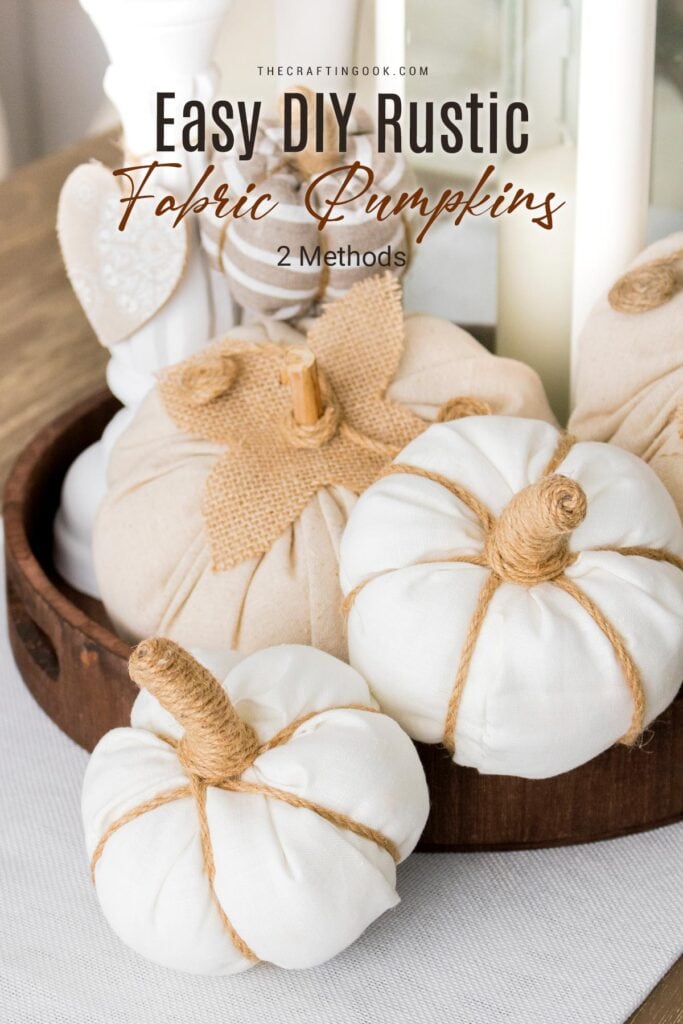
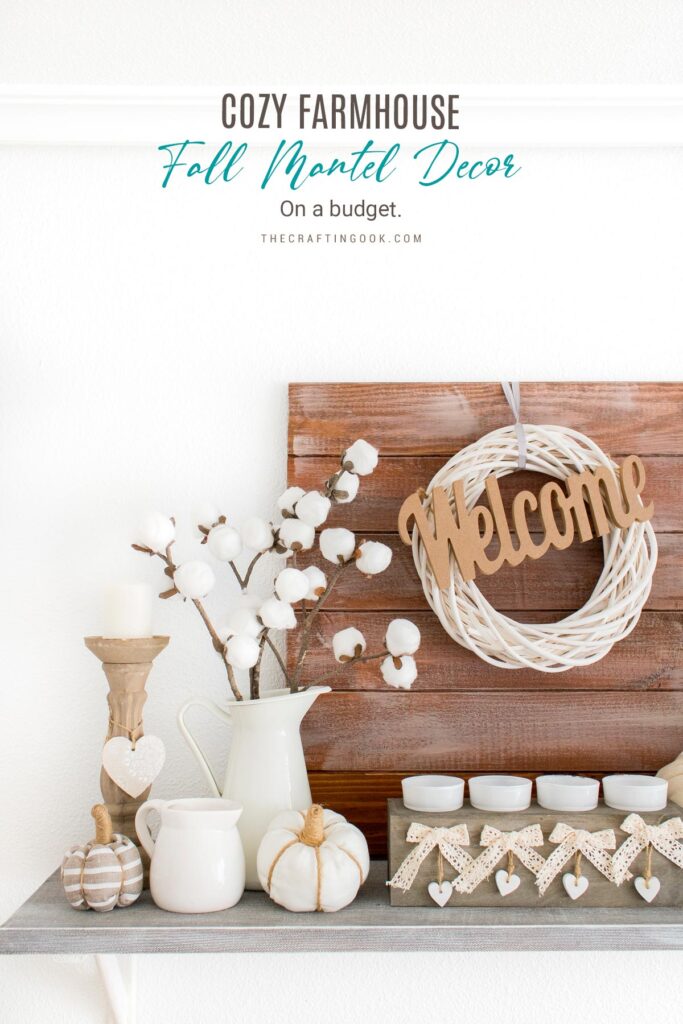
If you enjoyed this Fall Burlap Banner DIY Tutorial, you might also love these other Fall DIY projects too:
✂️ Tutorial

Easy DIY Burlap Banner for Fall
Tools
- cissors
- Silhouette Cameo or letter stencils to cut out your letters
Supplies
- Glitter Cardstock paper
- Burlap
- Fabri-Tec or another fabric glue
- Baking twine string, ribbon, or something else to hang your banner
- Tape to hang your banner
Instructions
PREP WORK
- Gather your supplies.
- Cut out your letters from the cardstock. I used my Silhouette Cameo to cut out the letter shut you could easily trace letters using stencils onto the cardstock and cut with scissors as well.
- If you use your Silhouette, I just used the glitter cardstock cut settings and it worked great. One piece of advice if you choose to use glitter cardstock – tape the cardstock down to your mat so it doesn’t move.
- I’ve always struggled with glitter paper and taping the paper down made it so much easier, no slipping!
ASSEMBLING THE DIY BURLAP BANNER
- Place one of your letters on your burlap and measure out how big you want the burlap pieces to be.
- You can either make all of the burlap pieces the same size (amount of space between the edge of each letter and the edge of the burlap will be different) or make the amount of space between the letter and edge of burlap the same (burlap pieces will be different sizes).
- I chose the latter. Place each letter on the burlap and cut out a square around it. Continue until you’ve cut out a piece of burlap for each letter.
- Glue each letter to its piece of fabric using clear fabric glue.
- I recommend doing this on a piece of cardboard, newspaper, or something else you can throw away because the glue tends to go through the holes in the burlap.
- Make a small hole in the corner of each piece of burlap being careful to not get the hole too close to the edge because the burlap will come undone and your hole will no longer be a hole.
- Once you’ve carefully made holes, thread your baking twine (or other hanging string) through the holes making sure to be consistent in the direction you thread each piece (i.e., if you go from top to bottom on one piece of burlap, do that for all).
- Hang your banner then step back to enjoy your creation!
Share and PIN ME!!!

Til’ next time…


FREE WORKBOOK
Keeping your Sweet Home Organized
Learn how to create intentional habits and simple routines to Keep Your Home Organized. Plus freebies, printables, exclusive content, and tips.
Disclaimer: By clicking on the “Yes” button above you are giving me your consent to collect and use your information according to the law and My Policy Privacy. Zero Spam I promise!
Cute and easy, love the mix of glitter and burlap. Happy Fall!
Isn’t it???? Britni is such a talented girl!!! Thanks so much for stopping by!
XOXO
Cami
What a nice project, Britnei! If only I could find some burlap…. ok, I have a new mission, now!
Hugs from Italy,
MammaNene @ SergerPpeper.com
Yessssss I have that mission too! I need to make something with burlap too!!!! Thanks so much for your happy visit!!!
XOXO
Cami
I love the banner! I won a Silhouette and I absolutely cannot wait for it to be delivered so that I can make fun things like this! Thanks for tip on taping down the glitter paper! :)
You are going to love using your Cameo for this kind of crafts!… Making banners is super fun and this one turned out great! Thanks so much for your lovely visit!!!
XOXO
Cami
Thanks so much for the post Britni, I have actually been wanting to make one of these. I really was just talking to my cousin Ginger on the phone about it last night. We are always looking for fun crafts to make for our DIVA nights. Thanks Camila for letting Britni come over and play at your place today. <3 Kim
Thanks to you for stopping by and leaving a lovely comment. I’m glad you like her creation!
XOXO
Cami