

DIY Popsicle Stick Snowflakes for Christmas Wall Decor

This post may contain affiliate links. Please read our Disclosure Policy.
These DIY popsicle stick snowflakes are such an easy way to make large Christmas wall decorations without spending much. I made mine in different sizes and painted them black and gold to match my Christmas decor. I love how the simple wooden sticks create such pretty geometric shapes!
You only need a few basic supplies, and you can make several snowflakes in different sizes to decorate a whole wall.
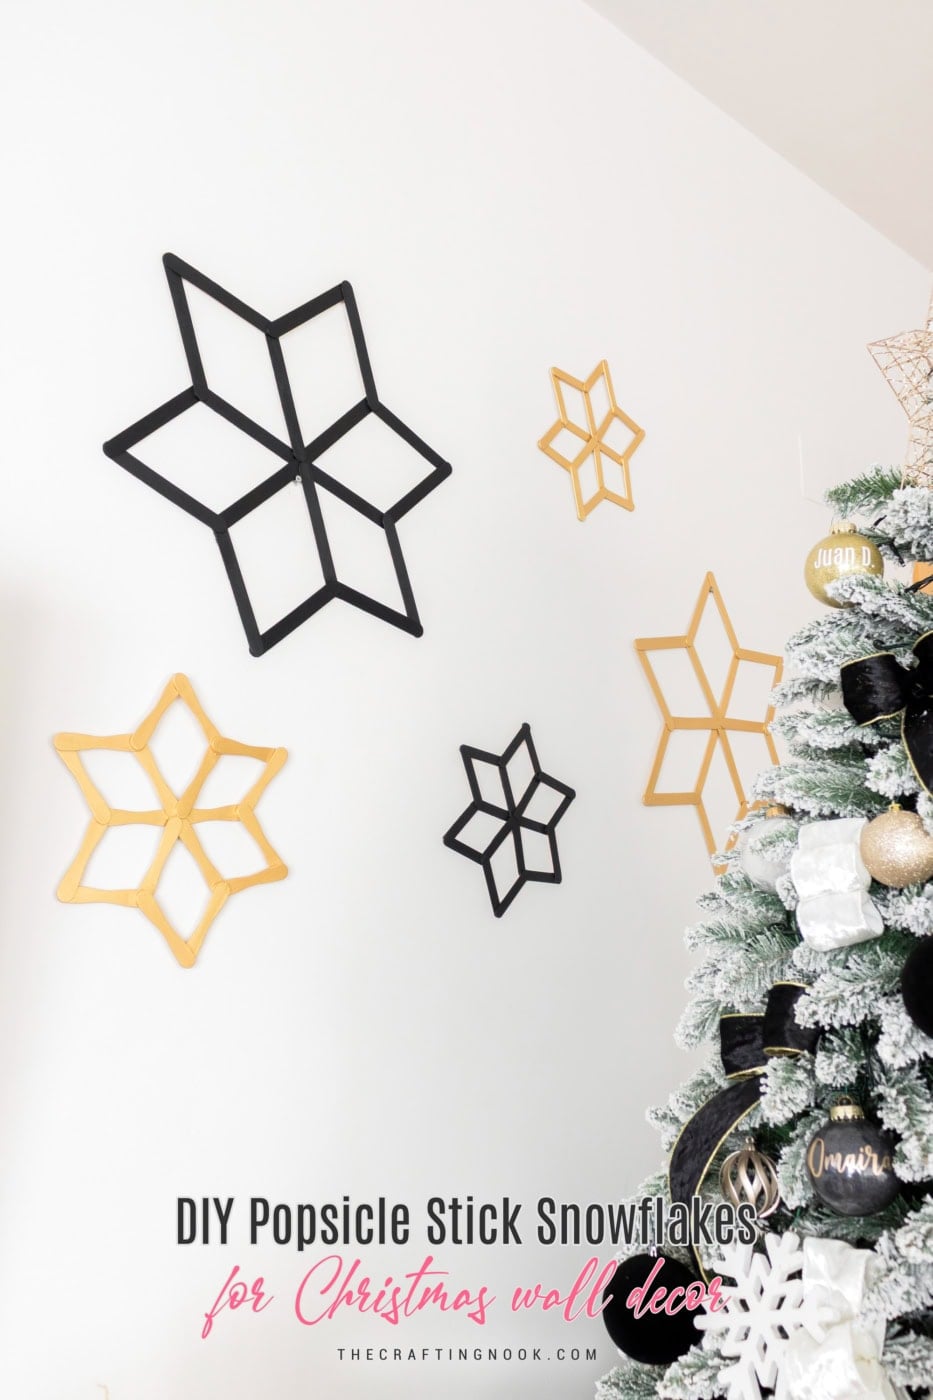
Table of Contents
Why I Love These Popsicle Stick Snowflakes
- Budget-friendly: A pack of craft sticks goes a long way, especially if you’re making several snowflakes.
- Easy to customize: Different sizes and shapes of popsicle sticks give each snowflake a slightly different look.
- Lightweight: They’re easy to arrange on a wall without needing heavy-duty hardware.
- Simple supplies: Mostly wooden sticks, glue, and acrylic paint.
- Not just for Christmas: You can change the colors to match your winter decorations and leave them up after the holidays.
How to Make Popsicle Stick Snowflakes
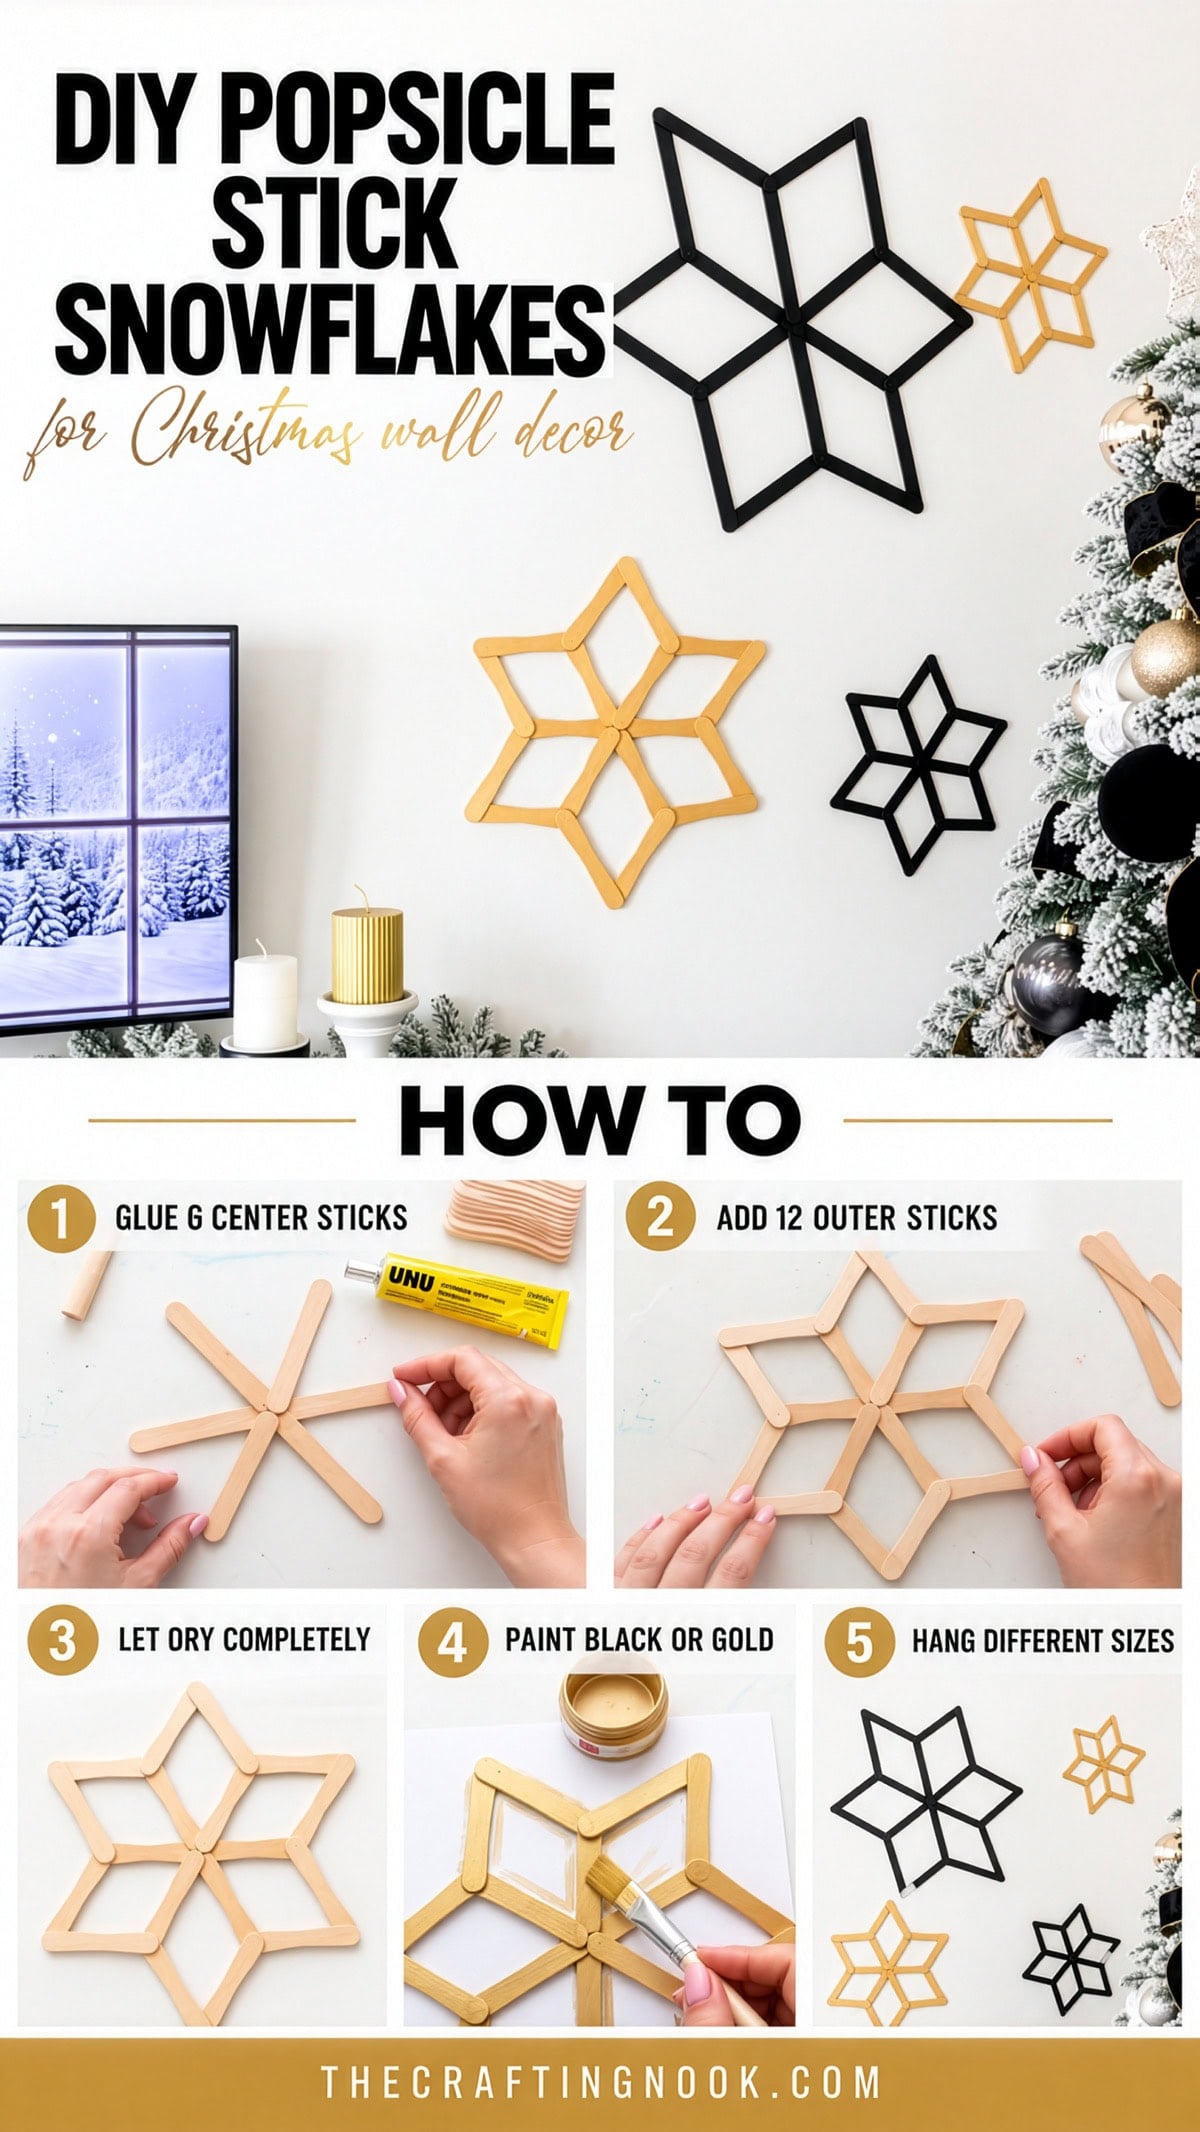
Each snowflake uses 18 popsicle sticks: six for the center and twelve to complete the six outer points.
You can use different sizes or shapes of craft sticks to create larger or smaller snowflakes without changing the basic construction.
Supplies
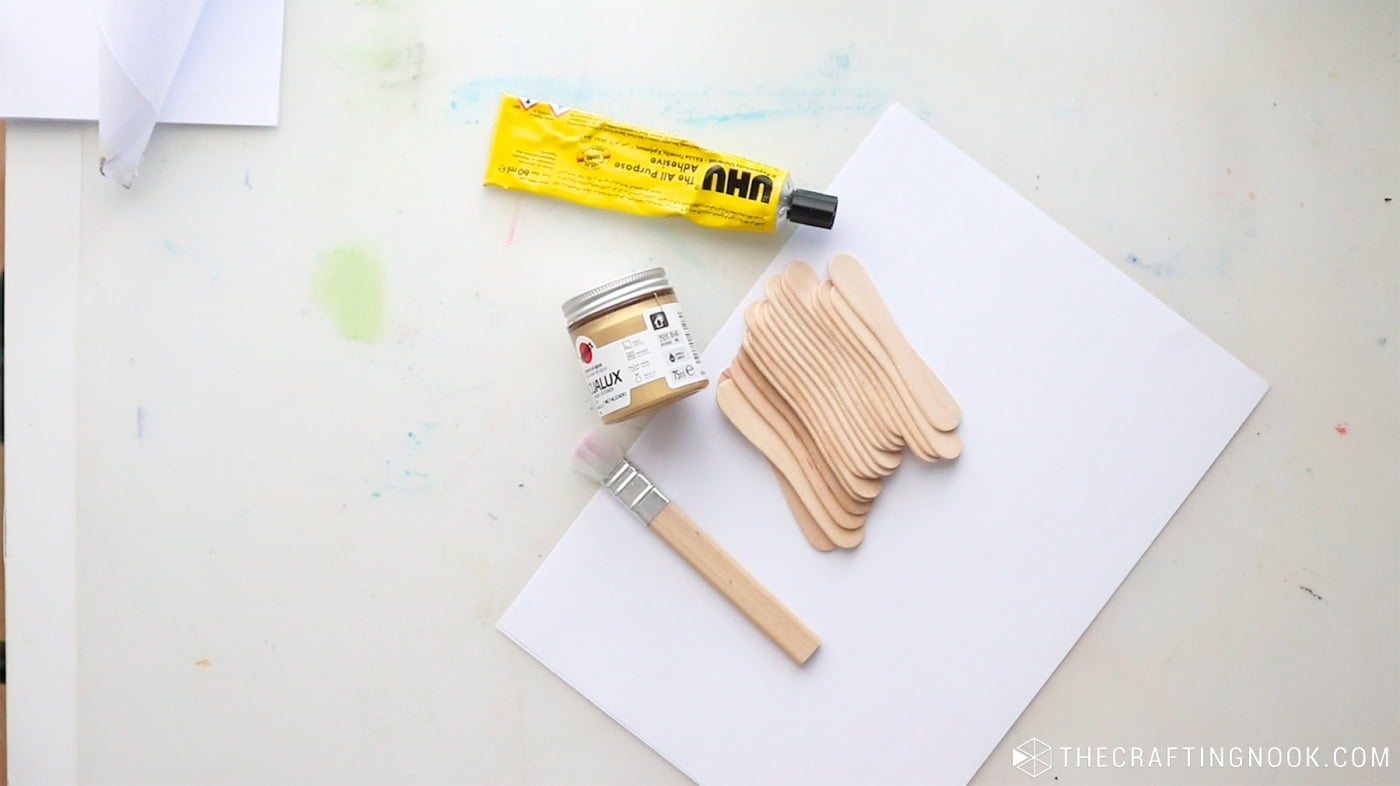
- 18 wooden popsicle sticks per snowflake
- All-purpose craft glue (I used UHU Universal Glue)
- Acrylic paint (I used black and metallic gold)
- Paintbrush
- Paper or a protective surface for painting
- Nails or other suitable wall-hanging supplies
Step-by-Step Instructions
Step 1. Create the Six-Pointed Center
Start by laying two popsicle sticks in a straight line, overlapping their ends slightly at the center. Add a little glue where they meet.
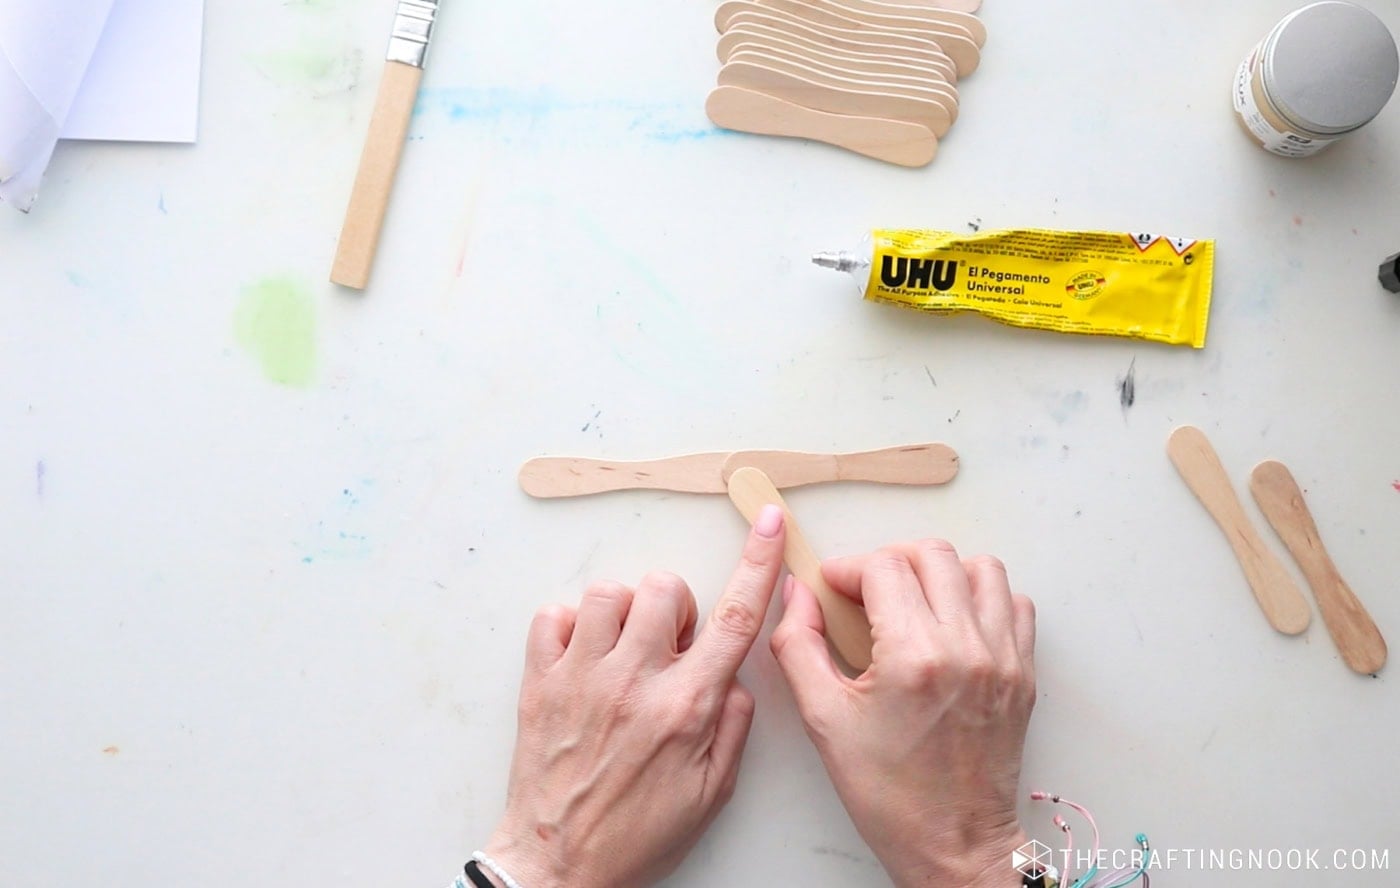
Next, overlap two more sticks at the same center point, angling them to begin forming the six-pointed shape.
Repeat with the last two sticks, spacing them evenly until you have six spokes coming out from the center.
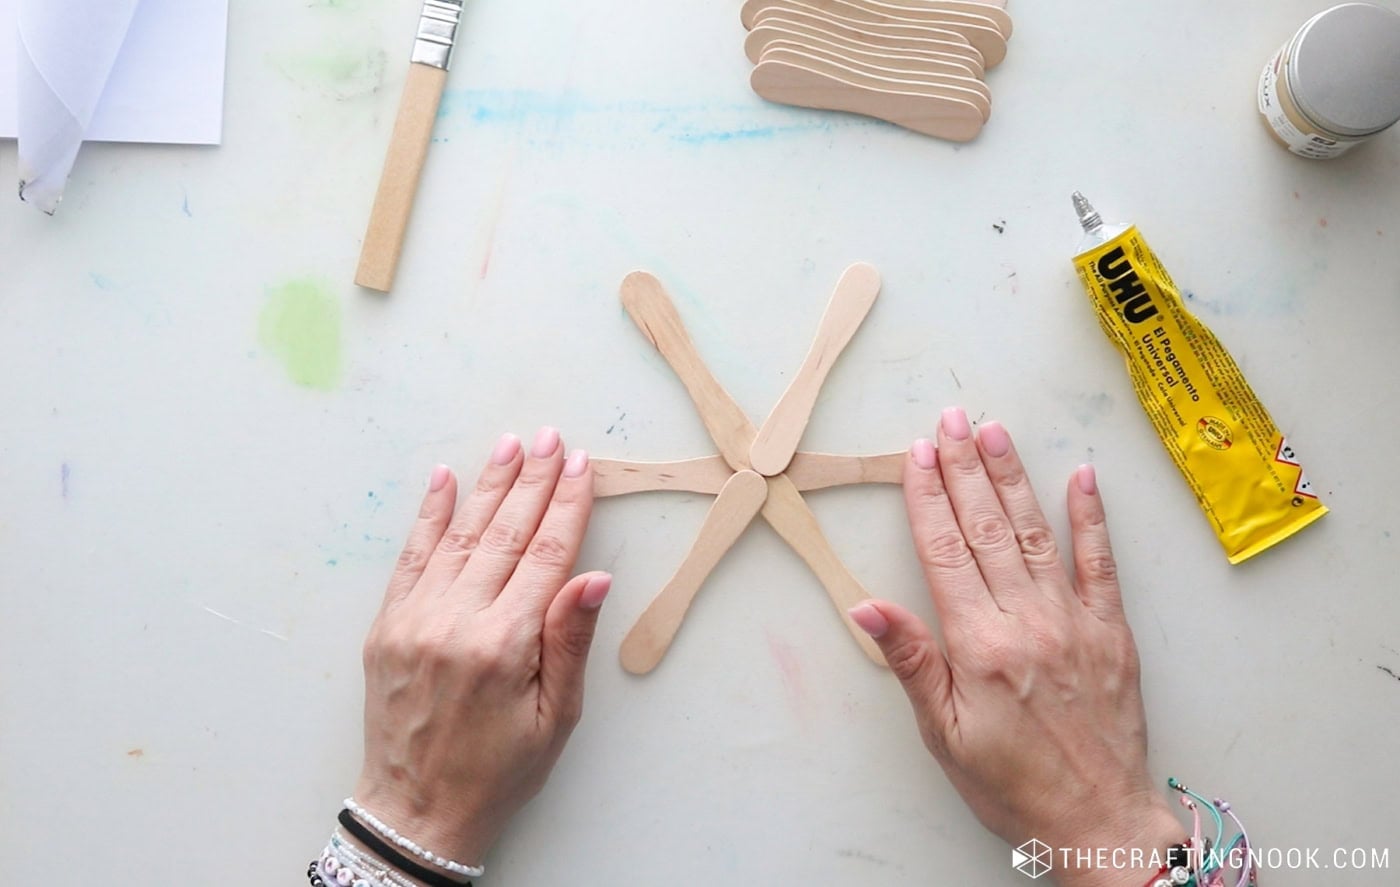
Gently press the overlapping ends together to secure them.
I like to adjust the spacing while the glue is still flexible so the snowflake looks balanced.
Step 2. Build the Outer Points
Now it’s time to connect the spokes and create the diamond-shaped sections.
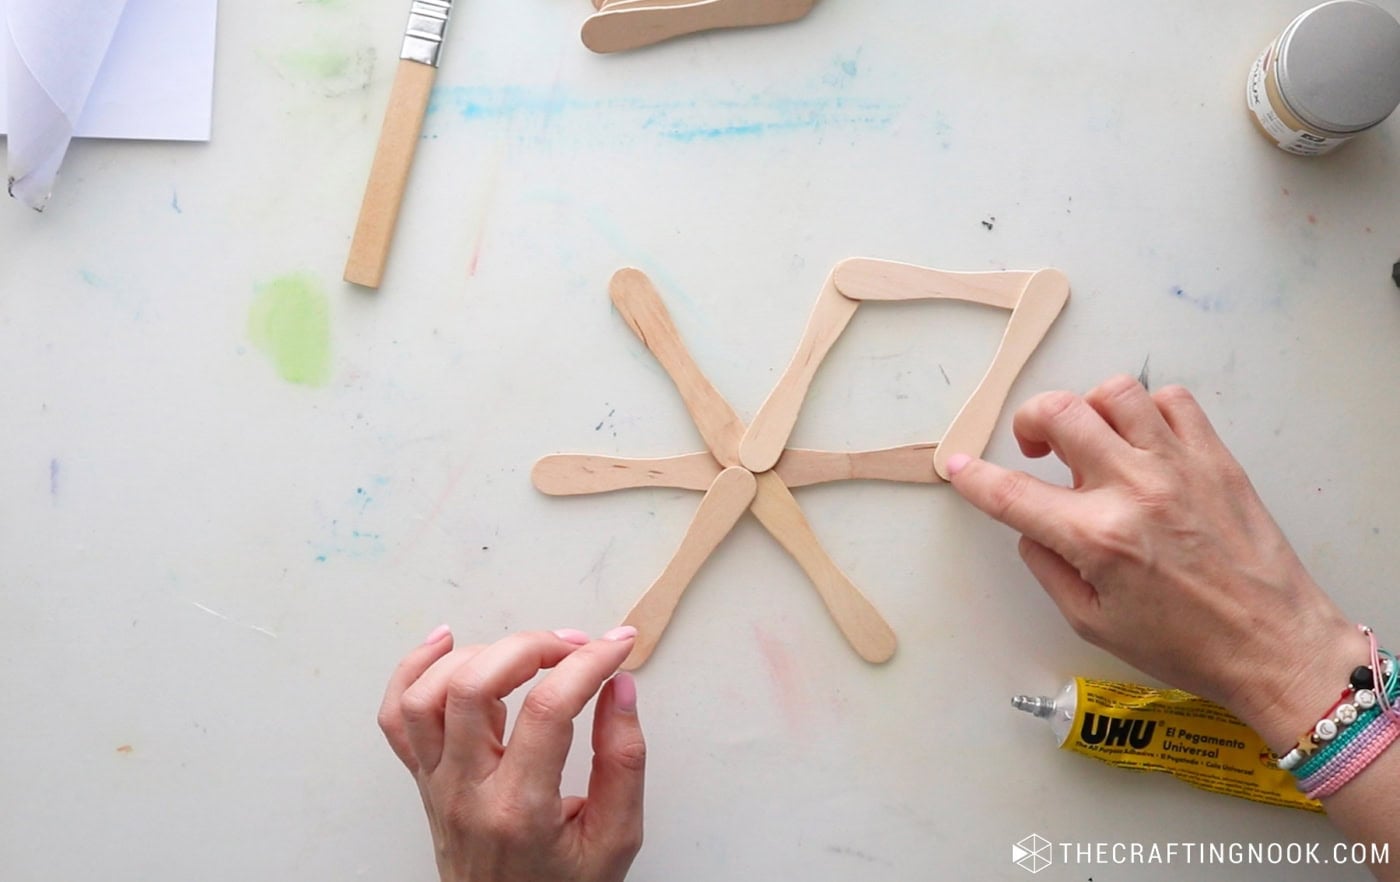
Take two more popsicle sticks and glue them between two neighboring spokes, joining their outer ends to form the first pointed section.
Repeat this process around the snowflake, adding two sticks for each of the remaining five sections.
You’ll use twelve sticks in total for the outer points.
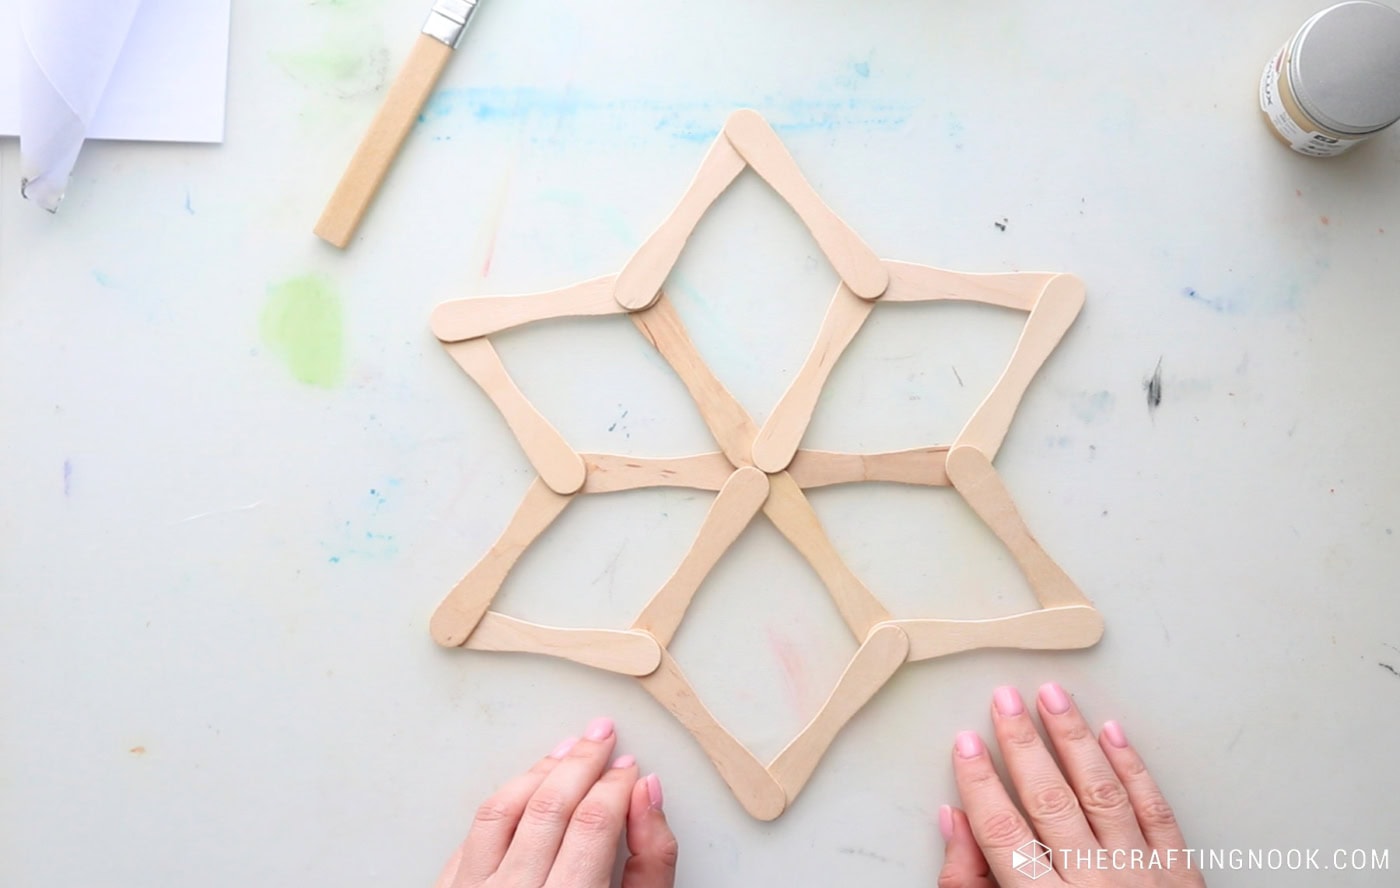
Make sure each piece overlaps slightly at the joints so the structure holds together.
Once all six points are complete, you’ll have your geometric snowflake!
Step 3. Let the Glue Dry Completely
Carefully check that all the joints are properly connected, then leave the snowflake flat until the glue dries completely.
I used UHU Universal Glue because I like that it dries faster than most white craft glues but still gives me enough time to reposition the sticks.
Hot glue sets much faster, which can make adjusting the shape a little tricky. But that’s just my preference. You can use any glue suitable for wood that holds the pieces securely.
Step 4. Paint Your Popsicle Stick Snowflakes
Once the glue has dried and the structure feels secure, it’s time to paint!
I chose black and metallic gold acrylic paints to match the rest of my Christmas decorations.
Place the snowflake over a protected surface and paint the wooden sticks, including the edges and visible glued areas.
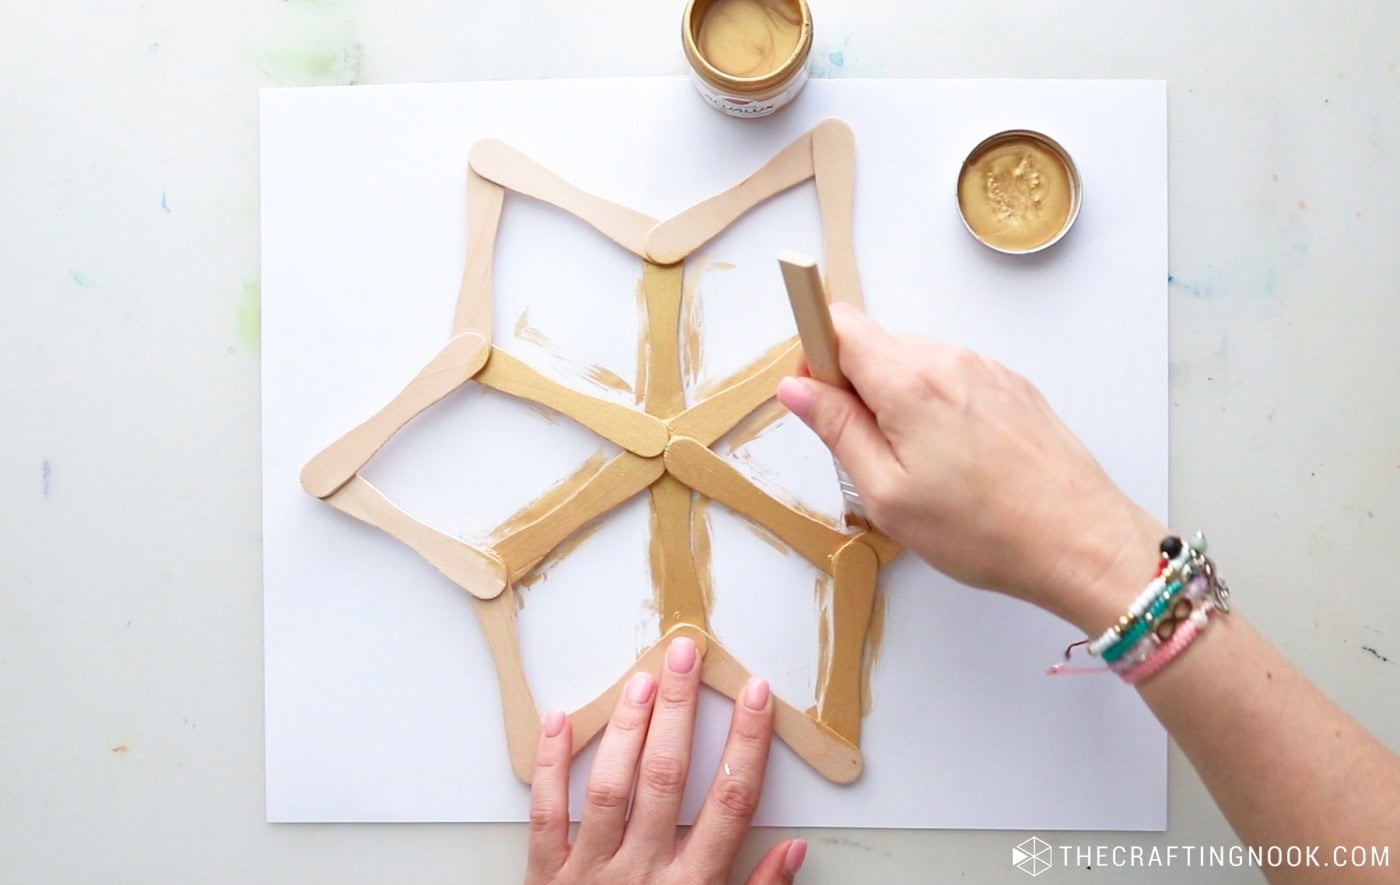
Let the first side dry, then turn it over and paint the back if needed.
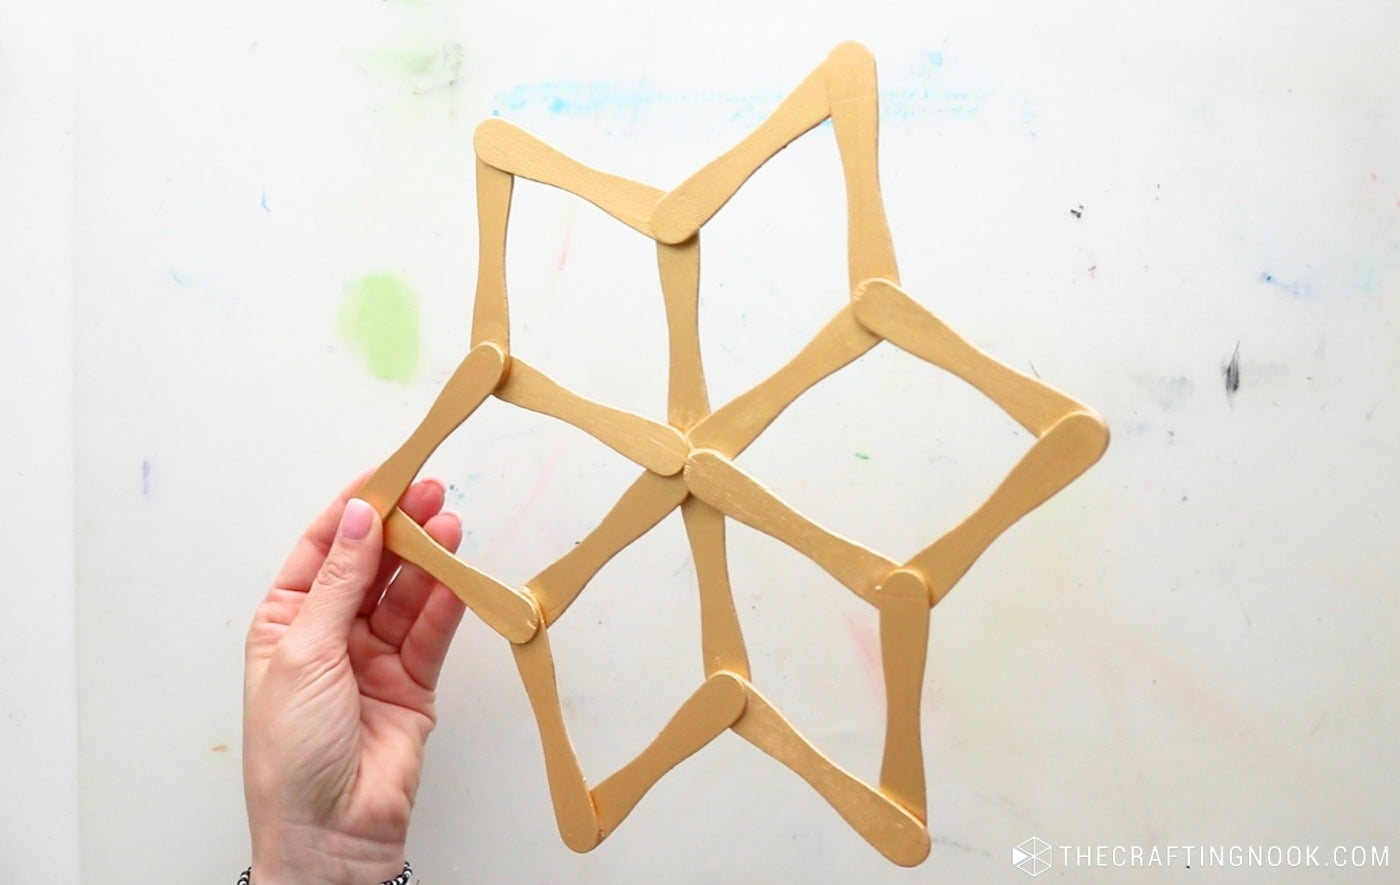
Apply a second coat if the wood still shows through, and let everything dry completely before hanging.
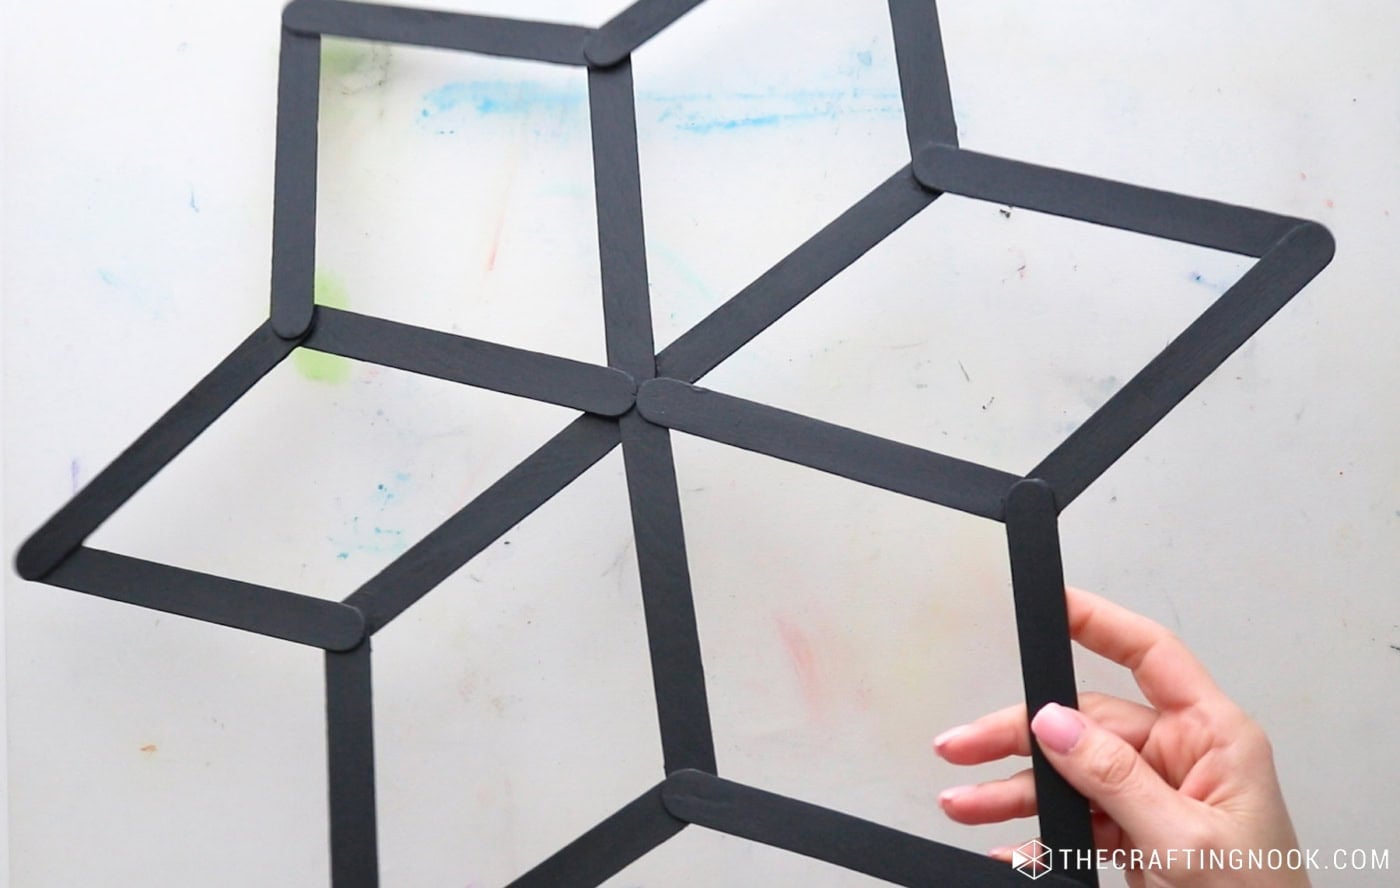
Step 5. Make Different Sizes and Styles
This was probably my favorite part!
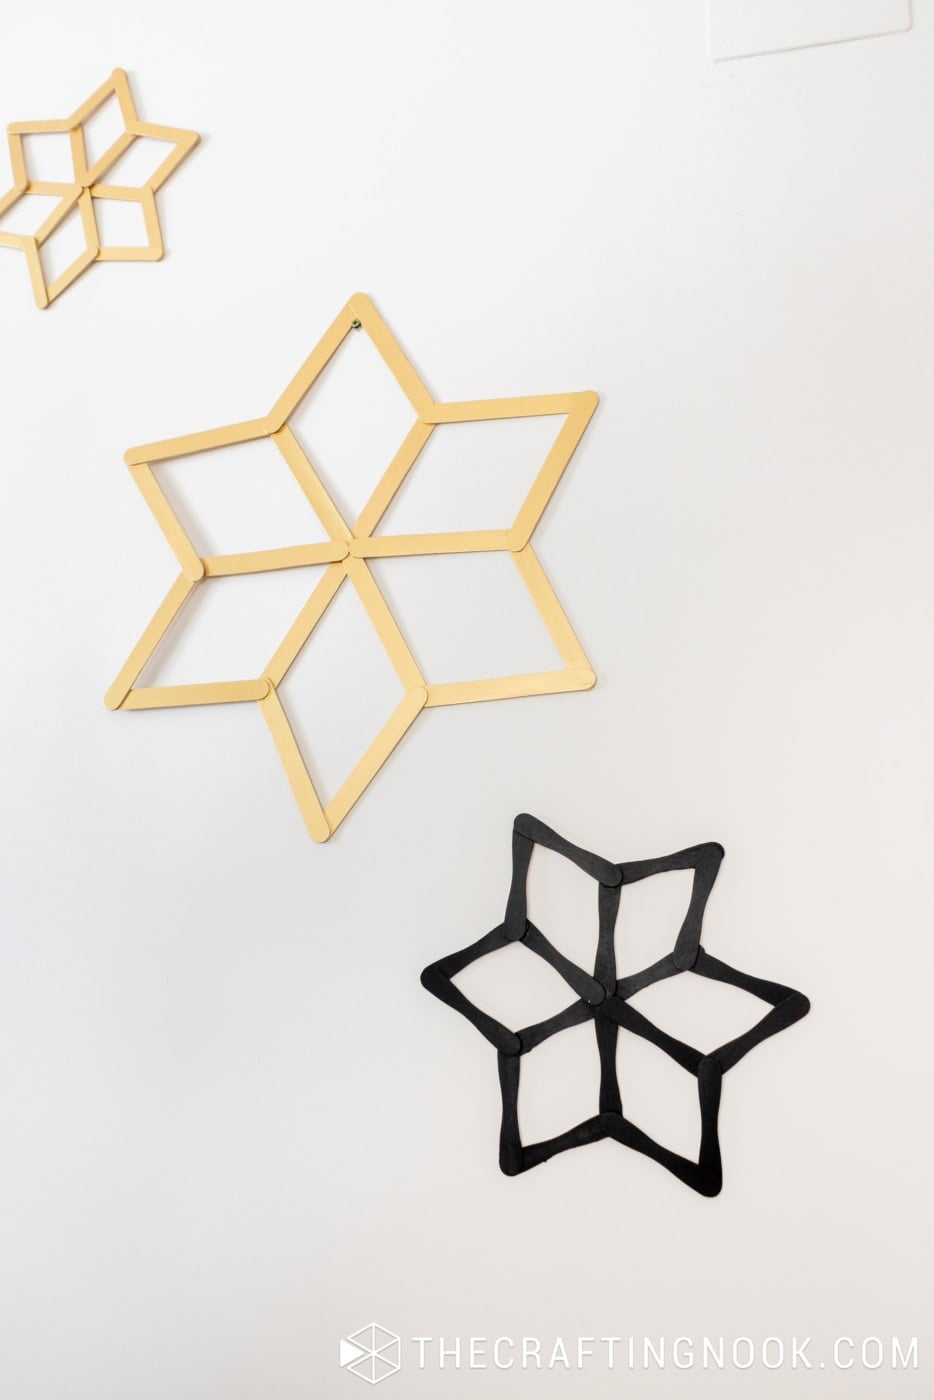
Instead of making identical snowflakes, I used different sizes and shapes of popsicle sticks to create a collection.
The basic construction stays the same, but the different wooden sticks give each snowflake its own look.
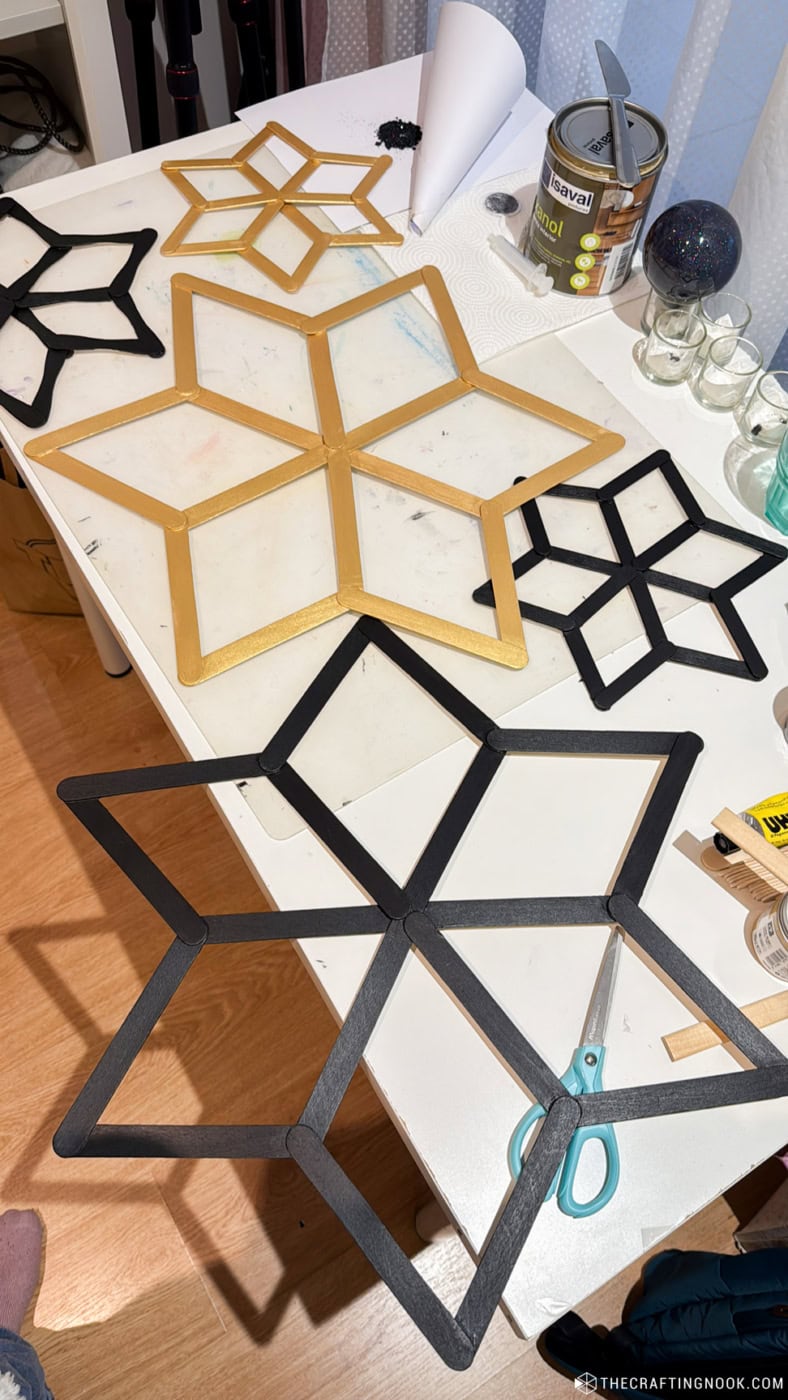
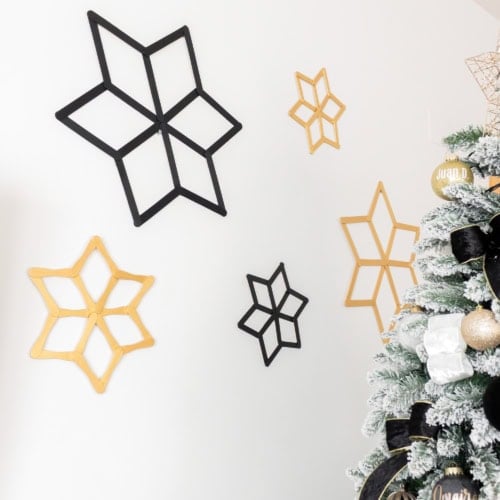
I also mixed black and gold finishes and made some larger than others.
I really liked how they looked together once they were all finished.
Step 6. Hang Your Snowflakes on the Wall
Now for the fun part: decorating!
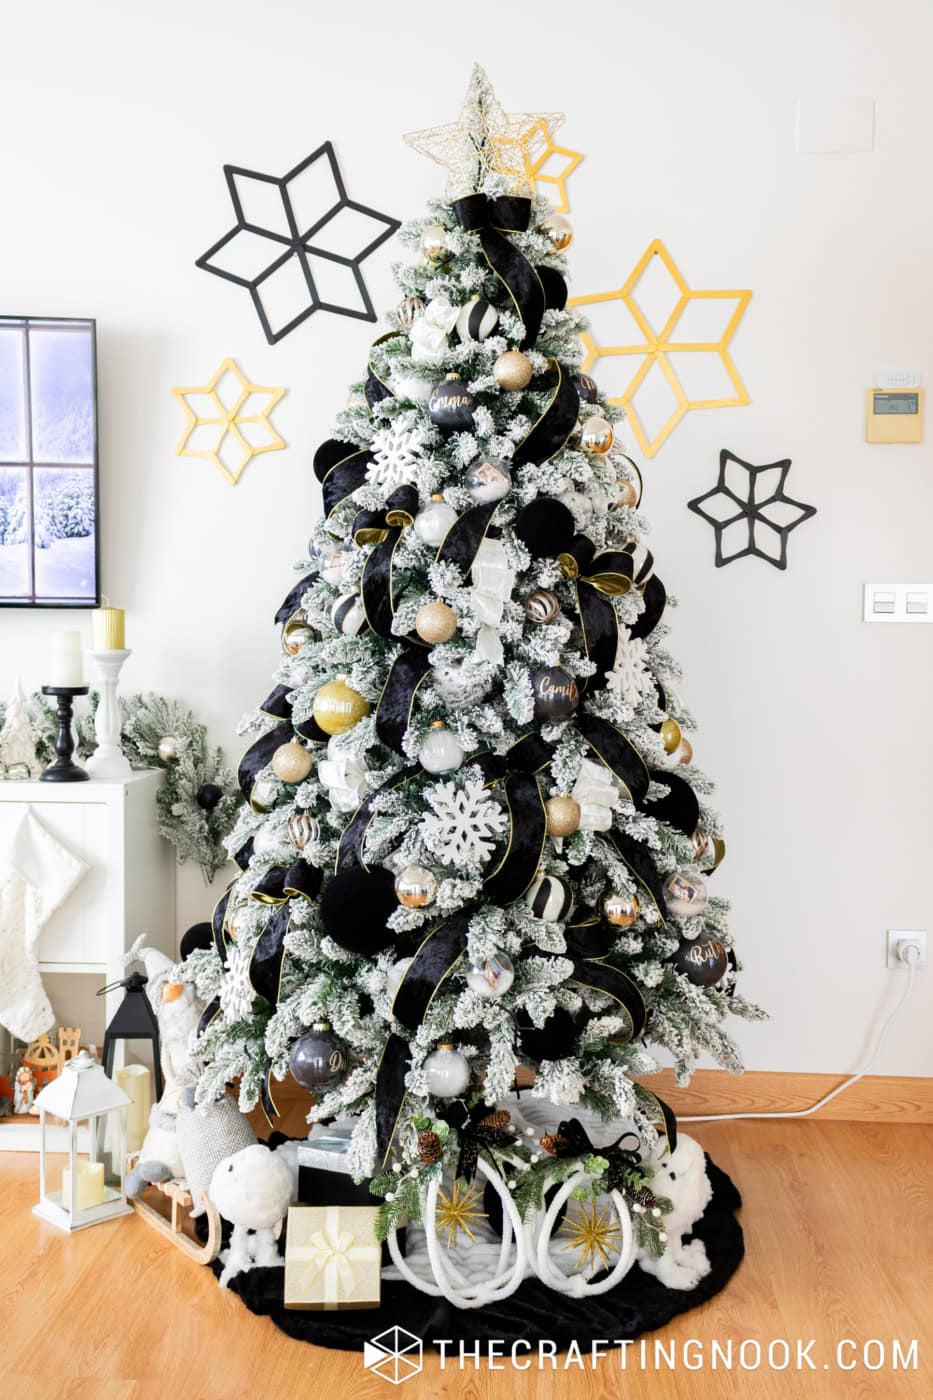
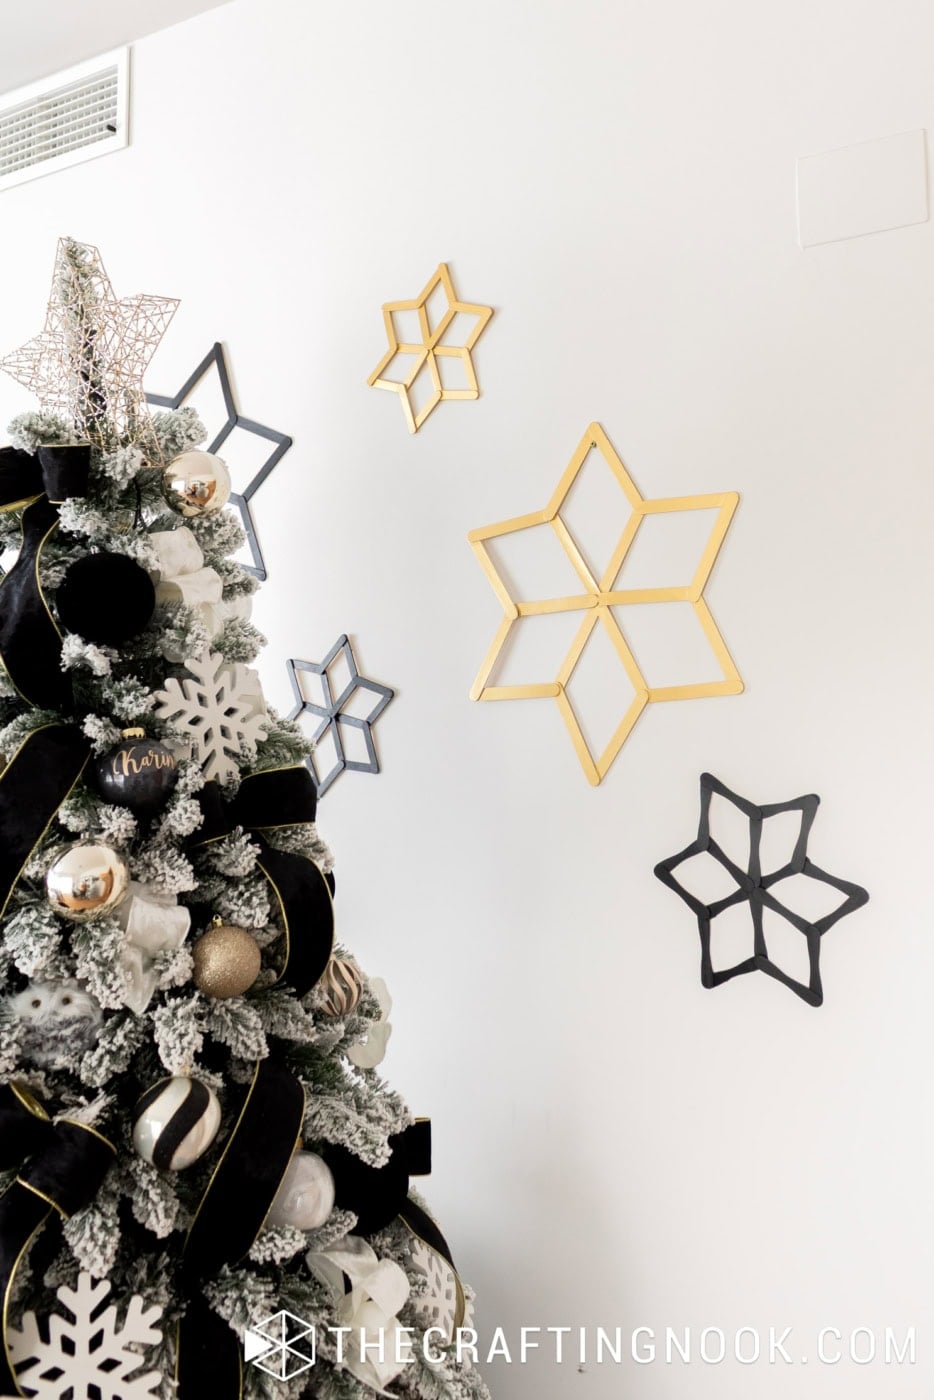
I arranged my finished snowflakes on the wall around our Christmas tree, mixing the sizes and colors.
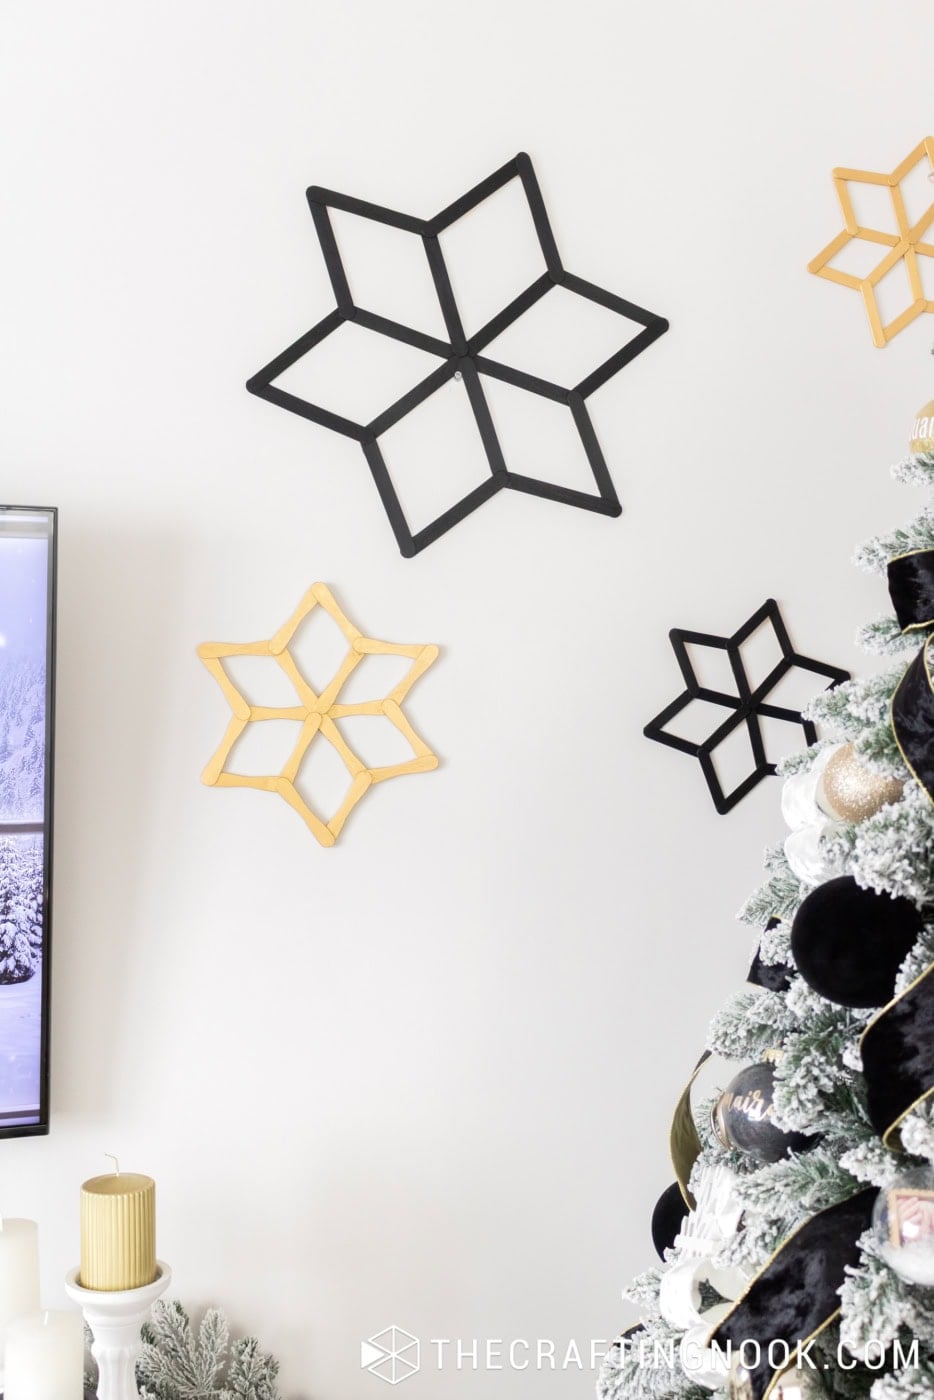
For some of them, I used nails that were already on the wall.
For others, I placed a small piece of masking tape on the wall and attached the snowflake to the tape with hot glue.
Note
This is how I hung mine, but masking tape and hot glue aren’t guaranteed to hold securely or protect every wall finish. If you’re concerned about your paint or want a more reliable removable option, use wall-hanging strips suitable for lightweight decorations and follow their instructions.
I played around with the arrangement until I liked how the different sizes filled the wall without making it look crowded.
Crafting Tips
These are simple to make, but a few little things can help them turn out better.
- Arrange your sticks before gluing. It’s much easier to adjust the snowflake while everything is still loose.
- Keep the center balanced. Since all the outer points connect to the center, getting this part right makes the whole snowflake look better.
- Use just enough glue. You want the joints to hold securely without leaving large blobs of dried glue around the sticks.
- Try different craft sticks. Wider, narrower, or longer sticks can make surprisingly different-looking snowflakes.
- Paint the edges too. This makes the finished decoration look much nicer when it’s hanging on the wall.
- Let everything dry before hanging. The glued joints and paint need to be completely dry before you start handling the snowflakes too much.
Snowflake Color and Style Ideas
I went with black and gold because they matched my Christmas decorations, but there are plenty of other ways to make these your own.
- Classic white: Paint the snowflakes white for simple winter wall decorations.
- Natural wood: Leave the popsicle sticks unpainted for a more rustic look.
- Metallic finishes: Try silver, champagne, or copper acrylic paint.
- Mix and match: Make several sizes and alternate colors for a more interesting wall arrangement.
I personally prefer keeping the designs simple. The geometric pattern already looks pretty on its own, so I don’t think these need extra decorations.
A Little About My Black and Gold Christmas Decor
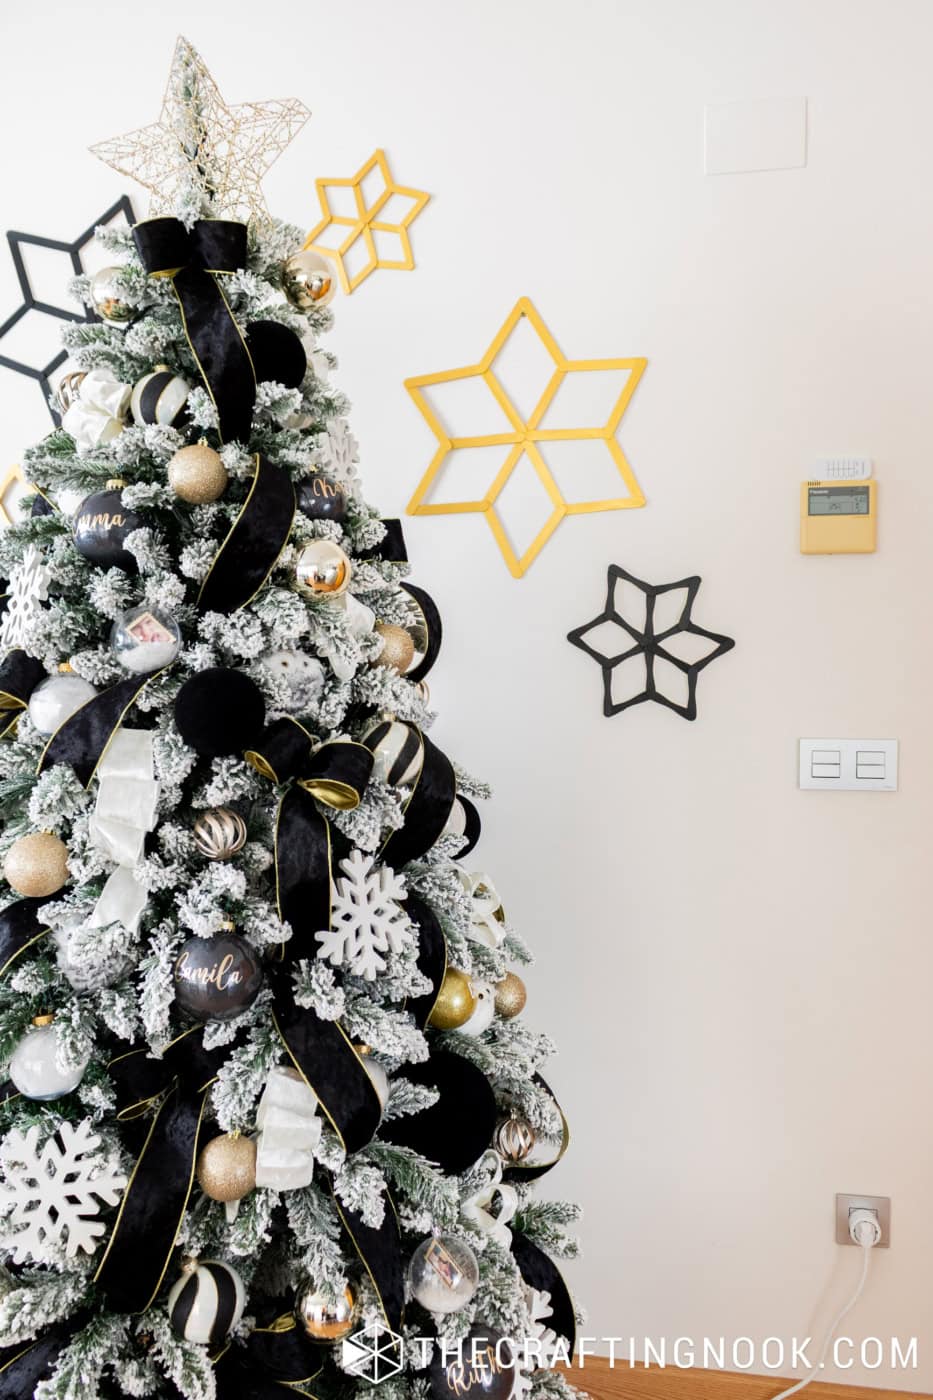
These snowflakes were part of my black, white, and gold Christmas decorations.
I wanted to decorate the wall around our Christmas tree without buying a bunch of new decorations, and these wooden snowflakes were just what I had in mind.
I love making decorations that work with what I already have, especially when I can customize the colors and sizes.
The black snowflakes added contrast against our light wall, while the gold ones brought in the metallic details from the tree.
And because they’re so lightweight, I could spread them around the wall without making things complicated.
They ended up being such a lovely addition to our Christmas decorations, and I really liked how the different sizes worked together.
Frequently Asked Questions
Yes, you can use hot glue for the construction. Just keep in mind that it sets quickly, so you won’t have as much time to adjust the position of the sticks. I prefer UHU glue for this reason.
Not necessarily. If you’re hanging them flat against a wall, the back won’t be visible. I recommend painting the front and edges carefully for a clean finish.
Absolutely! Jumbo craft sticks are a great option for making larger snowflakes. You can also experiment with narrower sticks for smaller or more delicate-looking designs.
I recommend wrapping them in tissue paper or placing sheets of paper between them, then storing them flat in a sturdy box. Avoid stacking heavy decorations on top, since the glued joints could break under pressure.
I had so much fun making these, especially seeing how different they looked once they were painted and arranged together on the wall.
If you make your own, I’d love to know what colors you choose! Leave me a comment below with a star review and tag me on Instagram so I can see your Christmas decorations.
And if you enjoyed this tutorial, don’t forget to save it or share it with a friend who loves making Christmas crafts!
✂️ Tutorial
DIY Popsicle Stick Snowflakes

Tools
- Hot glue gun and glue sticks
Supplies
- Popsicle sticks in your preferred sizes
- All-purpose craft glue
- Acrylic paint
- Paintbrush
- Protective paper
- Wall-hanging supplies
Instructions
- Arrange the craft sticks into a six-pointed center and glue the overlapping ends together.
- Add more sticks between the spokes to form the outer diamond-shaped points.
- Continue around the snowflake until all six sections are connected.
- Let the glue dry completely.
- Paint the snowflake with acrylic paint, covering the visible surfaces and edges.
- Let the paint dry, then repeat using different craft stick sizes and colors.
- Arrange and hang your finished snowflakes on the wall.
Notes
Share and PIN ME!!!
Til’ next time…

FREE WORKBOOK
Keeping your Sweet Home Organized
Learn how to create intentional habits and simple routines to Keep Your Home Organized. Plus freebies, printables, exclusive content, and tips.
Disclaimer: By clicking on the “Yes” button above you are giving me your consent to collect and use your information according to the law and My Policy Privacy. Zero Spam I promise!