Home ยป Project Gallery ยป Holidays ยป Christmas

DIY Paper Christmas Village (+ Free Cut Files)

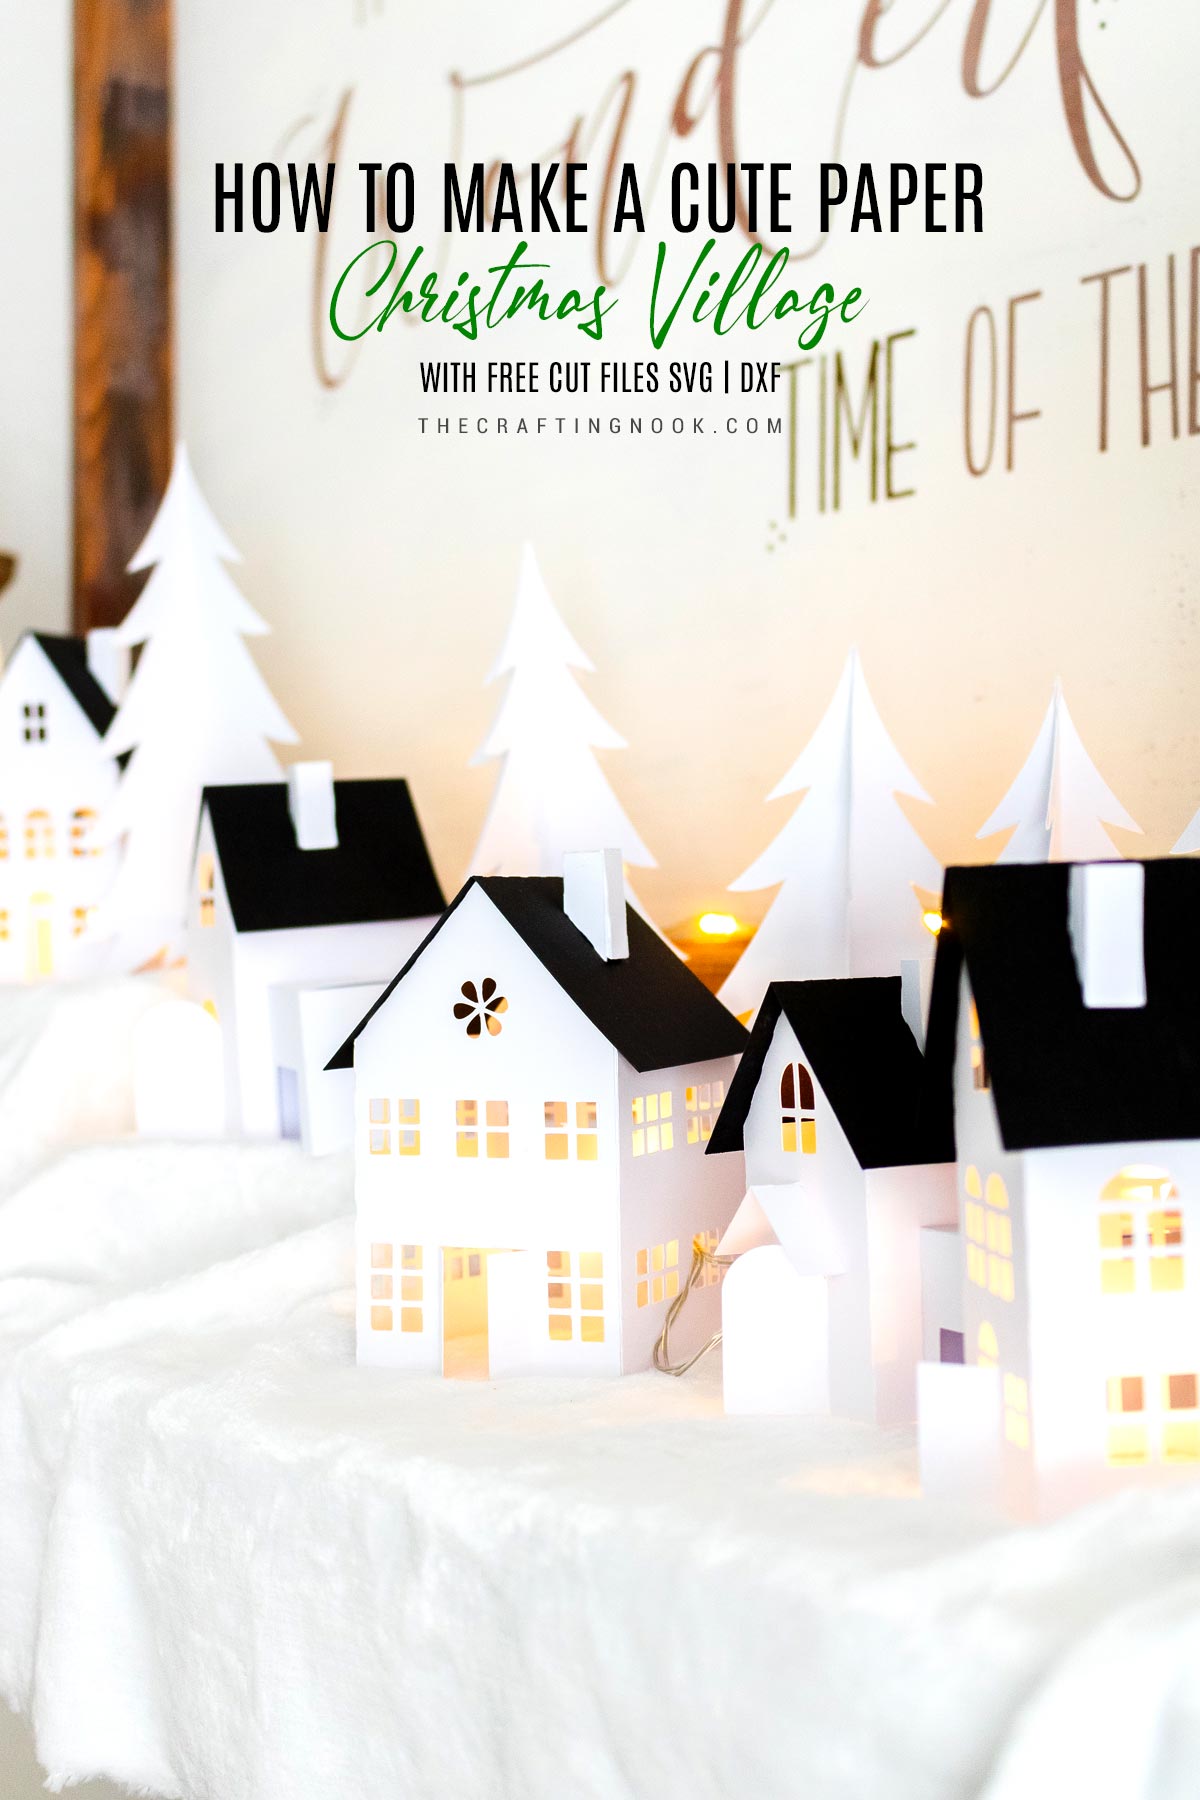
Itโ€™s amazing what can be done with just paper and glue. This cute paper Christmas village is a perfect holiday season night craft and a special Christmas decor for sure.

Time is flying, and at this rate, weโ€™ll be saying goodbye to this year in no time. Is that just me or did this year flew by in a blink? Todayโ€™s project is a special one.

DIY Paper Christmas Village (+ Free Cut Files) On my mantel Cover image with title text overlay

Creating a Cute Paper Christmas Village

Iโ€™ve been wanting to make a paper Christmas Village for so long and I finally made it and guys, I just love it so much!

Even though this project is so much easier with a cutting machine, it doesnโ€™t mean you canโ€™t make it by hand instead, using the Christmas village templates free printables. Of course, it will take more time and patience but itโ€™s doable.

I created 2 types of houses, 2 complex and 2 simpler so anyone could make it.

general view of Paper Christmas Village Cute and Easy

How to Make this Paper Village

Gather all your tools and materials, then letโ€™s get crafty.

Once your templates are cut, follow the instructions, and assemble your paper Christmas village by folding the tabs and gluing them together with a contact glue or low-temperature hot glue gun if you prefer.

Supplies:

  • Cardstock (White for the house and black for the roofs or your favorites, glitter paper looks so cute!)
  • Contact glue (I Love UHU) or light temperature glue tool and glue stick.
  • Light string.
  • Fleece (to simulate the snow)
  • Any other decoration you might have and want to add.

Tools

Paper Christmas Village details

Instructions:

Step 1: Getting Your Paper Houses Cut:

Snag your cut files to your computer and then open them in your electronic cutting machine app. In my case, I used the Silhouette Cameo app studio.

The files include a pdf version, dxf files, and SVG files for your convenience.
Paper Christmas Village Cut Files Download Button image

NOTE:

Just please keep in mind that for Cricut users, I’ve heard the SVG get a bit messed up in their app. Score lines/fold lines turn into solid lines which are read as cut lines and sometimes the elements don’t show in the right size. So there’s that.

Before we begin, be sure to follow us on PinterestFacebookInstagram, and YouTube, and also sign up for our email list (at the end of this post), so youโ€™ll never miss a post!

Drop your designs on your design space in your app and arrange them to fill your paper, but leaving room at the edge for cutting.
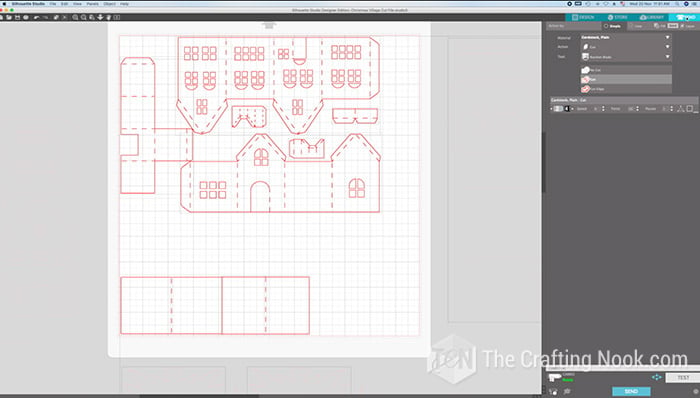
Screenshot cutting guide slide

When you are ready, get your cutting settings ready to go (blade, cardstock type, etc).

On the cutting mat (sticky side up) place your cardstock (or is it card stock???) on the sticky side of the cut mat. I wanted to make the roofs black so I separated the white cardstock at the top and the back at the bottom.

Load cutting mat on your machine once your design is locked and ready.

Double-check the settings mentioned above.

Click โ€œSendโ€ โ€” watch the cutting magic begin!

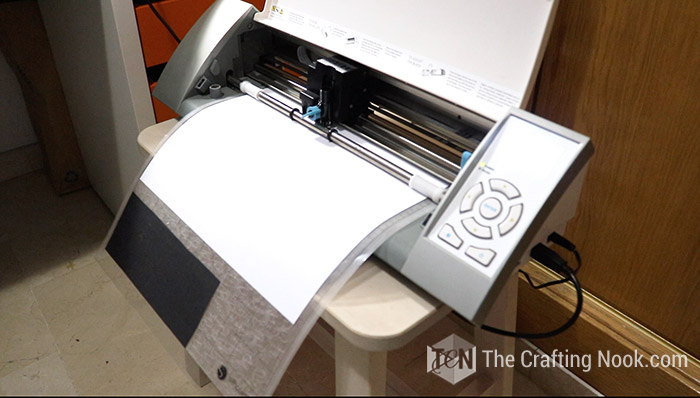
cutting the pattern on paper in the cutting machine

Step 2: Assembling your Christmas Village houses

When you remove the paper you will reveal your designs, itโ€™s so cool. A good cut will just lift right off.
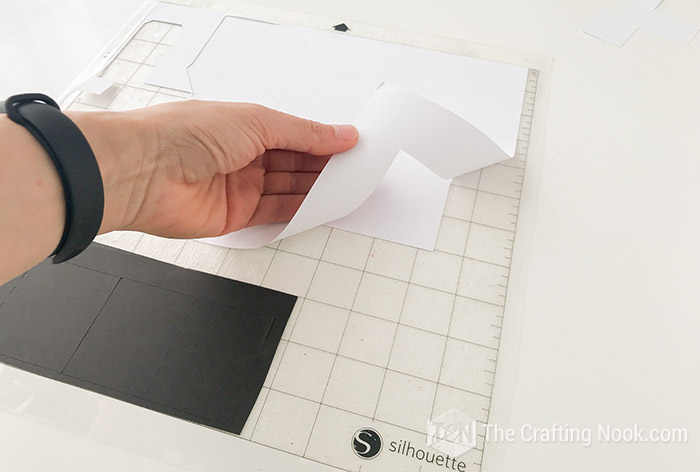
removing the excess paper from the matt

Then carefully lift your designs off of your cutting mat.
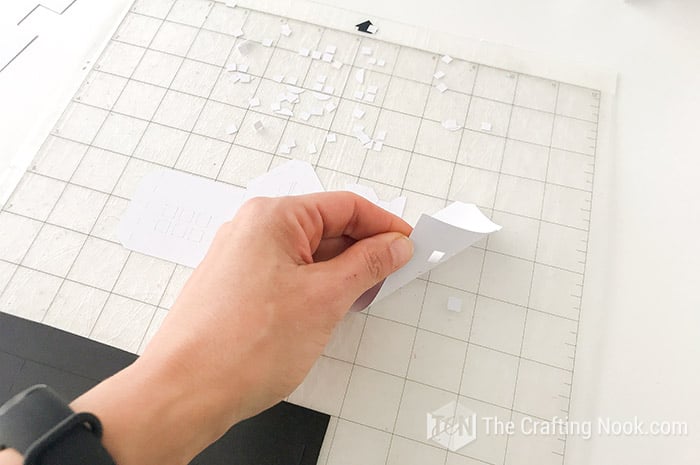
removing the piece of paper from the matt

Remove the excess paper around your designs and windows because sometimes it happens when the cuts are small. 

observing the already cut shape

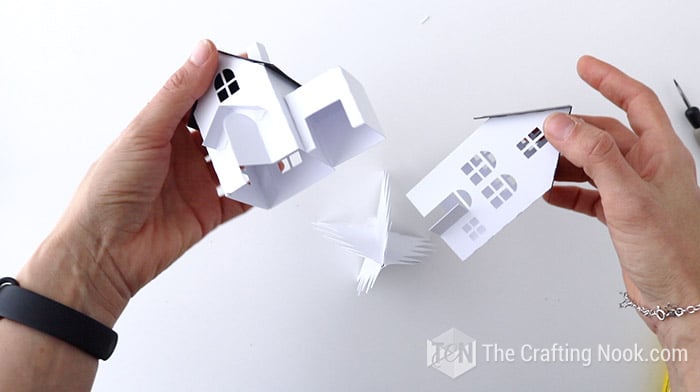
Then start folding along the dashed lines and youโ€™ll see exactly how the house should come together.

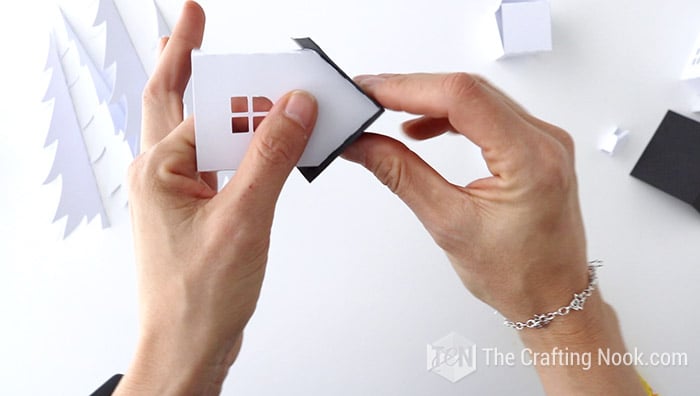
folding and assembling the houses

Start gluing your flaps and securing tricky spots.

adding glue to flaps

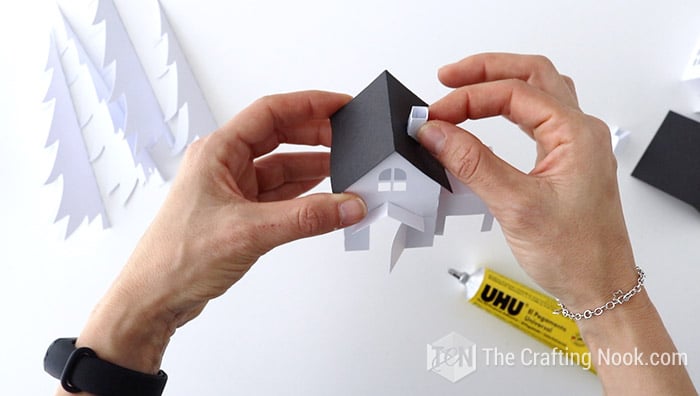
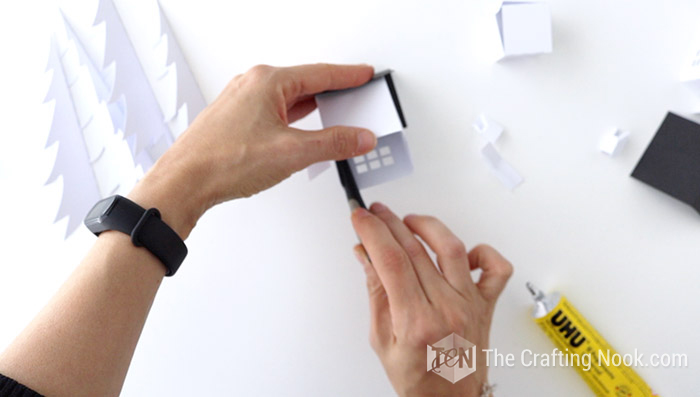
Roof and chimney are one of those. I like to turn the house over and using a pen or the back of your hook tool to secure the flaps from the inside.

using a pen to reinforce the glue

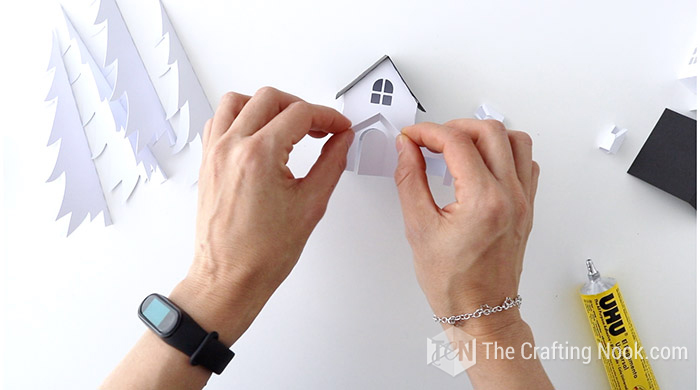
Carefully fold and glue each part of the house like garages on the side of the house and other parts.

gluing the front door ceiling
gluing the chimney

If you want to go the extra mile you can cut pieces of vellum paper or tissue paper and cover the windows on the inside of the houses. I thought about that too late.

Step 3: Assembling your Village Trees

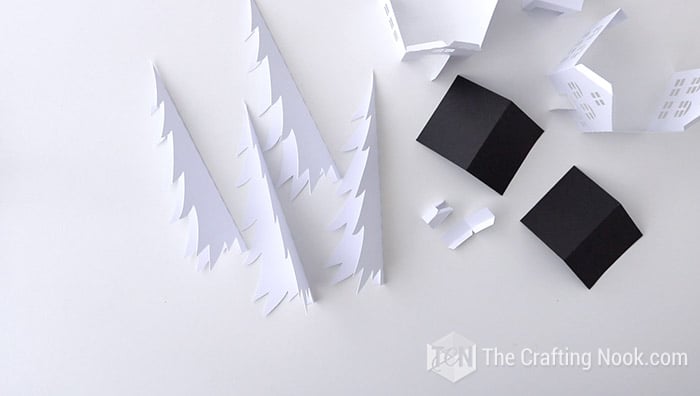
pieces of trees and houses

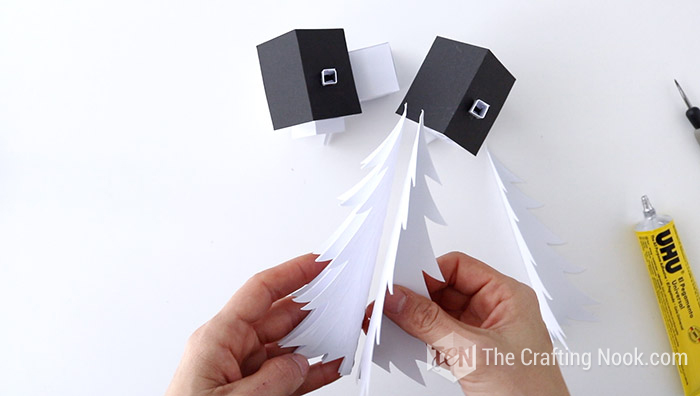
For the trees, fold them in half and glue side by side of the tree until they meet the first one again. You can glue 3 or 4 pieces. 

gluing the trees

Step 4: Putting the Christmas Village together

The last part and in my opinion the most exciting one is putting the Christmas Village together.

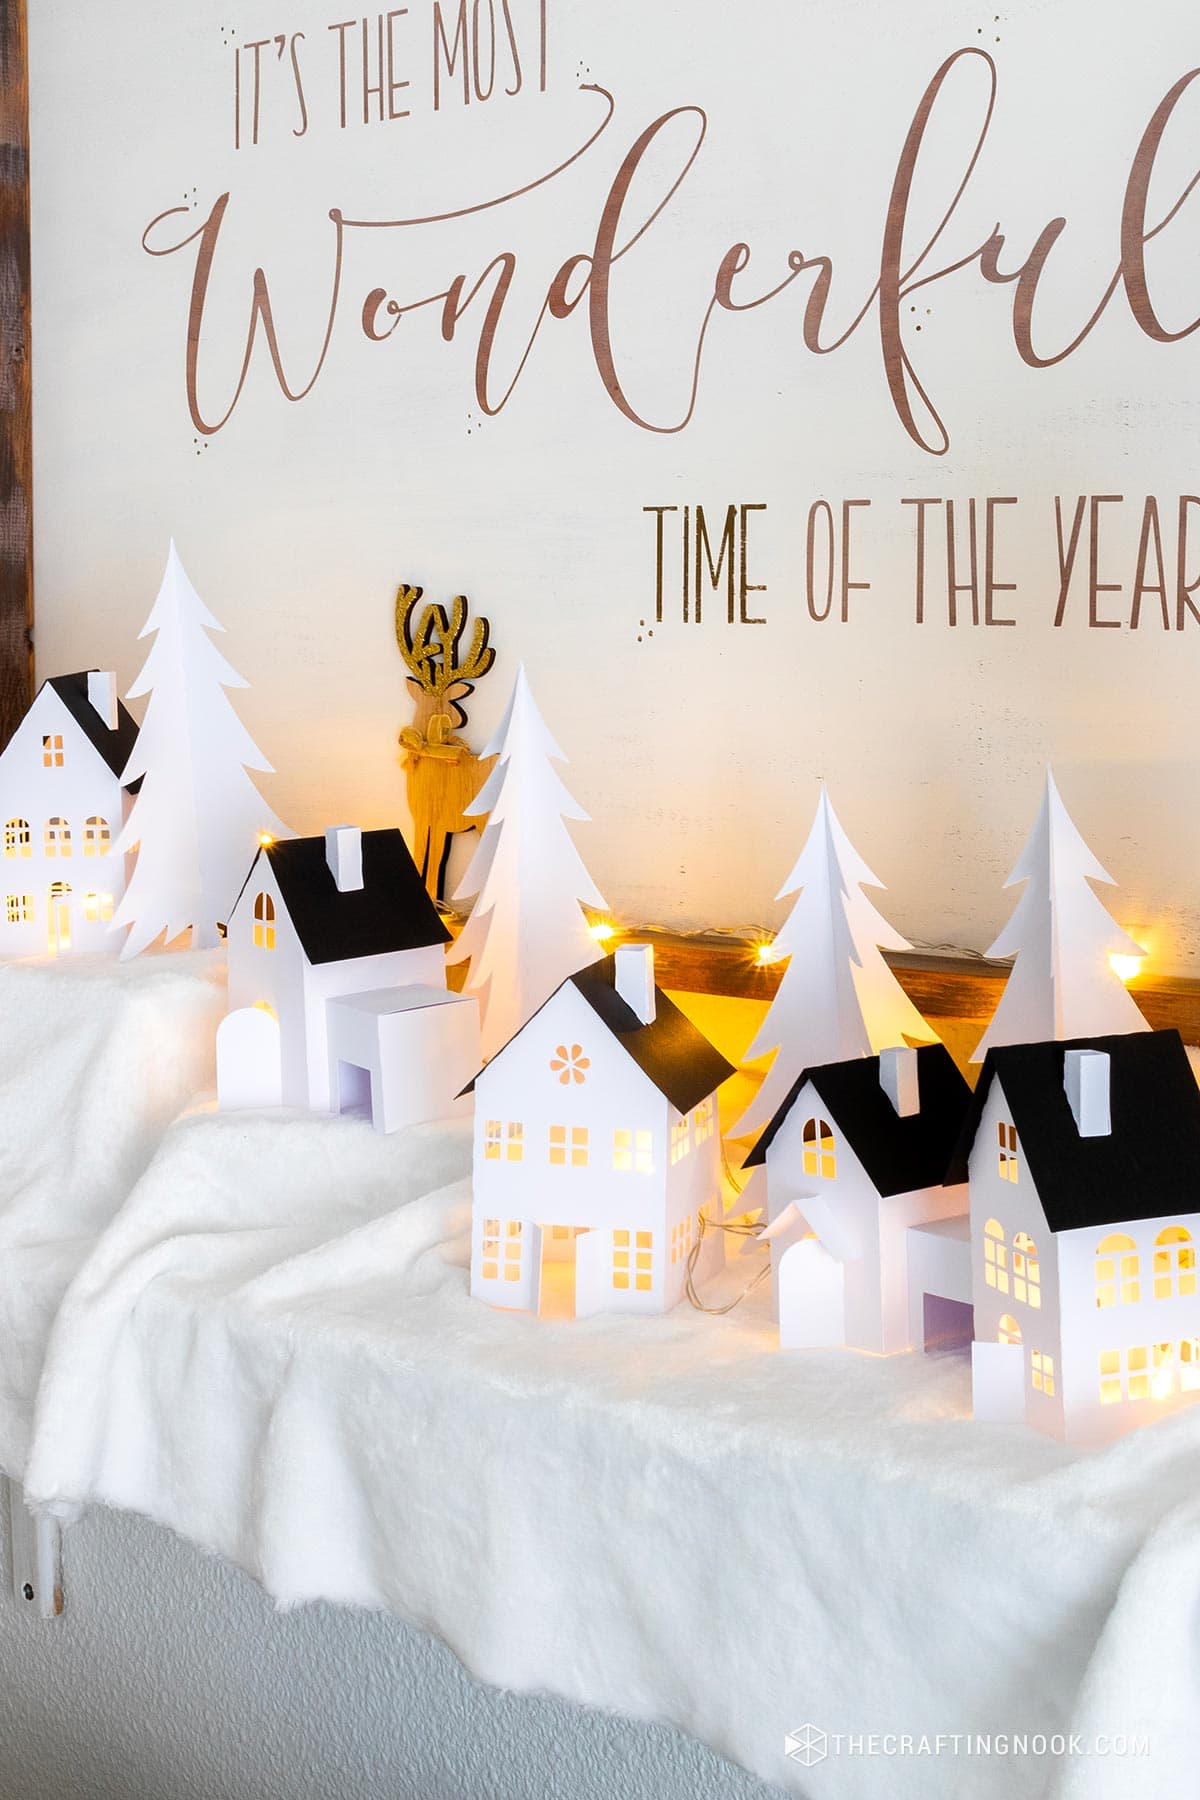
showing the houses and trees already assembled

I decided to make my Christmas village in my special place… My mantel!

I used fleece as my “snow” and created hills with card boxes underneath them. 

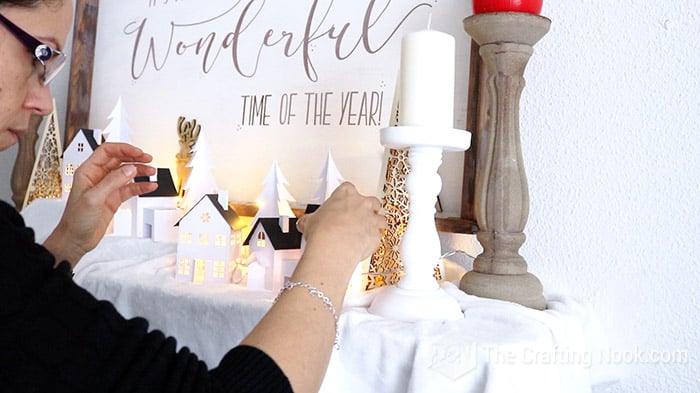
Then place houses and trees along the space to create a cute vignette on my mantel.

placing the pieces on the mantel

I wanted to lighten up the houses but didnโ€™t want to use battery candles because I thought it would be so annoying to turn each one on and off so I went for a light string. It even gives a vibe of fairy lights, so magical!

placing lights inside the houses

I place it along the mantel inserting some of the led bulbs through the back windows. Here if you had added the vellum or tissue paper, you can just cut them a bit exactly where you need the light to go through.

When I turned it on WOW! How magical and beautiful it looked.

Some of the lights went through the trees and to the back so there was a magical light everywhere! 

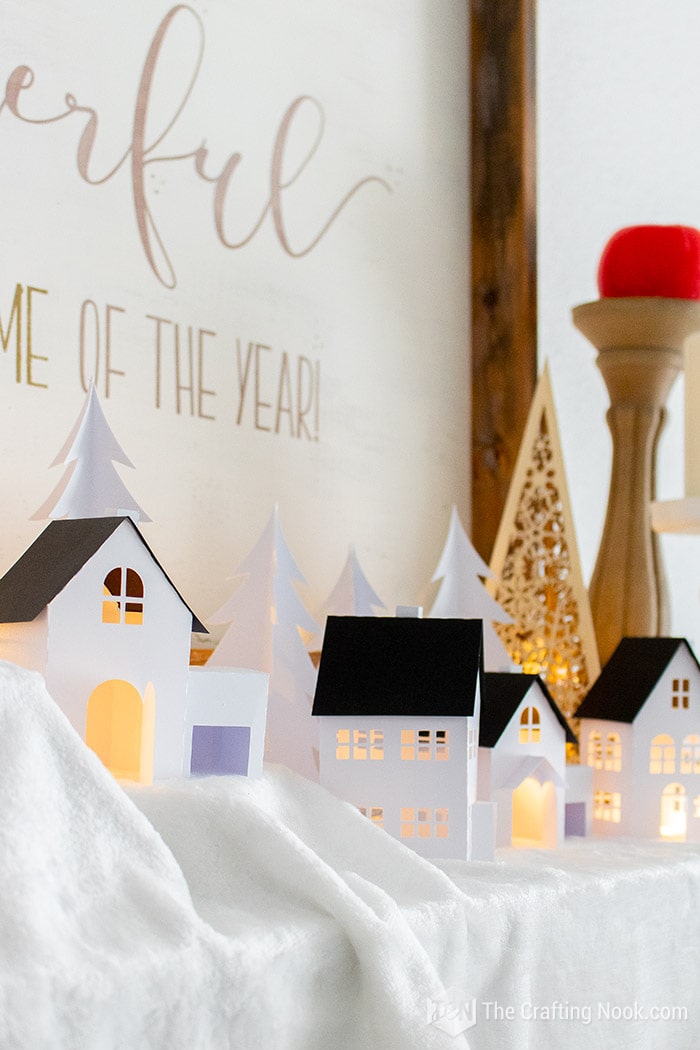
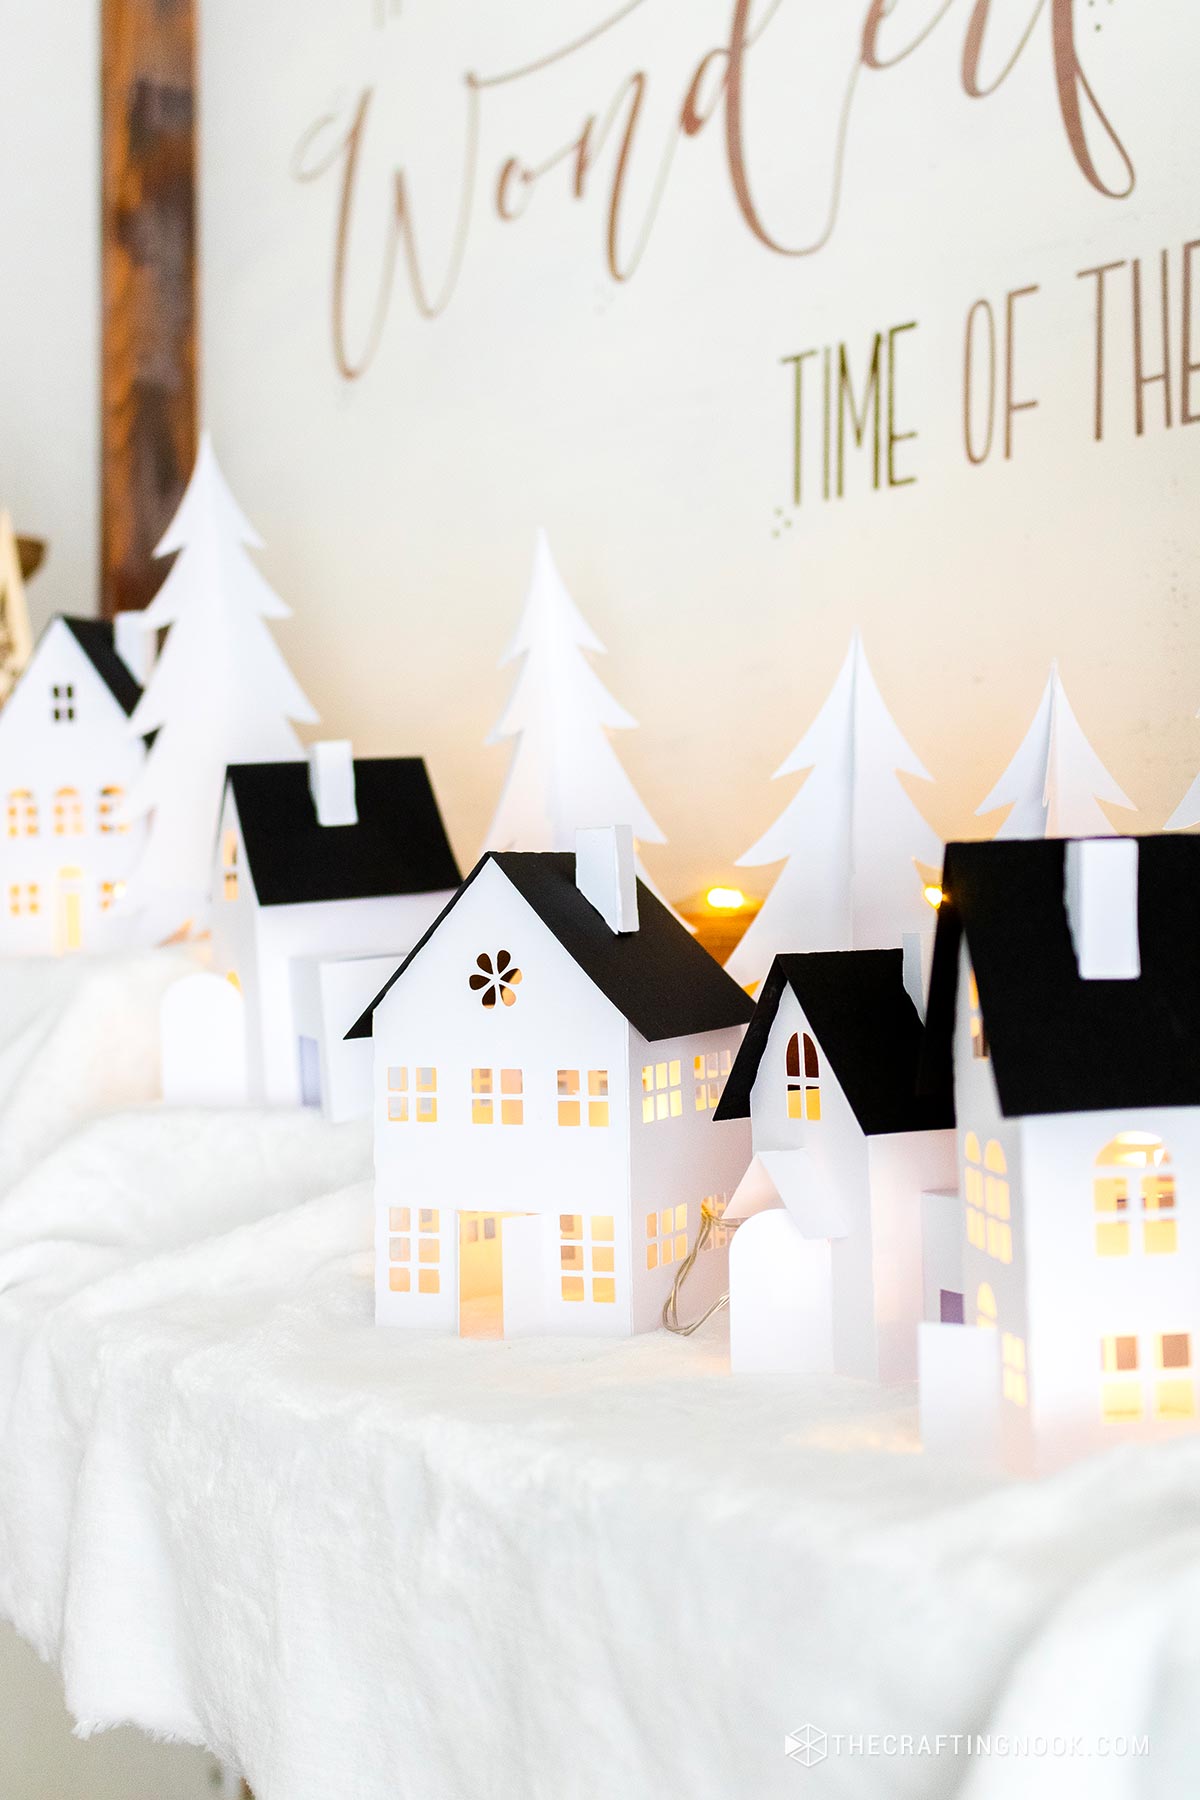
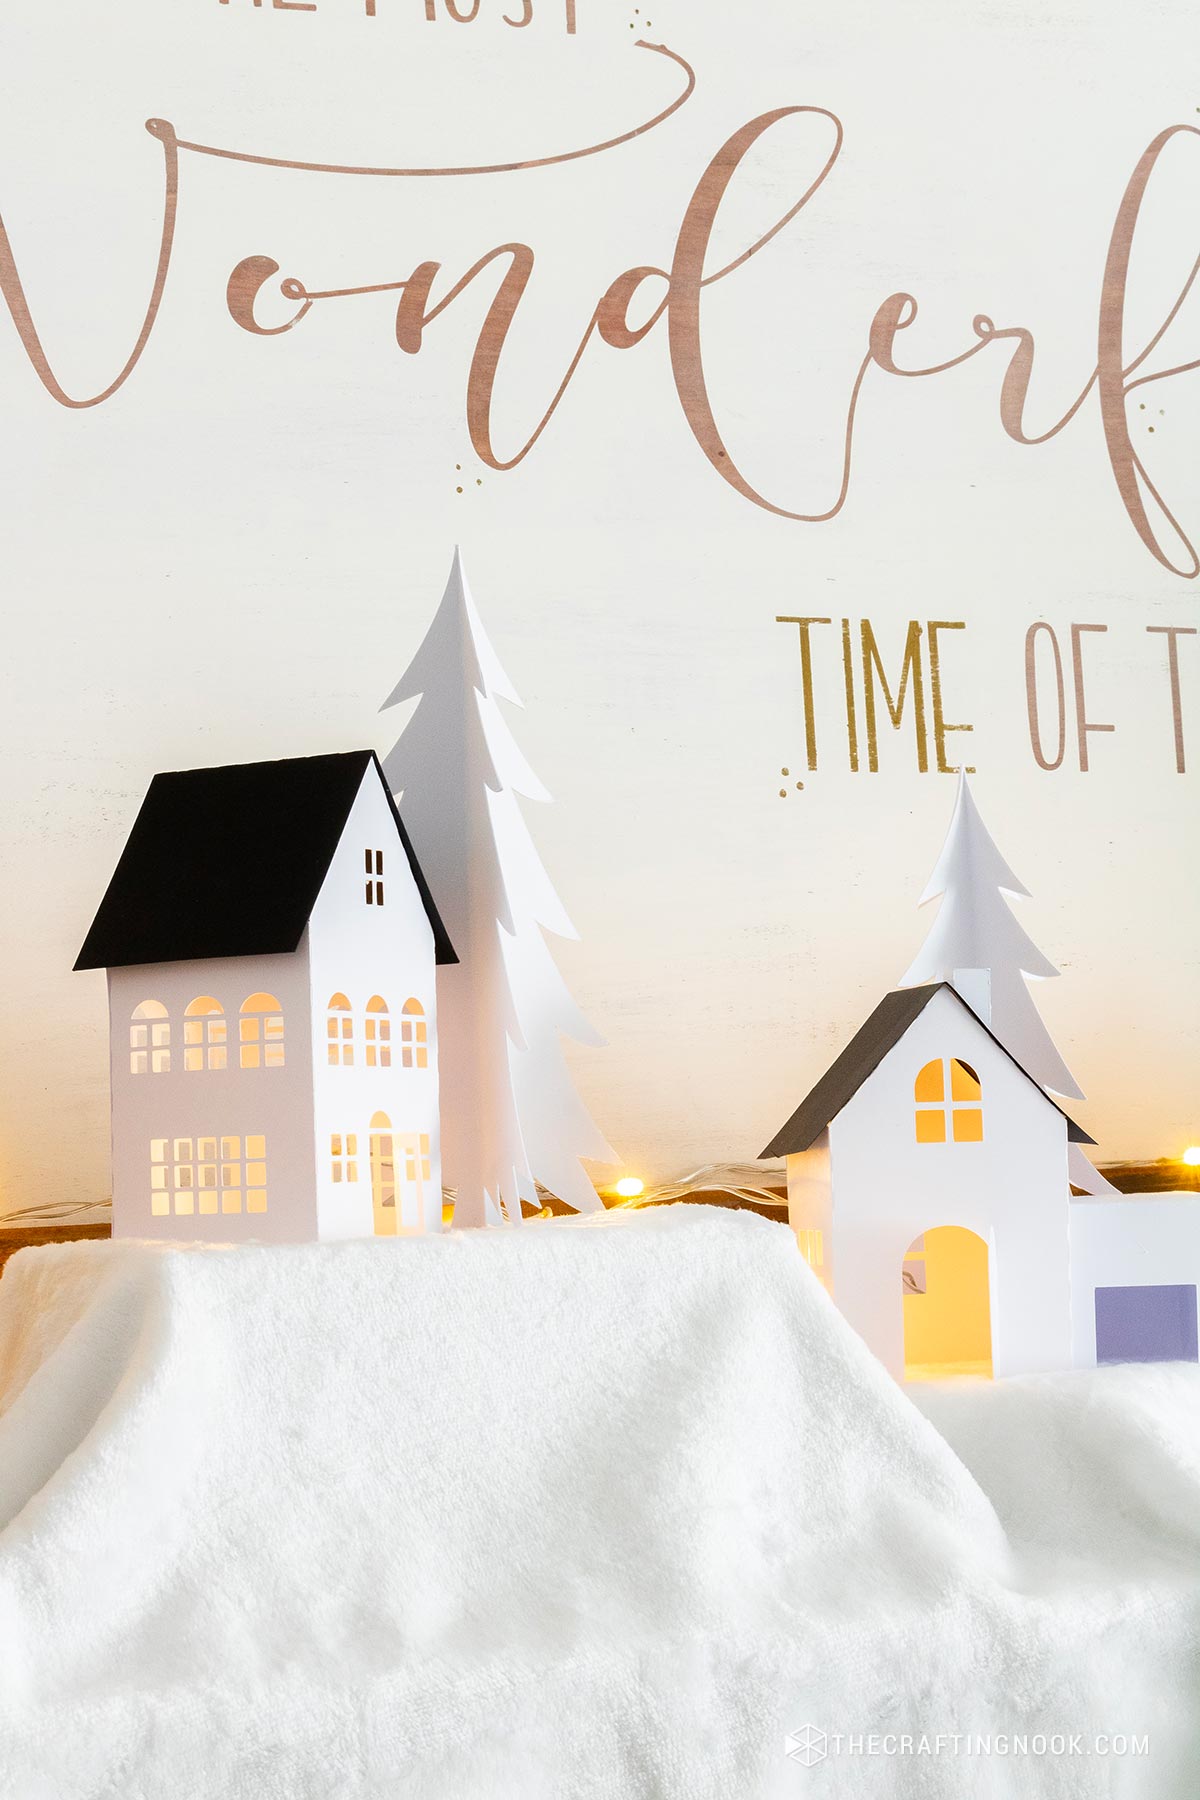
general view of the Christmas Village from the rigth

I absolutely LOVE how it turned out. 

closeup view of the Christmas Village from the rigth
general view of the Christmas Village from the left
closer view of the Christmas Village from the rigth
closeup view of the Christmas Village from the rigth

I hope I inspire you to make yours.

You can also find so many different gorgeous houses at the Silhouette store if you have a Silhouette and there are also many websites where you can find another type of house for DIY Christmas Village.

Frequently asked questions

Can I Use Something Different Than Cardstock?

Anything less than 160-180 gsm (59-65 LB Cover) might not hold too well depending on the size of the house. It also depends on how thick your cutting machine can cut, or your printer can print and your hands can cut. So I would suggest sticking to medium-weight cardstock.

What types of glue can I use?

That will also depend on the quality of the cardstock. I’ve experienced that normal white glue tends to wrinkle the cardstock. So, I recommend hot glue, UHU glue (contact glue), cold silicone (some brands are better than others), and even double-sided tape. Other glues like tacky glue I have no experience so I would recommend trying and testing. Feel free to share your experience with different glues so I can update this post.

How do I cut Christmas Village houses?

You can cut the houses and even the trees with a cutting machine, like Silhouette Cameo or Cricut. But you can also cut them by hand using scissors or an X-acto knife with patience.

More Christmas Projects to Try

If you love this Paper Christmas Village tutorial, Iโ€™m sure you will love these other Christmas Project ideas too:

โœ‚๏ธ Tutorial

DIY Easy Paper Christmas Village

Diy Paper Christmas Village Tutorial

Camila Rojas
Itโ€™s amazing what can be done with just paper and glue. This cute paper Christmas village is a perfect holiday season night craft and a special Christmas decor for sure.
5 from 5 votes
Prep Time 10 minutes
Crafting Time 1 hour
Total Time 1 hour 10 minutes
Category Christmas Crafts
Topic christmas project, Easy Crafts, Paper Craft
Pieces 8 pieces

Tools

  • Cutting Machine (Cricut or Silhouette) Printer and an X-acto
  • scissors

Supplies
  

  • Cardstock White for the house and black for the roofs or your favorites, glitter paper looks so cute!
  • Contact glue I Love UHU or light temperature glue tool and glue stick.
  • Light string.
  • Fleece to simulate the snow
  • Any other decoration you might have and want to add.

Instructions
 

STEP 1: GETTING YOUR PAPER HOUSES CUT:

  • Snag your cut files to your computer and then open them in your electronic cutting machine app. In my case, I used the Silhouette Cameo app studio.
  • The files include a pdf version, silhouette files, and SVG files for your convenience.
  • When you are ready, get your cutting settings ready to go (blade, cardstock type, etc).
  • On the cutting mat (sticky side up) place your cardstock (or is it card stock???) on the sticky side of the cut mat. I wanted to make the roofs black so I separated the white cardstock at the top and the back at the bottom.
  • Load cutting mat on your machine once your design is locked and ready.
  • Double-check the settings mentioned above.
  • Click โ€œSendโ€ โ€” watch the cutting magic begin!

STEP 2: ASSEMBLING YOUR CHRISTMAS VILLAGE HOUSES

  • When you remove the paper you will reveal your designs, itโ€™s so cool. A good cut will just lift right off.
  • Then carefully lift your designs off of your cutting mat.
  • Remove the excess paper around your designs and windows because sometimes it happens when the cuts are small.
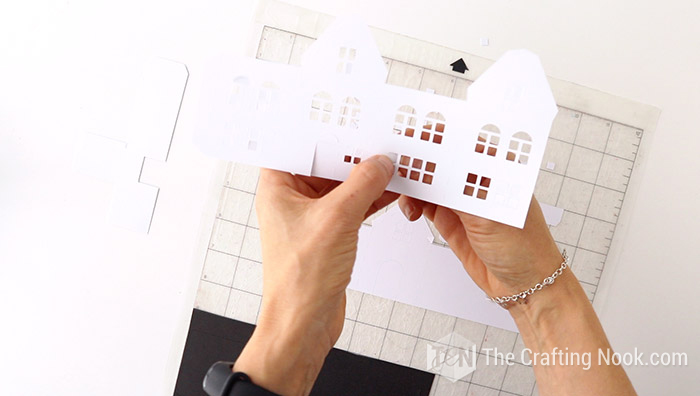
  • Then start folding along the dashed lines and youโ€™ll see exactly how the house should come together.
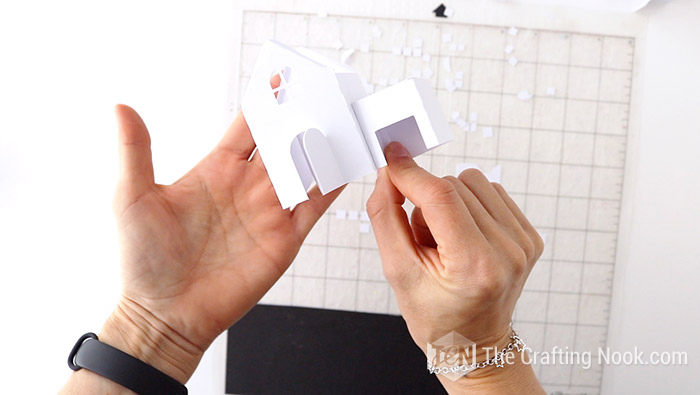
  • Start gluing your flaps and securing tricky spots.
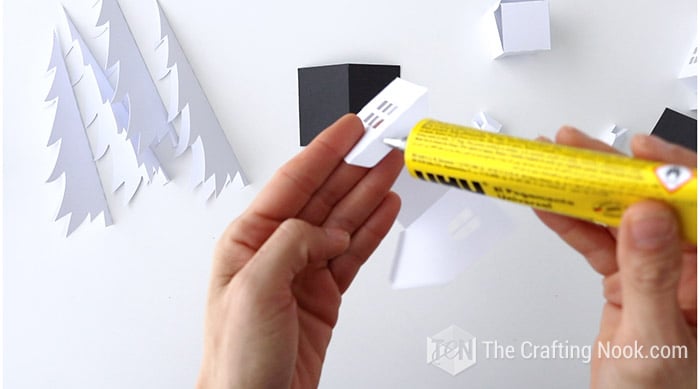
  • Roof and chimney are one of those. I like to turn the house over and using a pen or the back of your hook tool to secure the flaps from the inside.
  • Carefully fold and glue each part of the house like garages on the side of the house and other parts.
  • If you want to go the extra mile you can cut pieces of vellum paper or tissue paper and cover the windows on the inside of the houses. I thought about that too late.

STEP 3: ASSEMBLING YOUR VILLAGE TREES

  • For the trees, fold them in half and glue side by side of the tree until they meet the first one again.
  • You can glue 3 or 4 pieces.
  • Let them dry.

STEP 4: PUTTING THE CHRISTMAS VILLAGE TOGETHER

  • The last part and in my opinion the most exciting one is putting the Christmas Village together.
  • I decided to make my Christmas village in my special placeโ€ฆ My mantel!
  • I used fleece as my โ€œsnowโ€ and created hills with card boxes underneath them.
  • Then place houses and trees along the space to create a cute vignette on my mantel.
  • I wanted to lighten up the houses but didnโ€™t want to use battery candles because I thought it would be so annoying to turn each one on and off so I went for a light string. It even gives a vibe of fairy lights, so magical!
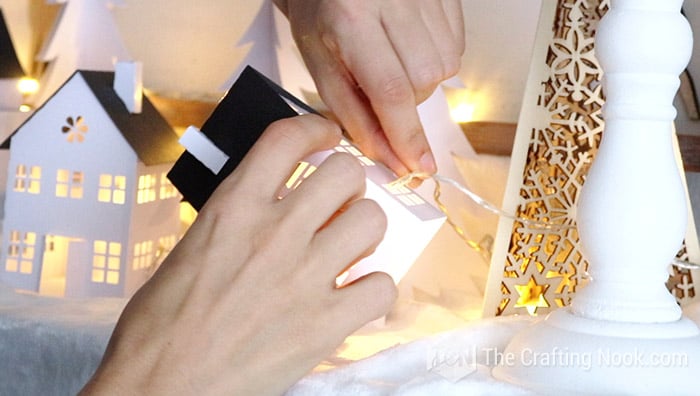
  • I place it along the mantel inserting some of the led bulbs through the back windows. Here if you had added the vellum or tissue paper, you can just cut them a bit exactly where you need the light to go through.

Notes

NOTE:
Just please keep in mind that for Cricut users, Iโ€™ve heard the SVG get a bit messed up in their app. Score lines/fold lines turn into solid lines which are read as cut lines and sometimes the elements donโ€™t show in the right size. So thereโ€™s that.
The files shared include a pdf version, silhouette files, and SVG files for your convenience.
Keyword diy paper Christmas village, paper christmas village, paper craft

Here I have some Christmas Inspiration for Paper Crafts from my favorite bloggers:

If you love this project as much as I do, donโ€™t forget to PIN and share it with friends!
DIY Paper Christmas Village (+ Free Cut Files) On my mantel Pinterest image with title text overlay

Til’ next time…

FREE WORKBOOK
Keeping your Sweet Home Organized

Learn how to create intentional habits and simple routines to Keep Your Home Organized. Plus freebies, printables, exclusive content, and tips.

Disclaimer: By clicking on the “Yes” button above you are giving me your consent to collect and use your information according to the law and My Policy Privacy. Zero Spam I promise!

Leave a Reply

Your email address will not be published. Required fields are marked *

Recipe Rating


This site uses Akismet to reduce spam. Learn how your comment data is processed.

32 Comments

    1. Hi Tracy,
      Usually the email is sent within a few minutes. I checked and your subscription was successful and that you received it a few hours later. I’m sorry about that. Hope you enjoy the cut file!
      Hugs,

  1. I can’t find the files anywhere. I did sign up a while ago and downloaded them but I’ve misplaced them and now I can’t find them anywhere on your website. I’ve spent days looking, please can you help

    1. Hi there!

      Iโ€™m sorry, but I checked your email and it doesnโ€™t exist in my email list, which means that you didnโ€™t use this email to signup for this freebie. Try again signing up and youโ€™ll get the email with the link for download.

      With this message, I also remind you that the files are completely for personal use, no reproduction or commercial use of any kind is allowed. These files are copyrighted.

      Kind Regards,
      Cami

  2. I tried clicking the download button and signing up for the file, but it said I couldn’t subscribe with my email address.

    1. Hi Marie,
      I’m not sure what could be causing the problem I hadan’t heard of anyone with the same issue. Have you tried with another email address or also maybe have you signed up for this same freebie before?
      Let me know!

  3. 5 stars
    I’ve been wanting to make one of these beautiful paper villages forever, so thank you for the free files! Can’t wait to try it out. I’m thinking I’ll make the houses out of either white paper with silver corrugated roofs or maybe find some galvanized-look paper and make the houses out of that, as I’ve seen so many in the stores (for way too much). I already uploaded the files to Cricut Design Space, and the only thing I had to do was, as another person commented, mark the score lines as Score, then Attach, for anyone else using a Cricut. It’s tedious, but worth it! Happy holidays!

    1. Deb, love all your ideas to make the houses. I would love to see how your final Christmas village turned out! Yes, I’ve heard about the issue for the score lines with Cricut machines but I couldn’t find a solution from my end since I don’t have a Cricut thank you for your tip. I’ll make sure I’ll add that to the blog post! Have a wonderful Holidays!

  4. 5 stars
    Sorry, I canยดt find the Download Link in the Text or at this special Button.
    Did you remove it?
    Best regards Anika

    1. Hi Anika, when you click on the button, it should prompt you with a window to signup for the printable. Once youdo, you will receive an email with the link to download.
      Hope this helps!
      love, cami.

    1. Hi Nancy, The link to download is in the post, you have one as a text link and another as a big teal button that says “Get your Paper Christmas Village Cut Files”. In that download, you will find SVG, PDF, and dxf files.
      Hope this helps!

  5. Hi Camila, I love your Christmas Village and would like to try one for the family this Christmas. However, I do not have a cutting machine so will rely on an X-Acto knife and patience. One big puzzle for me is to map your design to a cardstock. I think, in your words, “Drop your designs and arrange them to fill your paper”. I could picture myself printing it on letter-sized papers using an ink-jet printer, yet still don’t have a way to transfer(map) it to a cardstock. Please adviseโ€ฆ! Thanks in advance for your help. Best Regards, Howard

    1. Hi Howard,
      Glad you like these Christmas Village houses. Most Printers nowadays can print on cardstock so I don’t think you need to map out or transfer. You could cut your cardstock to letter-size or get letter-size cardstock from a craft store. They come in different wights so choose one between 65lb and 80lb so your printer is not overworking. I recommend making sure with your printer’s manual or ask around in forums for your specific printer. Another idea is to have it printed on stores like staples.
      Hope this helps!
      Happy Crafting.

      1. Hi, Camila, Many thanks for getting back to me so quickly and answered my question so thoroughly. I have ordered a pack of 65lb letter-sized paper stocks – with statement that it will work on ink-jet printers. Should be in business once they arrive. Best Regards, Howard.

  6. 5 stars
    Hi I to do not have a cut machine and would like to see a pdf version if possible. Love the cloche would like to make one for our Church. Thank You Bonne :)

    1. Hi Bonnie, thank you so so much for visiting. I just updated the link for download and it will download a pdf too. There are 4 houses to choose from.
      Let me know if it downloads properly.
      hugs

      1. I love your Christmas village however I am having trouble opening it up in Cricut design space any suggestions?

        1. Hi Jamie, THANK YOU so much! I’ve been reading to make sure I don’t say something wrong and you should be good with both DXF and SVG files on Cricut design space. The recommended file is SVG. I would be more than happy to help more but I don’t have Cricut I have Silhouette. However, I’ll reach out to a friend who I think has Cricut and ask her to test files to make sure it’s fine. In the meantime, I suggest reading a few troubleshooting articles to discard other factors. I’ll get back to you if I find out anything.
          Thank you for reaching out! So appreciate it!
          Hugs

          1. The problem is likely that the file is so large. Every letter in the copyright at the bottom is it’s own cut file. When I upload this in design space, I get a message that I cannot ungroup (to delete the copyright text) because there are too many layers. I’m on day two of deleting the text one letter at a time, once i get through that (I obviously only work on it in spurts) I think I will be able to ungroup and work with the files.. but if your computer is low on memory at all, this will likely not load for you. It’s such a great project- I think it’s worth my time to figure it out, but it’s definitely a time commitment to get it into design space, and may actually be much faster to cut by hand.

          2. Hi Heather,

            Thanks for reaching out, Not sure what app or how you are working with the files but in my experience, you can just select all the copyright from the design space of your cutting app and delete before sending to cut. If you are printing, then the copyright does not bother as you don’t need to cut it later. However, if you let me know what cutting machine you are working with and what file you are using I can remove the copyright from there and add it as a separate file. Sorry if that’s messing up things. I add that to protect my work but I don’t want it to get in the way of people using the files either.
            Let me know and I’ll fix it tomorrow and let you know so you can download it again.
            Hugs,

  7. 5 stars
    I appreciate all your time to help me since I am a poor little orphan and don’t have a cutting machine. (yet!) ;-) All the best to you and yours. Back to ya with a Blessed Thanksgiving!

    1. I’m working in Design Space – the windows version of the software used with Cricut. Unfortunately, it’s the only option to operate the Cricut Machine, we can’t cut from any other program. But I didn’t even think about opening the svg in something like inkscape and deleting the copyright there first… that would be a lot faster! With Design Space, when you upload these svgs, you cannot ungroup to delete the text. Normally you can, but for these, there’s a yellow warning that there are too many layers to ungroup. So in the layers panel, you have to select each letter of the copyright notice one at a time and delete them. Once all of those letters are deleted, then the number of layers is reduced enough that you can ungroup, and then it is possible to attach the score lines. In Design Space, the score lines appear as cut lines, so first they all have to be changed to score, then you select all of the score lines and the object you want them on, and attach. Repeat for each item. If you aren’t familiar with the limitations of Design Space, this must seem bizarre… but it’s fairly normal to any of us who are used to using paper cutting svgs in Design Space. The brand new file from Special Hearts Studio – the lighted Nativity – is the first file I have ever seen upload with the score lines as score lines, already attached to the items. I’m guessing she found something new, as I was told before that this wasn’t possible.

      1. Oh my goodness! I had no idea how the Cricut app works, that’s a massive amount of work. That’s really good to know because I will do my best to improve those files. I might not be able to fix the score lines thing but at least I will not add any additional text so it’s easier to use. Thank you for taking the time to explain. I will remove the copyright from the SVG and just leave it as a separate file.
        Thanks again!
        hugs

      2. Hey Heather, not sure if it’s still in time to help but I already updated the files, PDF and SVGs don’t have copyright anymore. All the copyright and legal info are in a separate file.
        Again thank you for letting me know this so I could fix it and also thank you for trying to make my Christmas Village. It means more than I can say!
        Sending hugs and hope you had a wonderful Thanksgiving!
        Hugs

  8. Cami,
    Is there a way to make this beautiful village without the cutting machine? I would love to do this for my mantle too.
    Thank you,
    Sharon

    1. Hi Sharon! It’s always making them by hand an option. As far as I know, both SVG and DXF files can be printed BUT if you can’t please let me know and I’ll send you the PDFs and also will update the download files to add the PDFs.
      Once Printed, the only option is cutting with an X-Acto knife (or cutter) and cut each piece with a lot of patience. I’ve done things like that in the past when I didn’t have a cutting machine and even though it takes some time it’s also relaxing. It will depend on your patience more than anything else because these are straight lines mostly so it’s not hard. Once cut the process is the same as explained here.
      Hope this helps!
      Hugs and let me know how it goes!
      Cami

      1. OK, downloaded the SGV files but I am afraid I will not be able to find the files later. I am more familiar with the PDF files. I am not very techy. At 74 I do pretty good looking things up and trying new things. I can’t thank you enough for helping me.
        Have a Blessed Thanksgiving,
        Sharon