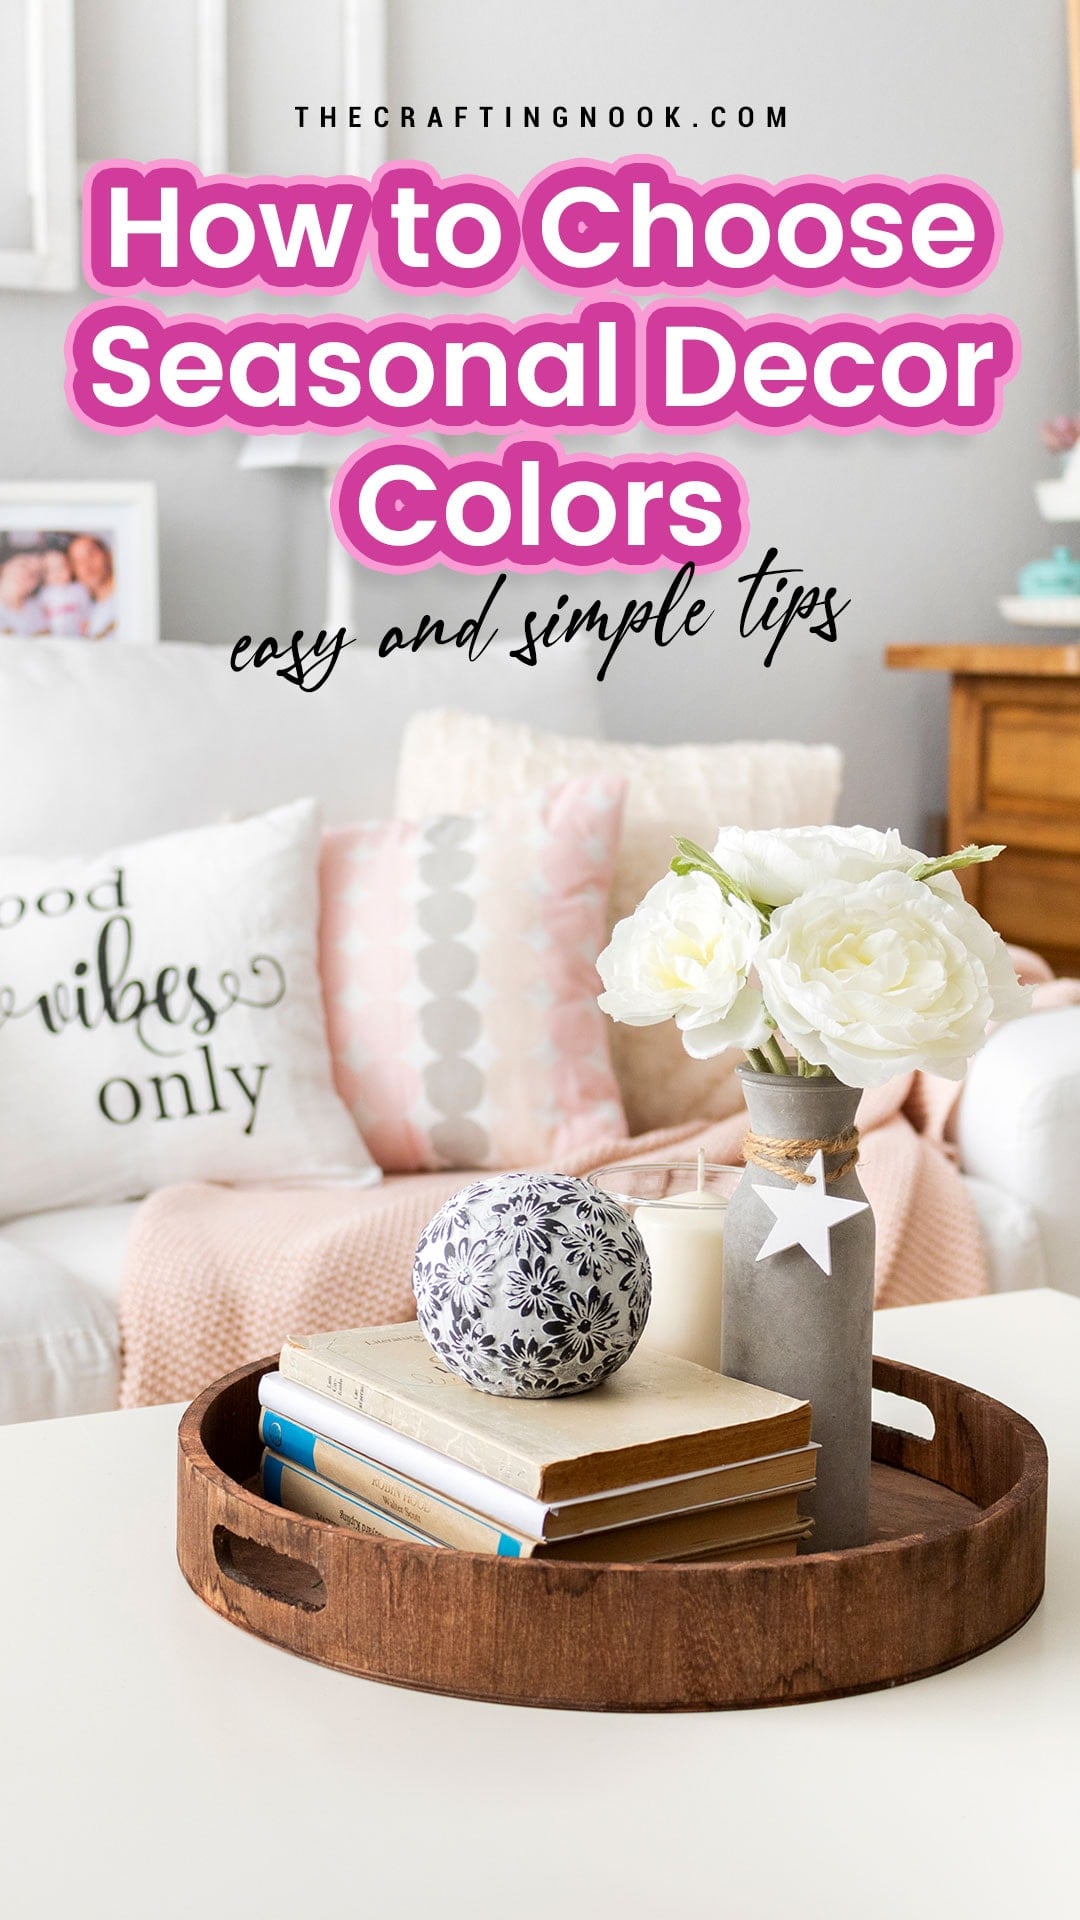
How to Choose Colors for Seasonal Decor (Without Buying All New Decor)
This post may contain affiliate links. Please read our Disclosure Policy.
Choosing colors for seasonal decor does not need to feel overwhelming. I know how easy it is to scroll online and feel like you need a completely new color palette every few months. Perfect pumpkins. Perfect pastels. Perfect Christmas red.
But most of the time, the best seasonal color choices are already sitting in your home.
If you’ve ever wondered how to choose seasonal decor colors that feel calm, cohesive, and not forced, this will help.
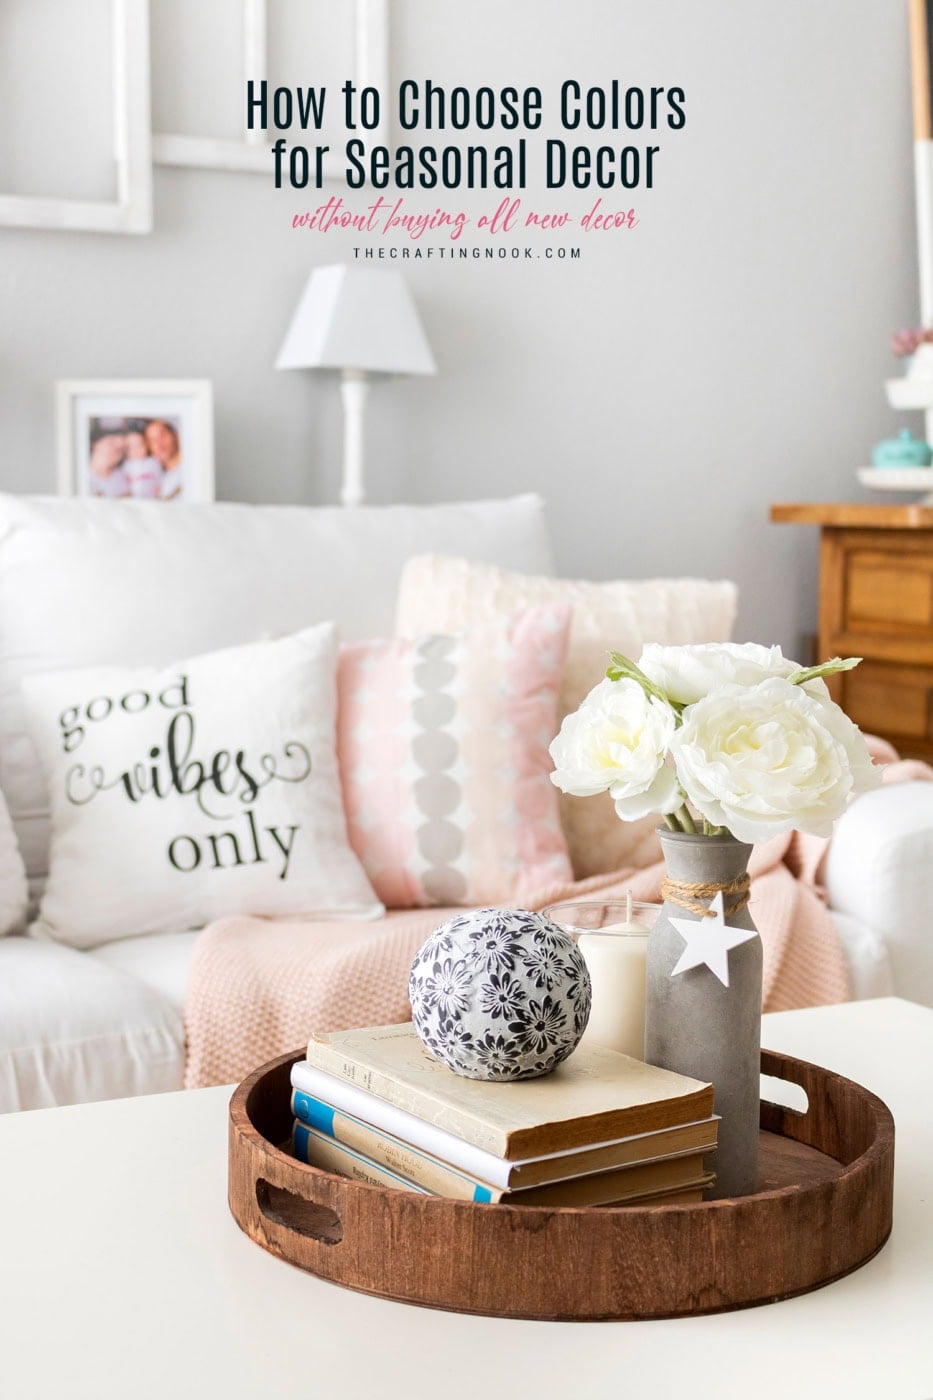
Table of Contents
Choosing Seasonal Decor Colors Without Overthinking It
Before you pick a single seasonal item, start with what you already have.
1. Start With Your Home’s Base Colors
Before thinking about seasonal color palettes, really look at the colors that live in your home year-round.
- Walls
- Floors
- Large furniture
- Curtains
- Cabinets
These are your foundation. They do not change every season. Your seasonal decor should support them, not compete with them.
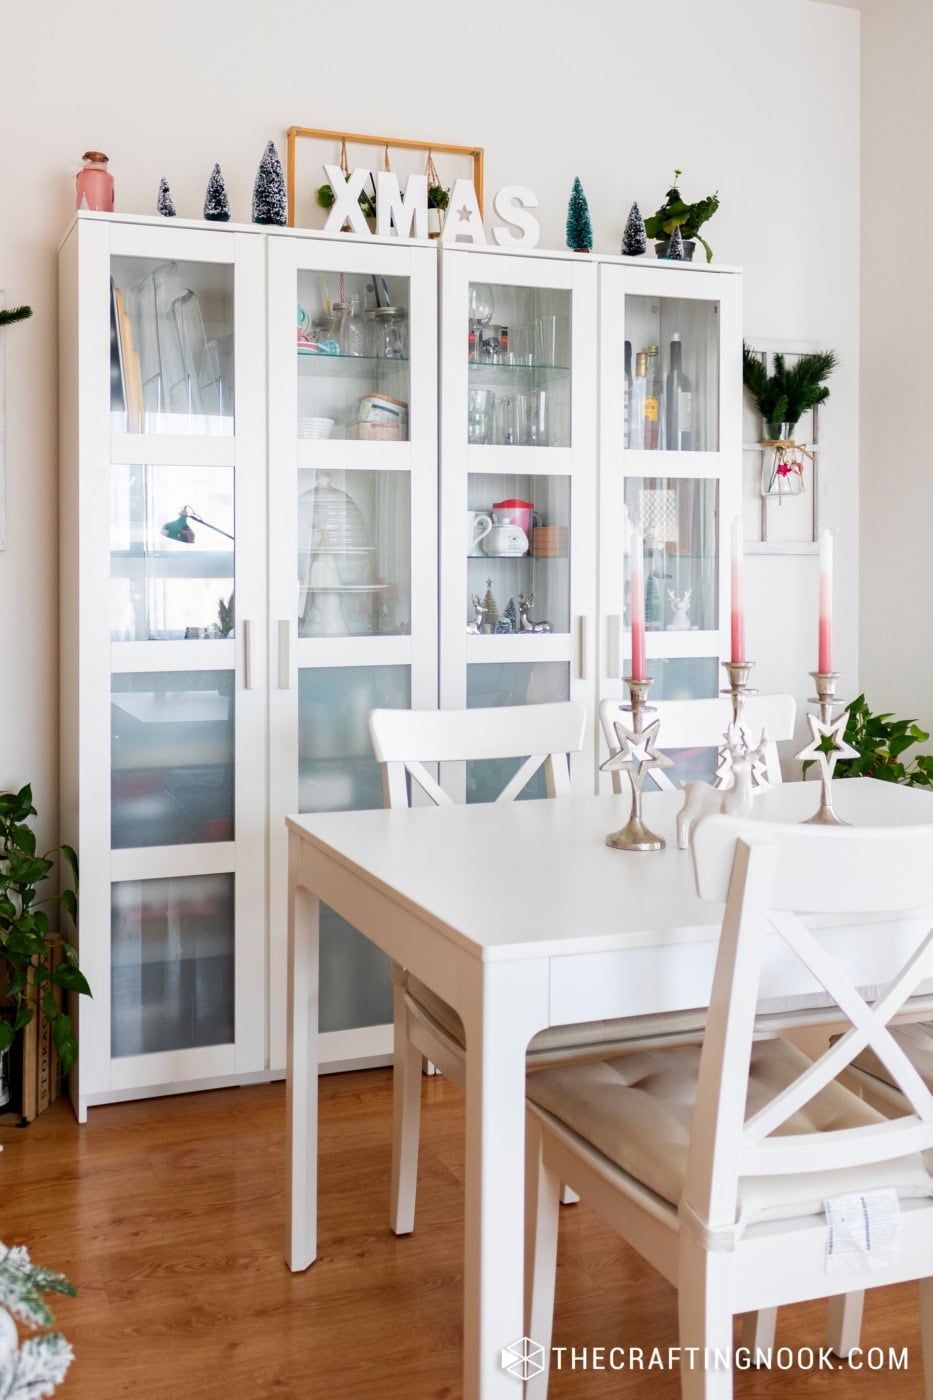
Let me give you a real example from my apartment.
I have warm-toned laminate flooring that looks like pine. It gives the whole space a soft golden warmth. Most of my furniture is white. A few pieces are white with walnut tops (and more walnut is slowly coming in). My walls are off-white. My curtains are light, sheer linen that let in a lot of natural light but still give privacy.

So my base is warm and neutral.
That means if I suddenly bring in very cool gray tones or icy blue for winter, it doesn’t feel quite right. But pine green, rust, blush, muted blue, or soft red? Those work beautifully because they respect the warmth of the floor and wood tones.
Your home already tells you what works.
Ask yourself:
- Are my main tones warm or cool?
- Do I lean neutral or colorful?
- Which colors show up the most?
Once you understand this, choosing seasonal colors becomes much easier.
2. Choose One Main Seasonal Color
Instead of trying to use every color associated with a season, choose one main color.
Just one.
This becomes your anchor.
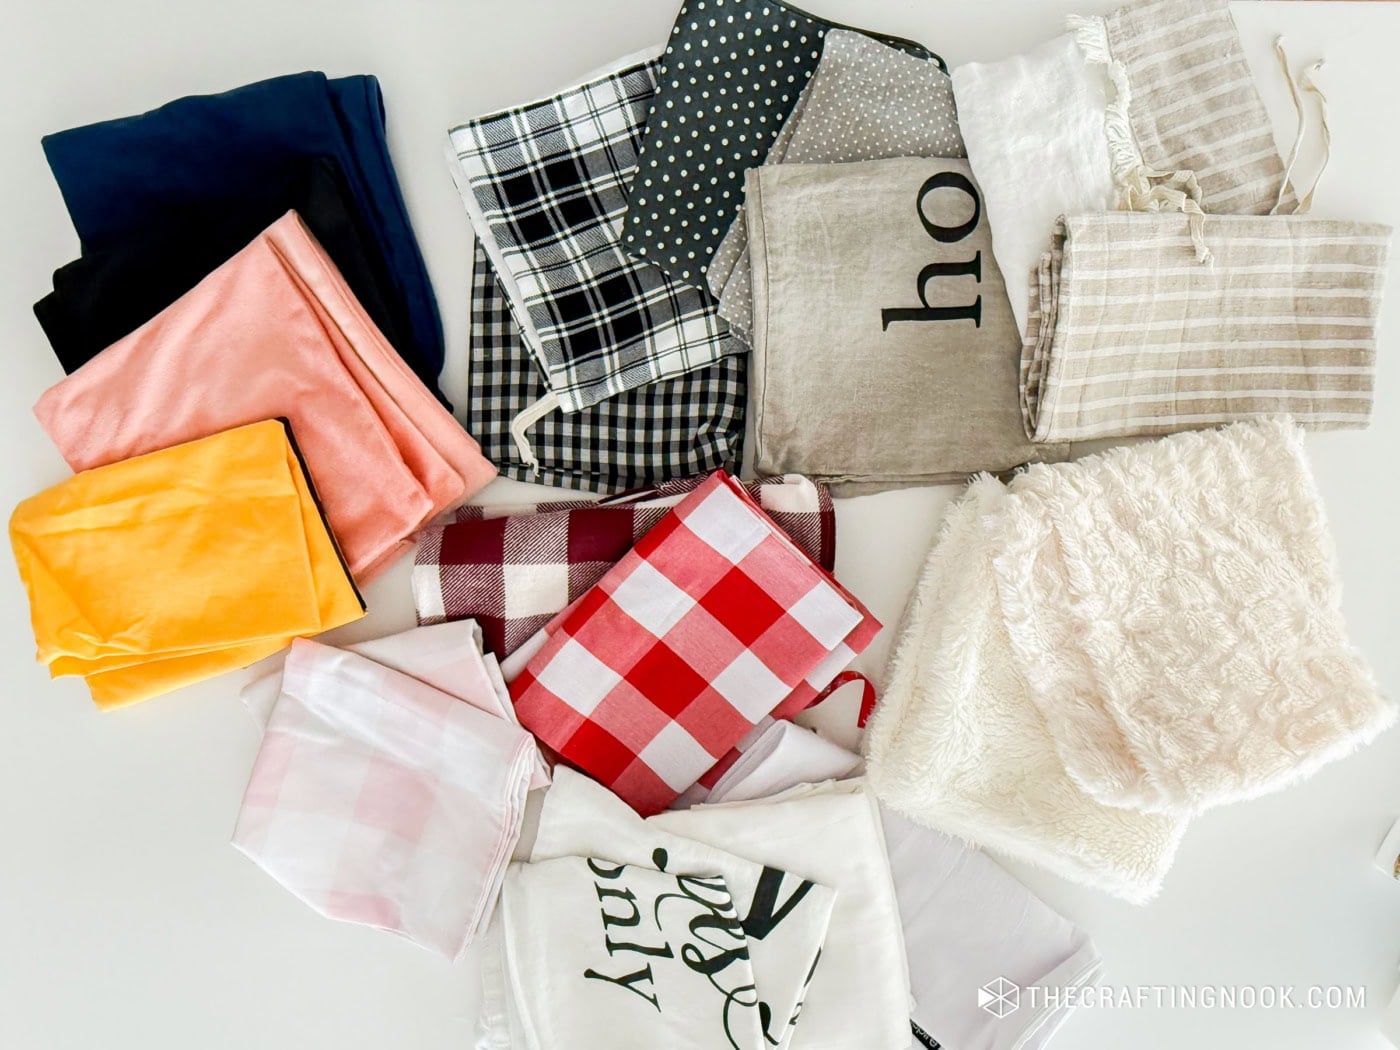
Because most of my furniture is white, I can swap pillows easily. And trust me, I have a lot of pillows. Probably more than necessary.
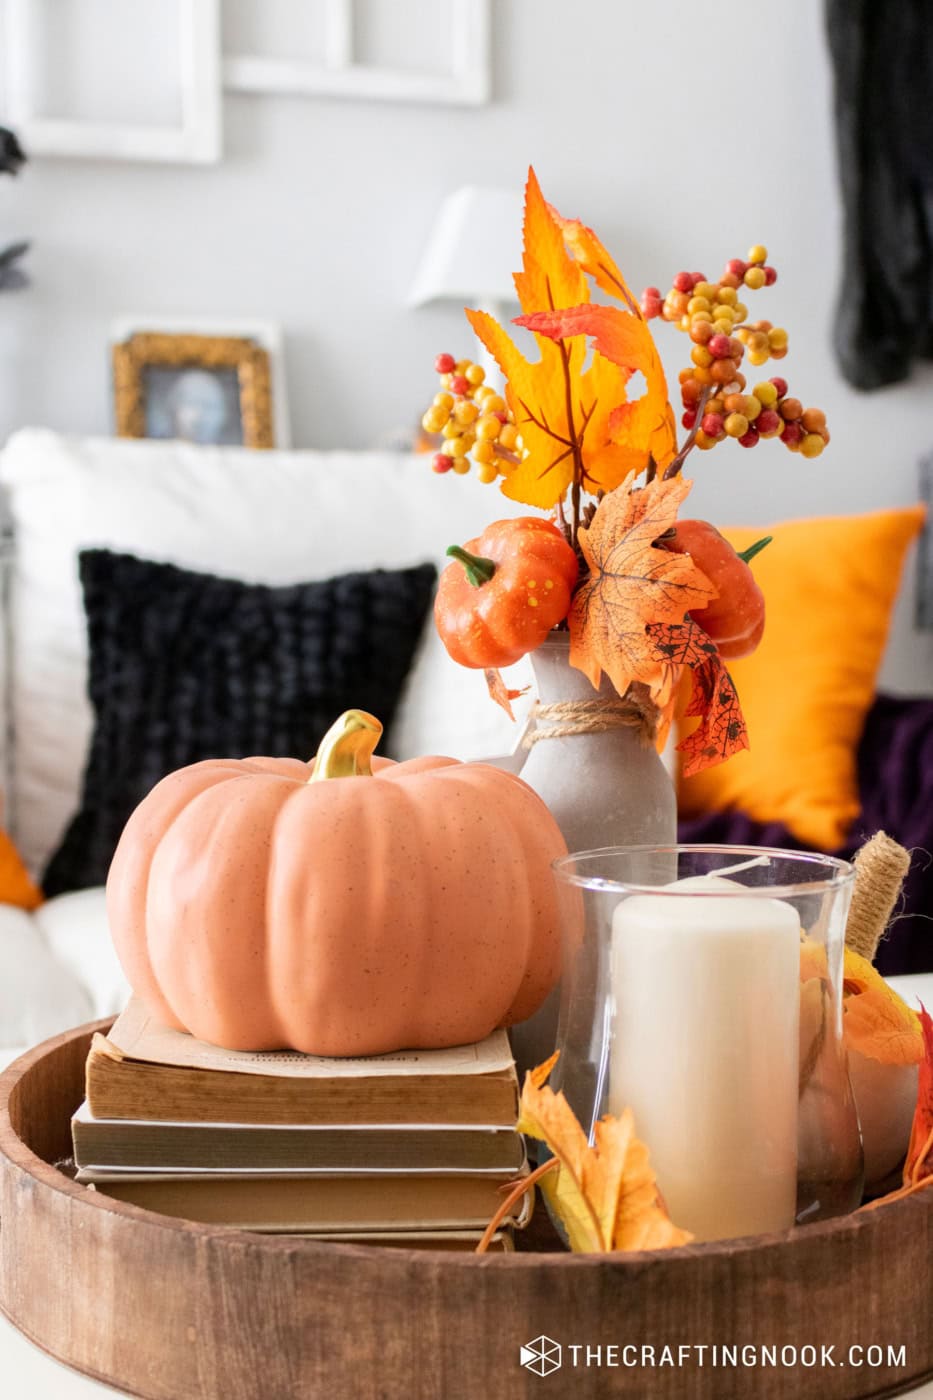
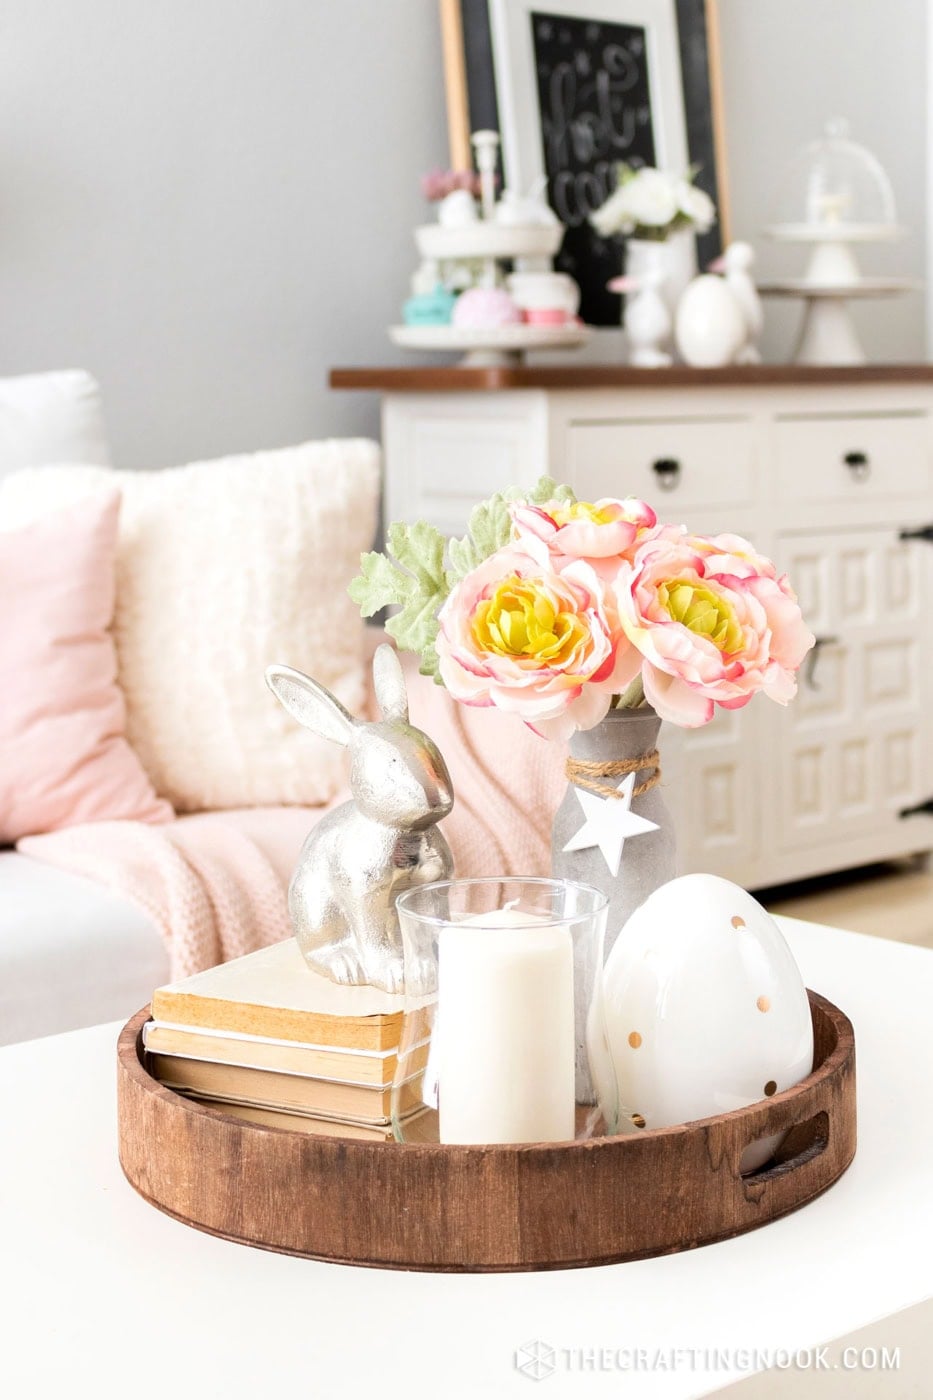
- For fall, I might choose rust and repeat it in two or three pillow covers and maybe a small centerpiece.
- In winter, I lean toward pine green or deep red.
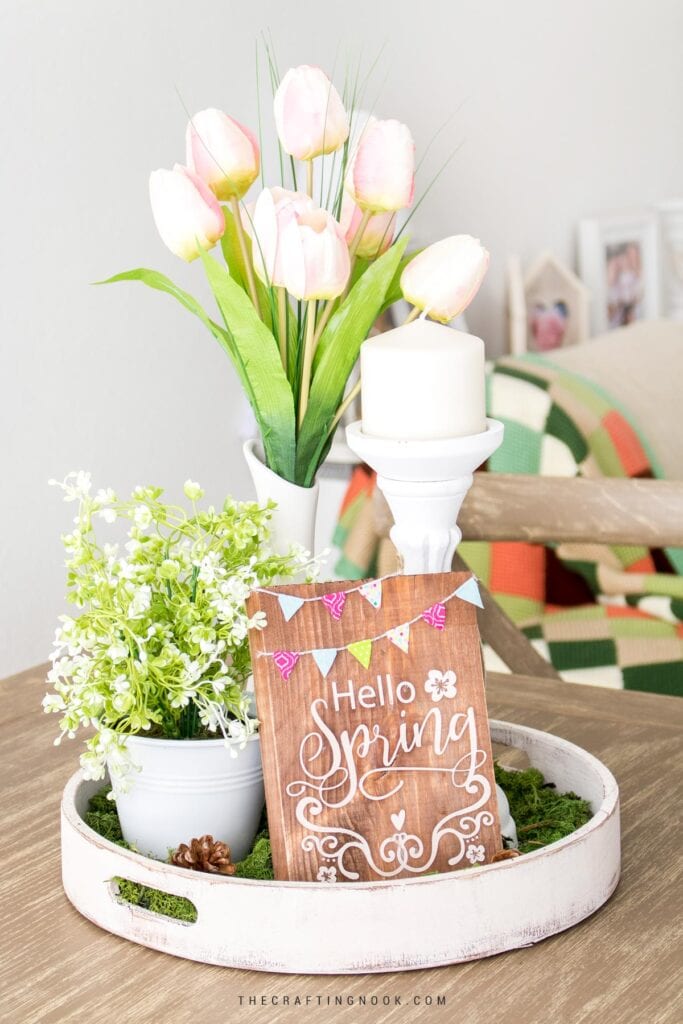
- In spring, sage or blush feels soft against my off-white walls and warm flooring.
- In summer, I sometimes don’t change much at all and let white and light blue do the work.
You do not need a lot of color for it to make an impact.
3. Add One or Two Supporting Colors
After choosing your main seasonal color, support it with what you already have.
A neutral like white, cream, linen, or wood keeps things grounded.
A small accent color adds interest without overwhelming the space.
A simple formula that works in almost any home:
- One main seasonal color
- One neutral
- One small accent
Especially in smaller apartments like mine, limiting your palette keeps the space feeling open and calm instead of busy.
4. Use Texture If You Prefer Neutral Decor
If bold seasonal colors are not your thing, texture can do most of the work.
My home is mostly neutral, so sometimes I don’t change colors much at all. Instead, I switch textures.
In spring and summer, I keep lighter fabrics that echo my sheer curtains and let everything feel airy.
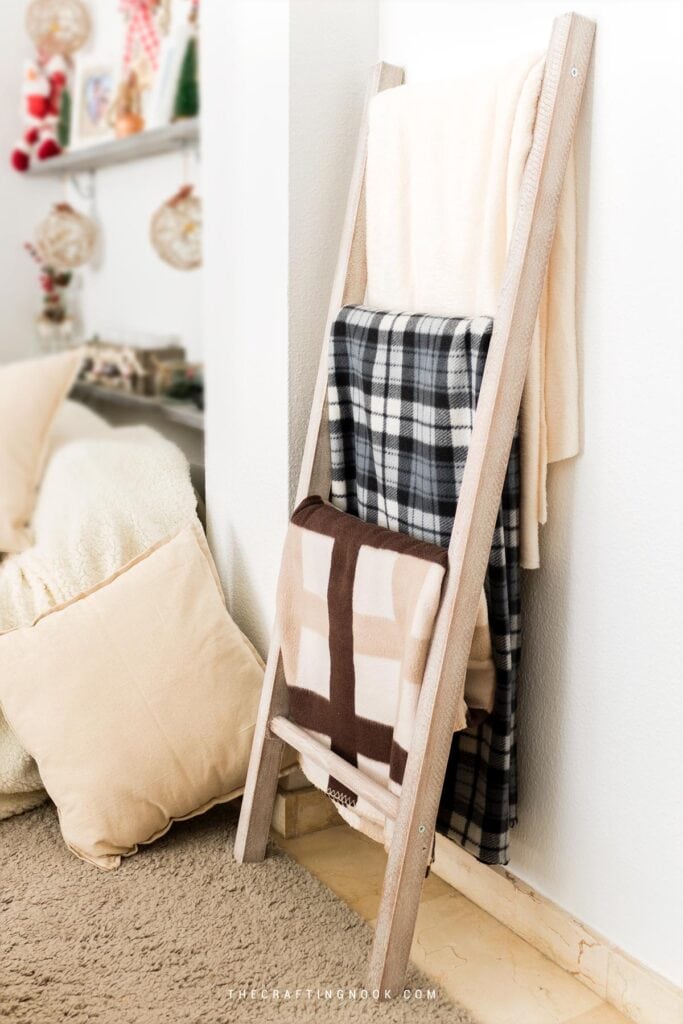
In fall and winter, I bring in thicker pillow covers, woven baskets, maybe a chunky throw.
Same color base. Completely different mood.
You don’t always need new colors to create seasonal change.
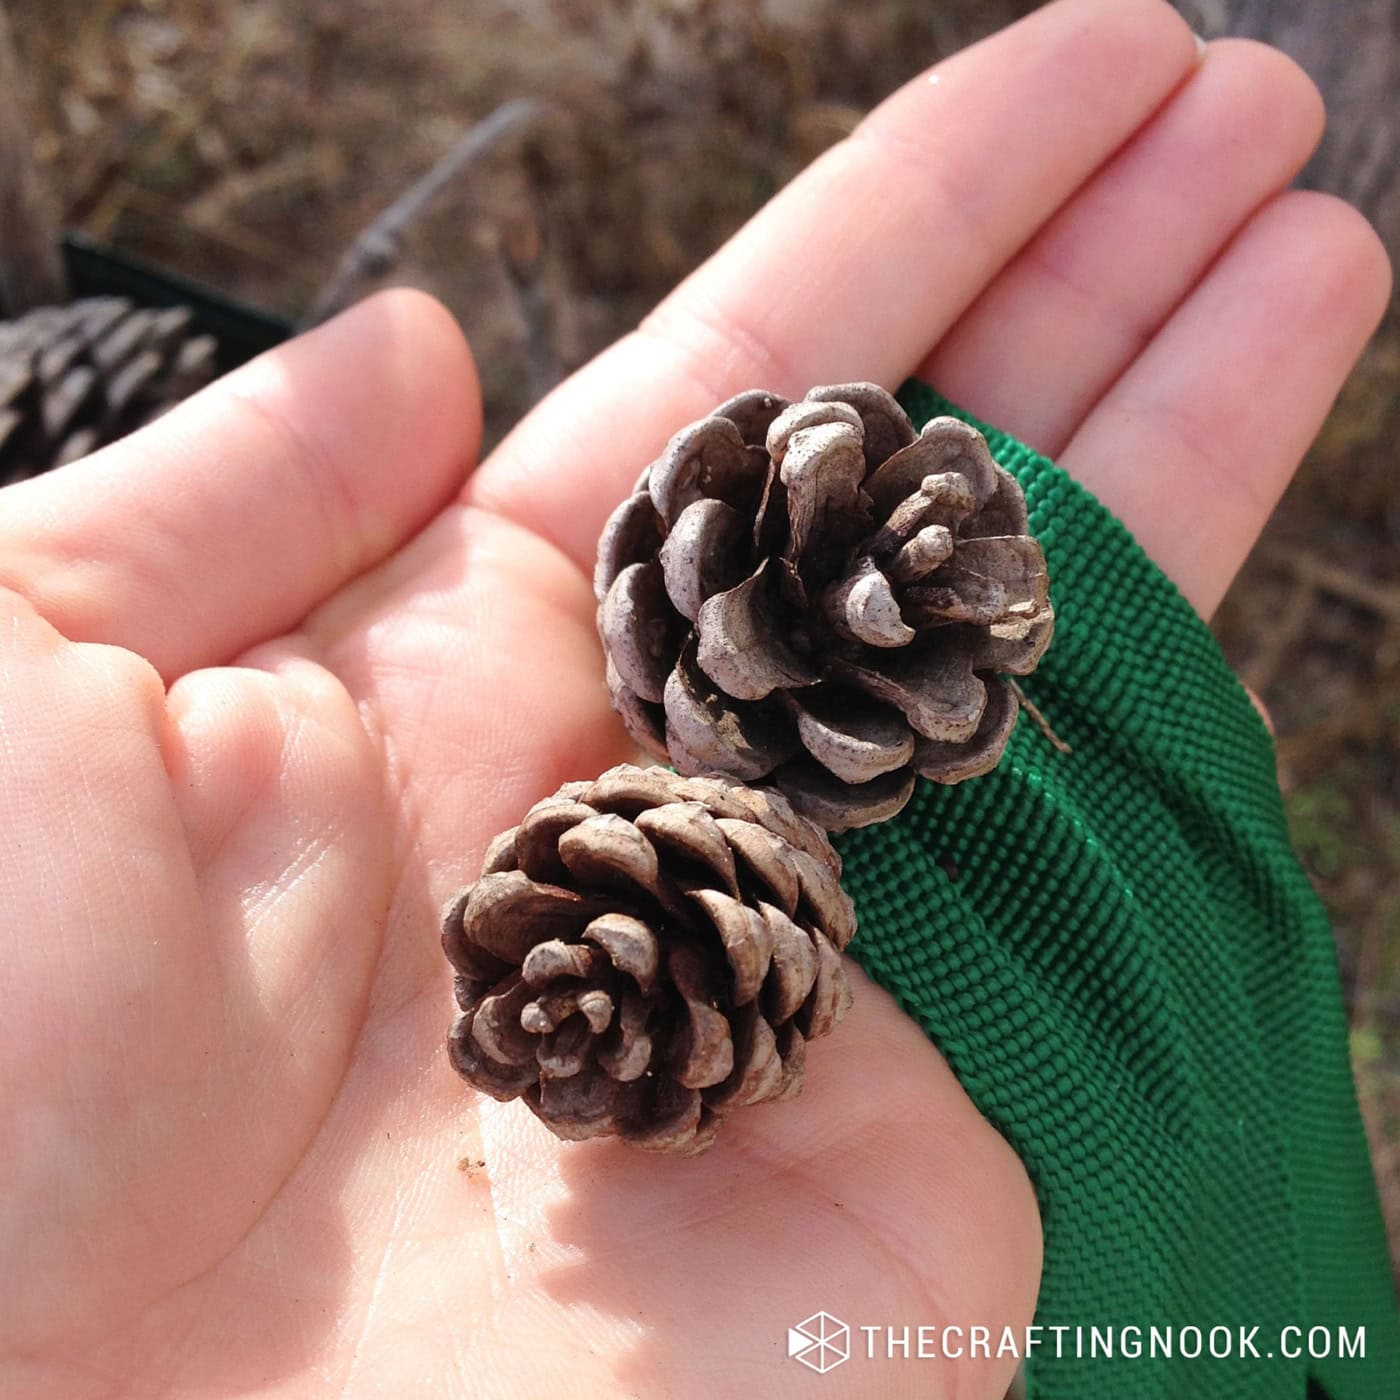
5. Let Nature Guide Your Palette
When you feel unsure about color combinations, look outside.
Nature already creates beautiful seasonal color palettes:

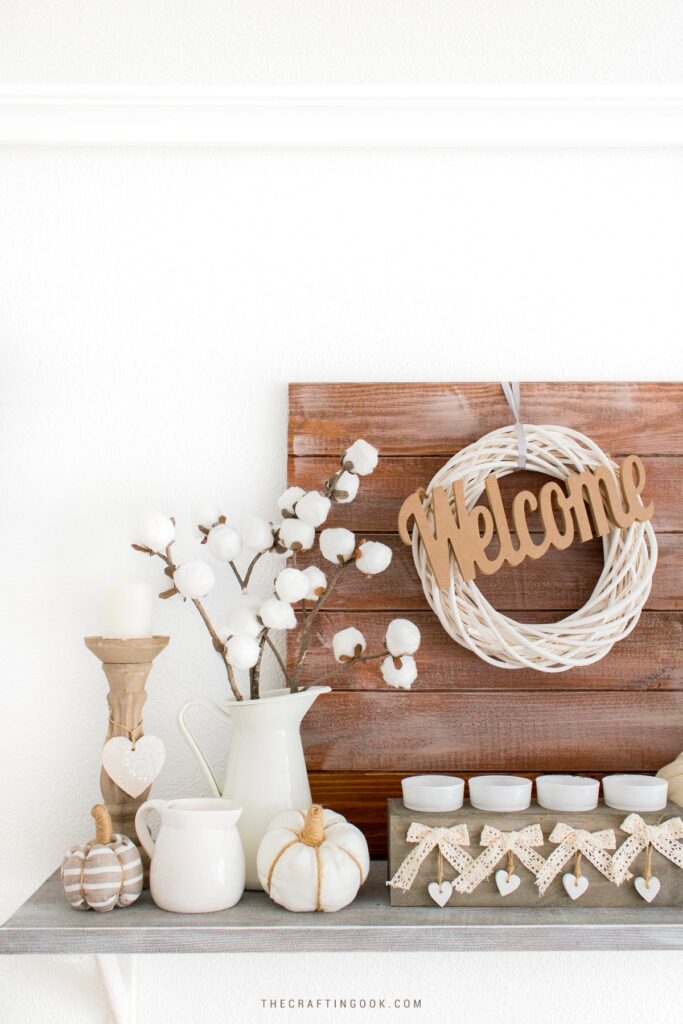
Fall: muted greens, warm browns, rust, faded gold
Spring: soft pastels, fresh greens
Summer: sand tones, sky blue, water-inspired colors
Winter: evergreens, wood, white, charcoal
These combinations rarely feel forced. Bringing those colors inside makes your home feel connected to the season without looking staged.
6. Repeat the Color for Flow
Once you choose your seasonal color, repeat it gently.
- A pillow on the sofa.
- A ribbon on a wreath.
- A small handmade piece on a shelf.
- A book spine that matches.
It doesn’t need to be obvious. In fact, subtle repetition works best.
This is what makes a home feel intentional without looking like it was styled for a magazine.
Room-by-Room Seasonal Color Ideas
Living Room
This is usually where I start.
- I change pillow covers first. It makes the biggest difference for the least effort.
- I repeat my main seasonal color in two or three small spots.
- Because my furniture is mostly white, swaps are easy.
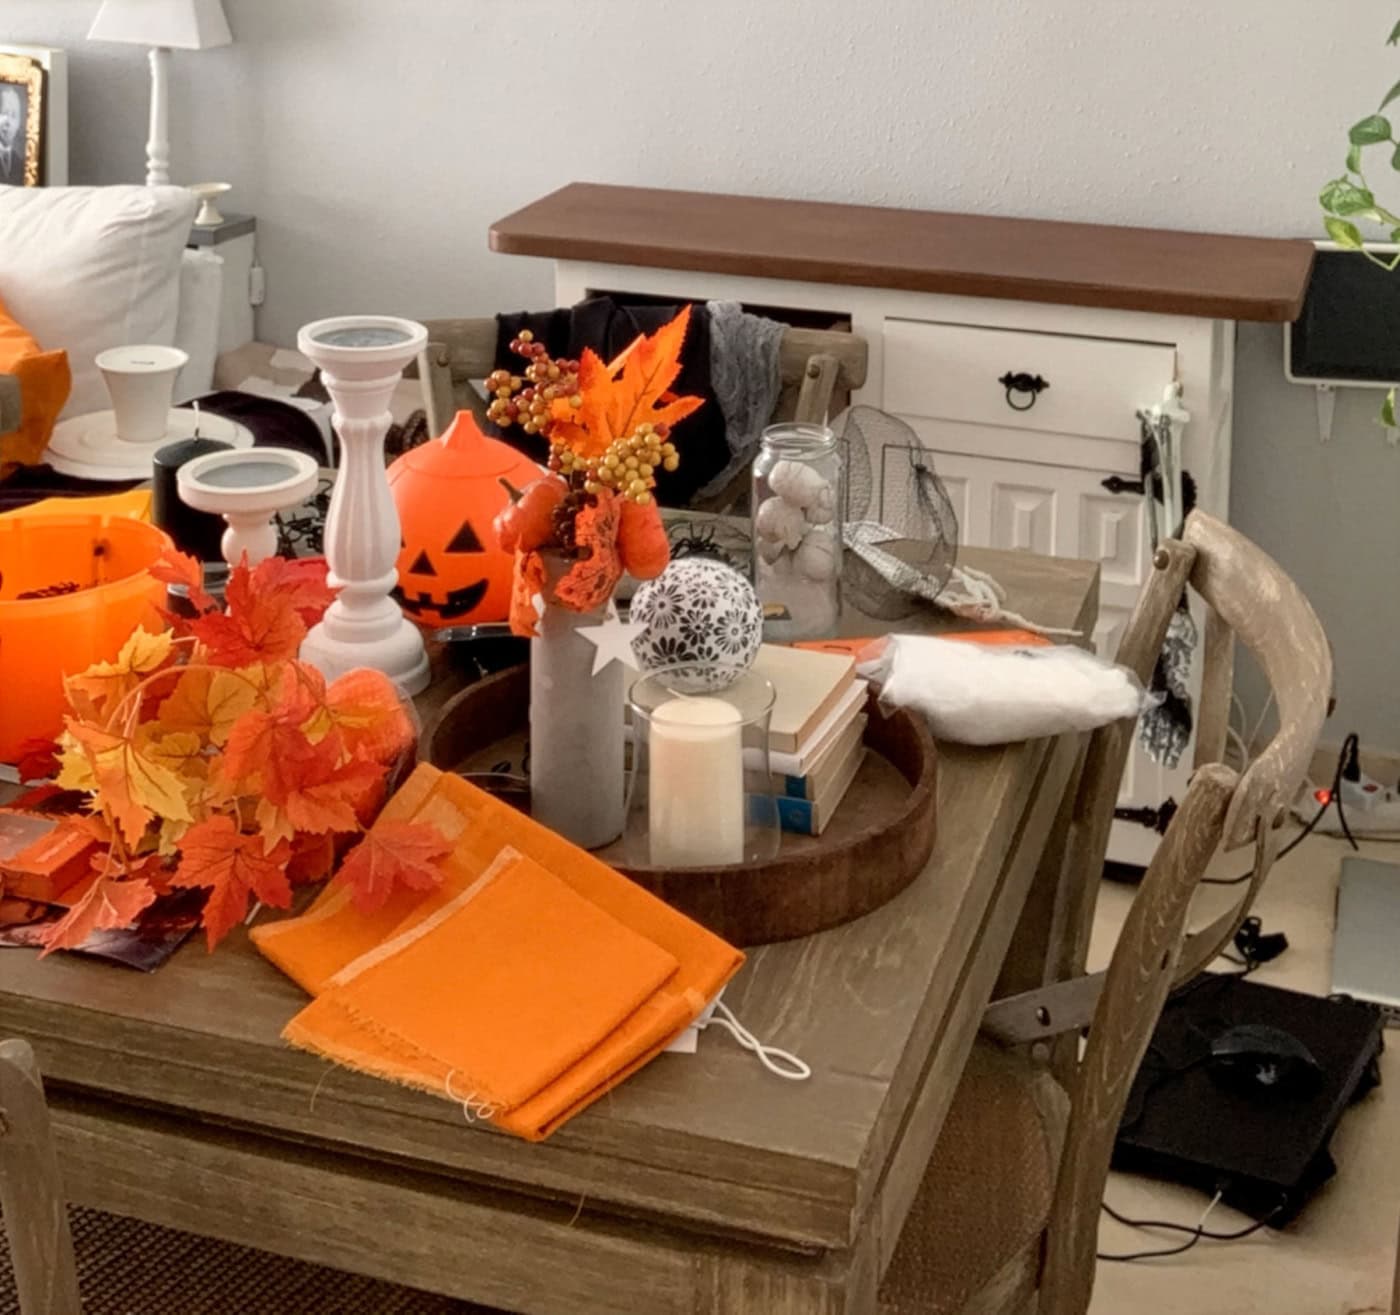
Dining Table
Perfect for temporary seasonal color.
Table runner, napkins, simple greenery.
I try to stick to one main color so it feels calm and not crowded.
Entryway
A small space makes a big impact.
- One seasonal color is enough.
- A wreath, bowl, or small runner can carry the theme.
- This is also a great place to focus on texture instead of strong color.
Shelves and Corners
This is where subtle repetition works best.
- Mix books, frames, handmade decor.
- Blend your seasonal color with neutrals.
- Less is more.
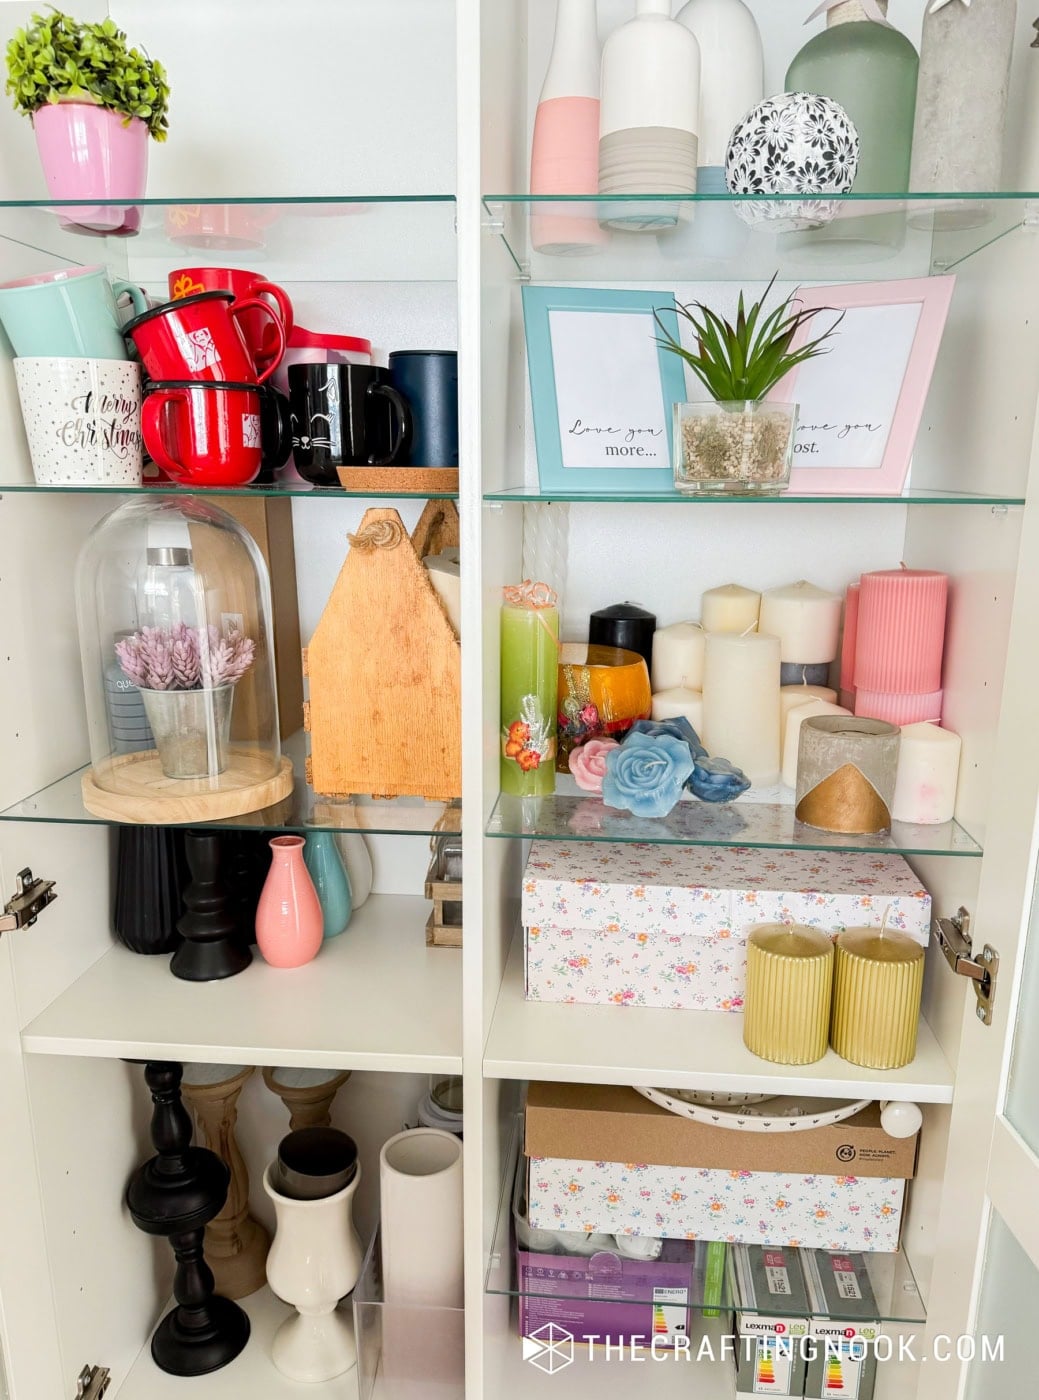
Shop Your Home First
Before buying anything new, look around your house.
- Old pillow covers
- Fabric scraps or ribbon
- Handmade decor from past years
- Books, baskets, frames
Moving things from one room to another often makes them feel new again.
I don’t even have a rug yet, even though I’ve thought about it many times. In a small space, I sometimes wonder if it would make the apartment feel smaller. But even without a rug, I can create warmth by layering pillows, repeating wood tones, and choosing one intentional seasonal color.
You do not need everything to shift the feeling of a room.
Trust What Feels Right
Seasonal decorating does not have strict rules.
If pink feels comforting in winter, use it. If blue feels right in fall, keep it.
Your home should reflect what feels good to you, not what a trend chart says.
The most beautiful seasonal homes are the ones that feel lived in and personal.
My Personal Thoughts
Choosing colors for seasonal decor is not about perfection.
- Start with your base colors.
- Choose one main seasonal color.
- Support it with neutrals and texture.
- Repeat it gently through your space.
That is more than enough.
Seasonal decorating should feel light, not stressful. Start small. Use what you already own. Let your home evolve naturally as the seasons change.
Frequently Asked Questions
Three is usually perfect. One main seasonal color, one neutral, and one small accent keep things balanced. Three is usually perfect. One main seasonal color, one neutral, and one small accent keep things balanced.
No. Even one or two spaces like the living room or entryway can set the seasonal tone.
That’s actually ideal. Add seasonal color through small accents or shift the mood using texture and greenery.
Yes. You can change the feeling with texture and placement instead of changing the entire color palette.
Use them. Your home should support you, not follow a trend list.
More Decor Projects To Try
Like this Seasonal Home Update guide? You might definitely love these other Decor project ideas too:
Share and PIN ME!!!
Til’ next time…


FREE WORKBOOK
Keeping your Sweet Home Organized
Learn how to create intentional habits and simple routines to Keep Your Home Organized. Plus freebies, printables, exclusive content, and tips.
Disclaimer: By clicking on the “Yes” button above you are giving me your consent to collect and use your information according to the law and My Policy Privacy. Zero Spam I promise!