Easy DIY Valentine Banner (+ Free Cut Files)
This post may contain affiliate links. Please read our Disclosure Policy.
Let’s get crafty together to celebrate love with our easy DIY Valentine banner tutorial & free cut files. Spread love throughout your home!
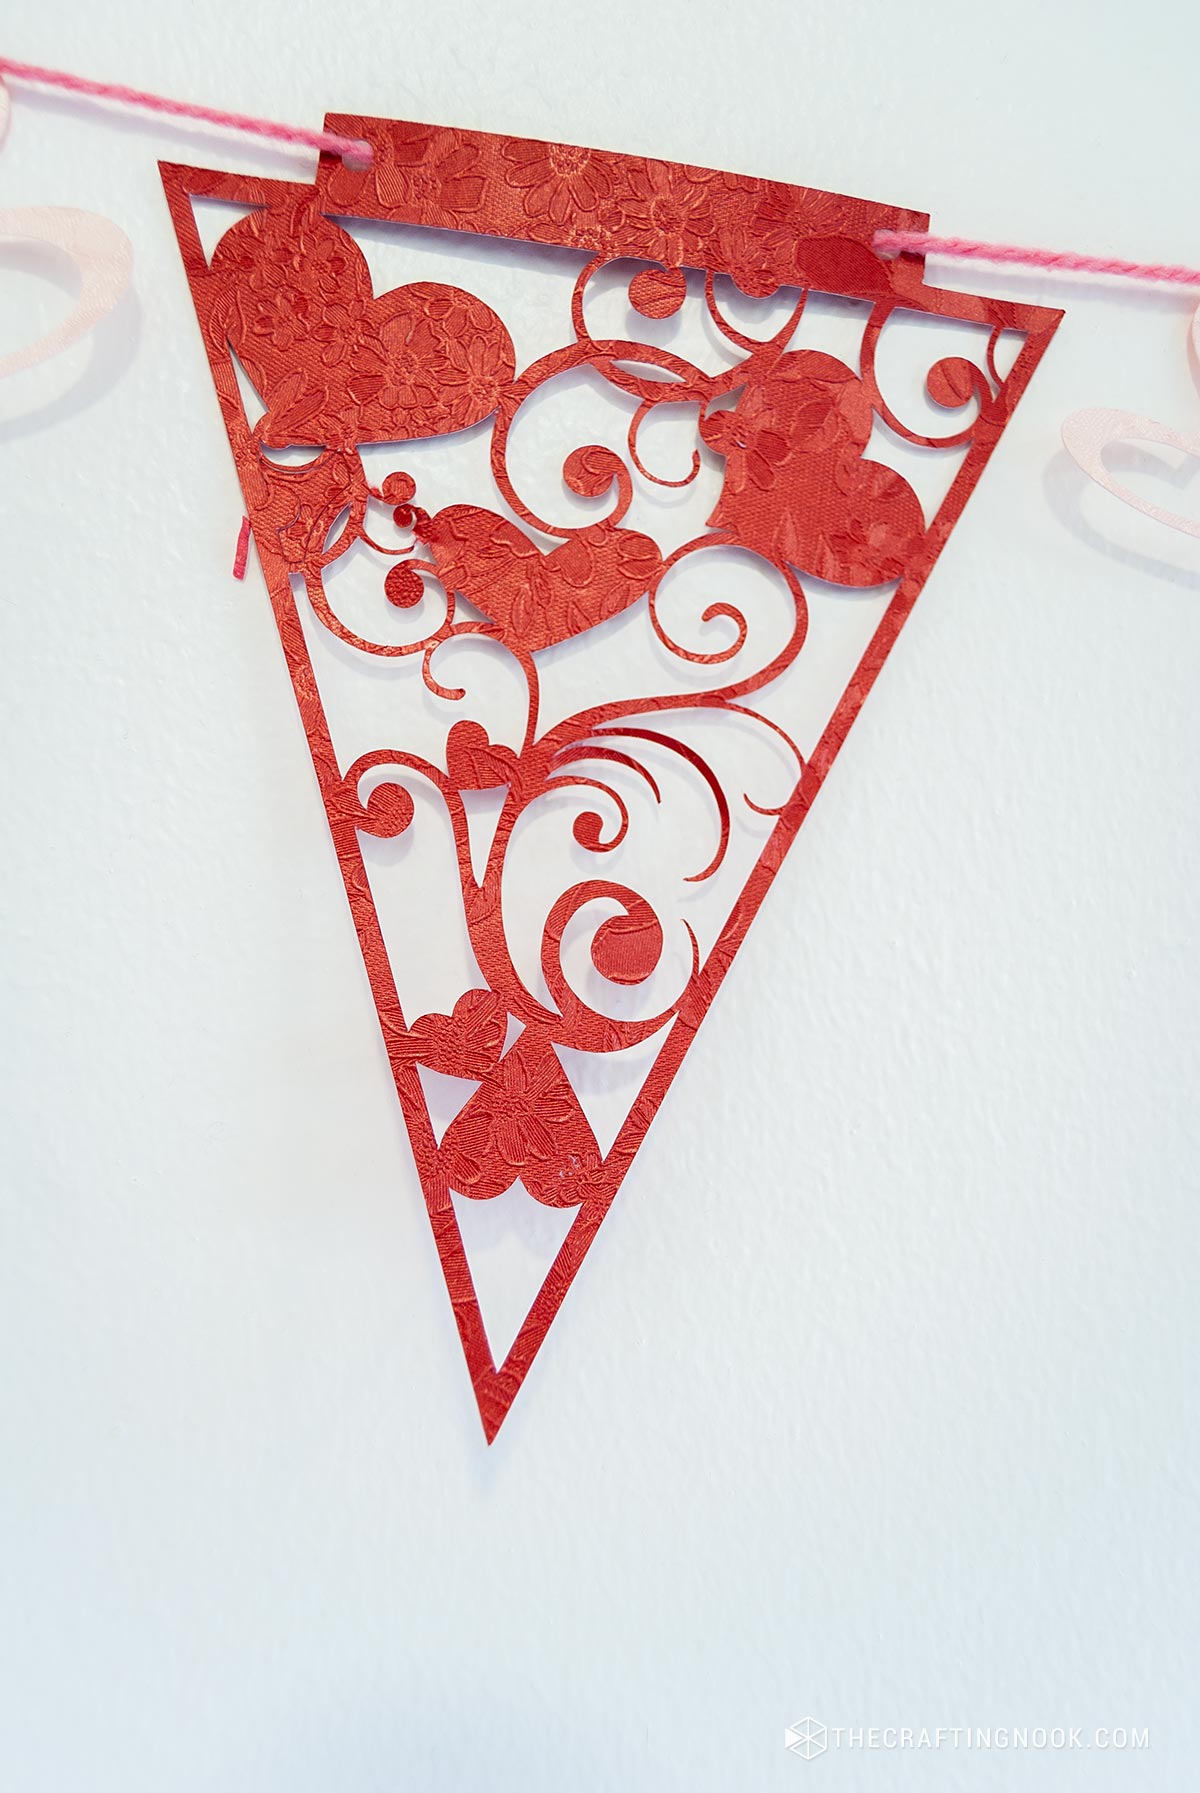
I’m so inspired to start my Valentine’s Day decor!… and I’m so excited to share these cute Valentine’s Day bunting banner I made to decorate my – temporary – office/craft room. It turned out so pretty!

Table of Contents
How to Make a Paper Valentine’s Day Banner
This is a Valentine’s day bunting craft super easy to make, and also great to make with kids – after cutting, of course. If only my girl didn’t destroy every piece of paper she found, I would have been happy to let her participate! I hope I can do these things with her very soon!
This cute garland can be placed in any place you want to add a special touch, like your fireplace mantel, your office, your bedroom, and even your dining room.
Supplies:
- Pink Yarn – or twine works too.
- Pink Cardstock – one light, other dark
- Cutting files – You can download the bunting shapes free template below.
Tools:
- Cutting machine – Silhouette Cameo or Cricut machine
- Scissors
Instructions:
Before we begin, be sure to follow us on Pinterest, Facebook, Instagram, and YouTube, and also sign up for our email list (at the end of this post), so you’ll never miss a post!
1. I made this cute Valentine banner cutting file that you can download HERE and I cut 2 different colors of patterned cardstock, one dark pink and another light pink.

2. I cut about 4 of each bunting and 9 hearts.

3. You can use your favorite color combinations, even modify the sizes. You can personalize it as you like.

4. Once I had all the cutouts ready I started inserting the yarn through the wholes of the buntings and hearts.
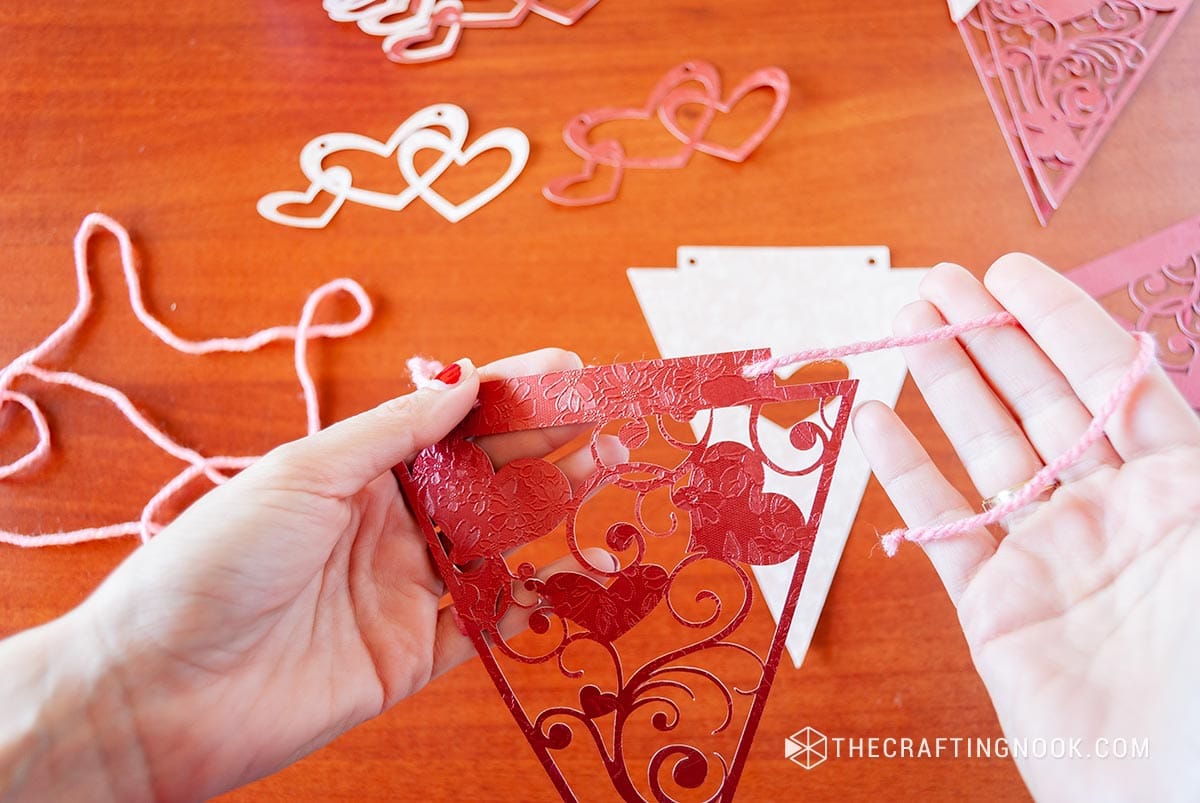
5. The pattern I used was: One dark bunting, then a heart, then a light bunting, then a heart and repeat until the last one!
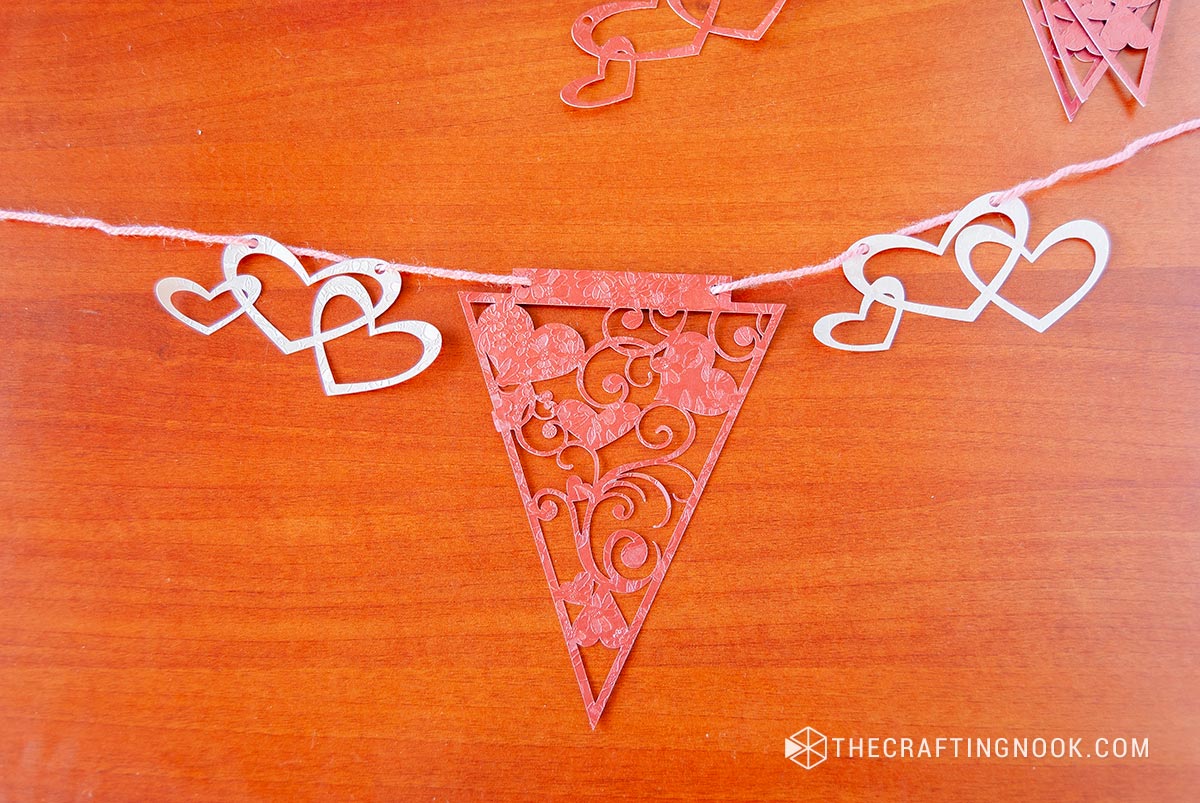
6. There you have it! No glue, not tape, just like that!

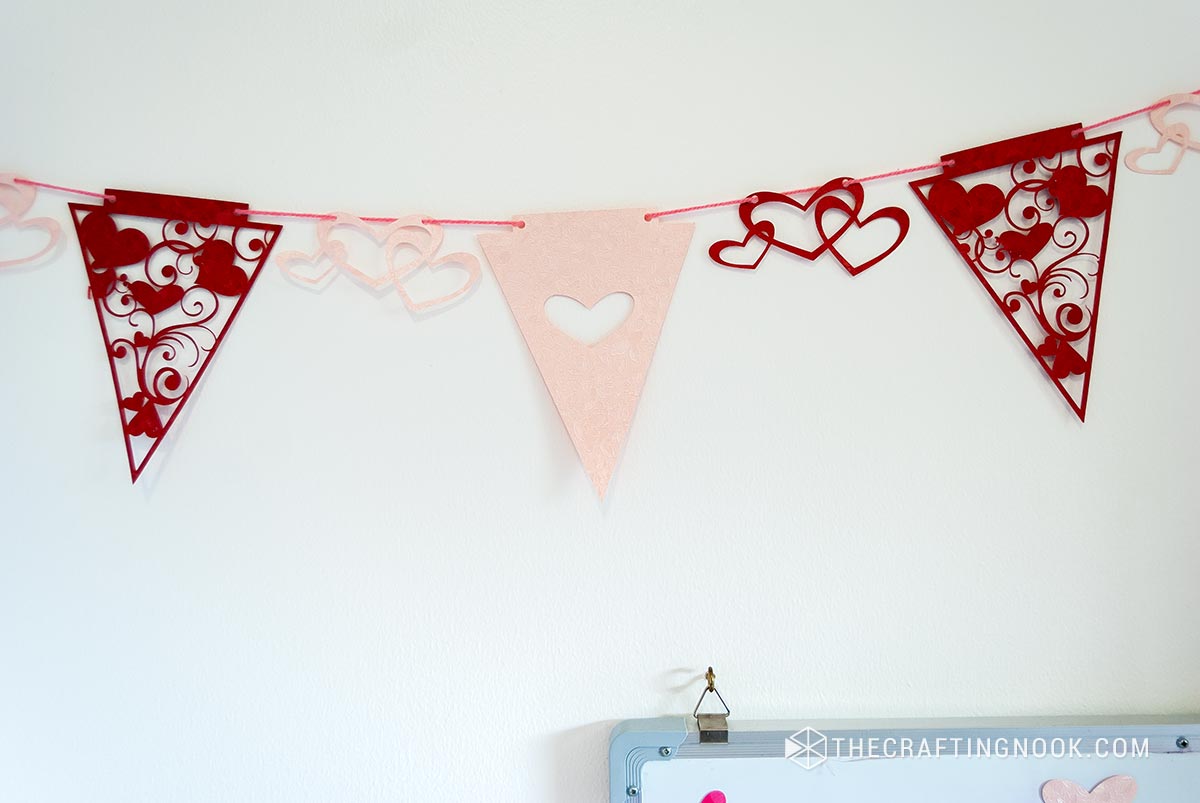
I love how it turned out!!!

Crafting Tips
- You can choose some funky patterns or textured cardstock to give your buntings that extra oomph! How about some polka dots, stripes, or even glittery goodness? Let your imagination run wild!
- Don’t be afraid to experiment with different sizes: Sure, you could stick with the provided shape, but why not mix it up a bit? Try cutting some buttings in different sizes and layering them together for a more dynamic look.
- Try using embossed cardstock or add texture with a texture tool to make your buntings look more dimensional.
- Give your paper bunting a whimsical glow by adding some LED string lights. Now your buntings can shine bright like a diamond, spreading love and cheer day or night!

Where to Display Your Valentine Banner
Here are some creative ways to display your work:
Over the Fireplace Mantel: Add a cozy, romantic touch to your living room by hanging the banner on your mantel. Pair it with candles, fairy lights, or fresh flowers for a charming Valentine’s vignette.
Entryway Décor: Welcome your guests with love! Hang the banner on your front door or in the entryway to set a festive tone as soon as they arrive.
Kids’ Room or Playroom: If you’ve got little ones, consider displaying the banner in their room or play area for an extra dose of love and fun!
Bedroom Surprise: Create a romantic surprise for your partner by hanging the banner in your bedroom as part of a sweet Valentine’s Day setup.
Alternative Materials and Tools
- You can go for papers with Valentine-themed patterns like hearts, florals, or polka dots to create a more detailed and eye-catching design.
- Glitter cardstock adds a sparkly touch to your banner and pairs perfectly with Valentine’s vibes.
Metallic or Foil Paper like gold, rose gold, or silver foil paper for a modern and elegant look. - Alternatively to the yarn, use satin ribbon for a polished and elegant finish. Choose colors that complement your banner for an extra festive feel.
- For a rustic touch, swap yarn for natural jute or twine. This works great for farmhouse-style or vintage-inspired banners.
- For a more durable and unique look, try threading your banner with thin leather cord or suede.
Add some bling by decorating your banner pieces with self-adhesive rhinestones or sequins.
Frequently Asked Questions
Ah, the Silhouette Cameo! It’s like a magical crafting wizard in machine form. It’s a cutting tool that works with your computer to precisely cut out shapes and designs on various materials, including cardstock. It’s your secret weapon for creating awesome paper heart garlands or any paper craft for that matter!
Any type of cardstock will do, but thicker cardstock works best. You want your hearts to hold their shape and not flop around like a limp noodle. Also, consider using cardstock with fun patterns or textures to give your garland some extra pizzazz.
It depends on how long you want your garland to be and how close you want the buntings to be spaced. I cut 8 buntings and 8 heart decorations.
Absolutely! In fact, using buntings of different sizes can add visual interest and depth to your garland. Plus, it’s just plain cute.
Of course! The Silhouette Cameo machine can cut out any design you create in the Silhouette Studio software. So go ahead and get creative creating the bunting banner you love the most!
More Valentine’s Day Projects to try
If you enjoyed this cute DIY Valentine Banner tutorial, you might also love these other Valentine’s Day Projects I got for you:
Don’t forget to download your cutting file and let me know in the comments your thoughts!
✂️ Tutorial

Easy DIY Valentine Banner
Tools
- Cutting Machine – Silhouette Cameo or Cricut
- scissors
Supplies
- Pink Yarn
- Pink Cardstock – one light other dark
- Cutting files – You can donload on the blog.
Instructions
- I made this cute bunting cutting files that you can download HERE and I cut 2 different colors of patterned cardstock, one dark pink and another light pink.
- I cut about 4 of each bunting and 9 hearts.
- You can use your favorite color combinations, even modify the sizes. You can personalize it as you like.
- Once I had all the cutouts ready I started inserting the yarn through the wholes of the buntings and hearts.
- The pattern I used was: One dark bunting, then a heart, then a light bunting, then a heart and repeat until the last one!
- There you have it! No glue, not tape, just like that!
What do you think??? Like it??? Want to make one???
Hope you like this quick and fun craft for Valentine’s Day! This super cute and easy paper heart garland is so much fun to make with kiddos too!
Share and PIN ME!!!

Til’ next time…


FREE WORKBOOK
Keeping your Sweet Home Organized
Learn how to create intentional habits and simple routines to Keep Your Home Organized. Plus freebies, printables, exclusive content, and tips.
Disclaimer: By clicking on the “Yes” button above you are giving me your consent to collect and use your information according to the law and My Policy Privacy. Zero Spam I promise!
