

DIY Citrus Peel Candles with Orange and Lemon

This post may contain affiliate links. Please read our Disclosure Policy.
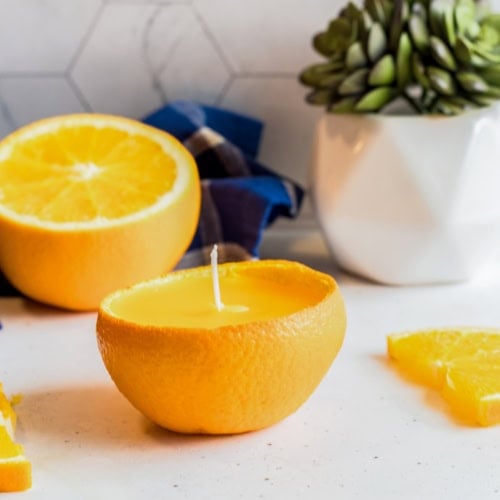
These citrus peel candles are such a simple way to use orange and lemon halves instead of tossing them away. The fresh peels make sweet little candle containers, and the scent from the citrus mixed with the wax makes the whole room smell lovely.
I made these with soy wax and basic pre-waxed candle wicks. They are small decorative candles, so I keep the burn time short and always place them on a heat-safe dish while they are lit.

Table of Contents
Why You’ll Love These Cute Candles
These little candles are simple, inexpensive, and easy to make with supplies you can find online.
- They make good use of leftover citrus peels.
- You only need a few basic candle-making supplies.
- Each candle has its own natural shape and color.
- They smell fresh even before you light them.
- They are a sweet addition to a table, kitchen, or small gathering.
How to Make Citrus Peel Candles
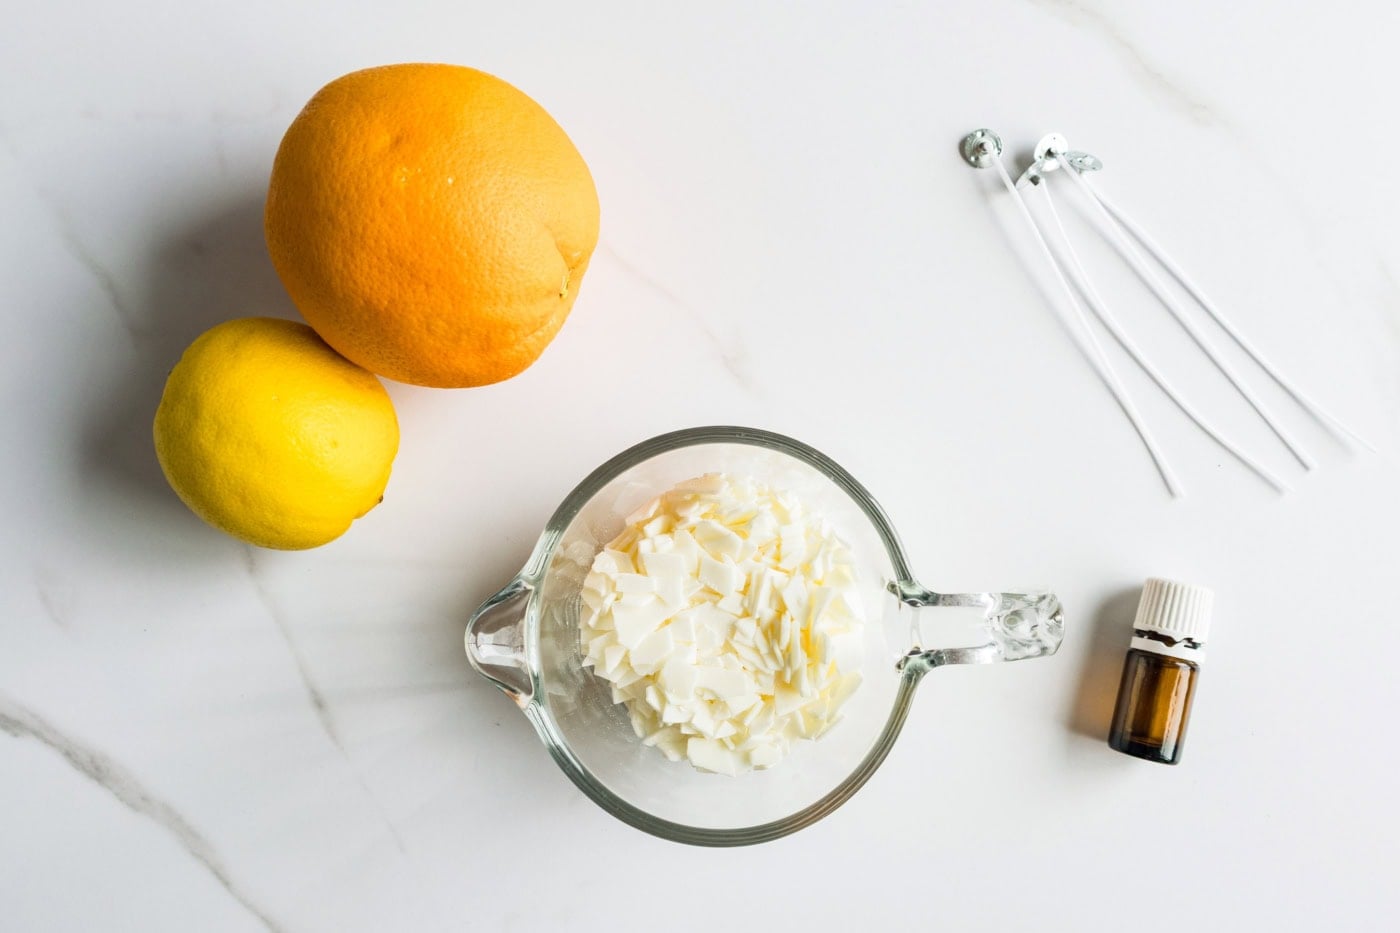
Supplies:
- 1 orange
- 2 lemons
- 1 to 1½ cups soy wax flakes
- 6 pre-waxed, pre-tabbed candle wicks suitable for soy wax
- Candle-safe fragrance oil or essential oil, optional – I used citrus scented that’s like a mix of lemon, orange and clementines. I love this Floral essential oils set and also these from Laguna Moon
- Wick stickers or a little melted wax
Tools:
- Double boiler or microwave-safe container
- Spoon
- Knife
- Heat-safe tray or ceramic plate
A Note About the Fragrance
Use only fragrance or essential oil that is marked as suitable for candles or wax melts. Oils made only for reed diffusers are not always safe to add to hot wax.
The amount you need will depend on the wax and the oil you choose, so follow the fragrance-load instructions from the wax or scent manufacturer.
Instructions:
The full printable instructions are below, but here is how I make them step by step.
Step 1: Cut the Citrus in Half
Cut the orange and lemons in half across the middle.
Try to make the cuts as even as possible so the peel halves sit more steadily once they are filled.
Step 2: Remove the Fruit
Carefully scoop the fruit out of each half.
I use a spoon and work slowly around the inside edge. The goal is to remove the pulp without tearing or poking a hole through the peel.

You should end up with six small citrus peel bowls.
Step 3: Make the Peels Sit Flat
Place the empty peels on your work surface and check whether they wobble.
When one does not sit steadily, carefully slice a very thin piece from the bottom. Do not cut too deeply or you may create a hole in the peel.
Set all the peels on a heat-safe tray before adding the wax.
Step 4: Add the Wicks
Place one pre-tabbed wick in the center of each citrus peel.

Secure the metal base with a wick sticker or a small dab of melted wax. Hold it in place for a few seconds until it stays attached.
Keep the wick as straight and centered as you can.
Step 5: Melt the Soy Wax
Melt the soy wax slowly in a double boiler or microwave-safe container.
When using a microwave, heat it in short intervals and stir between each one. Do not leave melting wax unattended.


Follow the heating and pouring temperatures listed by your wax manufacturer whenever they are provided.
Step 6: Add the Fragrance
Once the wax is fully melted, stir in the candle-safe fragrance oil or essential oil, if using.
Use the amount recommended for your specific wax and fragrance. Adding more than recommended will not necessarily make the candle smell stronger and can affect the way it burns.

Stir slowly until the fragrance is well mixed into the wax.
Step 7: Pour the Wax
Carefully pour the melted wax into each citrus peel.

Leave a little room at the top so the wax does not spill over the edge. Hold or support the wick as needed to keep it centered while pouring.
Because the peels are different sizes, some will need more wax than others.
NOTE
Important: Citrus peels are natural and flammable. These are small decorative candles, not long-burning container candles. Always place them upright on a dry, heat-safe ceramic plate or shallow tray while burning.
Step 8: Let the Candles Harden
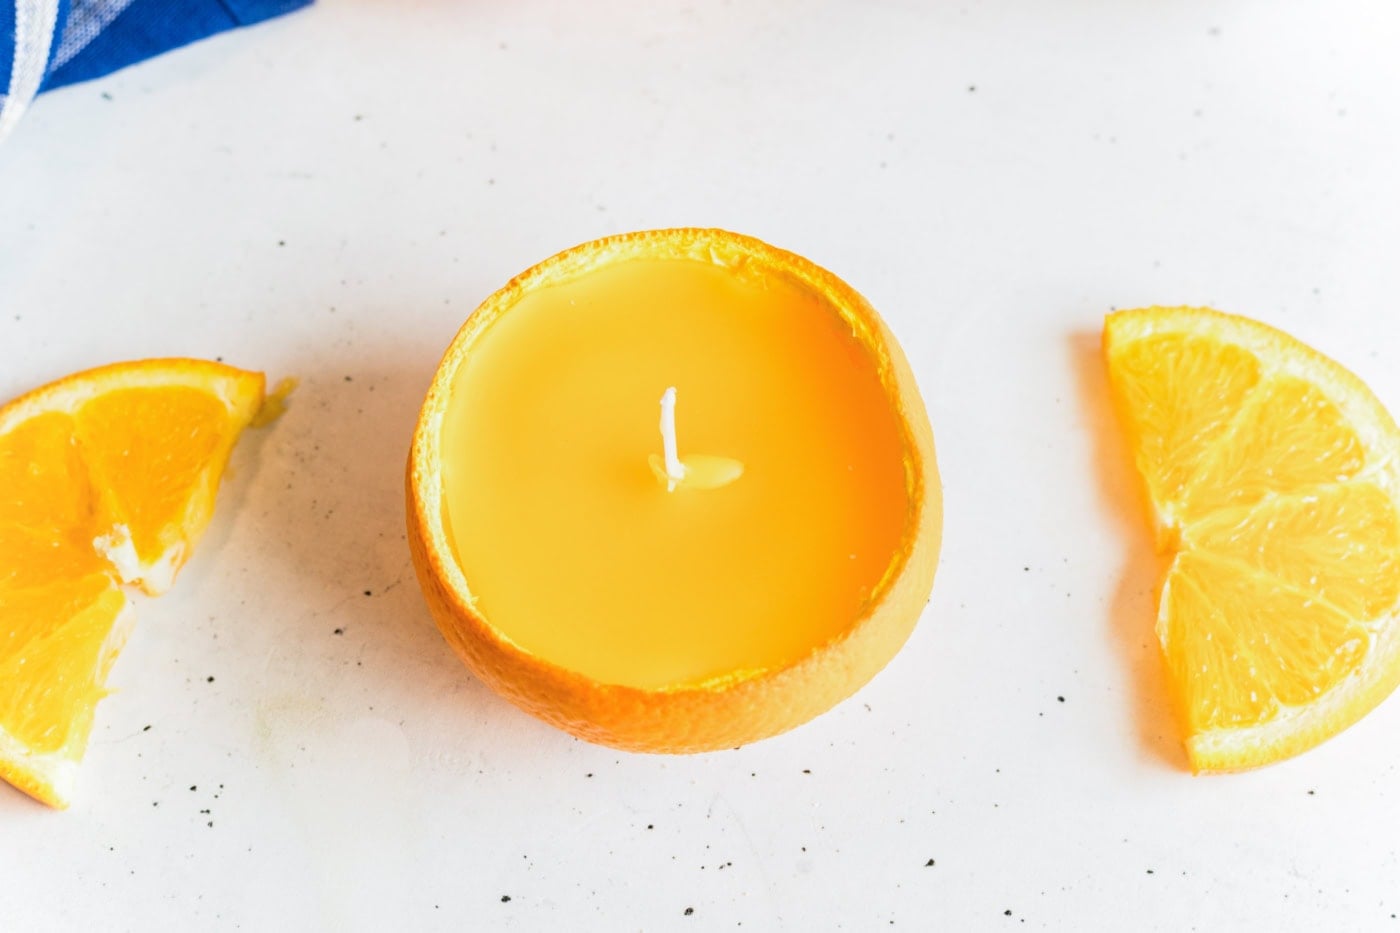
Leave the candles on the tray at room temperature until the wax is completely cool and firm.
I leave mine undisturbed overnight. Do not move them while the wax is still soft because the wick can shift and the surface may crack.

Since fresh citrus peels will eventually dry, shrink, or spoil, these candles are best made close to the time you plan to use them.
Step 9: Trim the Wicks
Before lighting the candles, trim each wick to about ¼ inch.
A shorter wick helps keep the flame smaller and reduces smoke and soot.
Expert Pro Tips
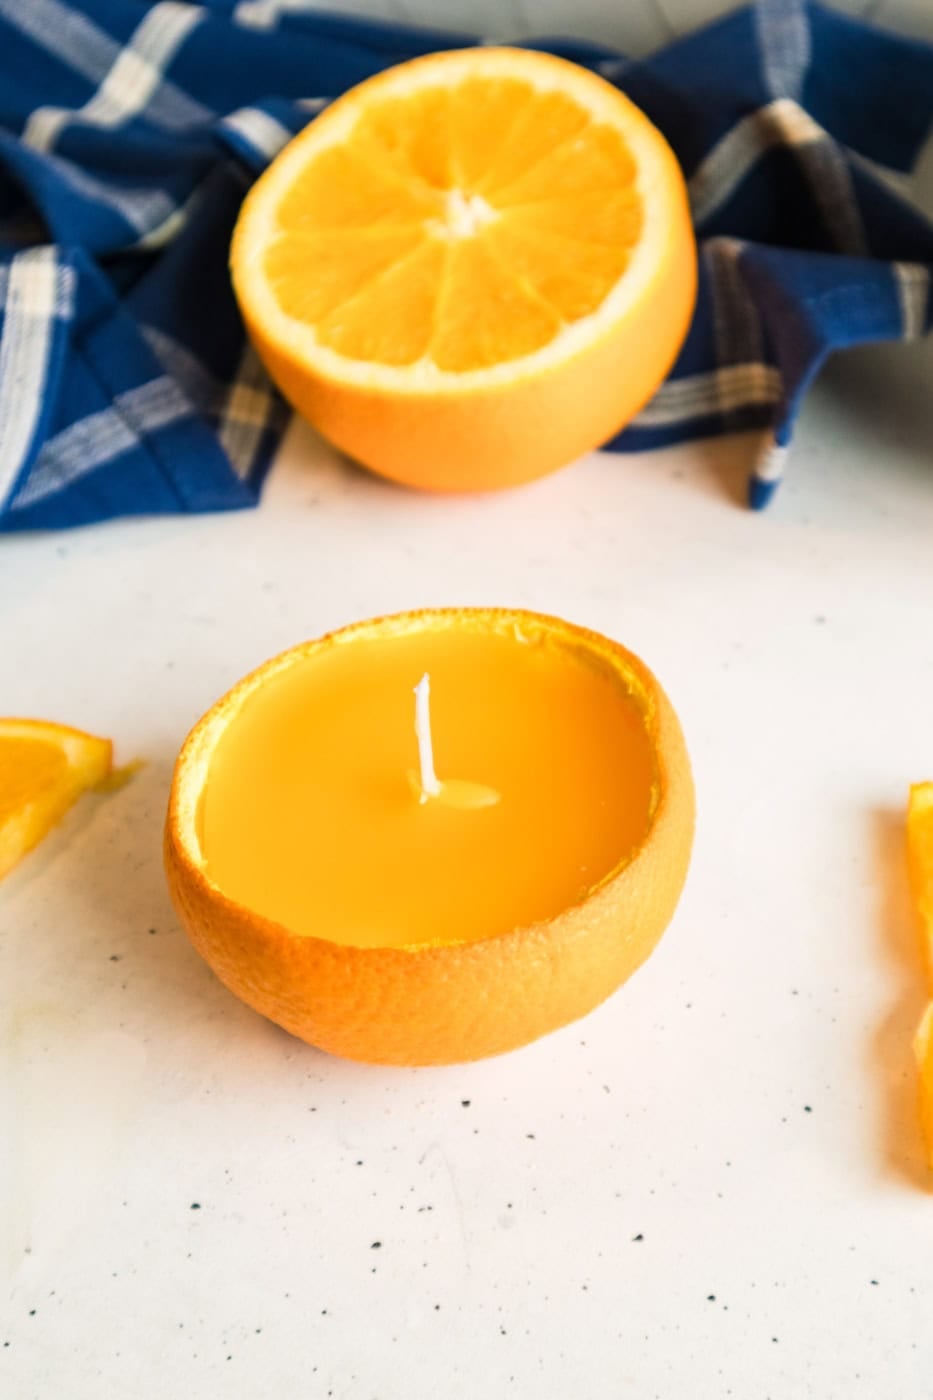
These candles are easy, but a few small details make them work much better.
- Scoop the fruit out gently. A torn peel can leak melted wax.
- Keep the peels dry before filling them.
- Use wicks made for soy wax.
- Test one candle before lighting the full batch.
- Keep the burn periods short.
- Extinguish the candle if the flame becomes too tall, smoky, or unsteady.
- Stop using the candle if the peel begins to darken, dry out, soften, leak, or lose its shape.
- Never leave these candles burning unattended.
Citrus Candle Variations
You can change the look and scent without changing the basic method.
Use Other Citrus Fruits. Try grapefruit, limes, or small mandarins. Larger fruits will need more wax, and the wick may burn differently in a wider peel.
Leave Them Unscented. The fresh citrus peels already have a natural smell, so the fragrance oil is completely optional.
Mix the Citrus. Use a combination of orange, lemon, lime, and grapefruit halves for a colorful display.
Add a Different Candle-Safe Fragrance. Vanilla, lavender, citrus, or herbal candle fragrances can work well. Always check that the oil is approved for candles and suitable for soy wax.
How to Store Citrus Peel Candles
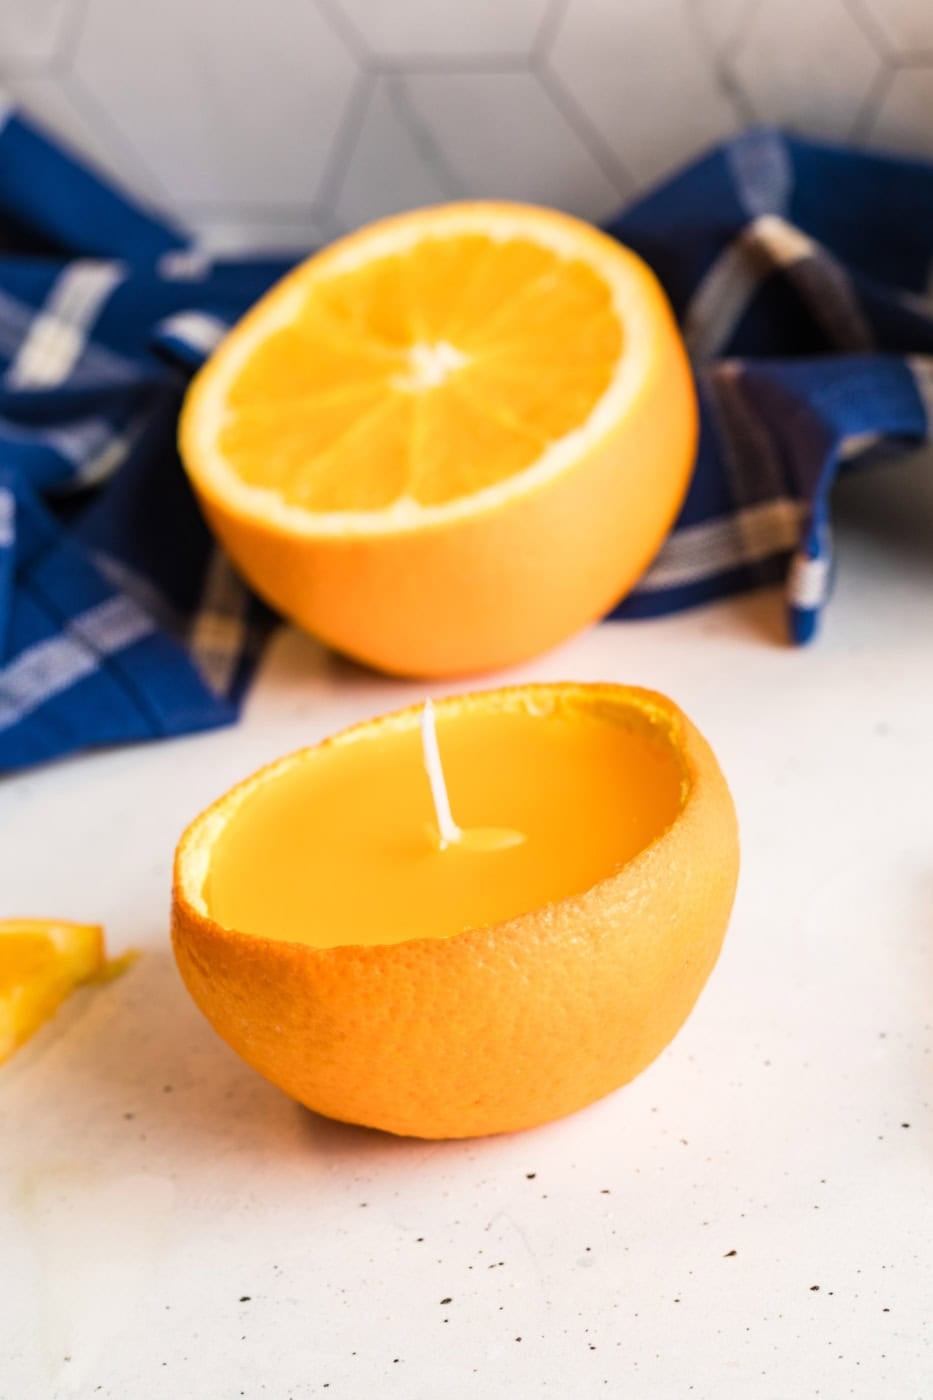
These candles are not meant for long-term storage because the containers are made from fresh fruit peels.
Keep them in a cool, dry place and use them within a few days. Do not store them in direct sunlight or near a heat source.
I would not place them in the refrigerator because moisture and condensation can affect the wax and wick.

Frequently Asked Questions
I used soy wax for this project. Other candle waxes melt, pour, and burn differently, so I would not swap the wax without following the instructions for that specific type.
Use pre-waxed candle wicks marked as suitable for soy wax. Wick performance can vary depending on the wax, the width of the peel, and the fragrance used. Since an orange half is wider than a lemon half, the same wick may burn differently in each one.
Keep the burn sessions short and watch the candle closely the entire time. The exact burn time will vary because every peel has a different thickness, size, and moisture level. Extinguish the candle immediately if the peel starts to darken, dry, soften, leak, or change shape.
Only when the manufacturer clearly says the oil is suitable for candles or wax melts. Some oils are made only for reed diffusers and should not be added to hot candle wax.
The bottom of the fruit was probably rounded. Carefully trim a very thin slice from the bottom before adding the wax. Stop as soon as the peel sits flat so you do not cut a hole through it.
More Self-care Projects and Recipes To Try
If you enjoyed this Eucalyptus Lavender Sugar Scrub Recipe, you might also love these other easy projects too:



These DIY citrus peel candles are easy to make and look so pretty grouped together on a tray. I especially love how the orange and lemon peels add color without needing any extra decoration.
When you make them, I would love to hear how they turned out. Leave a comment below or tag me on Instagram so I can see yours.
🥣 Recipe
DIY Citrus Peel Candles with Orange and Lemon

Equipment
- Knife
- Spoon
- Double boiler or microwave-safe container
- Heat-safe tray or ceramic plate
- scissors
Ingredients
- 1 orange
- 2 lemons
- 1 to 1½ cups soy wax flakes
- 6 pre-waxed pre-tabbed candle wicks suitable for soy wax
- Candle-safe fragrance oil or essential oil optional
- Wick stickers or a small amount of melted wax
Video

Instructions
- Cut the orange and lemons in half across the middle.
- Carefully scoop out the fruit with a spoon, keeping the peels intact.
- Check that each peel sits steadily. When needed, carefully trim a very thin slice from the bottom.
- Place one pre-tabbed candle wick in the center of each peel. Secure it with a wick sticker or a small amount of melted wax.
- Melt the soy wax according to the manufacturer’s directions.
- Stir in candle-safe fragrance oil or essential oil, if using. Follow the amount recommended for your wax and fragrance.
- Carefully pour the melted wax into the citrus peels, leaving a little room at the top.
- Keep the wicks straight and centered while the wax begins to set.
- Allow the candles to cool and harden undisturbed at room temperature overnight.
- Trim each wick to about ¼ inch before lighting.
Notes
- Always place the candles upright on a dry, heat-safe ceramic plate or shallow tray.
- Keep the burn time short and never leave the candles unattended.
- Extinguish the candle if the peel darkens, dries, softens, leaks, or changes shape.
- Use fragrance or essential oil only when it is approved for candle making.
- Fresh citrus peels will naturally dry and shrink, so use the candles within a few days.
- Wick performance may vary between the smaller lemon halves and the wider orange halves.
Share and PIN ME!!!
Til’ next time…


FREE WORKBOOK
Keeping your Sweet Home Organized
Learn how to create intentional habits and simple routines to Keep Your Home Organized. Plus freebies, printables, exclusive content, and tips.
Disclaimer: By clicking on the “Yes” button above you are giving me your consent to collect and use your information according to the law and My Policy Privacy. Zero Spam I promise!