Ribbons & Tapes Upcycled Organizing Box
This post may contain affiliate links. Please read our Disclosure Policy.
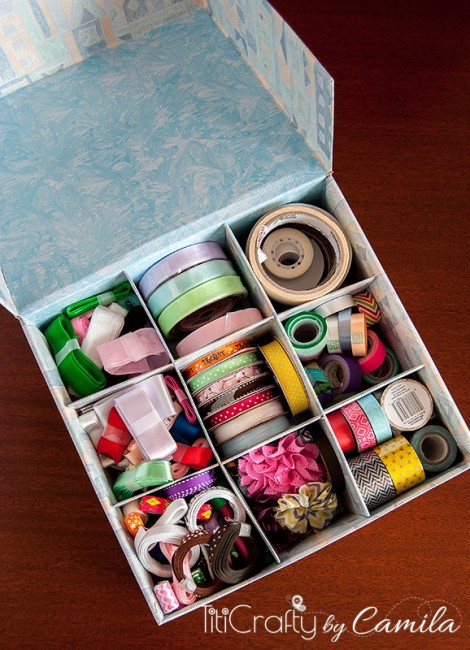
Hello Guys! Today I’m super excited. Today Is the first Silhouette Challenge of the year and we are starting with an awesome theme: Organization. I love organization, I love having a place to keep things handy and organized so I’ve created this Upcycled organizing box for ribbons and tapes.
Ribbons & Tapes Upcycled Organizing Box

I desperately needed a place to organize my ribbons and tapes. I used to have them in a basket or show boxes. Since I don’t live in my own house at the moment I don’t have many places to keep my things so I thought this could be a good idea. I would be doing 2 good things: organizing and recycling/upcycling which I love too!
This kind of project can be used for anything you can imagine. You can even use one of these {without lid} for your drawers. So imagination is the limit!
What you need:
- Cardboard boxes. {I used big men shoes one and a toy one}
- Contact Paper {I used 2 different ones}
- Vinyl
- Cutter
- Scissors
- Rulers
- Any extra decoration you would love!

To start measure the inner length, width and height of the shoes box. This step is best if you always leave extra mm. It’s better having to cut than being short.
Then with the toy box, cut 4 pieces of cardboard that matches those measurements. 2 for length-height and 2 for width-height. You can do more if you want but each space will be smaller. Leave it aside.
Then let’s start covering the box with the contact paper. Since in this case the Box sizes are bigger than the contact paper width I split the process in 2: First inner and outside sides and then front, back, top and bottom.
For the sides I cut pieces of contact paper that would cover from outside to inside at once and also leaving some remaining that overlaps the next side to create a finish.

After finishing the 2 right and left sides. Start with a long piece of contact paper that would go from the inner front side to all over bottom, back, top and lid front to inside. I usually use a piece of clothes to apply the contact paper, once it’s all stuck, I use a scrap or ruler to finish it.
Cut any leftover of contact paper from the edges with a cutter. This need to be done very carefully so you don’t cut the actual cover.

Now you have the whole outside box covered. Then using the other contact paper, I cover the inside of the box. Cut one strip of contact paper that goes from the lid to the bottom.
Now it’s time to go back to the separators. Measure again trying to place them inside the box. Cut any extra cardboard that makes it not fitting inside. It should be a bit tight but not bent it.
Cover each separator with contact paper.

Create 2 lines on each separator. I made it even and approximately 60% of the height.
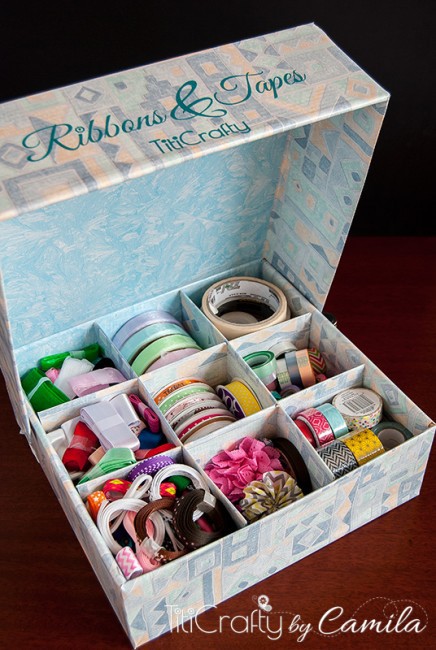
Cut off over those lines leaving a few millimeters of space. Then insert one separator into the other through that cut until they are even. Do it with the rest until you have a grid.

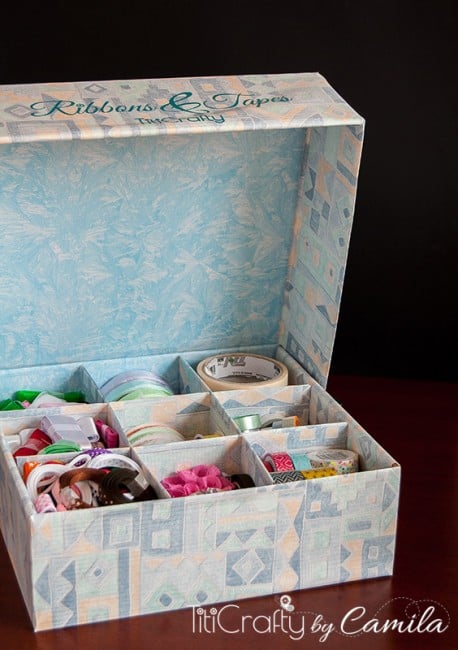
Insert the grid inside the box and voila! You have your organizing box!
I wanted to label it so I always know what’s in there. I might make more of these so when they are piled up I would know where to look.
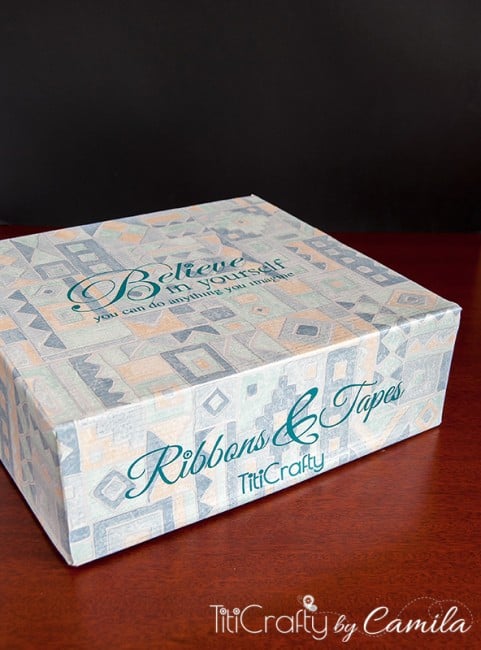
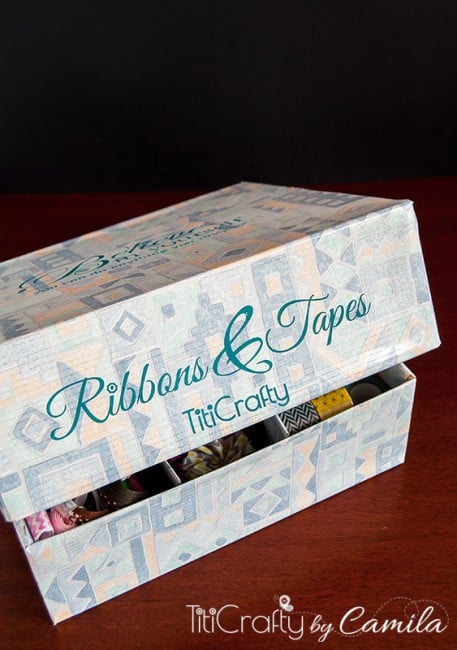
On my Silhouette Studio I created my label “Ribbons & Tapes” and also used a design from the stored that I love that says: “Believe in Yourself” and I added “You can do anything you imagine”.
To use the whole strip of vinyl I had and not waste anything I added a few of my logo LOL.
Send to cut. When done, I pealed off everything that wasn’t my design. This step I wasn’t sure what was the best technique since I saw many different ways including this one on the internet. This was my first time using vinyl so you can imagine I had a few issues LOL.

With the help of my hook I remove the small pieces inside letters and stuff. Then I cut a piece of transfer paper that matches the piece I was applying and with a scrapper I made sure everything would stick to it. When peal off the transfer paper the whole design should come off with it.

Place the art where you want it. Using your scrapper or anything like it, make sure your whole art sticks in place. Then carefully peal off the transfer paper. It’s important to do this really carefully so if some parts stays in the transfer paper you can just go back scrap a little more and try again.
Finish applying your vinyl and any extra decoration you want to use and there you go!!!! Your upcycled organizing box is ready to use!

I was so pleased that everything fit in there. And still have some space for some more LOL.
I Love love love how it turned out and can’t wait to make another upcycled organizing box for some other craft supplies I’ve got.

Want to Check Out More Silhouette Projects?
My Silhouette Challenge buddies and I are all sharing projects on our blogs today, so peruse the projects below for a wealth of Silhouette inspiration!
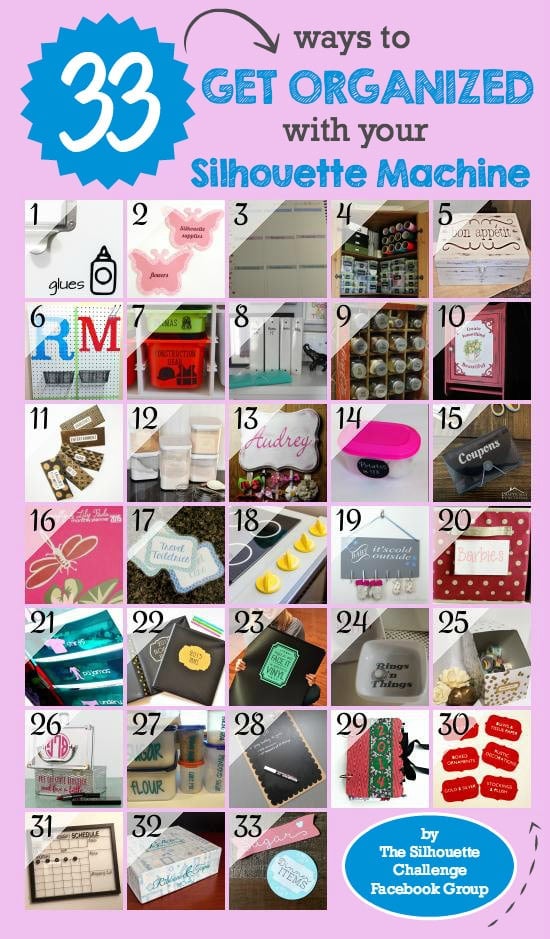
1. Please Excuse My Craftermath… // 2. Simply Kelly Designs // 3. Daily Dwelling // 4. Ginger Snap Crafts // 5. Our Southern Home // 6. Sowdering About // 7. The Moberg Family // 8. Decor Adventures // 9. Pineapples and Pinecones // 10. Patina Paradise // 11. The Thinking Closet // 12. It Happens in a Blink // 13. Adventures in All Things Food // 14. From Wine to Whine // 15. Practically Functional // 16. Dragonfly & Lily Pads // 17. unOriginal Mom // 18. One Dog Woof // 19. Creative Ramblings // 20. My Favorite Finds // 21. Create it. Go! // 22. A Prudent Life // 23. Where The Smiles Have Been // 24. Barb’s Life // 25. Everyday Paper // 26. Pitter and Glink // 27. Peanut Life Adventures // 28. Feto Soap Blog // 29. Our Rosey Life // 30. Two Purple Couches // 31. My Paper Craze // 32. Tha Crafting Nook // 33. Deleted
Til’ next time…


FREE WORKBOOK
Keeping your Sweet Home Organized
Learn how to create intentional habits and simple routines to Keep Your Home Organized. Plus freebies, printables, exclusive content, and tips.
Disclaimer: By clicking on the “Yes” button above you are giving me your consent to collect and use your information according to the law and My Policy Privacy. Zero Spam I promise!