DIY Easy Sugar Scrub for Easter and Spring
This post may contain affiliate links. Please read our Disclosure Policy.
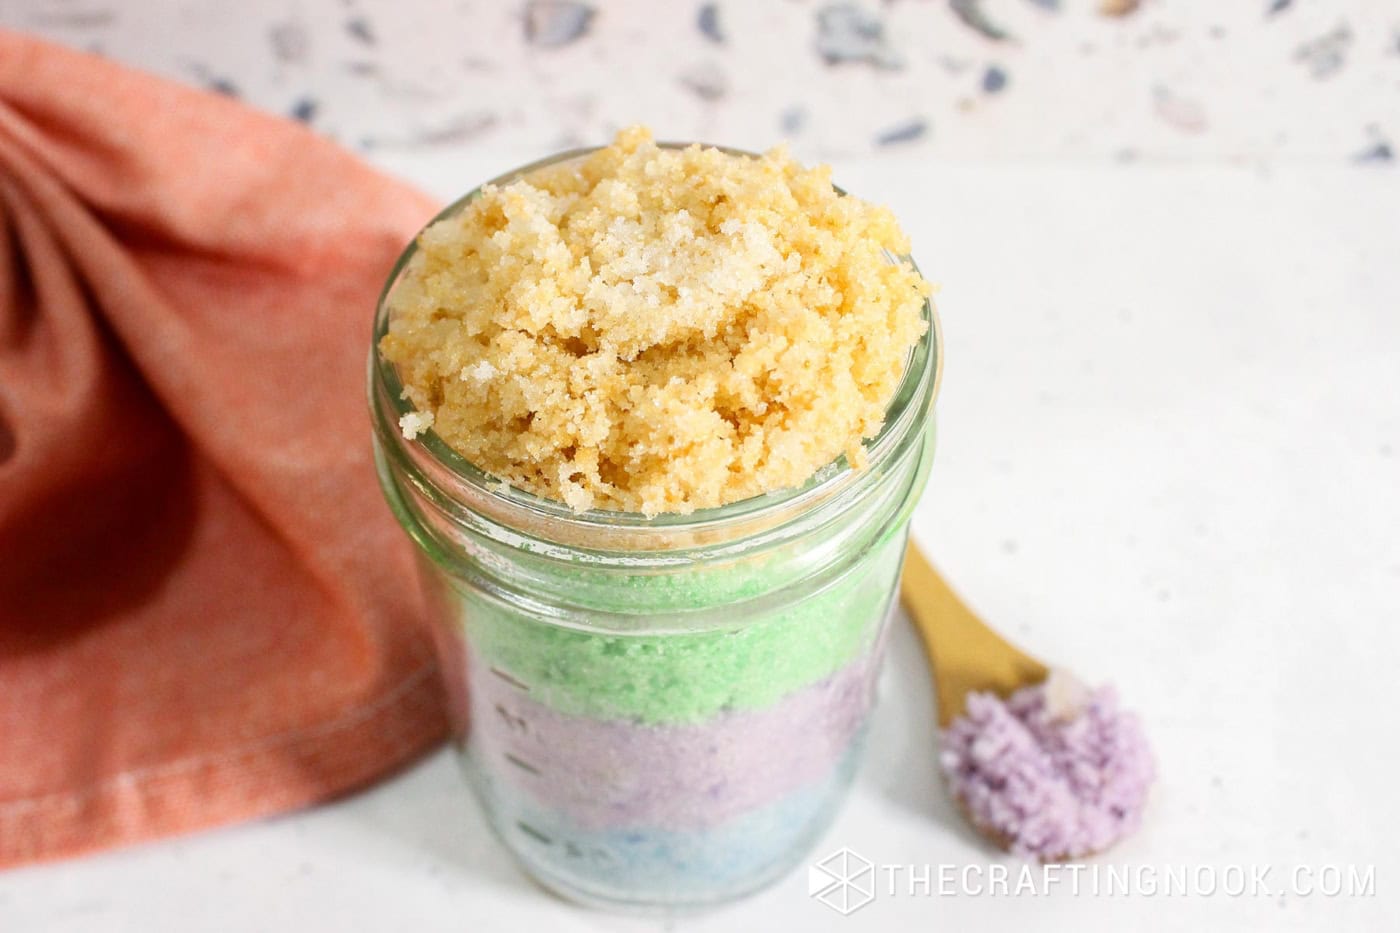
This is my go-to sugar scrub when I need something cute and quick for gifting. It takes about 20 minutes, uses basic sugar + oil, and the pastel layers make it feel “special” without extra work. I’ll show you exactly how I color it with mica and how I keep the layers clean in the jar.

Table of Contents
A Fun and Easy Pastel Sugar Body Scrub
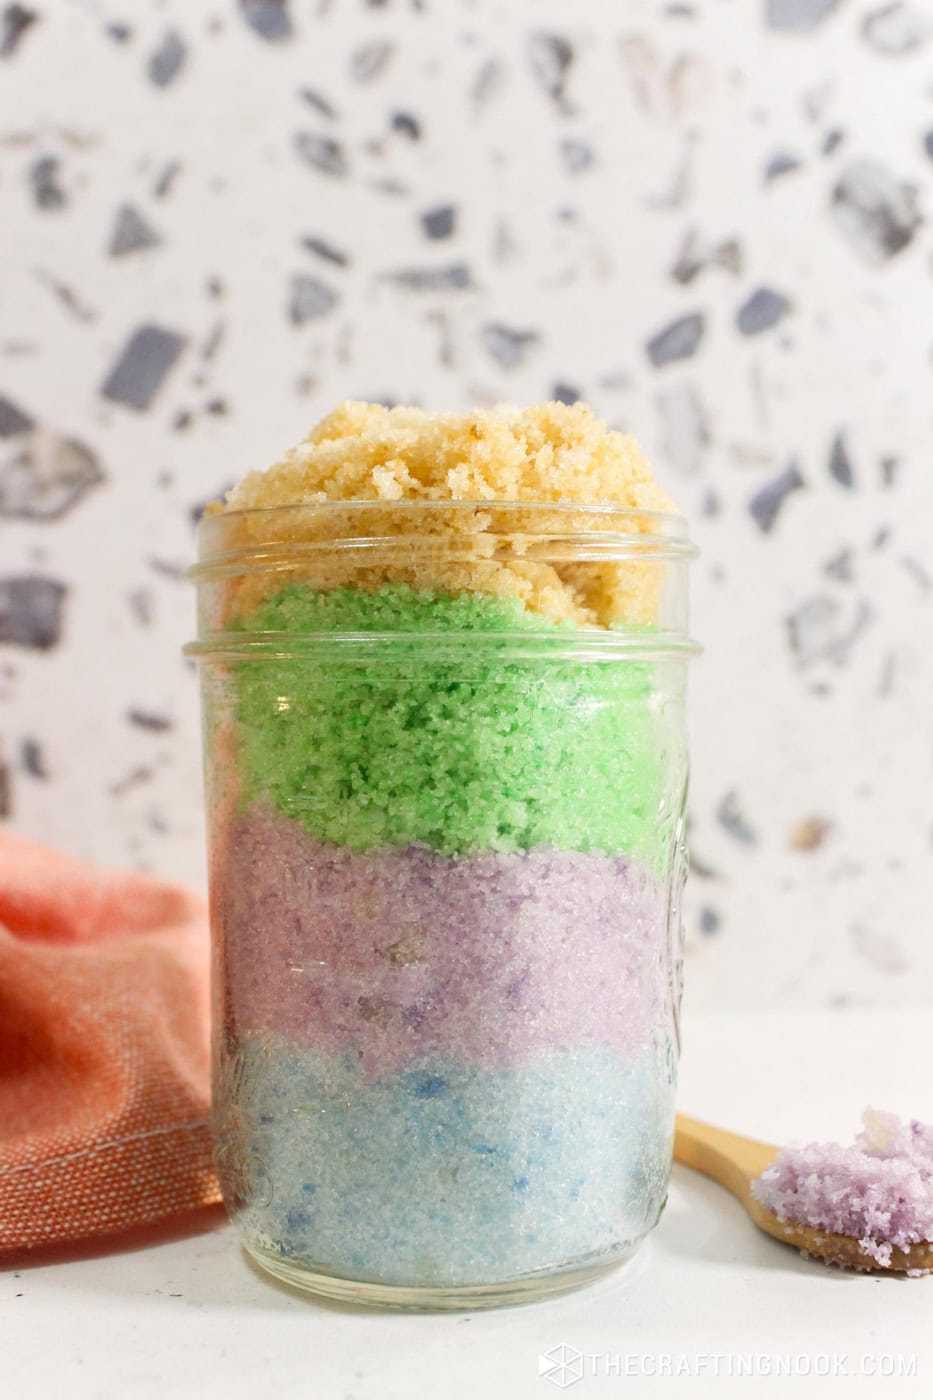
This version is all about the color and the layers. The base recipe is simple — just sugar, oil, and a few drops of essential oil — but the real trick is getting those clean pastel shades without them blending together.
I use lavender and ylang-ylang here because I love that soft floral mix, but the scent is completely flexible. What matters most is learning how to color the sugar evenly and layer it neatly in the jar so it actually looks good when you’re done.
Once you understand that part, you can recreate this with any colors, any scent, and for any season.
How to Make This Easy Homemade Sugar Scrub
Whether you’re making this for yourself or putting together sweet little DIY gifts, this sugar scrub is a simple way to add a bit of self-care into your routine.
Let’s get into it!
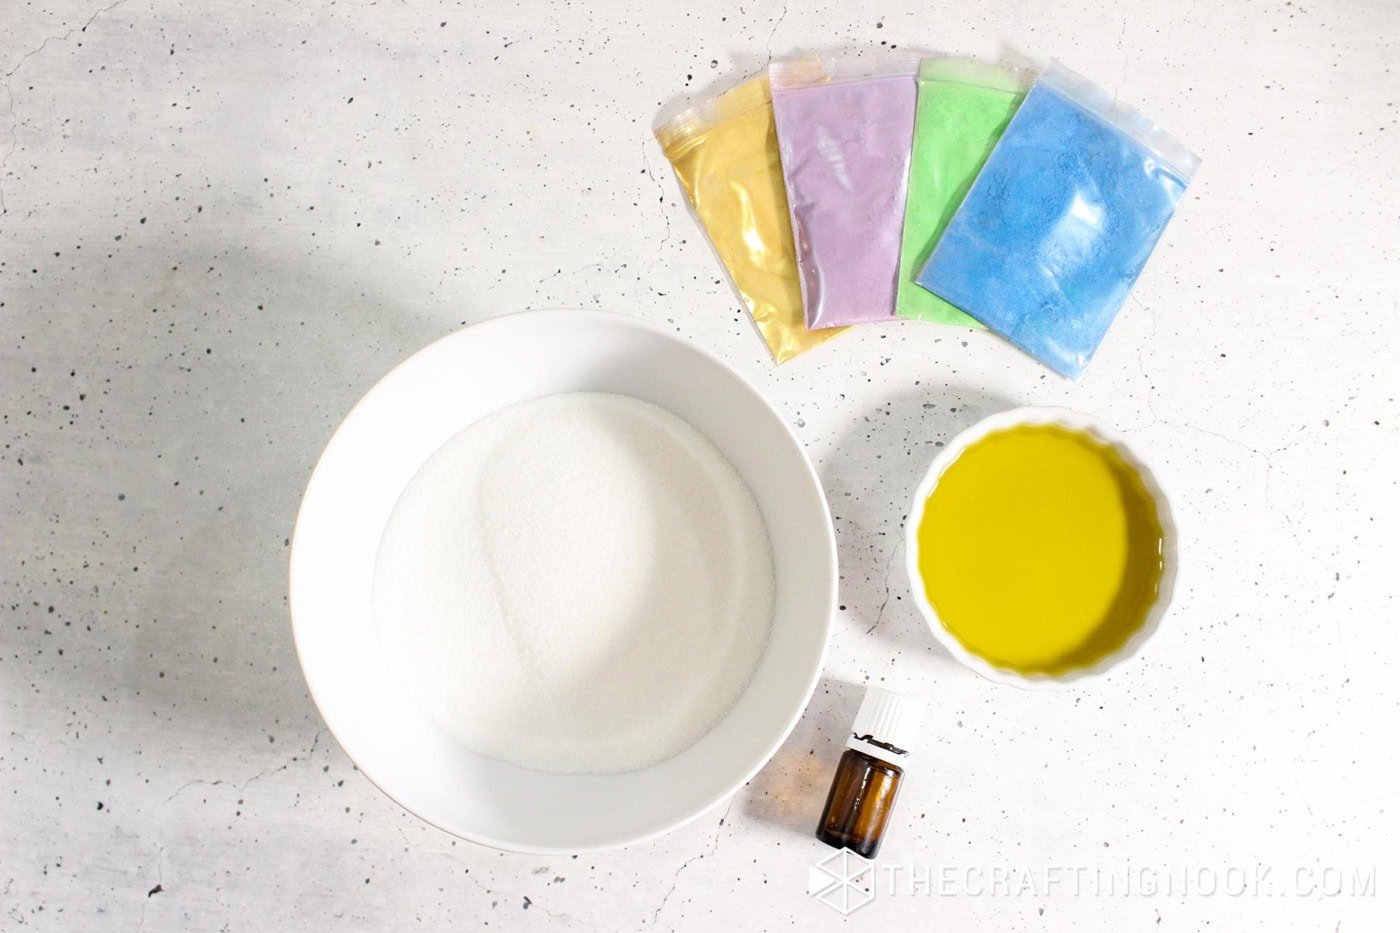
Ingredients:
Sugar – The main exfoliating ingredient! It helps remove dead skin cells, leaving your skin smooth and refreshed.
Carrier Oil – Keeps the scrub moisturizing. Melt the coconut oil first if it’s solid so it mixes evenly.
Mica Powder – Adds soft pastel color without staining when used in small amounts. Always use cosmetic-grade mica.
Essential Oils – Provide a relaxing and refreshing scent. Lavender essential oil is calming, and ylang ylang has a sweet, floral aroma that’s perfect for spring!
Tools:
- A mason jar or any cute jar.
- Wooden spoon or rubber spatula
- Wooden sticks
Instructions:
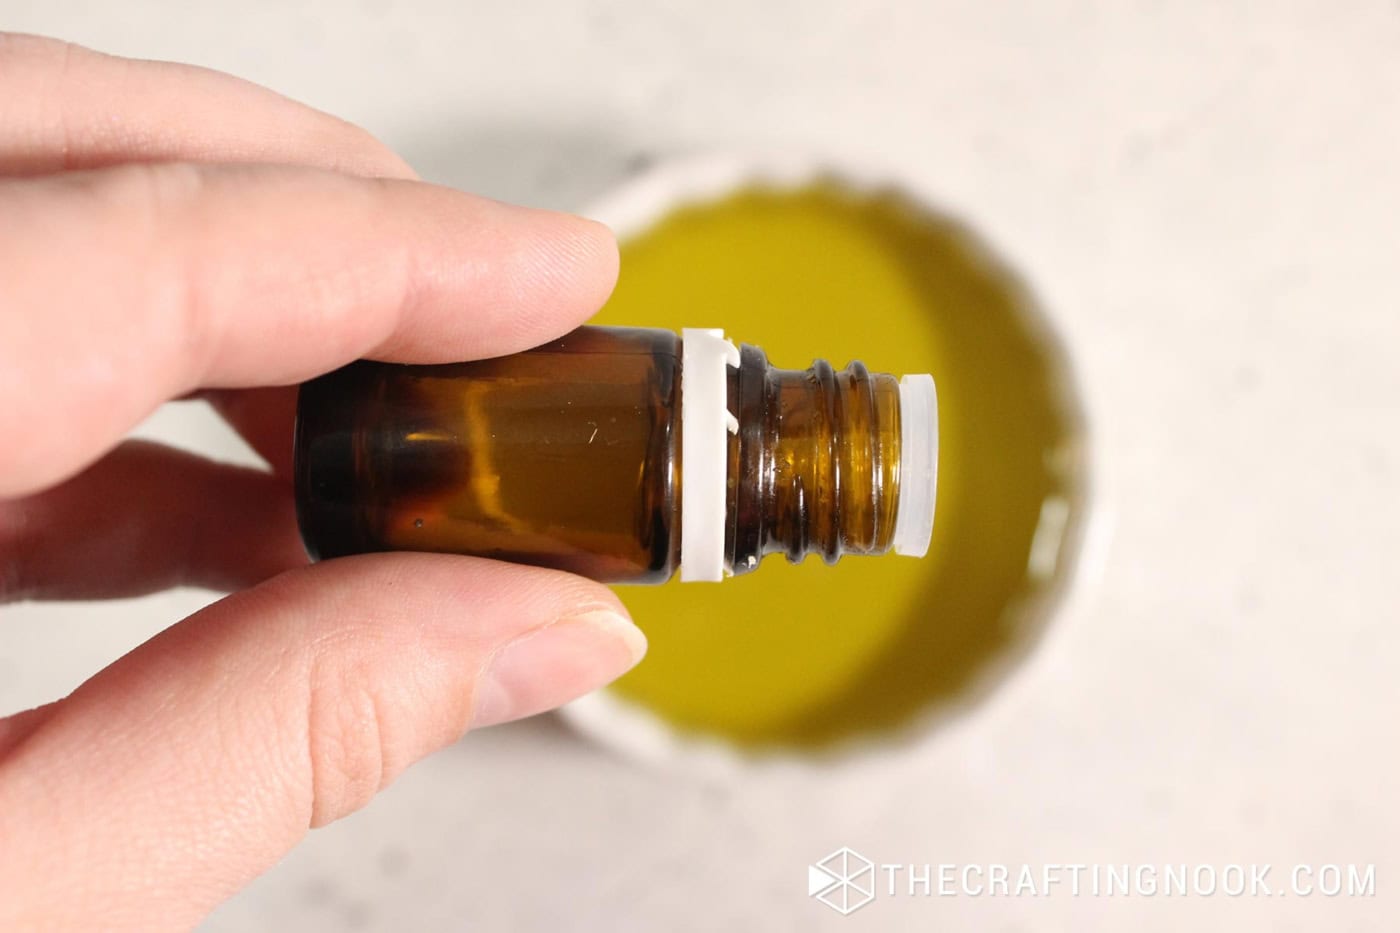
- In a small bowl, mix the carrier oil and essential oils together first. This helps distribute the scent evenly.

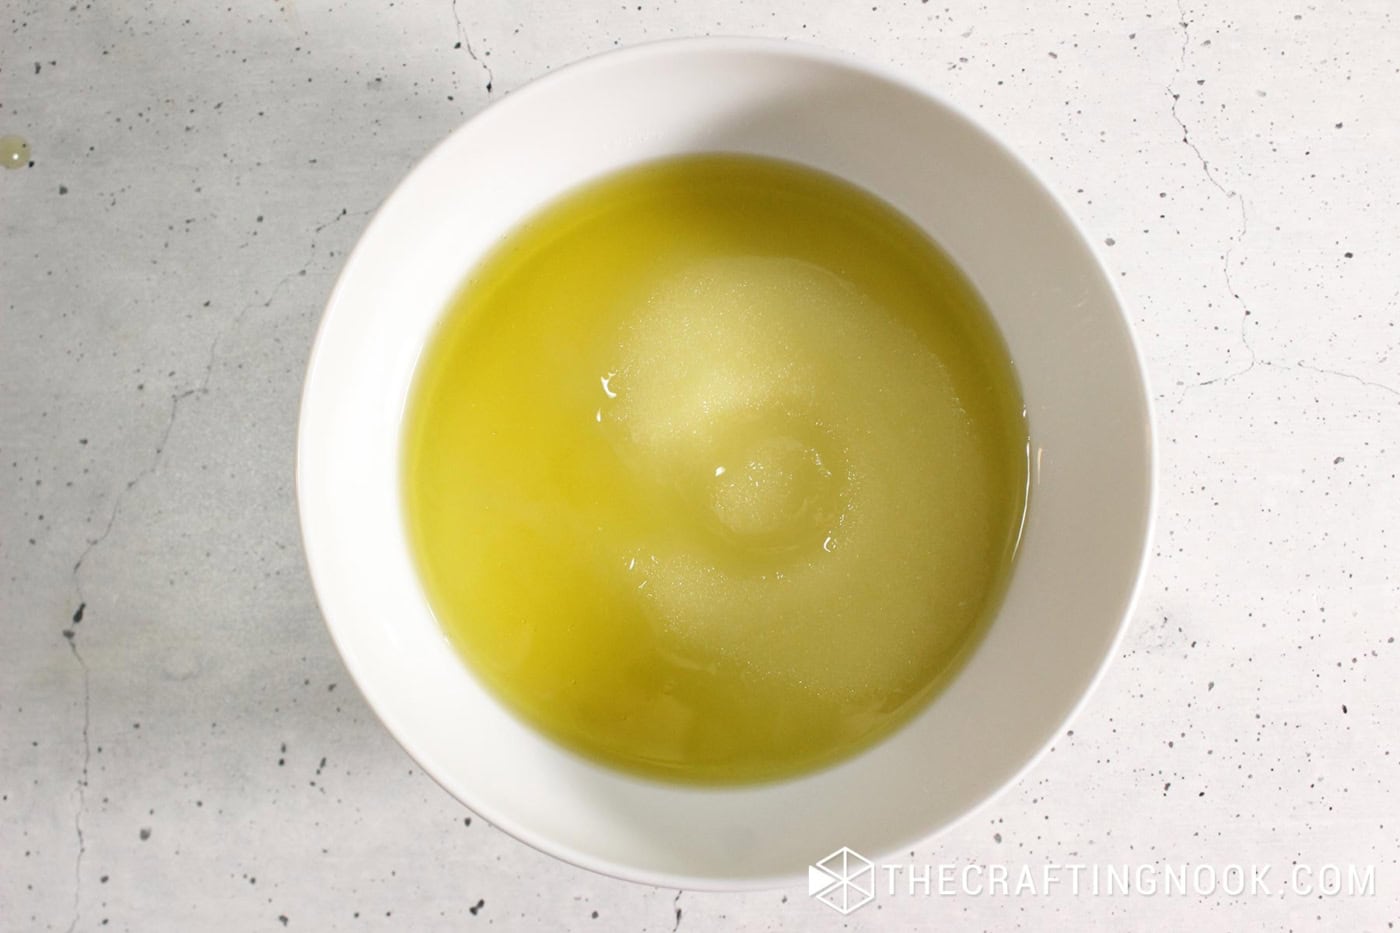
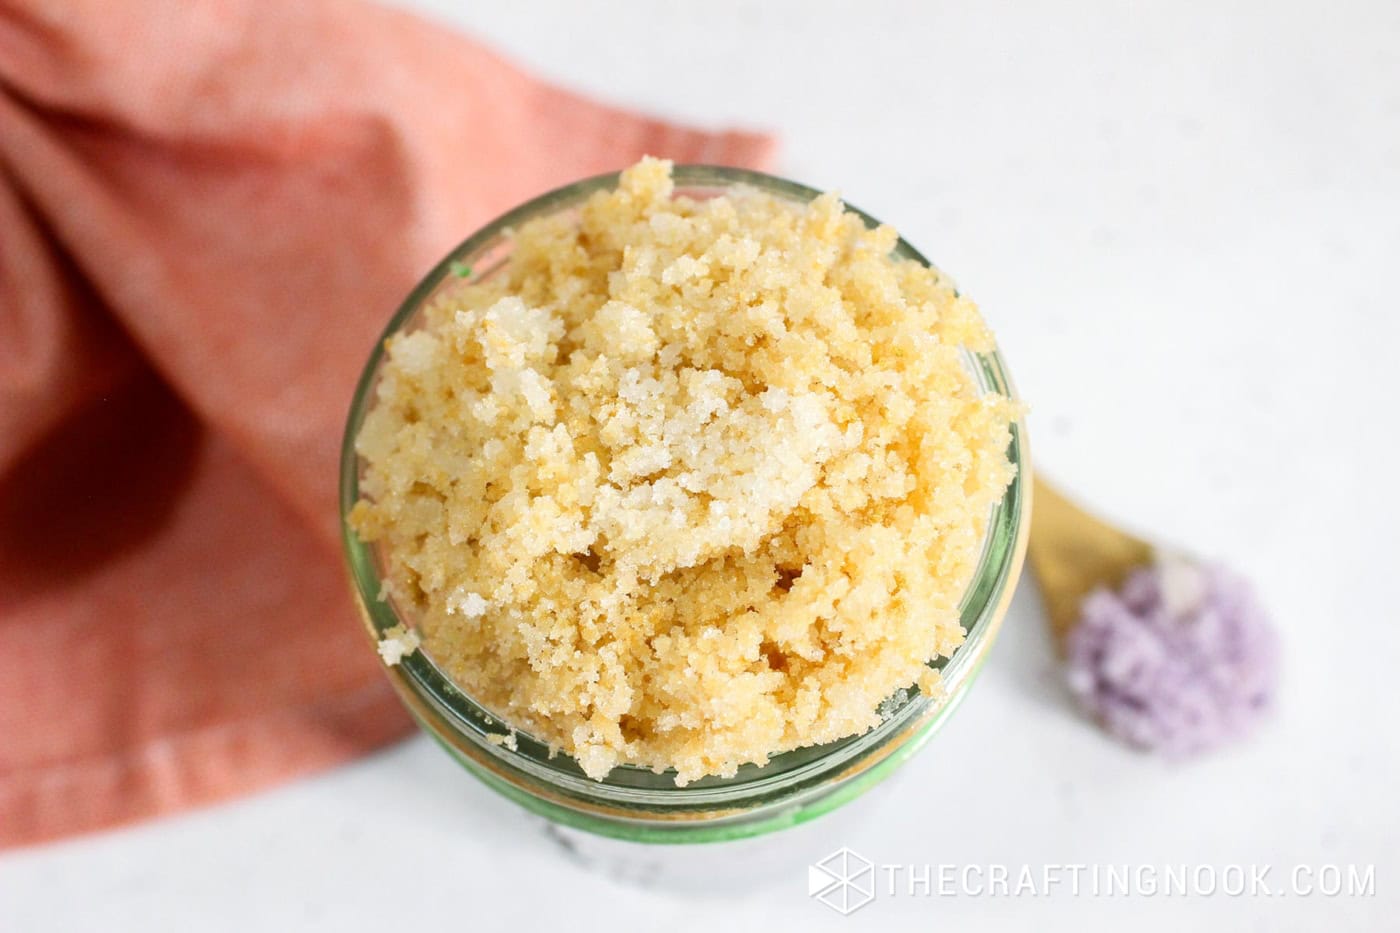
- Pour the oil mixture into the sugar and stir well until everything is fully combined. The texture should look like damp sand. If it feels too dry, add a little more oil (1 teaspoon at a time). If it feels too oily, add a bit more sugar.

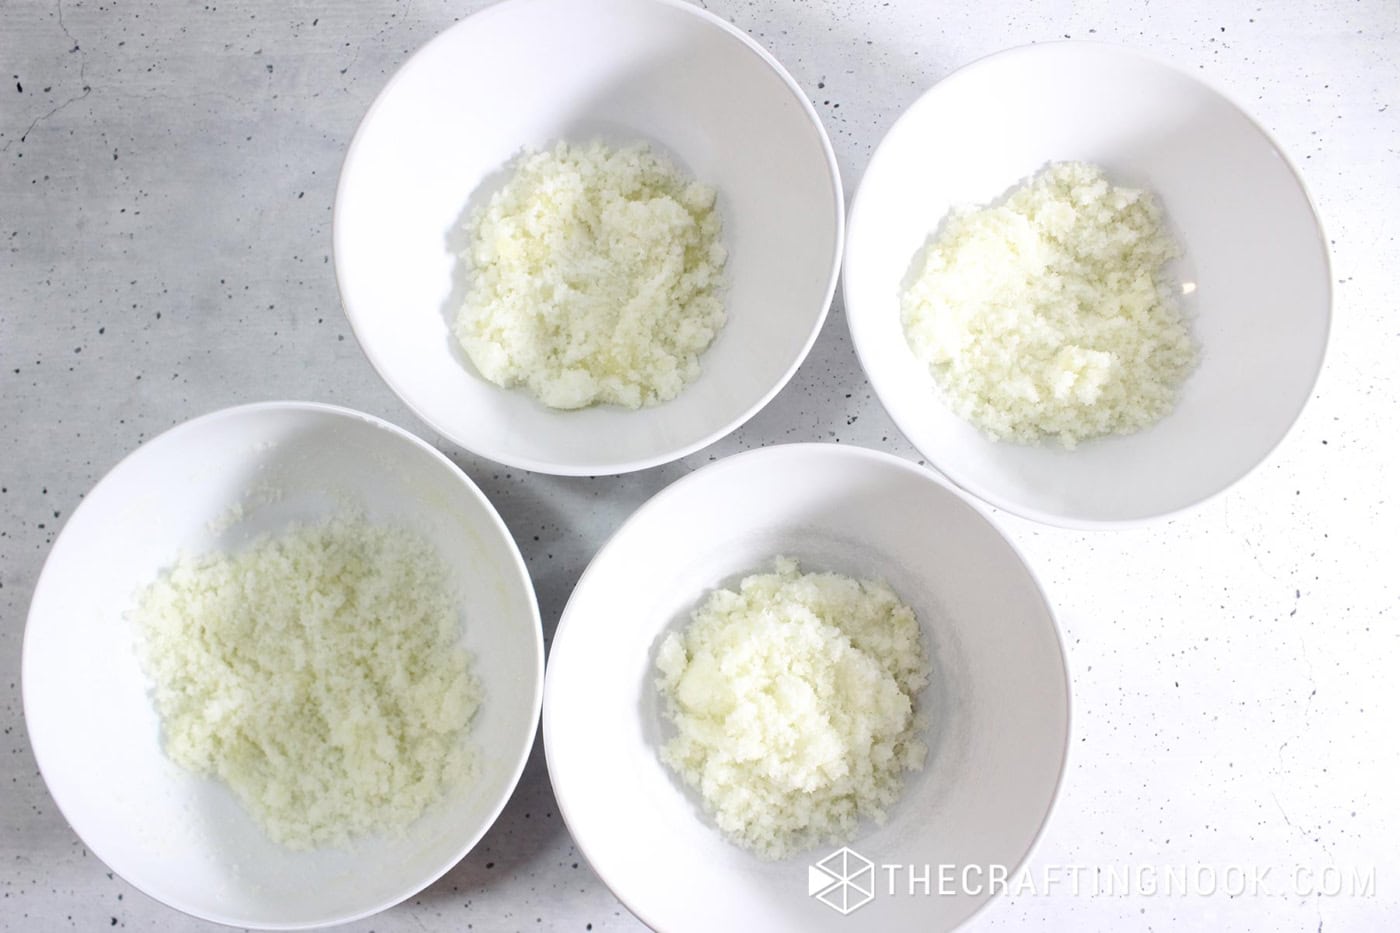
- Divide the sugar mixture evenly into four separate bowls.

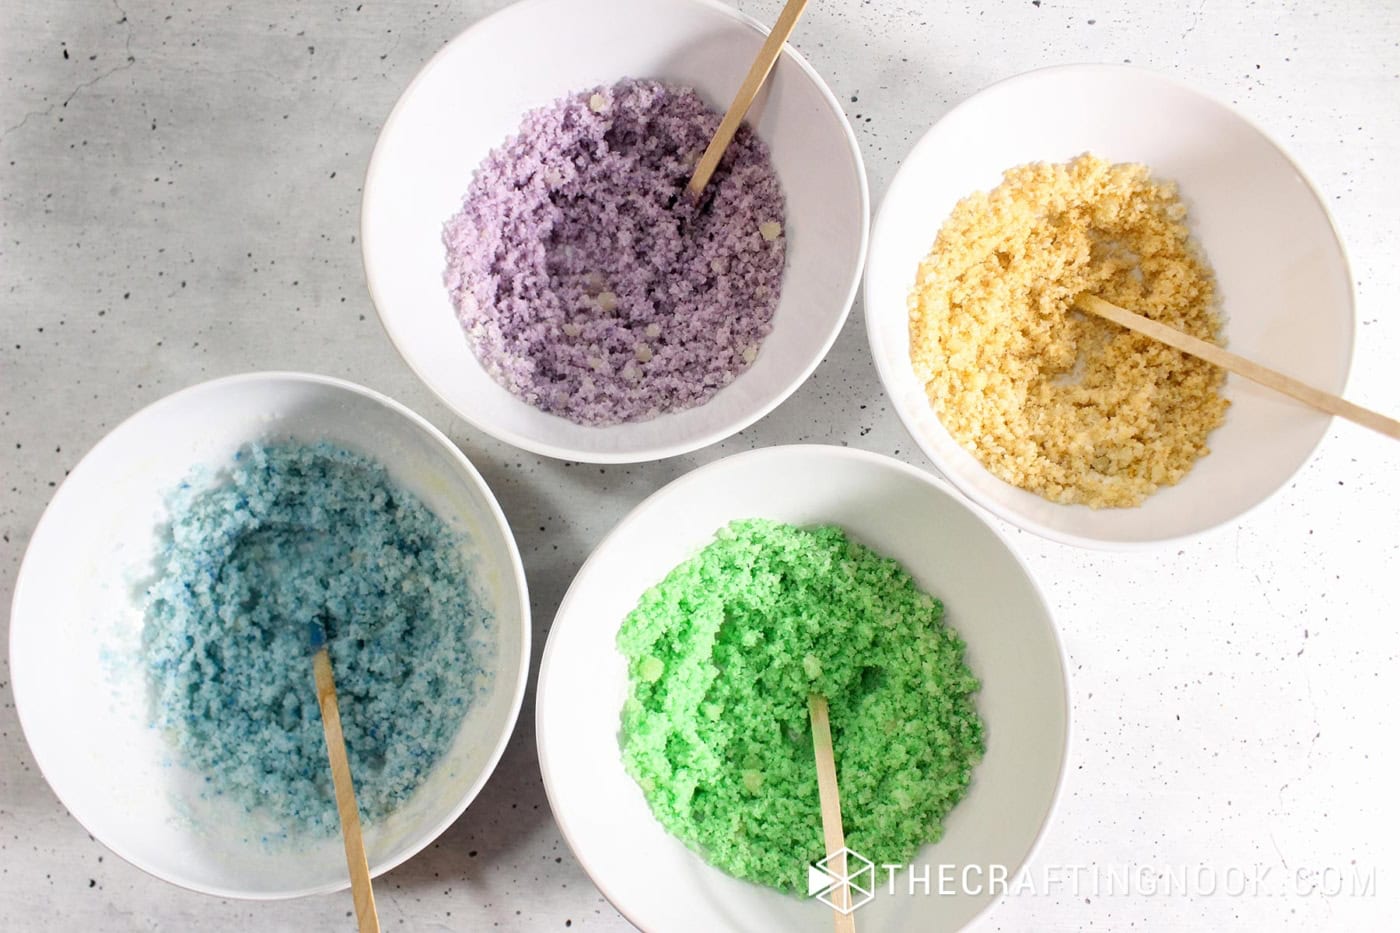
- Add a small amount of cosmetic-grade mica to each bowl and stir until the color is fully blended. Start with a small amount (about ⅛–¼ teaspoon) and build up slowly until you reach your desired shade. Too much mica can transfer color while mixing.

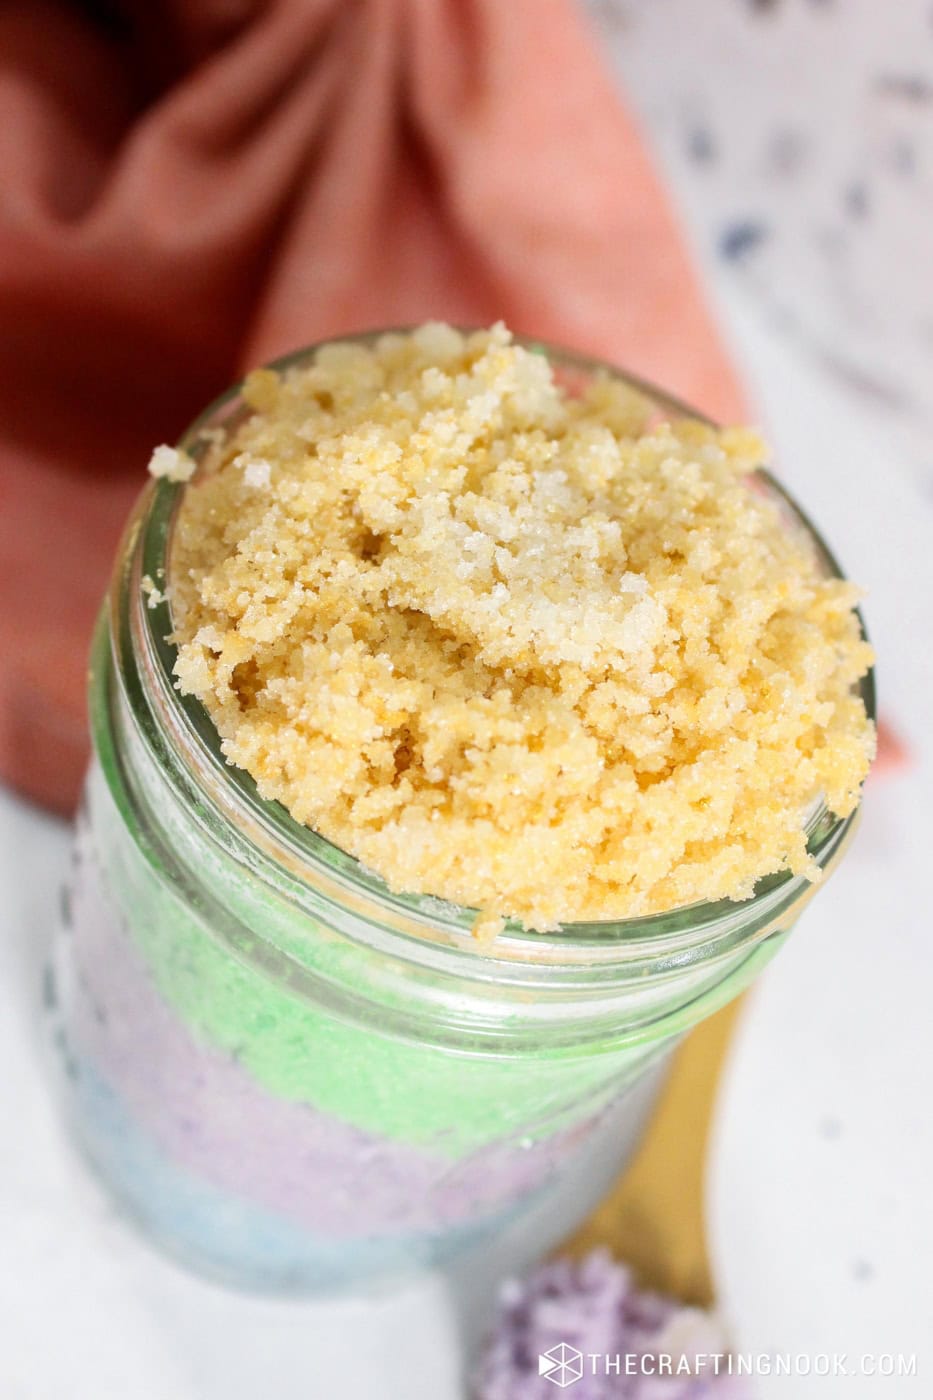
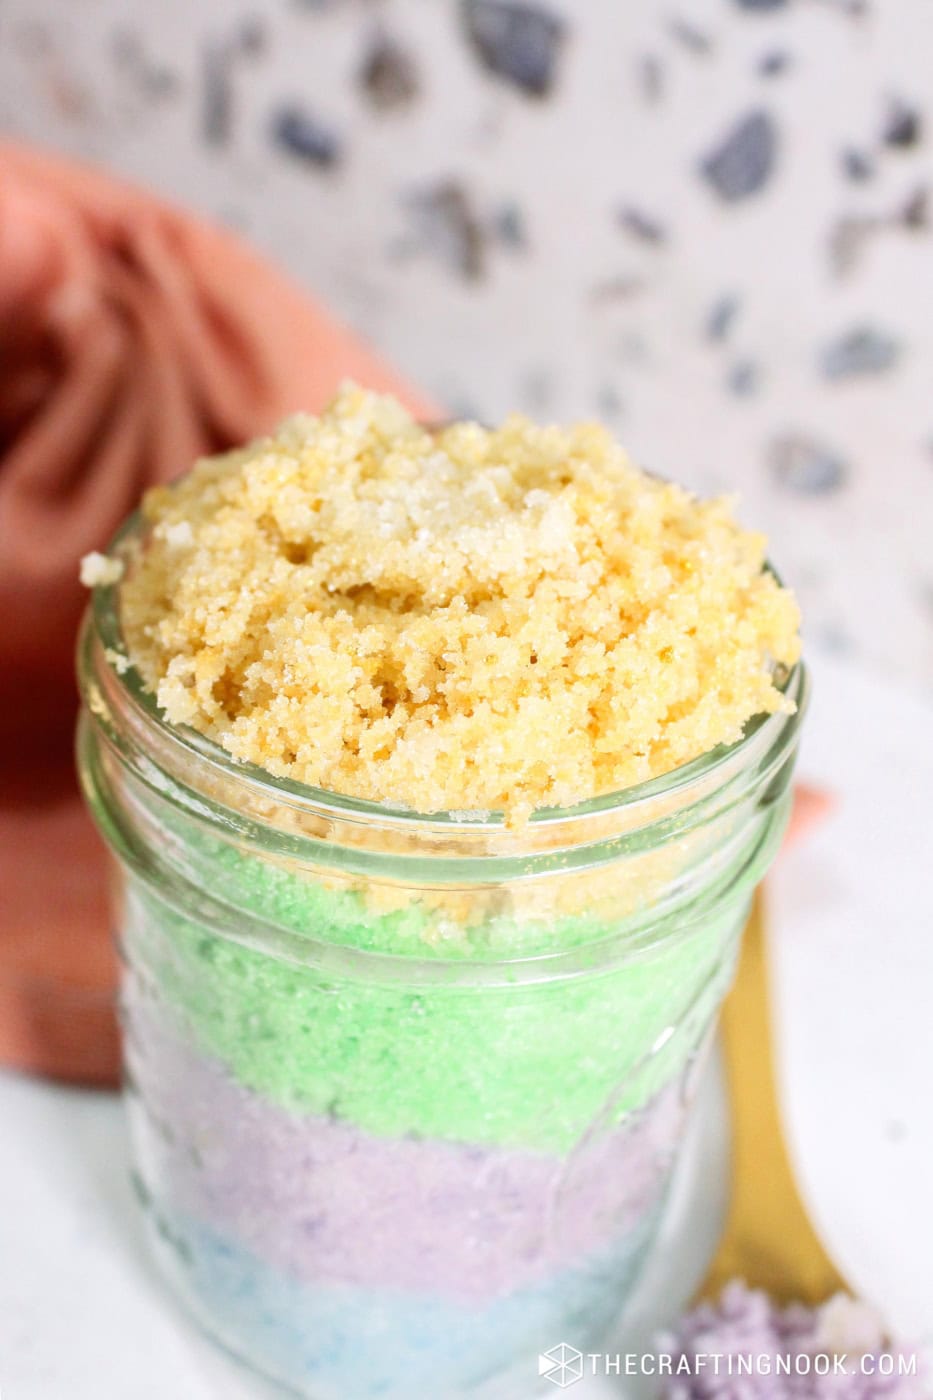
- To create clean layers, spoon one color into the jar at a time. Gently tap the jar on the counter after each layer to level it and reduce air gaps before adding the next color. Work slowly so the layers don’t blend together.

- Seal the jar tightly. If gifting, include a note to keep water out of the jar and to use a clean spoon when scooping.

Helpful Tips
- If you like a firmer scrub, add more sugar. If you prefer a softer consistency, add a bit more oil.
- For the right texture, adjust slowly. Add oil 1 teaspoon at a time if it feels dry, or a little more sugar if it feels too soft.
- Start with a small amount of mica and build up gradually. It’s easier to deepen the shade than to fix one that’s too dark.
- For clean layers, spoon one color at a time and tap the jar gently after each layer to level it before adding the next.
- Use cosmetic-grade mica only. Craft-grade pigments are not meant for skin.
- If gifting, add a small label that says “Keep water out” to help it last longer.
- Always test a small amount on your skin first, especially if you’re using a new essential oil or have sensitive skin.
How to Use and Store Your Sugar Scrub
To use, apply a small amount to damp skin and gently massage in circular motions. Rinse thoroughly with warm water and pat dry. Avoid using on broken or irritated skin.
Because this scrub contains oil, be careful in the shower or tub as surfaces may become slippery.
Store it in an airtight jar and keep water out of the container. Use a clean spoon instead of wet hands to scoop it out. When stored properly, it can last about 2–3 months.
Alternatives and Substitutions
- Coconut oil works well, but you can also use sweet almond oil, jojoba oil, olive oil, avocado oil, or grapeseed oil, depending on what you prefer or already have.
- White sugar gives a classic texture. Brown sugar is softer and gentler on sensitive skin. Cane sugar works too.
- Try lemon or grapefruit for something fresh, peppermint for something cooling, or chamomile for a softer blend.
- Cosmetic-grade mica gives the most vibrant and stable color. For plant-based alternatives, try beetroot powder (pink), turmeric (yellow), or matcha powder (green). Always test small batches first, as natural powders can tint the jar and fade over time.
- A glass jar looks beautiful, but small plastic or silicone travel containers work well if you want something more portable.
Frequently Asked Questions
I don’t recommend it for a scrub you plan to use. Liquid food coloring can stain skin, towels, and surfaces. Cosmetic-grade mica is more stable and designed for body products. If the scrub is purely decorative, test a small batch first.
You can, but salt is more abrasive and may feel harsh on sensitive skin. Sugar is generally gentler and better for regular use.
Sugar is typically gentler than salt, but essential oils can sometimes cause irritation. Always test a small amount on your skin first, especially if trying a new oil blend.
Yes. You can leave it unscented or use a skin-safe fragrance oil if you prefer.
So, grab your sugar and oils, and let’s start layering some spring cuteness into a jar! If you try this, let me know how it turns out—I’d love to hear what scent combinations and colors you used!
More Self-Care Projects and Gifts To Try
If you enjoyed this Easy homemade Sugar Scrub recipe, you might also love these other gift project ideas too:
✂️ Tutorial
DIY Easy Sugar Scrub for Easter and Spring
Tools
- A mason jar or any cute jar.
- Wooden spoon or rubber spatula
- Wooden sticks
Supplies
- 1 cup sugar
- ¼ cup carrier oil
- 1 tsp of 4 mica powders pastel colors
- 10 drops essential oil
Instructions
- In a small bowl, mix the carrier oil and essential oils together first. This helps distribute the scent evenly.
- Pour the oil mixture into the sugar and stir well until everything is fully combined. The texture should look like damp sand. If it feels too dry, add a little more oil (1 teaspoon at a time). If it feels too oily, add a bit more sugar.
- Divide the sugar mixture evenly into four separate bowls.
- Add a small amount of cosmetic-grade mica to each bowl and stir until the color is fully blended. Start with a small amount (about ⅛–¼ teaspoon) and build up slowly until you reach your desired shade. Too much mica can transfer color while mixing.
- To create clean layers, spoon one color into the jar at a time. Gently tap the jar on the counter after each layer to level it and reduce air gaps before adding the next color. Work slowly so the layers don’t blend together.
- Seal the jar tightly. If gifting, include a note to keep water out of the jar and to use a clean spoon when scooping.
Notes
- If you like a firmer scrub, add more sugar. If you prefer a softer consistency, add a bit more oil.
- Add dried flower petals (like lavender or rose) for a more luxurious feel.
- Test on a small patch of skin first, especially if you have sensitive skin or are using a new essential oil.
PIN AND SHARE ME!!!

Til’ next time…


FREE WORKBOOK
Keeping your Sweet Home Organized
Learn how to create intentional habits and simple routines to Keep Your Home Organized. Plus freebies, printables, exclusive content, and tips.
Disclaimer: By clicking on the “Yes” button above you are giving me your consent to collect and use your information according to the law and My Policy Privacy. Zero Spam I promise!
