DIY Rhinestone Christmas Ornaments Filled with Feathers
This post may contain affiliate links. Please read our Disclosure Policy.
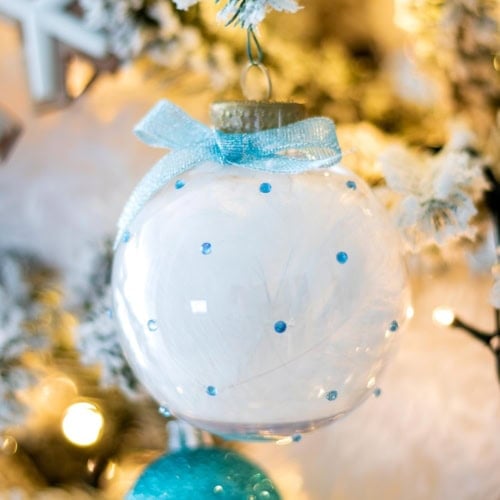
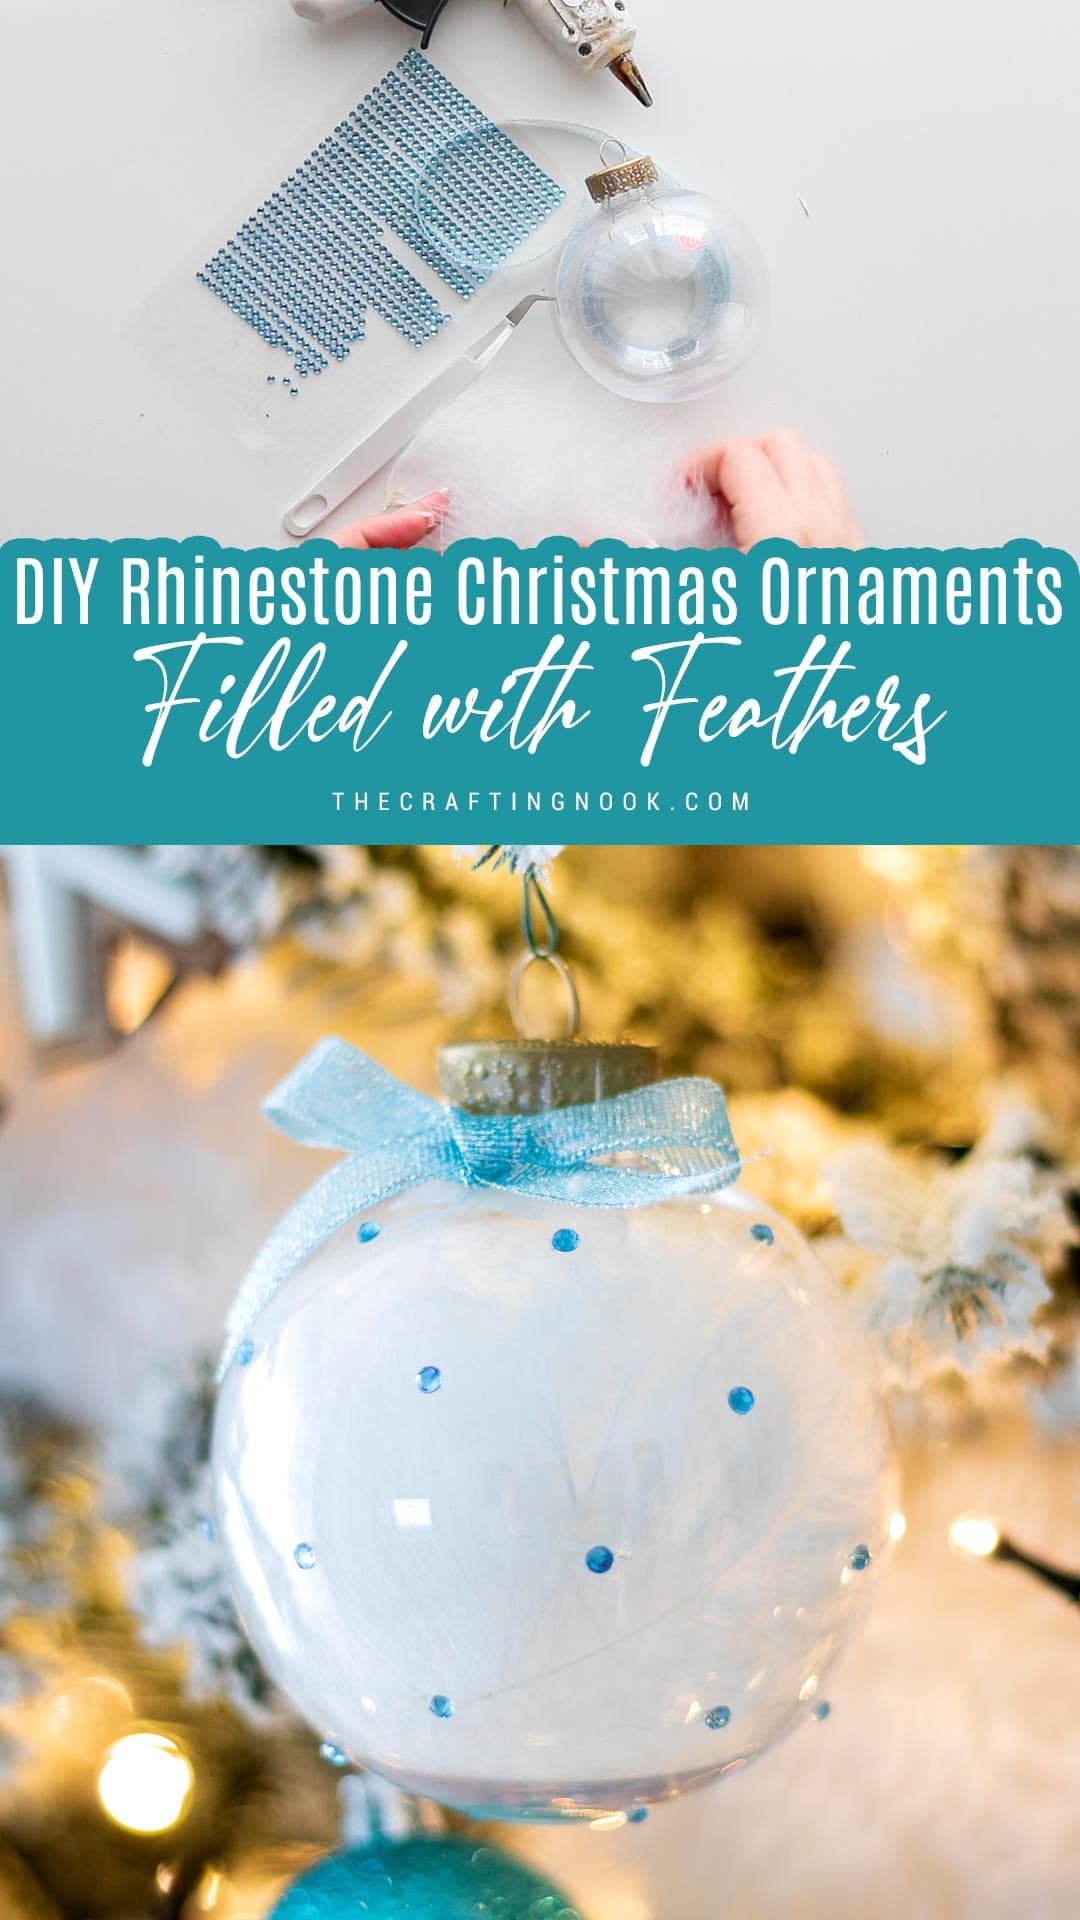
Make delicate Rhinestone Christmas Ornaments with feathers and a cute bow! A perfect project to add magic to a pink and/or blue holiday decor.
This DIY ornament is perfect for anyone who loves adding a soft, magical touch to their holiday decor. With just a few supplies, you’ll have a stunning, feather-filled ornament that sparkles with rhinestones and is finished off with a dainty blue bow.
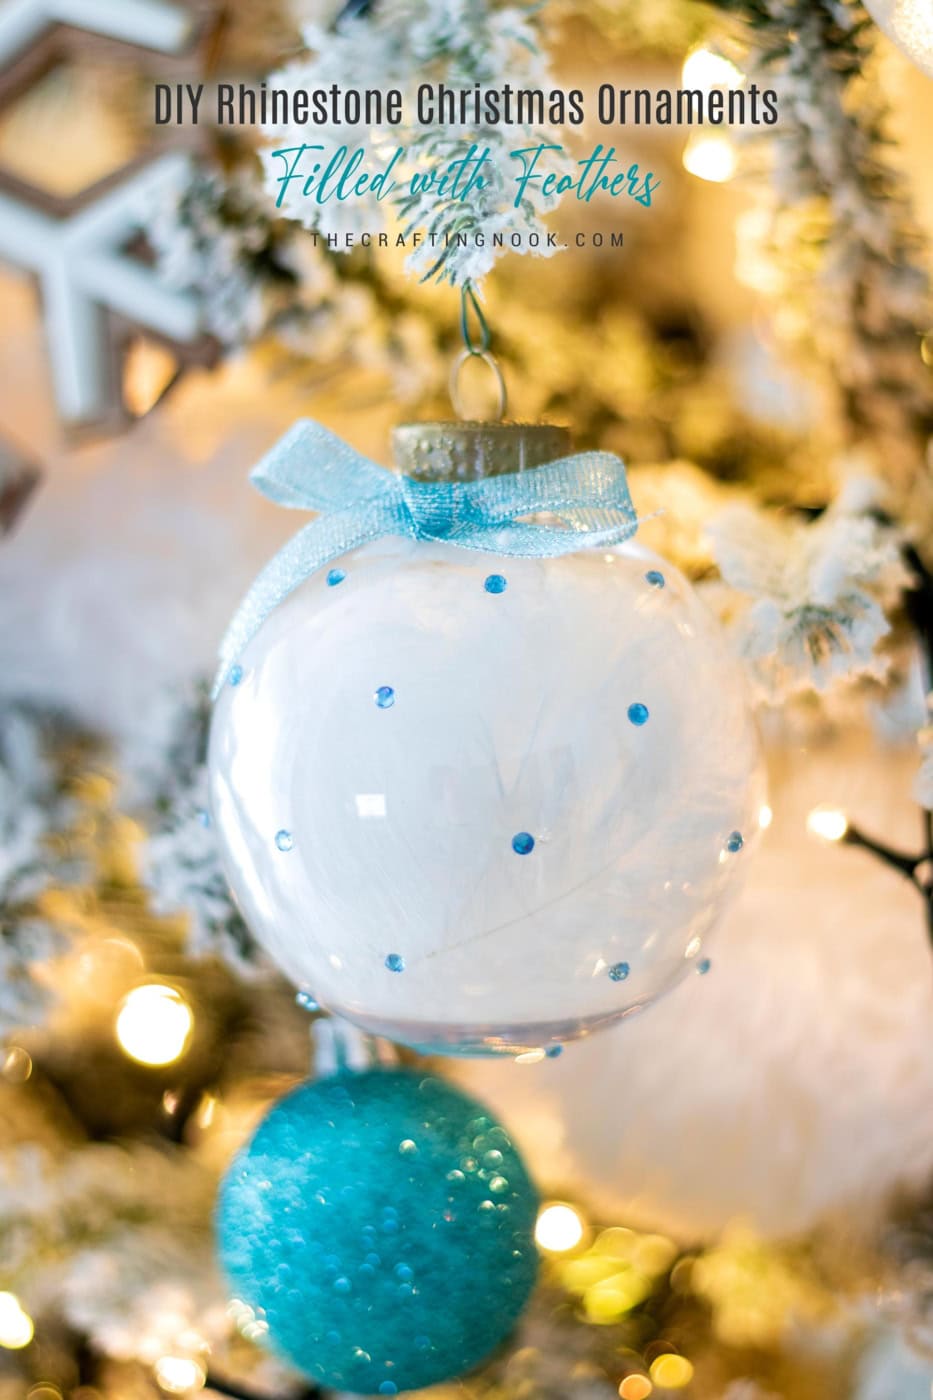
Table of Contents
Christmas Feather-Filled Rhinestone Ornaments
The holidays always bring out that creative spark, don’t they? There’s just something about trimming the tree with ornaments you’ve made yourself that feels so much more personal than store-bought decor.
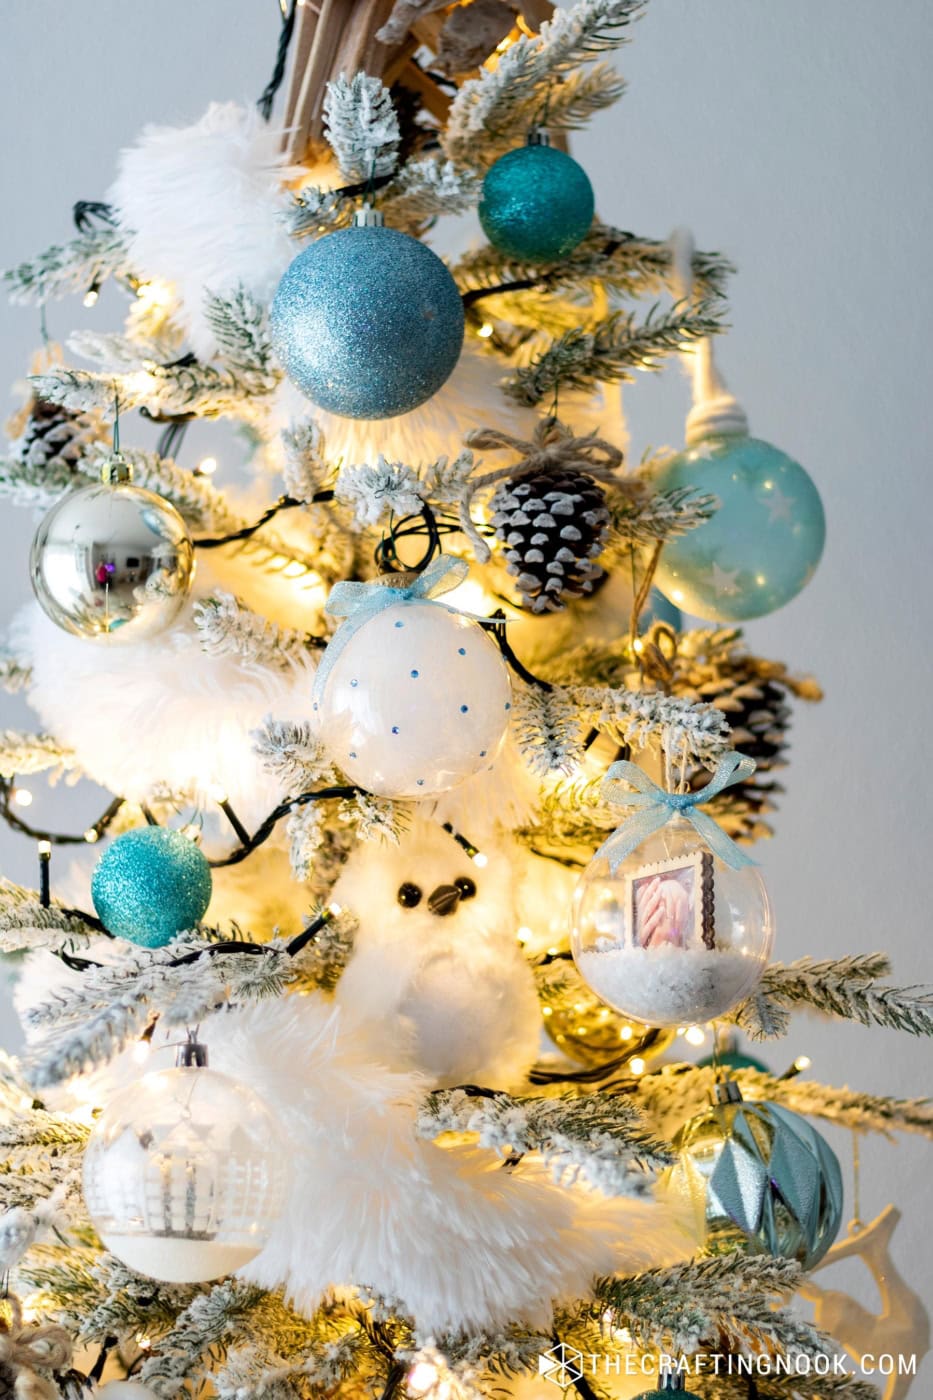
This year, I decided to try something a bit softer and more whimsical—a delicate, feather-filled ornament with a sprinkle of rhinestone sparkle and a little blue bow on top.
It’s the kind of decoration that adds a dreamy, cozy vibe to the tree, especially when paired with other homemade touches.
If you’re like me and love adding little handmade details to each branch, this project might just be the perfect addition to your collection. It’s a quick and easy DIY, but the end result looks so elegant, almost like a tiny snow globe captured inside a clear ornament.
How to Make a Feather-Filled Rhinestone Ornaments
Supplies:
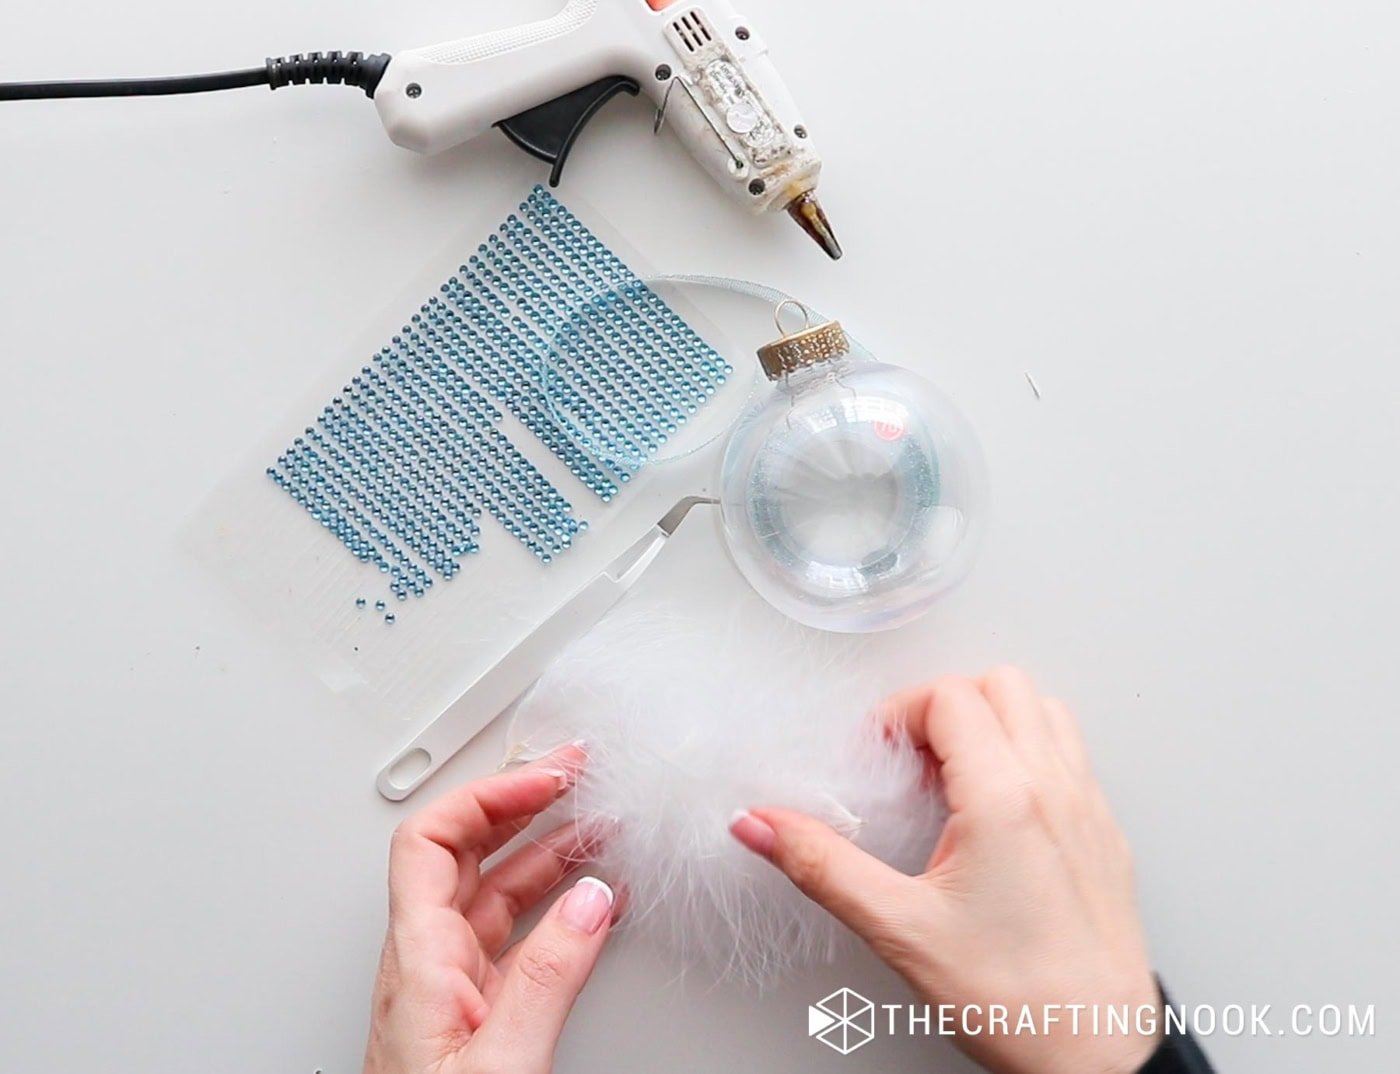
- Clear plastic or glass ornament (fillable)
- Small white feathers
- Self-adhesive rhinestones (tiny, blue, or whatever matches your color scheme)
- Blue organza ribbon (for the bow)
- Small glue dots or hot glue (optional, for securing the ribbon)
Tools:
- Tweezers
- Hot Glue Gun and Glue Sticks
Instructions:
Step 1: Open and Prepare Your Ornament
Start by carefully opening the top of your clear ornament and cleaning well with alcohol to remove grease and dust.
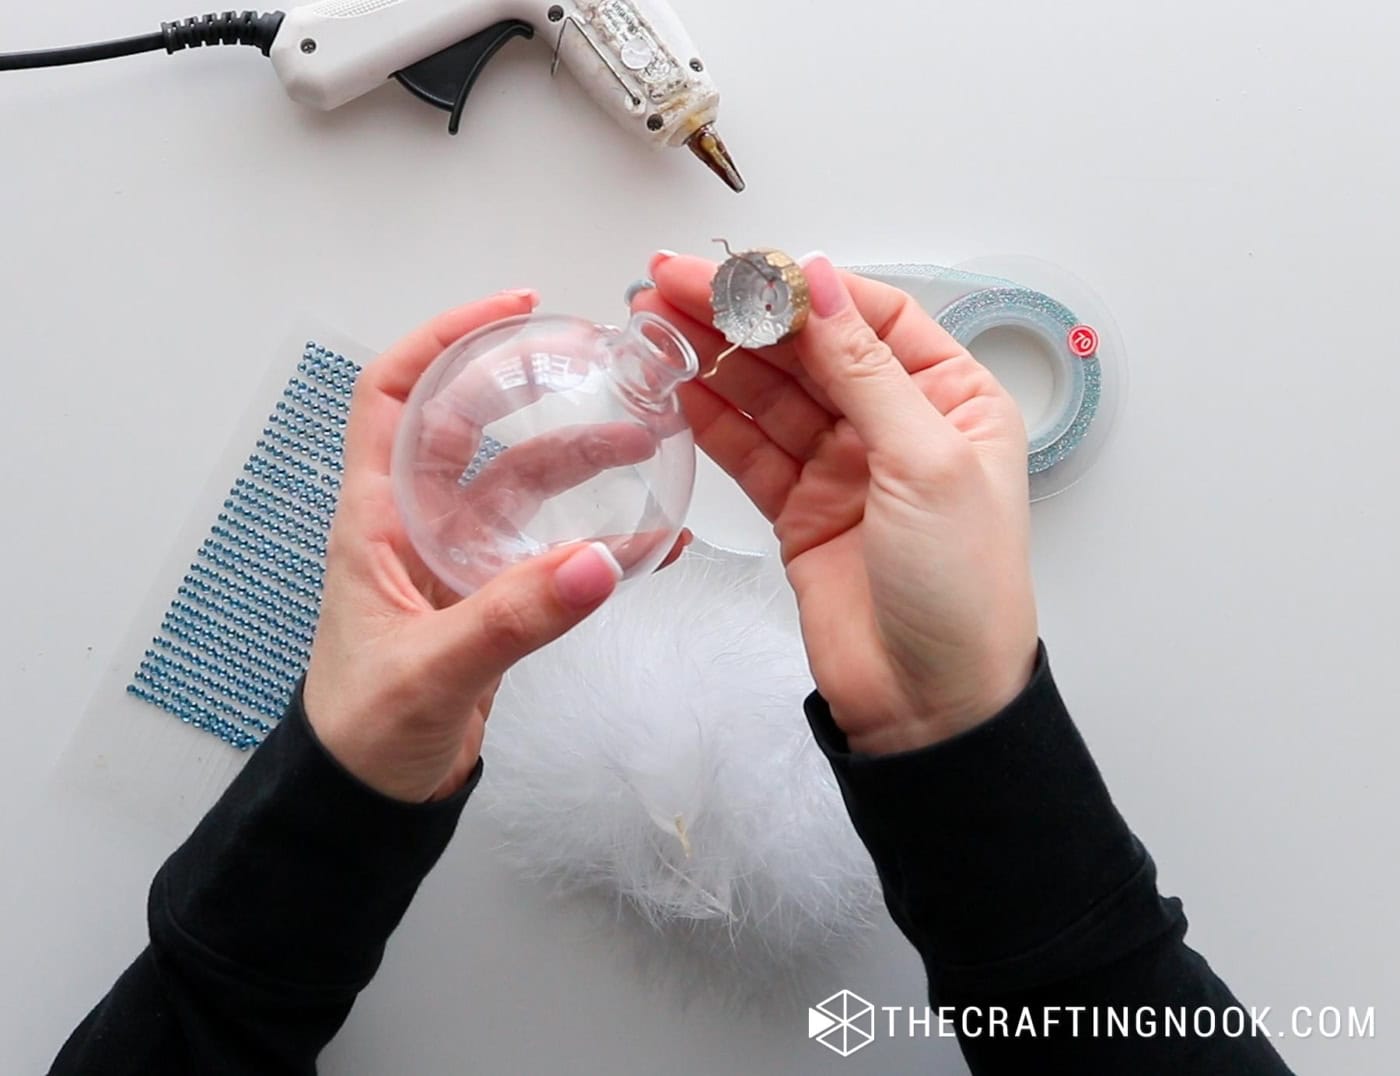
Most fillable ornaments have a removable top that makes it easy to add in decorative elements. Just a gentle twist should do it, but if it feels stuck, be cautious not to crack the ornament.
Step 2: Add the Feathers
Gently insert the white feathers into the ornament. The goal is to create a soft, cloud-like effect that fills up about half to three-quarters of the ornament, depending on how full and fluffy you want it to look.
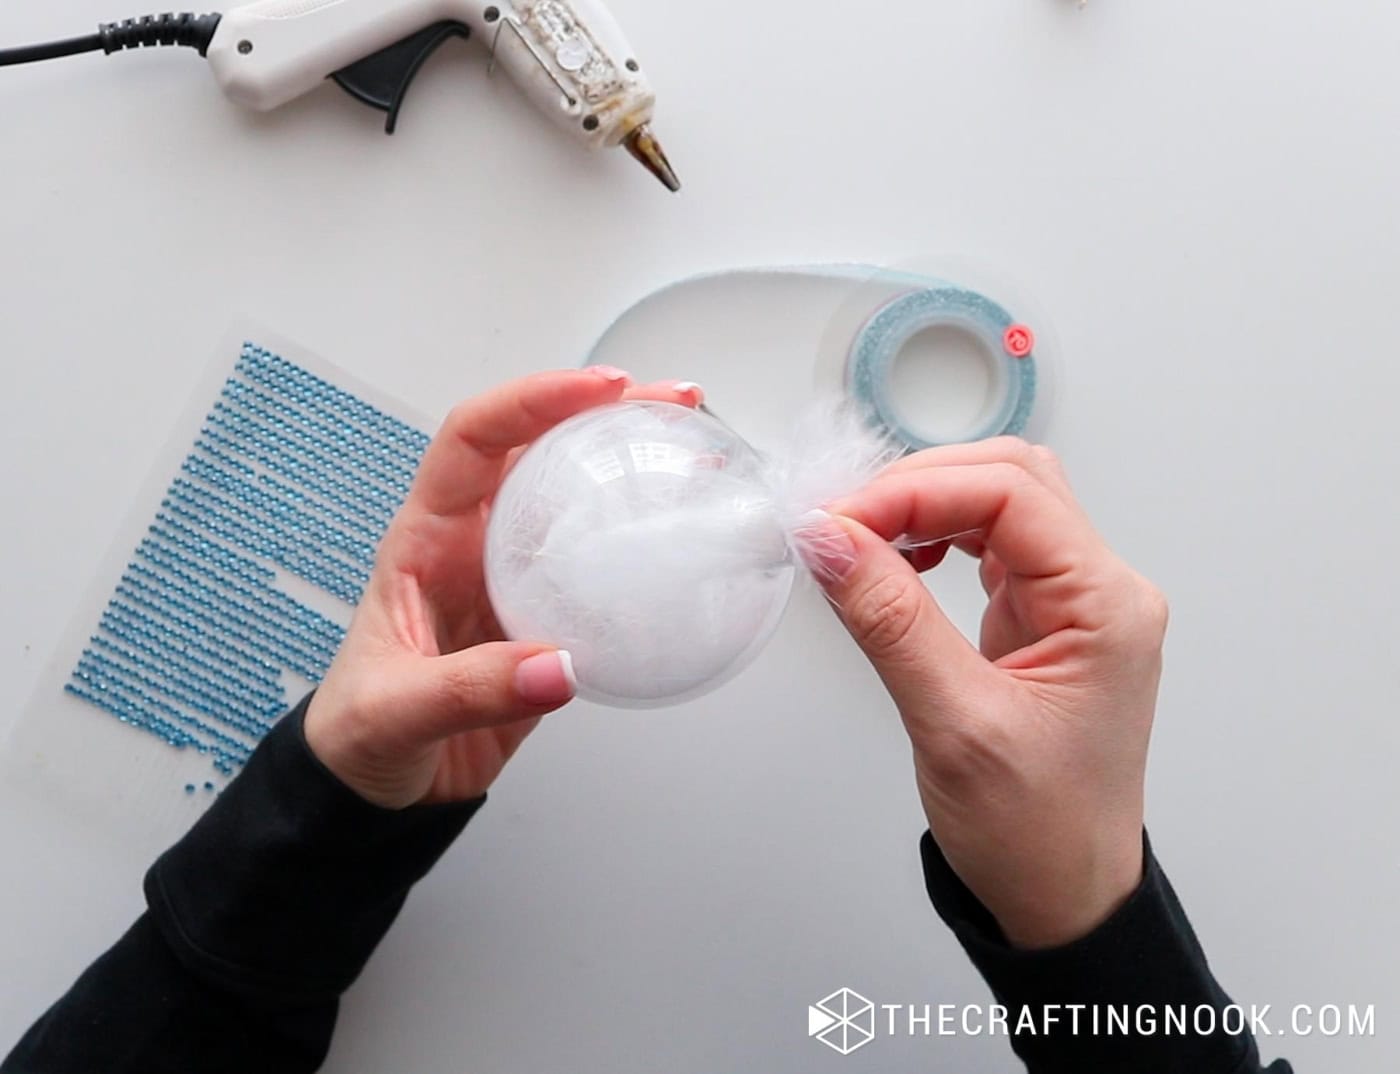
If the feathers are a bit too big, you can trim them down, but keeping them fluffy will give a cozy, snowy effect inside the ornament.
Step 3: Close the Ornament
Once you’re happy with how the feathers are arranged, go ahead and put back the top of the ornament.
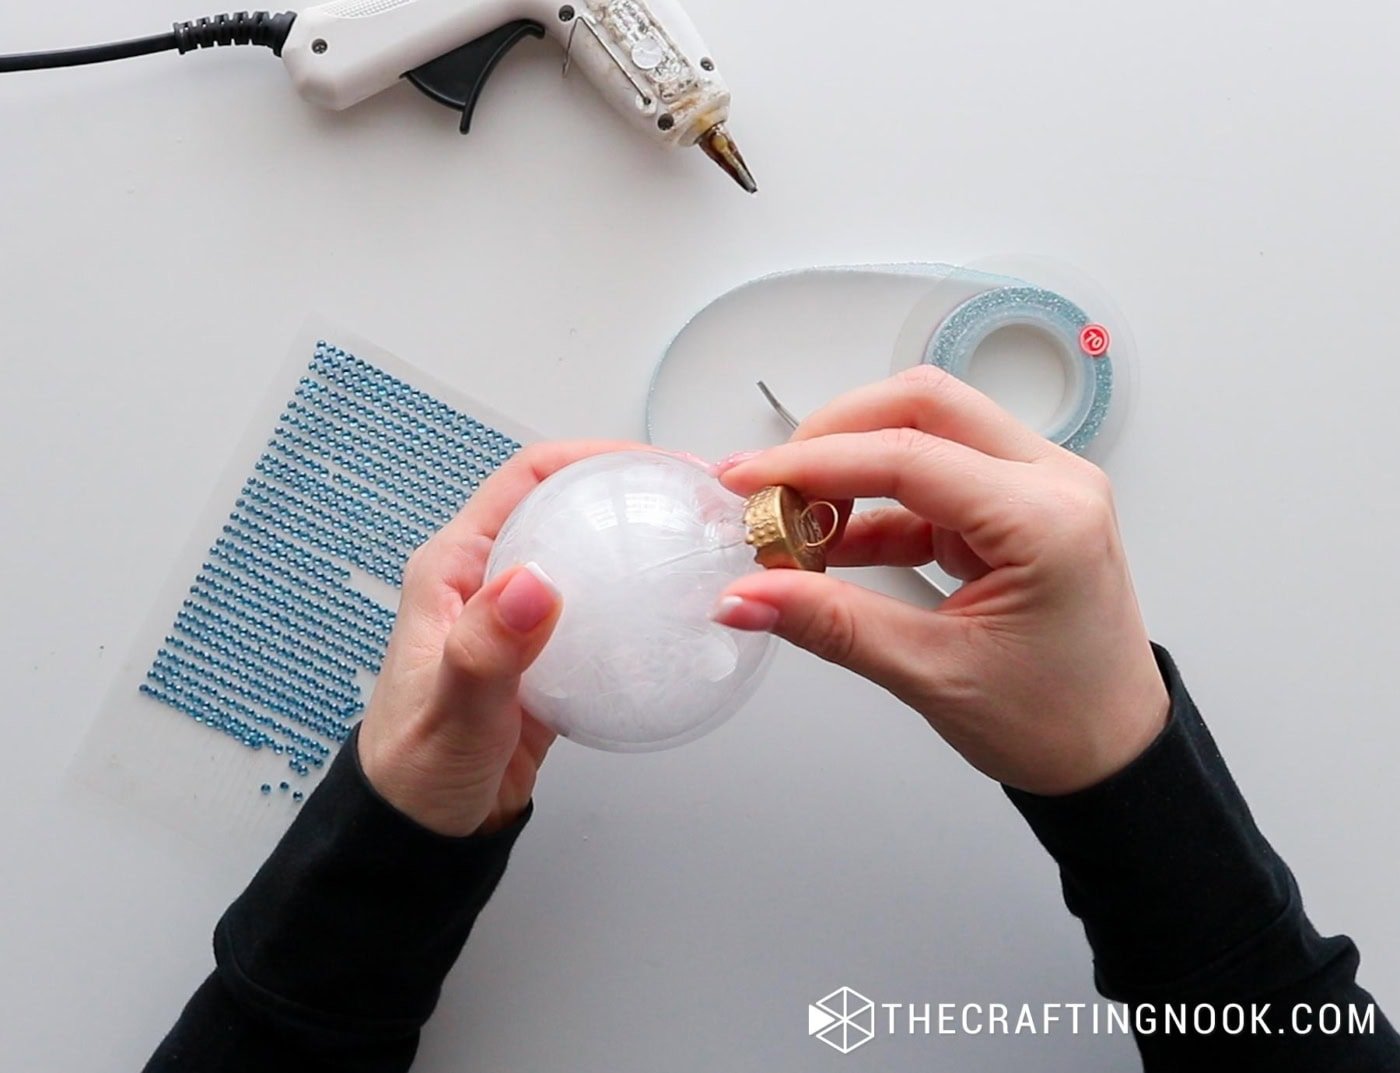
Give it a gentle shake to settle the feathers if needed, but don’t worry too much about perfection. The slight randomness is part of the magic!
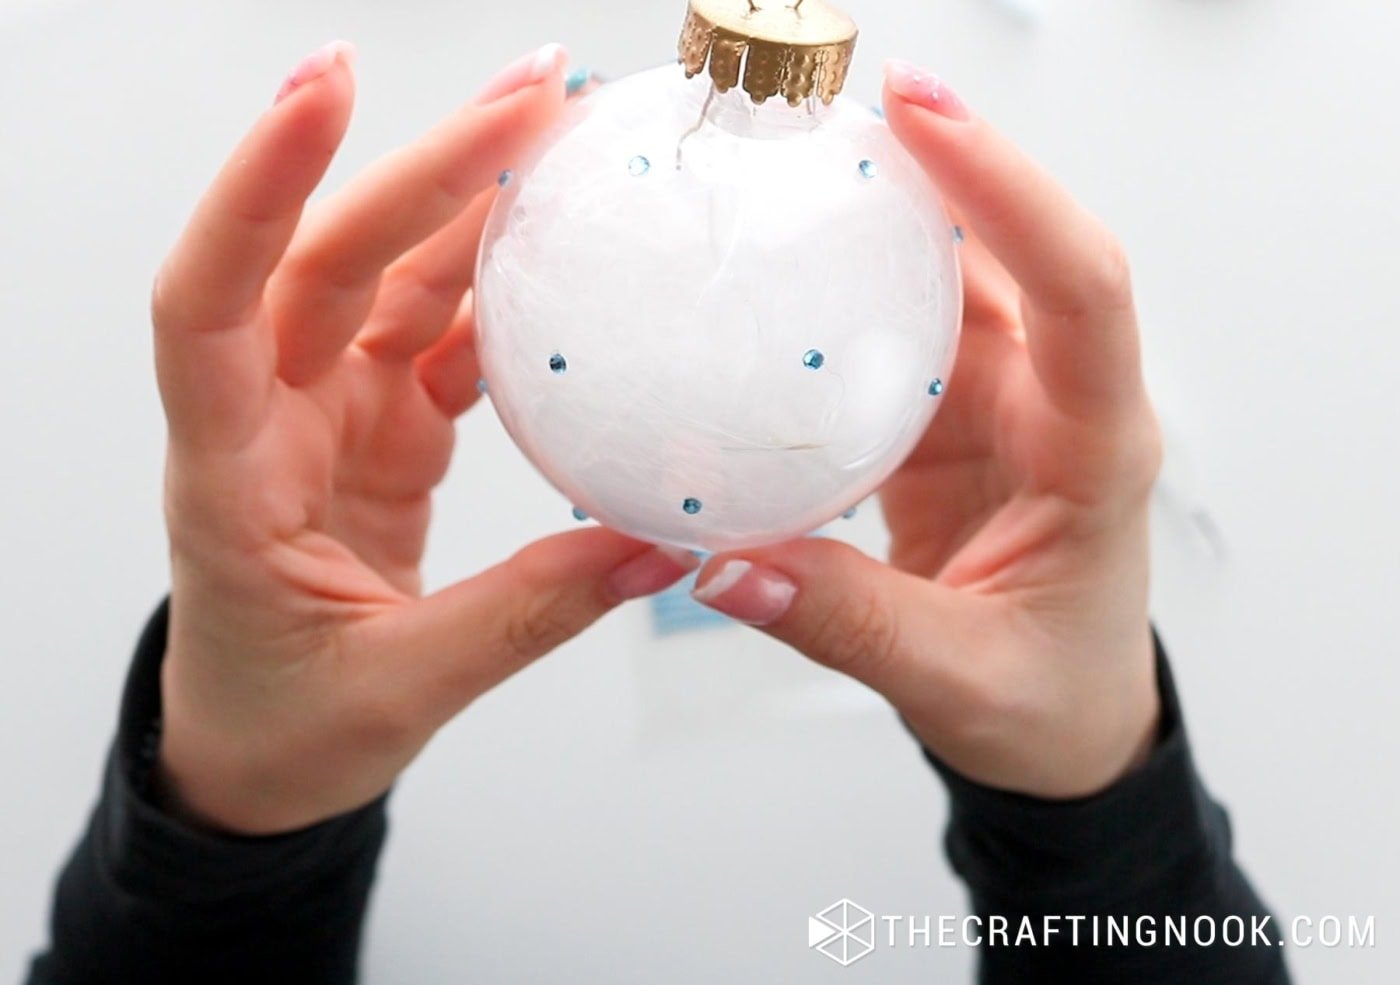
Step 4: Decorate with Rhinestones
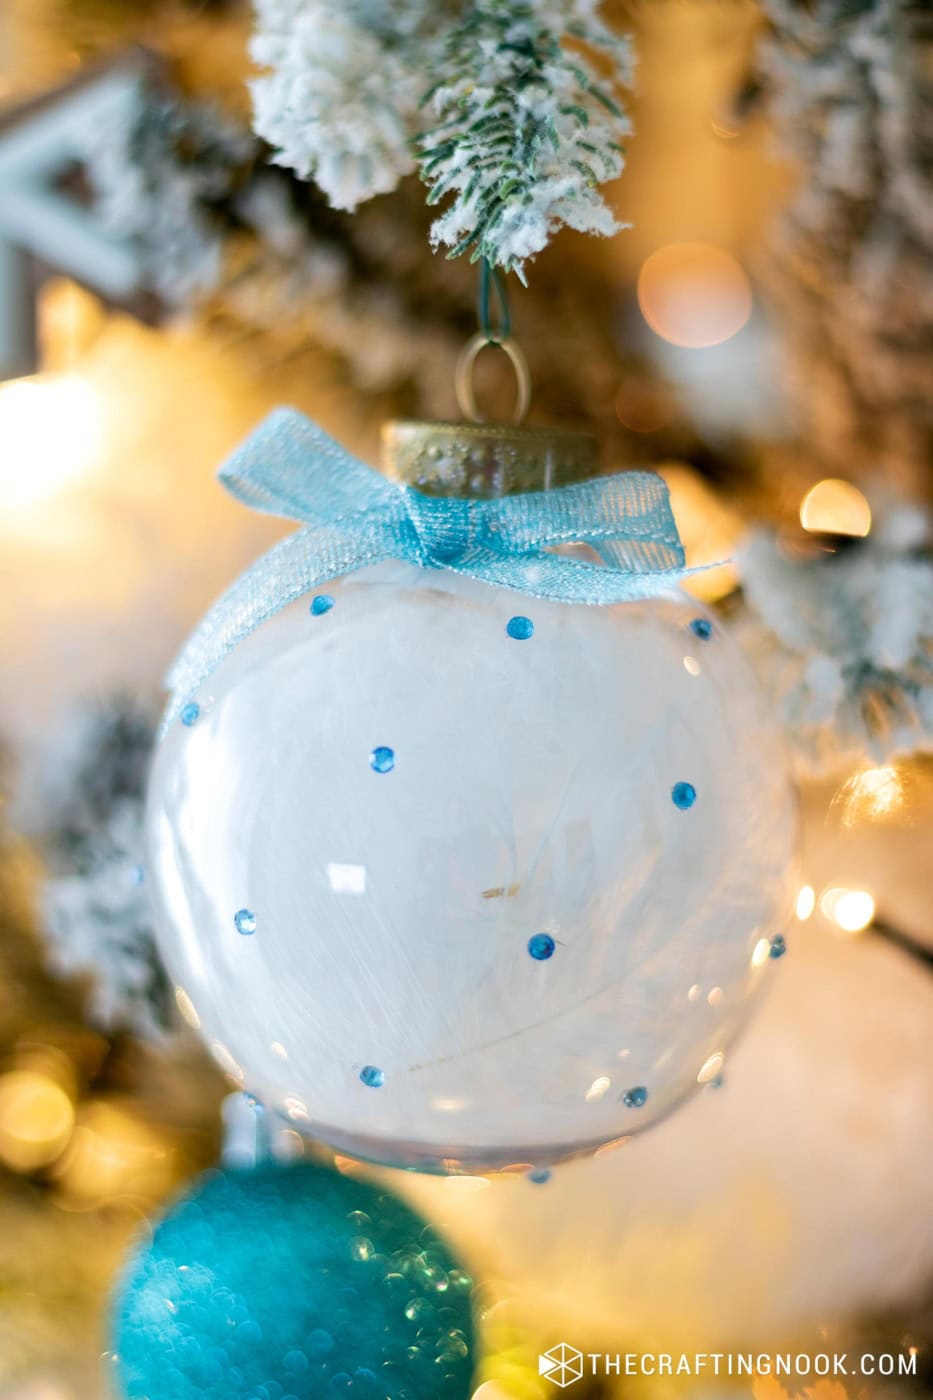
Take your tiny self-adhesive rhinestones with your tweezers and carefully place them around the outside of the ornament. You can arrange them randomly for a scattered, sparkly look or follow a specific pattern if you like.
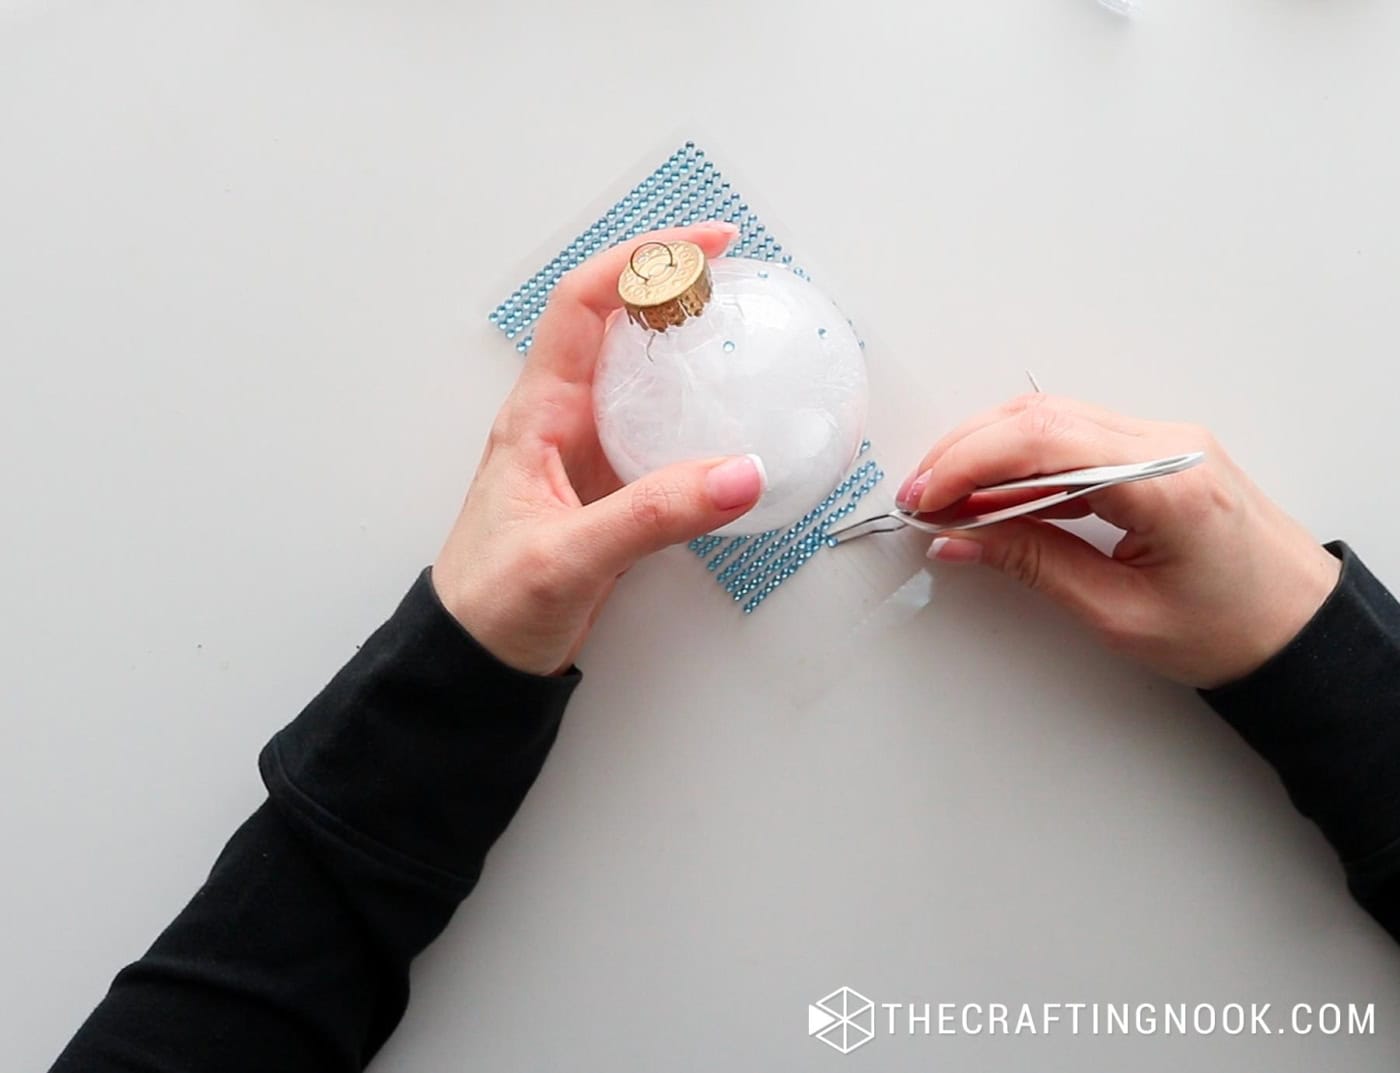
Just press each rhinestone onto the ornament’s surface, and they should stick easily.
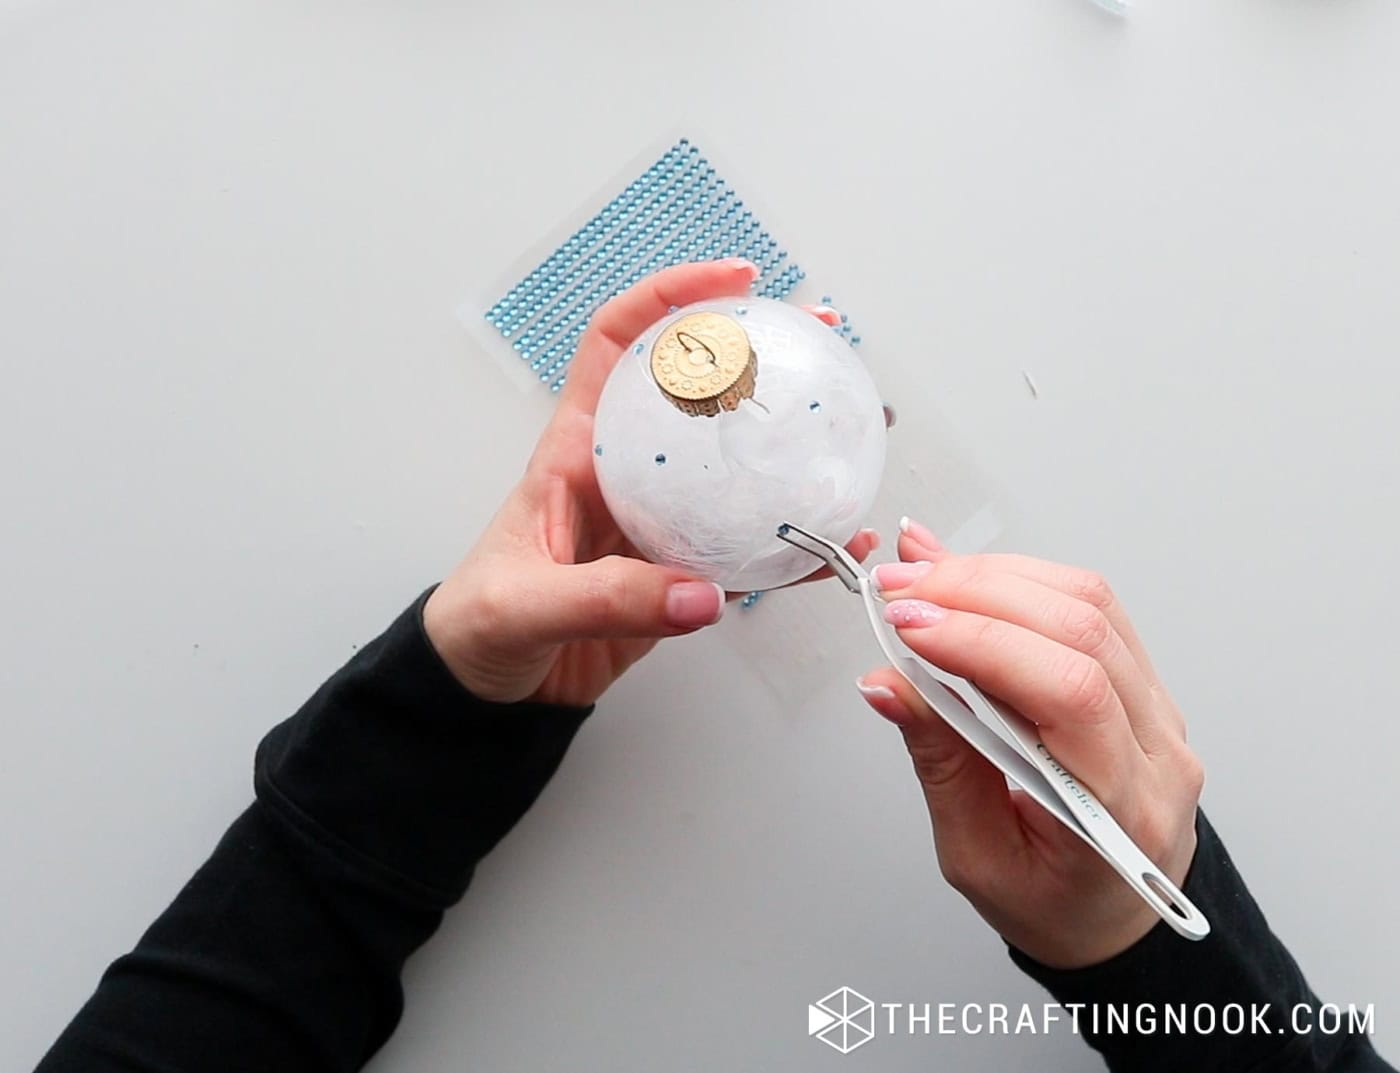
Pro Tip: If you’re worried about the rhinestones staying put, add a teeny-tiny dot of clear glue before sticking them down for extra hold.
Step 5: Add the Bow
To finish off your ornament, tie a small, neat bow with your blue organza ribbon. Make it as big or as small as you like.
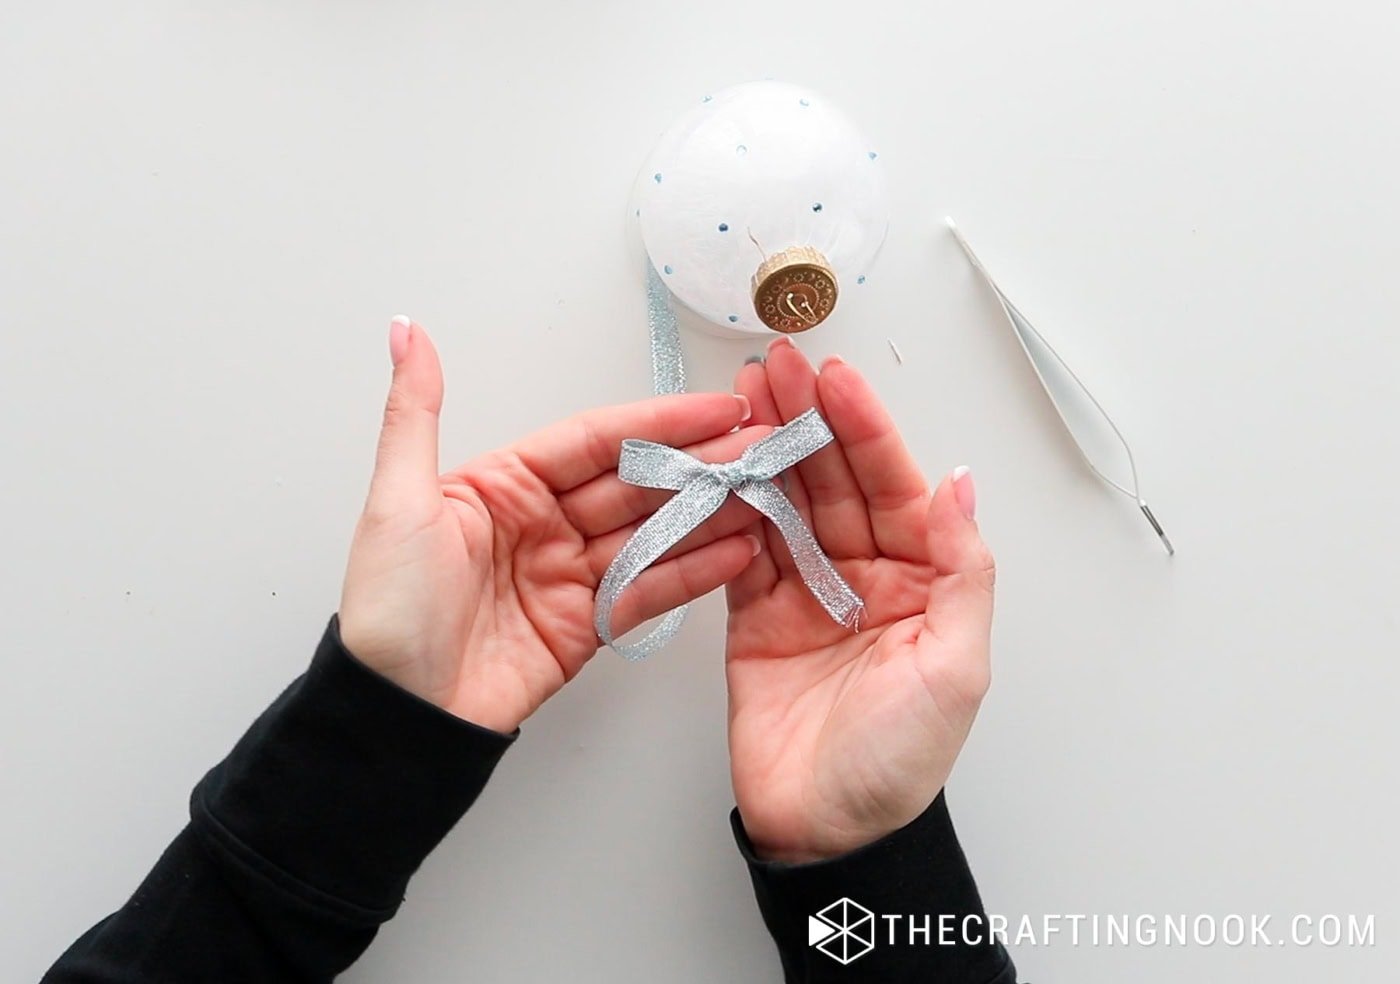
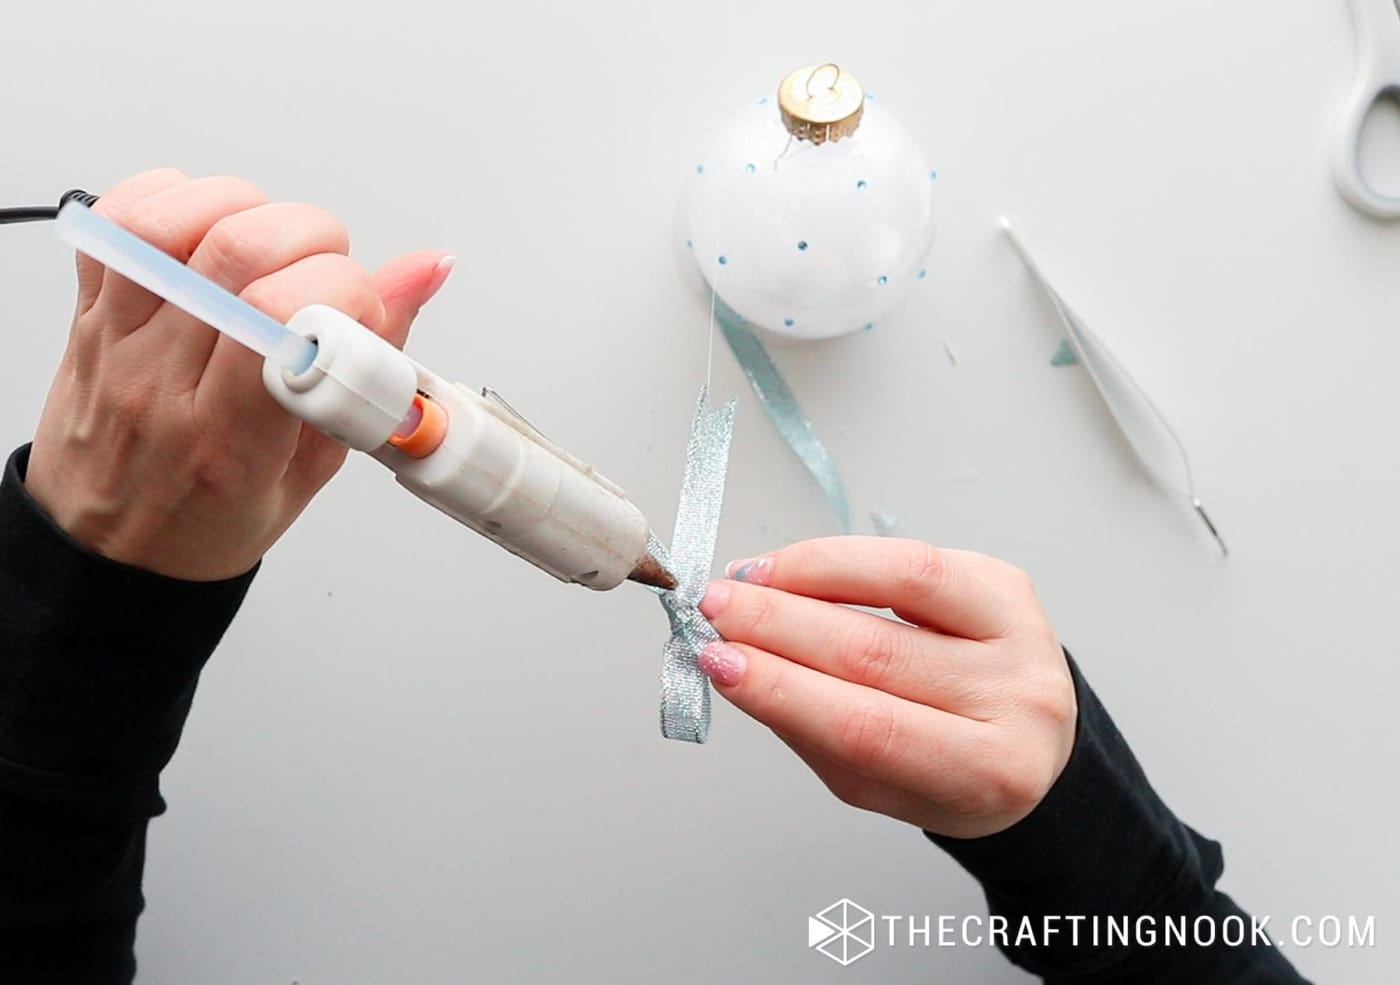
Attach the bow to the top of the ornament, right at the base of the hanger. You can use a glue dot or a touch of hot glue to keep it secure.
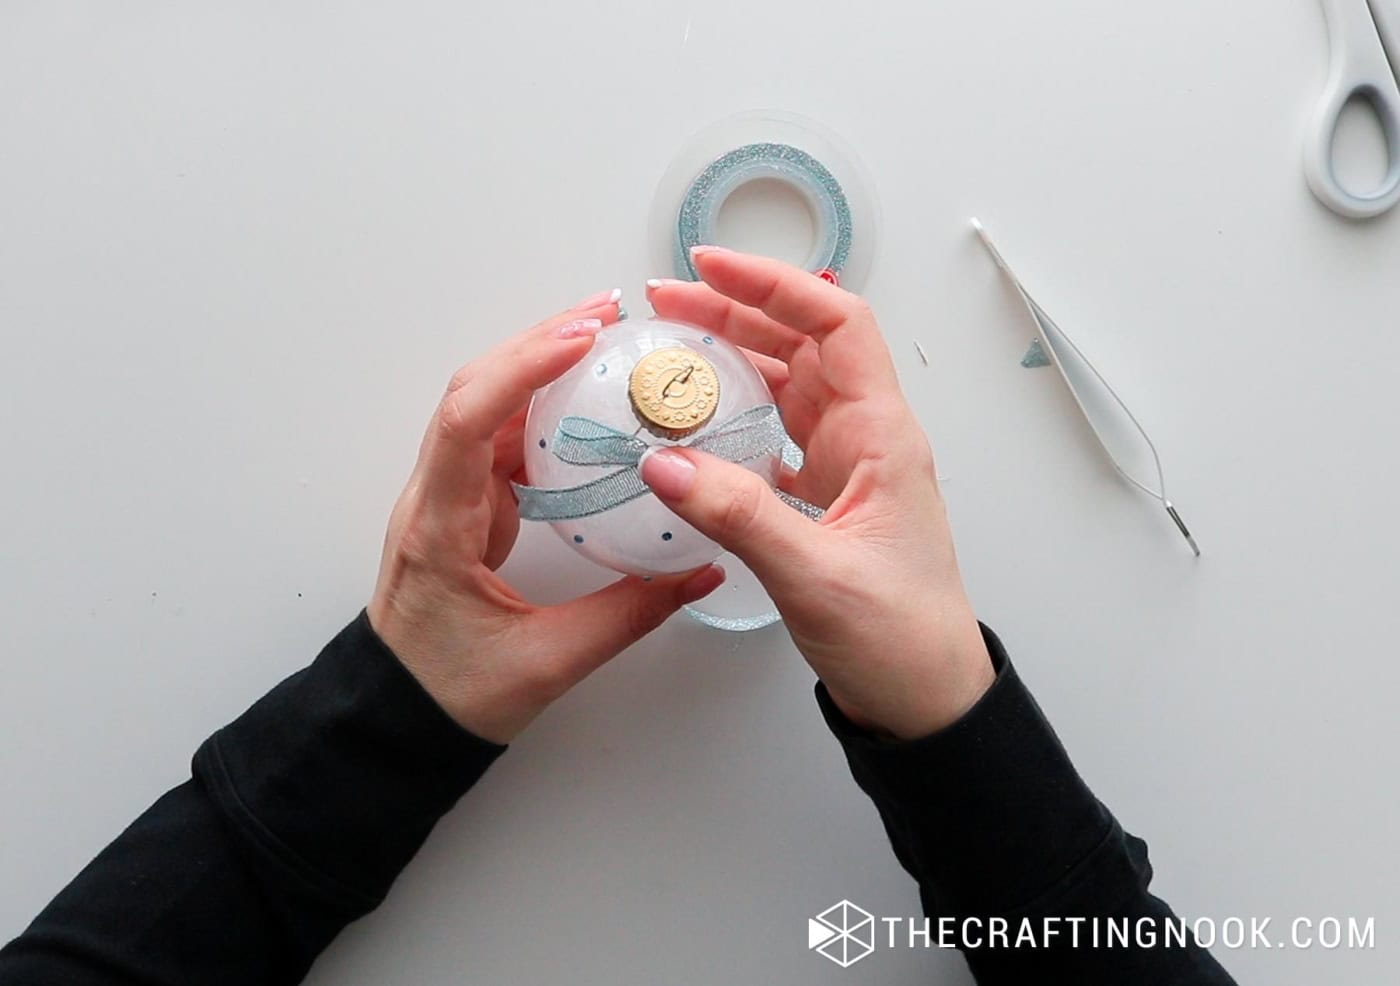
Step 6: Hang and enjoy
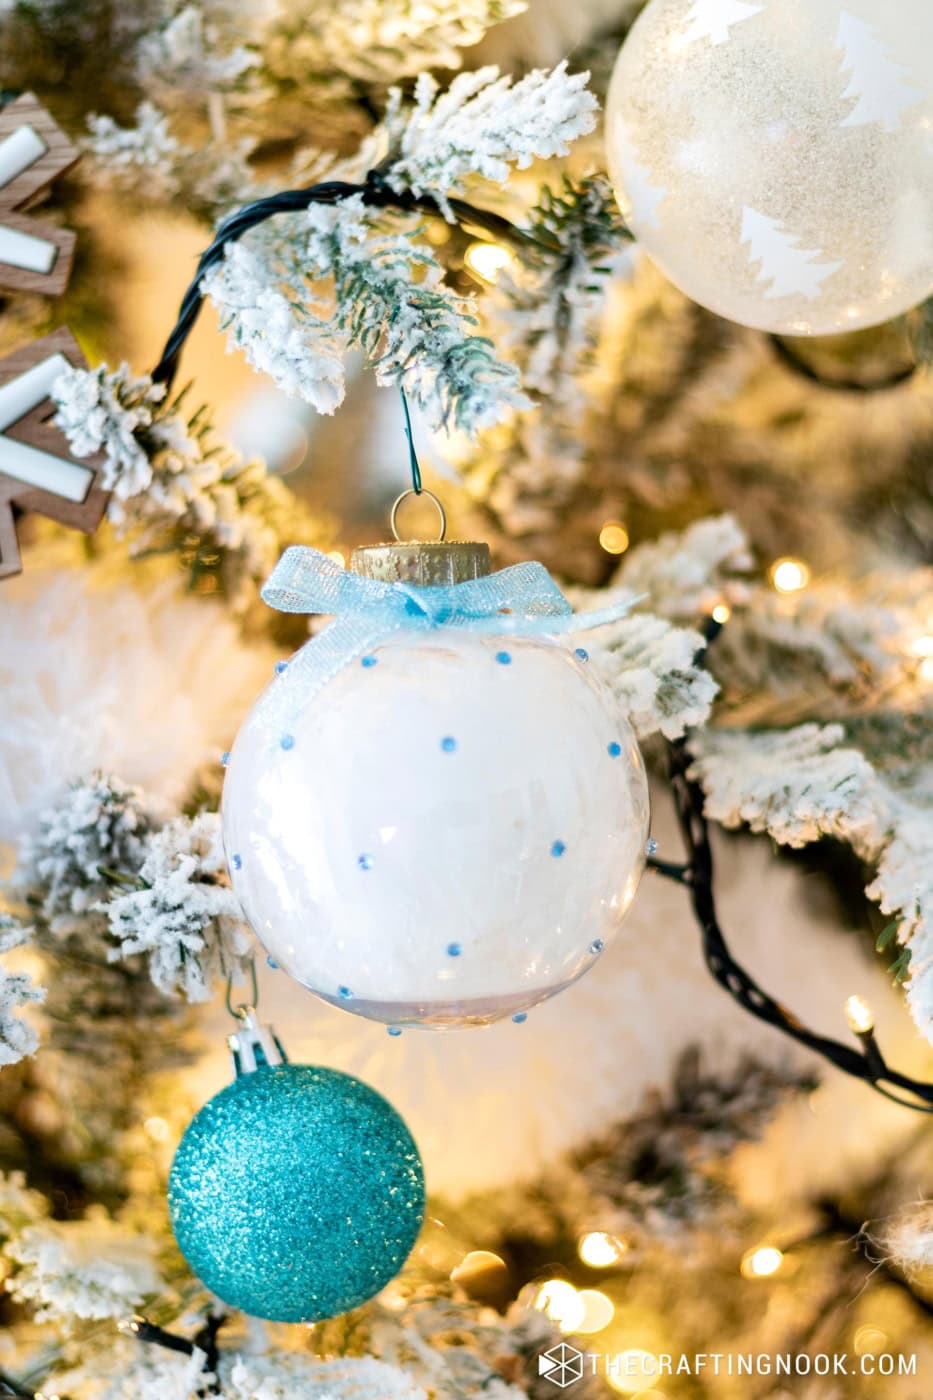
Your ornament is ready to add a sweet touch to your Pink and Blue Christmas theme!
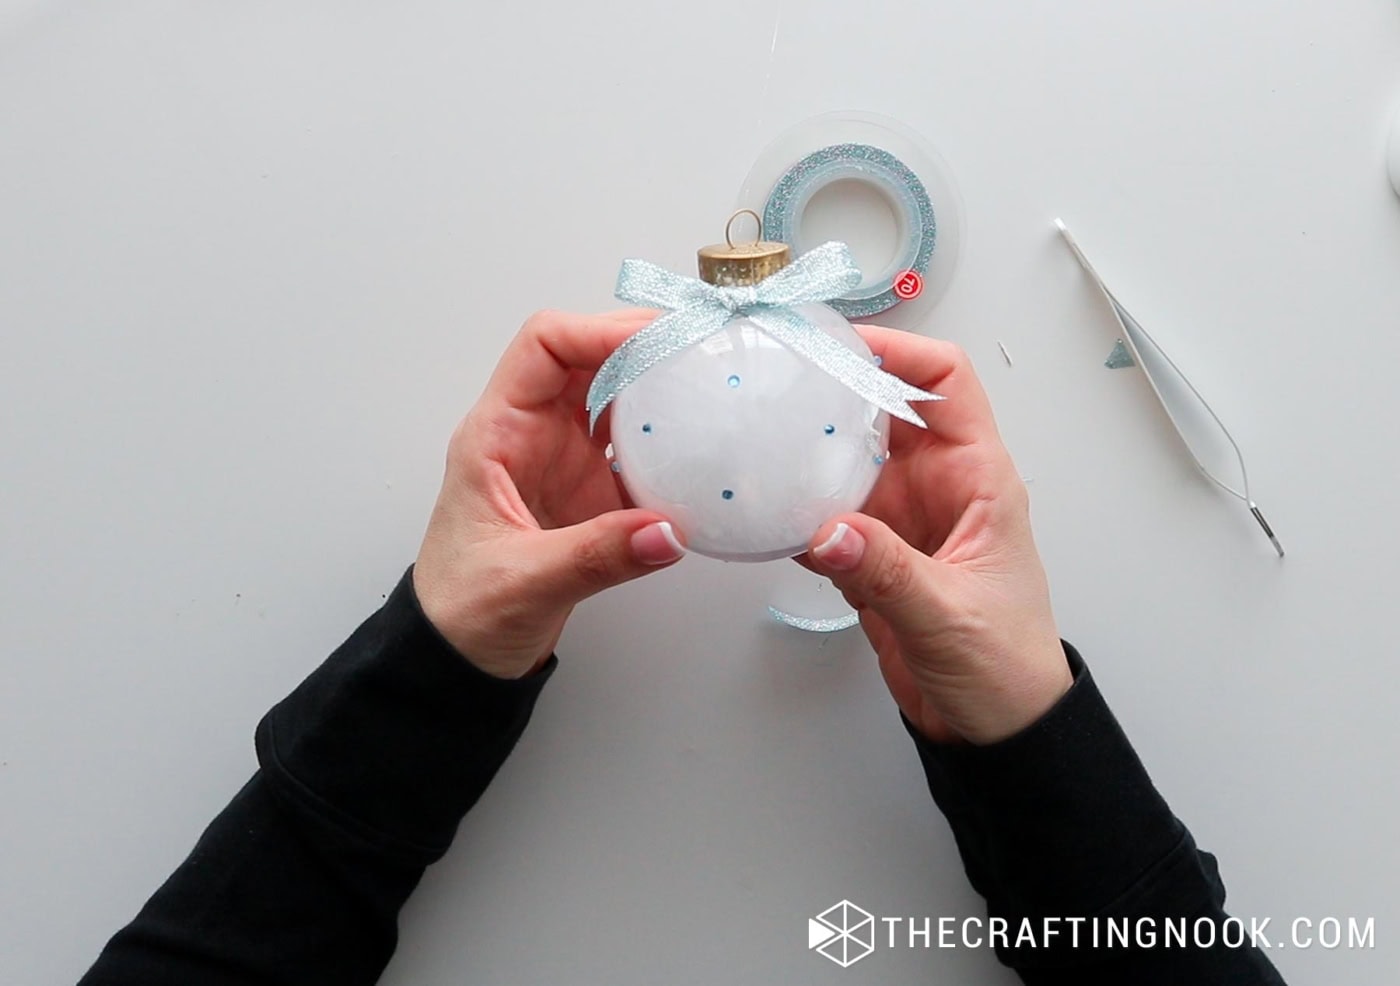
Hang it up, step back, and enjoy the sparkly ornament on the gorgeous tree. It’s amazing how something so simple can look so magical.
Crafting Tips
- If you’re having trouble arranging the feathers, try using a thin straw to gently nudge them into place inside the ornament. This way, you can get them exactly where you want without too much fuss.
- You could mix in a couple of pastel feathers in light pink or blue to match the theme even more.
- For a little extra sparkle, sprinkle a tiny amount of fine glitter inside the ornament along with the feathers. Shake it up before sealing, and you’ll get a lovely shimmer that catches the light without overpowering the softness of the feathers.
- If you’re low on organza ribbon, try swapping it for a thin satin ribbon, baker’s twine, or even a strip of lace.
- These ornaments make lovely handmade gifts! Make a few in different colors, pop them in a festive box, and you’ve got a thoughtful, personalized gift that friends and family will love.
Alternatives and Substitutions
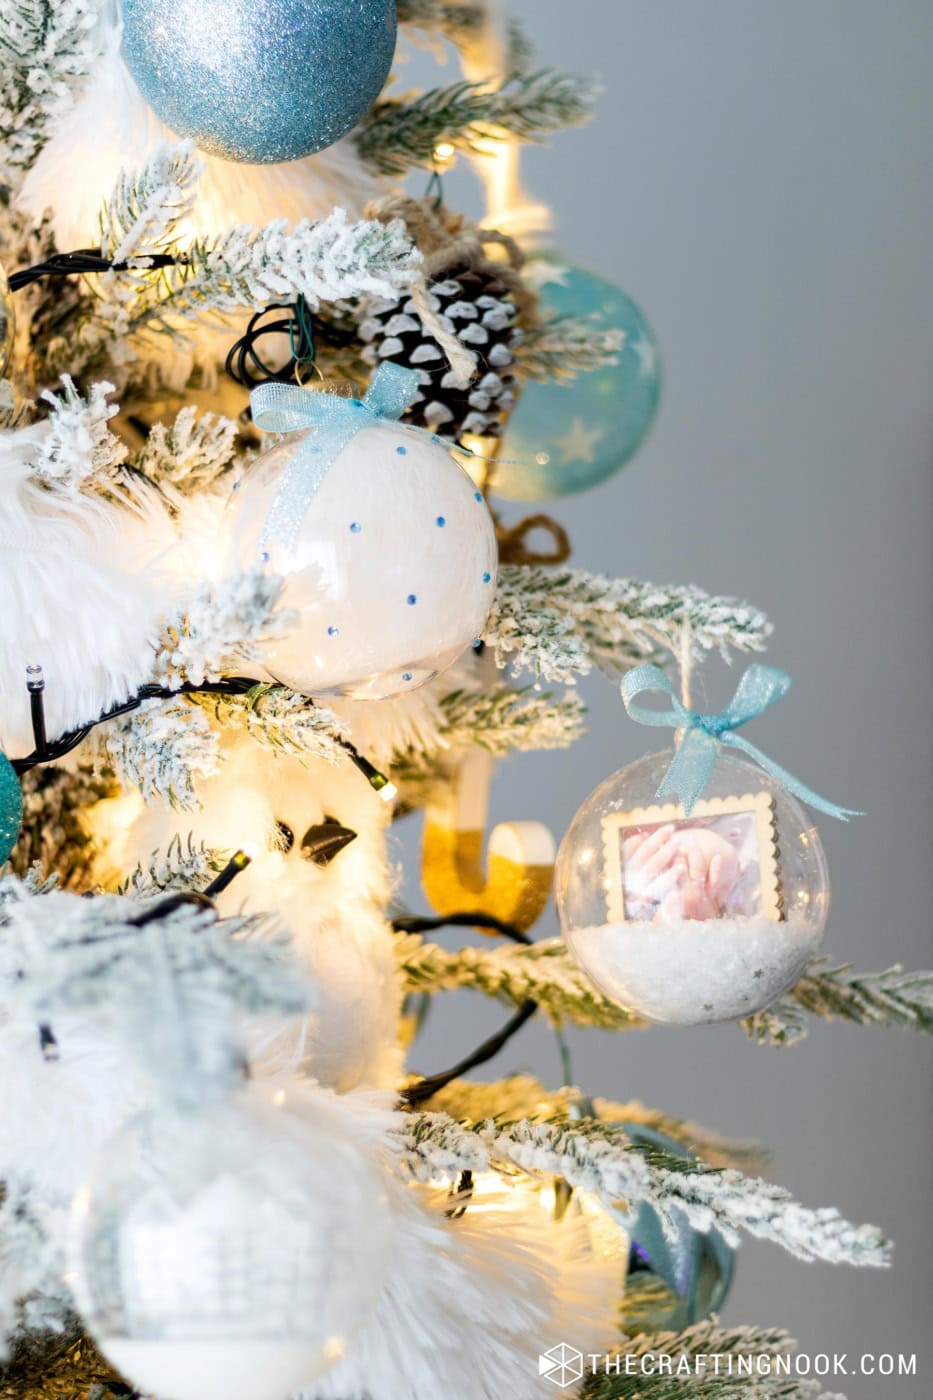
Instead of feathers, white or pastel tule can also create that magical and delicate look.
Clear ornaments are classic but colored transparent ornaments (like soft pink, blue, or even frosted) can give a different effect and add depth to the colors inside.
Instead of an organza ribbon, try swapping it for a thin satin ribbon, baker’s twine, or even a strip of lace.
For a rustic or farmhouse twist, swap the blue organza ribbon with jute twine, gingham, or even plaid ribbon.
Frequently Asked Questions
Yes, real feathers can be used, but make sure they’re clean and properly sanitized if they’re from nature. Craft feathers are often a safer bet since they’re already clean, fluffy, and available in various colors to match your holiday theme.
Both work great! Plastic ornaments are lightweight and safer if kids are helping or if you have pets around the tree. Glass ornaments give a classic, slightly more upscale look but are a bit more fragile, so handle them carefully!
Self-adhesive rhinestones are usually secure, but if you want extra hold, add a teeny-tiny dot of clear craft glue or a glue dot to each rhinestone before sticking it on. This ensures they’ll stay put for years to come.
Swap out glass ornaments for plastic, use kid-safe craft glue for the rhinestones, and try pom-poms or faux snow instead of feathers. You can also let kids pick different ribbon colors for their own ornaments!
Store them in a cool, dry place, preferably wrapped in tissue paper or bubble wrap to protect the feathers and rhinestones. Avoid storing in areas with high humidity, as this can cause the feathers to lose their fluffiness.
More Christmas Projects To Try
Like this DIY Rhinestone Christmas Ornaments tutorial? You might definitely love these other Christmas project ideas too:
✂️ Tutorial
DIY Rhinestone Christmas Ornaments Filled with Feathers
Tools
- Tweezers
- Hot glue gun and glue sticks
Supplies
- Clear plastic or glass ornament fillable
- Small white feathers
- Self-adhesive rhinestones tiny, blue, or whatever matches your color scheme
- Blue organza ribbon for the bow
- Small glue dots or hot glue optional, for securing the ribbon
Instructions
Step 1: Open and Prepare Your Ornament
- Start by carefully opening the top of your clear ornament and cleaning well with alcohol to remove grease and dust.
- Most fillable ornaments have a removable top that makes it easy to add in decorative elements. Just a gentle twist should do it, but if it feels stuck, be cautious not to crack the ornament.
Step 2: Add the Feathers
- Gently insert the white feathers into the ornament. The goal is to create a soft, cloud-like effect that fills up about half to three-quarters of the ornament, depending on how full and fluffy you want it to look.
- If the feathers are a bit too big, you can trim them down, but keeping them fluffy will give a cozy, snowy effect inside the ornament.
Step 3: Close the Ornament
- Once you’re happy with how the feathers are arranged, go ahead and put back the top of the ornament.
- Give it a gentle shake to settle the feathers if needed, but don’t worry too much about perfection. The slight randomness is part of the magic!
Step 4: Decorate with Rhinestones
- Take your tiny self-adhesive rhinestones with your tweezers and carefully place them around the outside of the ornament. You can arrange them randomly for a scattered, sparkly look or follow a specific pattern if you like.
- Just press each rhinestone onto the ornament’s surface, and they should stick easily.
- Pro Tip: If you’re worried about the rhinestones staying put, add a teeny-tiny dot of clear glue before sticking them down for extra hold.
Step 5: Add the Bow
- To finish off your ornament, tie a small, neat bow with your blue organza ribbon. Make it as big or as small as you like.
- Attach the bow to the top of the ornament, right at the base of the hanger. You can use a glue dot or a touch of hot glue to keep it secure.
Step 6: Hang and enjoy
- Your ornament is ready to add a sweet touch to your Pink and Blue Christmas theme!
- Hang it up, step back, and enjoy the sparkly ornament on the gorgeous tree
Loving these Rhinestone Christmas Ornaments? Share and PIN ME!!!
Til’ next time…


FREE WORKBOOK
Keeping your Sweet Home Organized
Learn how to create intentional habits and simple routines to Keep Your Home Organized. Plus freebies, printables, exclusive content, and tips.
Disclaimer: By clicking on the “Yes” button above you are giving me your consent to collect and use your information according to the law and My Policy Privacy. Zero Spam I promise!
