

DIY Popsicle Stick Thanksgiving Flower Centerpiece

This post may contain affiliate links. Please read our Disclosure Policy.
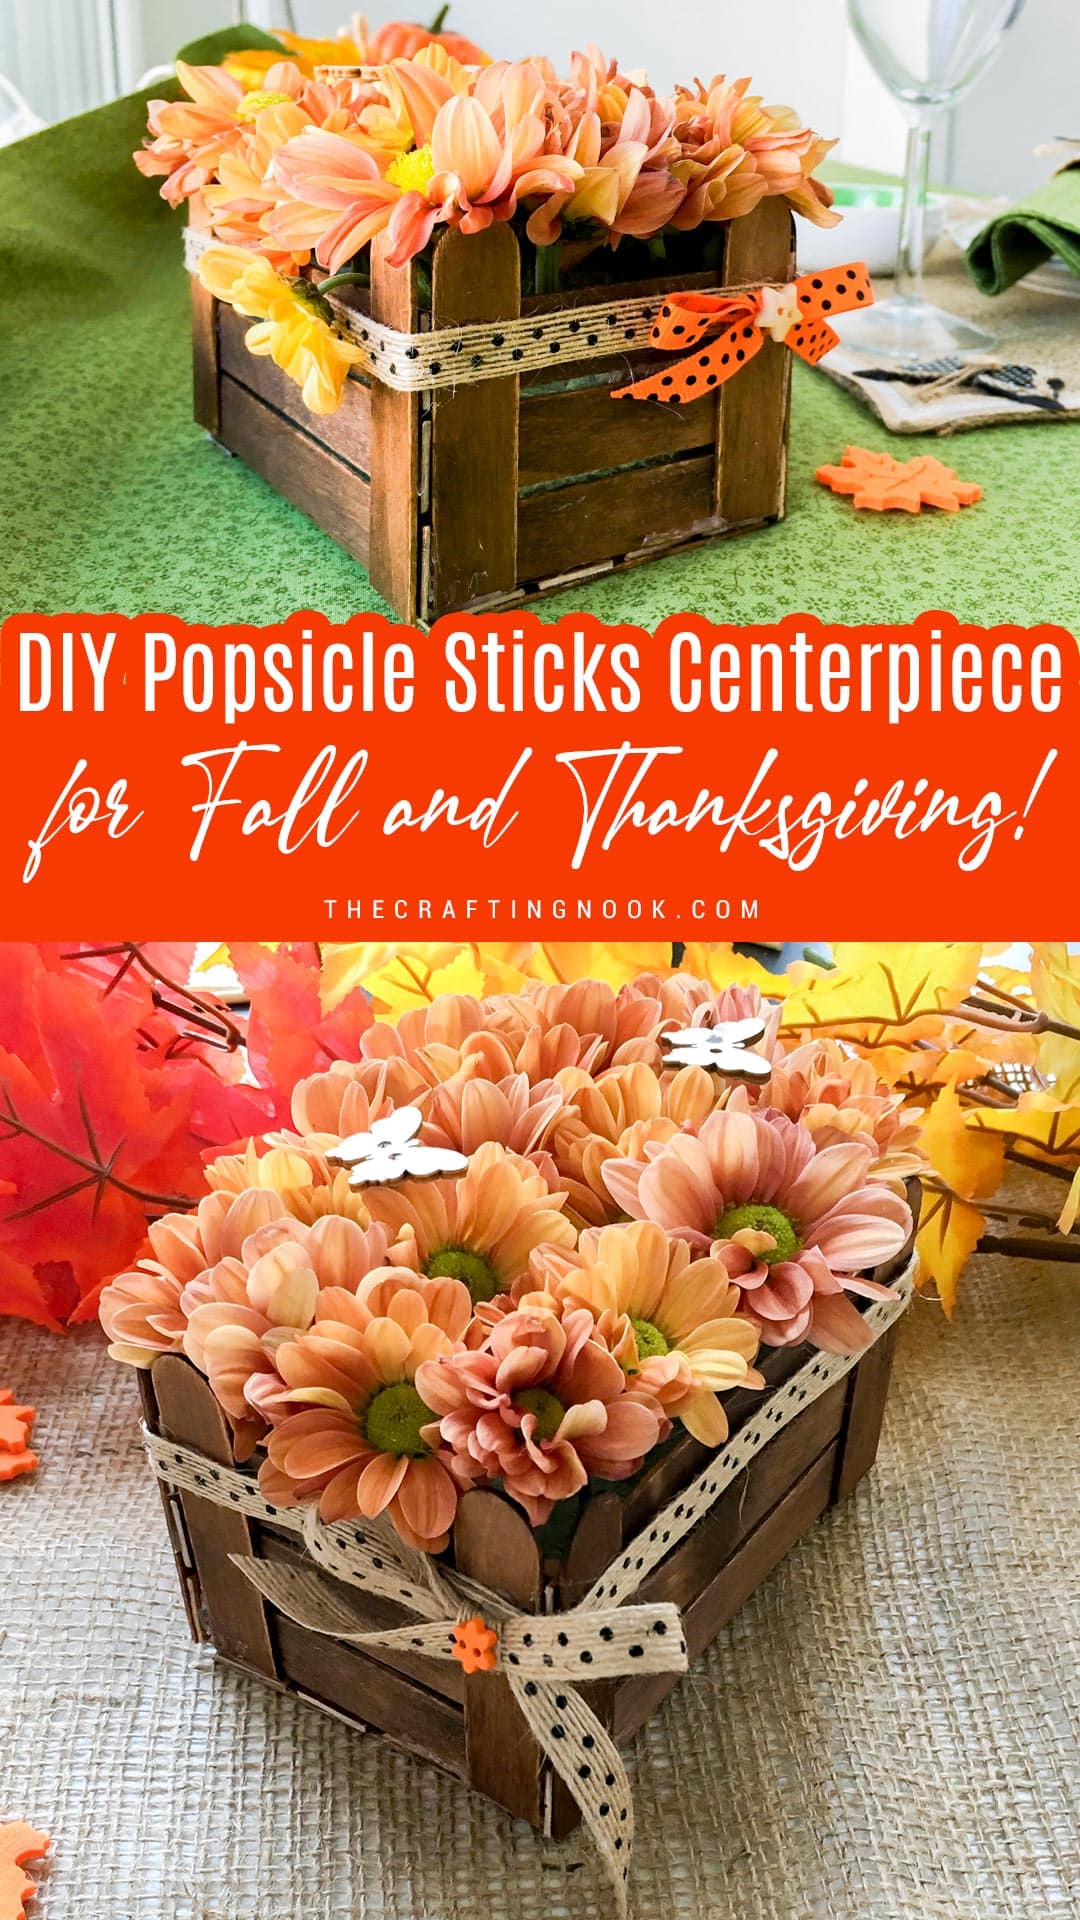
This little Thanksgiving flower centerpiece started as a simple craft project with my mom. We wanted something handmade for the table that didn’t require expensive supplies, and a bundle of popsicle sticks turned out to be just what we needed.
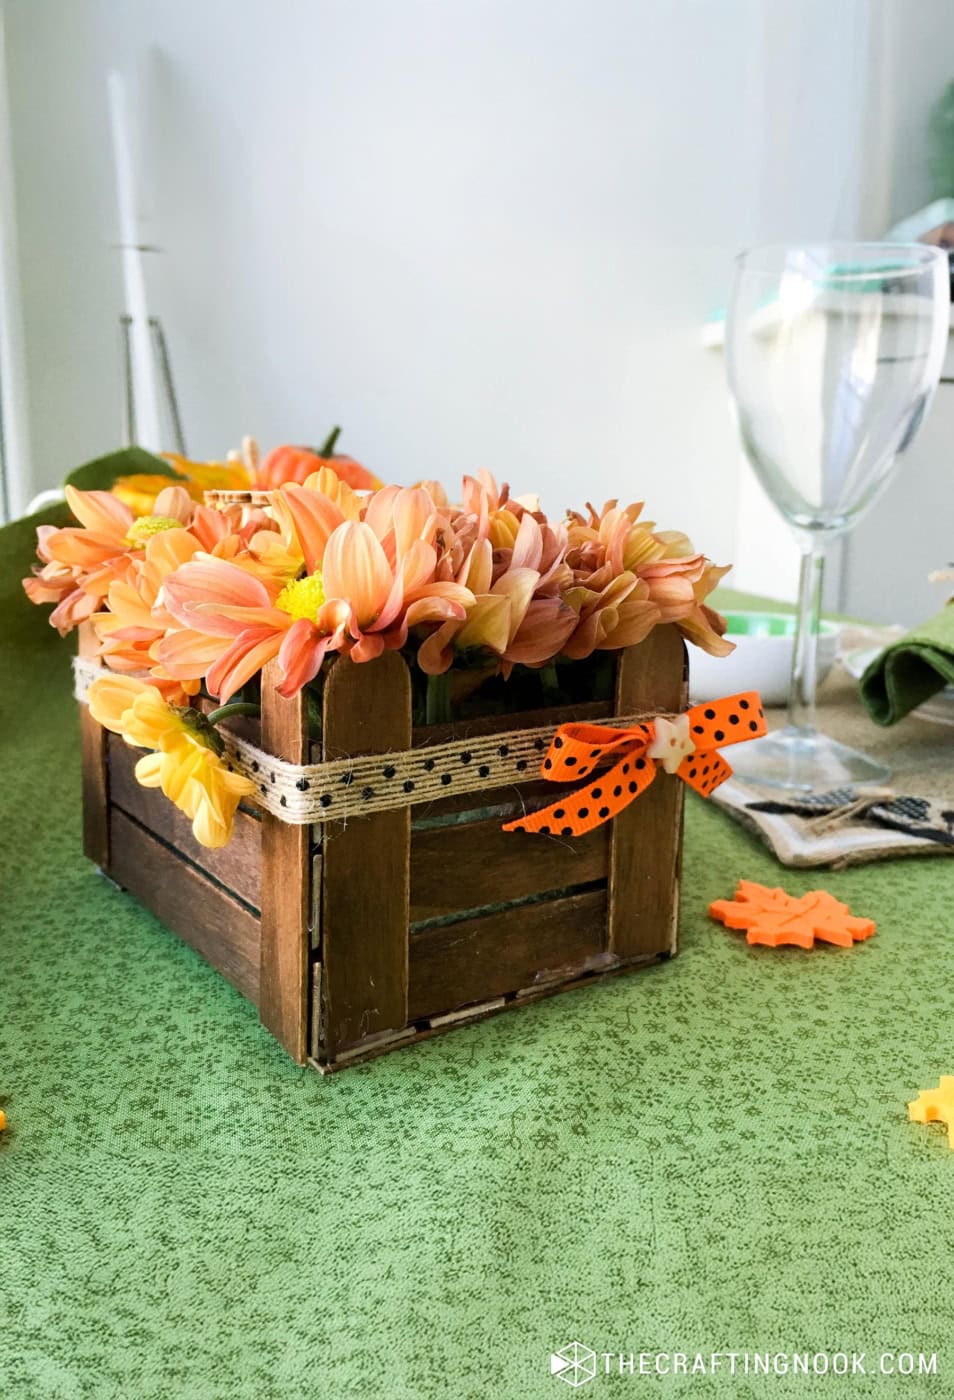
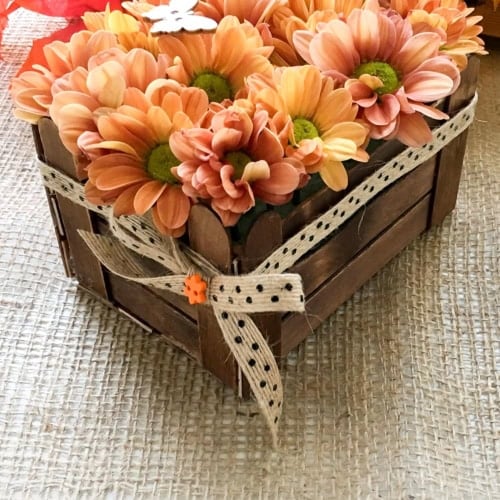
The finished crate is small, rustic, and just the right size for a compact flower arrangement. I used fresh fall flowers in mine, but it works just as well with faux or dried flowers if you want to reuse it every year.
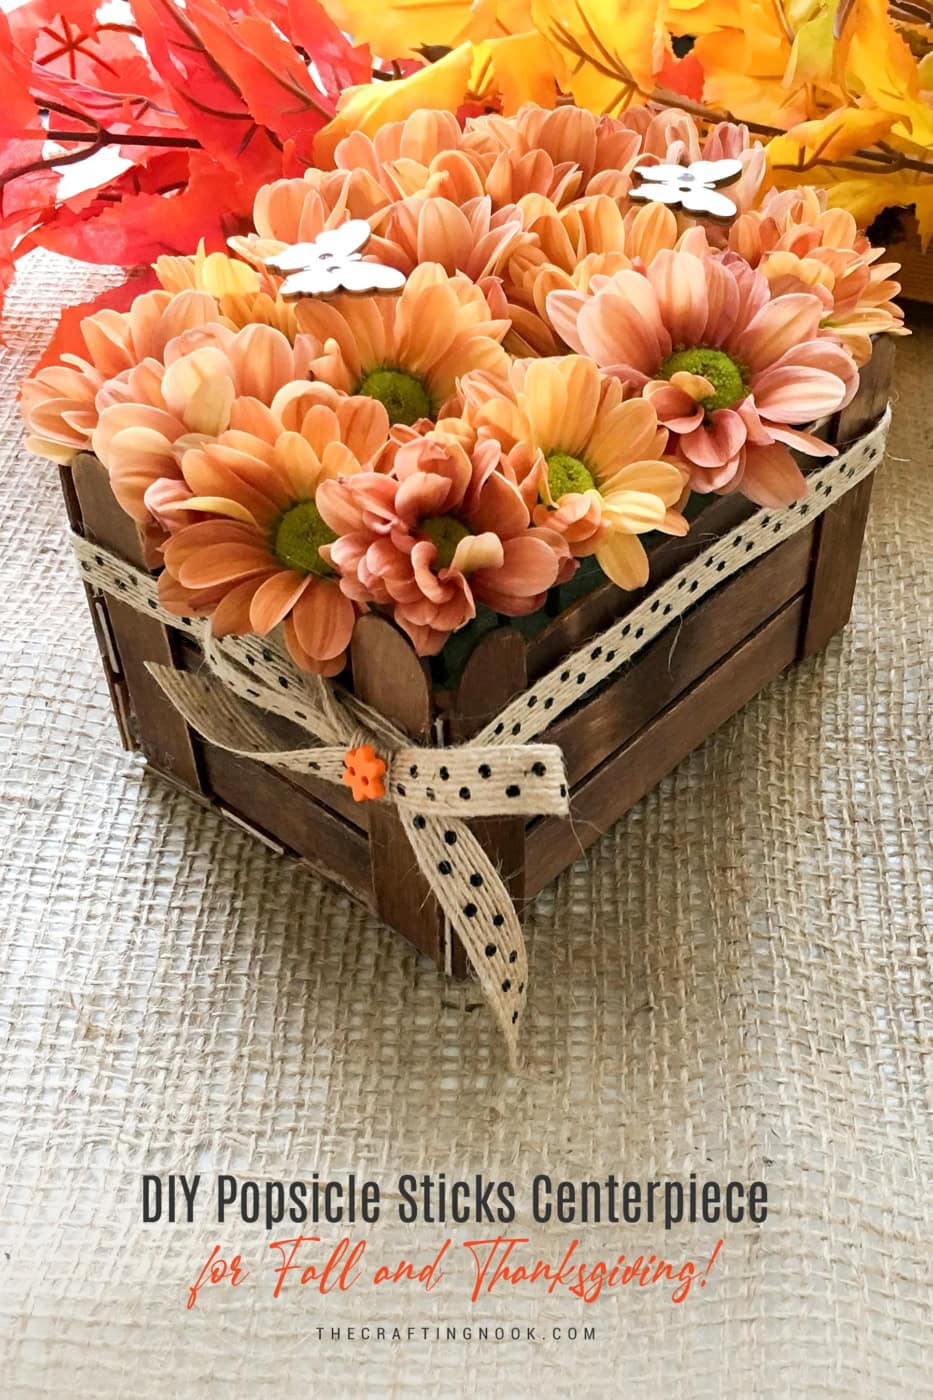
Table of Contents
A Handmade Thanksgiving Project with My Mom
This project is part of a small collection of Thanksgiving crafts my mom and I are sharing on our blogs. I’m sharing mine here in English, and she created the Spanish version for her blog, Programando La Vida.
Thanksgiving isn’t traditionally celebrated in the same way in our South American culture, but my mom has always loved the meaning behind it. She enjoys creating family traditions and finding small ways to pause and appreciate the good things in life.
Even when we are far apart, I love how she brings that feeling into her home through handmade decorations, food, and time spent with family. This centerpiece became one more project we could create together, even from a distance.
Why You’ll Love This Popsicle Stick Centerpiece
This is a simple project, but the finished crate looks much more detailed than the supplies suggest.
- It uses inexpensive craft supplies.
- You can adjust the size to fit your table.
- It works with fresh, faux, or dried flowers.
- The crate can be reused for other seasons.
- You can easily change the stain, ribbon, and decorations.
How to Make a Thanksgiving Flower Centerpiece with Popsicle Sticks
The printable tutorial card is below, but here is how I built the crate and arranged the flowers step by step.
Supplies:
- Popsicle sticks (craft sticks)
- Wood stain or paint (optional, for a rustic look)
- Jute ribbon
- Grosgrain ribbon
- Floral foam block
- Fall flowers (real or faux)
- Wooden skewers, optional
- Wet floral foam for fresh flowers
- Dry floral foam for faux or dried flowers
- Plastic wrap, if using fresh flowers
- Fresh, faux, or dried fall flowers
- Small decorative buttons or embellishments, optional
Tools
- Scissors
- Hot glue gun and glue sticks
- Craft knife
- Cutting mat
- Metal ruler
Instructions:
Step 1: Stain or Paint the Popsicle Sticks
I wanted the crate to look like dark wood, so I stained my popsicle sticks with a dark walnut wood stain.
Apply the stain according to the product instructions, then place the sticks on a protected surface to dry completely. Don’t start gluing while the stain still feels damp or tacky because the pieces may shift and the glue won’t hold as well.
You can also paint the sticks in warm fall colors or leave the natural wood unfinished.
Step 2: Cut the Popsicle Sticks
The crate is made from four side panels and one bottom panel.
For the upright pieces on each side, cut one rounded end from the popsicle sticks so the bottom will sit flat. I left the top ends rounded because they give the crate a small fence-like shape.
You will need two upright sticks for each side panel.
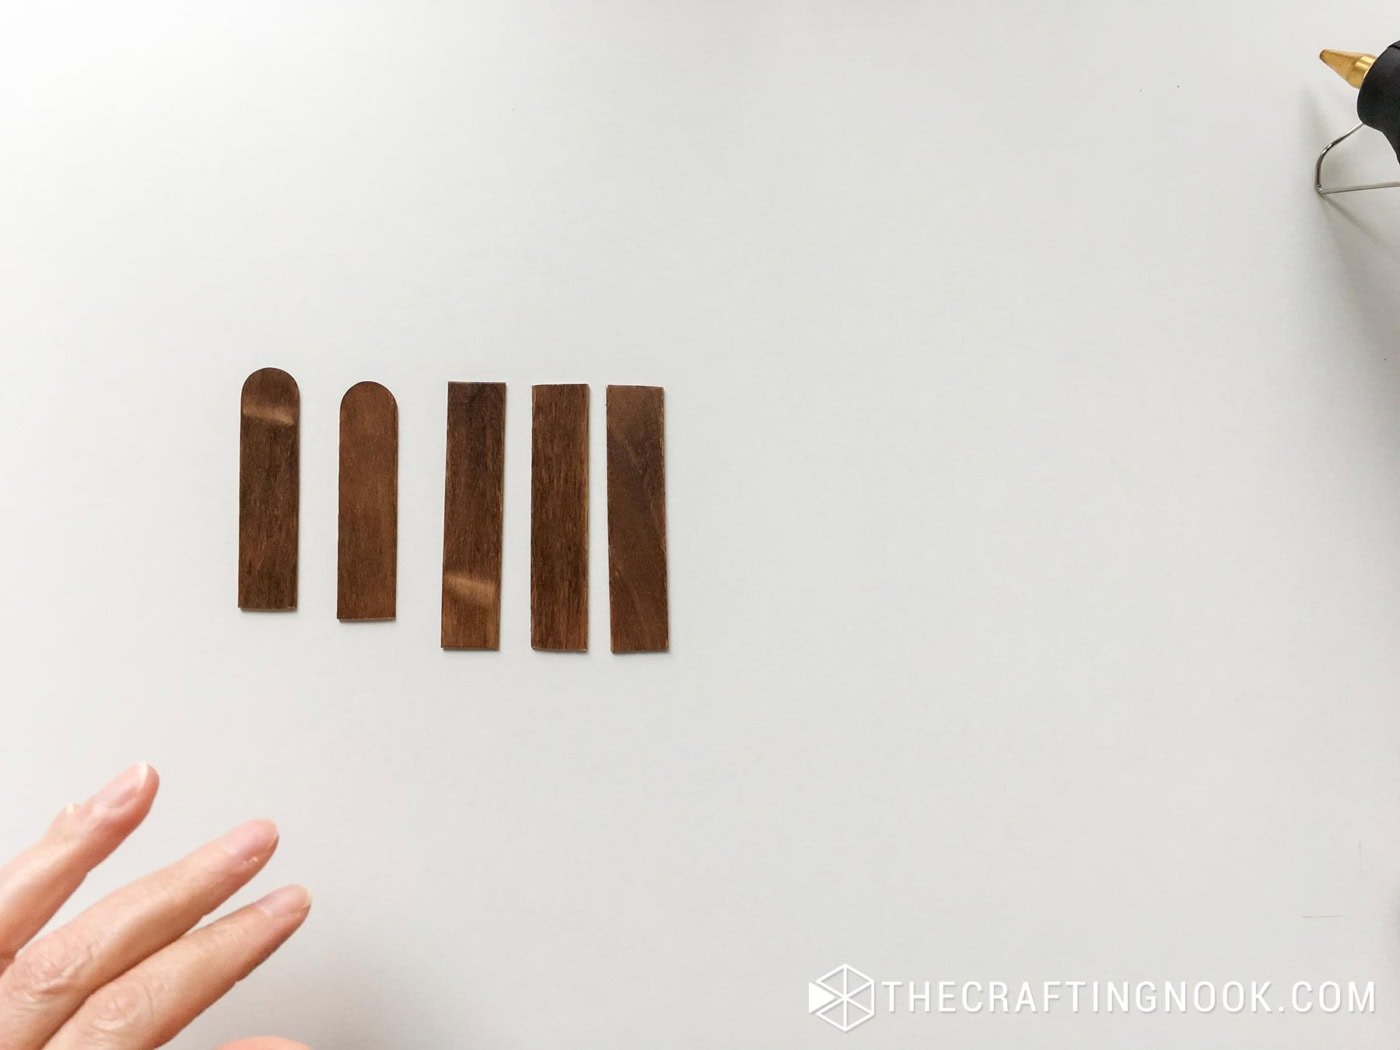
For the horizontal pieces, trim both rounded ends from the popsicle sticks. Measure the pieces before cutting so the matching sides are the same width.
Each side panel uses three horizontal pieces.
I recommend using a metal ruler, craft knife, and cutting mat for this part. Scissors can split the wood or leave the ends uneven.
Step 3: Build the Side Panels
Lay three trimmed popsicle sticks horizontally on your work surface.
Place one upright stick across each end, keeping the straight-cut ends lined up along the bottom. Glue the horizontal pieces to the upright supports.
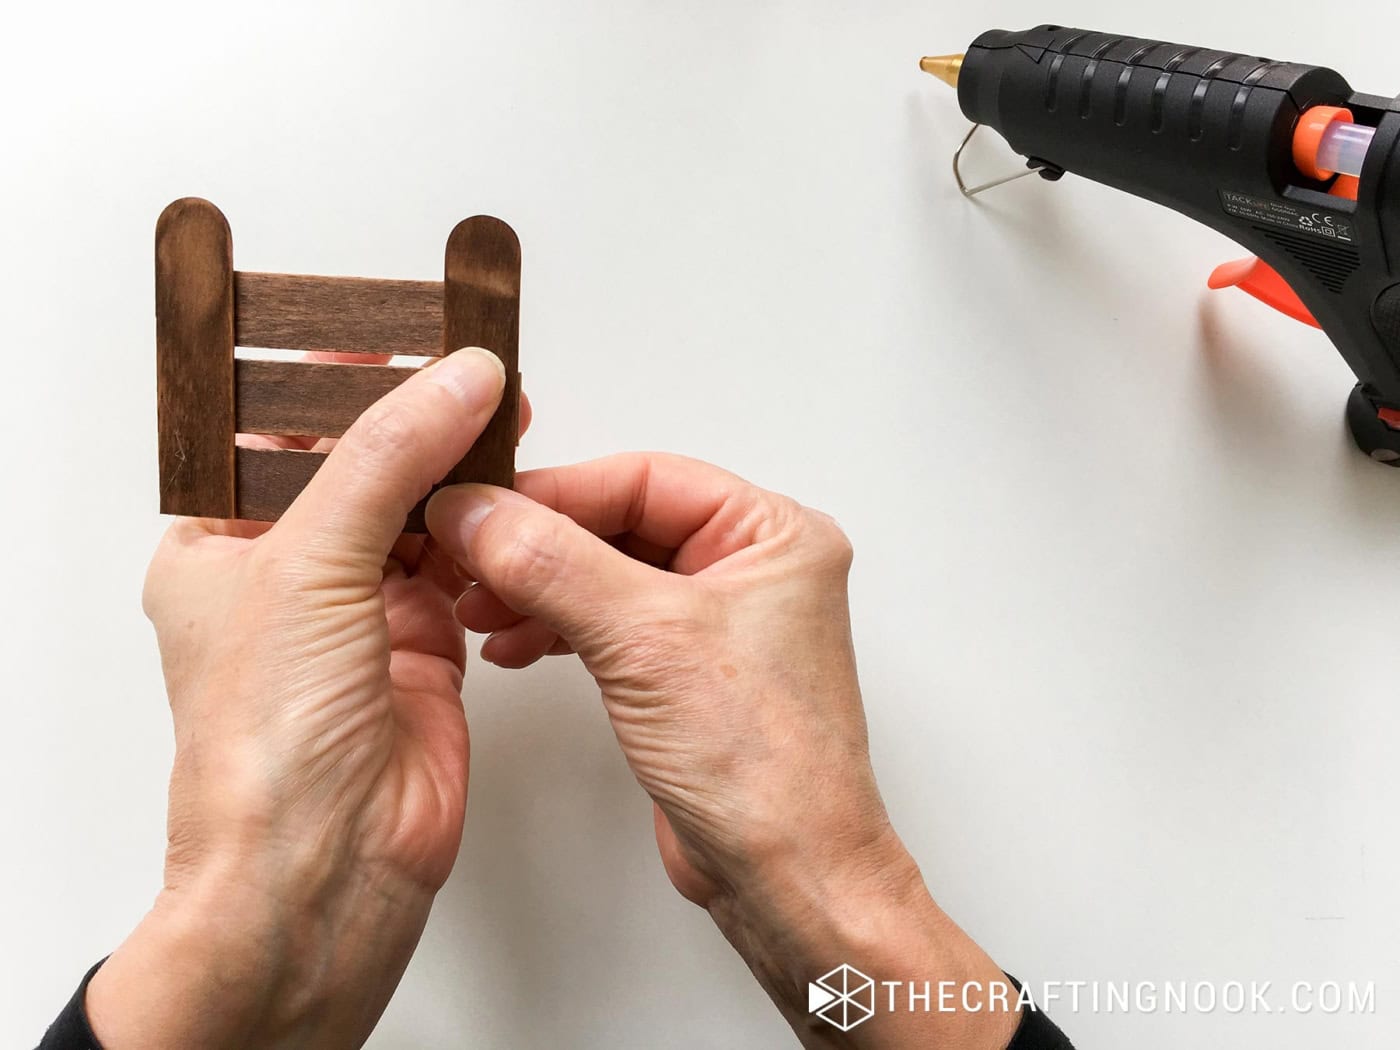
Repeat this process until you have four side panels:
- Two longer panels
- Two shorter panels
Let the glue cool before moving the pieces. The panels are small, and it is easy to knock them out of alignment while the glue is still soft.
Step 4: Make the Bottom Panel
Lay four popsicle sticks side by side to form the base.
Cut two support pieces to fit across the sticks, then glue one near each end. These supports hold the bottom panel together and give you a stronger surface for attaching the sides.
The base does not need rounded ends because it will sit underneath the crate.
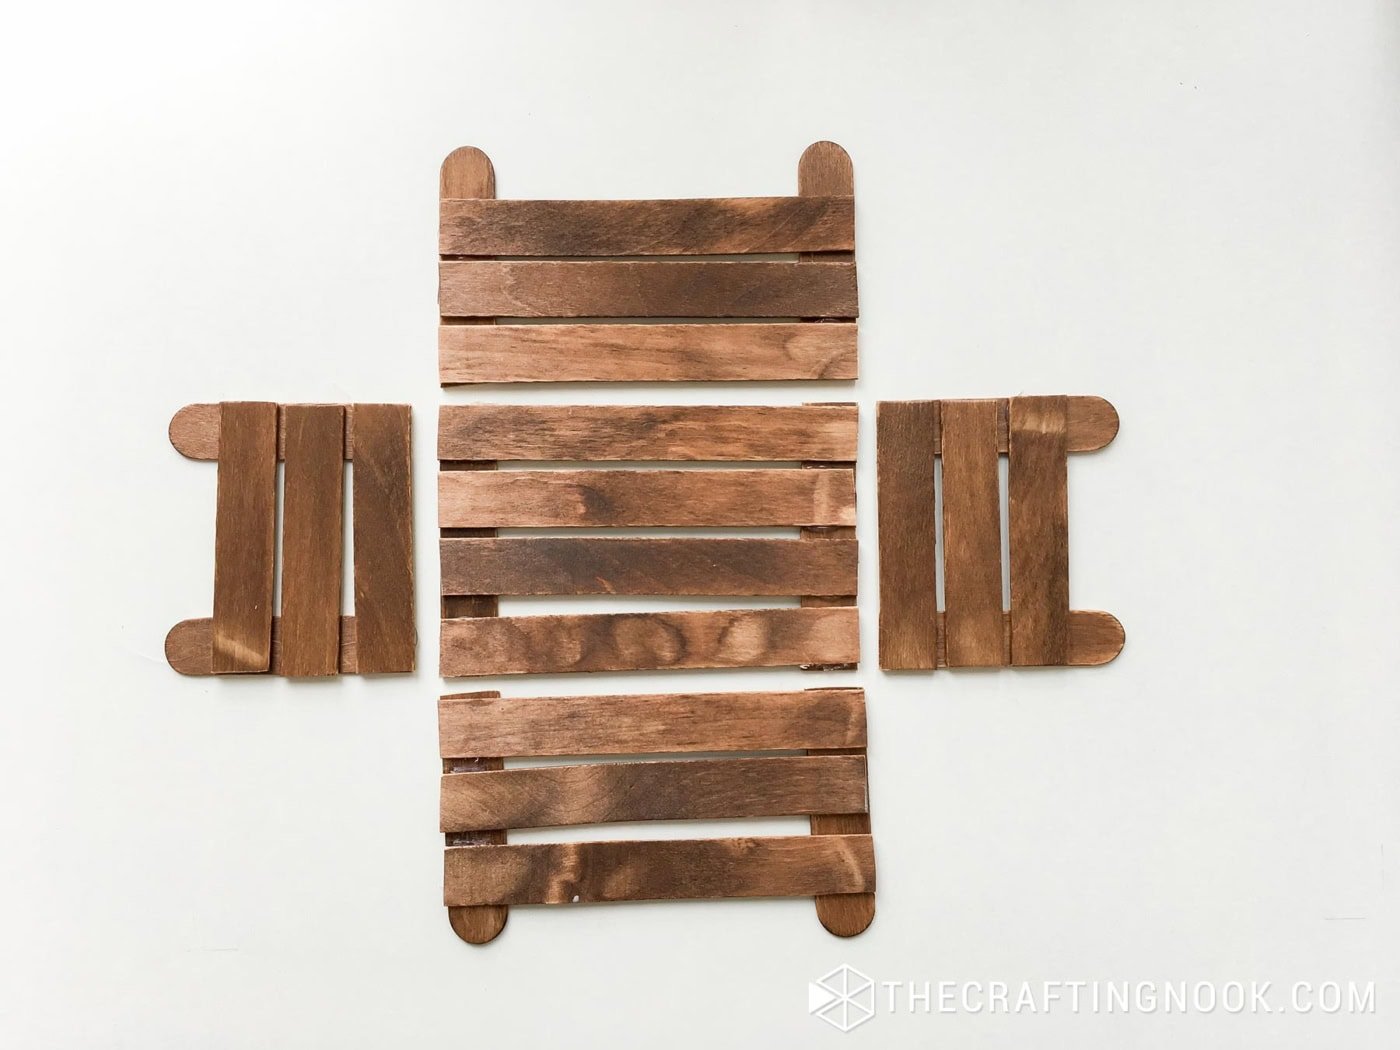
Step 5: Assemble the Crate
Start by gluing one short side to one long side. Hold the pieces together until the glue sets.
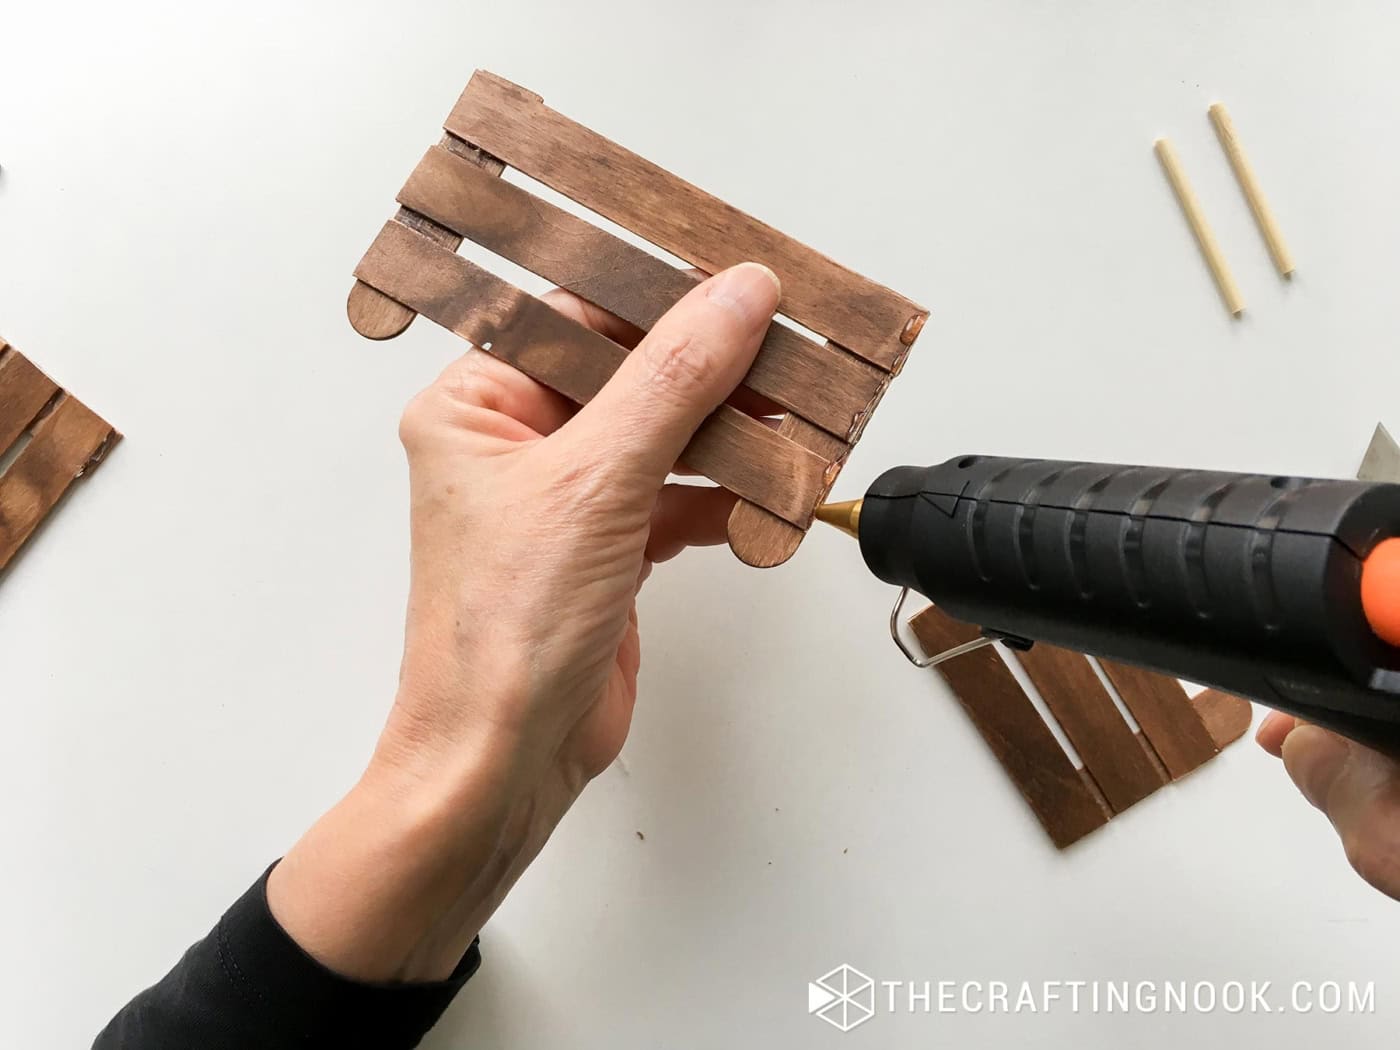
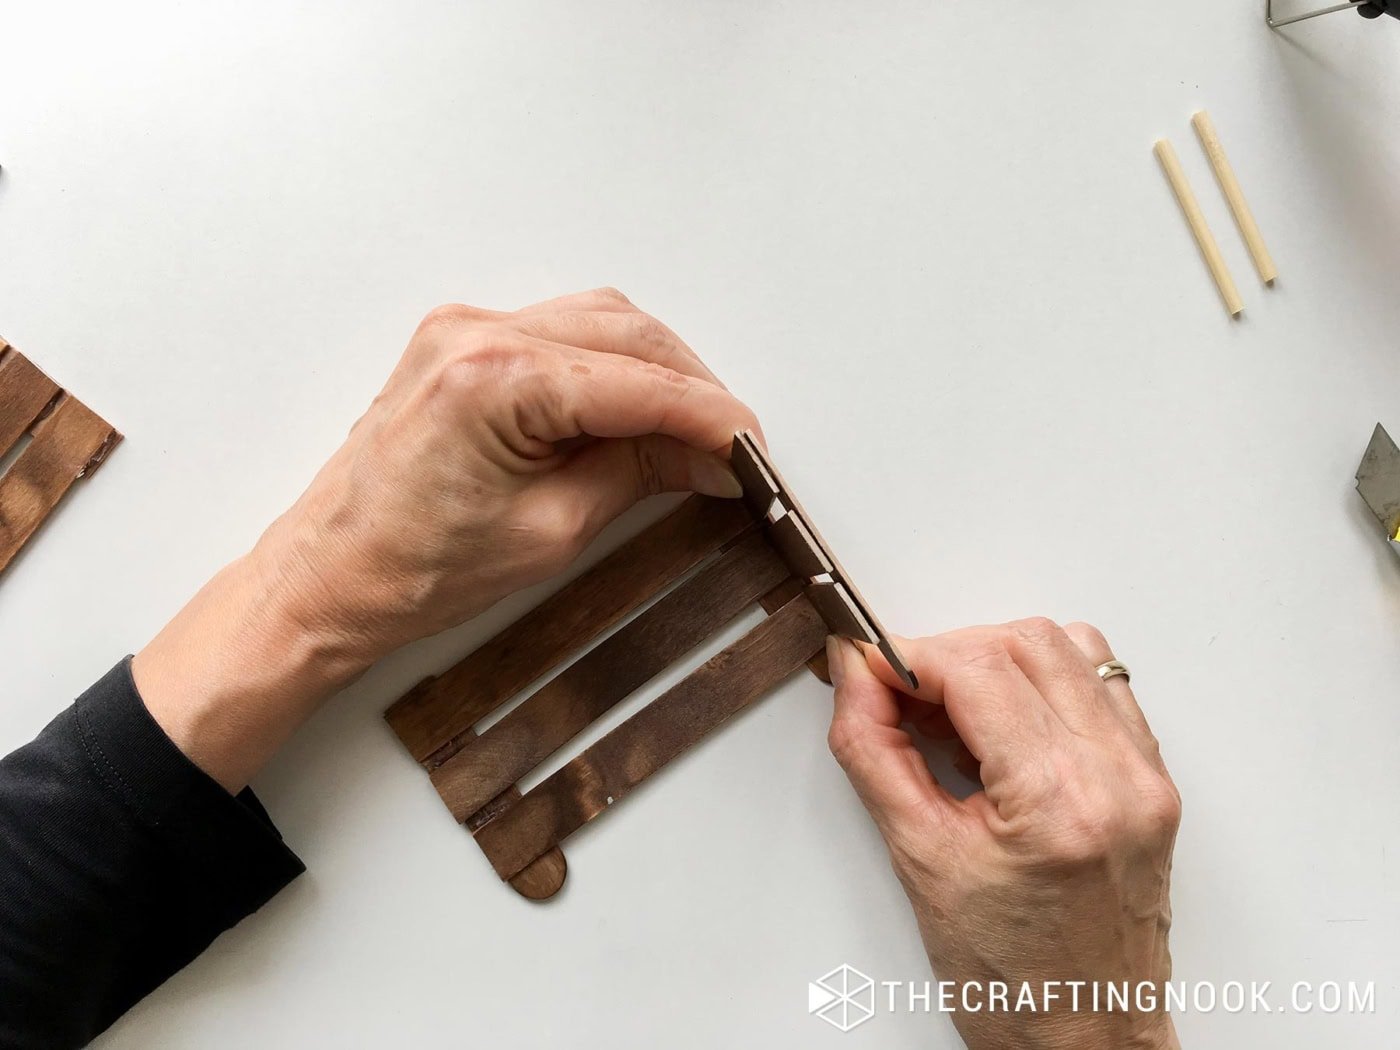
Continue adding the remaining panels until all four sides are connected.
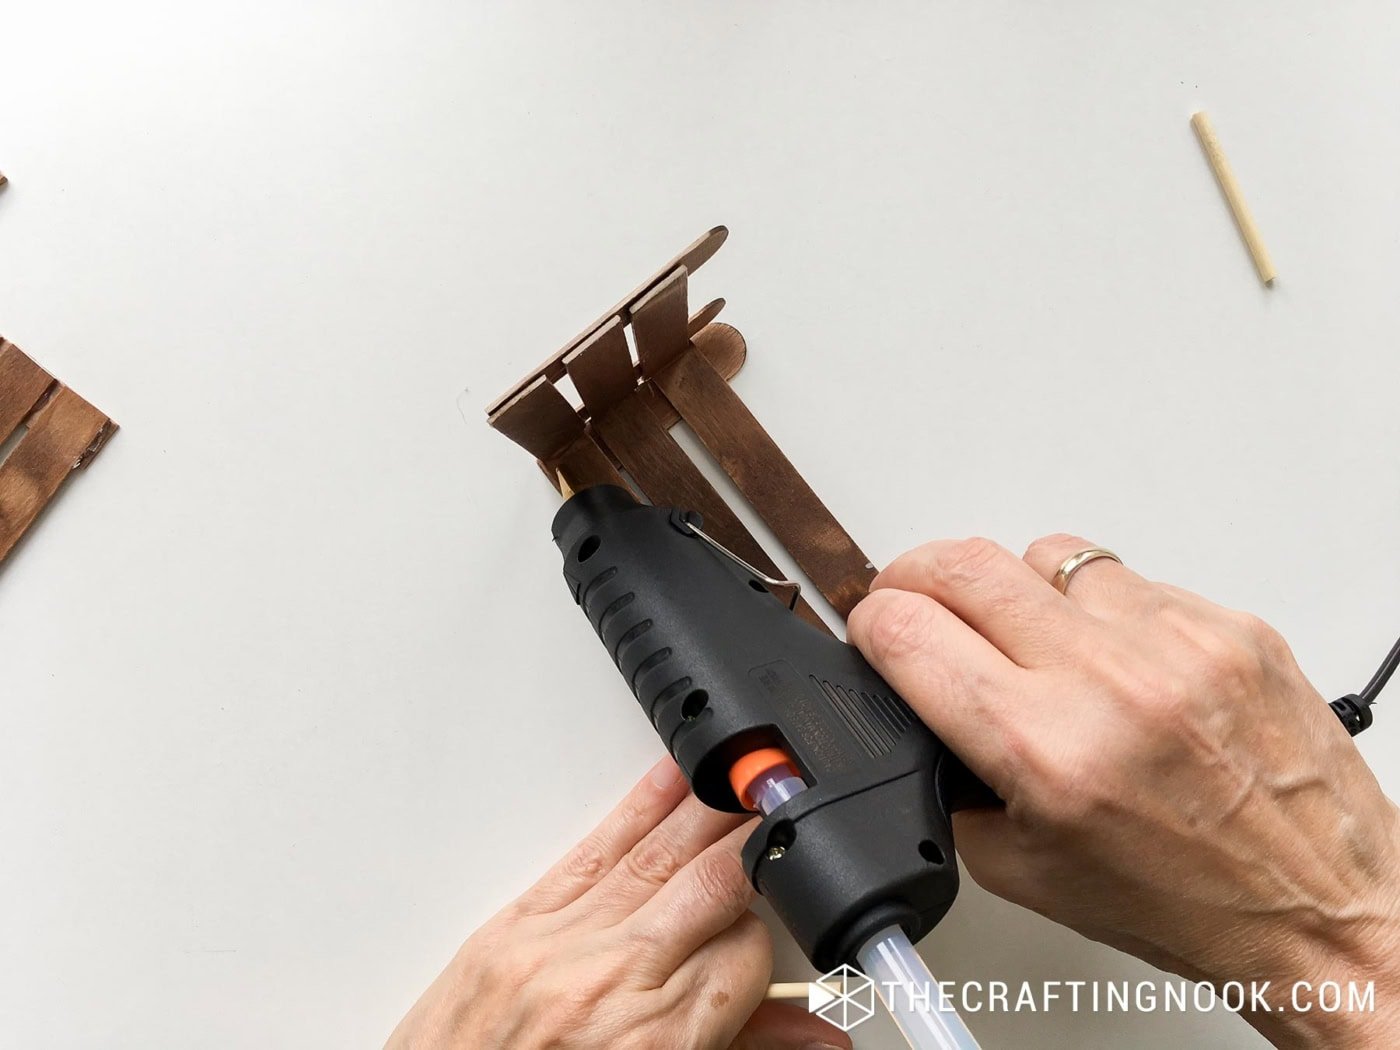
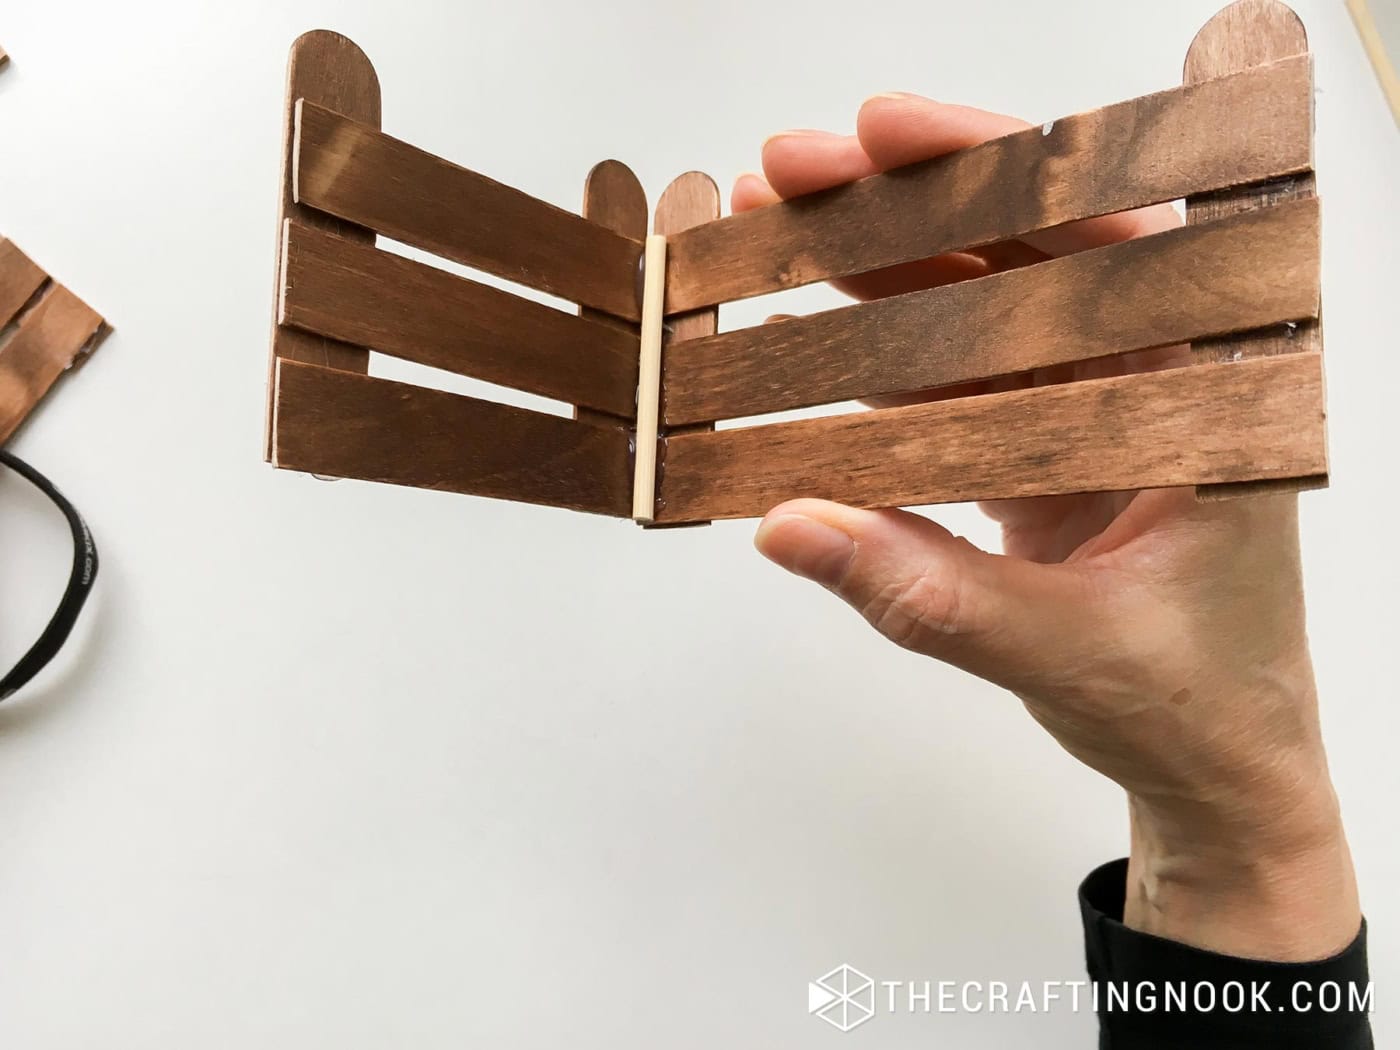
Check the shape as you work. It is easier to adjust one corner before the glue hardens than to straighten the entire crate later.
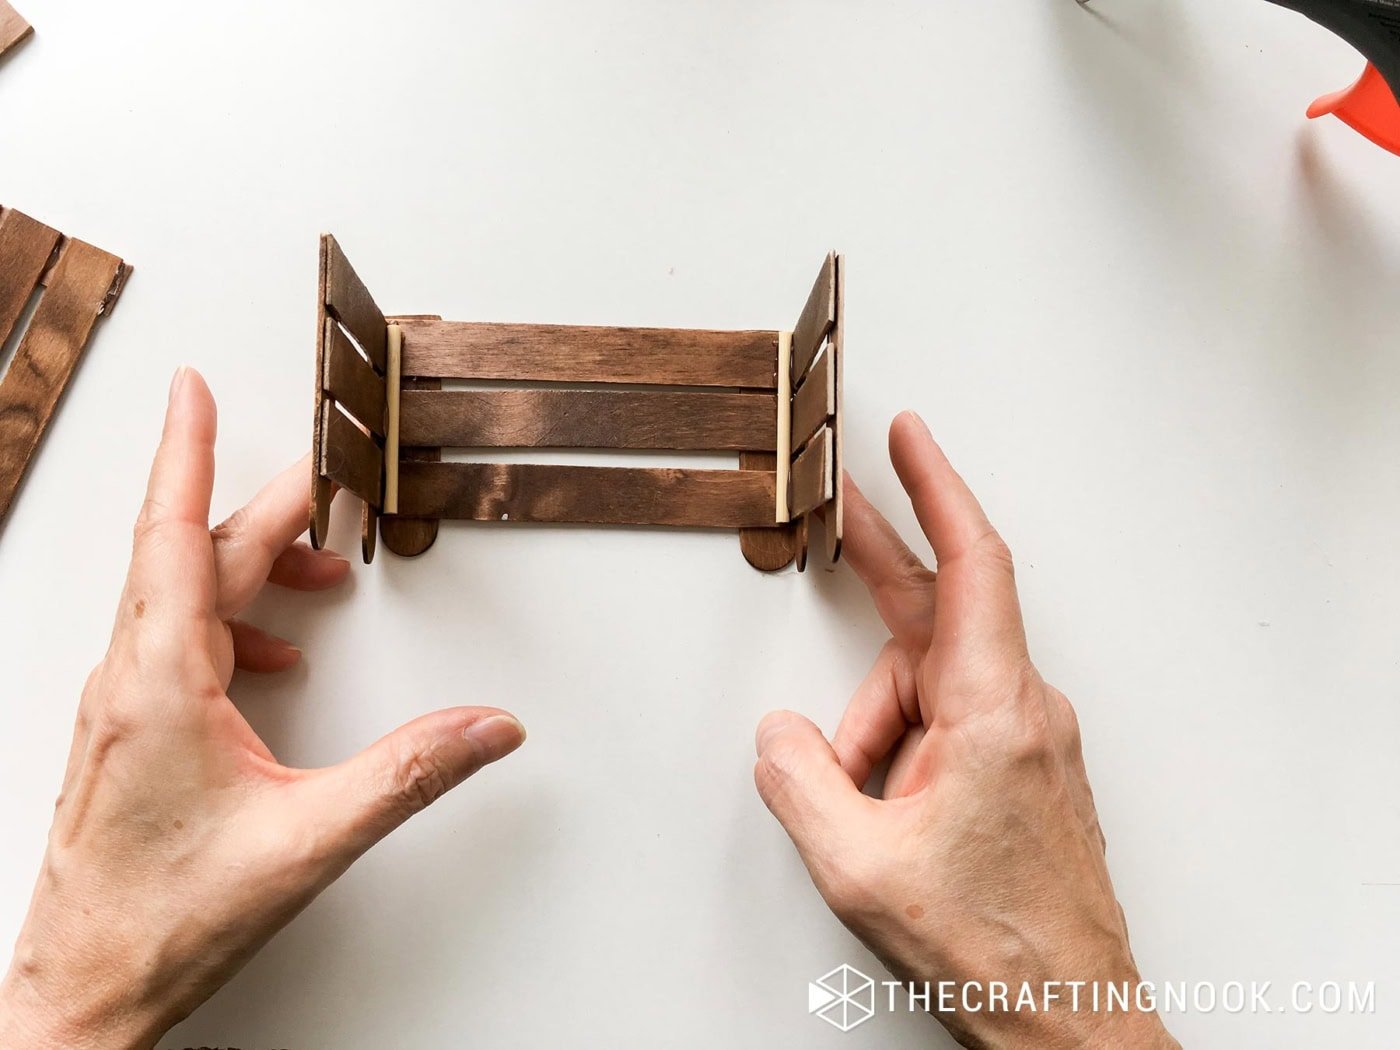
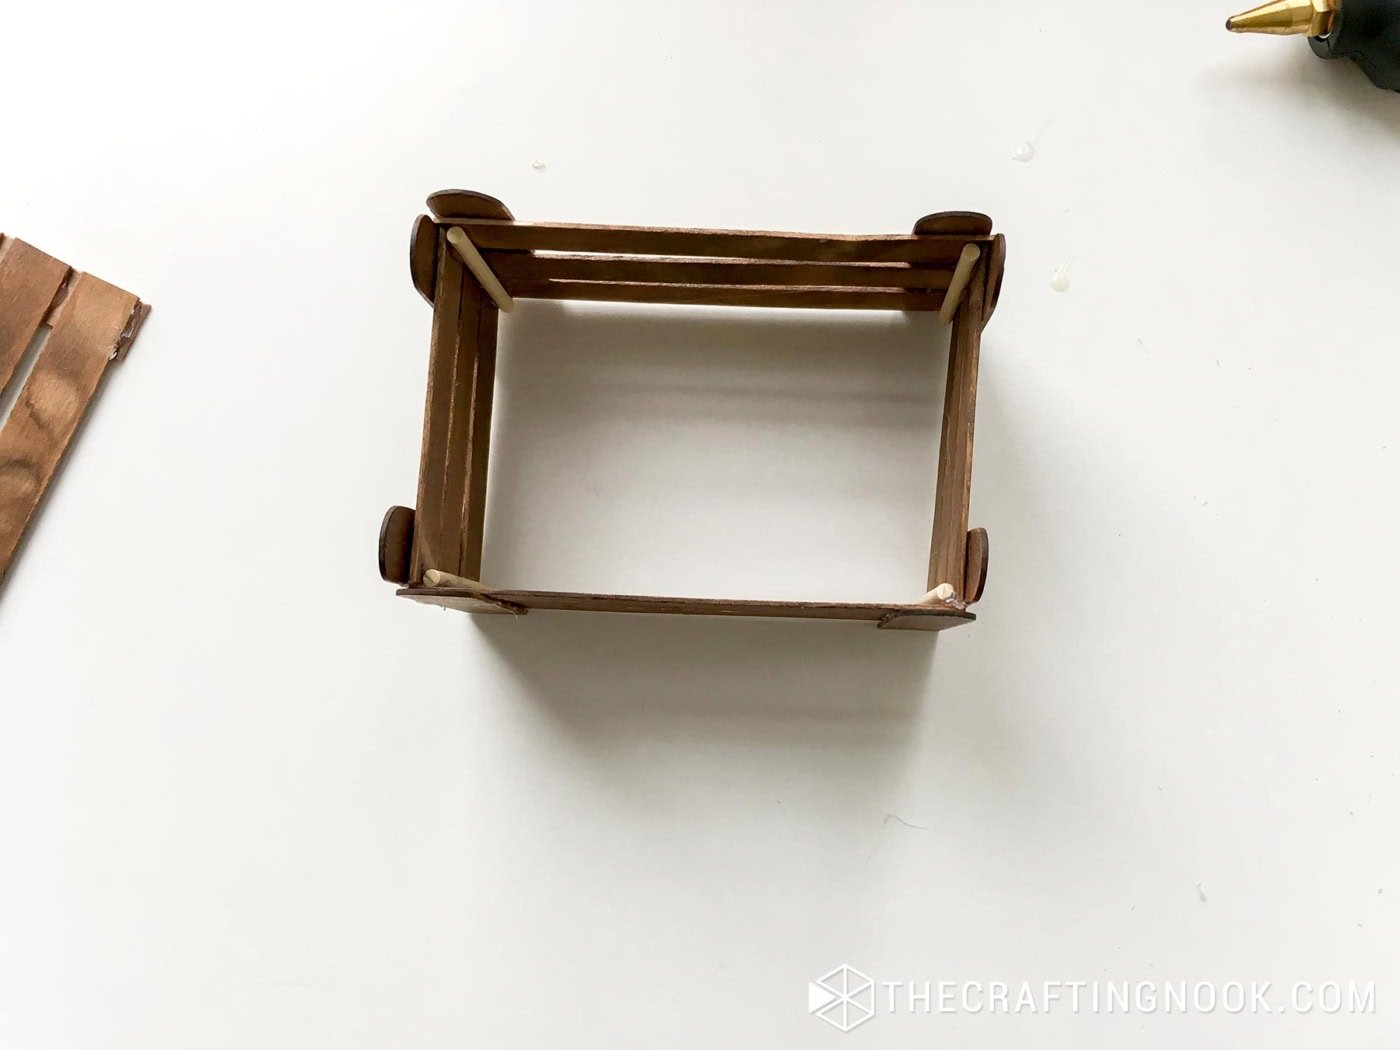
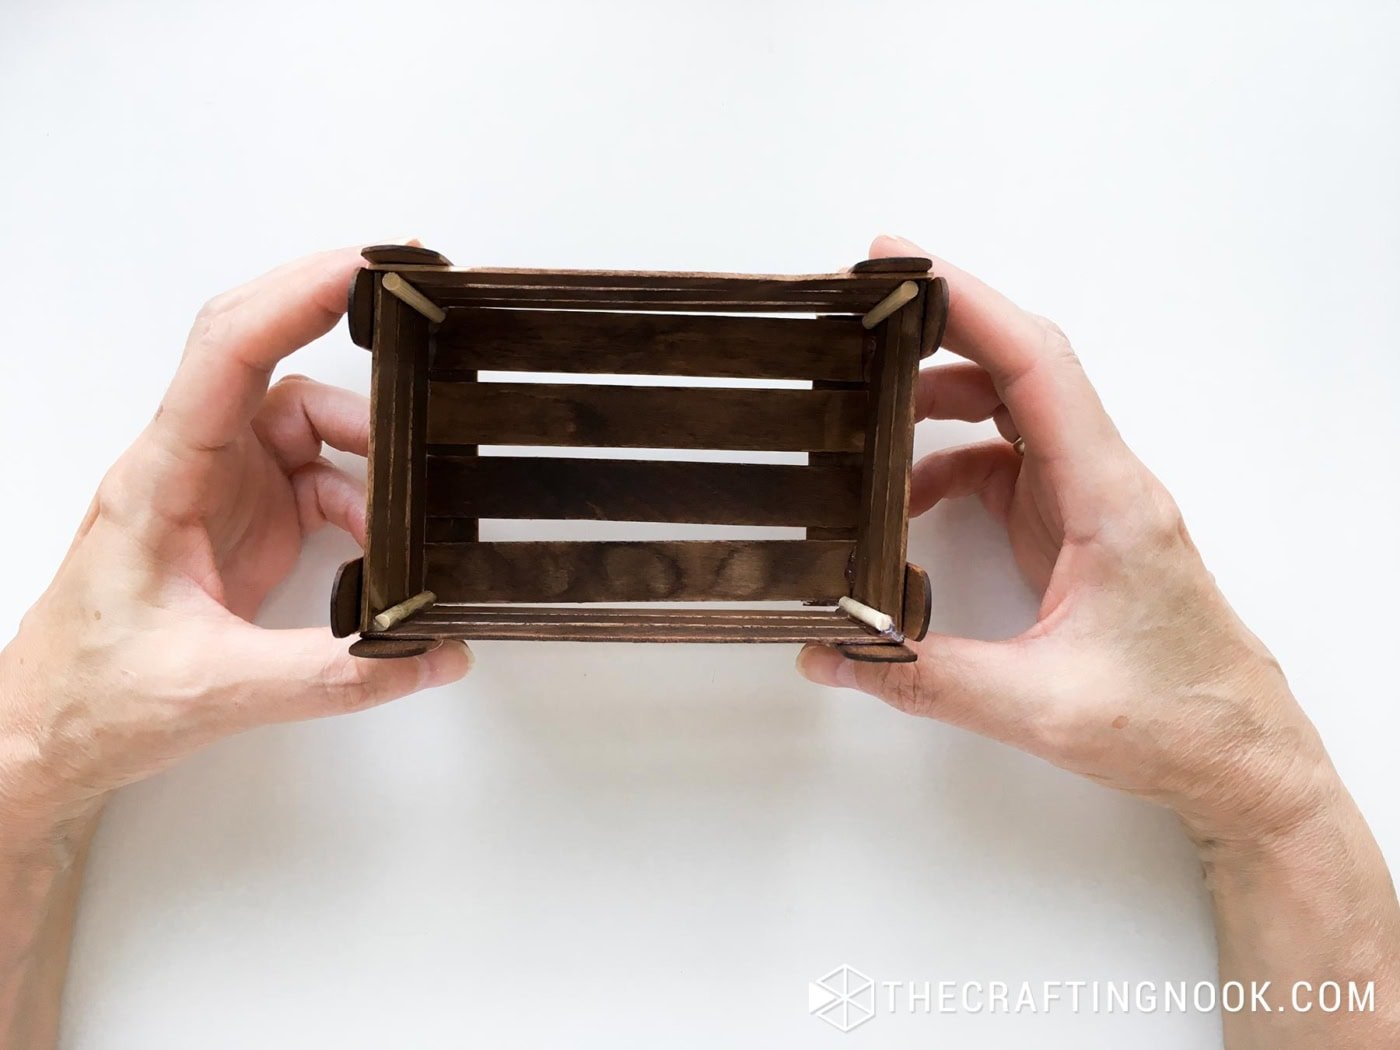
For more support, cut small pieces of wooden skewer and glue them vertically inside the corners. Add enough hot glue to cover the joints, but keep it inside the crate where it won’t be seen.
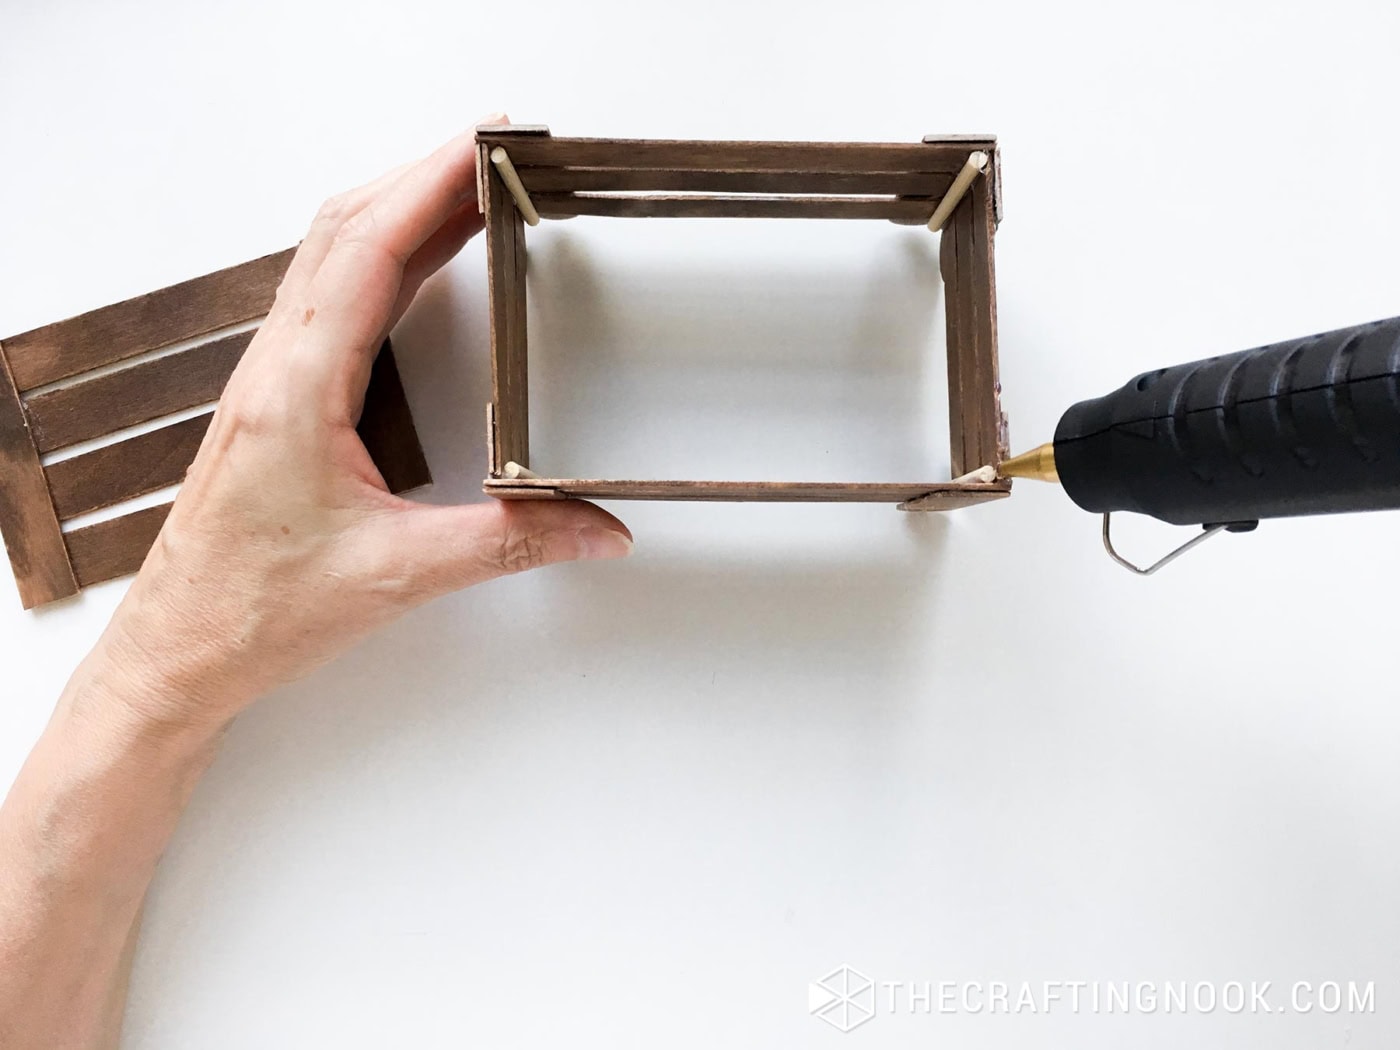
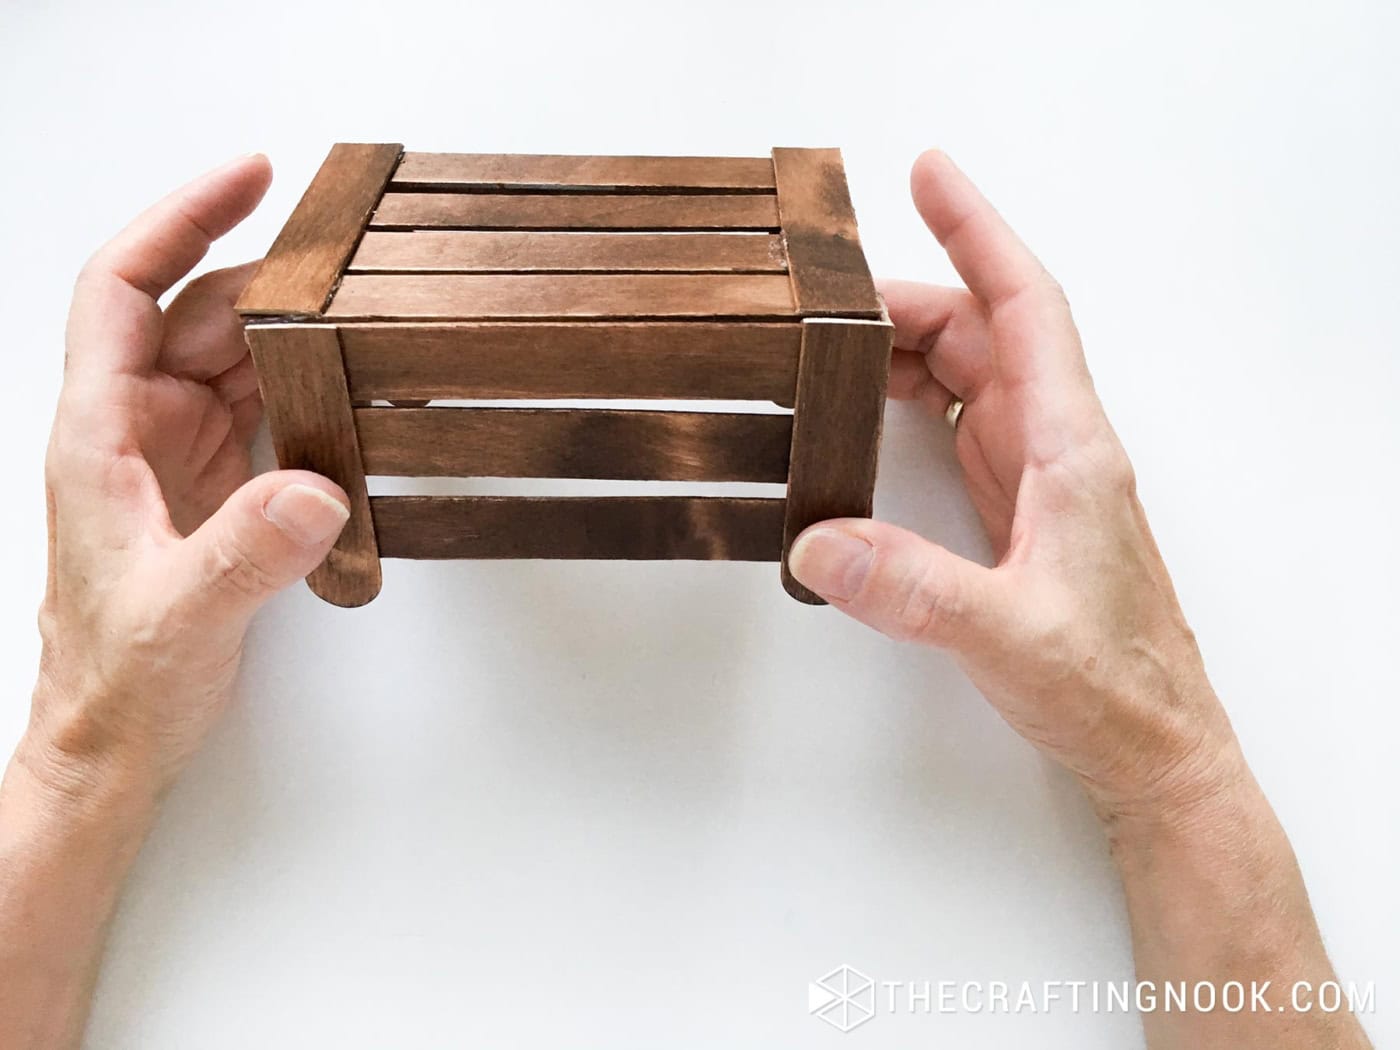
Then glue the sides onto the base. Here again, you can glue some skew sticks for extra hold.
Be patient here, making sure everything is aligned. It’s such a satisfying little build!
Step 6: Decorate the Outside
Wrap a strip of jute ribbon around the middle of the crate and glue the ends in place.
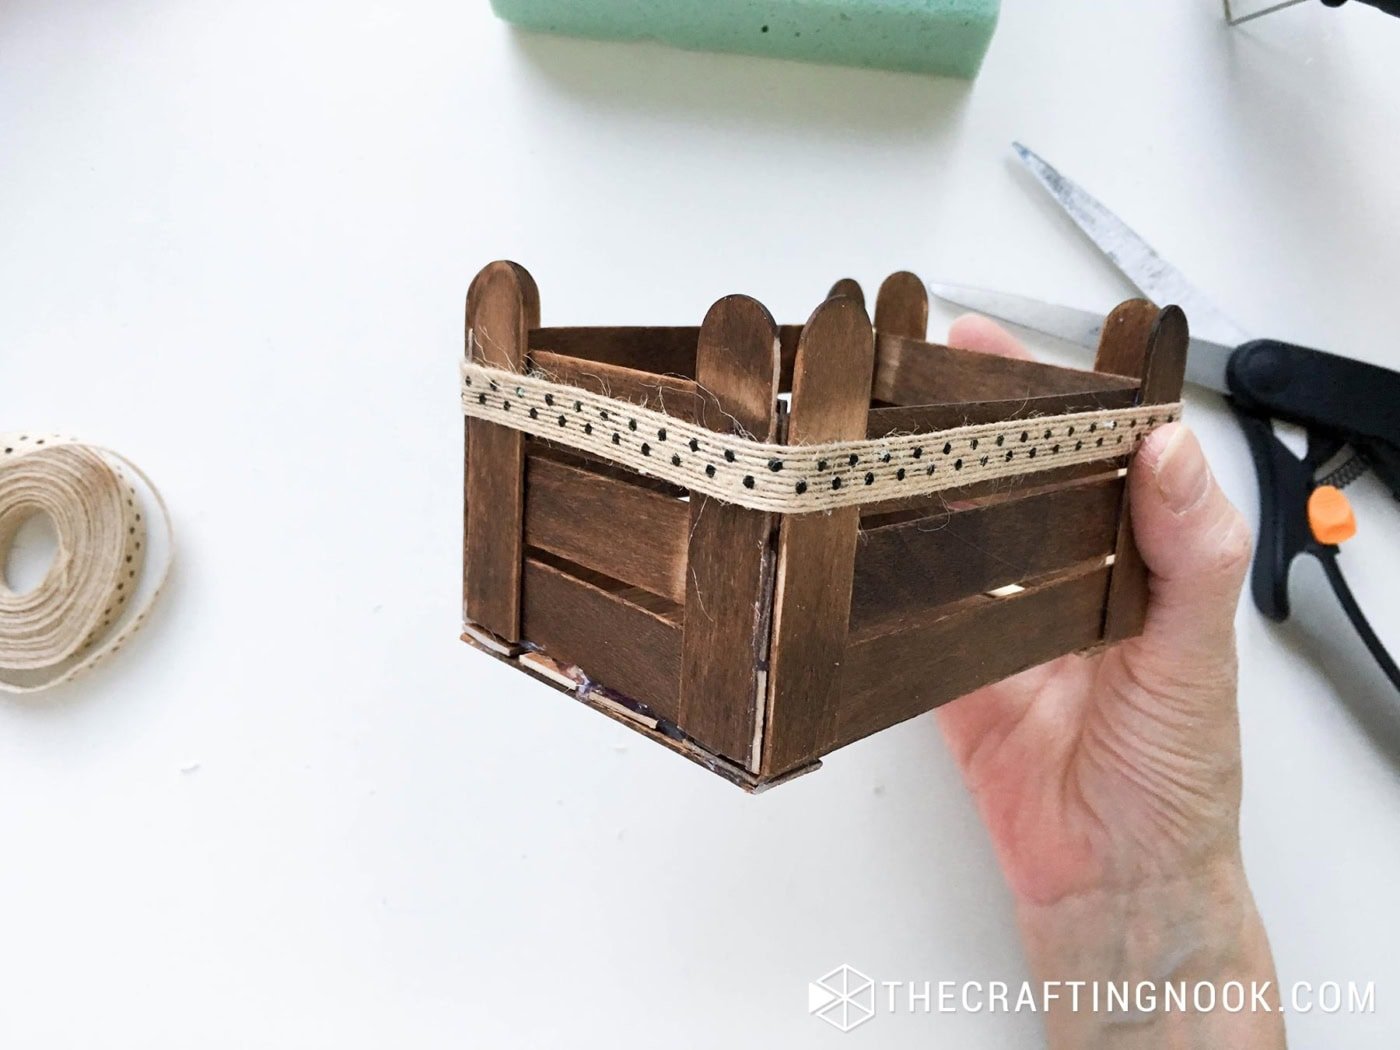
I layered a narrower grosgrain ribbon over the jute, then added a small bow where the ribbon ends met.
You can keep the decoration simple or add buttons, small leaves, wooden shapes, or another fall embellishment.
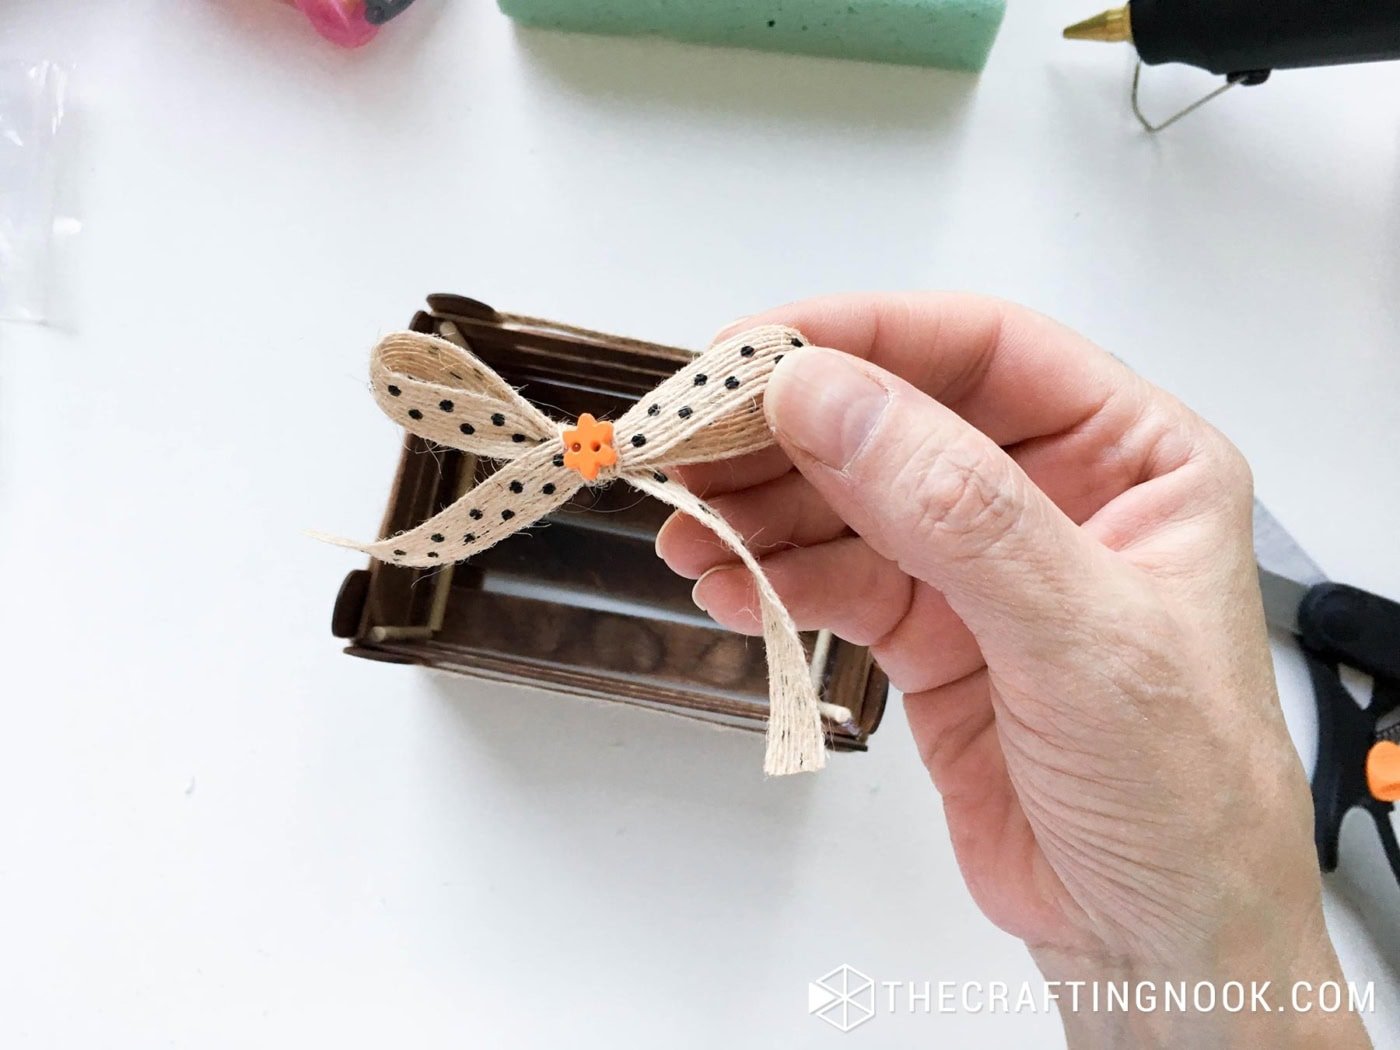
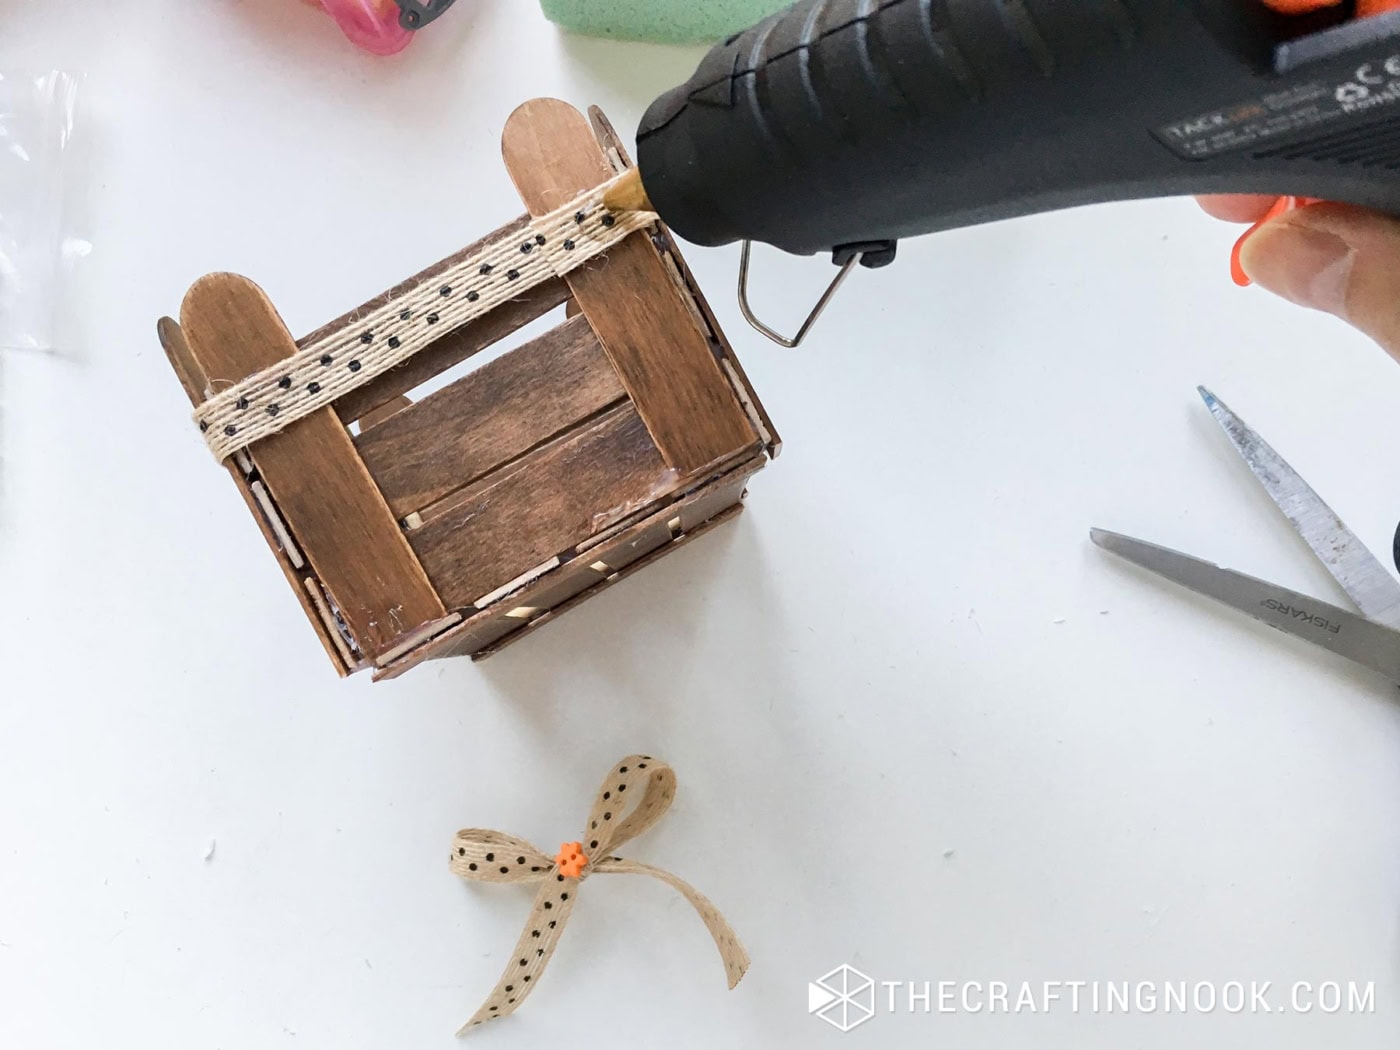
I added a cute little bow on one side right where the ribbon ends meet to give it a bit of cuteness.
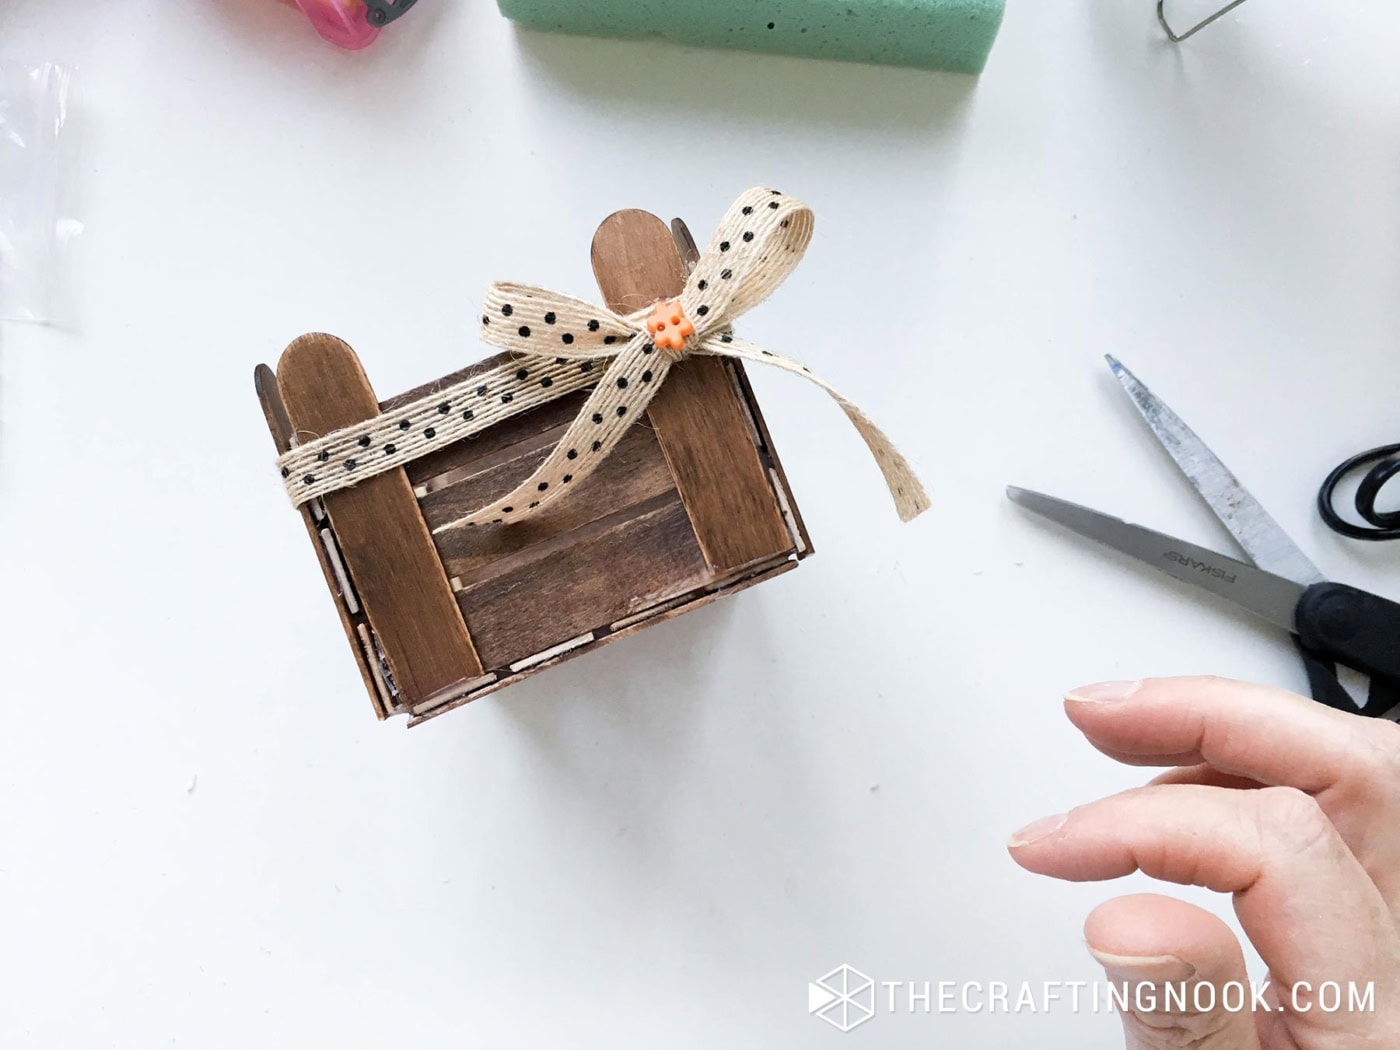
You can totally make it your own with different ribbons, buttons, or embellishments.
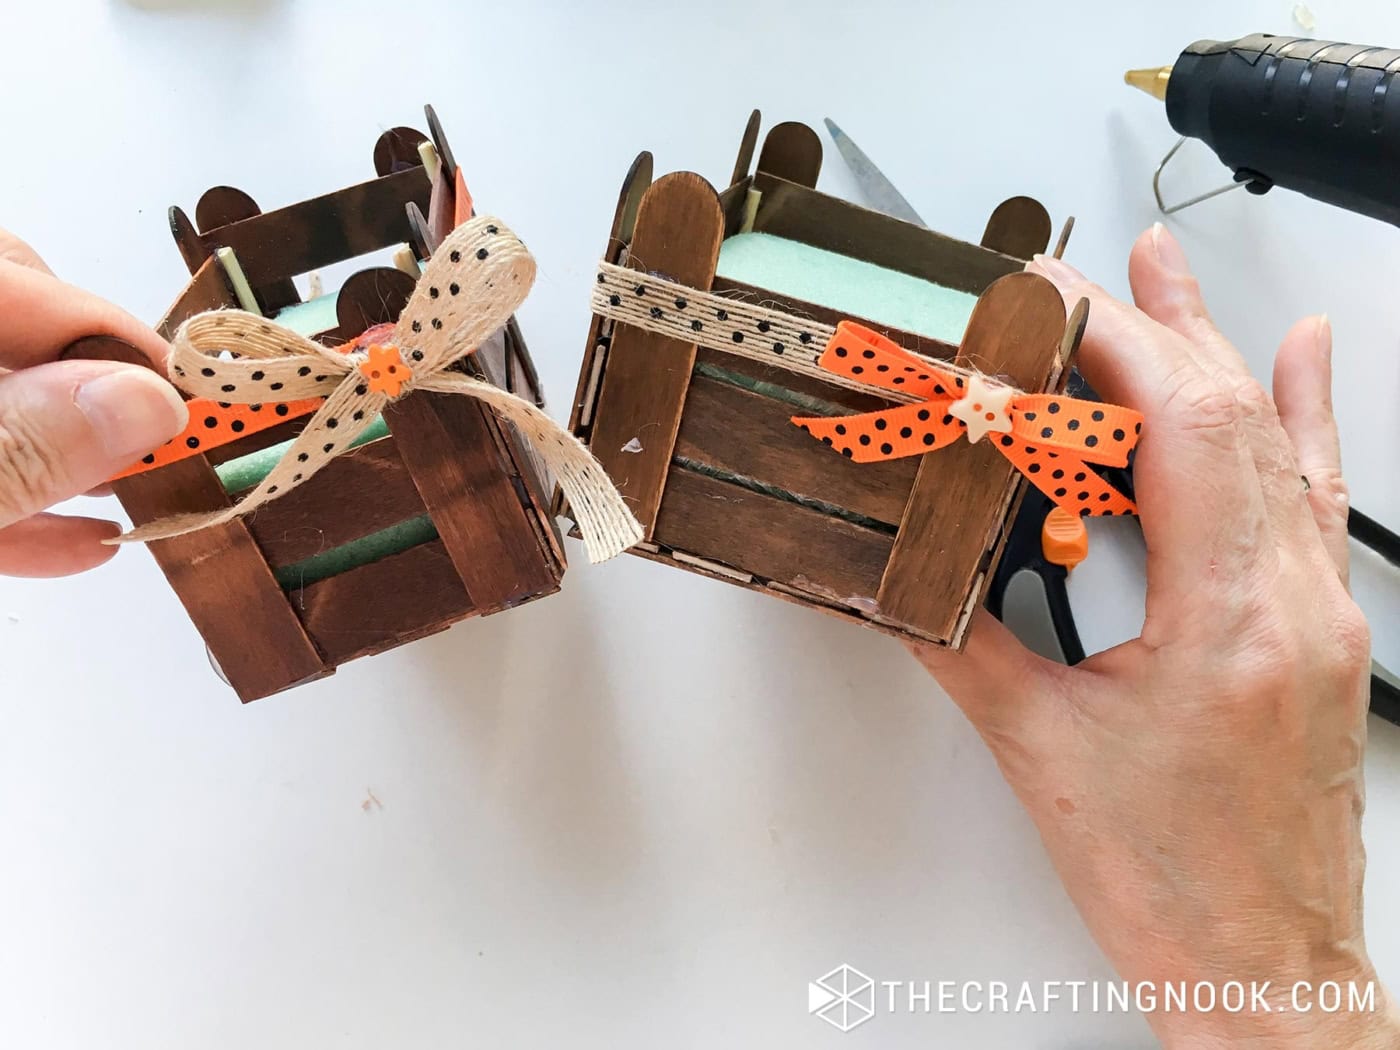
Step 7: Prepare the Floral Foam
Cut the floral foam so it fits snugly inside the crate.
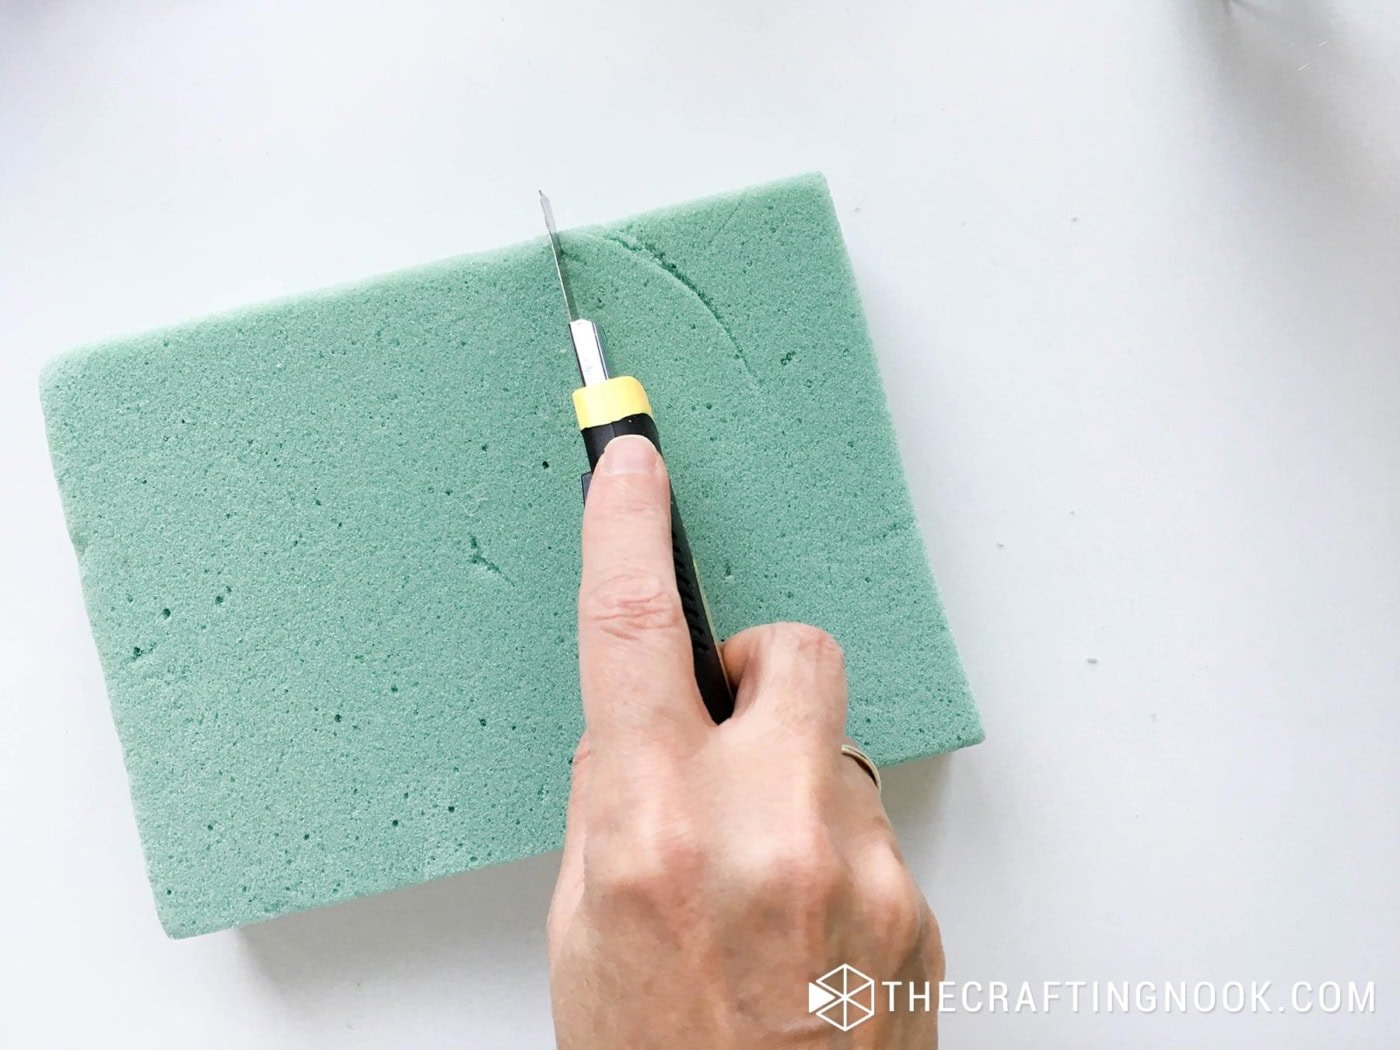
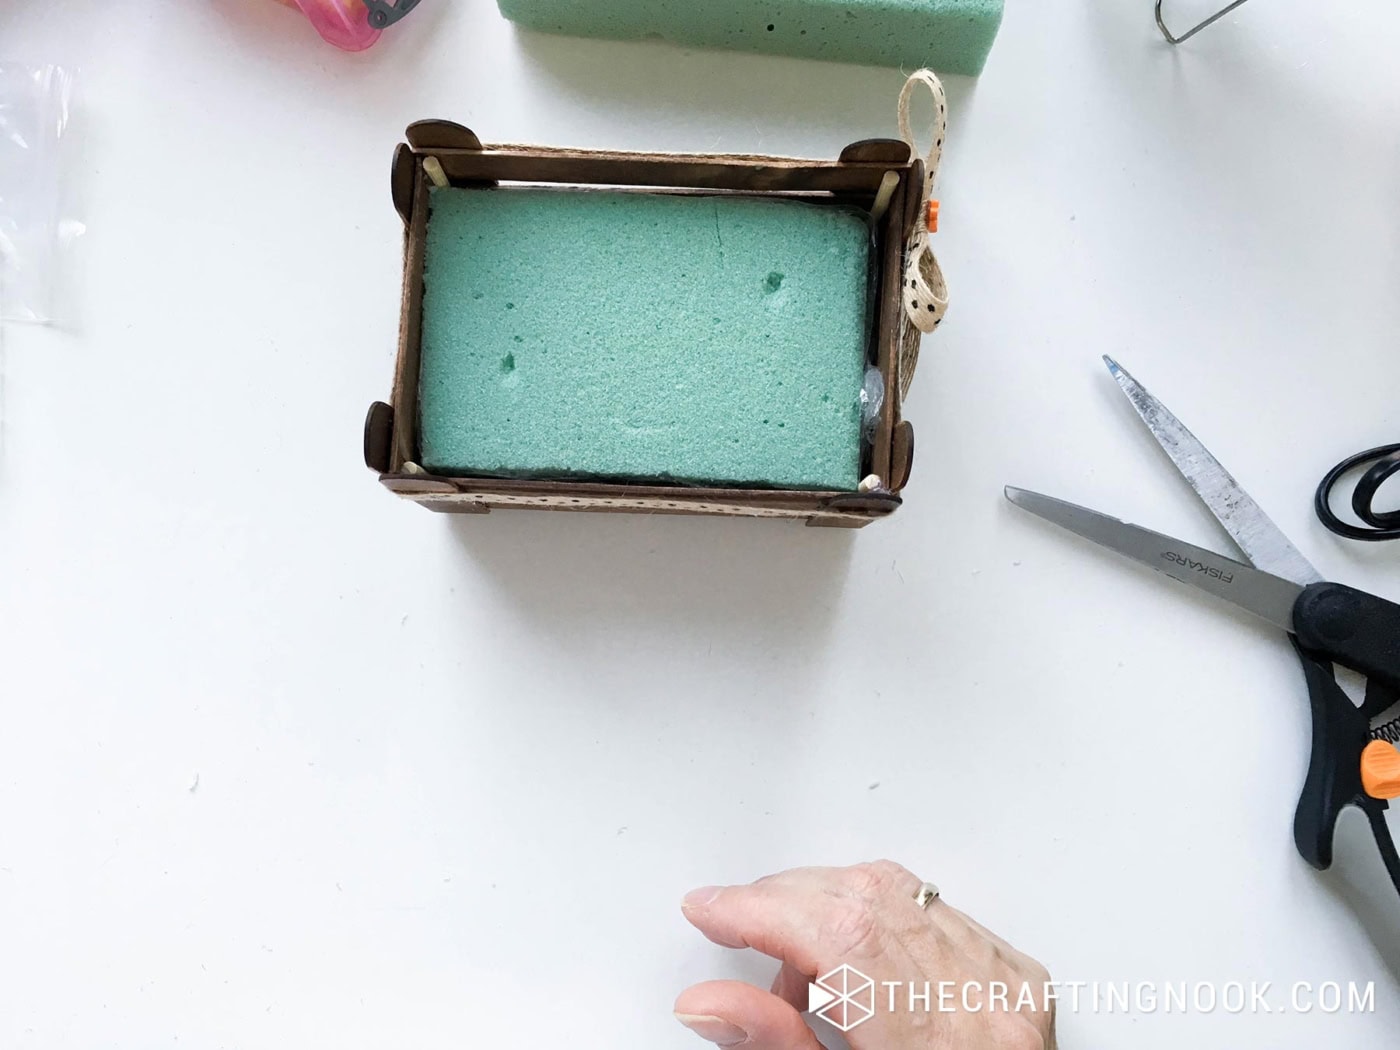
For fresh flowers, use wet floral foam intended for fresh arrangements. Soak it following the manufacturer’s instructions before placing it inside the crate.
Because the crate is made from popsicle sticks, it needs protection from moisture. Line the inside with plastic wrap before adding the wet foam. Make sure the plastic comes up around the sides enough to contain any extra water.
For faux or dried flowers, use dry floral foam. There is no need to soak it or add plastic.
Step 8: Arrange the Flowers
Trim the flower stems and begin inserting them into the floral foam.
I usually start with the larger flowers, then fill the open spaces with smaller flowers and greenery. Turn the crate as you work so the arrangement looks balanced from every side that will be visible on the table.
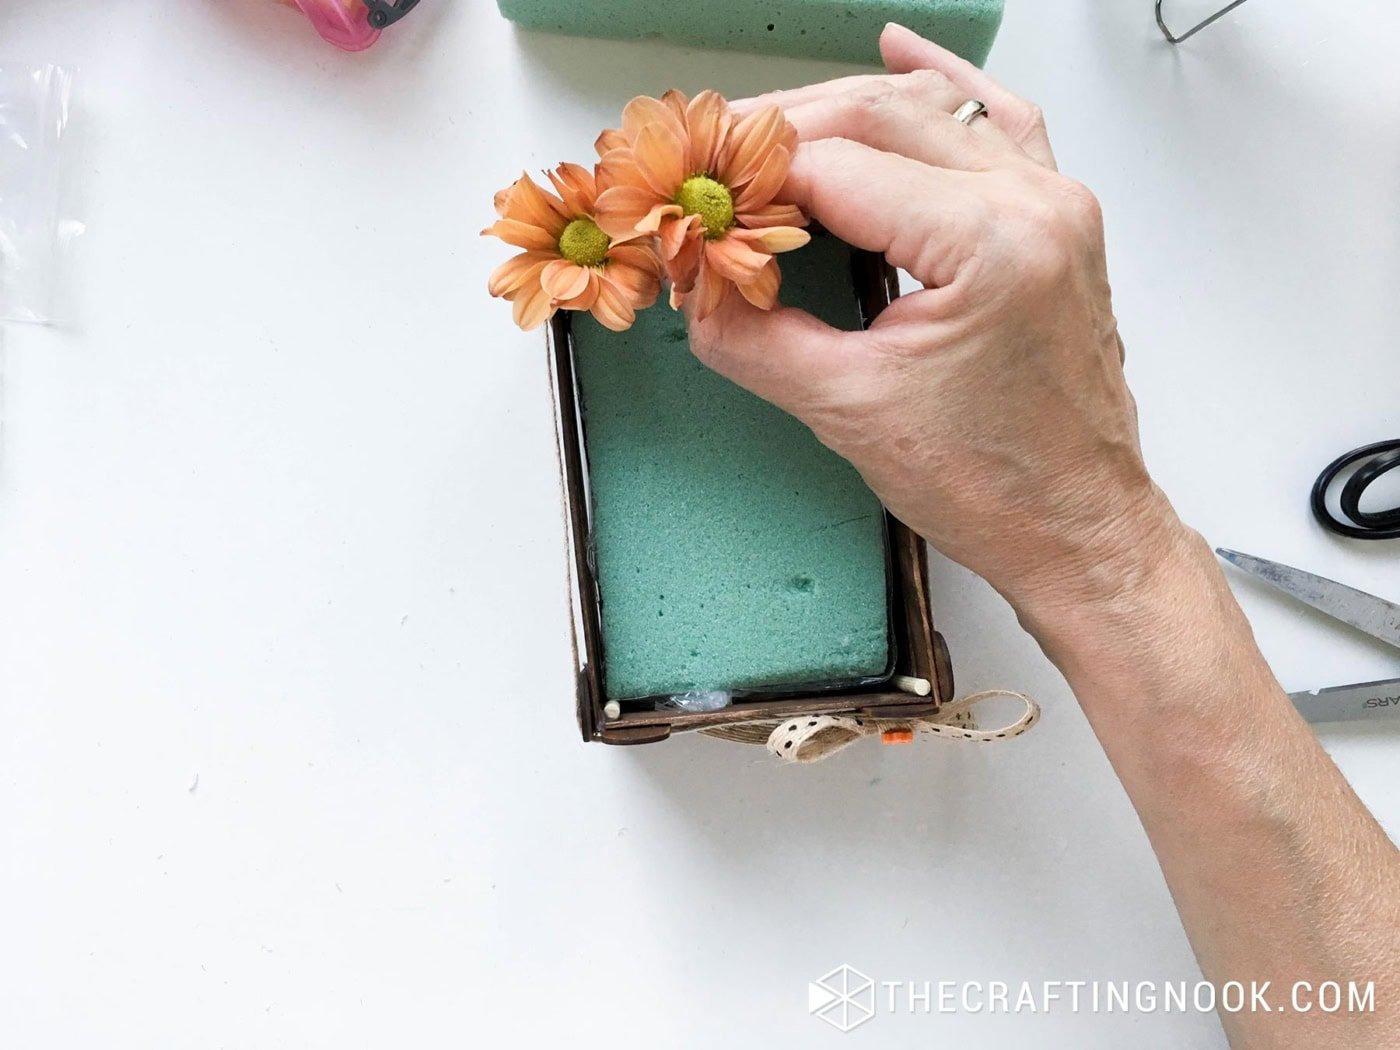
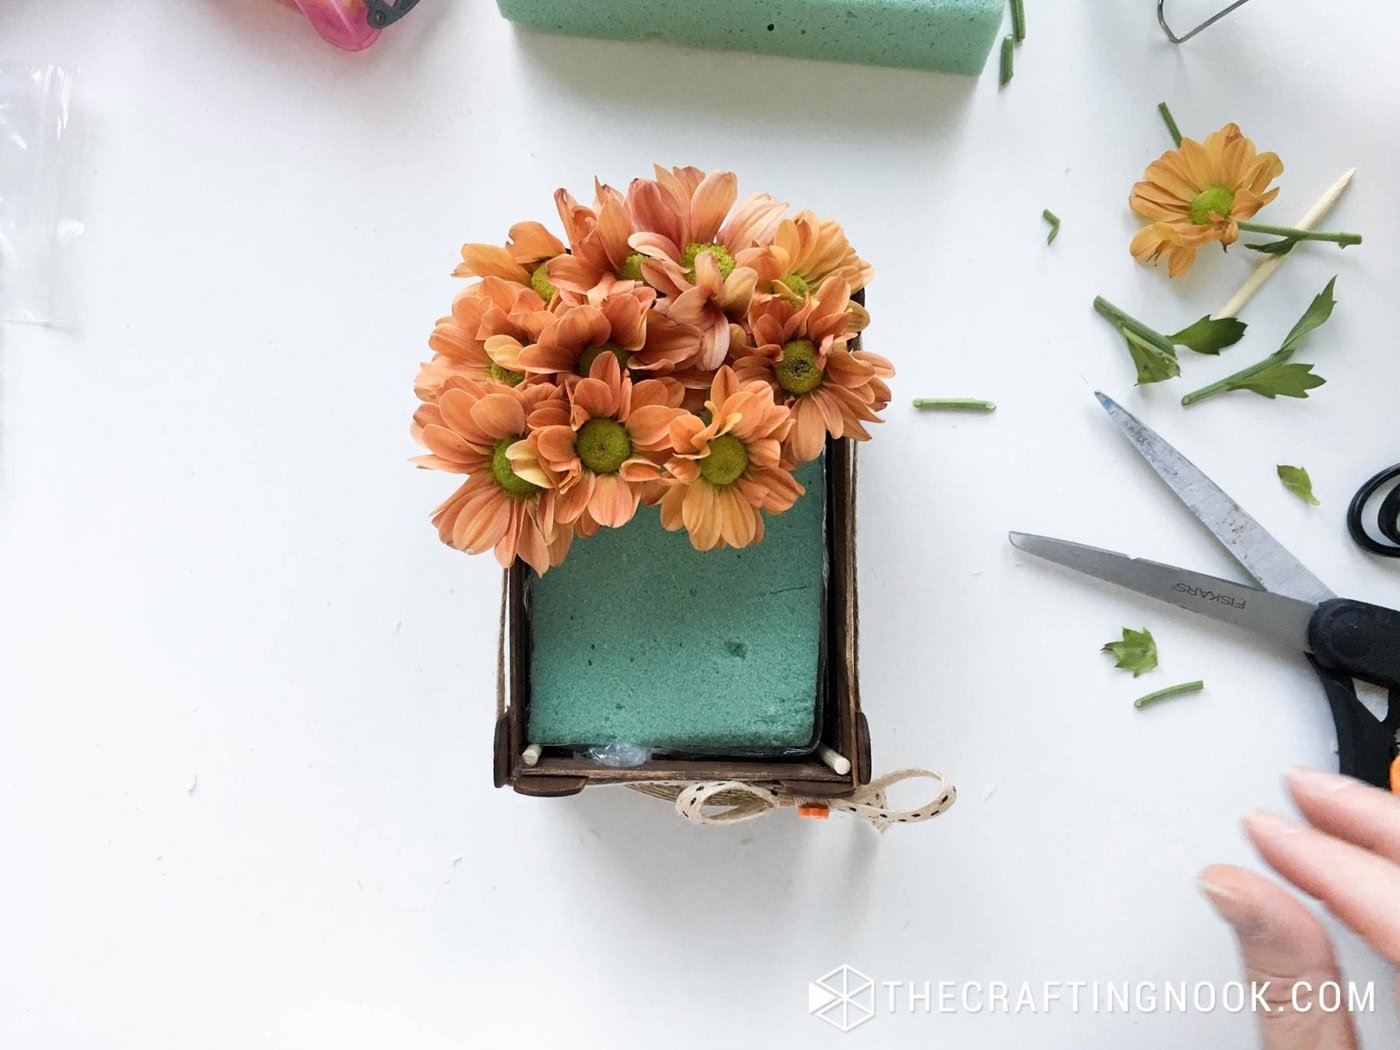
Avoid removing and reinserting fresh flower stems too many times. Every hole loosens the wet foam and makes it harder for the stems to stay in place.
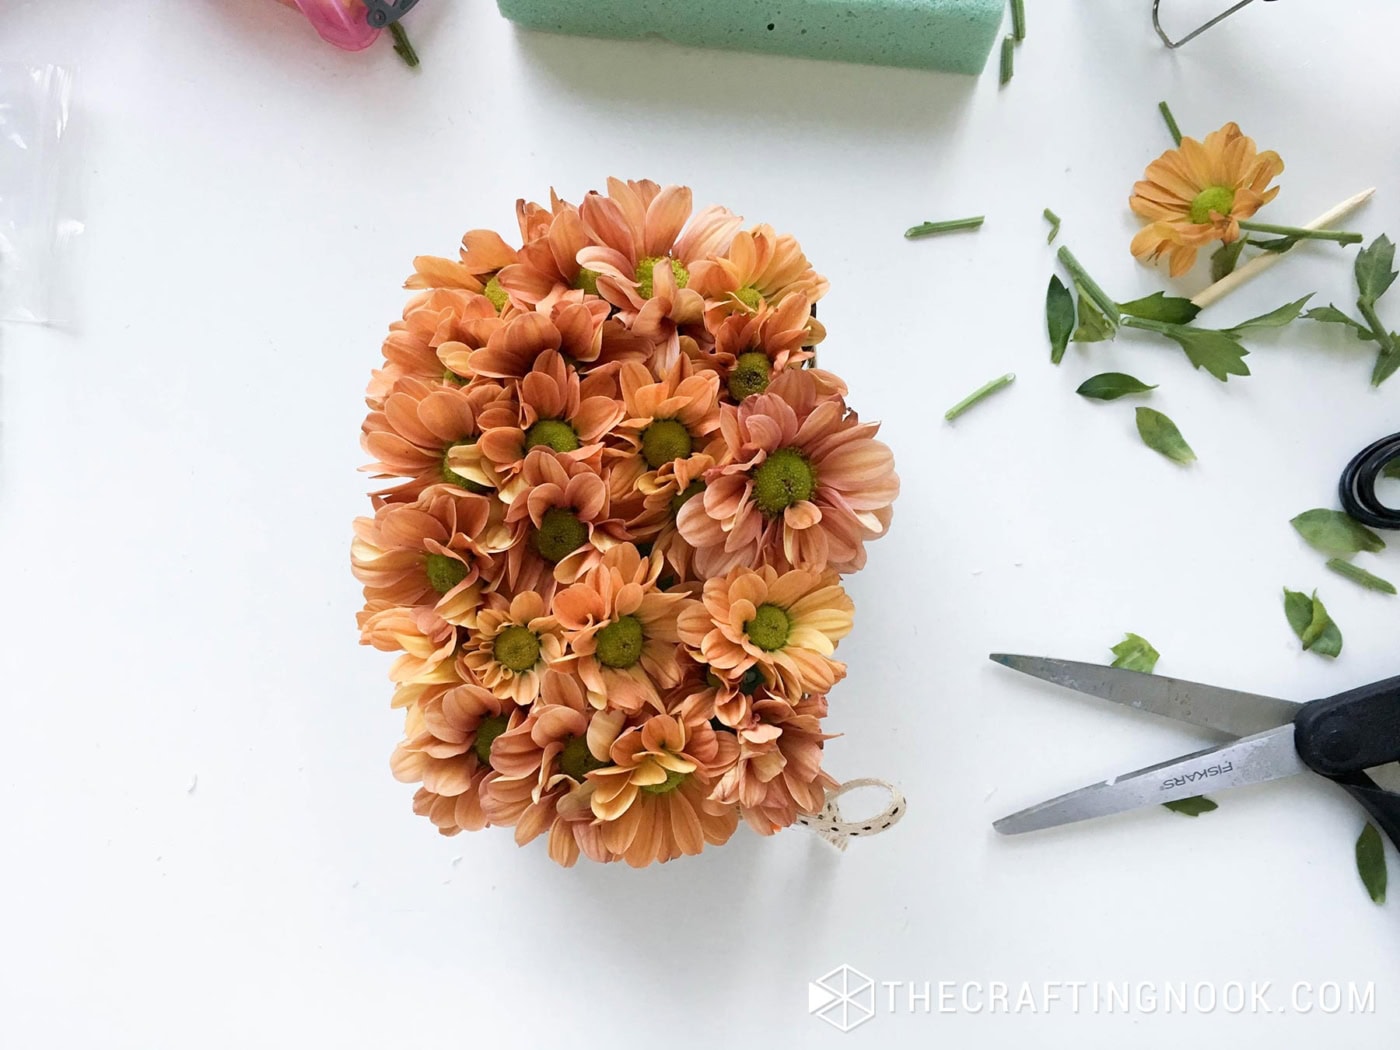
Step 9: Add the Final Details
I added a couple of small butterfly buttons to my arrangement.
To make them, glue each butterfly to the end of a wooden skewer. Once the glue has cooled, insert the skewers between the flowers so the butterflies look like they are resting on the arrangement.
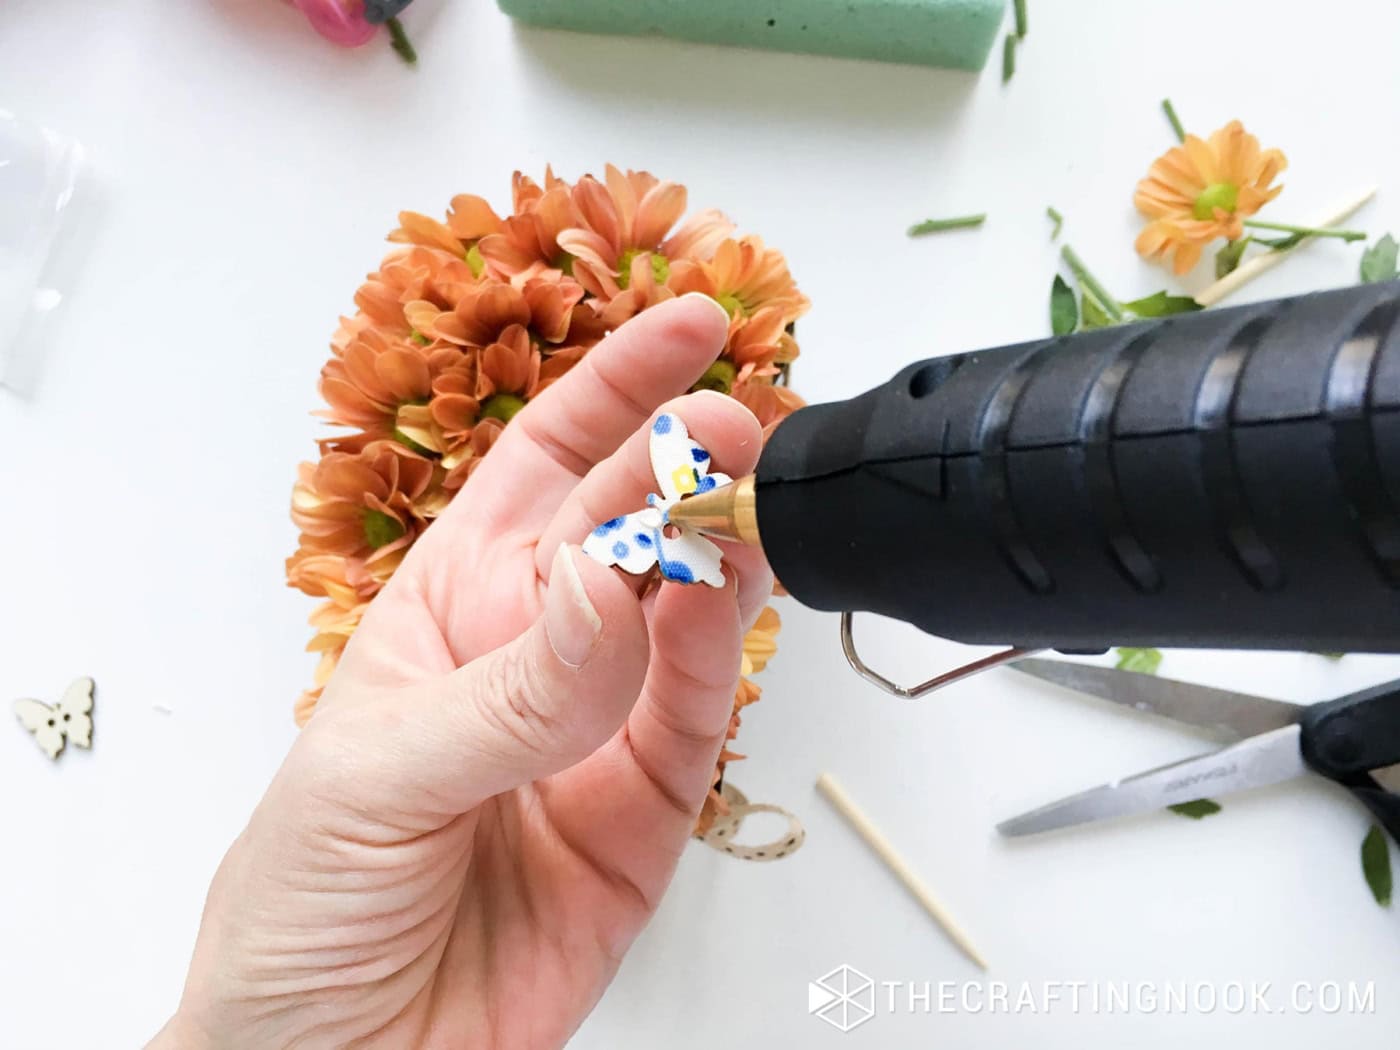
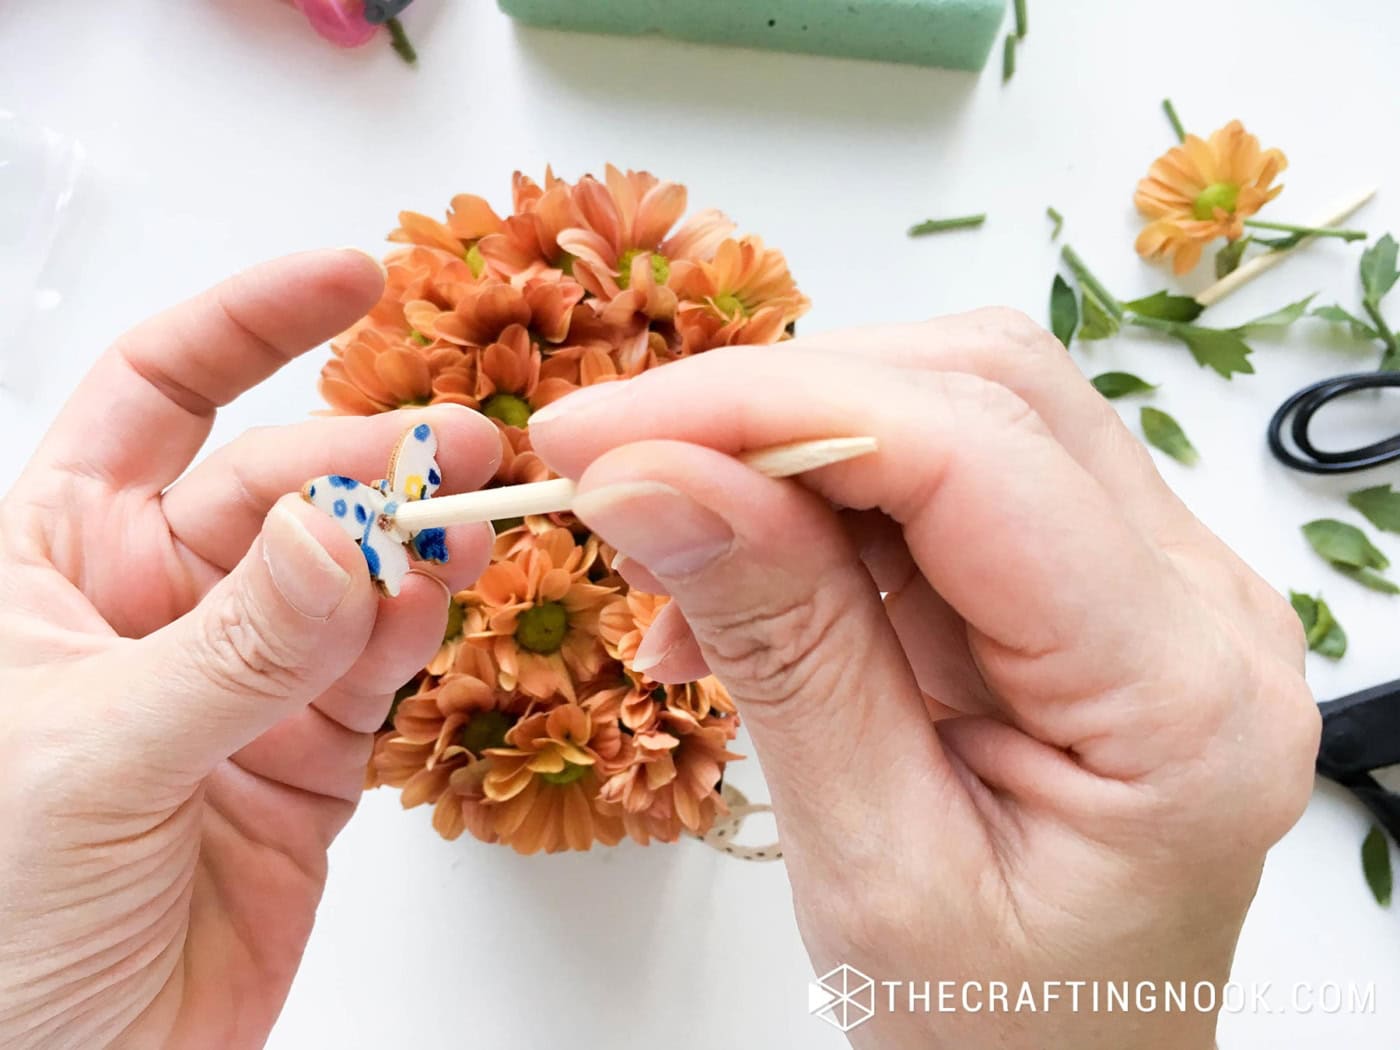
This part is optional, but it is an easy way to add a small detail without making the centerpiece feel too busy.
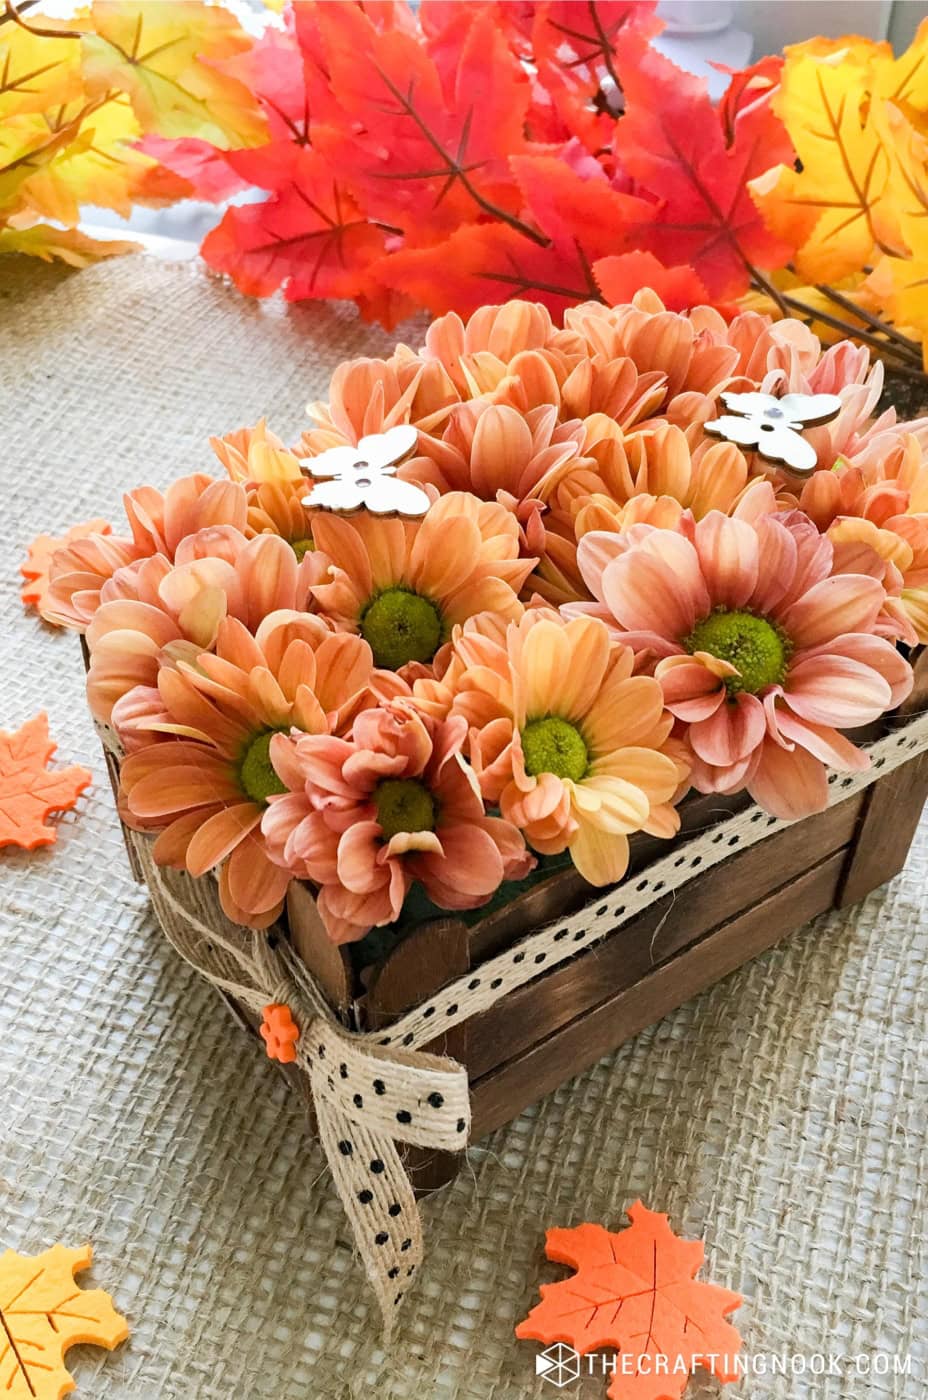
Your popsicle stick Thanksgiving centerpiece is ready for the table. You can also place it on an entryway table, kitchen counter, mantel, or sideboard.
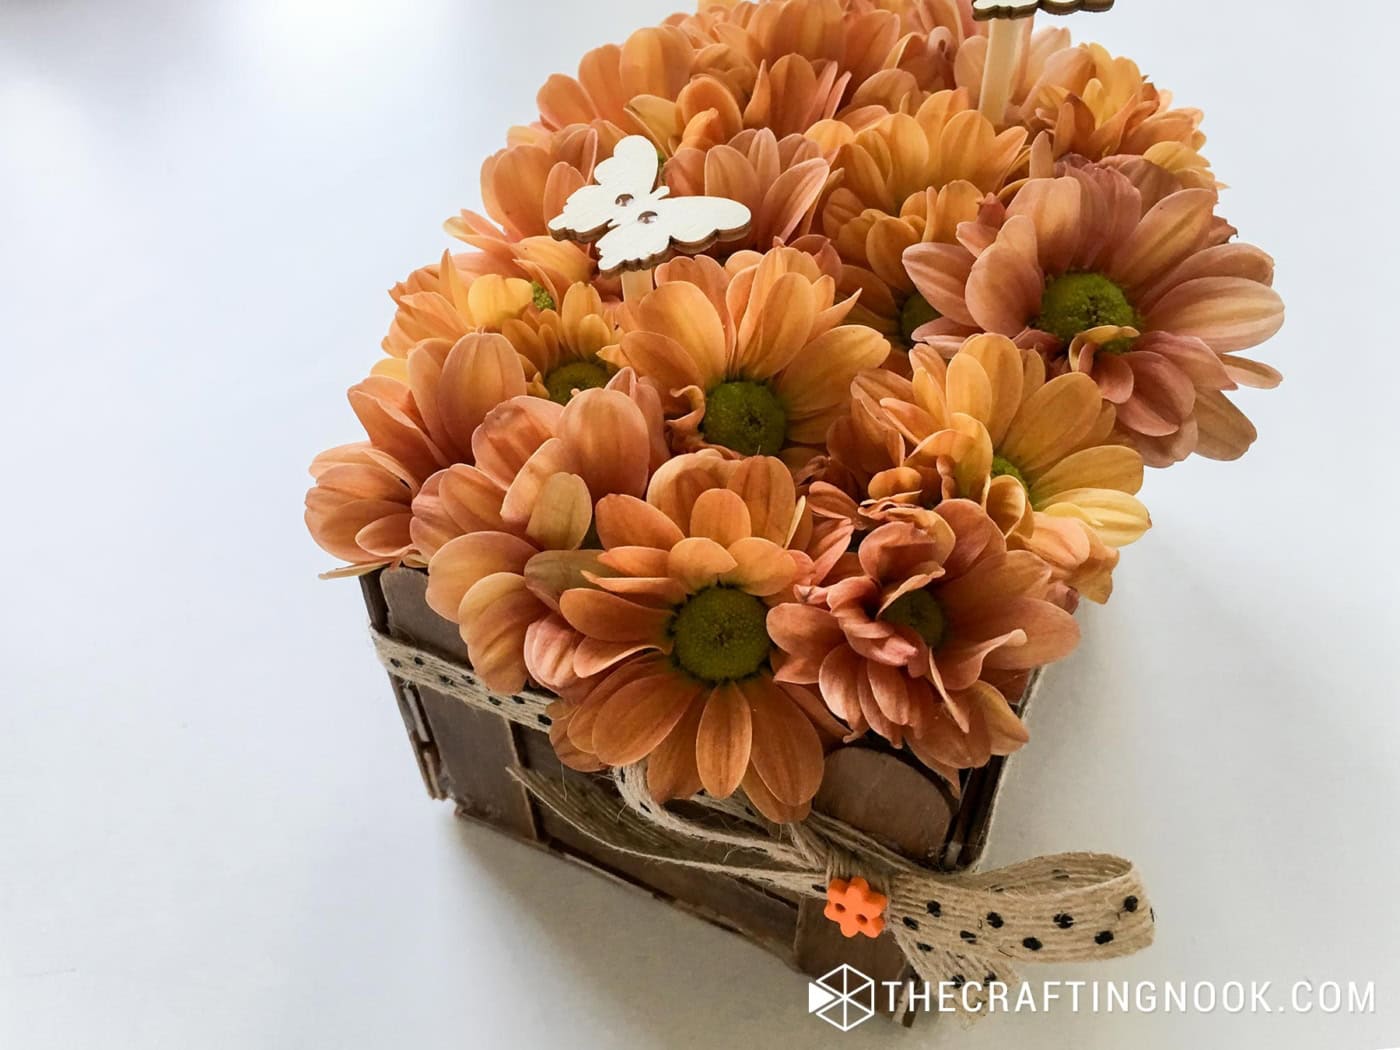
That’s it!
Crafting Tips
A few small details make a big difference when working with popsicle sticks.
- Cut the sticks with a craft knife: A craft knife gives you straighter edges than scissors and is less likely to crack the wood. Use a metal ruler as your guide and make several light cuts instead of trying to cut through the stick all at once.
- Measure before gluing: Lay out the matching pieces together and check their lengths before assembling the panels. Uneven pieces will make the crate lean or leave gaps at the corners.
- Use glue sparingly on visible areas: Hot glue can become bulky very quickly. Use enough to hold the pieces together, but place the heavier glue inside the crate where it won’t show.
- Protect the wood from fresh flower water: Wet floral foam can release moisture as you work. Always line the crate before adding soaked foam, and place the finished centerpiece on a small plate or tray to protect your table.
- Make several crates assembly-line style: When I make more than one, I stain all the sticks first, cut all the pieces together, and then assemble each panel. It is much faster than completing one entire crate before starting the next.
Alternatives and Substitutions
There are plenty of ways to change the finished look without changing the basic construction.
Use a premade crate: A small wooden crate from the craft store is a good shortcut when you don’t have time to build one.
Use dried flowers: Dried hydrangeas, wheat, seed pods, and eucalyptus give the arrangement a more natural look.
Fill it with fall accents: Mini pumpkins, pinecones, acorns, faux leaves, and small gourds can replace the flowers.
Paint the sticks: Try muted orange, mustard, cream, brown, or burgundy instead of wood stain.
Change the ribbon: Raffia, cotton ribbon, velvet ribbon, or simple twine can completely change the style.
Turn it into a place card: Make smaller crates and add name tags for each Thanksgiving guest.
Using Fresh, Faux, or Dried Flowers
Fresh flowers give the centerpiece a full and natural look, but the foam will need water and the popsicle stick crate must stay protected from moisture.
Faux flowers are easier if you want to prepare the centerpiece several days before Thanksgiving. They also allow you to store and reuse the arrangement each year.
Dried flowers fall somewhere in the middle. They look natural and don’t need water, but they can be brittle, so handle the arrangement carefully.
How to Store the Centerpiece
Remove fresh flowers and wet floral foam after the celebration. Don’t leave damp foam inside the crate because the moisture can soften the glue, stain the wood, or encourage mold.
Wipe the inside gently and let the crate air-dry completely before storing it.
A crate filled with faux or dried flowers can be stored as one piece. Place it in a box with enough room around the flowers so they don’t get crushed.
Frequently Asked Questions
Yes. Faux flowers are a great option if you want to make the centerpiece ahead of time or use it again next year. Use dry floral foam instead of wet floral foam.
A hot glue gun works best for this project since it provides a strong, quick-drying bond. If you’re working with younger children or prefer not to use hot glue, tacky craft glue is a good alternative, but keep in mind it will take longer to dry.
The popsicle stick crate is sturdy enough for a light floral arrangement, but it’s still made from craft materials, so handle it with care. If you need extra durability, consider reinforcing the joints with more glue or even using small wooden dowels for extra strength.
Yes! The great thing about this project is that it’s fully customizable. You can adjust the number of popsicle sticks used for the sides to make the crate larger or smaller, depending on your needs and the size of your Thanksgiving tablescape. Just make sure the sides are proportional so it stays balanced.
This project can be completed in about 1-2hours, depending on drying times and how detailed you get with decorating. If you pre-stain or paint the popsicle sticks ahead of time, the assembly itself will go even faster, around 30-40 minutes.
Yes. Add more horizontal sticks to increase the width or length of the panels.
Keep the opposite sides the same size and increase the base to match. A larger arrangement may also need more corner supports and a thicker bottom panel.
More Fall and Thanksgiving Projects To Try
Like this DIY Thanksgiving flower centerpiece tutorial? You might definitely love these other Fall and Thanksgiving project ideas too:

✂️ Tutorial
DIY Popsicle Stick Thanksgiving Flower Centerpiece

Tools
- Hot glue gun
- Craft knife
- Metal ruler
- Cutting mat
- scissors
- Paintbrush or cloth, if staining
Supplies
- 20 to 25 popsicle sticks or wooden craft sticks
- Wood stain or craft paint optional
- Hot glue sticks
- Jute ribbon
- Grosgrain ribbon
- Wooden skewers optional
- 1 small floral foam block
- Plastic wrap if using fresh flowers
- Fresh faux, or dried fall flowers
- Small butterfly buttons or other embellishments optional
- I would use 20 to 25 sticks rather than giving an exact number. The original instructions don’t provide enough measurements to calculate a fully reliable number and the total will change depending on the crate size and any mistakes while cutting.
Instructions
Stain the popsicle sticks
- Apply wood stain or paint to the popsicle sticks, if desired. I used a dark walnut stain for a rustic wood finish.
- Place the sticks on a protected surface and allow them to dry completely before assembling the crate.
Cut the pieces for the side panels
- Cut one rounded end from the popsicle sticks that will be used as the upright supports. Leave the top ends rounded to create a small fence-like shape.
- Trim both rounded ends from the horizontal sticks. Measure carefully so the matching pieces are the same length.
- Each side panel will need two upright sticks and three horizontal sticks.
Build four side panels
- Place three trimmed sticks horizontally on the work surface.
- Glue one upright stick across each end, keeping the straight-cut ends aligned along the bottom.
- Repeat until you have two longer panels and two shorter panels. Let the glue cool before moving them.
Make the bottom panel
- Lay four popsicle sticks side by side.
- Cut two support pieces to fit across them and glue one near each end to hold the base together.
Assemble the crate
- Glue one short panel to one long panel. Continue attaching the panels until all four sides are connected.
- For extra support, glue short pieces of wooden skewer vertically inside the corners.
- Glue the completed crate walls onto the bottom panel. Check that everything is aligned and allow the glue to cool.
Decorate the crate
- Wrap jute ribbon around the middle of the crate and secure the ends with hot glue.
- Layer grosgrain ribbon over the jute and add a small bow or other embellishment where the ribbon ends meet.
Prepare the floral foam
- Cut the floral foam to fit snugly inside the crate.
- For fresh flowers, use wet floral foam made for fresh arrangements. Soak it according to the package instructions and line the crate with plastic wrap before adding it.
- For faux or dried flowers, use dry floral foam. Do not soak it.
Arrange the flowers
- Trim the flower stems and insert them into the floral foam.
- Start with the larger flowers, then add smaller flowers, leaves, and greenery until the arrangement looks balanced.
Add the final decorations
- Glue butterfly buttons or other small decorations onto pieces of wooden skewer.
- Insert the skewers between the flowers as a finishing touch.
Notes
Make several light passes with the craft knife instead of trying to cut through the wood in one motion.
Apply most of the hot glue inside the crate so the finished outside looks neater.
Always line the crate with plastic before adding soaked floral foam.
Place a fresh flower arrangement on a small plate or tray to protect the table from moisture.
Remove wet floral foam after the flowers are finished and allow the crate to dry completely before storing it.
Handle the finished crate from the bottom because the popsicle sticks are lightweight craft wood.
Share and PIN ME!!!
Hope you found this Thanksgiving flower centerpiece tutorial inspiring and that you get crafty making one for you own table!
Til’ next time…

FREE WORKBOOK
Keeping your Sweet Home Organized
Learn how to create intentional habits and simple routines to Keep Your Home Organized. Plus freebies, printables, exclusive content, and tips.
Disclaimer: By clicking on the “Yes” button above you are giving me your consent to collect and use your information according to the law and My Policy Privacy. Zero Spam I promise!