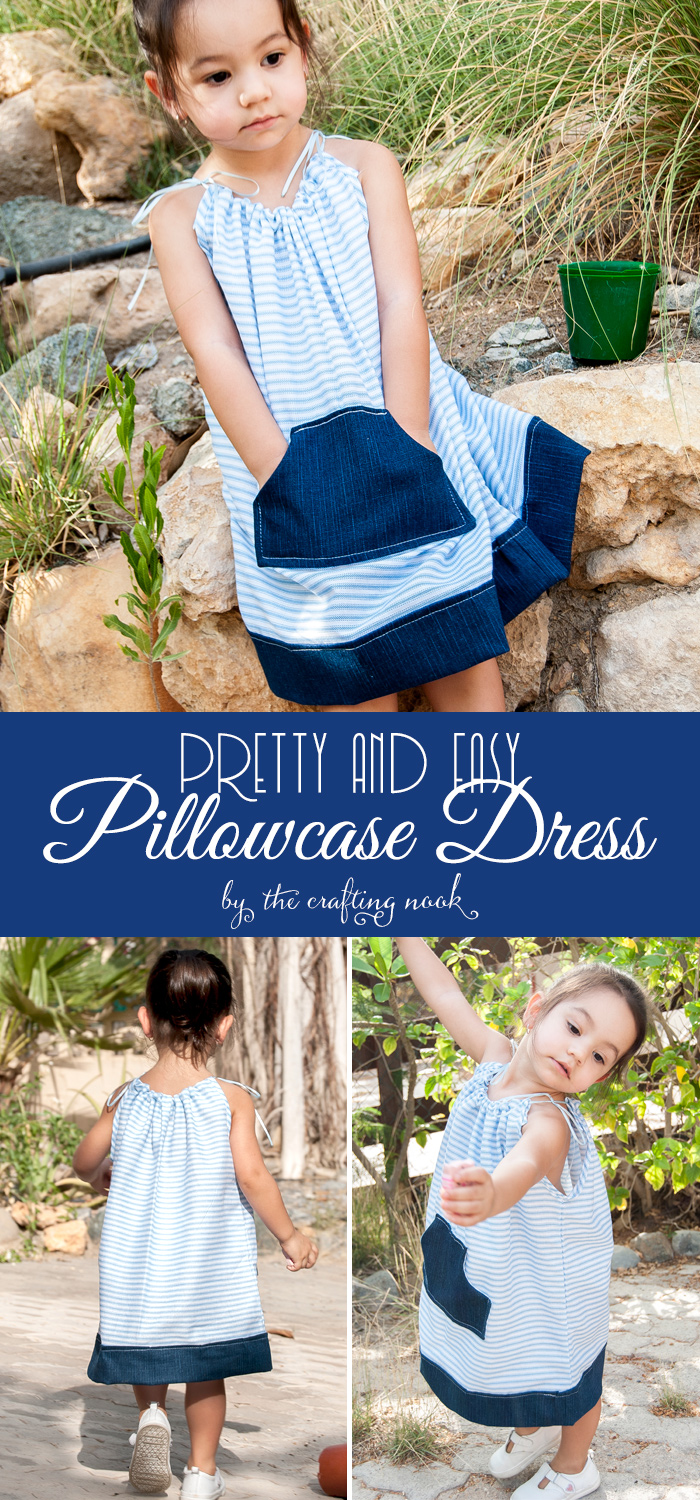
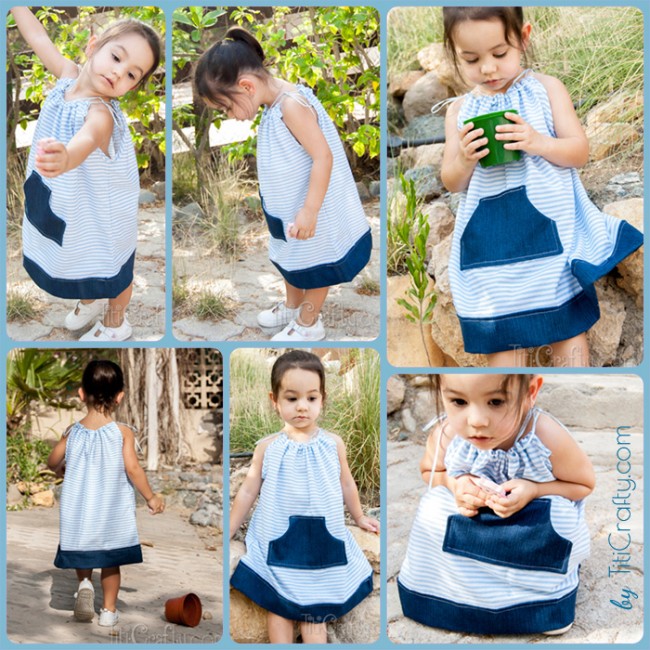
Pretty and Easy Pillowcase Dress with Pattern
This post may contain affiliate links. Please read our Disclosure Policy.
Hello friends! I’, so excited to have you here!. Today I’m sharing another cute sewing project or you. Seems like I’m becoming a fan them, remember my Mommy and Daughter Coordinated Aprons??? So cute, right? Now I’m sharing this pretty and easy pillowcase dress I made for my little girl. I used an actual pillowcase LOL can you believe it???. I’m so in love with the dress and Emma too!.
Pretty and Easy Pillowcase Dress with Pattern
I made this pillowcase dress super quick. It’s really easy to make, you don’t have to be a pro to make it, believe me I’m not even close to be a pro LOL.
Want to check out the easies Pillowcase Dress ever???
I made this pillowcase dress super quick. It’s really easy to make, you don’t have to be a pro to make it, believe me I’m not even close to be a pro LOL.
Want to check out the easies Pillowcase Dress ever???
I found a great pattern to make this at fabshophop.com. The instructions are easy to follow and you can download it here.

I’m going to explain a bit of what I made but I would suggest you take a look at the pattern.
What you need:
- 1 Pillowcase
- 1 piece of 30 cm x 20 {0.3 x 0.2 yard} and a strip of 16cm x 120cm {0.2 x 1.3 yards} of another fabric of your choice.
- Ribbon
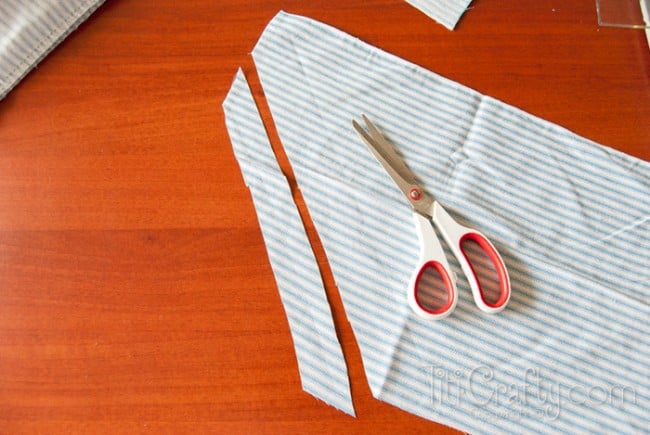
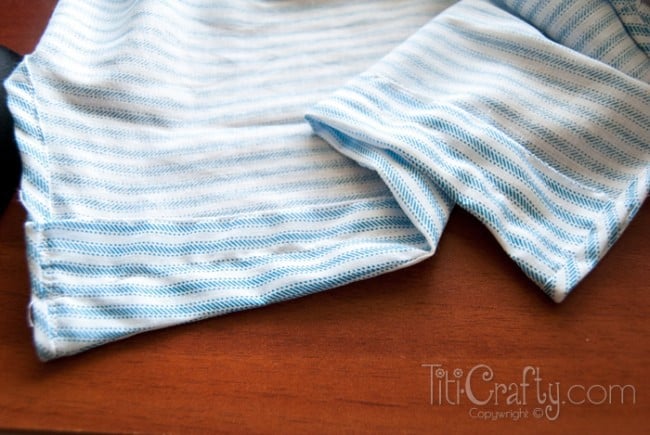
Following the instructions, I folded the pillowcase in half lengthwise with the upper seem edges aligned. Cut an armhole a gentle curve at the upper edge for the neckline.

I measured an approximate of the length of the dress and cut the remaining fabric. This remains would be used to make bias and the lining for the pocket.
I made this shape for the front pocket and I also cut the fabric for the bottom band of the dress.
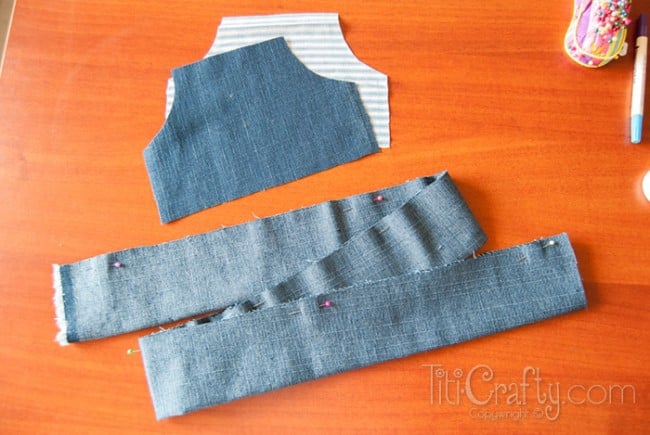
I stitched both fabrics for the pocket with right sides facing and left a spacer to turn it over then I pressed. I left it aside.

Turned under and press 1/2” on one long edge of each piece of bias. With right sides facing and long raw edges even, stitch a bias strip to each neckline, allowing half of the excess length to extend at each end. Use a 1/4”-wide seam allowance and press the seam allowance toward the bias.
I stitched the armhole edges with my bias including the neckline bias.

Stitched 1/4” from the short folded ends.
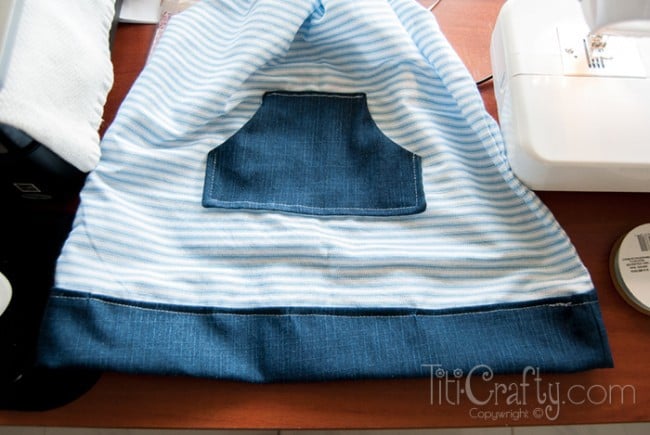
Then I placed the front pocket about in the middle of the dress and secured it with pins and stitched leaving a 1/4”-wide seam allowance leaving open only the curved areas of the pocket.

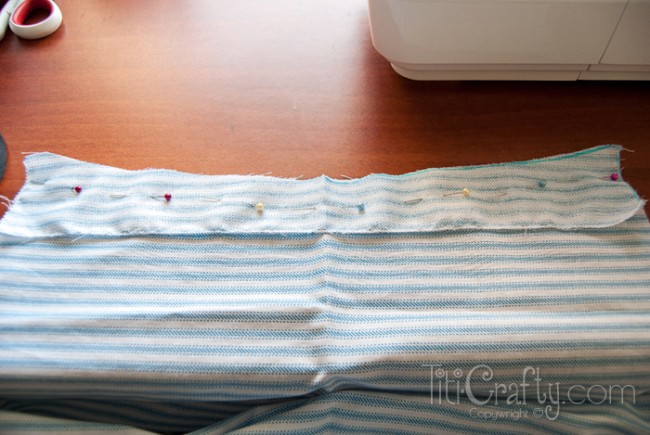
Then I stitched the lower raw edge of the band to finish it and turned it to the inside of the dress. Pressed and secured with pins. Stitch in the ditch of the band seam to secure the band inside.
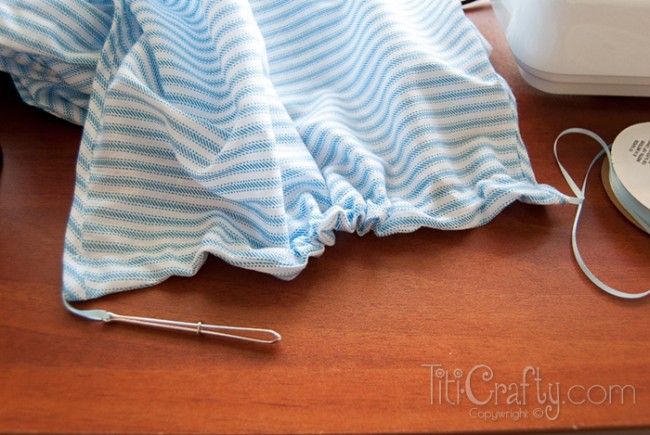
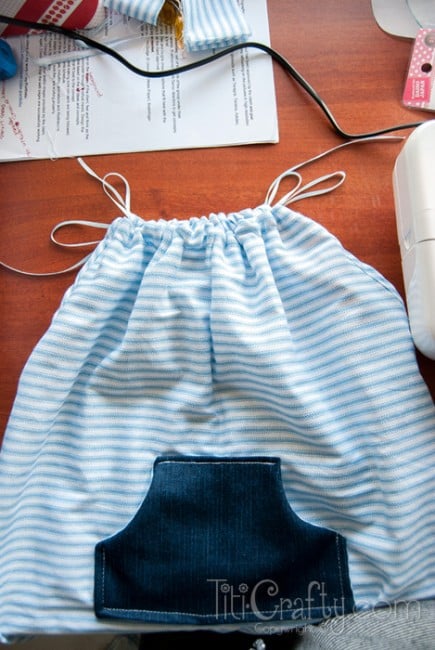
The final step was inserting the ribbon. I Cut 2 strips equal lengths and thread each one through the casing to tie in bows over each shoulder. I burned a little bit with a lighter the ribbon ends to prevent raveling.
That’s it! It’s ready to make a sweet little girl look like a princess!!!!
My girl loved it, and wants to wear it every day LOL!… I’m so happy!
What do you think? Like it? Have you made a pillowcase dress before????
If you like this project you might also like these too!
Til’ next time…


FREE WORKBOOK
Keeping your Sweet Home Organized
Learn how to create intentional habits and simple routines to Keep Your Home Organized. Plus freebies, printables, exclusive content, and tips.
Disclaimer: By clicking on the “Yes” button above you are giving me your consent to collect and use your information according to the law and My Policy Privacy. Zero Spam I promise!
that is super cute! Thanks for linking up with the Let’s Get Real party!
Thank you Lots!!!!
Hugs
I can’t believe you made this dress! It is SUPER cute. And your model is a cutie too!
Awwww Thank you so so much Jaclyn!!! I’m so glad you like it. It’s so super easy to make!
Hugs
Great project. The model is a cutie too.
hahaha Thanks so much =D… She definitely is!
HUGS
This is SO cute with the pocket in the front! I love clothing refashions, I’m working on a few right now for summer actually. Have a great day!
Hi Laura… Refashion and reusing is fun! I would love to see what you are doing!
Have a wonderful weekend
XOXO
Oh my the dress looks beautiful !! I wish I can sew :)
Awwww thansk so much Marlin, believe me it’s not that hard… you should try! Thanks so much for your sweet visit!
XOXO
I love this tutorial so much I am featuring it Saturday morning at my Show-Licious Craft & Recipe Party! Thank you so much for sharing your creativity and please come party with us again!
~ Ashley
Thanks so much Ashley, I’m honored for the feature =D yayyyy!
XOXO
I love using things I have on hand to make new things – repurposing is so much fun! Thanks for sharing on Let’s Get Real (I’m co-hosting this week)!
The contrast hem and pocket are classically striking. Lovely choices. I’d love to see you join us at Inspire Us Thursdays Sew Needle Stitch Hook on http://www.theinspiredwren.com.
Thanks so much Ren… Glad you like it!
Hugs
You make this look easy enough for a beginner like me. I can’t wait to try it. I will be scouring thrift shops for vintage pillow cases… :)
Yayyyy I would love to see your dress when you make it! I’m glad to inspire!
XOXO
I love to dress Tootsie in pillowcase dresses! Great tutorial ~ pinning to our Party Board!
Thank you so much for sharing your creativity with us at Show-Licious Craft & Recipe Party! Join us again this Saturday morning!
~ Ashley
Thanks so much Ashley! Yayyyy so cool you like it!
XOXO
THIS IS ADORABLE! My sewing machine is legit getting delivered today and I’ve never sewed before. I will be coming back here for ideas. Found you over on Snap creativity!
Hi Treana! I’m super happy that you like my girl’s dress and that it has inspired you… I would love to see your first sewing project yayyy how exciting!
XOXO
Love this!!
That looks like such a great summer dress! Great job!
Thanks Sarah, and so easy to make =D! Thanks for stopping by!
XOXO
I love this! Your tutorial is great too – I’m not a great sewer so it helps to have such clear instructions. Must be the season for pretty little dresses too – I made one over on my site too! Now, I’m off to find a nice pillowcase!
Hi Marisa, I’m glad you like this pillowcase dress. It’s super easy to make… Those instruction I linked there makes it so easy. Your blog is so sweet and fresh, love it! I’m so following you =D Thanks so much for your lovely visit!
XOXO
What a cute idea
Thanks so much =D
XOXO
gorgeous!! I love the pocket and the band on the bottom!!!
Hi Emily! Thanks so much for stopping by!… I’m glad you like it is super easy to make… I’m still thinking about your died tank… I so want to make some!!! =D
XOXO
Oh my goodness, Camila…she is absolutely ADORABLE! (As always.) And I would have never guessed that that dress was sewn from a pillowcase. You are a seamstress wizard! Pinning, Stumbling, all of the above!
LOL I wish I were a wizard LOL… there is so much to learn but I have to confess I enjoyed myself making this dress and I can tell there are a few more coming Yayyyy! Thanks so much for stopping by Lauren as usual you put a huge smile in my face…
XOXO
She’s a doll….so cute!
Awww Thansk so much Amanda…
XOXO
Just stumbled on you blog and love seeing the passion you have in everything you do and your family. Love the blue apron dress!
Thanks so much Sharon, you just put a huge smile on my face!
XOXO