Frozen’s DIY Elsa Braid Tutorial
This post may contain affiliate links. Please read our Disclosure Policy.
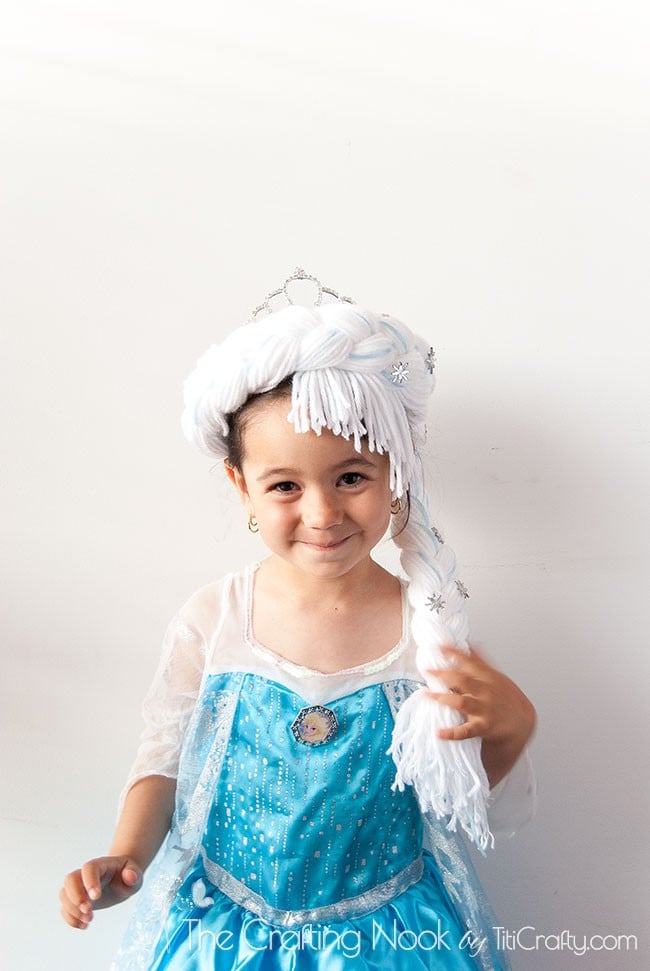
Enjoy and let your girl live the dream of becoming Elsa with this cute and easy Frozen DIY Elsa Braid Tutorial. Just a few supplies and a few steps to create one gorgeous magical look!
It’s been 2 years since Disney Frozen was released and I can’t believe my little girl is still so crazy about that movie. She literally wants to wear Elsa’s hairstyle, her dress, shoes, and crown every day. And let me tell you, she has both Elsa’s and Anna’s dresses.

Table of Contents
Frozen’s DIY Elsa Braid Tutorial
When she told me she wanted her birthday party with a Frozen theme I had to tell her to stop using the Elsa Costume because she wouldn’t have a dress by then at that rate LOL.
She loves it so much that she actually stopped using it and she tells me every day “Mommy, I can’t use my Elsa’s dress until my birthday, I need it pretty” hahaha.
So, since I’m focusing on Elsa’s look, I decided to also make Elsa’s Braid so she would feel even more like Elsa!
I so love seeing her dreaming about her favorite characters and creating her story and a whole world with her imagination.
It’s so funny to listen to all that she comes up with while playing and she LOVES to play with Anna and Elsa {she also has the dolls, spoiling grandma!!} Having her birthday all about Frozen has been a huge deal for her.

She sees me making something different every day, and comes to me hugs me, and tells me, Mommy, I LOVE everything you are making, thank you!
Can you believe those words come from an almost 4 YO???? That’s reward enough for all the effort I put into her party!!! I’m so super excited about this and can’t wait to share everything I’ve made.
Stay tuned for more posts with more ideas and tutorials for birthday parties!
How to Make This Elsa Braid
Supplies:
- 2 rolls of white yarn, soft and not too thin, not too thick. It’s really up to you!!! I bought the cheapest one I could find to be honest.
- Light blue ribbon really thin.
- Snowflakes buttons
- Snow glitter.
- A crown
- Glue
Tools:
- Your hands – the most important tool!

Step-by-Step Instructions:
Step 1: Calculate the length of the braid
Ok first, the hardest part. Calculate the length of the braid, which is tricky. You need to measure pretty much double the actual length.
Using 2 of my dining chairs I started wrapping the yarn around the back of the chairs making loops and loops until I used 1 and a half rolls of the yarn.
This is something you need to keep an eye on because the thickness of the braid is totally up to each person. So when you think it’s thick enough just stop looping.
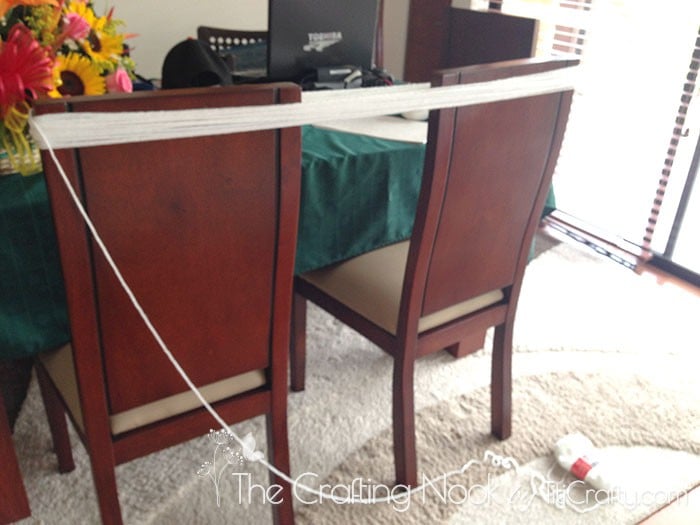
Sorryyyyy the photo is so blurry, never noticed before. But still, you can get the idea!
Step 2: Prepare yarn for braiding
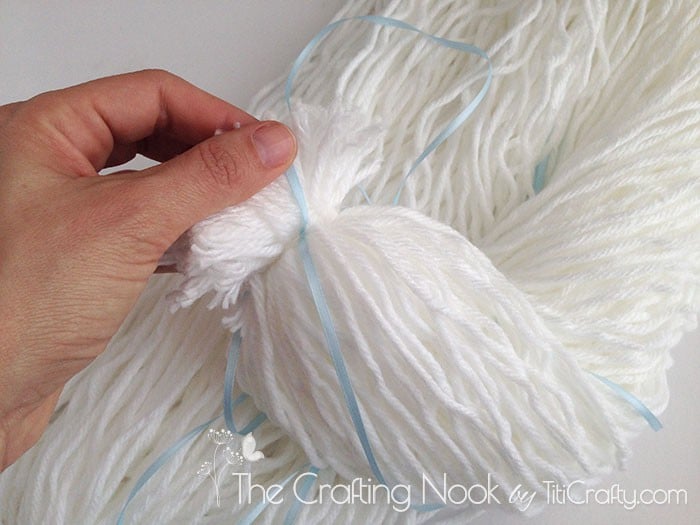
When finished, grab one end and tie it with a strip of the same yarn, and cut the endings.
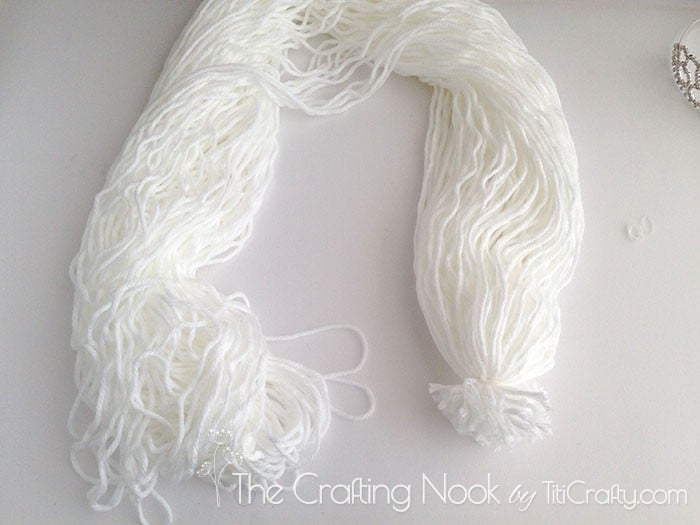
Then add 3 strips of thin blue ribbon. You can add them in the previous step but I preferred having it in a different layer just in case.

With a kid rubber band I kept the ribbon in the places I wanted.
Step 3: Start Braiding
Trap that end of the hair somewhere… I used a table drawer LOL. With your finger brush the yarn, cut the other end loops, and divide them into three bunches leaving one thread of blue ribbon in each.

Make a normal braid making sure the blue ribbon stays visible.

Tie the end with a strip of yarn.
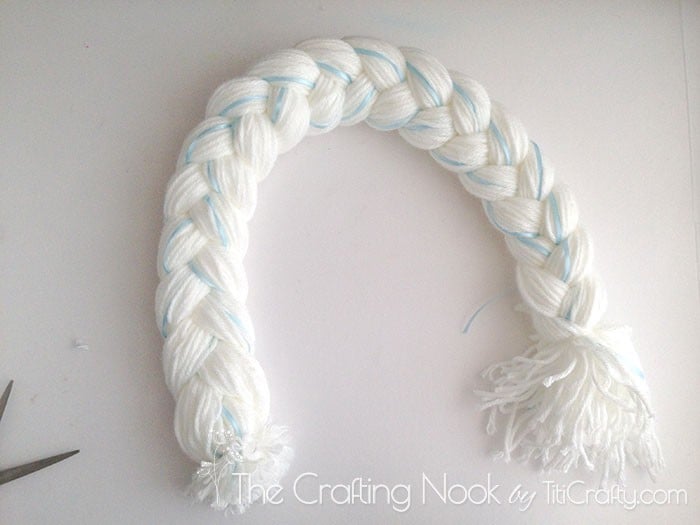
The braid is done.
Step 4: Make the bangs attached to the crown
Emma wanted the crown so badly, that I know she will keep using it again and again after the party, so I invested a bit more in the crown and bought a metallic one, but a plastic one also does the trick.
I added some threads of yarn to the crown to make some details of Elsa’s hair.
Again, I made some loops, and cut only one end, and kept the rest folded.
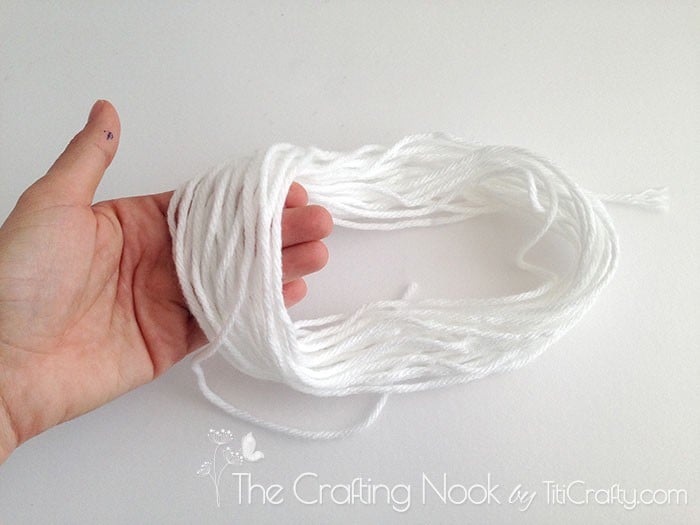
I used one thread to tie the rest to the crown.

Folded in half each thread I made loops inserting the yarn through the crown spaces.
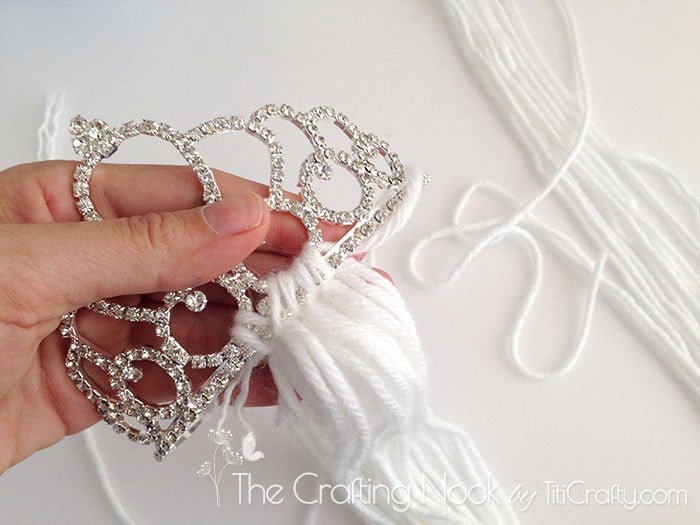
I covered about 1/3 of the crown only.

That’s it!
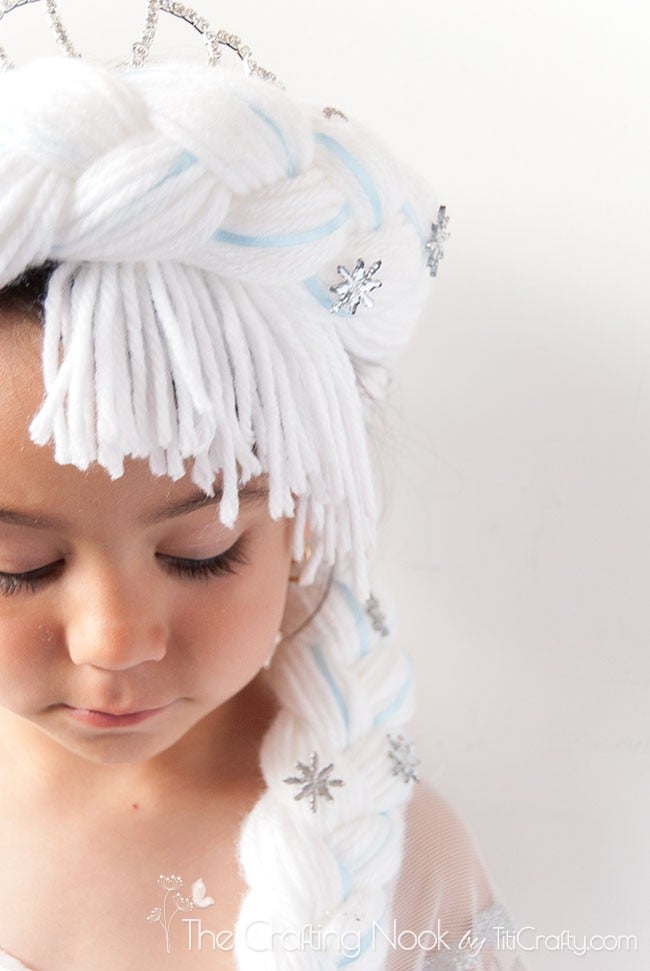
Step 5: Decorate the braid
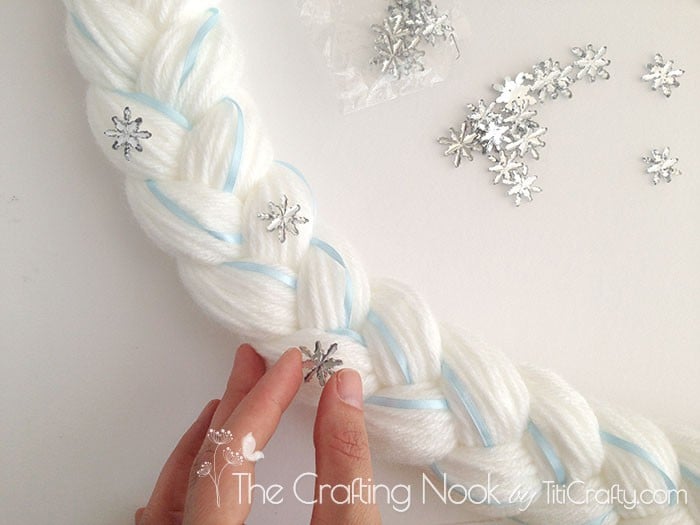
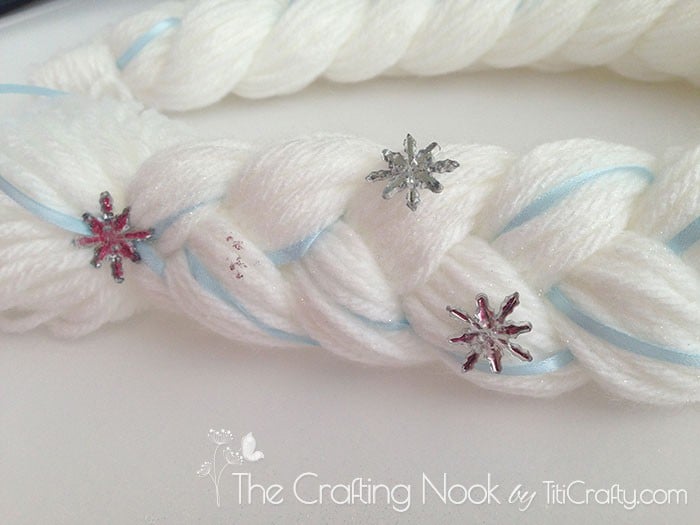
I glued some snowflake buttons to the braid.
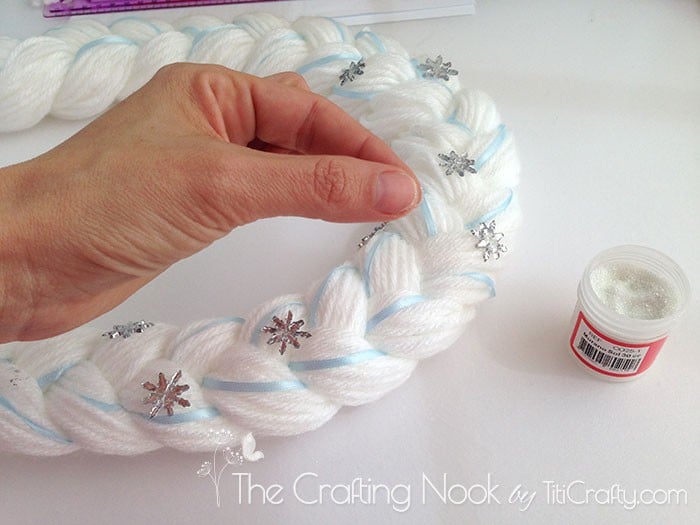
And finally spread some snow glitter to the braid, just to add a slight sparkle, like Elsa’s hair. It’s not stuck, but glitter sticks with or without glue LOL.
Step 6: Attach the Braid to the crown
Once I was putting it to my girl’s head I just tie the braid to the crown with the same yarn adjusting it to my girl’s head and also cut the bang hair to adjust to her forehead.
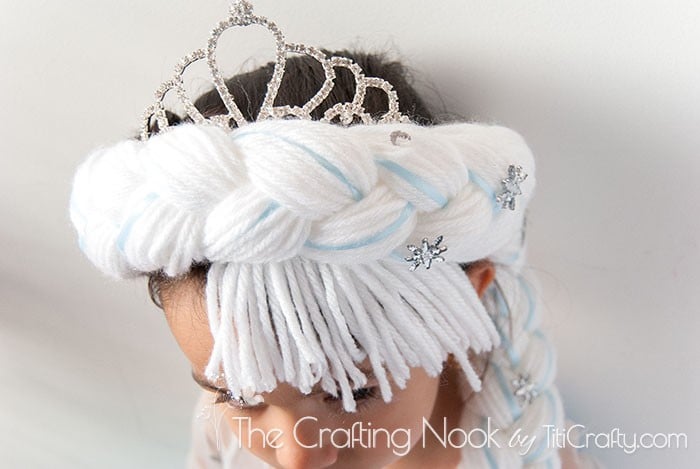
I also hid the end fringes wrapping yarn around them and also using this to secure it to the crown end. This helped avoid the crown hurting my girl.
I also got her hair into a braid and arranged it along Elsa’s braid securing it with bobby pins, so her own hair wouldn’t be so visible.
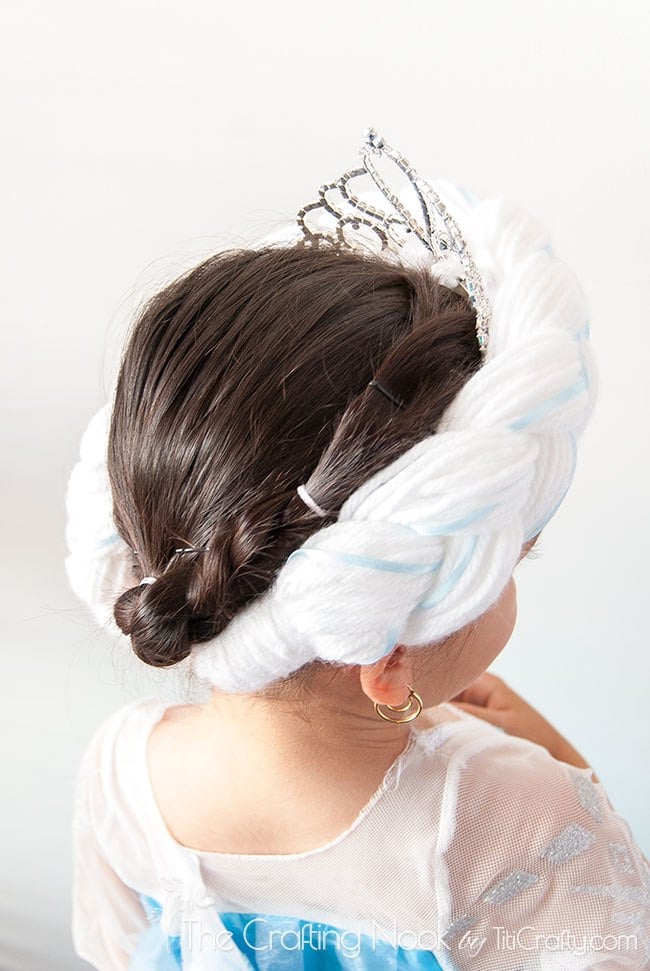
That’s it… Elsa’s braid is all done and beautiful!!!!

Hope you love this as much as we do!!!


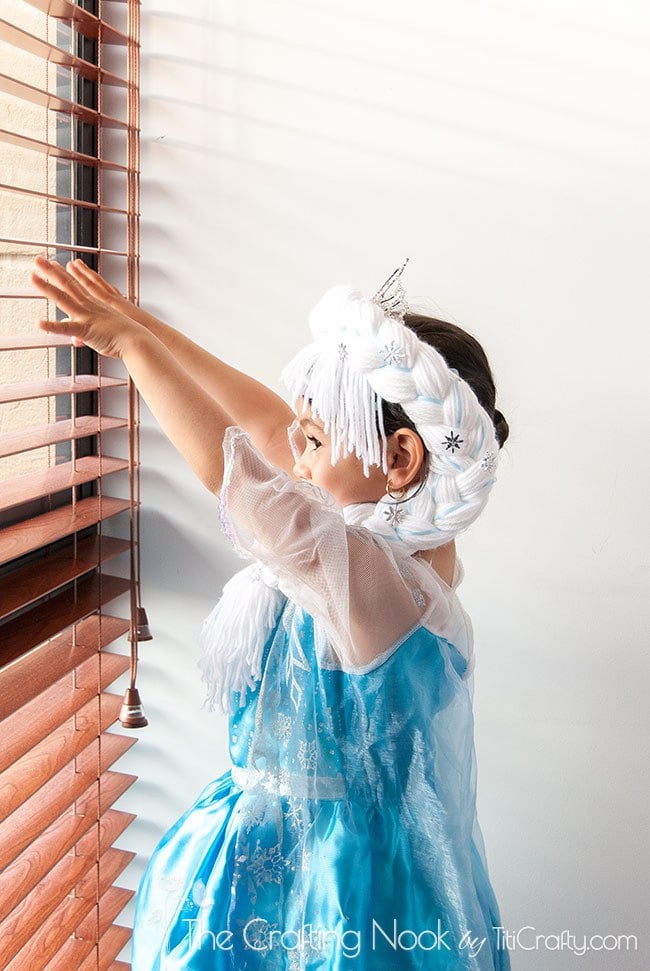
Sorry this pic is blurry; she doesn’t stay quiet long enough LOL and as You may see the dress is still a little big for her… hahaha

What do you think??? Doesn’t it looks cute!!!!
Frequently Asked Questions
For the perfect princess look, single voluminous French braid (also known as cornrows) are woven along the right side of the scalp and tossed over the shoulder.
Well, that depends on your hair or your girl’s. With abundant blond hair it would be super easy; but for your girls with thin dark hair and not so abundant, making a cute yarn braid is the way to go and super easy too.
Most depictions of Elsa in books, merchandise, and fan art show her as a blonde. But in the movie, itself, her hair looks very, very light to the point of being white; not yellowish enough to be blonde yet not stark white enough to be white.
More Party Project Ideas To Try
If you like this diy Elsa braid tutorial, you might also love these other party project ideas too!


✂️ Tutorial

Frozen’s DIY Elsa Braid Tutorial
Tools
- Your hands – the most important tool!
Supplies
- 2 rolls of white yarn soft and not too thin, not too thick. It’s really up to you!!! I bought the cheapest one I could find to be honest.
- Light blue ribbon really thin.
- Snowflakes buttons
- Snow glitter.
- A crown
- Glue
Instructions
STEP 1: CALCULATE THE LENGTH OF THE BRAID
- Ok first, the hardest part. Calculate the length of the braid, which is tricky. You need to measure pretty much double the actual length.
- Using 2 of my dining chairs I started wrapping the yarn around the back of the chairs making loops and loops until I used 1 and a half rolls of the yarn.
- This is something you need to keep an eye on because the thickness of the braid is totally up to each person. So when you think it’s thick enough just stop looping.
STEP 2: PREPARE YARN FOR BRAIDING
- When finished, grab one end and tie it with a strip of the same yarn, and cut the endings.
- Then add 3 strips of thin blue ribbon. You can add them in the previous step but I preferred having it in a different layer just in case.
- With a kid rubber band I kept the ribbon in the places I wanted.
STEP 3: START BRAIDING
- Trap that end of the hair somewhere… I used a table drawer LOL. With your finger brush the yarn, cut the other end loops, and divide them into three bunches leaving one thread of blue ribbon in each.
- Make a normal braid making sure the blue ribbon stays visible.
- Tie the end with a strip of yarn.
- The braid is done.
STEP 4: MAKE THE BANGS ATTACHED TO THE CROWN
- Emma wanted the crown so badly, that I know she will keep using it again and again after the party, so I invested a bit more in the crown and bought a metallic one, but a plastic one also does the trick.
- I added some threads of yarn to the crown to make some details of Elsa’s hair.
- Again I made some loops, and cut only one end, and kept the rest folded.
- I used one thread to tie the rest to the crown.
- Folded in half each thread I made loops inserting the yarn through the crown spaces.
- I covered about 1/3 of the crown only.
- That’s it!
STEP 5: DECORATE THE BRAID
- I glued some snowflake buttons to the braid.
- And finally spread some snow glitter to the braid, just to add a slight sparkle, like Elsa’s hair. It’s not stuck, but glitter sticks with or without glue LOL.
STEP 6: ATTACH THE BRAID TO THE CROWN
- Once I was putting it to my girl’s head I just tie the braid to the crown with the same yarn adjusting it to my girl’s head and also cut the bang hair to adjust to her forehead.
- I also hid the end fringes wrapping yarn around them and also using this to secure it to the crown end. This helped avoid the crown hurting my girl.
- I also got her hair into a braid and arranged it along Elsa’s braid, so it would not be so visible.
- That’s it… Elsa’s braid is all done and beautiful!!!!
Other cute Frozen Projects I love from my favorite bloggers
- Olaf Frozen Pom Pom by Kids Activity Blog.
- Frozen Theme Easy Slime Recipe by Little Bins Little Hands.
Share and PIN ME


Til’ next time…


FREE WORKBOOK
Keeping your Sweet Home Organized
Learn how to create intentional habits and simple routines to Keep Your Home Organized. Plus freebies, printables, exclusive content, and tips.
Disclaimer: By clicking on the “Yes” button above you are giving me your consent to collect and use your information according to the law and My Policy Privacy. Zero Spam I promise!
It is really beautiful. And she is such a natural model. Happy Birthday little Titi.
Thank you so much Fabi!!!! Yes she definitely is, and I love making things for her because she loves to show it off!!!
XOXO