DIY Surprise Favor Bag on a budget.
This post may contain affiliate links. Please read our Disclosure Policy.
Looking for inexpensive ideas for your party surprise favor bags? You came to the right place. I’m always trying to find ways to save money but still make creative and pretty things. Today I’m sharing with you how I made my girl’s birthday party a Surprise Favor Bag on a budget LOL. If you haven’t seen the whole Frozen Themed Birthday Party Post I invite you to check it out.
DIY Surprise Favor Bag on a Budget.

This is an easy craft and because of how it’s made you can print anything you want on it as long as it fits a letter size paper.
Yup, you got that right! I made these cute favor bags using regular print paper LOL.
Let’s face it, we want to give away pretty things but we all know where those bags will end up… yessss, in the trash. So why would I spend lots of money on some store-bought bags if I can personalize them and make them at home for less than what? 50 cents? And of course, the time invested but still.
I wanted to make something really cute, with Em’s birthday logo on it and thank the friends who made it to the party. So I figured that I could save some time looking for the right bags, money and trouble by making them myself with print paper LOL.
HOW? Simple!
Supplies:
- Pint letter size paper {double number of bags you are making}
- ½ centimeter Satin ribbon for handles and bows.
- Glue
- Paper punch {the kind for folders}
- Anything you want to put inside.
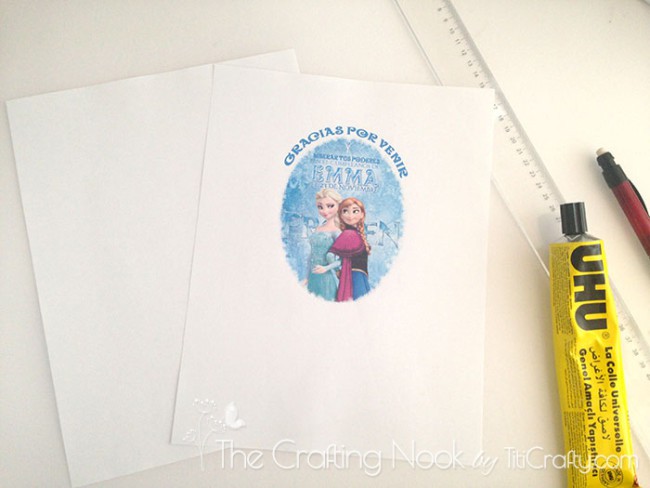
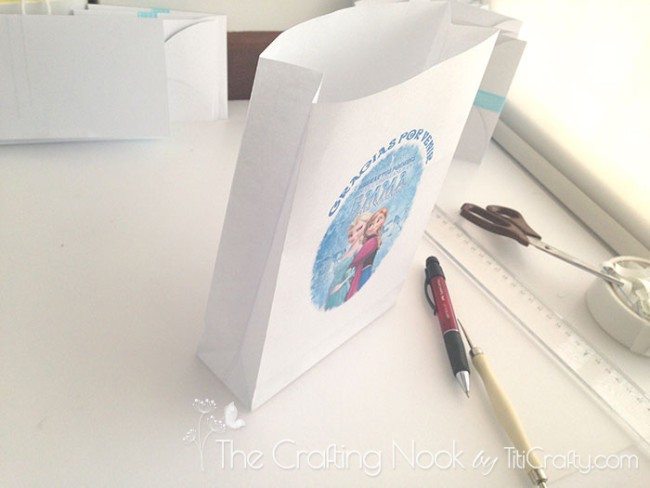
First, print your cute design on one or both sides of the bag {each paper sheet is one side of the bag} I printed it on one side only.
Fold both sides of each paper sheet about 3 centimeters from the edges.

Spread a line of glue on the edge of one of the sides {I used UHU transparent glue}
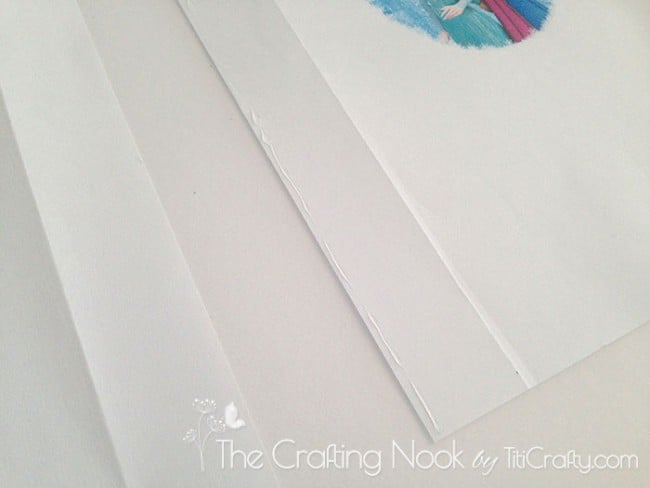
Stick the other sheet making sure you use no more than ½ centimeter of each sheet to glue them together.

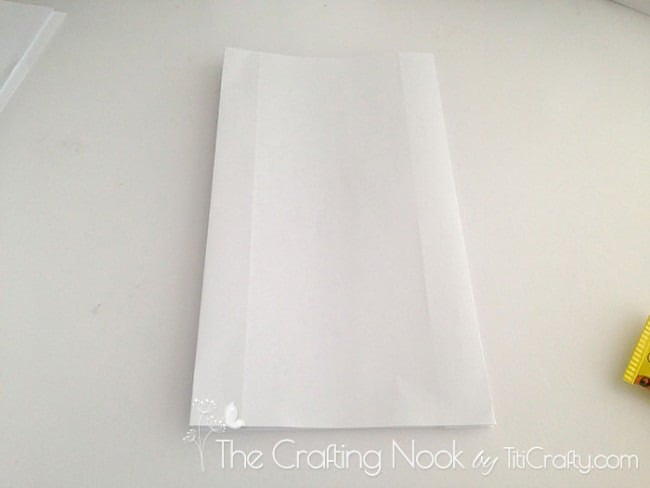
Then folding along any of the folding lines, spread a line of glue on the other edge. It should fit perfectly.

You should get something like this:

Let it dry for a few minutes. Just repeat the process we’ve made so far with the rest of your sheets.
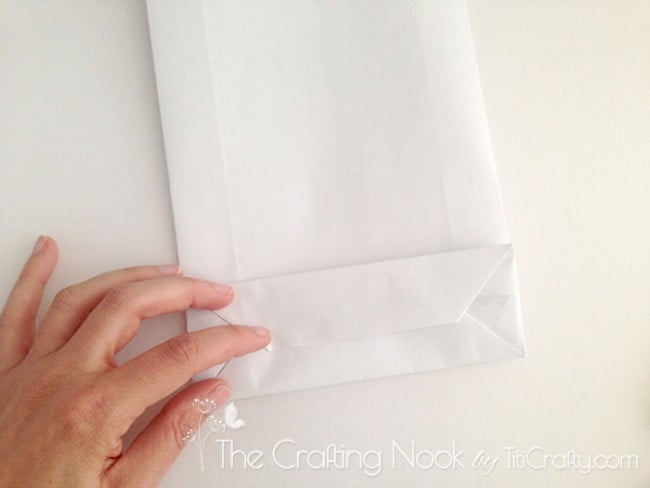
Once dry, fold the bag sides making sure the glued ends go inside like this:

Doing it on both sides you should get something like this:
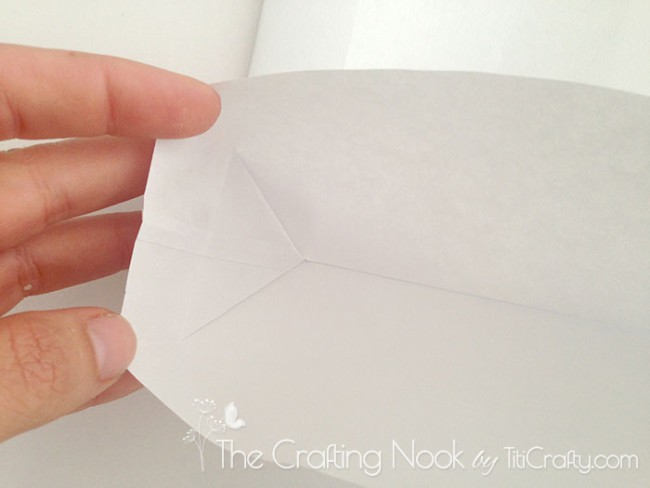
Fold the bag where it would be the base of your bag. This should be about double the size of the sides something around 12 centimeters.

Open the folded part and straighten the sides creating a triangle.
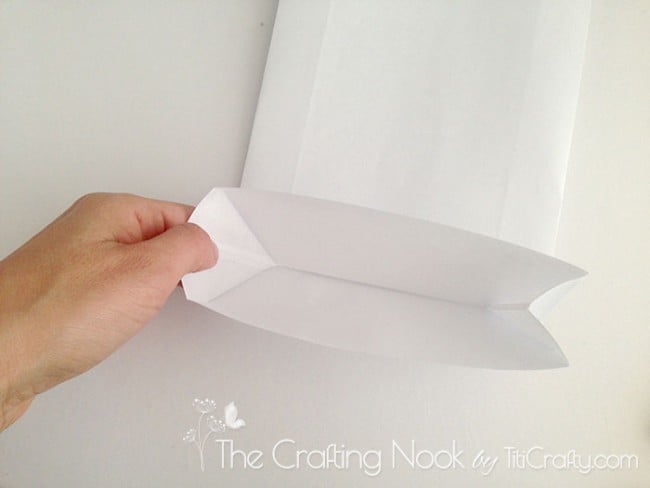
Use the side’s centerline as a guide.
Fold both sides like this:
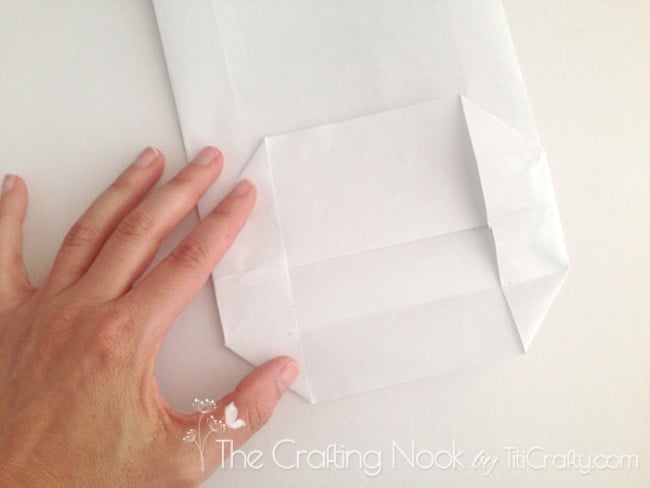
Then fold each tab like this:
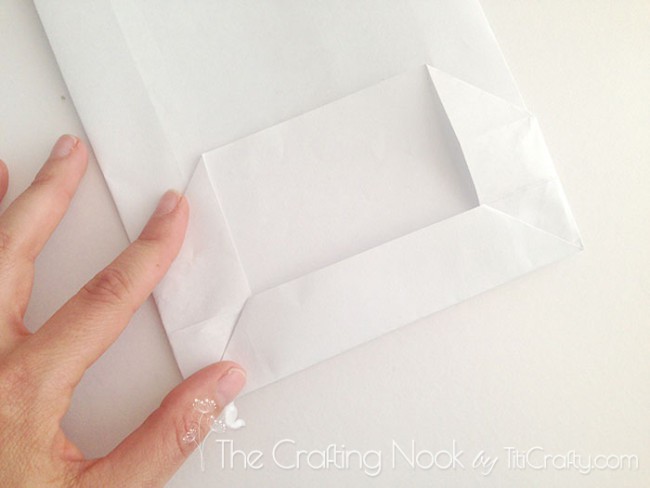
Glue each triangle you see there and the places I’m marking in blue. Make sure you don’t glue where I marked in red because you would glue the base of the bag to the front and back.
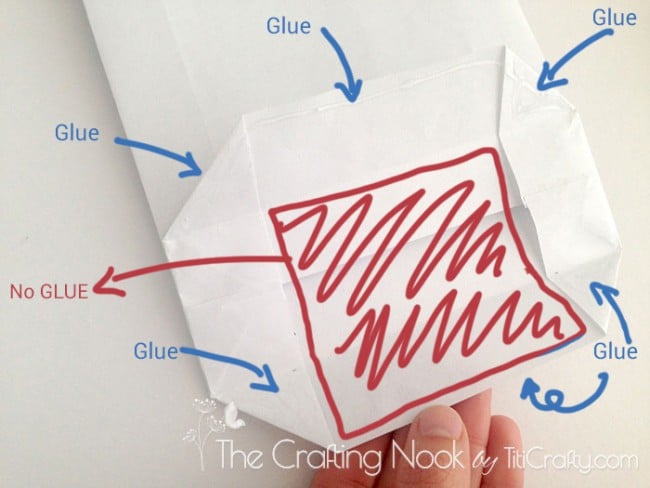
You should get something like this:
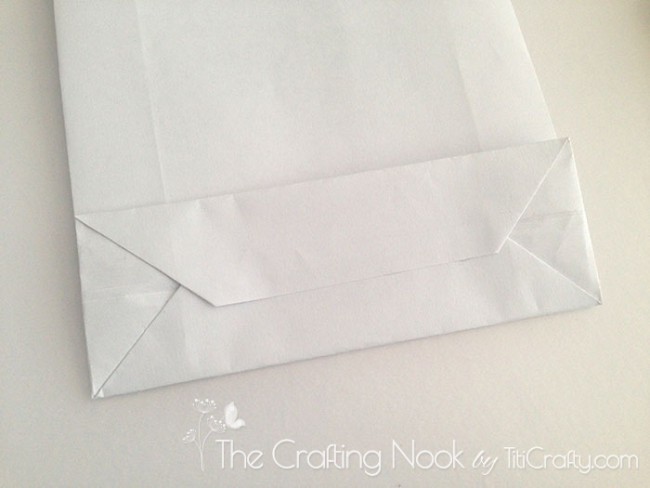
Open it up and you get this:
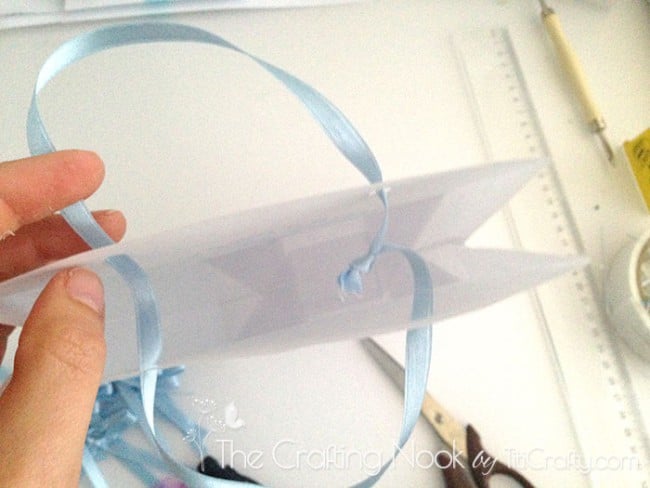
Make the holes at the top.
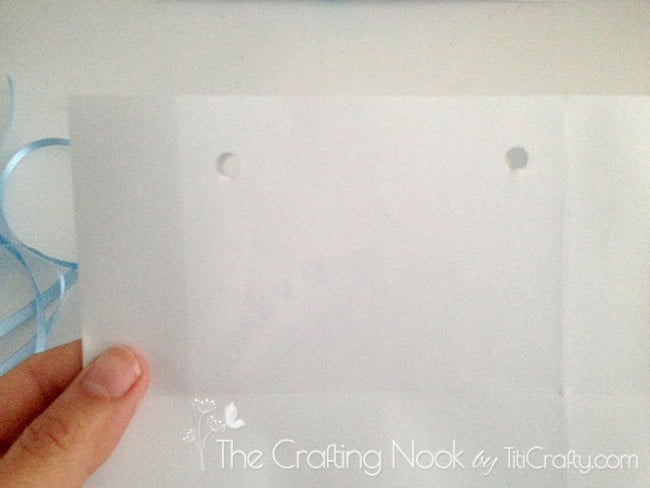
Sorry, the pic got so dark =(
Cut some strips of ribbon long enough to make the handles. I used about 50 centimeters {20 Inches}.
Insert the ribbon through the holes making sure both ends end up inside the bag.

Make a knot and pull each side.
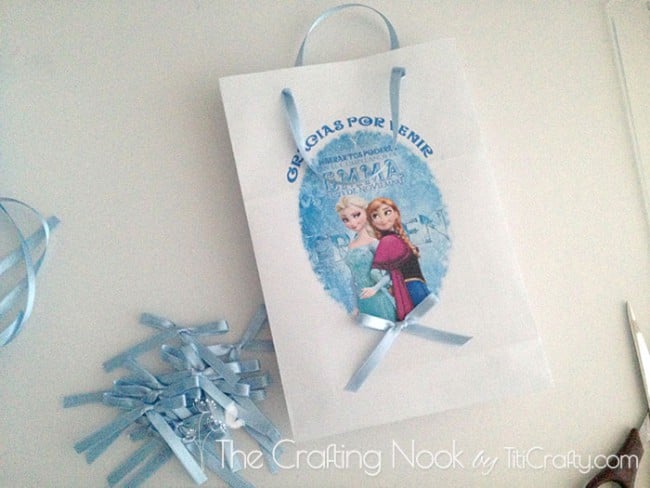
There you go! The bad is done. There is only one final tough to add. The BOWS!!!!

I made some cute and easy bows and glued them to the bottom of each design since each back has different characters!
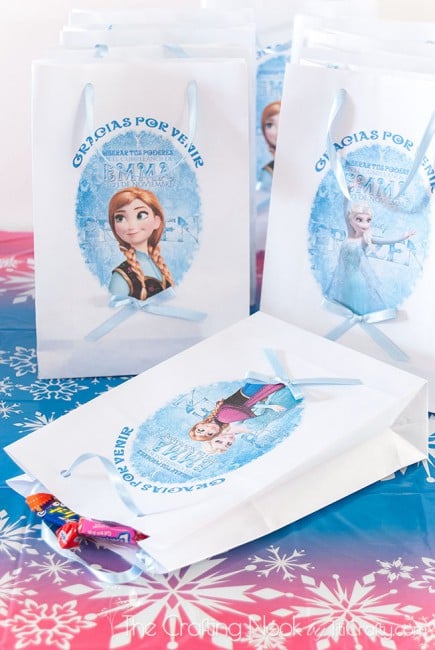
There you have it!!! Super cute, easy and low-budget Surprise Favor Bag. Perfect for any birthday party and even your Christmas, and birthday presents! Just fill it up with your favorite treats or gifts.


For more ideas and resources for parties, check out my post Frozen Themed Birthday Party.
Hope you like this tutorial. I’m always open to new ideas so if you happen to know any tips to make this even easier, please don’t be shy and share it with us in comments!
If you like this project, you might also love these too?


Til’ next time…


FREE WORKBOOK
Keeping your Sweet Home Organized
Learn how to create intentional habits and simple routines to Keep Your Home Organized. Plus freebies, printables, exclusive content, and tips.
Disclaimer: By clicking on the “Yes” button above you are giving me your consent to collect and use your information according to the law and My Policy Privacy. Zero Spam I promise!