DIY 3d Frozen Themed Party Invitations
I know and we all know that the first impression of any party is the invites! So I really put lots of love and effort to make some gorgeous invitations. Following that thought and after a lot of brainstorming, I had the perfect card idea right in my archives! I made these DIY 3d Frozen Themed Party Invitations using my original idea for the baptism invites back when I was just starting blogging.
DIY 3d Frozen Themed Party Invitations

I really wanted something different. I didn’t want simple envelopes and I definitely wanted a little something added to it that would represent the party. That little something was the snowflake of course LOL.
The solution for the envelope was making it the card itself and I already had that somewhere in my archives. What I love the most about this card is that when you close it, it looks like a flower. It’s so cute and feminine!
This post may contain affiliate links. Please read our Disclosure Policy.
The next touch was that I decided to make Elsa pop up, making her as an additional layer. If you want to make this card and don’t have a cutting machine you can either skip this step or if they are not too many, with a little patience, you can cut them yourself.
So want to know how to make these cuties? Here we go!
Supplies:
- Cute cardstock
- Cute design
- Cute buttons {in this case snowflakes buttons}
- Cute ribbon
If you are making 3D:
- Double-sided foam tape:
- High resolution print coated cardstock
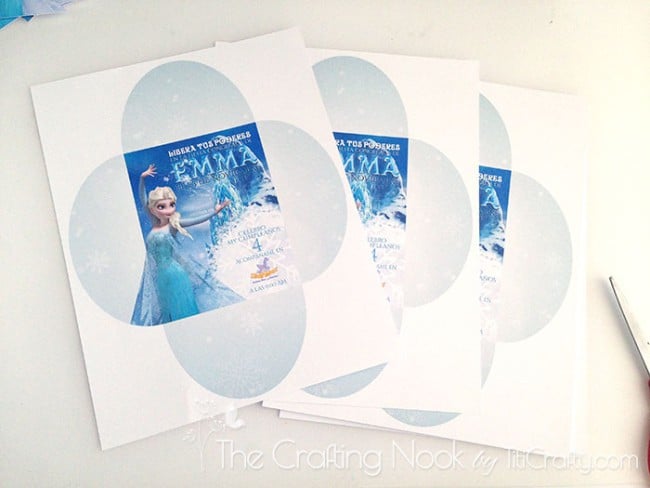
First make your design to fit the center of the card. I used images from the web, mostly wallpapers and high-res png images I could find. I Printed the main cards using this Card pattern that you can snag if you like.

I also created Kind of a Logo for my girl’s card and other pieces. It’s in Spanish and it says: “Set Free your Powers at Emma’s Frozen Party on November 23rd”

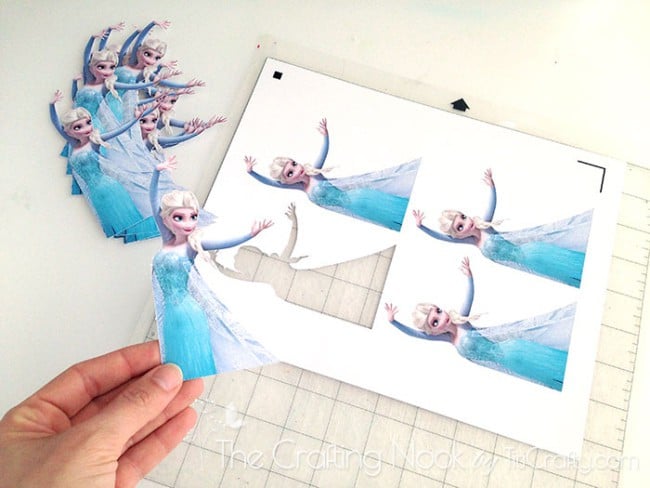
Once the design was ready I duplicated Elsa’s Image onto a new canvas and using the print and cut feature of my Silhouette I cut Elsa, several times. Please note that when you import images to the silhouette studio the size changes. Make sure you resize it to the real Elsa’s size in the card so it will match when cut.

For the cads I used a textured cardstock. On one side it had this cute texture and on the other it was plain. I printed on the plain side.

Then I cut the cards myself. You may be asking why did I used print and cut for Elsa and not for the card itself? Well because I’m lazy… Yup, lazy lazy… To use the print and cut I would have to change the paper in the cutting mat 20 times to have all the invites cut while with Elsa it was only 5 sheets. For the cads, I preferred get my 20 sheets and my scissors, curl up in my bed with music and cut each card in a comfy way LOL. But if you have your Silhouette, that’s perfectly ok to use the print and cut feature.

Once the cards were cut, I used this embosser tool to mark the folding lines to make it easier to fold.

Fold each side and open them again.

Having all the Elsa images cut, stick a piece of foam tape in the back and carefully place Elsa on top of the other one in the card.

You should have something like this:

Do it with the rest of the invites.
Time to close the invites.
Fold back each side, one at a time overlapping in order each one. The last one should go bellow the first one. You will get a flower.

Cut a strip of ribbon long enough to overlap each end.
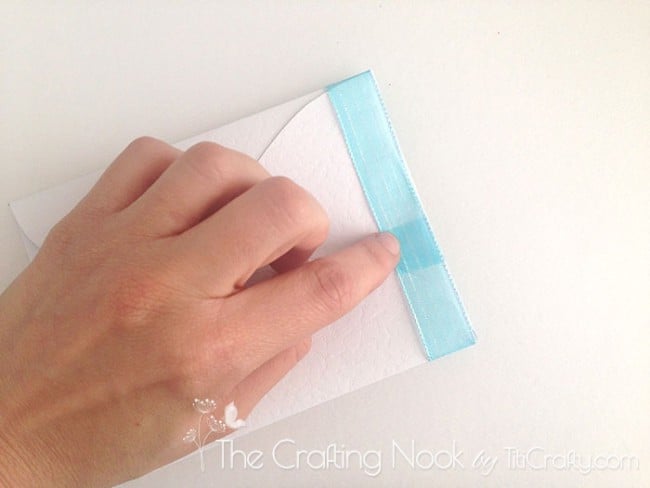
Using the card as a reference, overlap the ends and keep them together while removing the card carefully.
Make some stitched to both ends making it ruffle.

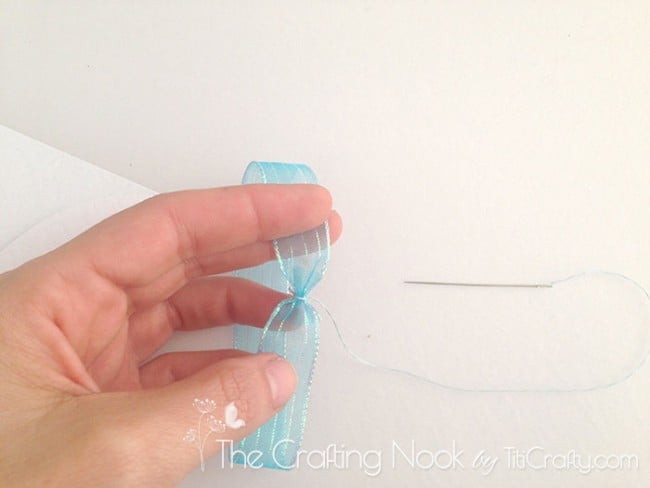
Then using the same thread stitch the button.

Ready!… Just put it in the card again and here’s what you get!

Don’t have buttons? doesn’t matter! You can always make a cute ribbon bow! I ran out of snowflakes so I made bows LOL.

There you go! So really gorgeous cards that look really expensive but they are not!!! These Frozen Themed Party Invitations are super cute and inexpensive!

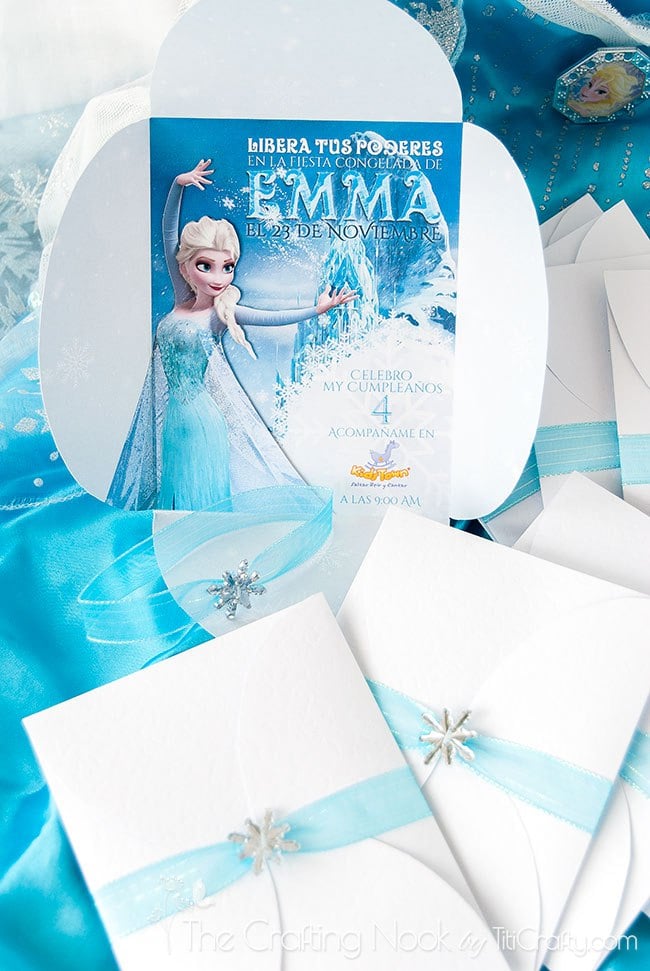
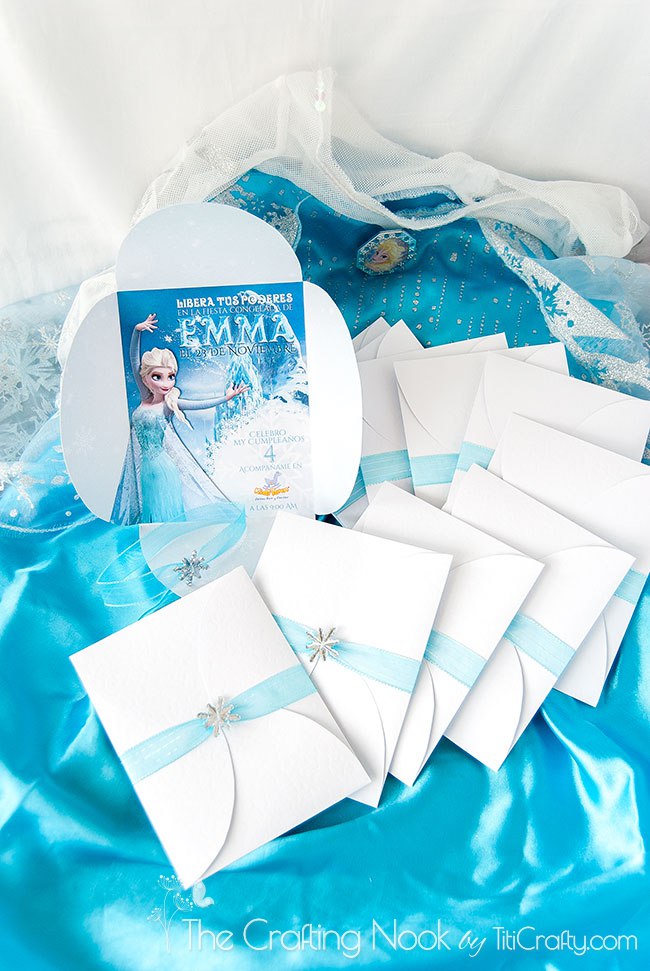
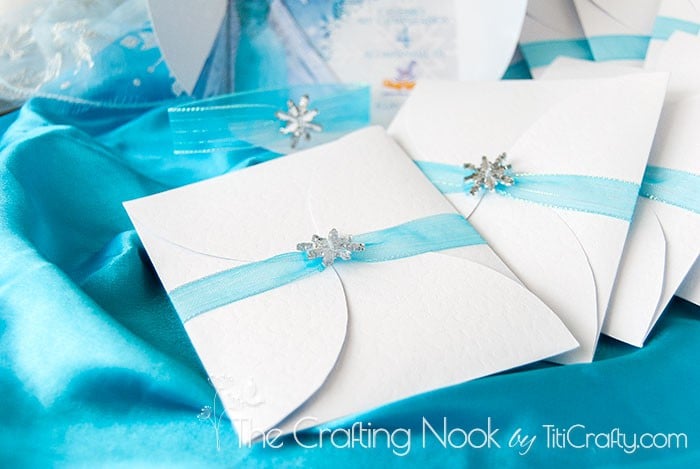

What do you think??? Like these Frozen Themed Party Invitations? Would like to make them???
If you like this project, you might also love these too:
Til’ next time…


FREE WORKBOOK
Keeping your Sweet Home Organized
Learn how to create intentional habits and simple routines to Keep Your Home Organized. Plus freebies, printables, exclusive content, and tips.
Disclaimer: By clicking on the “Yes” button above you are giving me your consent to collect and use your information according to the law and My Policy Privacy. Zero Spam I promise!

