DIY Hidden Pot of Gold St. Patrick’s Day Shadow Box
This post may contain affiliate links. Please read our Disclosure Policy.
Don’t you enjoy a fun craft? how about if it’s super easy? I love it when I can make crafts that I can finish in just a few minutes. This Hidden Pot of Gold St. Patrick’s Day Shadow Box is crazy easy and so fun to make.
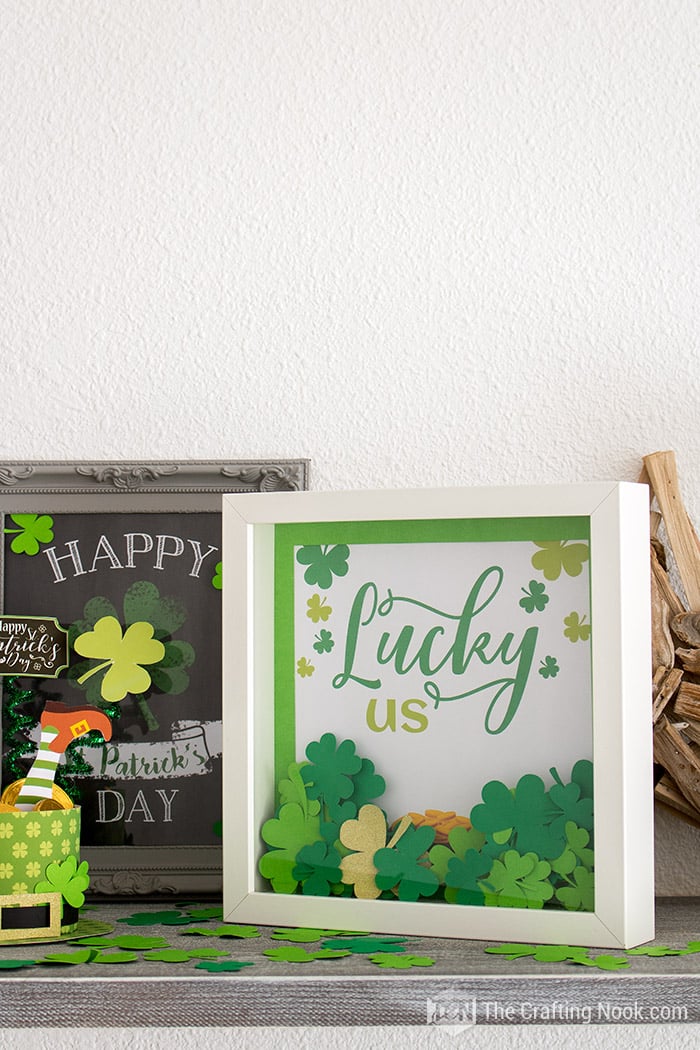
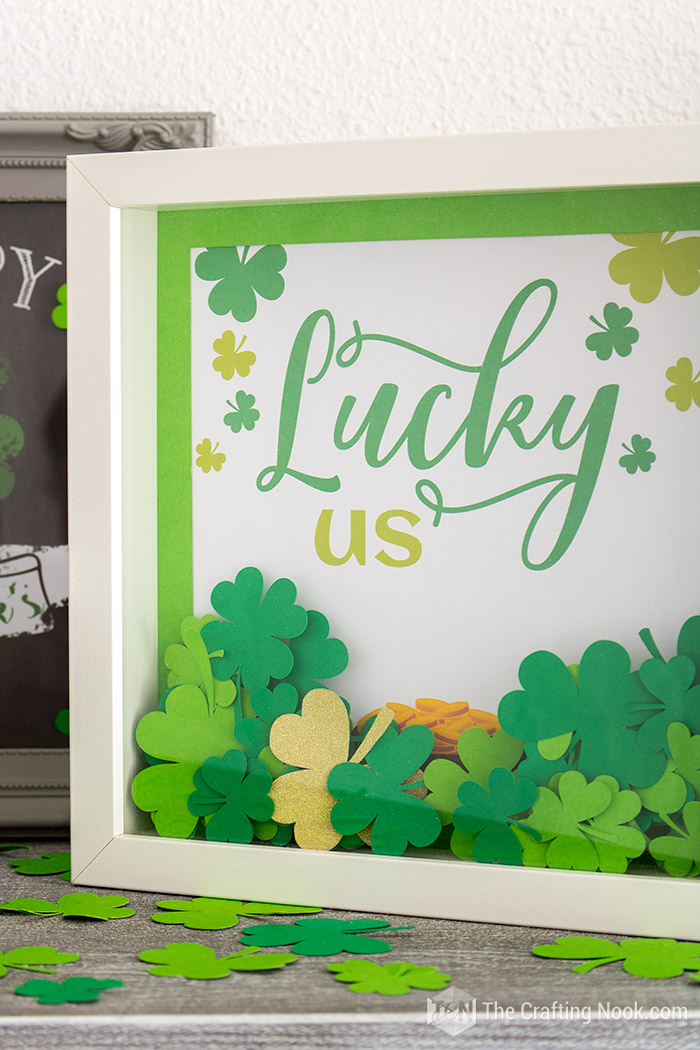
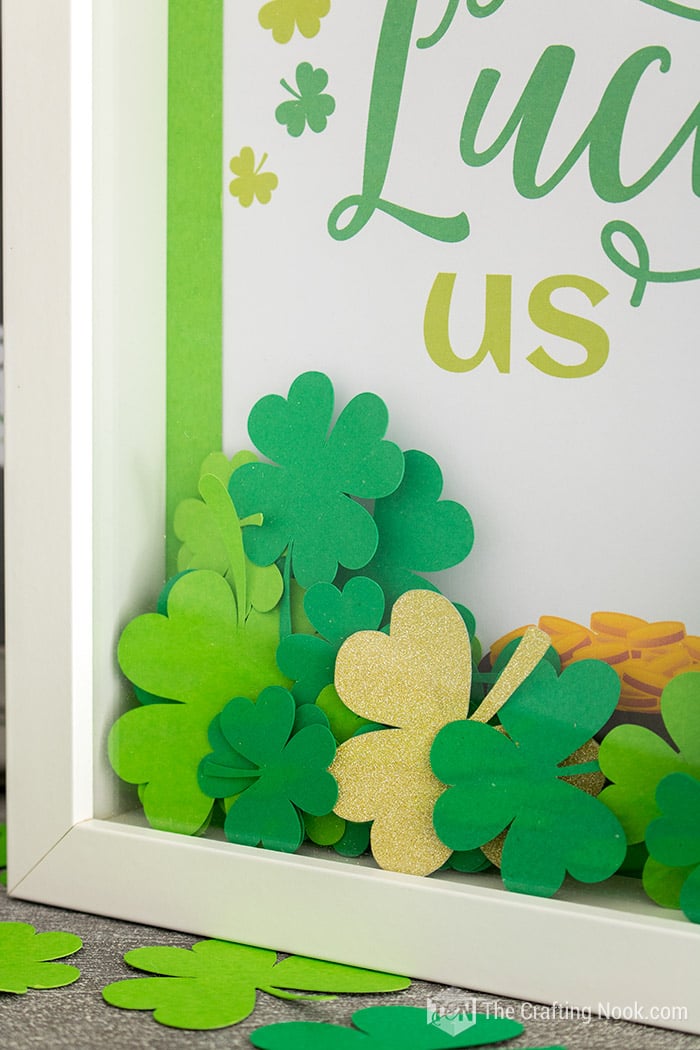
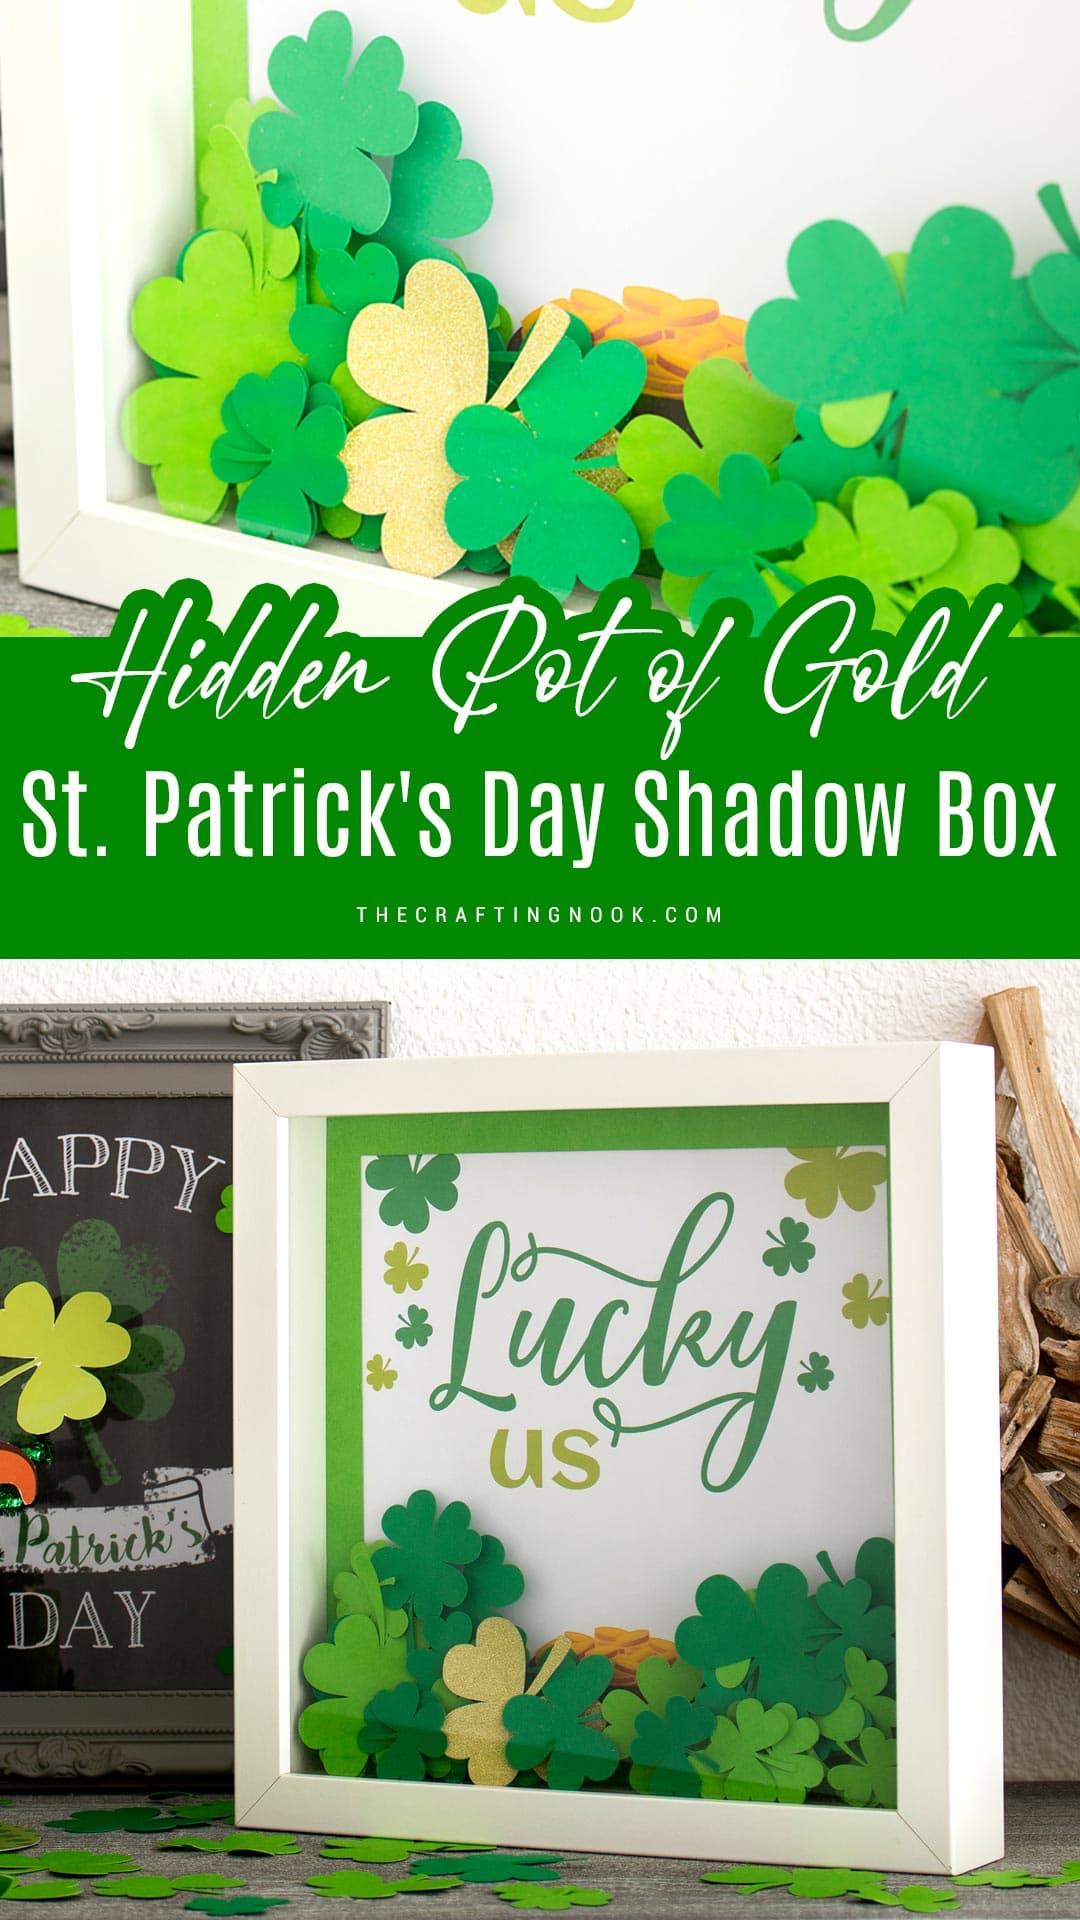
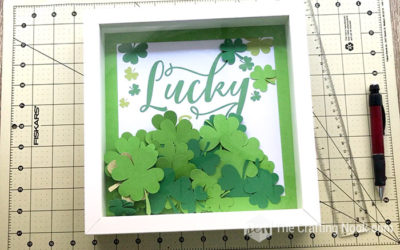
All the paper shamrocks cover the Leprechaun’s pot of gold and a golden lucky clover. You shake it and shake it until you discover one of them. Kids love this kind of game.

Table of Contents
Hidden Pot of Gold St. Patrick’s Day Shadow Box Tutorial
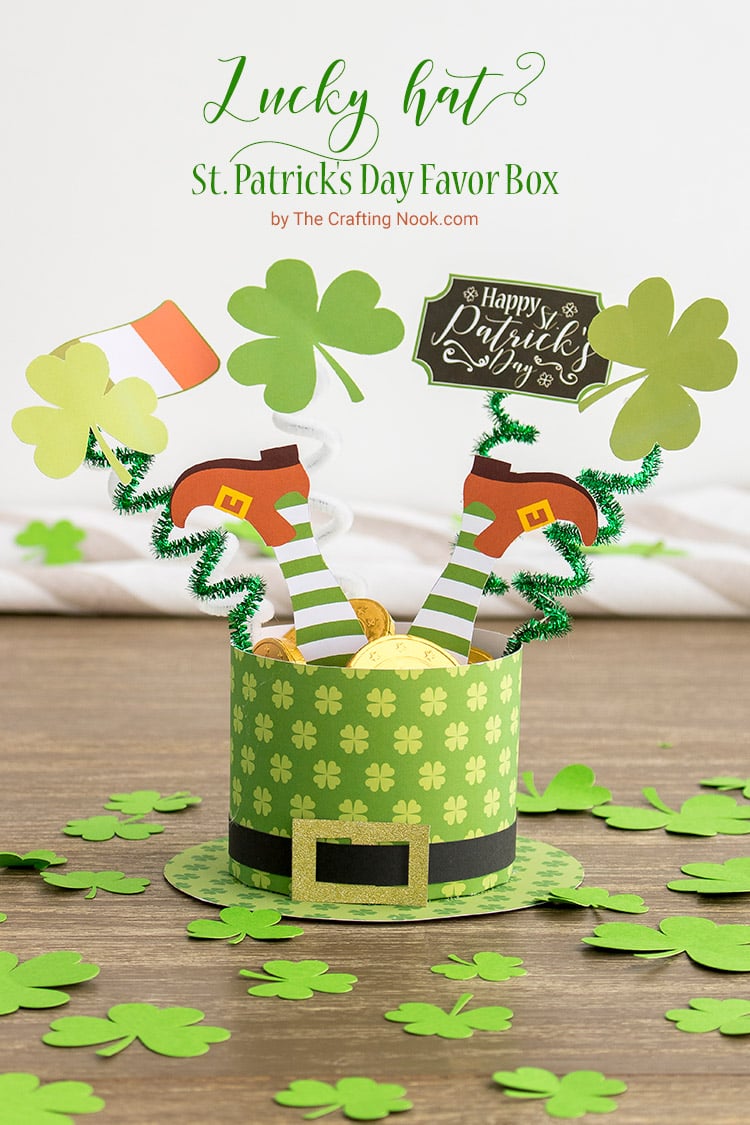
This super easy craft took me about 15-20 minutes to get done. I put it on our Mantel next to our St. Patrick’s Day Favor Box, chocolate gold coins, and spread around some shamrocks.
The whole thing turned out so cute and my girl loved it! She can’t wait for the 17th to arrive so she can eat the chocolate coins while playing with the shadow box!!!
St. Patrick’s Day crafts like this one are perfect to enjoy time with the kiddos or the whole family which also makes a cute decoration.

You can snag the free printable and the shamrock cutting file in case you have a cutting machine.
There’s a mix of three and four-leaf clovers and to make it fun one of them should be cut with a sparkly gold cardstock to mix it among the green ones.
How to Make this Hidden Pot of Gold St. Patrick’s Day Shadow Box
So, are you ready to start making this cute Hidden Pot of Gold St. Patrick’s Day Shadow Box?
Let’s go!
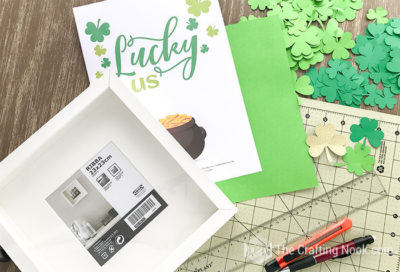
Supplies:
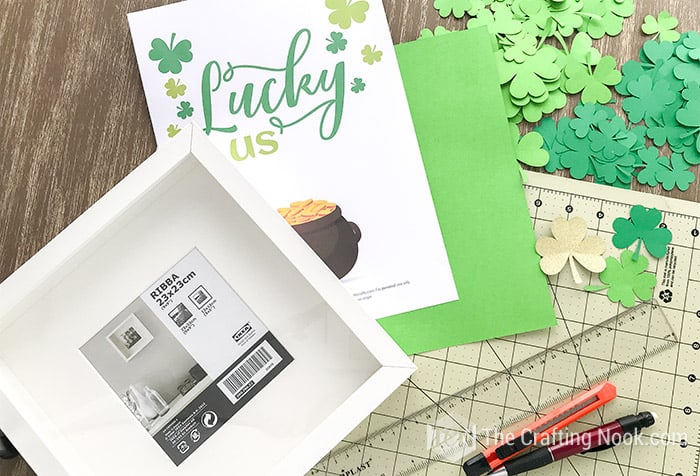
- A bunch of cut out shamrocks (different sizes and shades are best if you have a silhouette Cameo you can get the cutting file HERE)
- 1 Gold shamrock
- Green cardstock
- A shadow box frame
- Ruler, cutter, pencil, and adhesive tape.
Instructions
Before we begin, be sure to follow us on Pinterest, Facebook, Instagram, and YouTube, and also sign up for our email list (at the end of this post), so you’ll never miss a post!
Prep Work
Firstly, if you have a cutting machine and will use the cutting file, then just send it to cut on your green cardstock and use the settings suggested.
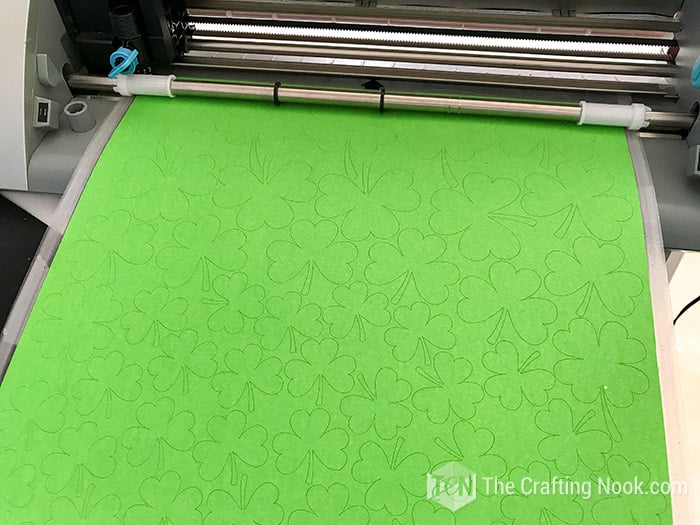
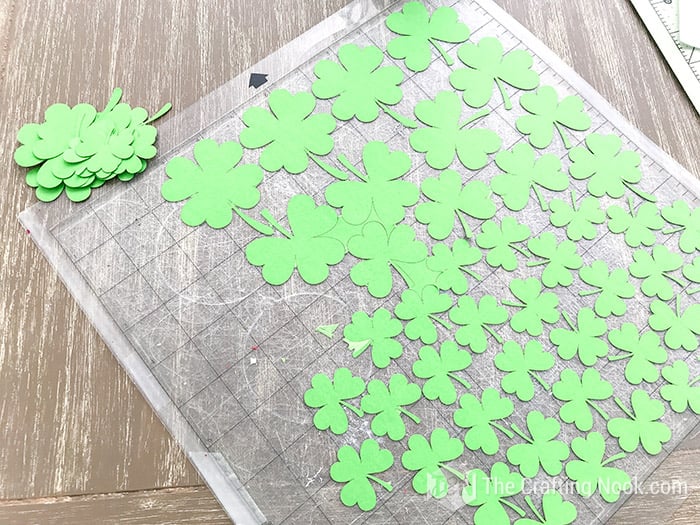
I made 2 batches on 2 different shades of green and then I cut with scissors the gold clover.
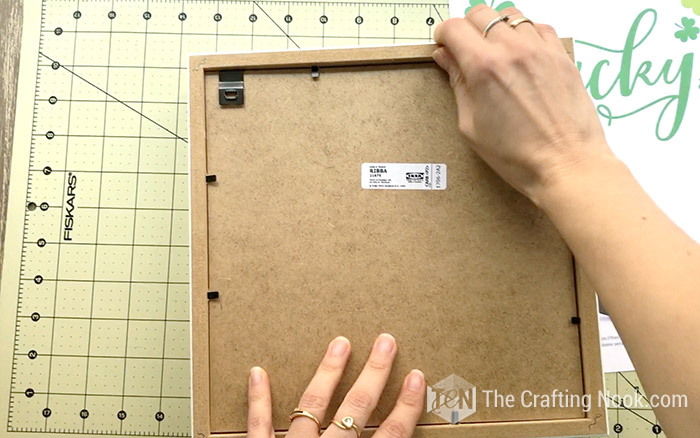
Open your frame on the back.
Making the Shadow Box Backing
If it has passe-partout use it as your guide to cut your printable. If not use as your guide the page that comes in your frame.
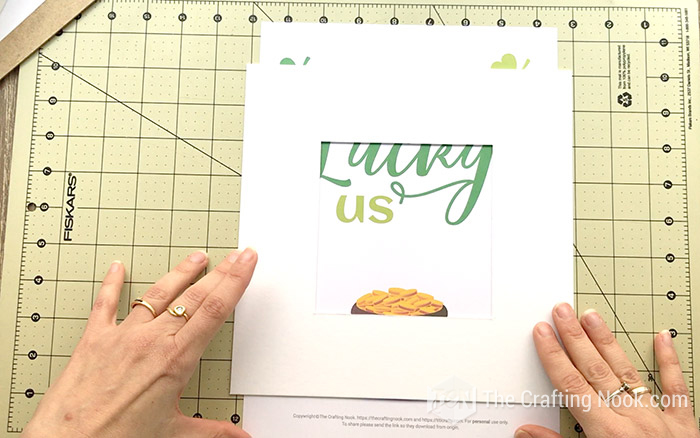
Then Cut leftover if any.
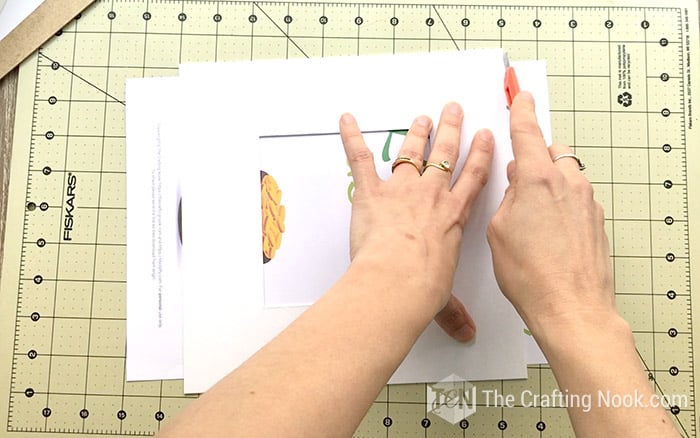
The use the same guide on your green cardstock.

Now, cut it the same size.

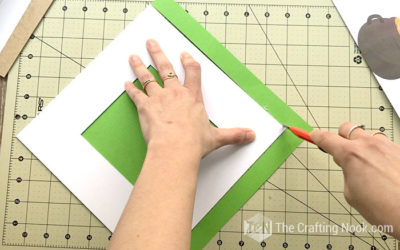
Then using your ruler measure a bit less than an inch (this will be your new passe-partout and it shouldn’t be thick) Measure and trace a line on each side.


Then cut along your guidelines.

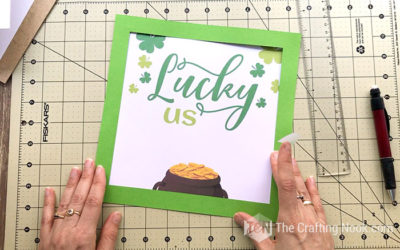
When you have your frame ready place it over your printable and adjust as necessary. I had to cut some extra paper to make the working fit.

Turn it over and using adhesive take secure the printable to the frame in place.

Assembling the Shadow Box
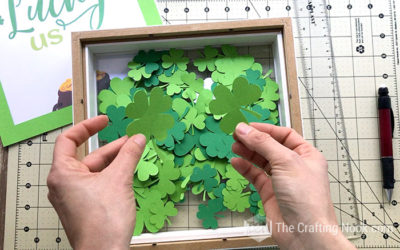
Now take your shadow box frame and fill it with the shamrocks, including the golden one. Make sure it’s facing the glass.


Finally, put the printable in the frame facing down and close it. You are done!!!
The good thing is that no glue was needed, so you can just switch this shadow box to another holiday decoration.

Woot… It looks so cute!

Then I put it on the mantel and voila!
Crafting Tips
- Try using different types of frames instead of sticking to the usual ones. Check out secondhand stores or reuse old picture frames to make your snowman shadow box look unique and different.
- If you have steady hands, to get neat and accurate cuts on the cardstock, use a craft knife that is sharp and has a new blade. If your blade gets dull, change it so your project stays good quality.
- Add more things to your shadow box like little pom-poms, or even small coins. These small things will make your shadow box even more attractive.
- Choose good quality cardstock: Buy thicker cardstock to make a stronger shadow box. It will last longer and make your project look better.
- Customize with names or messages: Make it more special by including specific names, quotes, or messages as part of the design. It’s a special and original present.
- You could even use LED lights. Put small LED lights inside the shadow box for a beautiful effect. These lights will make the scene brighter and more interesting, particularly in a room that is not well-lit.
Sooo pretty and fun!!!
Frequently Asked Questions
A shadow box is an enclosed, glass front picture frame that can hold and display 3D items that have value or particular meaning for people. These shadow box frames are deeper than the standard picture frames and are designed to store and display precious memories, and special artwork, or fill them up with fun items.
A strong and thick type of cardstock if you want it to last. Find cardstock that is somewhat thick and high-quality, around 65-80 pounds (176-216 grams per square meter).
You can choose any frame that matches your personal taste and is the right depth for your shadow box. You could use a deep-set frame or a shadow box frame to fit the layered design. Thrift stores or online shops have different types of frames to choose from. Mine was Ikea Ribba’s frame.
Absolutely! You can be creative and add things like sparkles, little beads, small snowflakes, or even small items like a mini scarf or hat to make the snowman look better.
It is important to use sharp scissors or a sharp craft knife with a new blade for neat cuts. Ensure that you use a cutting mat and proceed slowly while cutting on the lines of the snowman design.
What to Put in Shadow BoxesIn a shadow box, you can put so many things to make it a sentimental gift or a DIY decoration for your home.
Here is a list of some things I’ve seen on Pinterest on how to put together a shadow box:
Paper flowers, Paper butterflies or even make designs out of paper flowers such as hearts, flags, rainbows, etc
Special memories such as photos, concert tickets, birth announcements, theater tickets, etc
Seasonal celebrations, like hearts, shamrocks, snowflakes, fall leaves, etc.
Confetti, pom poms, bottle corks, balls, faux leaves, bells, coins or money, etc
More St. Patrick’s Day Projects to Try
If you enjoyed this St. Ptracik’s Day Shadow Box tutorial, you might also love these other St. Patrick’s Day project ideas too:
Other St. Patrick’s Day Crafts I love from my favorite Bloggers
- Rainbow & Gold Lucky Sign by Ladeelu.
- Shamrock Mason Jars by Mason Jar Crafts.
- Lucky Shamrock Wreath by Flamingo Toes.
- Glitter Shamrock Moss Art by OH My Creative.
- Farmhouse Shamrock Garland by A Wonderful Thought.
✂️ Tutorial
DIY Hidden Pot of Gold St. Patrick’s Day Shadow Box
Tools
- Cutting Machine
- Cutter or Scissors
Supplies
- A bunch of cut out shamrocks different sizes and shades are best, if you have silhouette Cameo you can get the cutting file
- 1 Gold shamrock
- Green cardstock
- A shadow box frame
- Ruller
- cuter
- pencil and adhesive tape.
Instructions
- Open your frame on the back.

- If it has passe-partout use it as your guide to cut your printable. If not use as your guide the page that comes in your frame.
- Cut leftover if any.
- Then use the same guide on your green cardstock.

- Cut it the same size.
- Then using your roller measure a bit less than an inch (this will be your new passe-partout and it shouldn’t be thick) Measure and trace a line on each side.
- The cut along with your guidelines.
- When you have your frame ready place it over your printable and adjust as necessary. I had to cut some extra paper to make the working fit.

- Turn it over and using adhesive take secure the printable to the frame in place.
- Now take your shadow box frame and fill it with the shamrocks, including the golden one. Make sure it’s facing the glass.

- Put the printable in the frame facing down and close it.
- You are done!!!

Share and PIN ME!
What do you think? I would like to know your thoughts in the comments!
Til’ next time…


FREE WORKBOOK
Keeping your Sweet Home Organized
Learn how to create intentional habits and simple routines to Keep Your Home Organized. Plus freebies, printables, exclusive content, and tips.
Disclaimer: By clicking on the “Yes” button above you are giving me your consent to collect and use your information according to the law and My Policy Privacy. Zero Spam I promise!

how can I find the link to the “lucky us” page?
Hi Tara, Sorry about this. The links have been fixed and you can find them towards the Supplies list.
Thank you for lettin me me know there was a problem!
Hugs,