Washi Tape DIY Decorated Candles
This post may contain affiliate links. Please read our Disclosure Policy.
Why settle for boring candles when you can jazz them up with washi tape? Spice up your candle game by turning simple candles into some pretty and creative decoration pieces! These Washi Tape DIY Decorated Candles are super easy and fun to make. Learn how right here!
Candles are always a great touch to any decoration style and also make great gifts. With just a few extra details you can create unique and gorgeous candles.

I have a strong love for Washi tape and I love how these cute Washi tape DIY decorated candles turned out.
Table of Contents
Washi Tape DIY Decorated Candles
Everyone knows by now that I became a huge fan of washi tape LOL. This is a super easy but full of love craft because this was meant to be a handmade gift and I was thinking of my mom while making it!
This gift only takes a couple of minutes to make and is so cute and festive.
It’s also perfect to make with kids, mine sadly wasn’t very interested, LOL I guess I’ll have to wait and see if she has my crafty genes.
You only need a couple of supplies and you are ready to go!

What is washi tape?
Washi tape is a decorating tape usually made from natural fibers such as bamboo or hemp or the bark of trees native to Japan such as mulberry, mitsumata shrub or the gampi tree.
The texture may somewhat simulate masking tape, washi tape is more delicate and comes in gorgeous designs and strong, durable versatility.
How to make these Washi Tape Candles
So let’s start working on this fun project!
You will see that in less than 5 minutes you will transform some plain and boring candles into some really pretty pieces.
Supplies:
- Plain candles – I used 2 white candles.
- Washi Tape design of your choice
- Squared cardboard or a box lid (Optional)
- A cute tag.
Tools:
- Pair of scissors
Instructions:
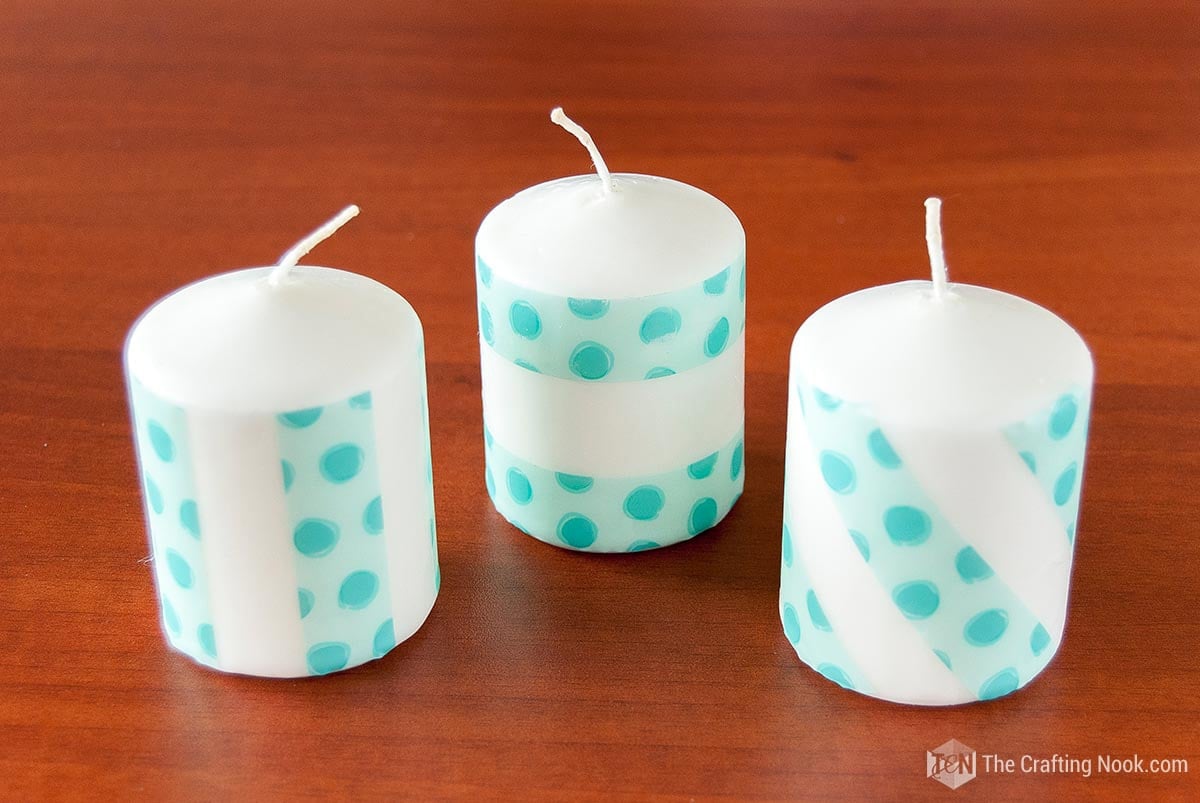
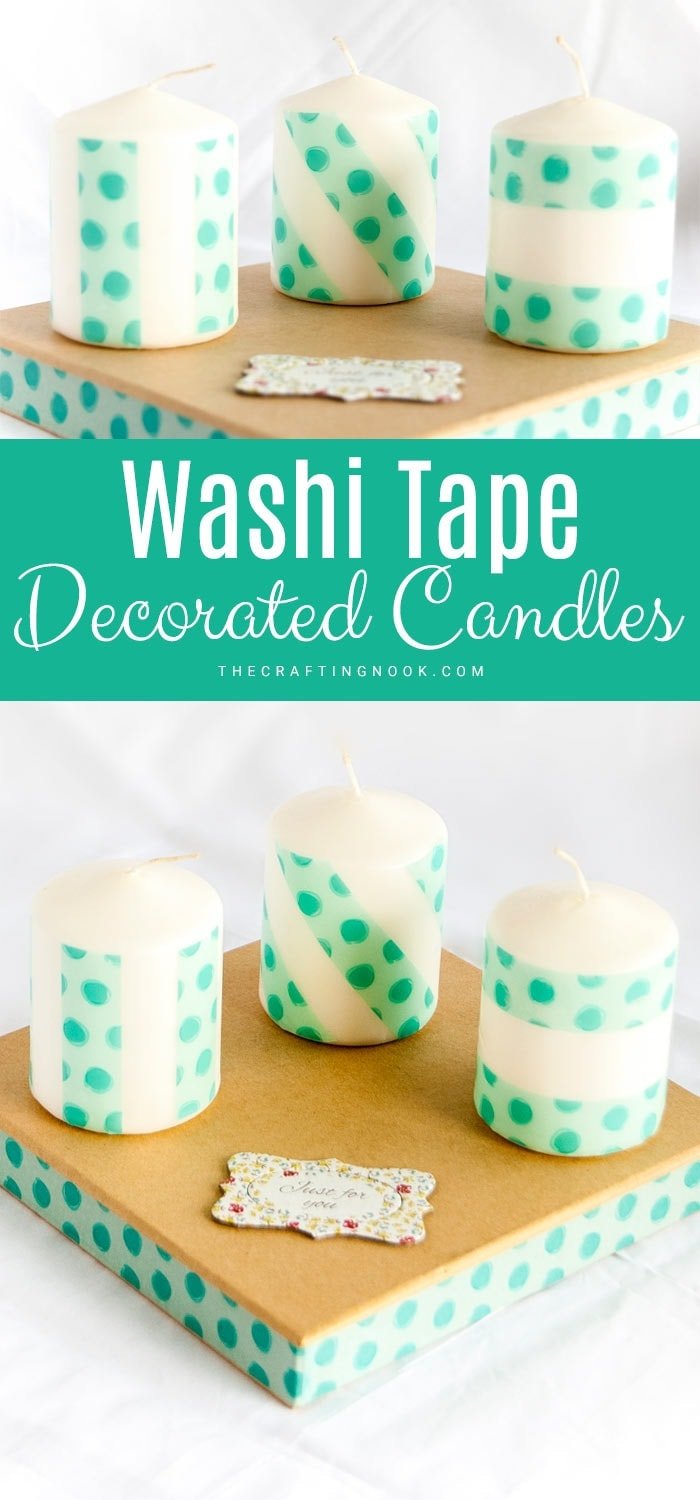
I made 3 candles with the same washi tape pattern but made different decorations on each candle.
On the first candle, I applied washi tape only on the bottom of the candle and on the top creating horizontal stripes.


For the second candle, I applied the tape in stripes diagonally all over the candle.

And the last one, I applied the tape in vertical stripes.
This step is totally optional but since these were meant to be a gift, I decided to create a base.
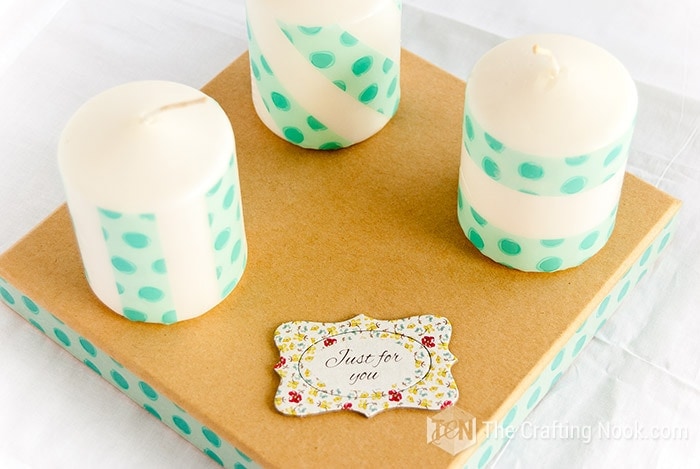
I got this cardboard box lid and applied some washi tape around the sides of the lid. Placed and glued one candle on each corner and on the last corner I glued a cute tag I got from a craft magazine that says “Just for you”.
You can skip the cardboard box and place them in a cellophane bag or on your own candle holders. It’s totally up to you!

I’m definitely not sure what happens if the candles are used. I don’t recommend burning them with the washi tape on.
But since my mom loves candles but she doesn’t really burn them, I decided that it would be a lovely gift!
Crafting Tips
* Instead of just using plain white pillar candles, try using colored candles or even tea lights. You can also try different shapes and sizes for a more varied look.
* Instead of just using one tape design, try layering multiple tapes to create a custom design. You can even use scissors to cut the tape into unique shapes or patterns before applying it to the candle.
* Don’t limit yourself to just decorating the candles themselves – use washi tape to decorate the candle holders, too! You can create patterns or designs on the outside of the holder, or use washi tape to add a pop of color to the inside of a clear glass holder.
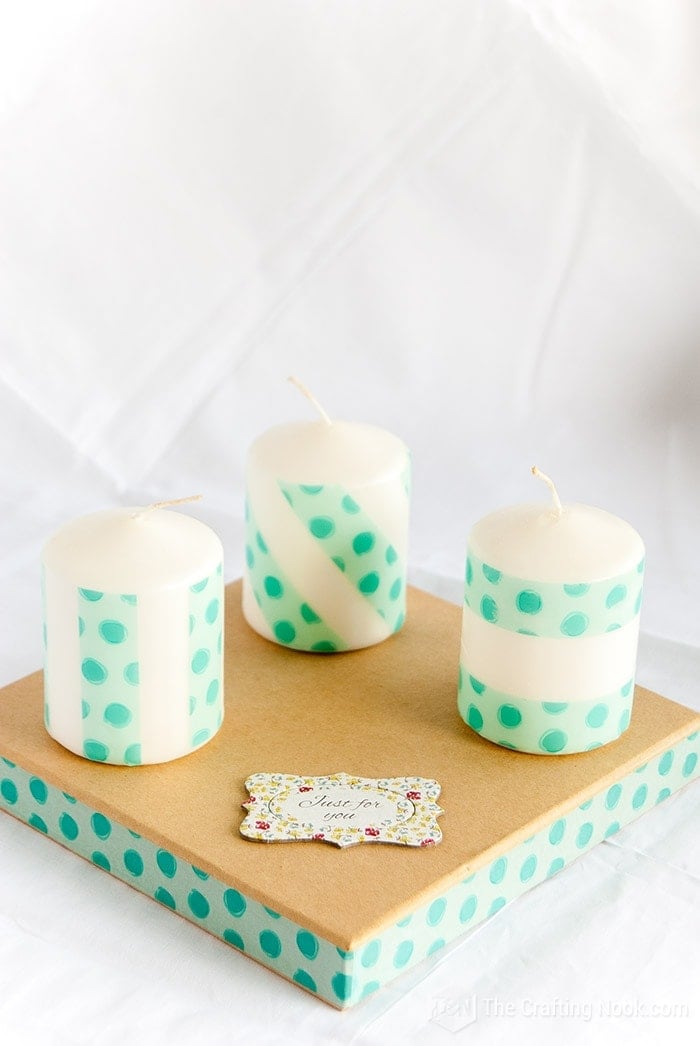
There are so many uses for these candles, for desk decoration, seasonal decor, a gift like this one, to match a specific decor. I just love it!
So here you have it! What do you think??? Have you decorated candles before???
Fun Facts about Washi Tape
OMG! Washi tape is one of my favorite craft supplies! Here are five fun facts about washi tape that you might not know:
- The origin of washi tape can be traced back to Japan. The word “washi” actually means “Japanese paper,” and the tape is made from traditional Japanese washi paper. That’s why it has such a unique and fun texture and feel!
- Washi tape comes in tons of different colors and patterns. From polka dots to stripes to floral prints, there’s a washi tape for every occasion. You can even find washi tape with cute characters or designs on it!
- Washi tape is repositionable. The adhesive on washi tape allows you to easily move and adjust without damaging the surface underneath. This makes it great for creating temporary decorations or for testing out different designs.
- You can use washi tape for all kinds of crafts. From decorating notebooks and journals to creating wall art and even furniture, giving limitless options to express your ideas. You can even use it to create 3D structures like paper flowers or geometric shapes!
- Washi tape is eco-friendly. Washi tape can be recycled and is environmentally friendly since it is made from paper. Plus, many brands use sustainable manufacturing practices and materials to create their tapes, making it a great choice for eco-conscious crafters.
Frequently Asked Questions
Generally, yes! However, some tapes might not stick as well to the wax surface of the candle. It’s best to test out a small piece of tape on your candle first to make sure it adheres properly.
It’s not recommended to light a candle with washi tape on it, as the tape could potentially catch on fire. If you want to use the candle for lighting, make sure to keep the tape away from the wick and remove any tape before lighting.
Gently peel the tape off of the candle, taking care not to damage the wax surface. If any residue is left behind, you can try rubbing it off with a soft cloth or using a bit of rubbing alcohol to remove it.
Imagination is the limit but to give just a few ideas, you use washi tape as tape for wrapping gifts (using plain papers for example), Wall art, Custom backgrounds for specific crafts (frames, bookmarks, cards), Instant Poster Frames, Colorful Washi Tape Pencils, Cover boxes, laptops and notebooks, Buntings, Envelopes, and so much more…
Washi tape is very similar to masking tape, so it adheres well and can stay wherever it’s placed, especially if it’s quality washi tape. At the same time, it can easily be removed. If you’re making a design on the wall with the tape, I’d say yes it can last a year or more.
No, it’s definitely not recommended to use washi tape on the wick of your candle. The tape could potentially interfere with the wick’s ability to burn properly, which could be a fire hazard. Stick to decorating the outer surface of your candle instead.
More Washi Tape Projects to try
If you like this washi tape diy decorated candles tutorial, you might also love these other easy craft project ideas too:
Some amazing washi tape projects from my favorite bloggers:
- DIY washi tape lined envelopes by Holly over at Club Crafted
- Washi Tape Pencils and Desk Cup by Heidi over at Happiness is Homemade
- Diy Washi Tape Letters For Sewing Room Decor by Melissa over at Polka Dot Chair
✂️ Tutorial

Washi Tape DIY Decorated Candles
Tools
- Pair of scissors
Supplies
- Plain candles – I used 2 white candles.
- Washi Tape design of your choice
- Squared cardboard or a box lid Optional
- A cute tag.
Instructions
- I made 3 candles with the same washi tape pattern but made different decorations on each candle.
- On the first candle, I applied washi tape only on the bottom of the candle and on the top creating horizontal stripes.
- For the second candle, I applied the tape in stripes diagonally all over the candle.
- And the last one, I applied the tape in vertical stripes.
- This step is totally optional but since these were meant to be a gift, I decided to create a base.
- I had this cardboard box lid around and put it to use. Applied some washi tape around the sides of the lid. Placed and glued one candle on each corner and on the last corner
- Finally, the last touch was gluing a cute tag I got from a craft magazine that says “Just for you”.
Notes
Share and PIN ME!!!
Til’ next time…


FREE WORKBOOK
Keeping your Sweet Home Organized
Learn how to create intentional habits and simple routines to Keep Your Home Organized. Plus freebies, printables, exclusive content, and tips.
Disclaimer: By clicking on the “Yes” button above you are giving me your consent to collect and use your information according to the law and My Policy Privacy. Zero Spam I promise!


