Girl on Bike Heat Transfer Vinyl and Rhinestones T-Shirt Tutorial
This post may contain affiliate links. Please read our Disclosure Policy.
Hello everyone! Today I’m sharing my second attempt to use heat Transfer {The first one is still in process} and also the first time I glue some rhinestones to a t-shirt LOL. It’s an easy project and it really makes an old or plain t-shirt stand out. I love customizing outfits! Remember my Freezer Paper Butterflies Onesie? super cute. So far it went well, no rhinestones has fallen but time will have the last word LOL.
Girl on Bike Heat Transfer Vinyl and Rhinestones T-Shirt Tutorial

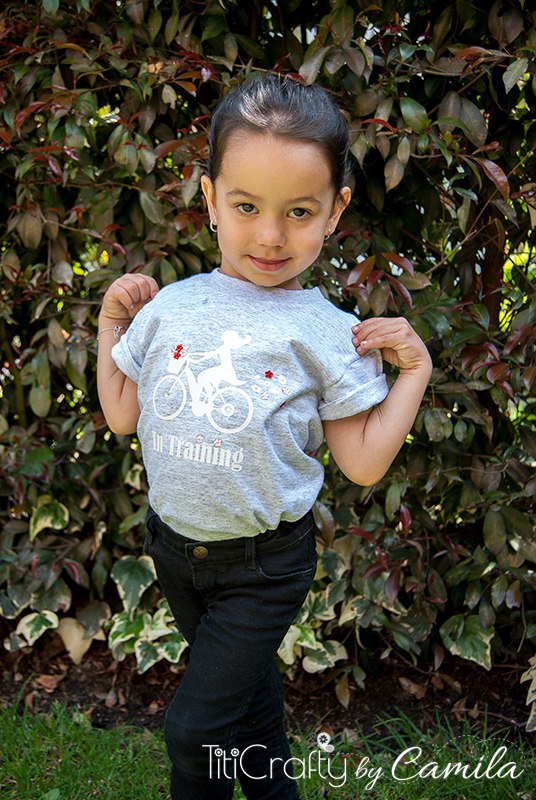
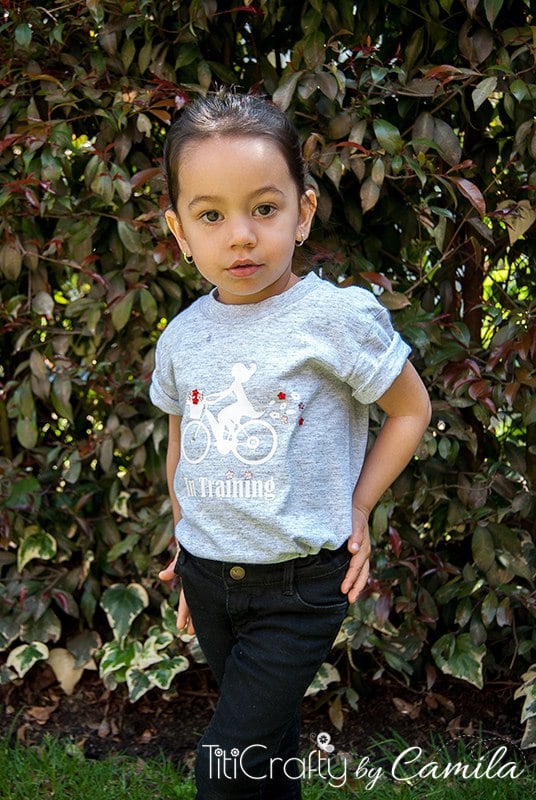
This one was an easy project and since my little girl is learning to ride bikes she was really excited about having her t-shirt to wear when she’s riding LOL. I loved how it turned out even though the gray of the t-shirt was too light. Since this project was kind of a trial I didn’t want to use a new T-shirt, so I used this one.
What you need:
- A t-shirt
- Some cute rhinestones {I used cute flowers and clear circles}
- Fabric glue
- Heat transfer vinyl
- A cute design.
- Craft tweezers
- Of course, your silhouette and an Iron.
First of all I created the design I wanted. I used the girl in a bike from the Silhouette Store and added “In Training”. To make the most of the space I place the words next to the bike.

I used the mirror effect to flip the image {you need it flipped otherwise your design your heat transfer final cut won’t work}.
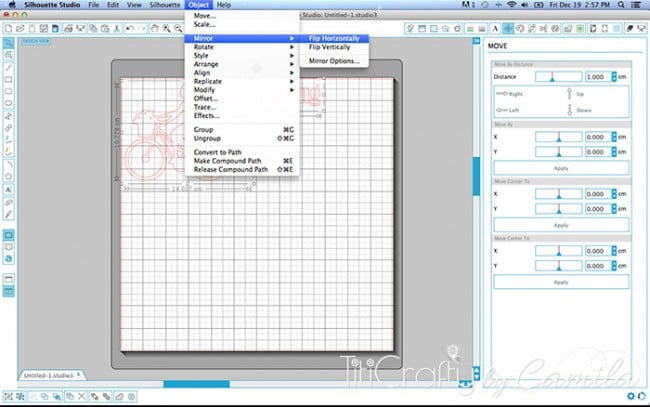
And send it to cut. The plastic backing should face down and the heat transfer backing should face up in the Silhouette machine.

When it was ready I carefully pealed off the heat transfer that doesn’t belong to the design leaving only the plastic backing and the design. I helped myself with the hook.
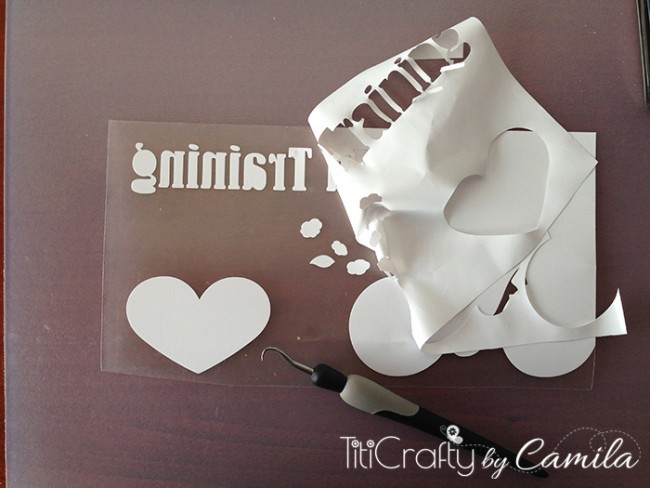
Then I cut the different pieces of the design.

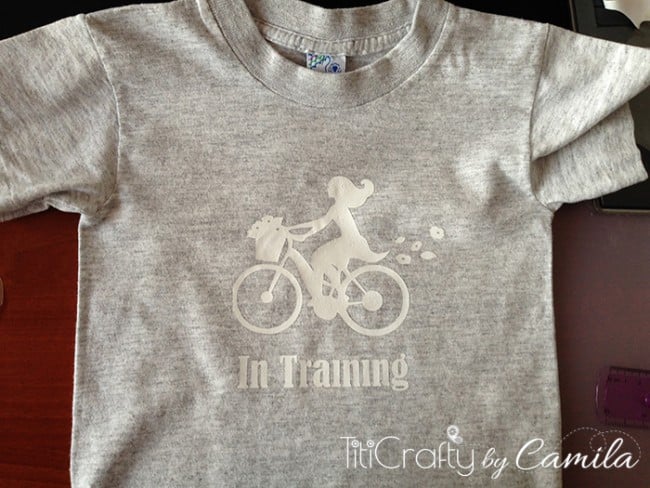
I placed it on the T-shirt as centered as I could and ironed it for about 30 seconds. I left it cool for a few seconds.
Then I carefully pealed off the plastic leaving the design in the t-shirt.

Yay the design is ready… how awesomeeeeee!!!!
Then I started with the rhinestones and glue. I bought this glue on a craft store here, but I’m pretty sure you can find it where you live, looking for fabric glue.

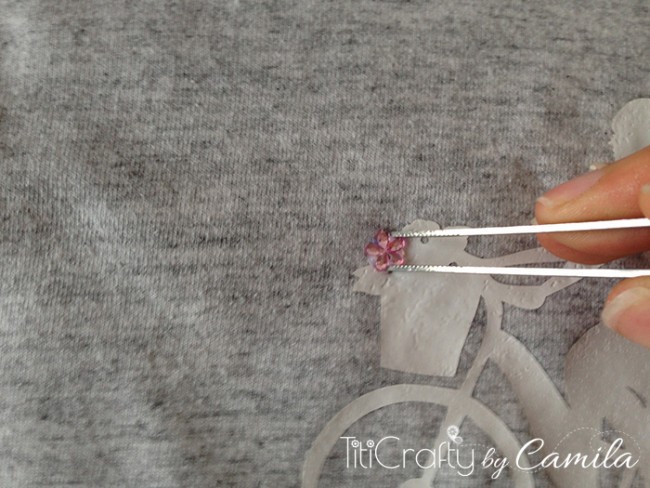
Place a drop of glue where you want the Rhinestone to be.
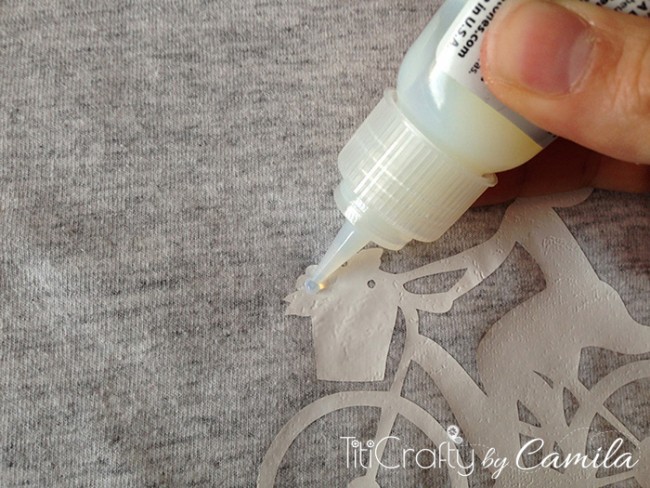
Then with the tweezers glue the rhinestone on top of the glue. In the moment you will see the glue on the sides but it will disappear when dry.
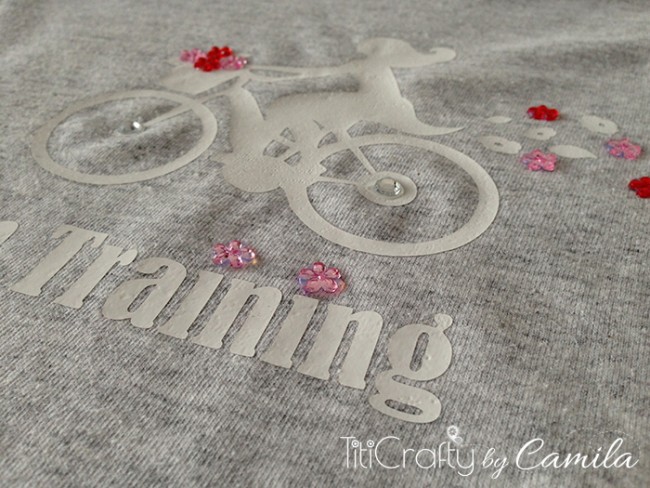
I placed the rest of the flowers round and then finally added the clear ones to the center of the wheels.

I also made the dots from the “i” as flowers =D
I followed the glue’s instructions and left it dry over 9 hours and wash after 48 hours. So far so good. But I’ll update the post if something changes!
Tadaaaaaa There you go! A cute t-shirt for girls!


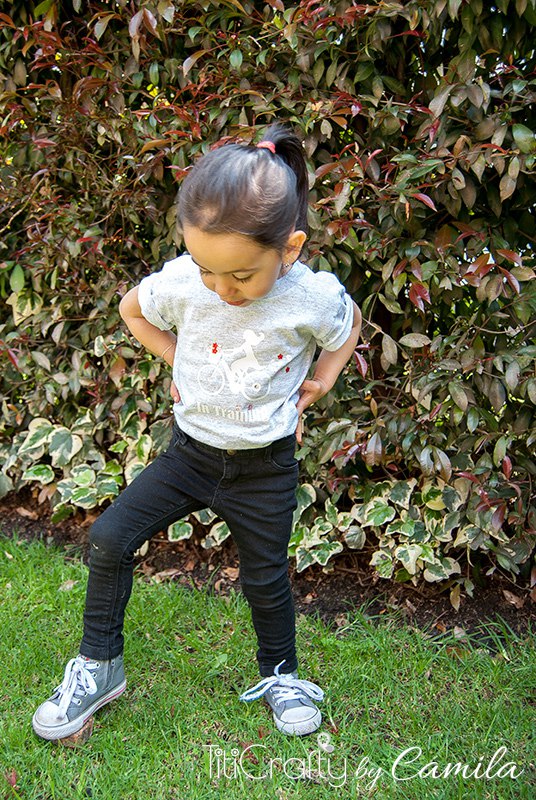
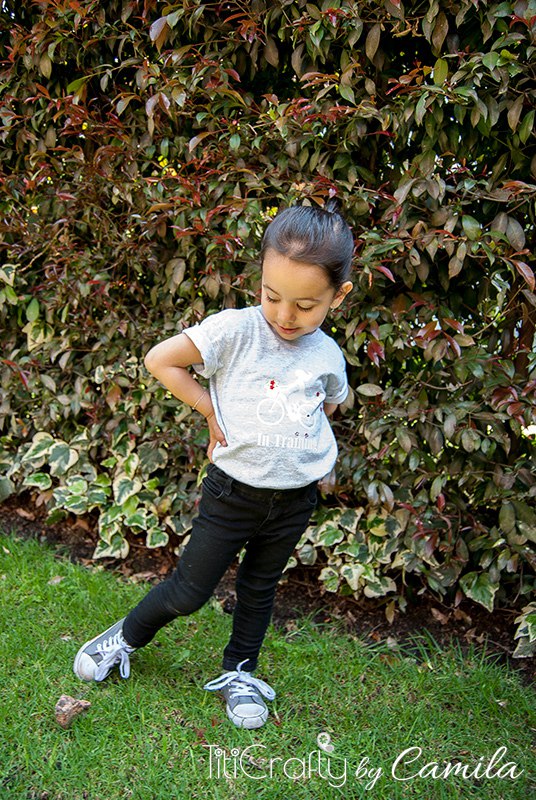

What do you think??? Do you like it! Have you used heat transfer before? Do you use Silhouette machine?
Til’ next time…


FREE WORKBOOK
Keeping your Sweet Home Organized
Learn how to create intentional habits and simple routines to Keep Your Home Organized. Plus freebies, printables, exclusive content, and tips.
Disclaimer: By clicking on the “Yes” button above you are giving me your consent to collect and use your information according to the law and My Policy Privacy. Zero Spam I promise!
Hi Camila I was wondering what brand are you using for the printable designs! (Heat transfer vinyl) to do color design? Thank you! I love you creations!
Hi Kimberly,
Thank you so so much for your sweet words!
The heat transfer I use is from Silhouette America. I like it because it holds strong. I have washed it, and even dried it in the drier (low heat) nd it last until it didn’t fit my girl anymore. But there are lots of brands out there. it will depend on your location and budget.
Hope this helps!
hugs
This is so cute. I might have to make one for myself with a little alteration!
Haha I thought so too! I’m definitely making one for me =D. Thanks so much for your sweet visit!
XOXO