Titi’s Freezer Paper Stenciled Butterflies Onesie!

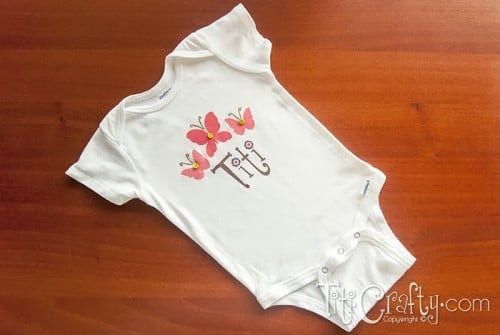
I’m truly in love with this Stenciled Butterflies Onesie. Em and I love Butterflies and I was eager to use for the first time freezer paper. So this was the perfect way to mix it all don’t you think?

Titi’s Freezer Paper Stenciled Butterflies Onesie!

Titi's Freezer Paper Stenciled Butterflies Onesie Tutorial cover

I’ve been wanting to make some fabric painting for a while. Actually ever since I saw Lauren’s Onsies {from the Thinking Closet}, I was eager to make one. Then I saw the cute little pink shark shirt by Hilary and Jessica from Domestic Bliss Squared which was made using Freezer paper… WHATTTT? I had no idea what that was. Was that a cooking paper? Or a craft paper? LOL. Then a few days later I saw Lauren’s Keep Calm Onesie and I said -That’s it! I have to buy that thing!!!- LOL… and guess what?.. I did and brought it to Oman in case I couldn’t find it {and BTW guess what again?… Here there is Freezer Paper Ugh! LOL}.

Freezer Paper Stenciled Butterflies Onesie view

Since it was my first time using freezer paper I preferred making something simple for Emma and see how it would turn out. So, I chose some butterflies and her nickname =D.  The next one could be my beloved animal the owl LOL!

So here is how I made it!.

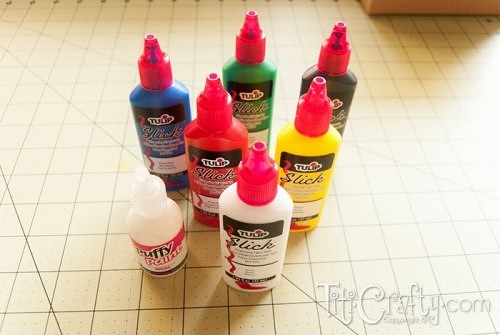
You need an onesie, freezer paper, fabric paint, tiny buttons and Sharpies.

The first thing I did was to draw a rough of how I would like the design to be on the onesie.

 oniese sketch on paper

Then I made the design on my Silhouette just the way I liked it.

SIlhouette-Composition

I flipped the image before cutting because I place the wax facing up on the cutting mat.

SIlhouette-Composition-Flipped

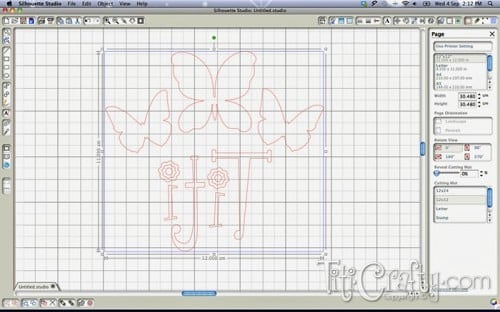
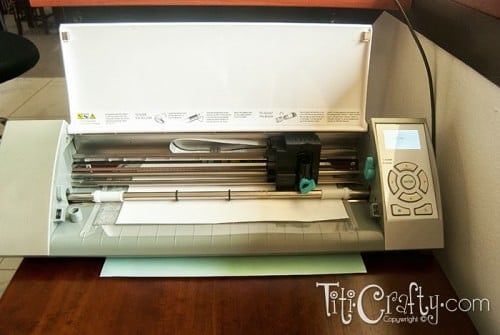
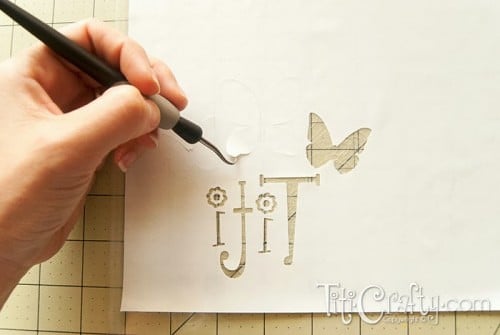
I cut the design on my Silhouette and used the hook to remove the pieces of paper.

view of Silhouette working

peeling the freezer paper

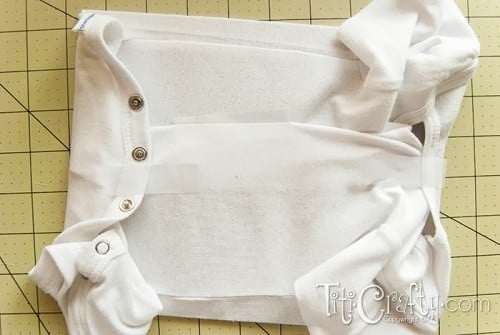
Then I placed the freezer paper on the front of the onesie and ironed it carefully.

freezer paper on the front of the onesie and ironing view

view of onesie ready to paint

Once done, I placed a piece of cardboard inside the onesie so the paint doesn’t leave marks on the back.

 view of a piece of cardboard inside the onesie

I secured all the onesie remain with tape =P

view of onesie secured with tape

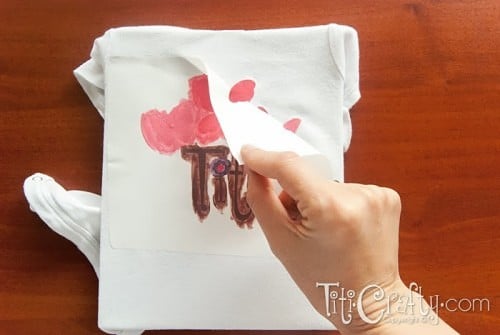
And finally started painting!!! I used Tulip fabric paint. I used to use it when I was like 14 LOL to paint Disney’s T-shirt.

 overview of various colors of fabric paint

I started with the Butterflies in 2 different shades of pink.

upper base of the onesie painted with the selected base color

closer view of the onesie painted with the selected base color

And then the word Titi. I mixed the colors so I could get those I wanted.

clser view of lower base of the onesie painted with the selected colors

view of the onesie painted

I left it to dry. I followed the Domestic Bliss Squared advise to let the paint dry very well. So I waited like 2 hours or so and then pealed the freezer paper very carefully.

 removing the freezer paper from the onesie

Yayyyyy it’s almost done!

view of the onesie already painted

I decorated the butterflies with some tiny green buttons as the heads.

view of placing the buttons on the onesie

sewing the buttons view

onesie almost ready view

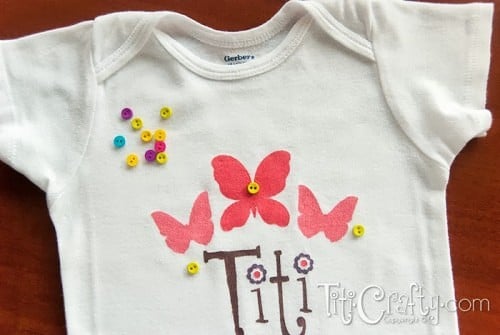
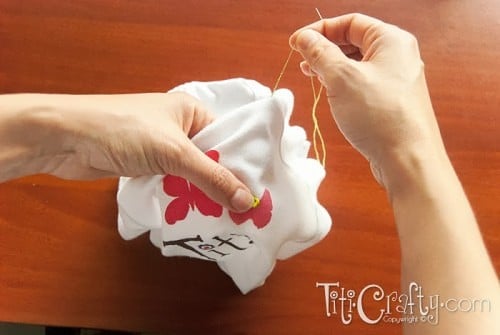
And the final touch was painting the antennas with a bronze metallic Sharpie!
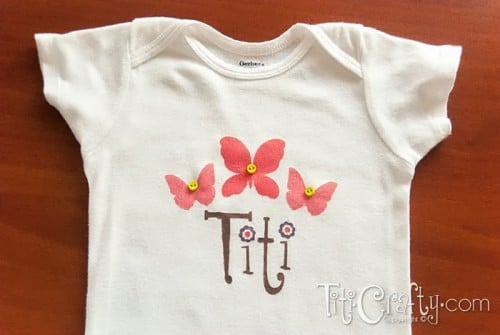
using a sharpie on the onesie for details

overview of the finished onesie

Tadaaaaaaa… Done!

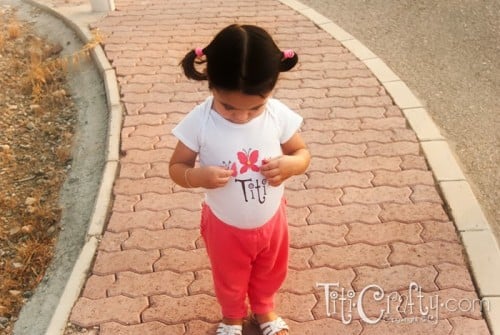
The only thing left was washing and wearing! And here it is, What do you think??? Cute or what???

view of my daughter happy with her oniese

view of my daughter inspecting the oniese

closer view of my gaughter modeling her Freezer Paper Stenciled Butterflies Onesie

I would love to hear your thoughts!!!

And if you’d like to check out some more Silhouette creations, here’s a collection of projects by my Silhouette Challenge buddies:

Organizing for Preschool by Life After Laundry
Stamped Wrapping Paper Tutorial by The Thinking Closet
Gender Reveal Fabric Banner by Create & Babble
Monster Crossing Test Tube Holder by My Happy Place
Front Door Sign by Cutesy Crafts
Paper Pumpkin Banner by Chicken Scratch NY
A Stache Bash Shower by Home At Eight
Fall Decor with the Silhouette by Coley’s Corner
Happy Fall Y’all by Tanya’s Creative Space
Crafting for Disney: Stroller Signs & Kid Shirts by From Wine to Whine
Customized Disney T-Shirts by DailyDwelling
Craft Room Labels by Super Sweet Life
Tried & True Coloring Print In 3D! by Tried & True
Clean Eating Menu Planning and Magnet Board by The House on Hillbrook
Toddler Growth Chart by Joy and Gladness of Heart
300x100buttonsilhouettehooktool

Til' next time...

Camila author signature
Email Subscription image with workeets on a table

GET INSTANT ACCESS TO THE HOME ORGANIZED WORKBOOK

Plus freebies, printables, exclusive content, tips, stay connected, be the first to know great offers and Product Launches!

Disclaimer: By clicking on the "Yes, I want it" button above you are giving me your consent to collect and use your information according to the law and My Policy Privacy and The Cookie Policy. Zero Spam I promise!

Leave a Reply

Your email address will not be published. Required fields are marked *

This site uses Akismet to reduce spam. Learn how your comment data is processed.

25 Comments

  1. Hi Cami, your daughter is so sweet and she seems to love her new onesie. It really came out great! Thanks so much for sharing at the Krafty Inspiration Thursday party. I can’t wait to see what you’ve been up to this week.
    Happy Thursday
    Maria @ Krafty Cards etc.
    http://kraftycardsetc.com/

  2. Cami, this is so cute! I especially love the little buttons you added. So adorable. Thank you for linking up to Inspire Me Wednesday!

  3. Thanks so much for your comment. Now that you ask, I haven’t washed it much yet but it did become lighter so I guess with time I’ll have to retouch it or maybe make the antennas with embroidery. That was a good one! Thanks again!!!

    XOXO
    Cami

  4. Your daughter is beautiful! Love the tutorial! One question, will the Sharpie marker ink washout over time? I’ve never thought to draw on fabric with a Sharpie. Thanks!

  5. Camila, I absolutely LOVE it! I’m honored that you found inspiration in my freezer paper stencil tutorial and that you took it and ran with it. The details of the buttons and antennae are my favorite part…. Oh, and your daughter is officially the cutest little girl in all of blogland. Great photo shoot!

    Thanks for participating in this month’s Silhouette Challenge Group Post! Whoo hoo!

    Warmly,
    Lauren
    The Thinking Closet

  6. that came out absolutely gorgeous! really neat how you drew it and thought to flip it- I may have gotten turned around there! lets hope she does not grow out of it too soon!!!

  7. This onesie is so cute! I can’t wait to try to create a Silhouette stencil..thanks for creating such a great project to inspire me!

  8. I just love this adorable onesie! You did a fabulous job :)The little buttons and the antennas totally make it look professional and adorable all in one. Doesn’t hurt one bit to have such a cutie to model it wherever you go!

  9. Oh how sweet that turned out! I have a “thing” for butterflies and I love this, especially the added details with the buttons! Nicely done!

  10. I LOVE THIS! I just bought some freezer paper on Thursday and I can’t wait to try this. I love that you took it an extra step to add the buttons and antenna. Titi looks so adorbs in her new custom onesie.