

DIY Doll Bedding Set for a Crib or Cradle
This post may contain affiliate links. Please read our Disclosure Policy.
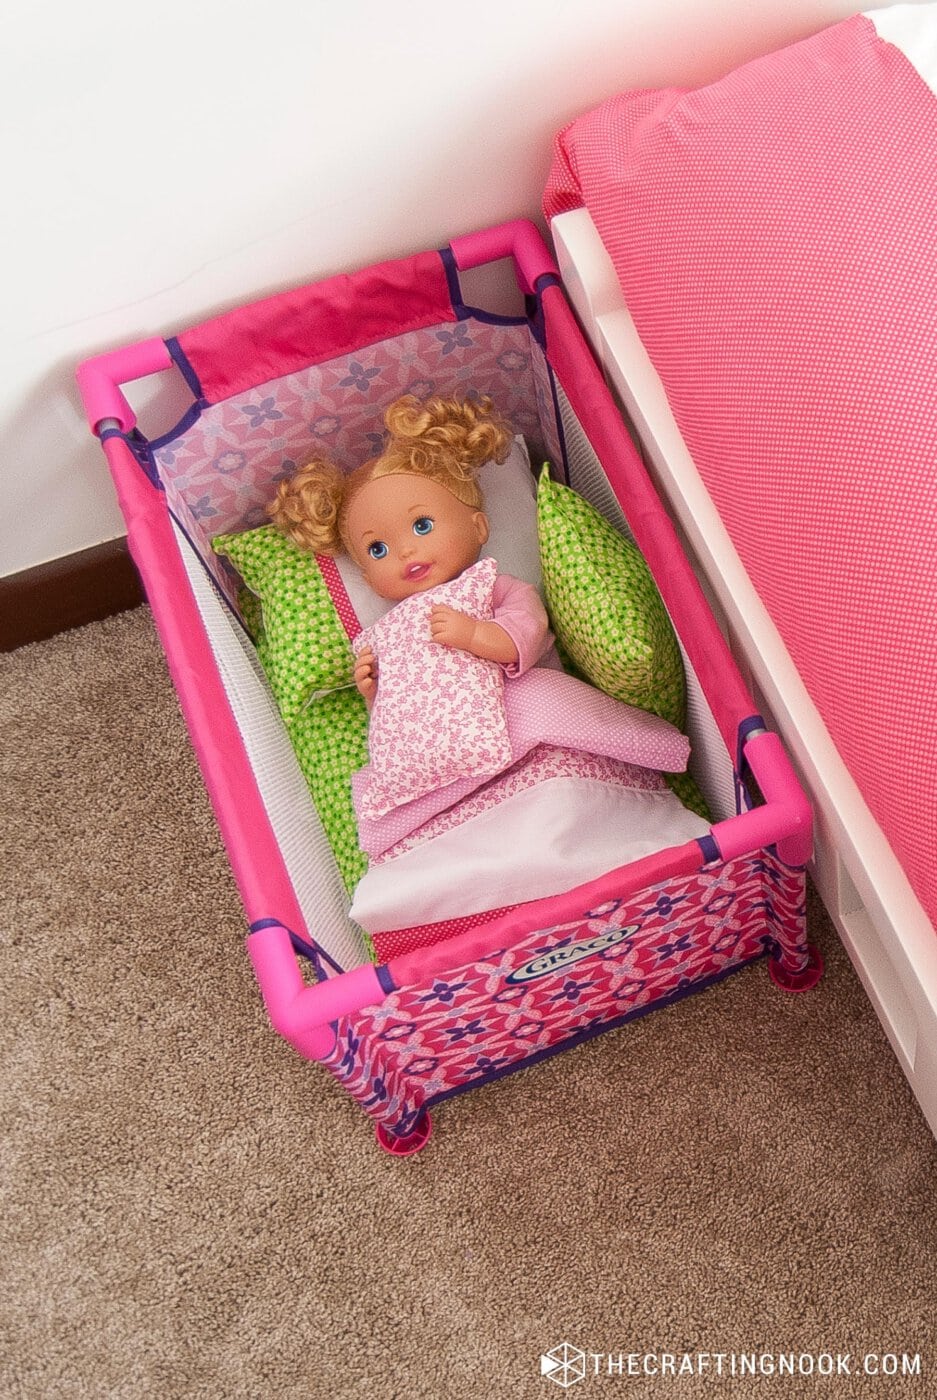
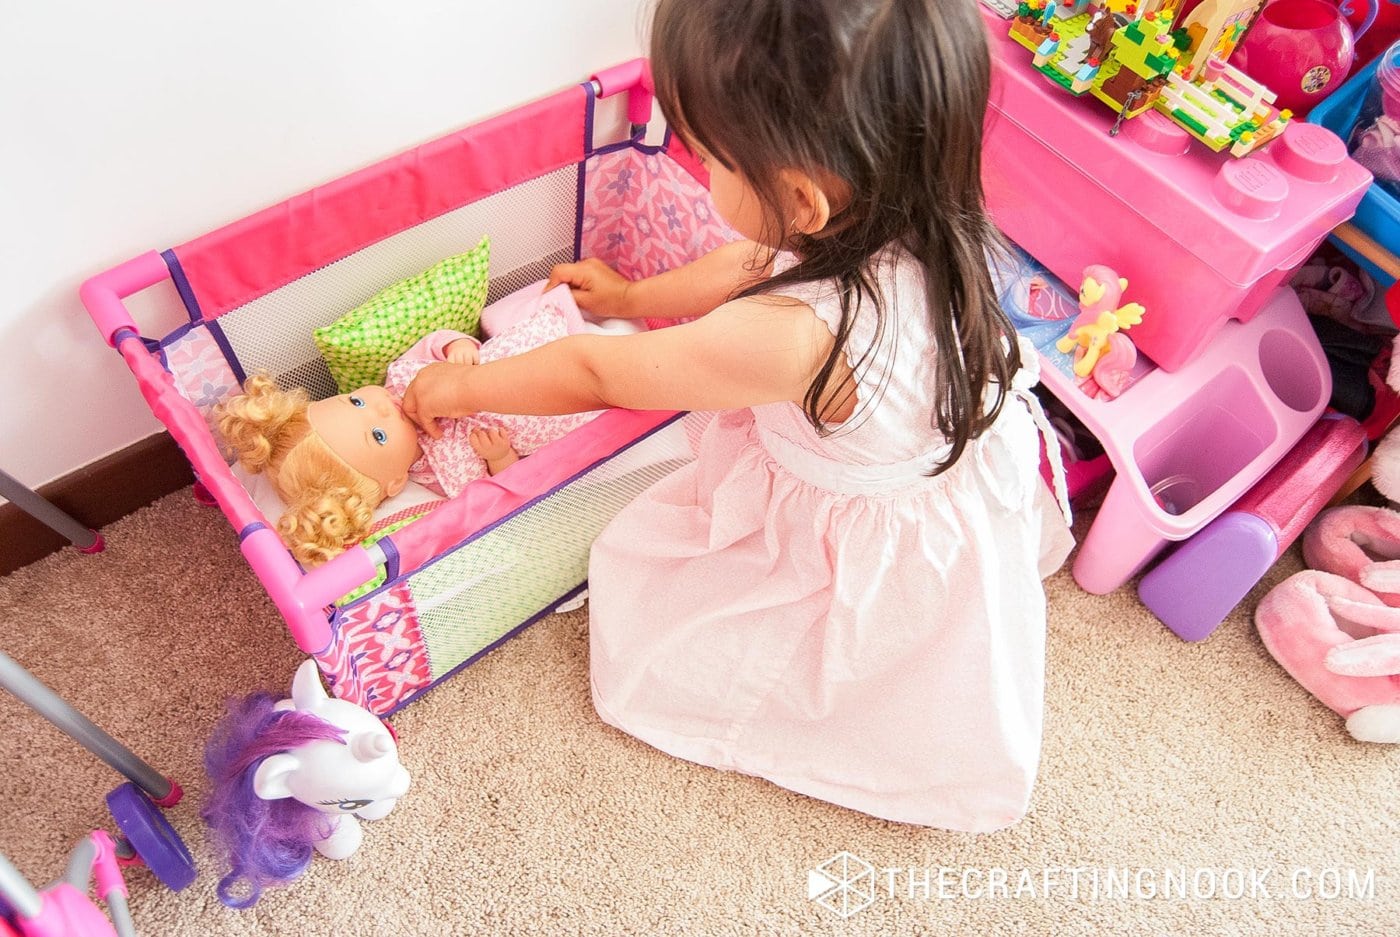
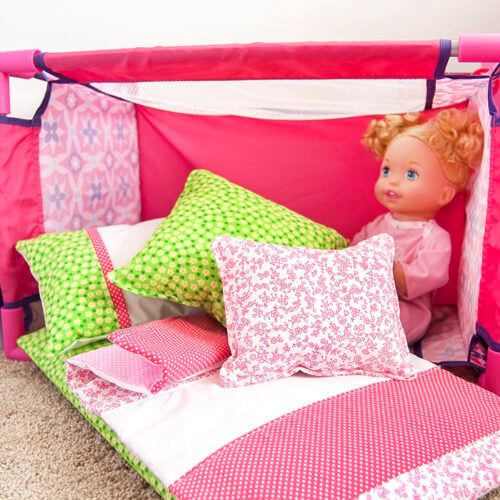
When my daughter got her little doll crib, she was obsessed with putting her babies to bed. I had fabric scraps left from the duvet cover I had made for her room, so I used them to make a matching doll bedding set with a tiny mattress, quilt, and pillows.
This little set took me about 2 to 3 hours to make, and the same basic method can be adjusted for almost any doll crib or cradle.
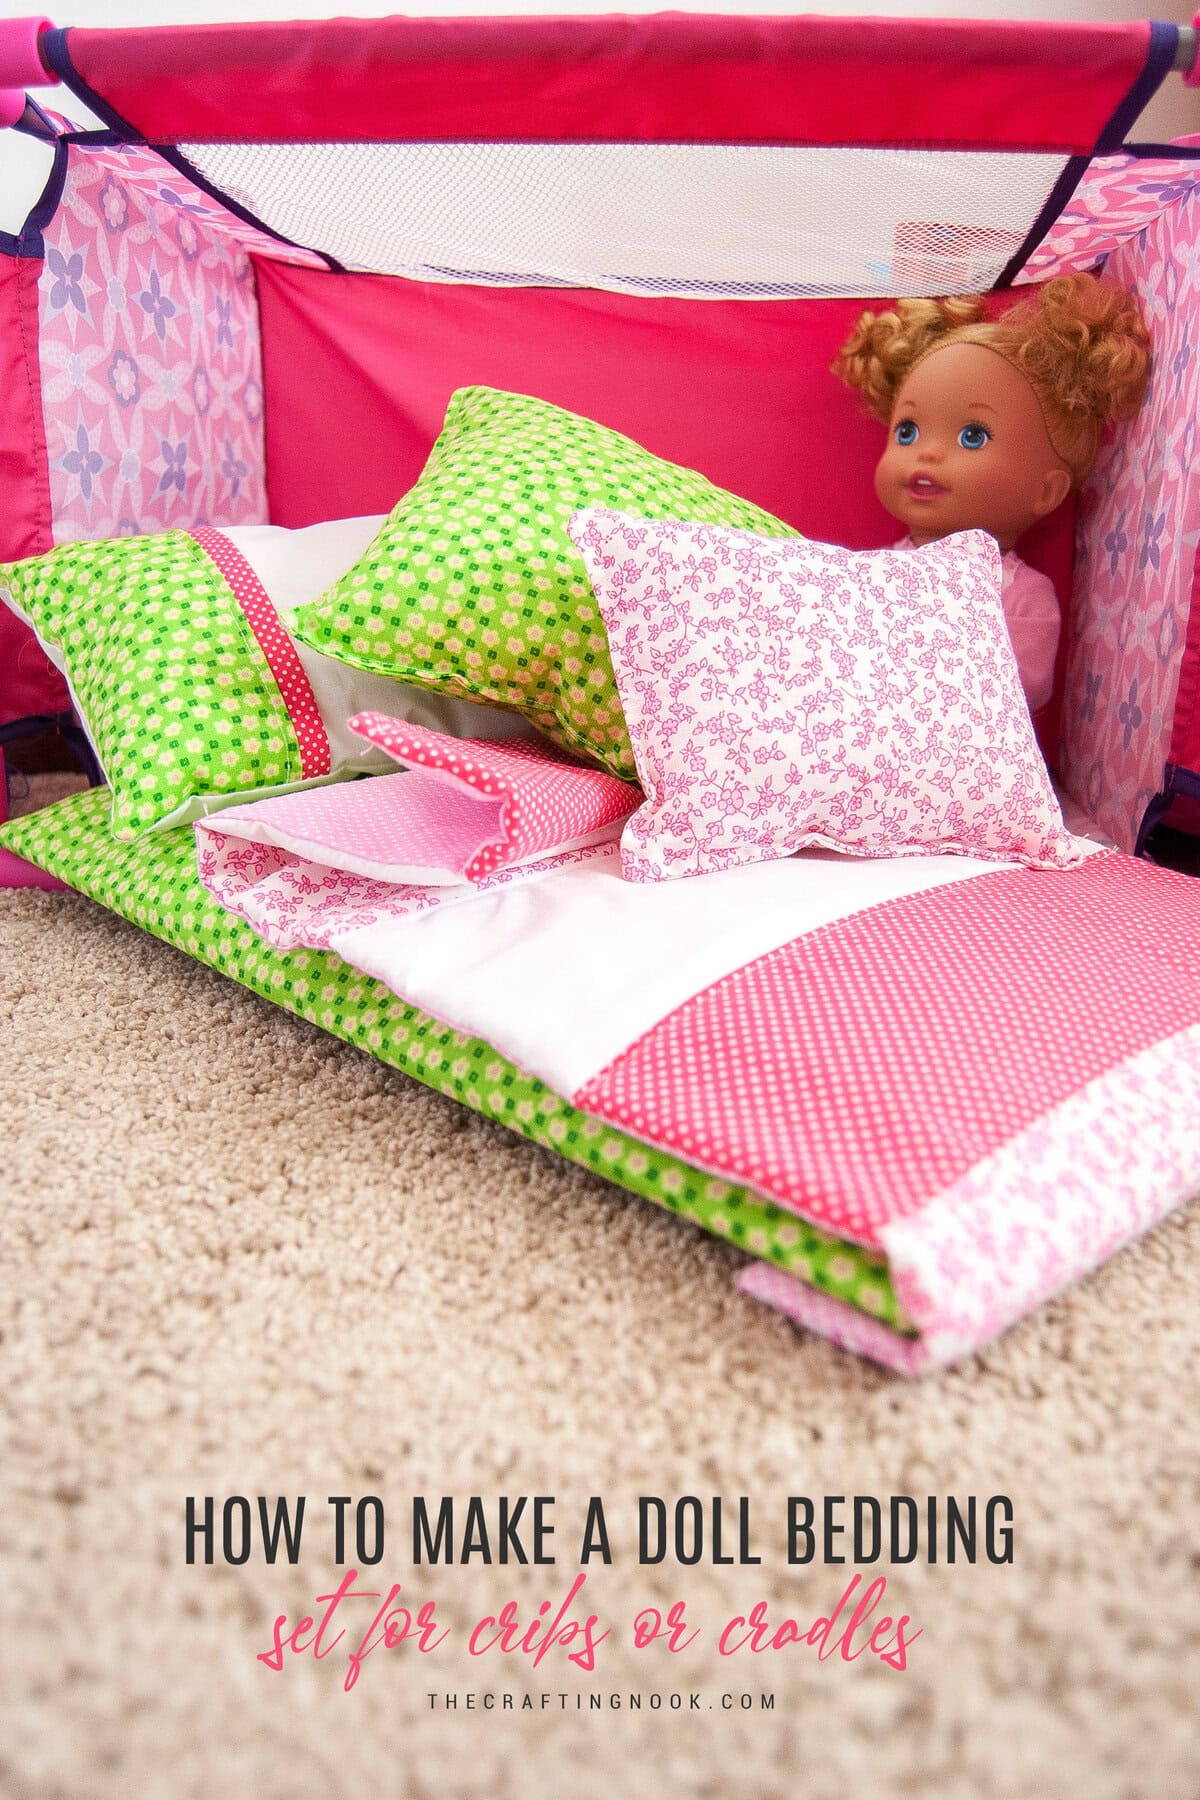
Table of Contents
What I Included in This Doll Bedding Set
I made this set for the little Graco doll crib my mom gave my daughter for Christmas. Since I still had scraps from her duvet cover and pillowcases, I thought it would be fun to make the doll crib bedding match her own.
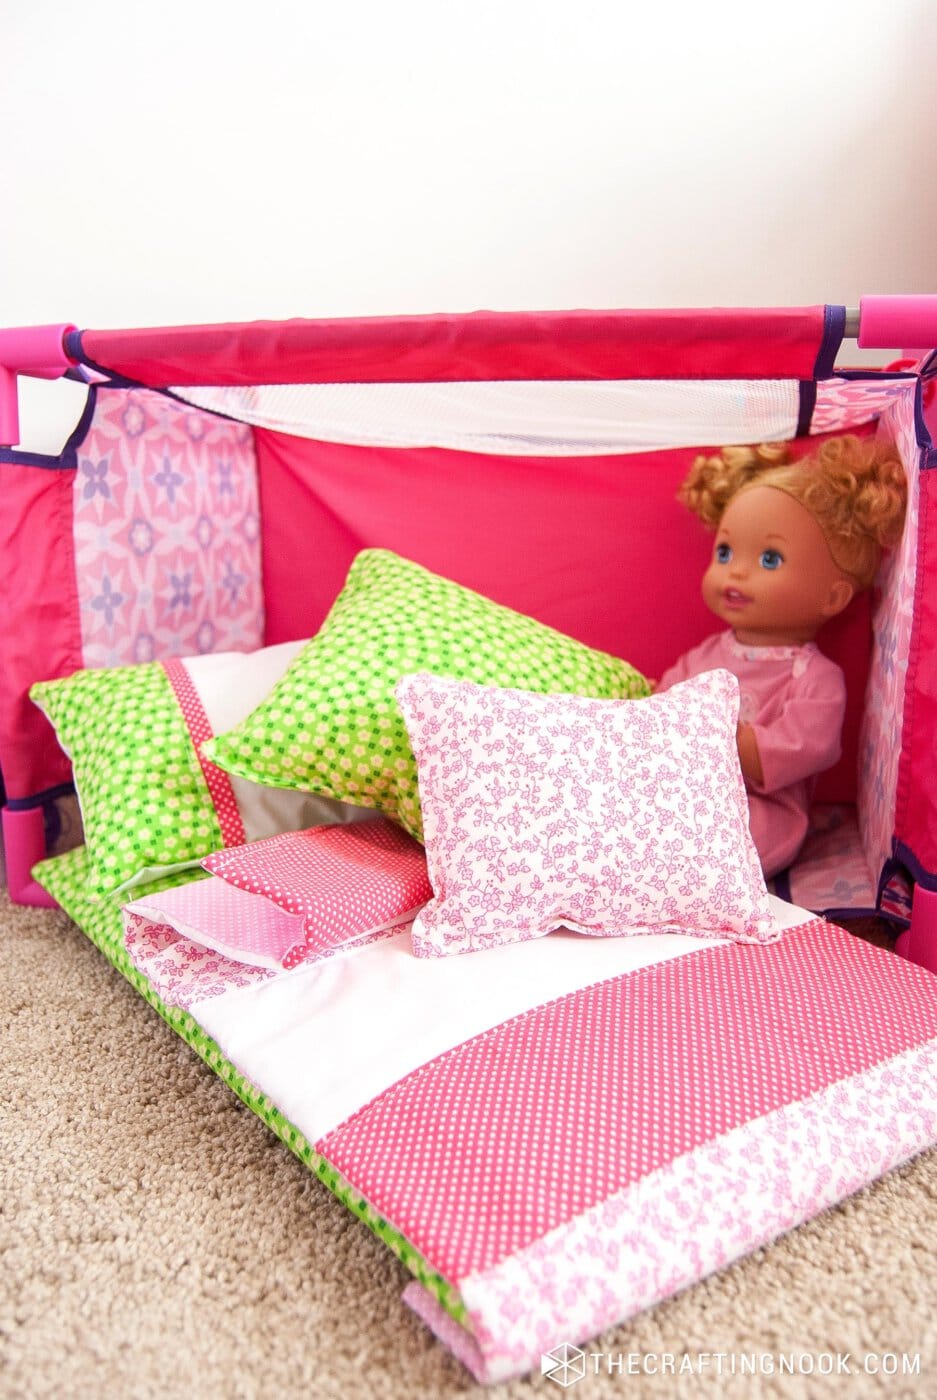
The set includes a padded mattress, a small quilt, and three pillows. I made mine to fit that specific crib, but the same idea works for other doll cribs and cradles once you adjust the measurements.
It was also a pretty quick sewing project compared with the full-size duvet cover. I finished the whole doll bedding set in about 2 to 3 hours using mostly fabric scraps I already had.
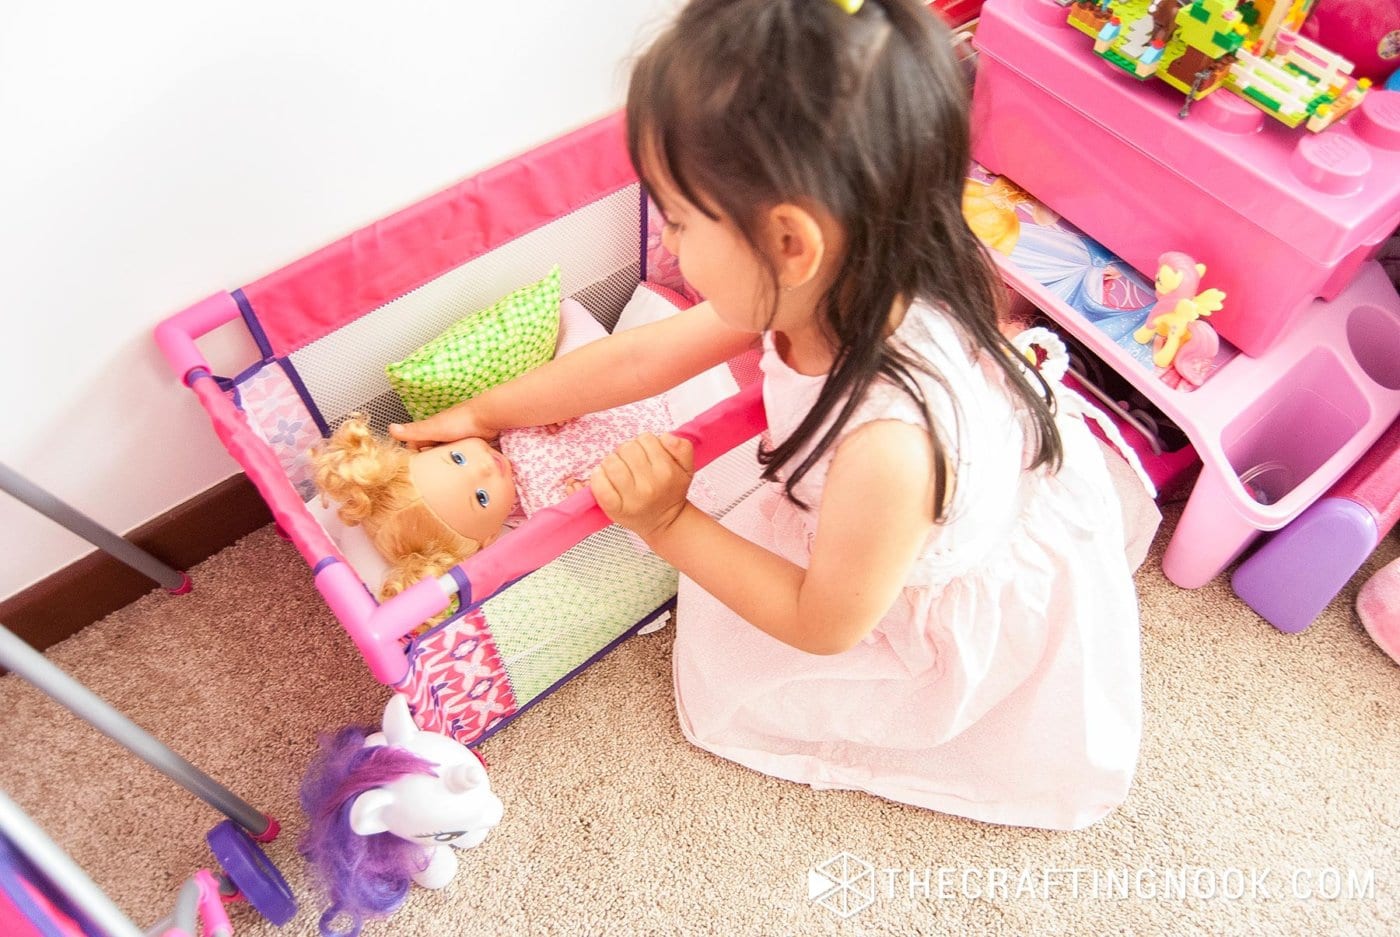
I wrapped everything up for her, and she loved having a little bedding set just for her dolls.
Why I Love This Doll Bedding Set
I love that this project uses small fabric scraps and turns them into something that feels really special. I made this set with leftovers from my daughter’s own bedding, so her doll crib ended up matching her room.
It’s also easy to adjust for different doll cribs or cradles, and you can make the whole set or just the pieces you need, like the mattress, blanket, or pillows.
How to Make a Doll Bedding Set
The measurements below are based on the Graco Room Full of Fun Baby Doll Playset crib I used for this project.
If your doll crib or cradle is a different size, don’t worry. You can use the same construction method and adjust the fabric pieces to fit your own crib.

This is not a sponsored post but in order to give you a specific idea of the crib I used, I wanted to let you know which playset this was. Of course, having your own doll crip, you can follow these same steps but using your own measurements.
How to Size Doll Bedding for Any Crib or Cradle
Before cutting anything, measure the inside bottom of the doll crib where the mattress will sit.
For the mattress base, cut the MDF or cardboard just slightly smaller than that opening so it slides in easily.
For the blanket, I like it a little wider and longer than the mattress so it drapes slightly over the sides.
For the pillows, there is no exact formula. I usually size them in proportion to the crib so they look balanced without taking up the whole bed.
If your crib is close in size to mine, you can use my measurements below as a starting point.
Supplies:
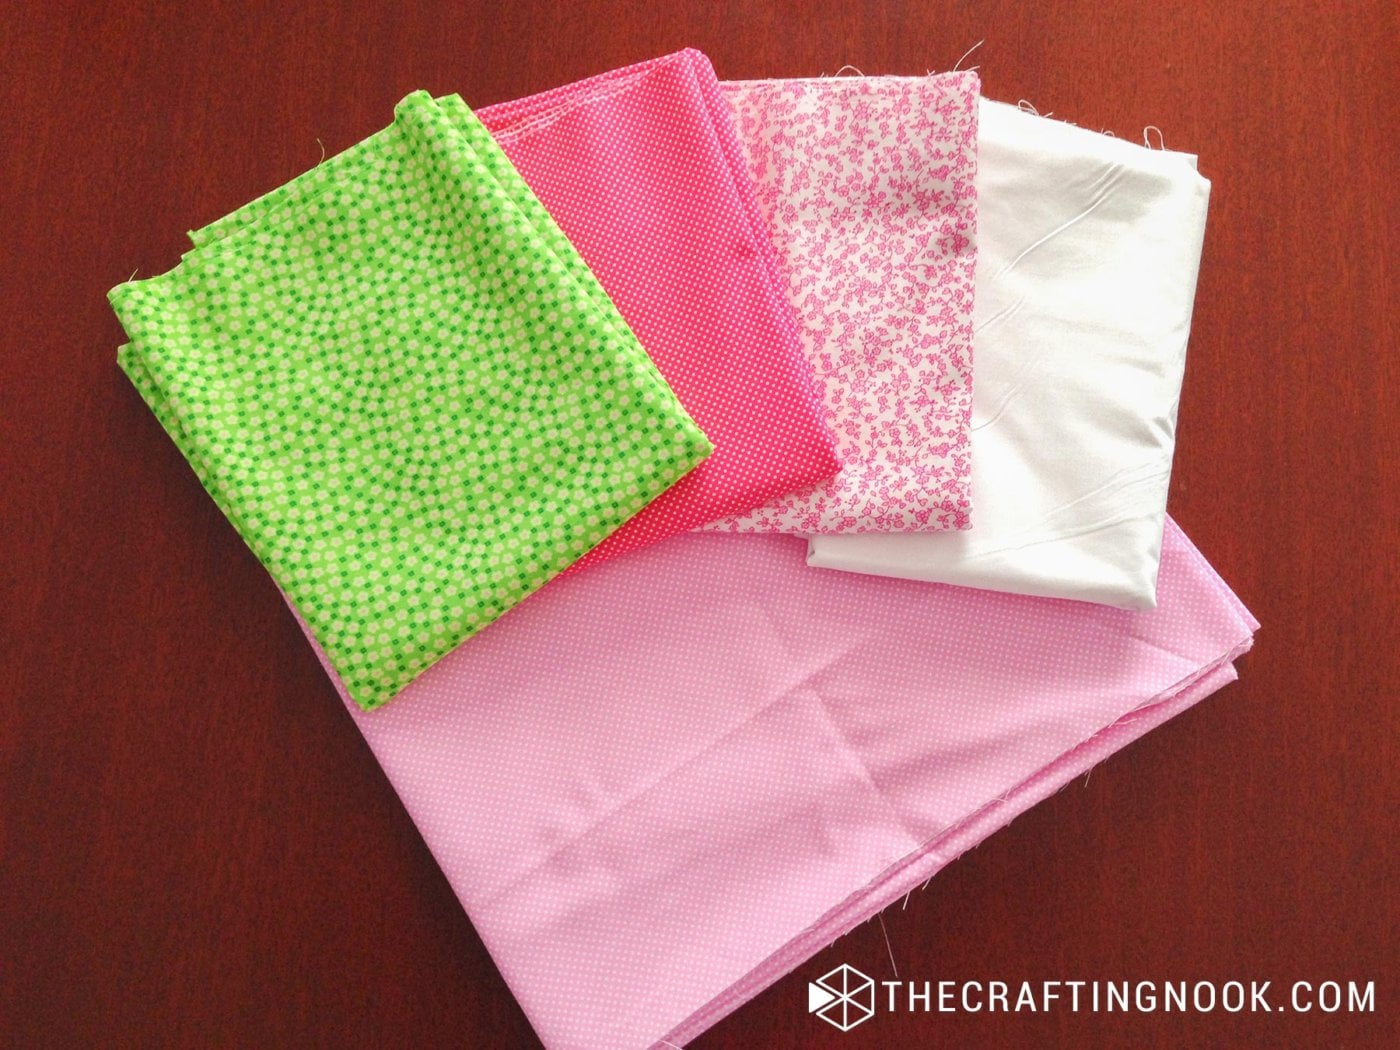
- Coordinating fabric scraps. I used leftovers from my daughter’s duvet cover set
- Pillow stuffing.
- Quilt batting
- 1 piece of MDF board, 44 × 26 cm (about 17 1/4 × 10 1/4 inches)
- Color matching thread
- Fabric Marker
Tools:
- Sewing Machine
- Sharp Fabric Scissors or rotary cutter
- Hot glue Gun and glue sticks
- Pins
- Measurement tape
- Ruler
Instructions:
Prep Work
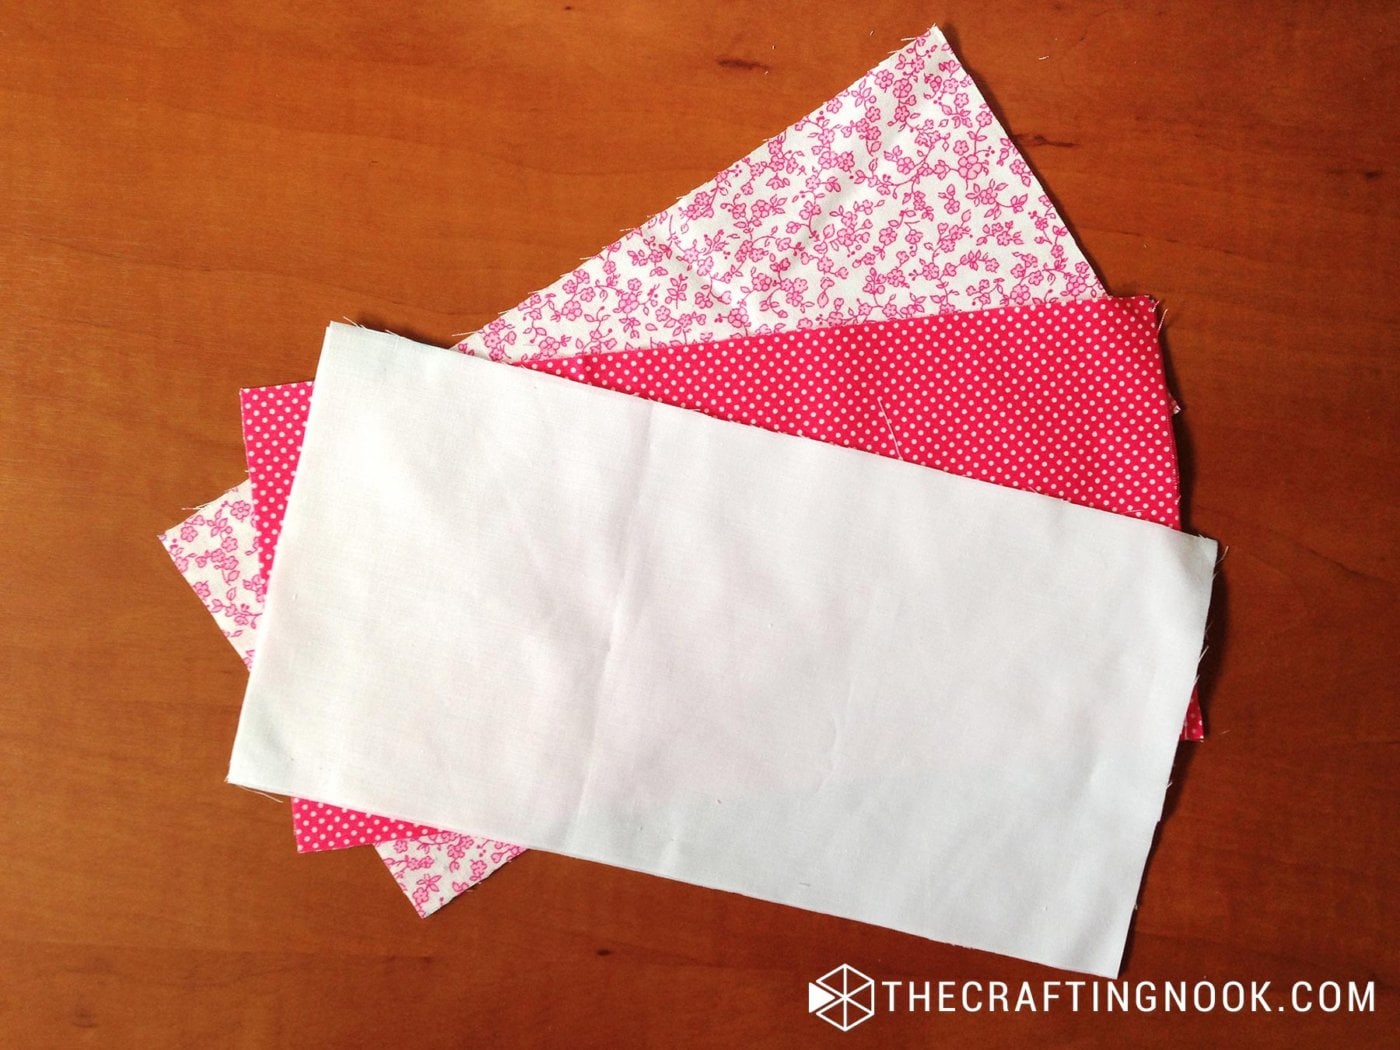
Start by cutting all the pieces. These are the measurements I used for the Graco doll crib shown in this tutorial, so adjust them if your crib is a different size.
Cut the Fabric Pieces
For the quilt:
- 6 fabric strips in 3 coordinating prints, each 10 x 28 cm (4 x 11 inches). This measurement includes seam allowance.
- 1 piece of quilt batting, 44 x 26 cm (17 x 10 inches).
- 1 backing piece, 50 x 28 cm (20 x 11 inches).
For the mattress:
- 1 piece of batting, 48 x 26 cm (19 x 10 inches).
- 1 top fabric piece, 50 x 32 cm (20 x 12.5 inches).
- 1 backing fabric piece, 46 x 28 cm (18 x 11 inches).
For the large pillow:
- 2 main fabric pieces, 28 x 18 cm (11 x 7 inches).
- 1 accent strip, 18 x 6 cm (about 7 x 2.5 inches).
- 1 second accent strip, 18 x 8 cm (about 7 x 3 inches).
For the small pillows:
- 2 pieces, 18 x 15 cm (7 x 6 inches).
- 2 pieces, 20 x 20 cm (8 x 8 inches).
Step 1: Make the Doll Mattress
- If your doll crib is a different size from mine, measure the inside bottom of the crib first. Cut the MDF board a few millimeters smaller so it fits easily.
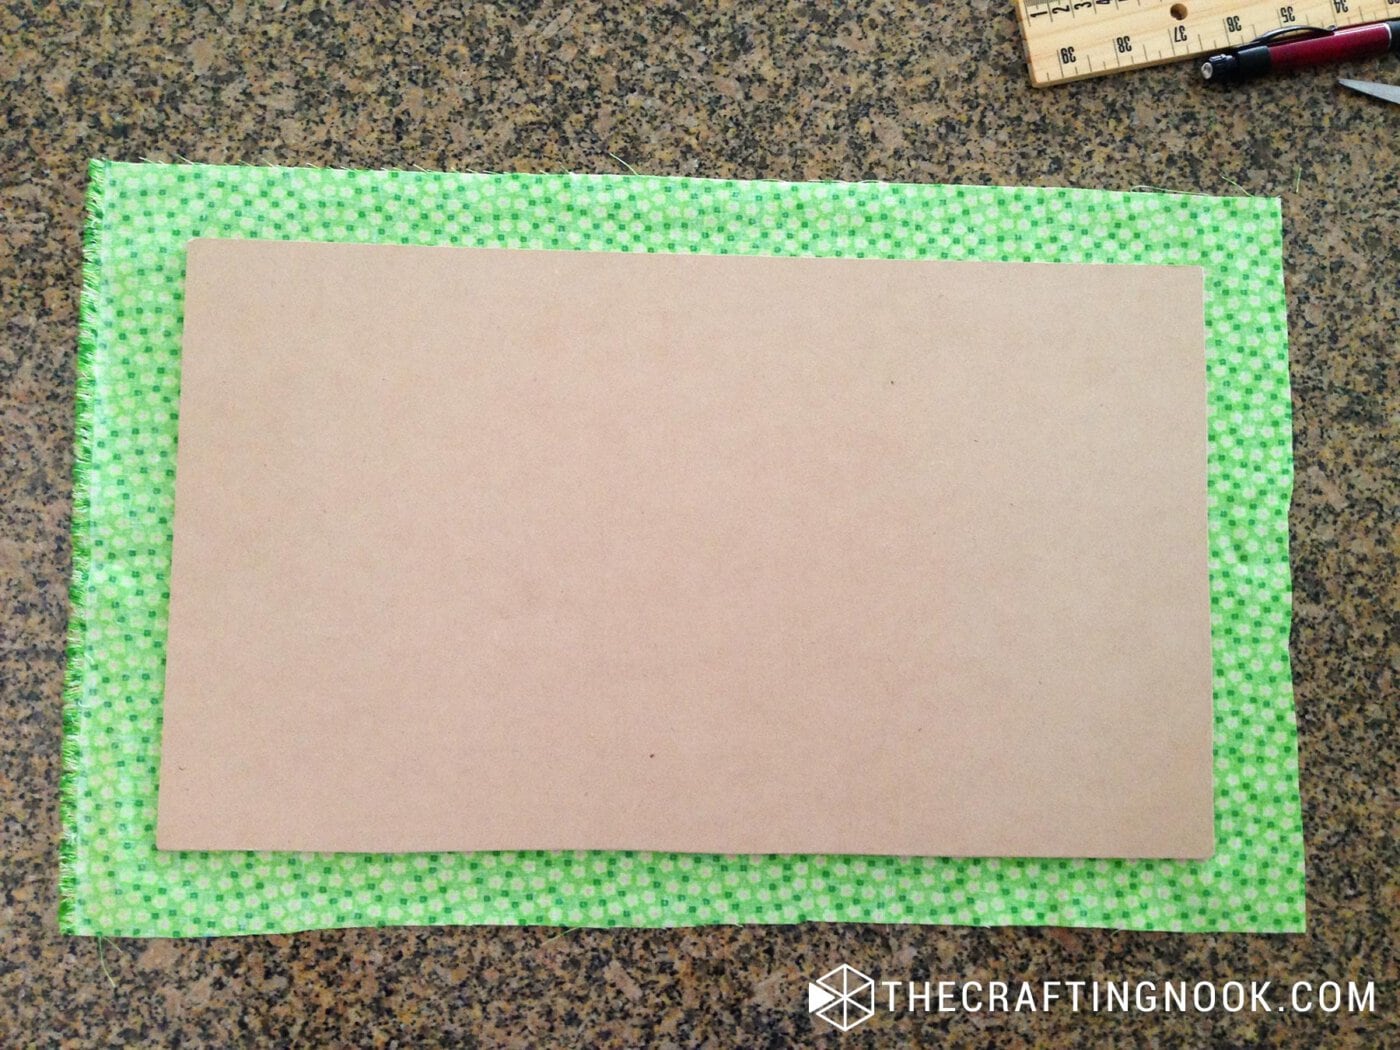
- Place the board on the wrong side of your mattress fabric. Leave about 1 inch (2.5 cm) of extra fabric around all four sides, then cut.
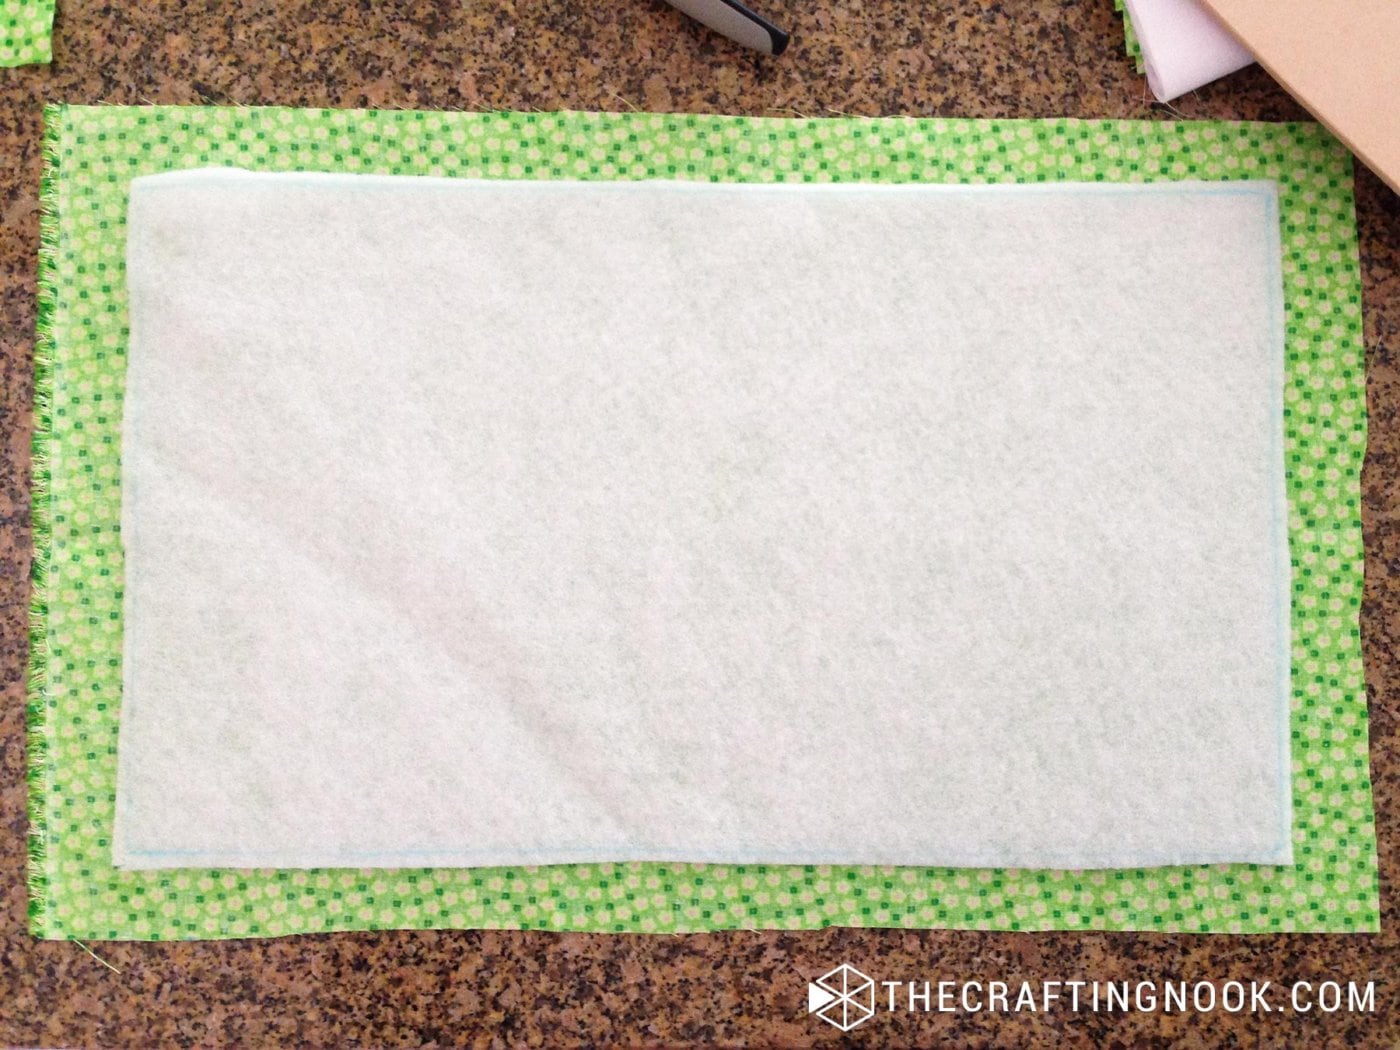
- Lay the mattress fabric wrong side up and center the batting on top.
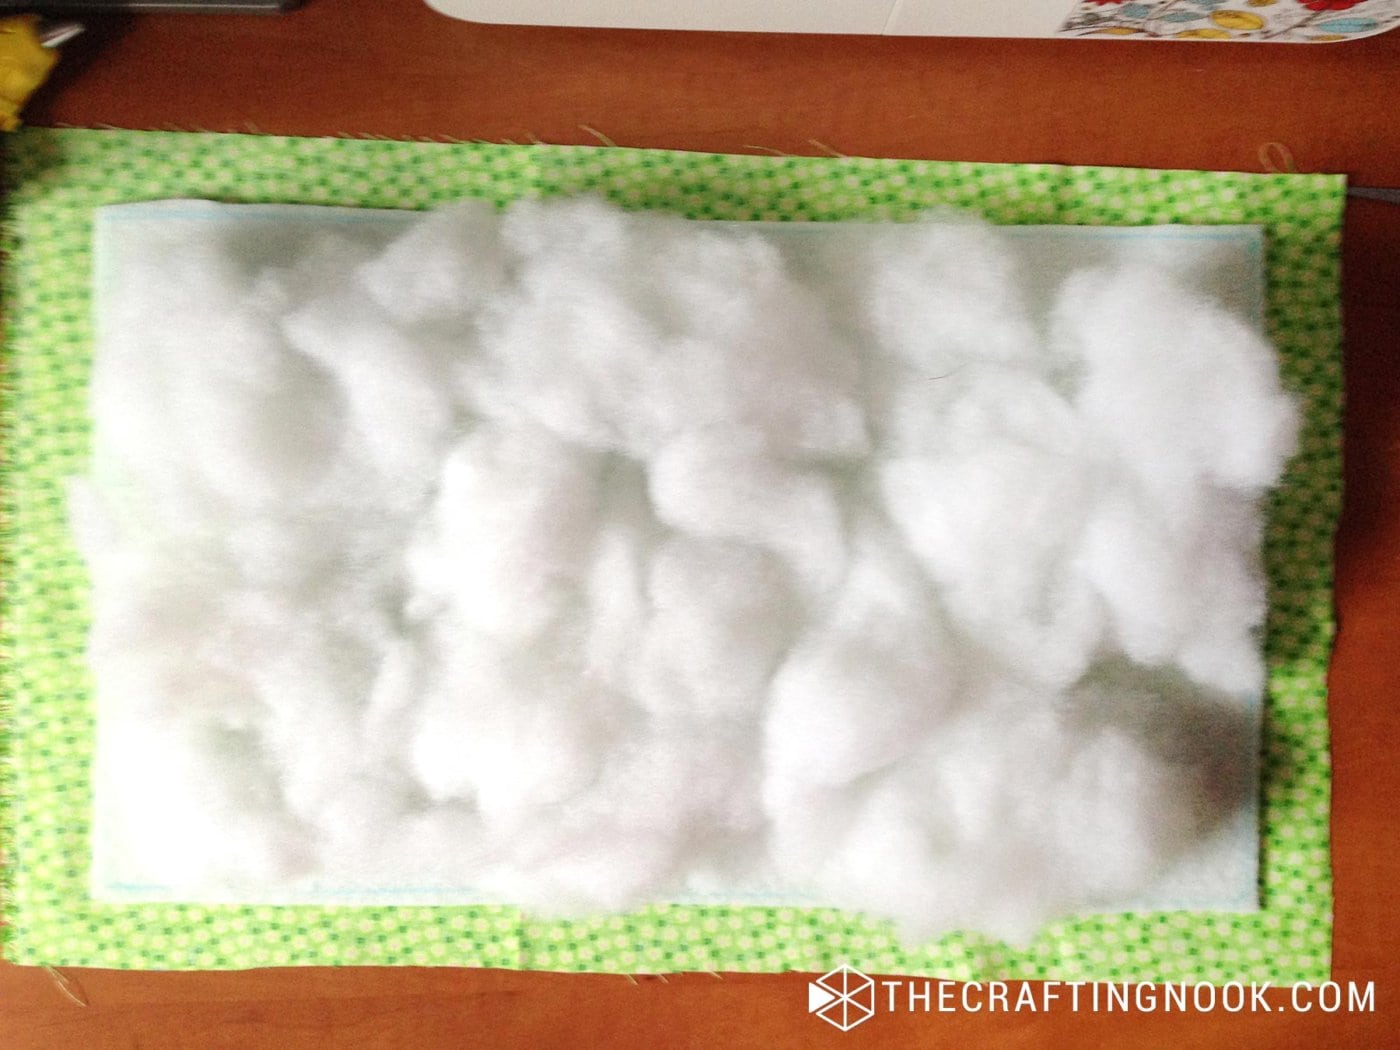
- Add a thin, even layer of stuffing over the batting.
- Center the MDF board over the batting and stuffing.
- Press the board down gently. Working in small sections, apply hot glue close to the edge of the board and pull the fabric over the edge to secure it to the back.
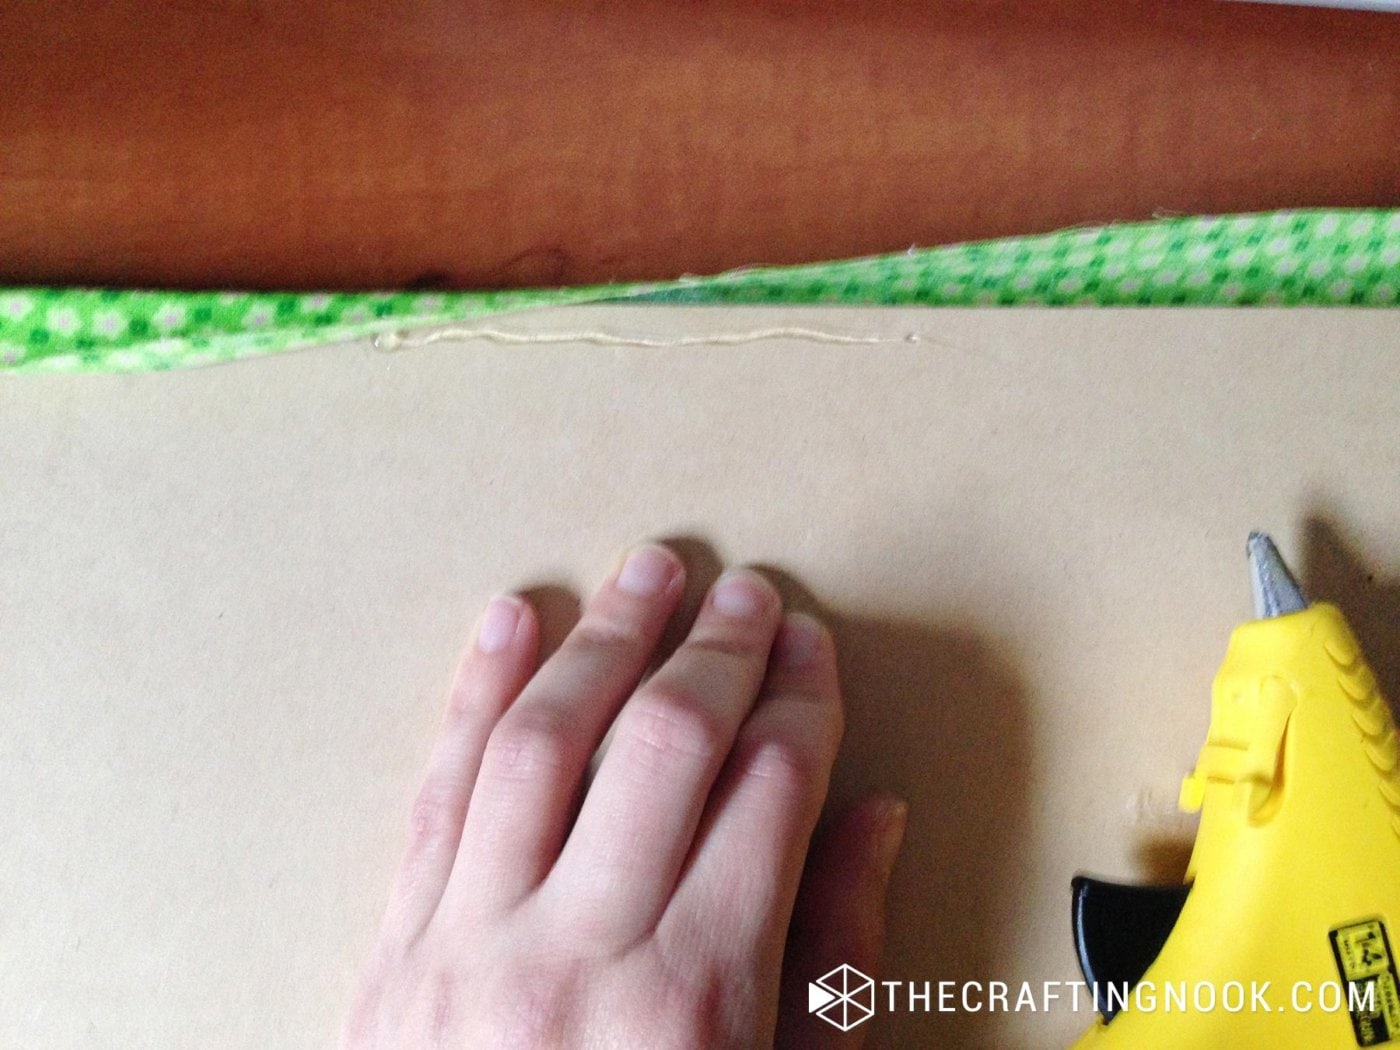
- Work in small sections so the glue stays hot enough to grab the fabric.
- At each corner, pull the fabric snugly, fold the excess neatly, and glue it in place.
- Don’t worry if the back looks messy at this point. We’ll cover the raw edges next.
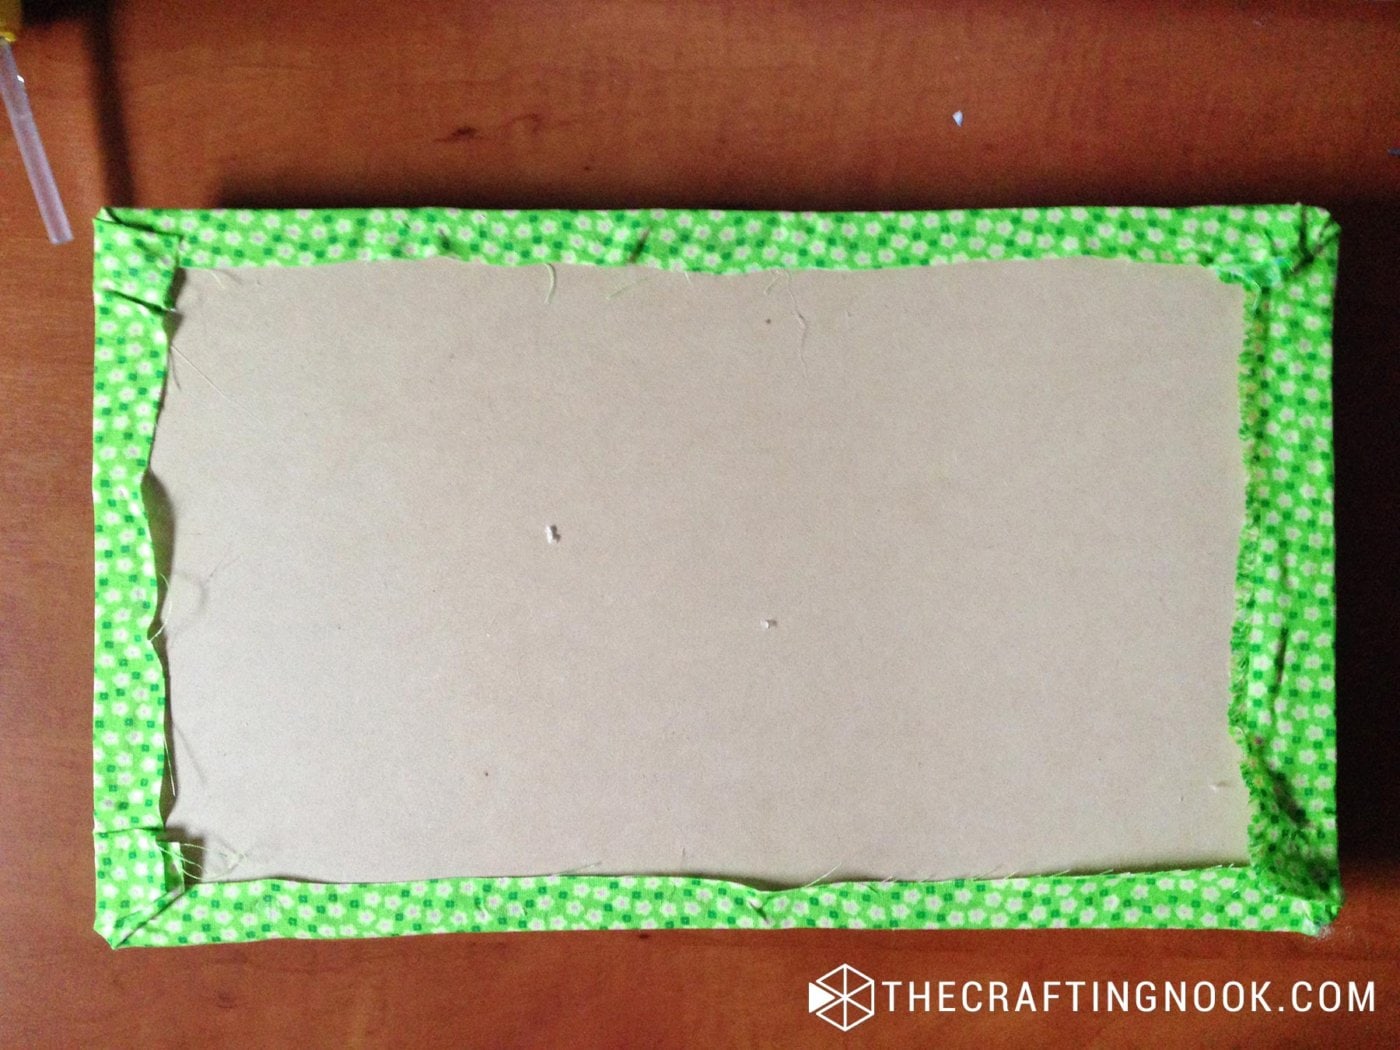
- Take the backing fabric and fold the raw edges under by about 2 cm. Glue it over the back of the board to cover the raw edges from the mattress fabric.
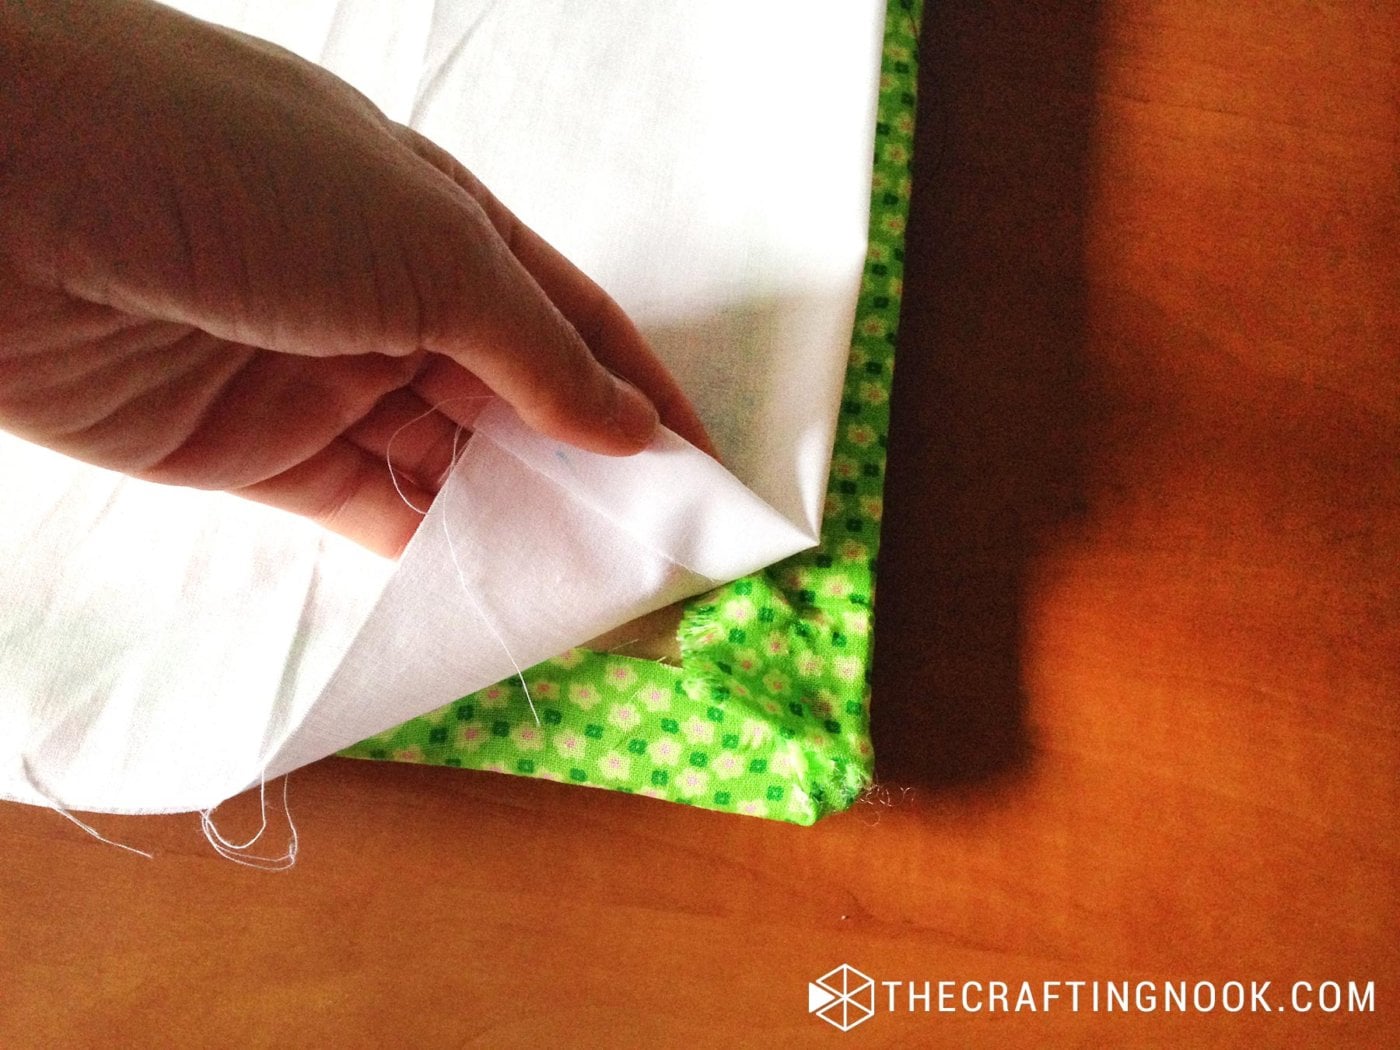
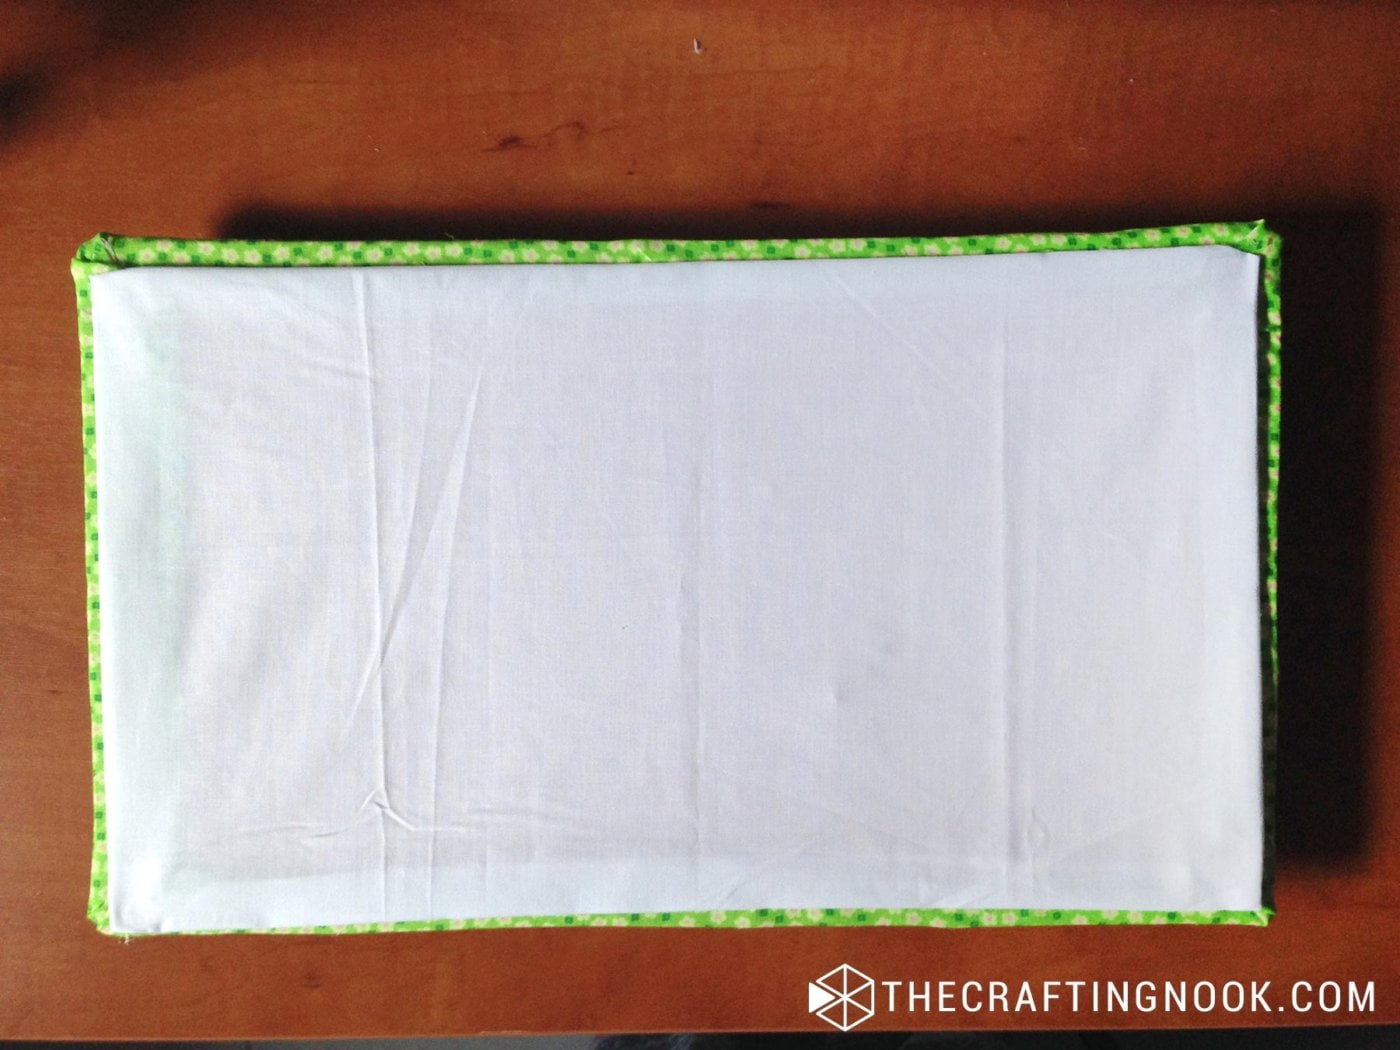
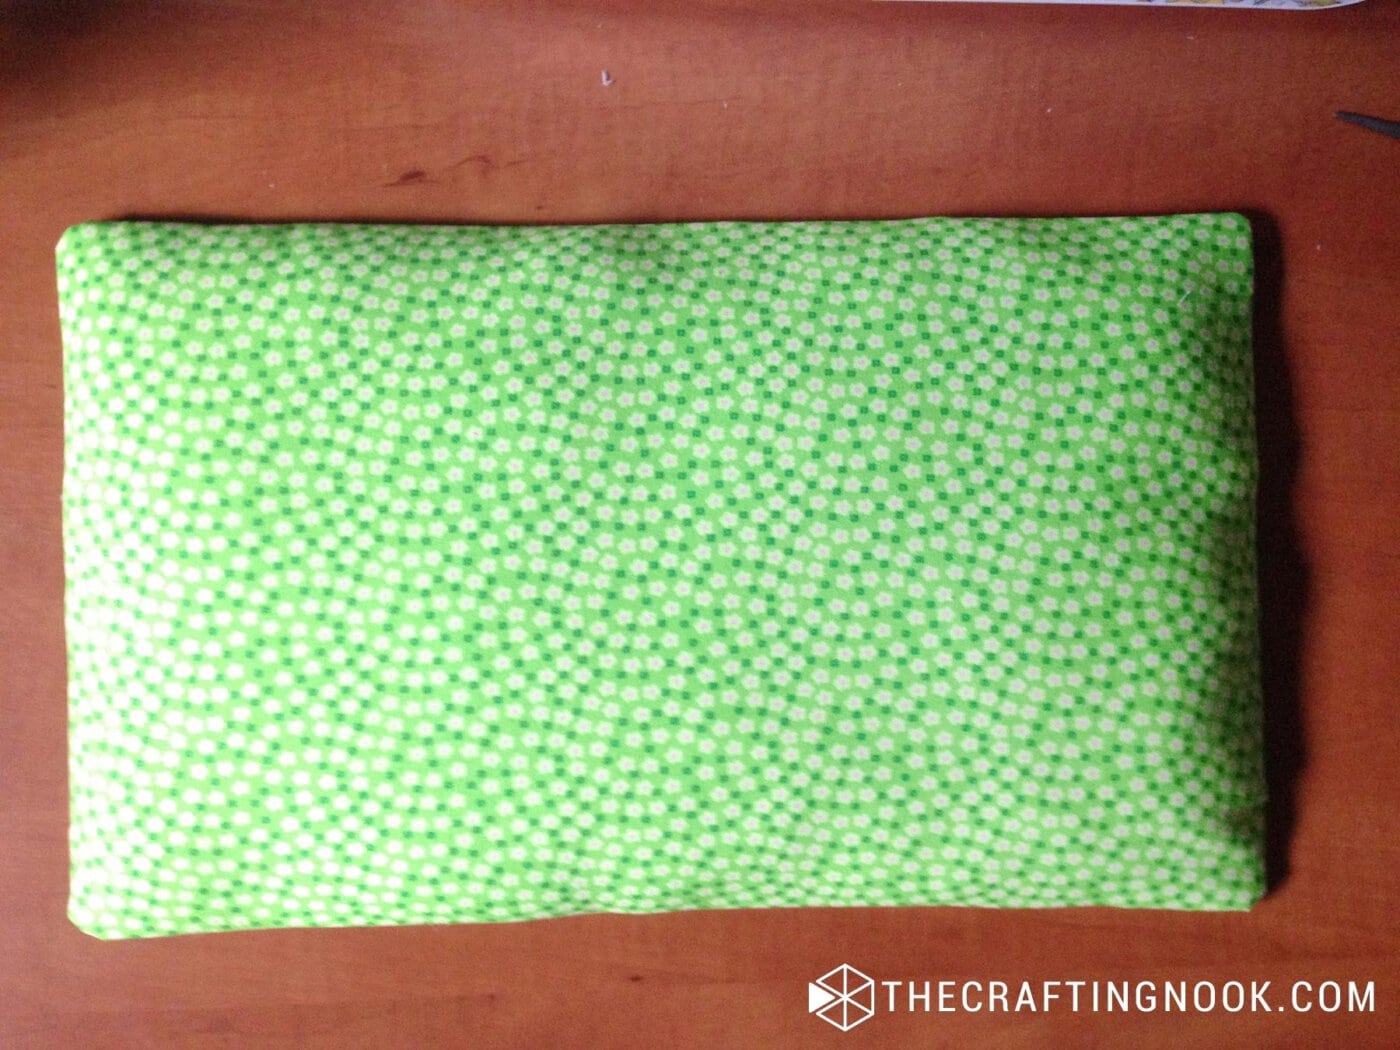
The mattress is done. Set it aside while you make the quilt.
Step 2: Make the Doll Blanket
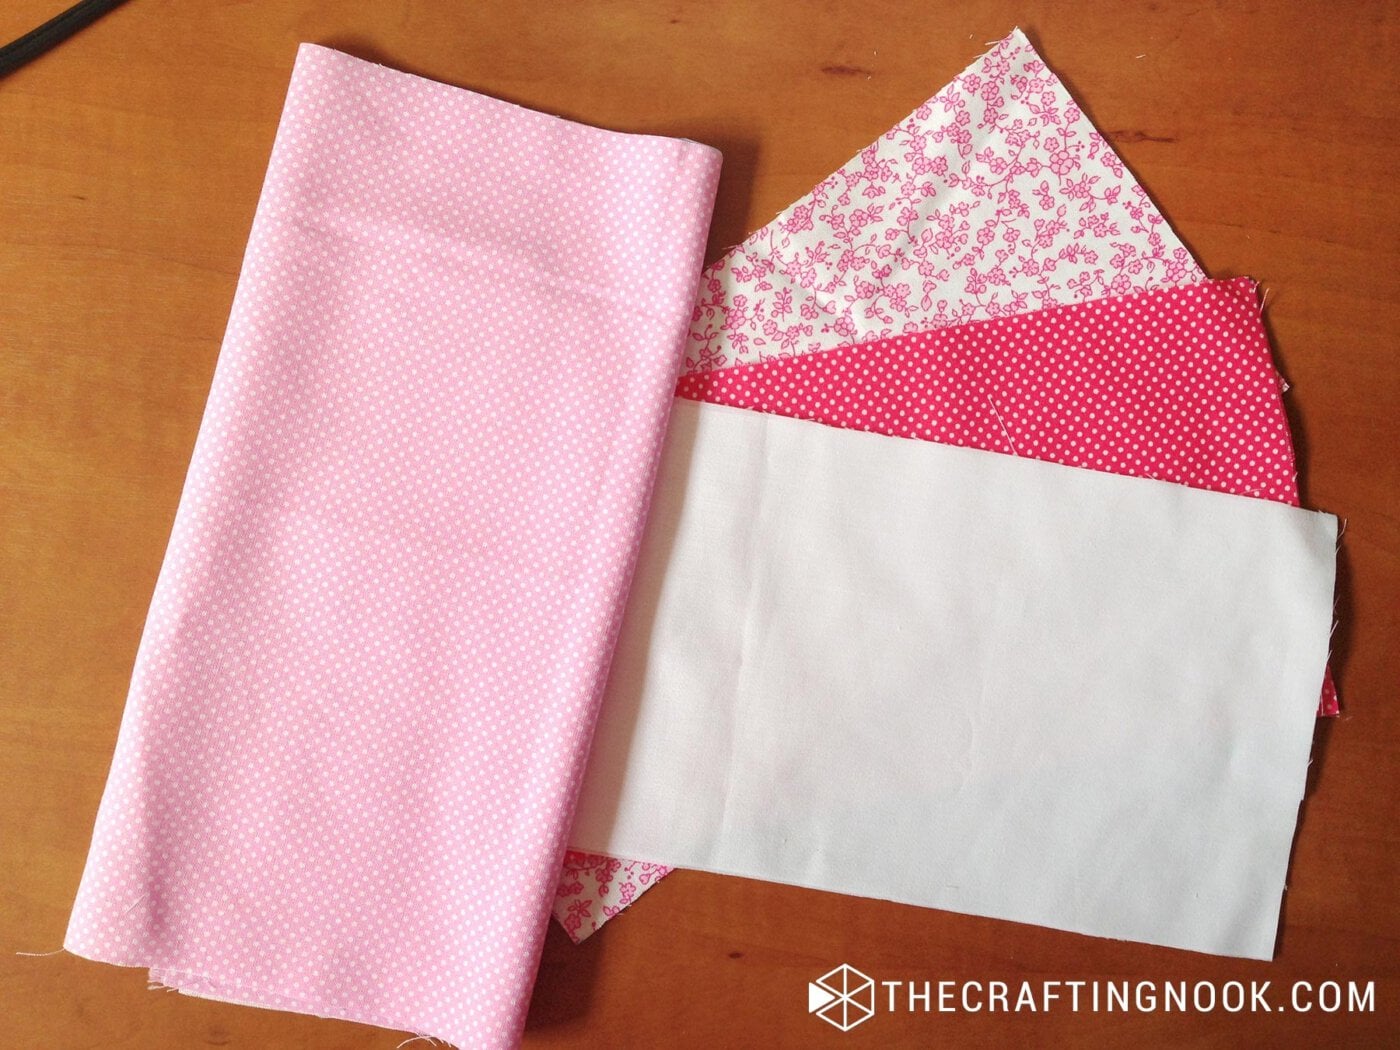
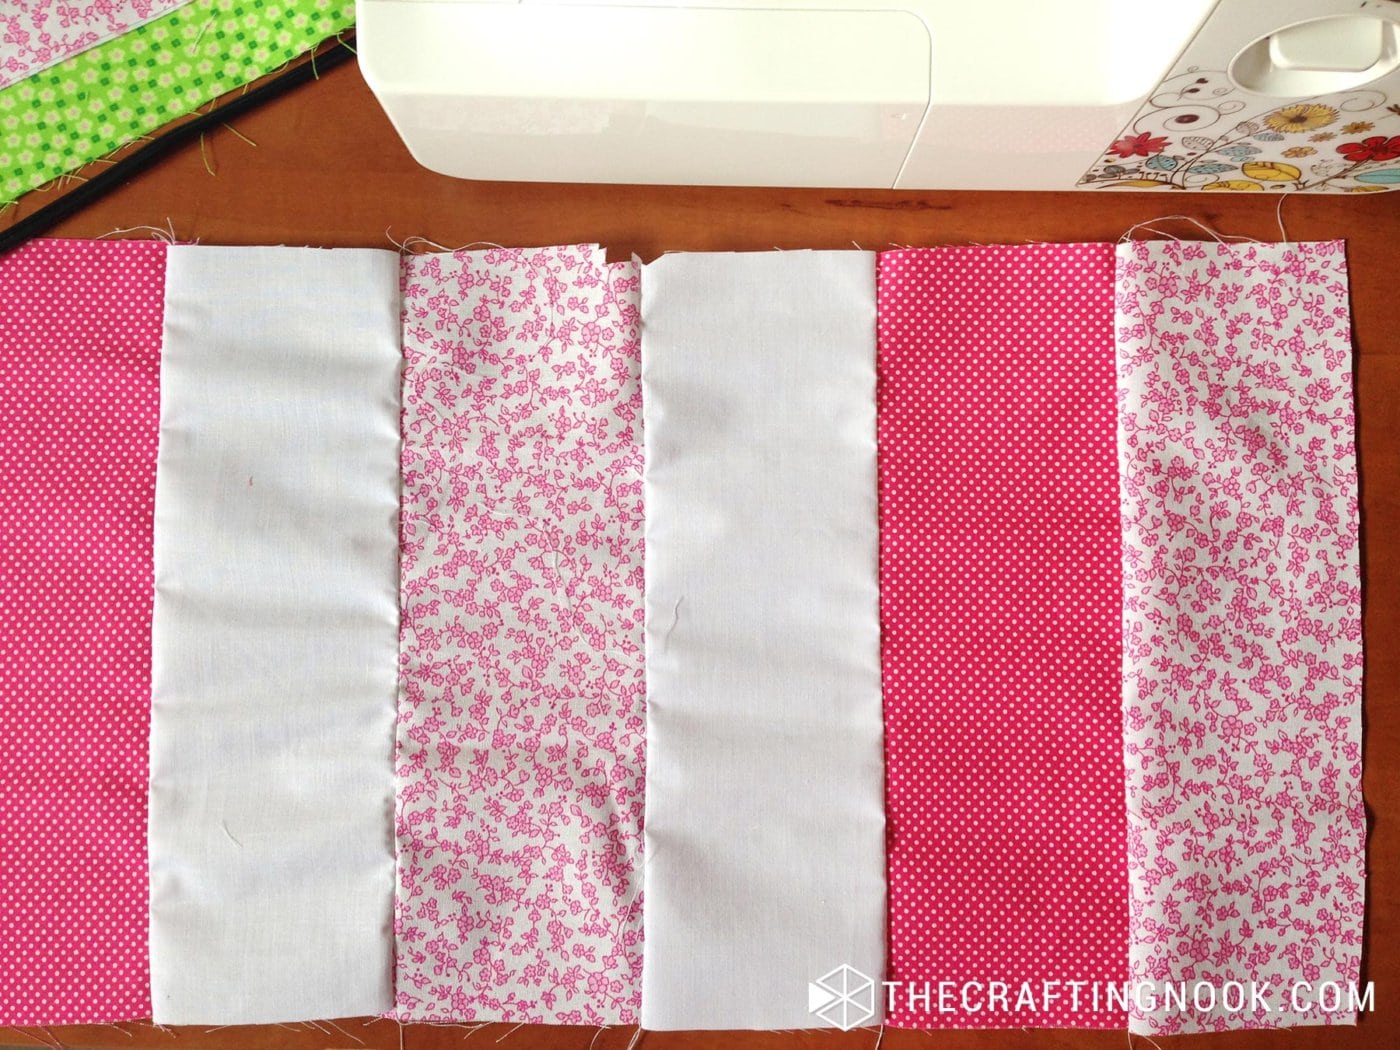
- Arrange the six fabric strips in an order you like, alternating the prints. Stitch the strips together along the long edges until you have one quilt top.
- The finished quilt top should measure about 50 × 28 cm (19 3/4 × 11 inches).
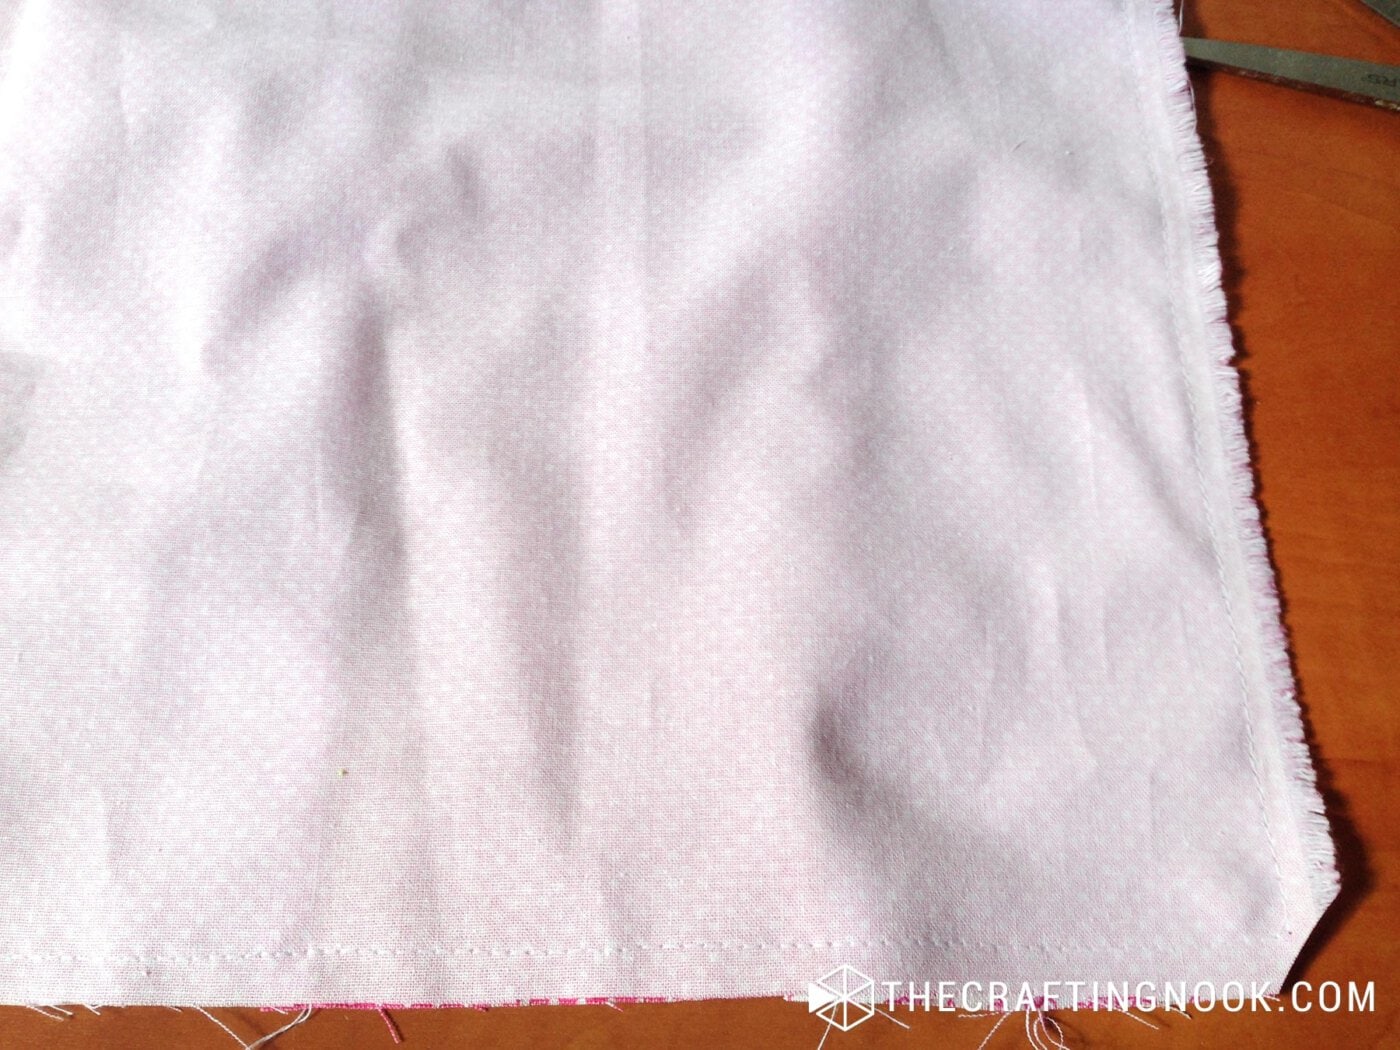
- Place the quilt top and backing right sides together. Sew around the edges, leaving one short side open for turning. I used a seam allowance just under 1 cm because this piece is small.
- Finish the raw edges with a serger or a zigzag stitch if your fabric frays easily.
- Trim the corners carefully, turn the quilt right side out, and press.
- Slide the batting inside and smooth it so it fills the quilt evenly.
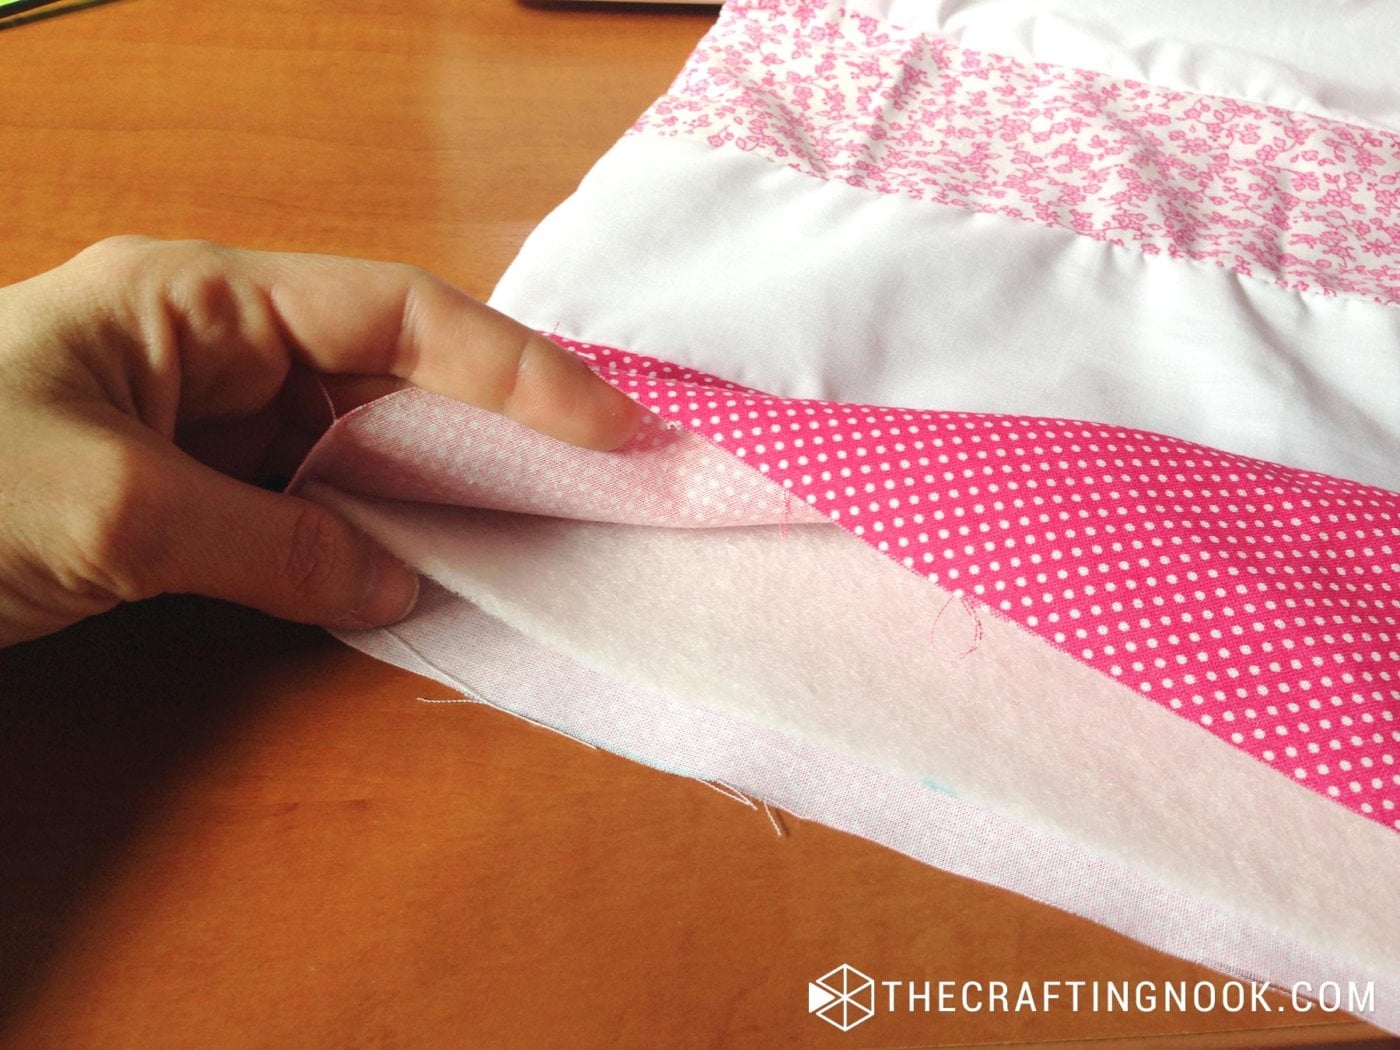
- Fold the open edges toward the inside, enclosing the batting. Pin the opening closed and stitch about 1/2 cm from the edge.
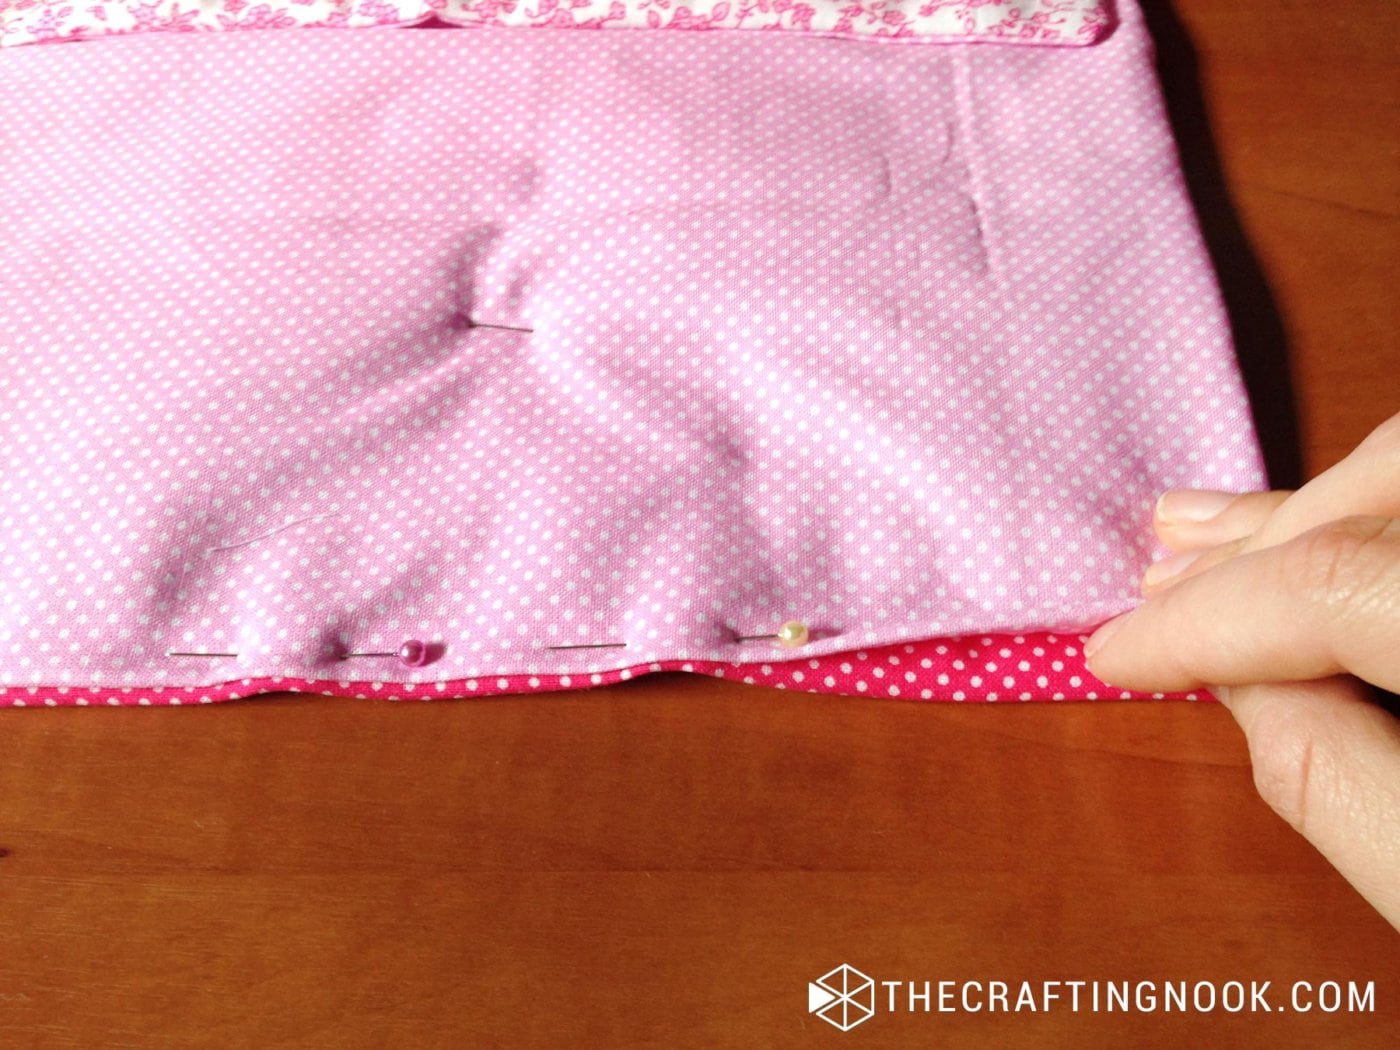
- For a simple quilted finish, stitch close to the seams between the fabric strips. This also helps keep the batting from shifting.
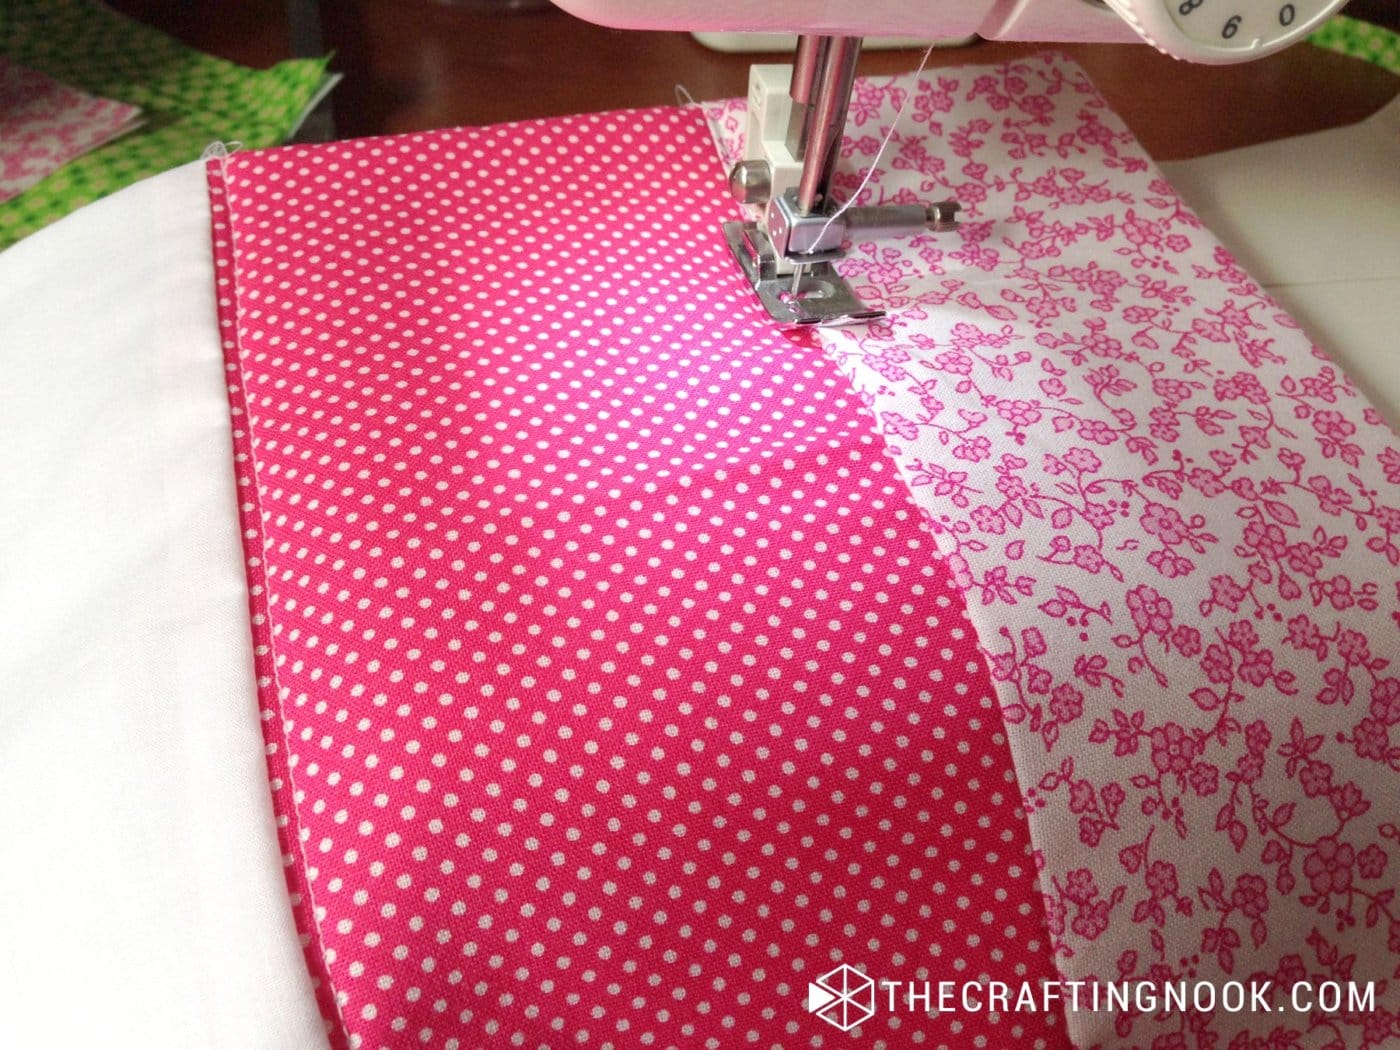
Woot! The little quilt is ready.
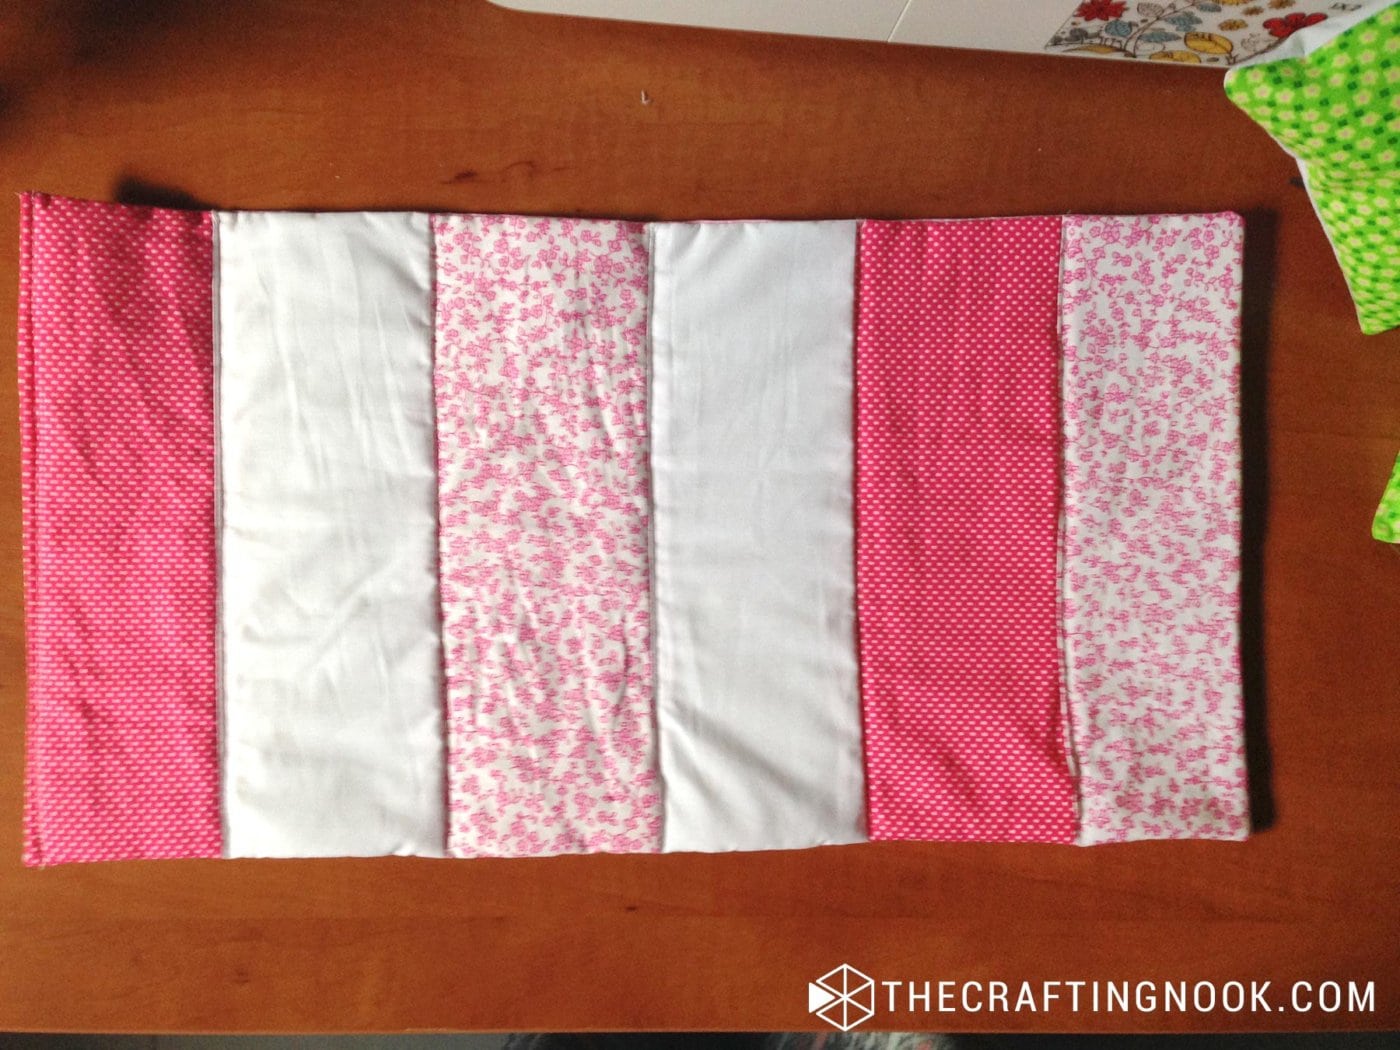
Step 3: Make the Doll Pillows
- For the large pillow, fold the narrow accent strip in half lengthwise. Hem one long edge of the second accent strip.
- Place the folded strip along one edge of the main pillow fabric. Layer the second accent strip over it, leaving about 1 cm of the folded strip showing. Keep all the raw edges aligned and pin the layers in place.
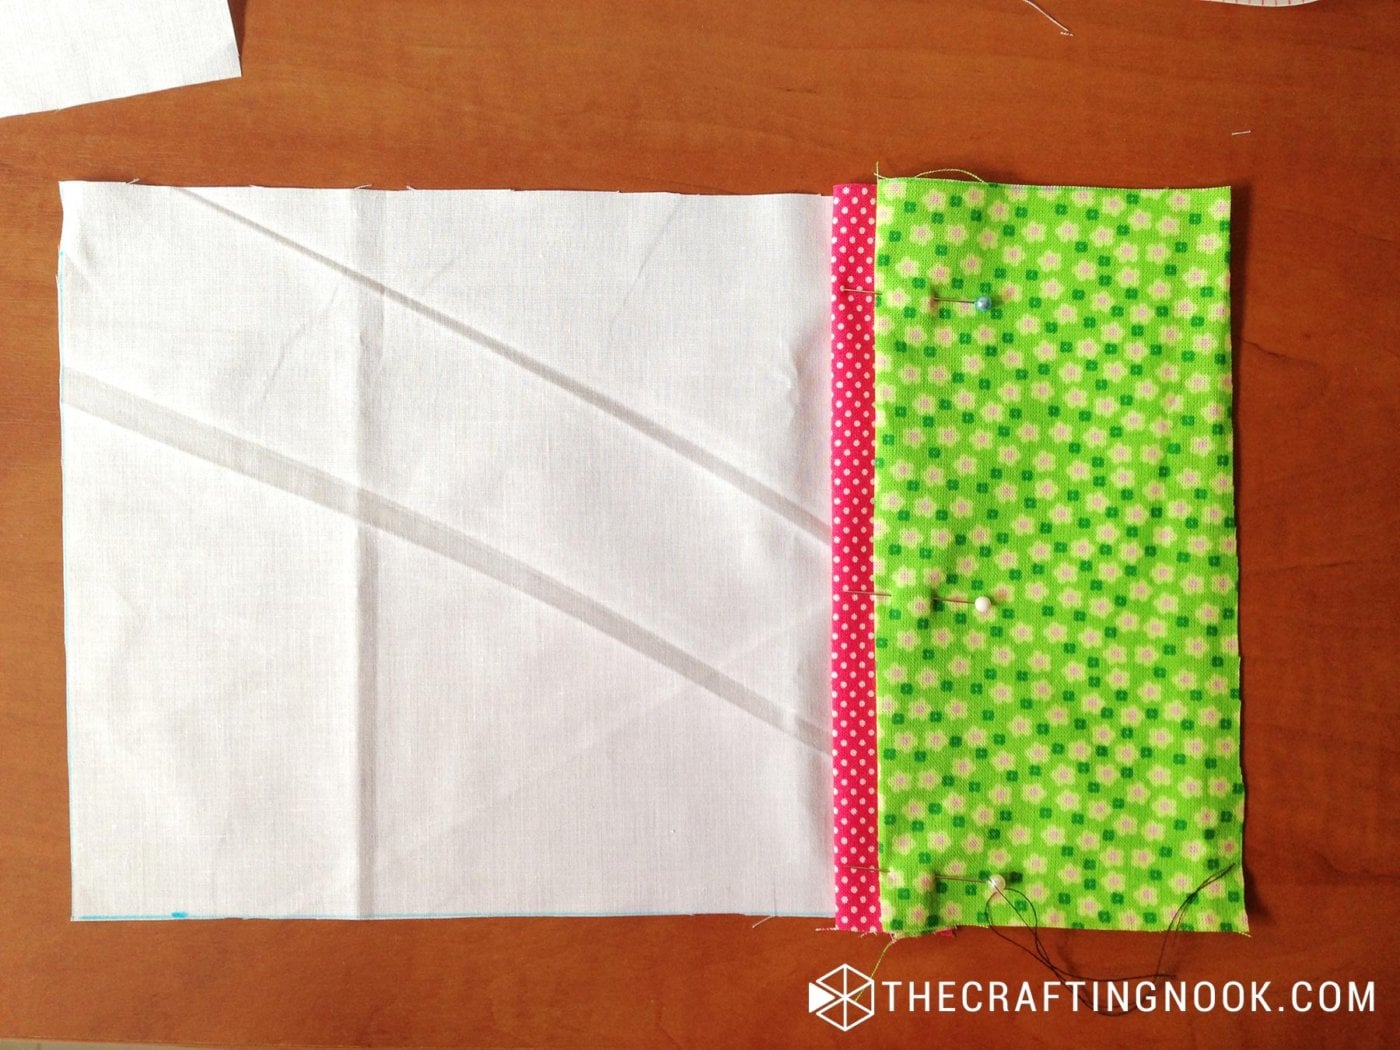
- Stitch close to the folded edge of the top accent strip to secure all three layers.
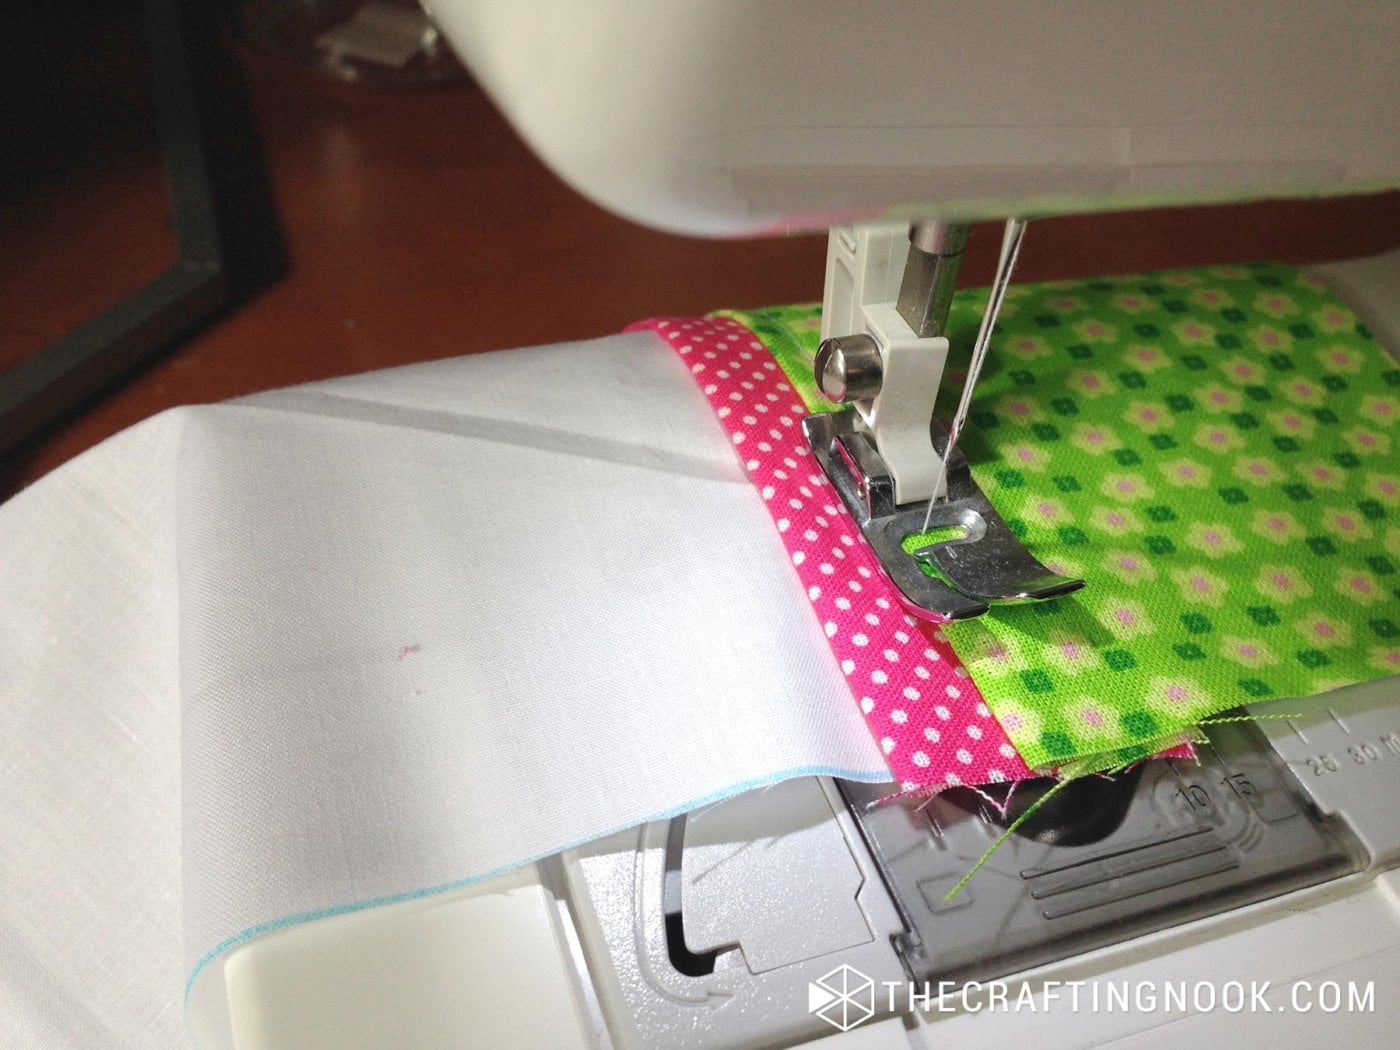
- Place the second main pillow piece on top, right sides together, and pin around the edges.
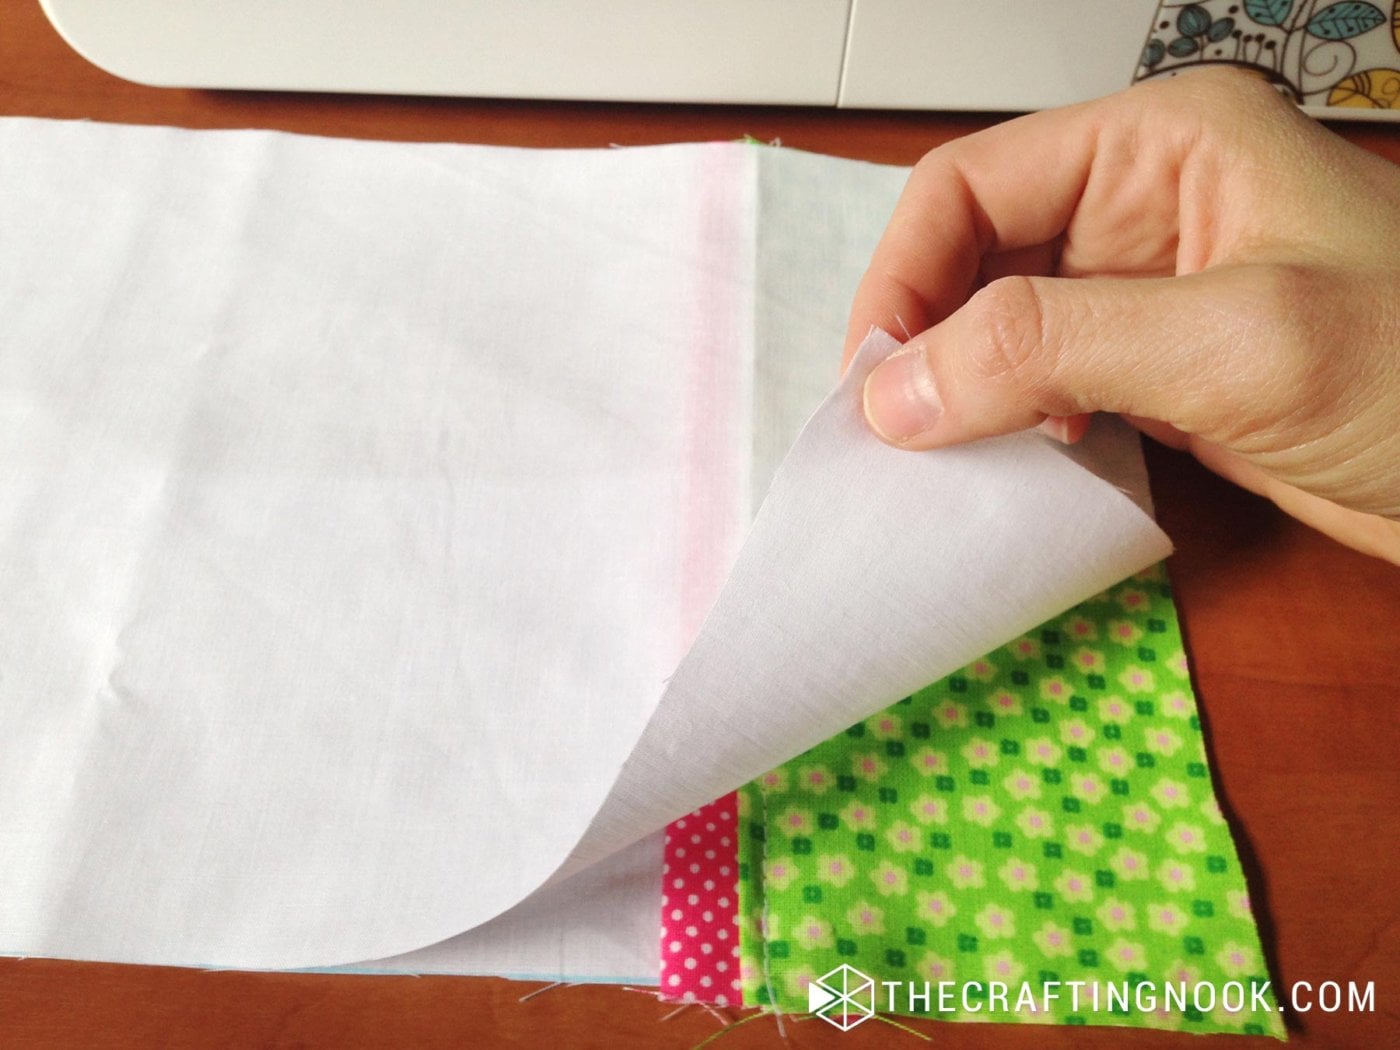
- Sew around the pillow, leaving an opening large enough to turn and stuff it.
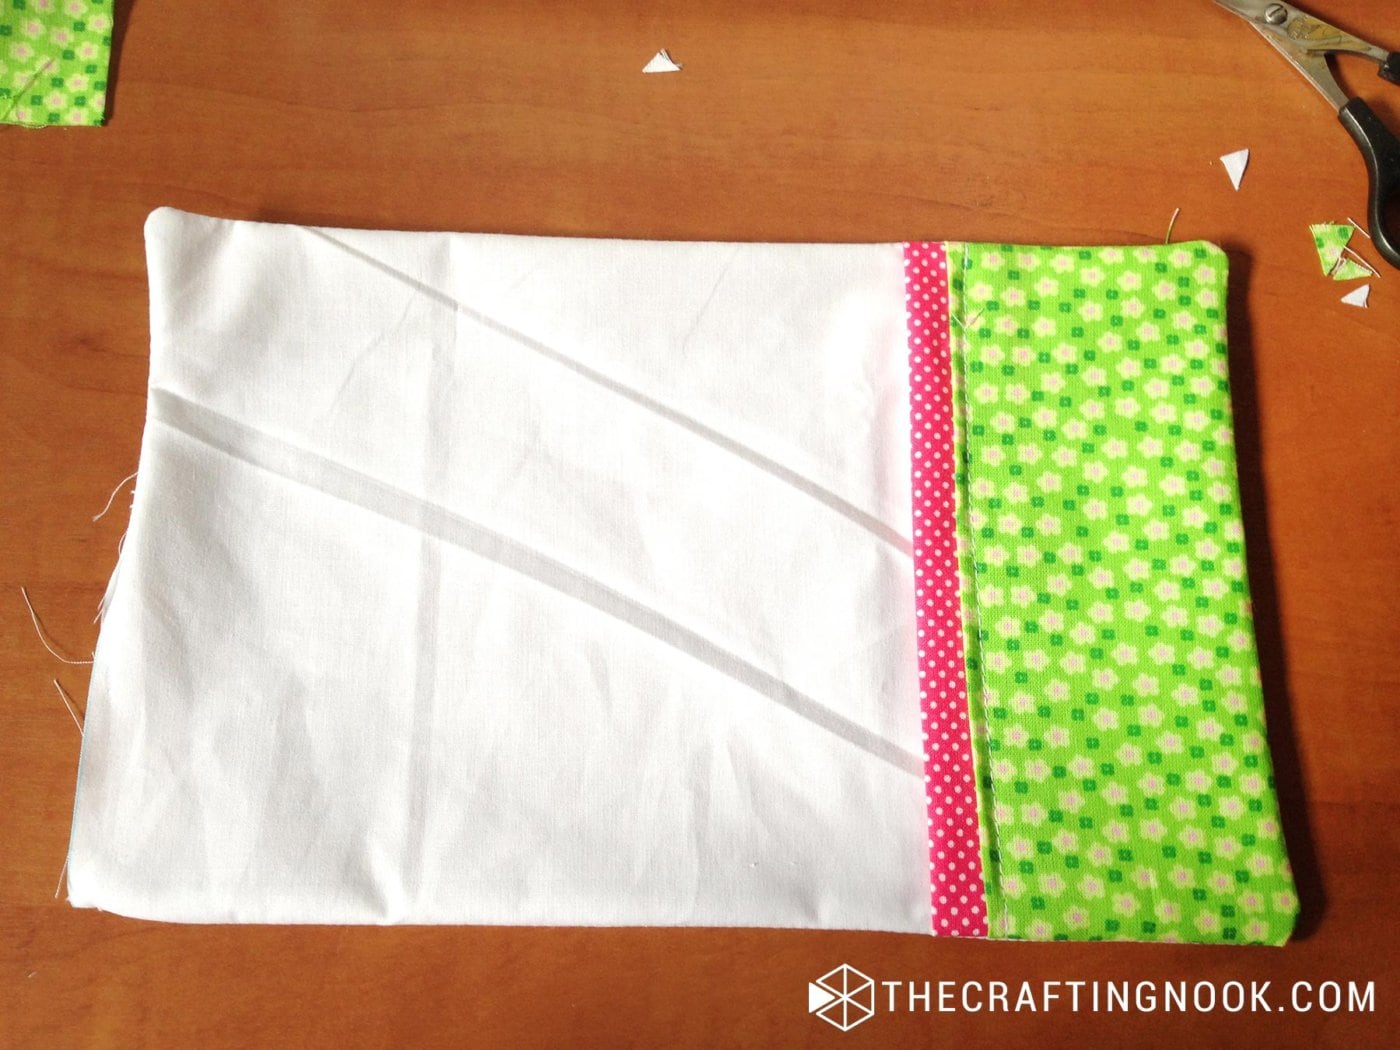
- Turn the pillow right side out and press.
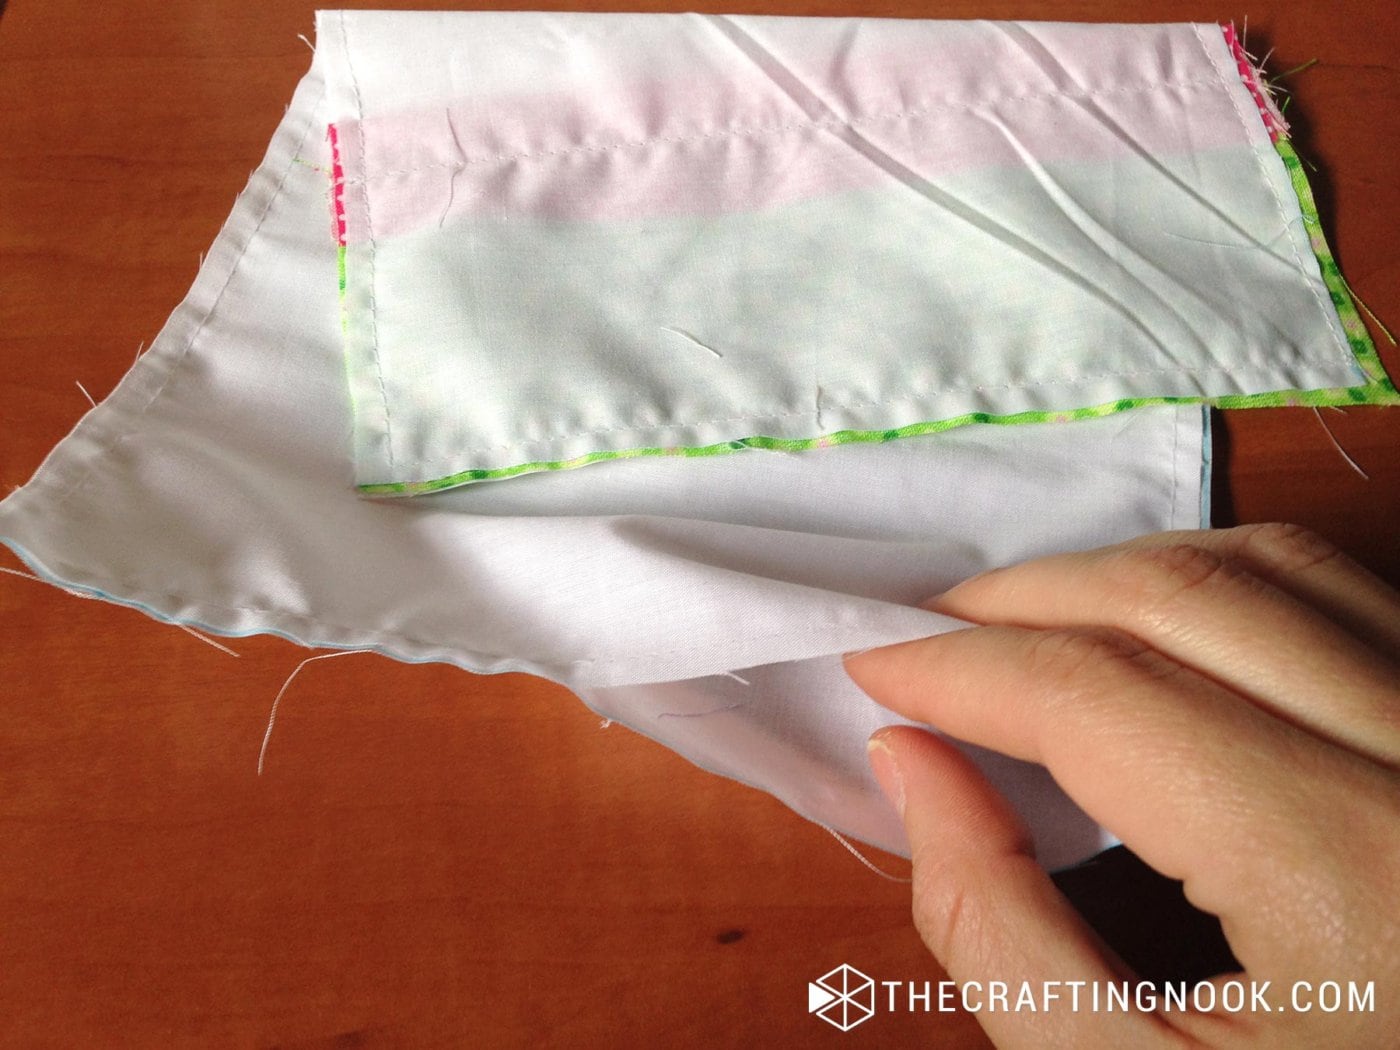
- Fill the pillow with stuffing, then close the opening with a ladder stitch by hand or a narrow machine stitch close to the edge.
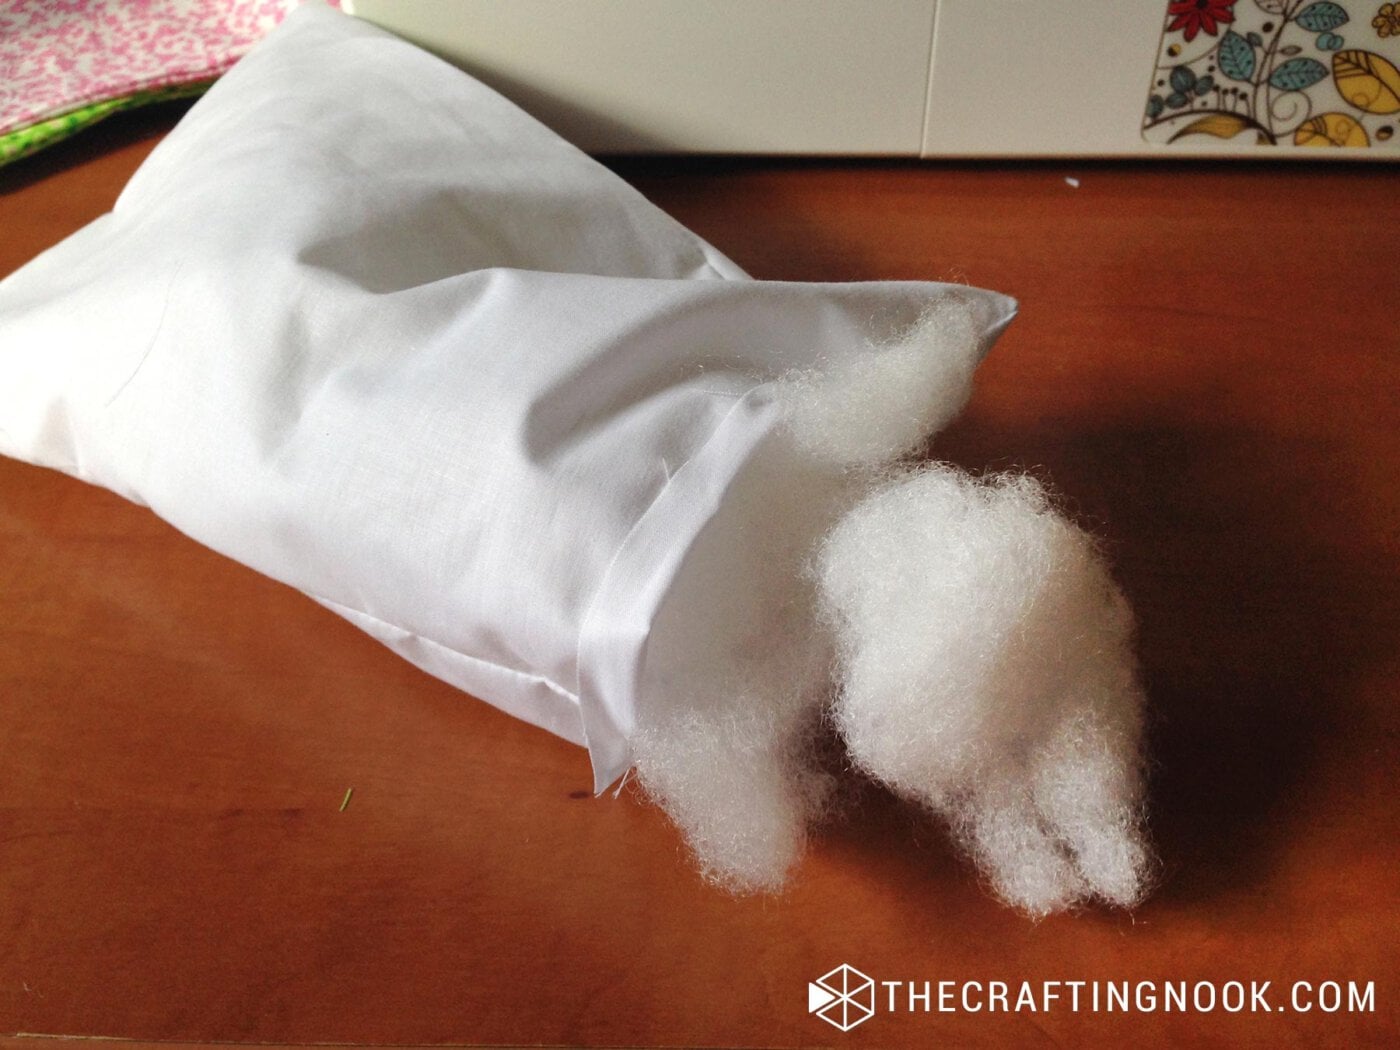
- Finally, repeat the same basic process for the two smaller pillows. I used a French seam on mine, but that part is optional. If you want to learn how to make a French seam, you can see this tutorial.
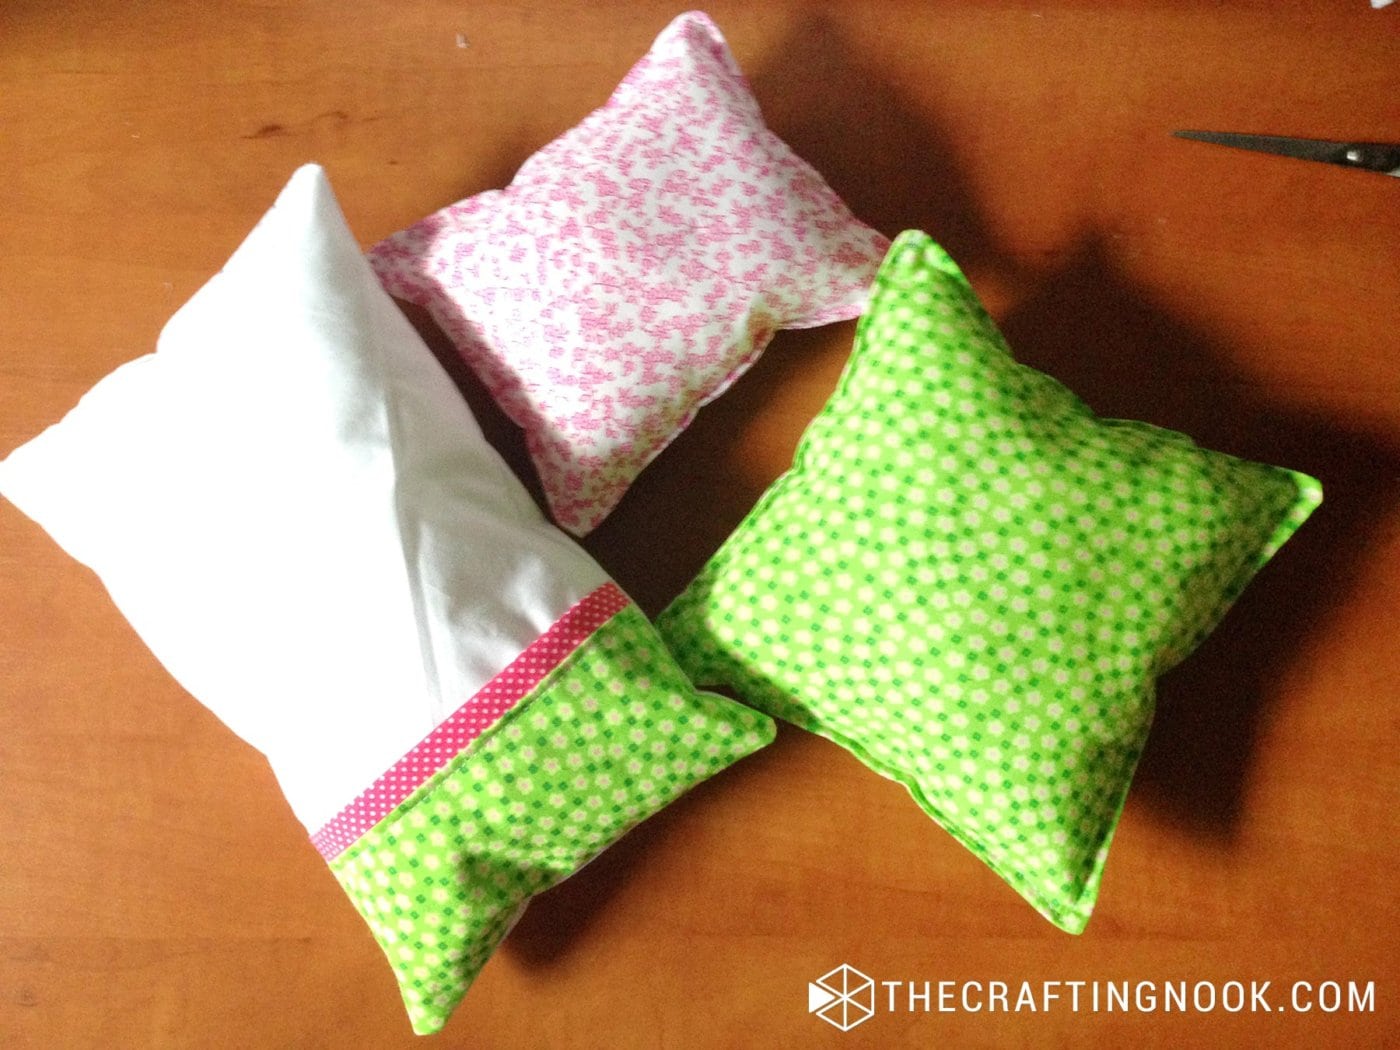
Step 4: Assemble the Doll Bedding Set
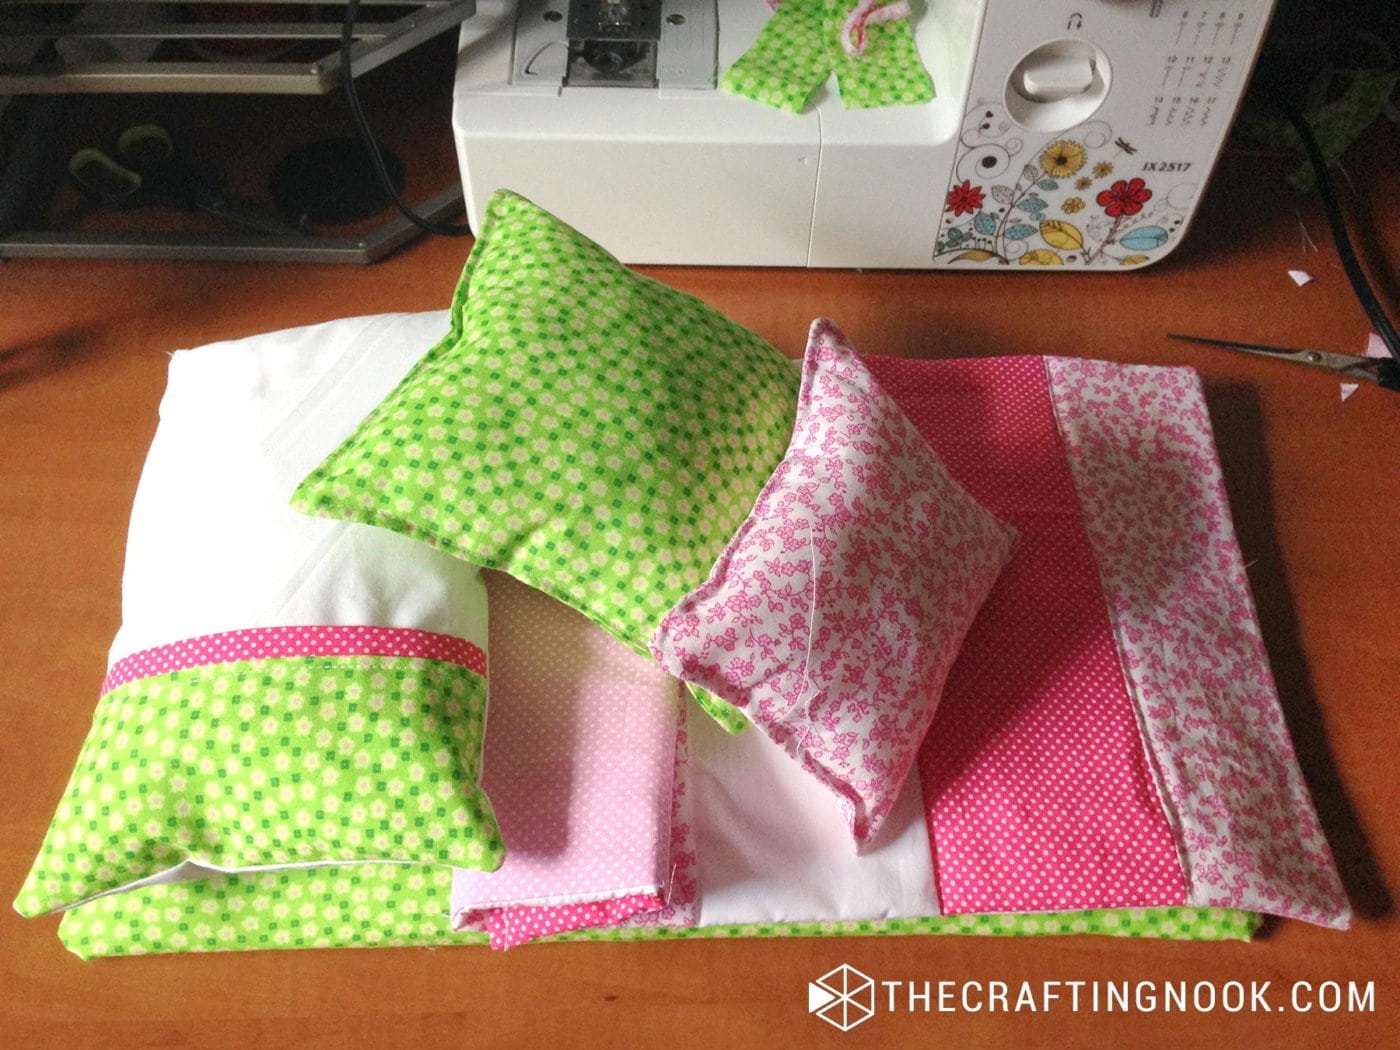
- Place the mattress inside the crib, then add the quilt and pillows.
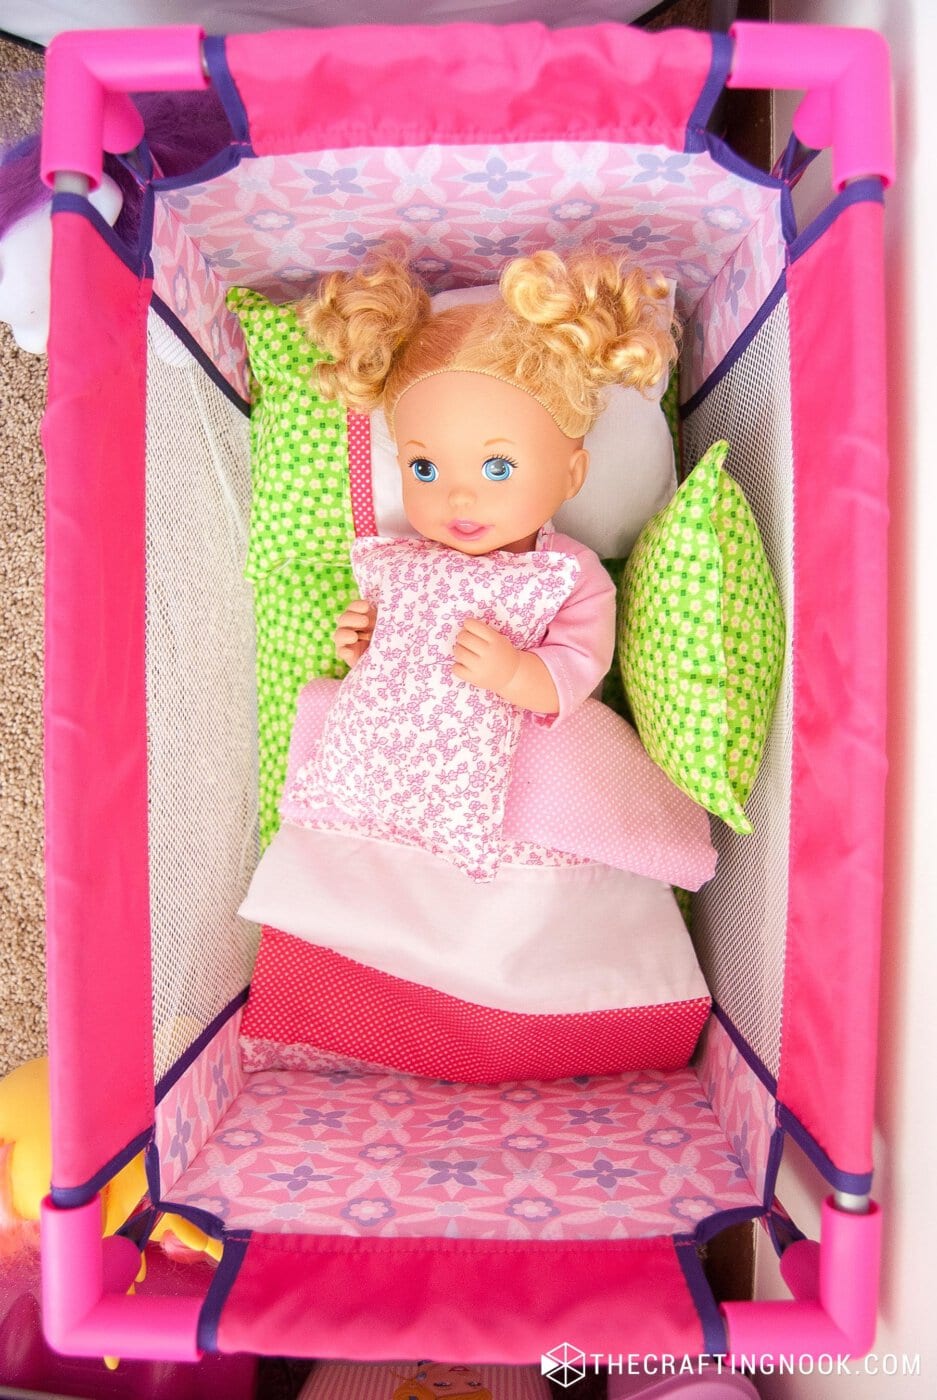
That’s it. The little doll bedding set is ready for playtime.
Crafting Tips
A few things I would do again, or slightly differently, if I made another set:
- Fabric scraps are perfect for this project. Old baby clothes, pillowcases, or leftover quilting cotton can work too.
- Keep the mattress base slightly smaller than the crib opening. If it fits too tightly, it can be frustrating for kids to take in and out.
- For washable pillows, add a small Velcro or button opening so the stuffing can be removed.
- Don’t overstuff the pillows. A softer, flatter pillow looks more proportional in a small doll crib.
- If you want to personalize the set, add the doll’s name with embroidery, applique, or iron-on letters.
My daughter loved this little set and used it constantly. For a while, putting her dolls to bed became part of her own bedtime routine too.
Variations and Alternatives
You can easily change the look of this set without changing the basic construction.
Use flannel or fleece instead of quilting cotton for a softer winter version.
For a more scrappy look, sew the blanket from smaller squares instead of long strips.
You can also simplify the set and make only the mattress and blanket if you don’t want to sew all three pillows.
Frequently Asked Questions
Yes. Measure the inside of your doll crib or cradle first, then adjust the mattress, quilt, and pillow pieces to fit. You can use my measurements as a starting point, but they don’t have to be exact for your project.
Yes, you can. Since all the pieces are fairly small, you can sew the quilt and pillows by hand. It will take longer, but the construction is simple enough to do without a sewing machine.
Yes. Thick cardboard or foam board can work well if you want something lighter and easier to cut. MDF is sturdier, but it isn’t the only option.
The quilt and pillows can be washed if you use washable fabrics and stuffing. I would not wash the MDF mattress. If you want a washable mattress, use a removable fabric cover or choose a softer base such as foam instead.
More Projects for Kids to Try
If you like this DIY Doll Bedding Set tutorial, I’m sure you will love these other fun projects for kids too:

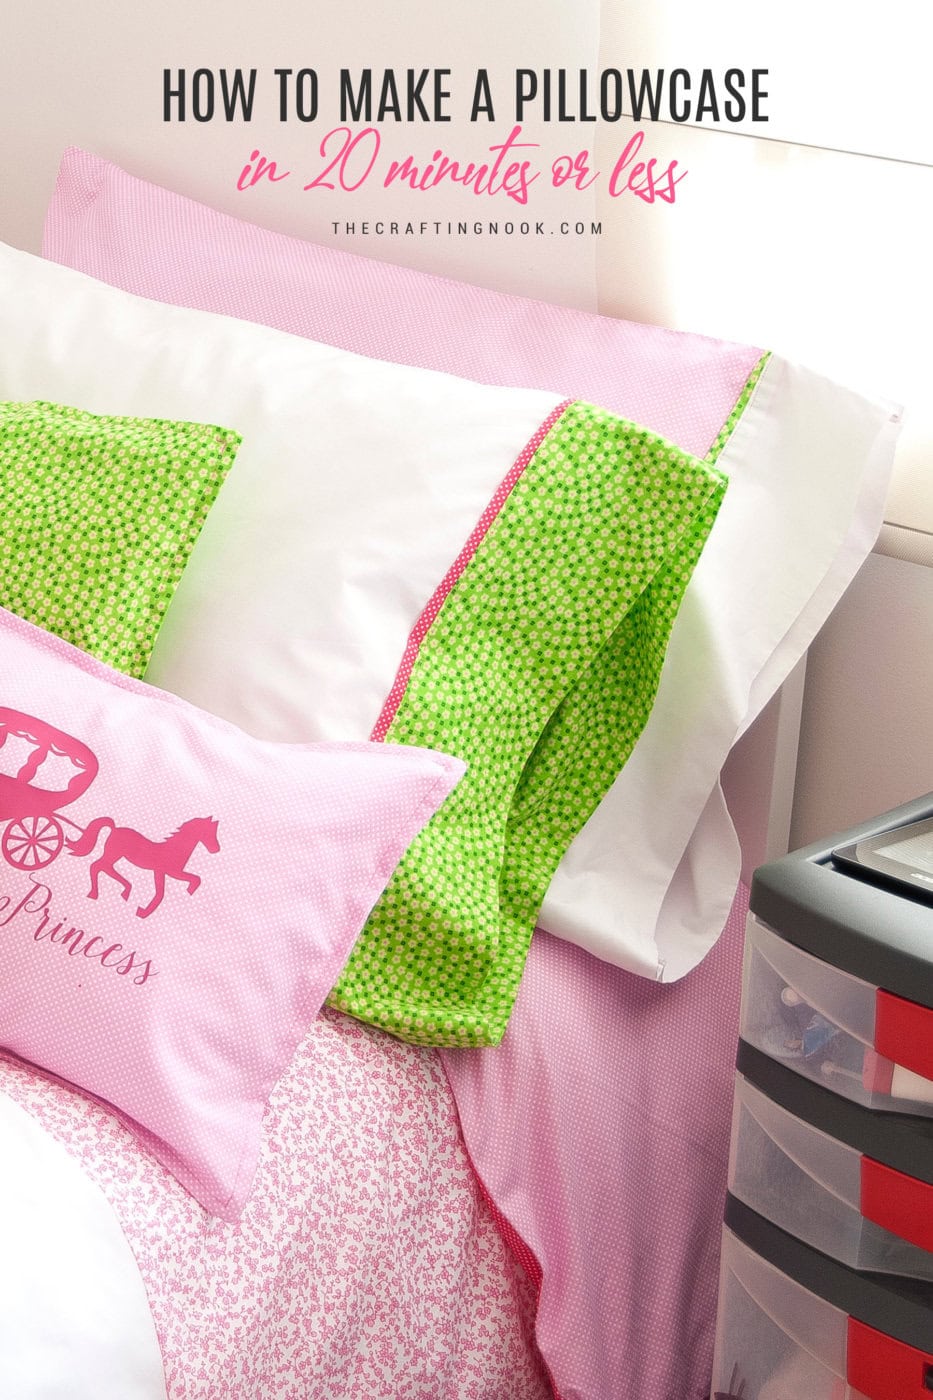
If you make a doll bedding set using this tutorial, I’d love to see how yours turns out. Leave me a comment below or tag me on Instagram so I can take a peek at your little version.
✂️ Tutorial
How to Make Doll Bedding Set for Cribs or Cradles

Tools
- Sewing Machine
- Sharp Fabric Scissors or rotary cutter
- Hot glue gun and glue sticks
- Pins
- Measurement tape
- Ruler
Supplies
- Scraps of coordinated fabrics
- Pillow stuffing.
- White Batting
- An MDF board 44×26 cm
- Color matching thread
- Fabric Marker
Instructions
Prep Work
- We need to cut all the pieces. So I’m explaining the measurements I used which come from the Graco Playset.
- You might need to adjust measurements depending on your kid’s specific doll crib.
- The Fabric:
- A: pattern 1
- B: Pattern 2
- C: White
- D: Pattern 3
- E: Pattern 4
- Quilt Front:
- 6 pieces of 3 different – Coordinated fabrics. In my case A B C: 10×28 cm (4 x 11 Inches) – this includes seam allowance.
- Quilt Back:
- 1 Piece of batting: 44 x 26 cm – 17 x 10 Inches.
- 1 piece of coordinated fabric D: 50×28 cm – 20 x 11 Inches.
- Mattress:
- 1 Piece of batting: 48×26 cm – 19 x 10 Inches.
- 1 Piece of fabric E: 50×32 cm – 20 x 12.5 Inches.
- 1 Piece of fabric C: 46×28 cm – 18 x 11 Inches. – Or any fabric goes since it’s for the base, I used white.
- Main Pillow:
- 2x Fabric C: 28×18 cm – 11 x 7 Inches.
- Fabric B: 18×6 cm – 11 x 2.5 Inches.
- Fabric E: 18×8 cm – 11 x 3 Inches.
- Pillow 2: 2x Fabric E: 20×20 cm – 8 x 8 Inches.
- Pillow 3: 2x Fabric A: 18×15 cm – 7 x 6 Inches.
Step 1: Creating the Mattress
- If your kid’s doll crib is a different size than ours, I recommend measuring the bottom of the crib (where the mattress should be) and cut your MDF board a few millimeters smaller.
- Then Use that board to cut your fabric. Place the board on the wrong side of the fabric, leave about 1 inch (2.5 cm) around the board and cut the fabric.
- The fabric for the matress cut around the mdf board
- First, put together your fabric E wrong side up and your batting as centered as possible.
- Put on top some stuffing. Enough to cover all the batting.
- Then place your MDF board on top of everything as centers as possible.
- Press it down a little bit and start applying lines of hot glue on the board close to the edge and start attaching the fabric to the back of the board.
- Keep gluing in small patches, so the glue doesn’t get cool and hardened before you get there.
- When you hit the corners, just carefully pull a little bit of each side and glue them together to the board.
- Don’t worry about it not looking pretty, will be taking care of that.
- Take your white fabric (or Fabric C), fold the edges about 2 cm, and glue it to the back of the board to cover all the ugly raw ends from fabric E. Use a lot of hot glue here. Don’t be shy.
- Ok, the mattress is done! Set it aside.
Step 2: Making the Blanket
- Stitch together fabric A with B and then B with C, then A, C and B. You can mix and match in any way you like.
- The whole top of the blanket should measure about 50×28 cm.
- Then place together front and back right sides together and stitch the edges leaving one side open. Because this piece is small, I used less than 1 cm seam allowance
- Serge the raw edges, or zig-zag the edges if yu don’t have a serger to avoid fraying.
- Cut a bit of each corner and turn it right side out. Press.
- Insert batting. It should fit perfectly inside.
- Fold edges towards the inside edging the batting.
- Pin in place and stitch 1/2 cm from the edge.
- Finally, as a simple final touch, stitch close to each fabric seam where they join to make it look more like a quilt.
- Woot! The quilt is ready to go!
Step 3: the Pillows.
- First, fold fabric B in half.
- Fold a hem in fabric E.
- Place fabric B on top of fabric C aligning edges.
- Place fabric E over fabric B leaving about 1 cm offset. Make sure all raw edges on the back are aligned to the folded hem of fabric F on the wrong side.
- Pin in place.
- Then, stitch together fabric B, C, and E close to the fabric E folded edge.
- Now lay your fabric C onto the piece we just created right sides together and pin in place.
- placing a piece of fabric over the sewn pieces
- Next, stitch along the edges of the pillow leaving an opening big enough to insert the stuffing.
- showing the space reserved to fill the pillow
- Turn it inside out. Press.
- Fill it up with your stuffing and stitch the pocket to close the pillow. You can either do this part sewing by hand doing the invisible stitch or with your sewing machine.
- Finally, repeat the 3 last steps for the other 2 pillows. I chose to make a French seam for the small throw pillows bu that’s just optional. If you want to learn how to shame French seam you can see this tutorial.
- Step 4: Put the Bedding set in the doll crib
- Insert your cute mattress in the crib, then style the bed with your new blanket and pillows.
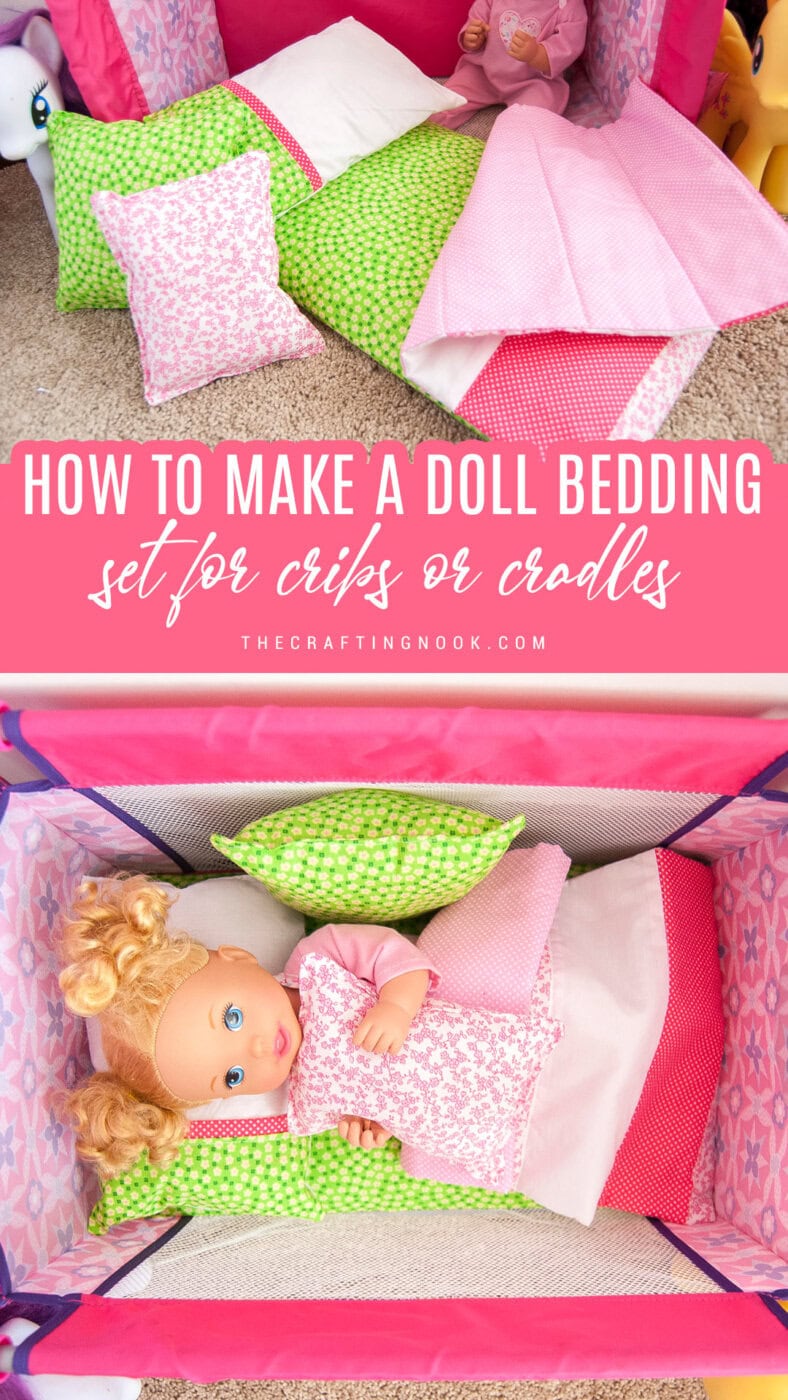
- Your Girl’s baby doll bedding set is all ready for her to play with!!!
Other cute sewing project ideas for kids from my favorite bloggers
- Warren the Charity Bear – a free teddy bear pattern by Shiny Happy World.
- How To Sew a Doll Skirt {Easy Sewing Tutorial} by Sew Can She.
Share and PIN ME!!!
Til’ next time…

The Home Sewing Project Binder
Keep Your Sewing Projects Organized
If you are working on more sewing projects, my Printable Sewing Binder gives you one place to keep measurements, fabric information, project notes, supply lists, and plans. It is especially useful when you want to repeat a project later but cannot remember which fabric, needle, measurements, or adjustments you used the first time.