How to Make a DIY Yarn Christmas Tree in 3 Easy Steps
This post may contain affiliate links. Please read our Disclosure Policy.
Yarn Christmas tree makes it quick and easy to decorate for the holidays. you just need cardstock, glue, yarn, a pair of scissors, and a ruler. Learn how to do it here.
I enjoy Christmas so much for many reasons, one of which is decorating the home. I love to keep certain decor items and ornaments year after year like my flocked pine cones, Twine stars, or my burlap stars and hearts, but I also love to make a few new things every year (you can see from my Christmas archive that I can be a bit obsessed!).

This year I saw a few white yarn trees among the huge collection of Christmas decorations and thought they would be easy enough to make at home in different colors depending on the theme you choose.
Table of Contents
Yarn Christmas Tree, a Cute and Simple DIY
I think these DIY Christmas trees would make a great project to do at a ladies’ craft night! You could also make them as handmade Christmas gifts. Who wouldn’t enjoy receiving such a gift?
The beauty of this craft is that the possibilities are truly endless! We chose this color yarn for a neutral look, but you could do any combination of colors to match your Christmas decor!
Just be sure to pick extra-large yarn to keep it super bulky! You can also add some ribbon or trim for a completely different look.
How To Make A Yarn Christmas Tree
Supplies:
- Yarn, bulky, furry, fluffy, you get the idea – in the color of your choice
- Cardstock – or cardboard/Styrofoam cones from the store
- Small wooden stars
- Twine – I used neutral and red
Tools
- Hot glue tool and glue sticks
- Pencil, ruler, and scissors.

Instructions:
Before we begin, be sure to follow us on Pinterest, Facebook, Instagram, and YouTube, and also sign up for our email list (at the end of this post), so you’ll never miss a post!
Step 1: Make a Cone
Making the cone is the easiest craft ever! If you are making the yarn trees in different sizes like me, you just need to decide the sizes because that’s what you will use to make the cones.
Let’s say you are making one of the trees at 10″.
Get your cardstock, position yourself on one of the corners. Make a small dot right on the corner. Then from that dot measure 10′ on one edge.
Then move the ruler an inch keeping the 0 on the ruler on the dot and mark your 10″ again.
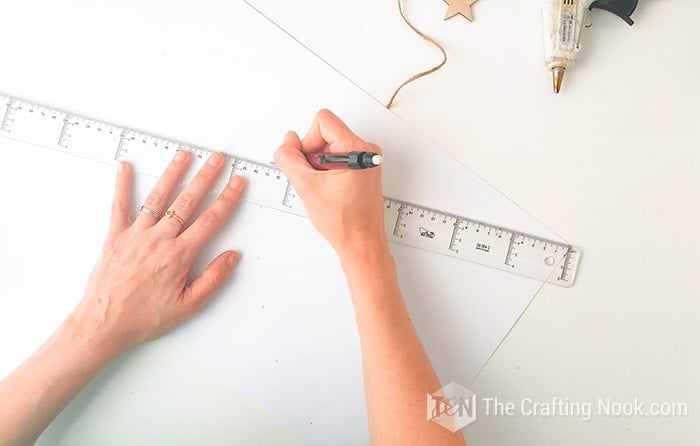
Repeat this process until you get to the other edge of the cardstock.
You will notice that you have a semi-circle there.
Now, cut through the dashed line you created.
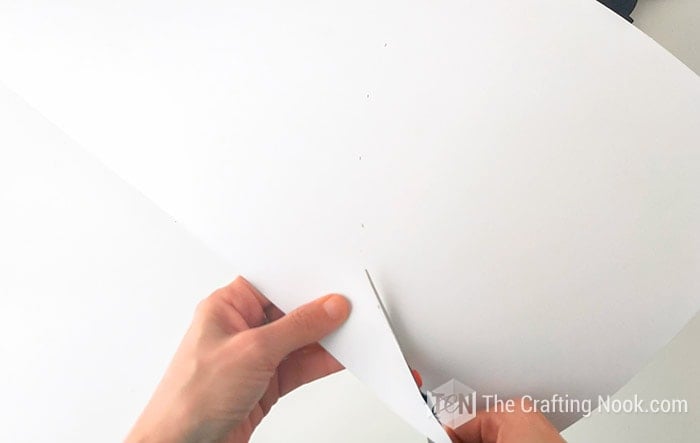
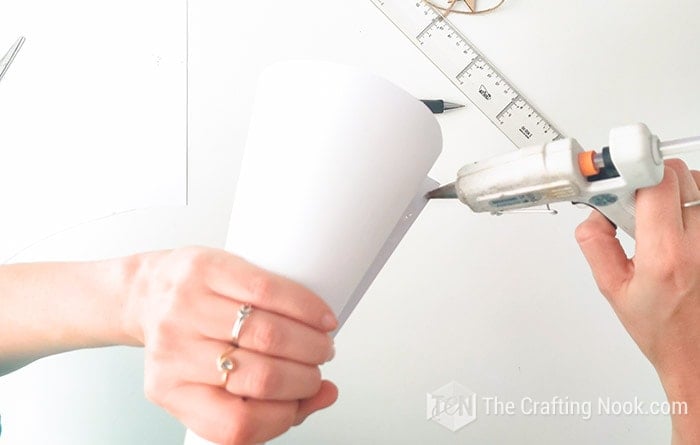
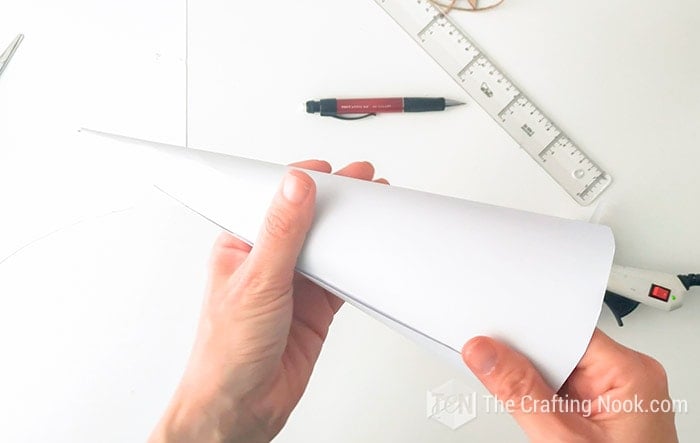
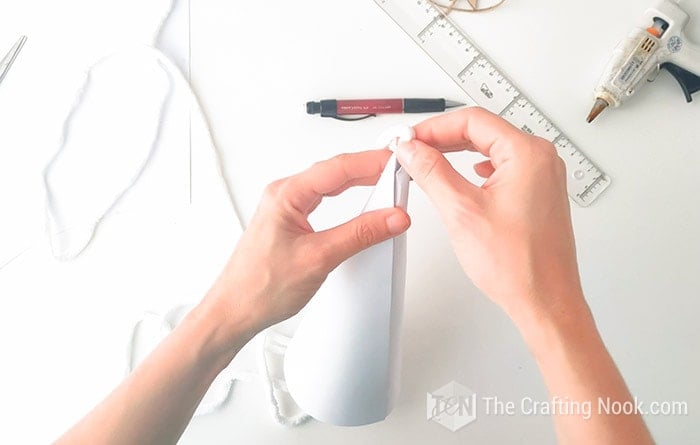
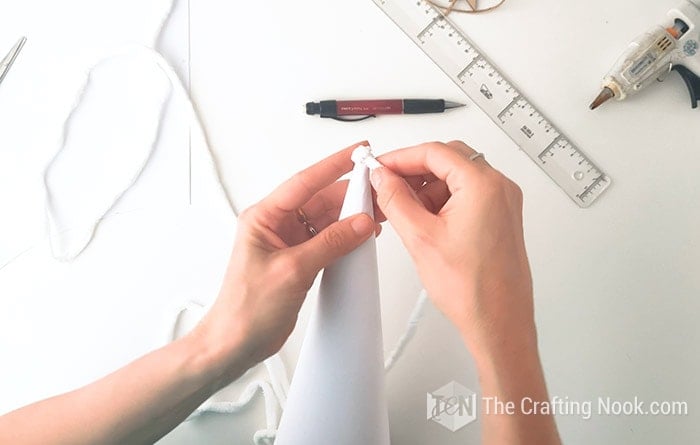
Then you will roll the cardstock making sure your rounded edges stay as aligned as possible and the gap at the top of the cone gets almost closed.
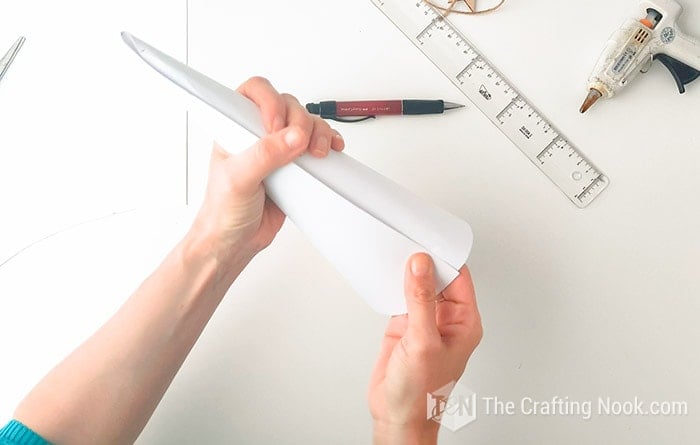
Apply hot glue all along the outer edge and then a little bit on the inner end corner.
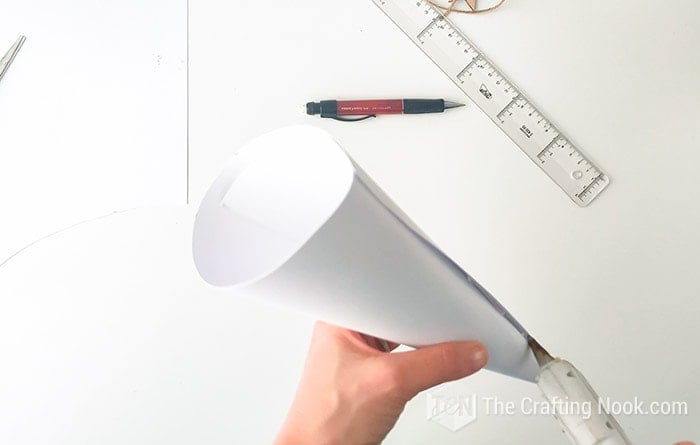
There you go!
You got yourself a pretty tree form.
Make more as you need.
Step 2: Wrap the cone with Yarn
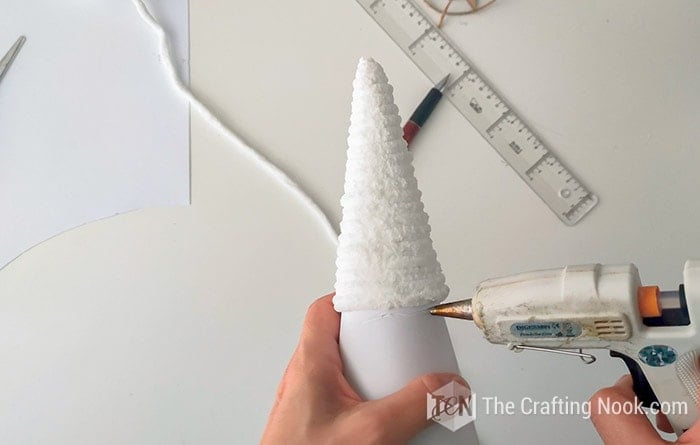
I know most tutorials start from the bottom but I found that the small gap we get at the top of the cone when we make it, is the best and neatest way to apply the glue and start the wrapping.
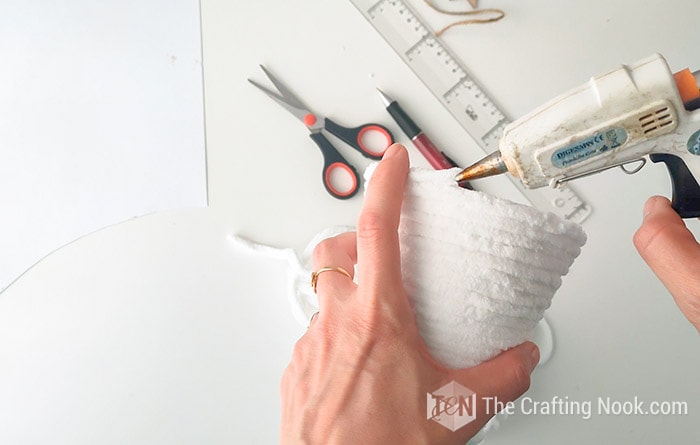
Dab a little glue near the tip
Insert the tip of the hot glue tool into the tip of your cone and dab a small drop of glue. This will help you get a clean start of the tree
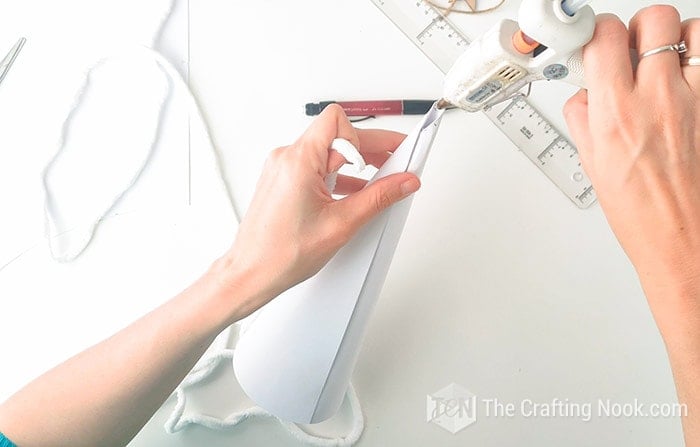
Attach the Yarn
After applying a bit of hot glue right inside the gap at the top of the tree, press the end of the yarn onto the glue as shown below.
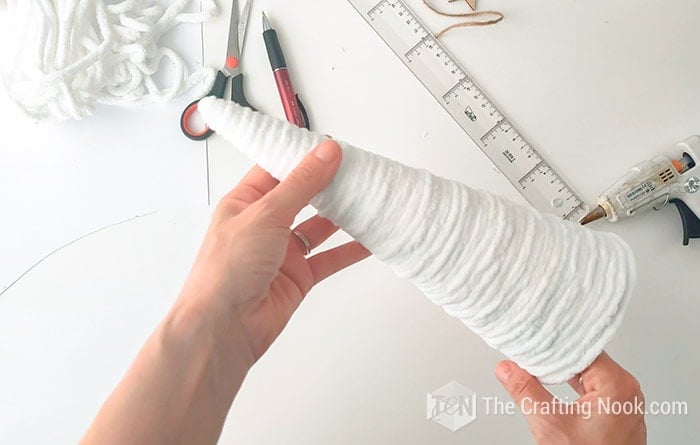
Start Wrapping the Cone
Begin wrapping the cone with your yarn. Be careful with those few first wrap loops. Be sure to keep them neat and tight!
Every 2-3 loops apply some more glue and keep wrapping until you get to the bottom of the cone. Wrap, making sure each line of yarn is snug against the other.
Glue Yarn to the base
Apply a line of glue to the base of the cone, peel back the yarn a bit, and add a little blob.
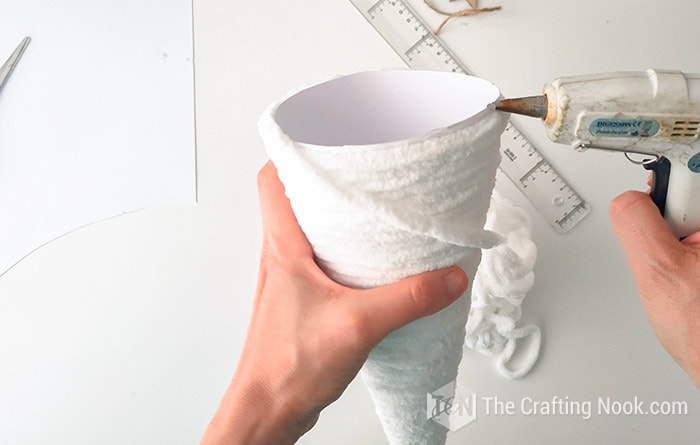
Wrap around the base a few more times, applying some more hot glue as you go.
Trim and glue the end
For the very last bit, cut the yarn at an angle.
Pull up the yarn a little bit from the base, just enough to expose some cardstock. Put a tiny bit of glue on the cut end, and then press it into place.
Voila! You’ve done it!
Step 3: Decorate the Yarn Christmas Tree
This last step is completely optional.
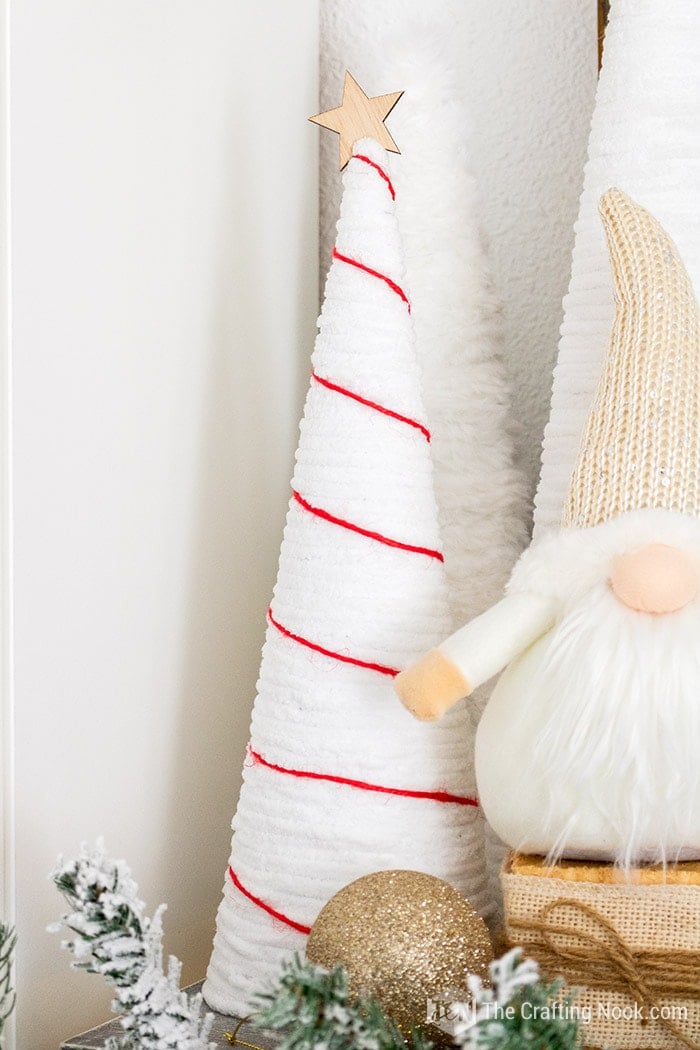
I made some decorated trees and some I left alone because I think they look so cute!
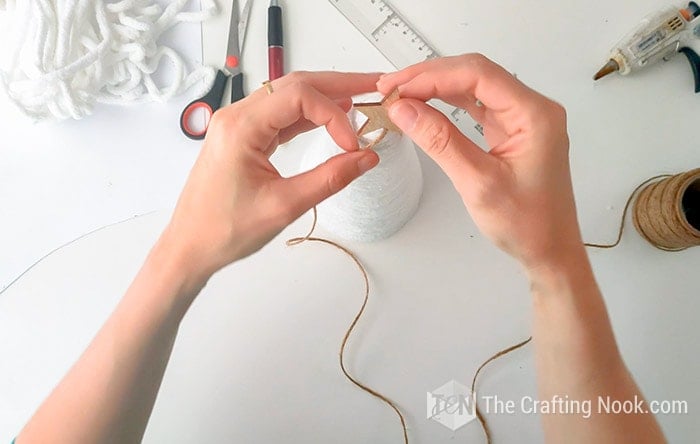
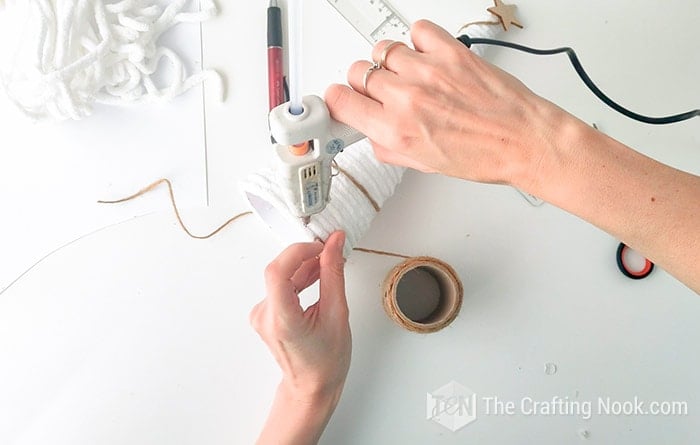
So, I used twine, neutral and red, and cute wooden stars.
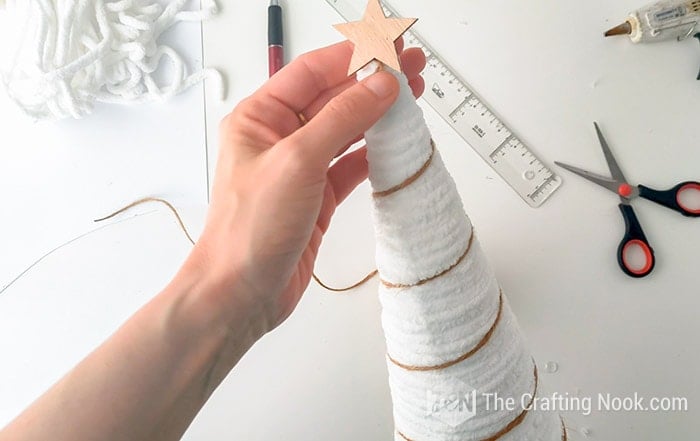
I applied a dot of glue on the tip of the tree and glued the end of the twine. Then immediately applied some hot glue to the back of the star and put it on top of the tree and twine end.
Then I started going making loops around the tree the same way I would if it was a real tree.
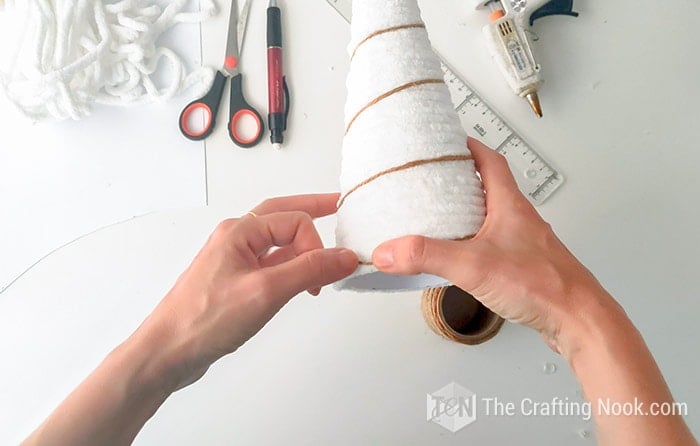
When I got to the bottom, I cut the twine, applied another dot of glue, and tuck the twine end between two loops of yarn.
Tada!!! You got your first yarn Christmas tree!
See? It’s not difficult for such an adorable result!

I made some trees with fur yarn and others with fleece-kind yarn.

The yarn has a nice texture, and you can mix and match colors, so you can make the perfect yarn-wrapped Christmas trees to match your Christmas decorations, and they look great beneath a wreath.

You can also buy already made ones in case you are not the DIY type, and get to decorating sooner!
Good luck!
Ideas For Possible Variations
If you don’t want to use yarn you can always go for different materials, you can use fabric, ribbon, twine, rope, and felt, to mention a few.
For decoration, imagination is the limit, you can use buttons, pom-poms, glitter, wooden mini ornaments, etc. Whatever details make you happy!
Lastly, if you don’t want to make the cone you can always purchase at your local craft store pre-made foam cones or cardboard cones. There are options for everyone!
Frequently Asked Questions
Starting along the tip of the tree, unfurl your yarn from the skein, then tightly and evenly wrap it around the cone. For best results, allow each strand to tightly touch the other, ensuring no cone surface peeks through the yarn.
You can make it yourself with cardstock as I did in the above tutorial or you can always buy Styrofoam cones, cardboard cones, and even cover old plastic or clay cones or trees you have around.
Chunky yarn is the best, but you can use pretty much any type of yarn. Actually, you can even use rope, twine, jute, and anything else in between.
More Christmas Projects to Try
Loving this Yarn Christmas Tree tutorial? You might also love these other gorgeous Christmas project ideas too:


✂️ Tutorial

How to Make a Yarn Christmas tree in 3 easy steps
Tools
- Hot Glue tool.
- Pencil, ruler, and scissors.
Supplies
- Yarn bulky, furry, fluffy, you get the idea – in the color of your choice
- Cardstock – or cardboard/styrofoam cones from the store
- Small wooden stars
- Twine – I used neutral and red
Instructions
STEP 1: MAKE A CONE
- Making the cone is the easiest craft ever! If you are making the yarn trees in different sizes like me, you just need to decide the sizes because that’s what you will use to make the cones.
- Let’s say you are making one of the trees at 10″.
- Get your cardstock, position yourself on one of the corners. Make a small dot right on the corner. Then from that dot measure 10′ on one edge.
- Then move the ruler an inch keeping the 0 on the ruler on the dot and mark your 10″ again.
- Repeat this process until you get to the other edge of the cardstock.
- You will notice that you have a semi-circle there.
- Now, cut through the dashed line you created.
- Then you will roll the cardstock making sure your rounded edges stay as aligned as possible and the gap at the top of the cone gets almost closed.
- Wrapping the cardstock to create the cone for the yarn christmas tree
- Apply hot glue all along the outer edge and then a little bit on the inner end corner.
- There you go!
- You got yourself a pretty tree form.
- Make more as you need.
STEP 2: WRAP THE CONE WITH YARN
- I know most tutorials start from the bottom but I found that the small gap we get at the top of the cone when we make it, is the best and neatest way to apply the glue and start the wrapping.
- DAB A LITTLE GLUE NEAR THE TIP
- Insert the tip of the hot glue tool into the tip of your cone and dab a small drop of glue. This will help you get a clean start of the tree
- ATTACH THE YARN
- After applying a bit of hot glue right inside the gap at the top of the tree, press the end of the yarn onto the glue as shown below.
- START WRAPPING THE CONE
- Begin wrapping the cone with your yarn. Be careful with those few first wrap loops. Be sure to keep them neat and tight!
- Every 2-3 loops apply some more glue and keep wrapping until you get to the bottom of the cone. Wrap, making sure each line of yarn is snug against the other.
- GLUE YARN TO THE BASE
- Apply a line of glue to the base of the cone, peel back the yarn a bit, and add a little blob.
- Wrap around the base a few more times, applying some more hot glue as you go.
- TRIM AND GLUE THE END
- For the very last bit, cut the yarn at an angle.
- Pull up the yarn a little bit from the base, just enough to expose some cardstock. Put a tiny bit of glue on the cut end, and then press it into place.
- Voila! You’ve done it!
STEP 3: DECORATE THE YARN CHRISTMAS TREE
- This last step is completely optional.
- I made some decorated trees and some I left alone because I think they look so cute!
- So, I used twine, neutral and red, and cute wooden stars.
- I applied a dot of glue on the tip of the tree and glued the end of the twine. Then immediately applied some hot glue to the back of the star and put it on top of the tree and twine end.
- Then I started going making loops around the tree the same way I would if it was a real tree.
- When I got to the bottom, I cut the twine, applied another dot of glue, and tuck the twine end between two loops of yarn.
- Tada!!! You got your first yarn Christmas tree!
Share and PIN ME

Til’ next time…


FREE WORKBOOK
Keeping your Sweet Home Organized
Learn how to create intentional habits and simple routines to Keep Your Home Organized. Plus freebies, printables, exclusive content, and tips.
Disclaimer: By clicking on the “Yes” button above you are giving me your consent to collect and use your information according to the law and My Policy Privacy. Zero Spam I promise!