Easter egg DIY Shaker Card (+ Freebie)
This post may contain affiliate links. Please read our Disclosure Policy.
We have the most adorable Easter Egg DIY Shaker Card to share with you today. This cute Shaker card is not hard to make and it’s super fun too!
With Easter around the corner, I thought it would be fun to make a last-minute craft.

Table of Contents
Easter Egg DIY Shaker Card Tutorial
I’ve been with the idea of creating a shaker for quite some time. I got inspired by my dear friend Karina from Living and Crafting who creates the cutest shakers ever!
This was my very first attempt so it’s not perfect but I love how it turned out.
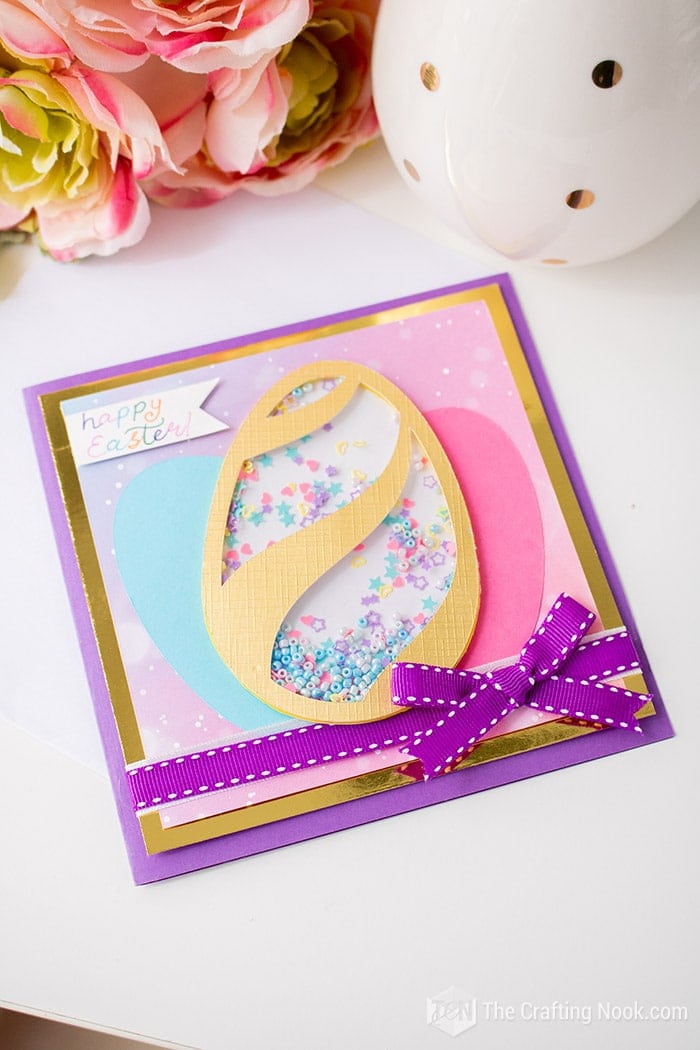
I decided to use the scrapbooking method, layering each element and using different textures and colors.
How to Make an Easter Egg DIY Shaker Card
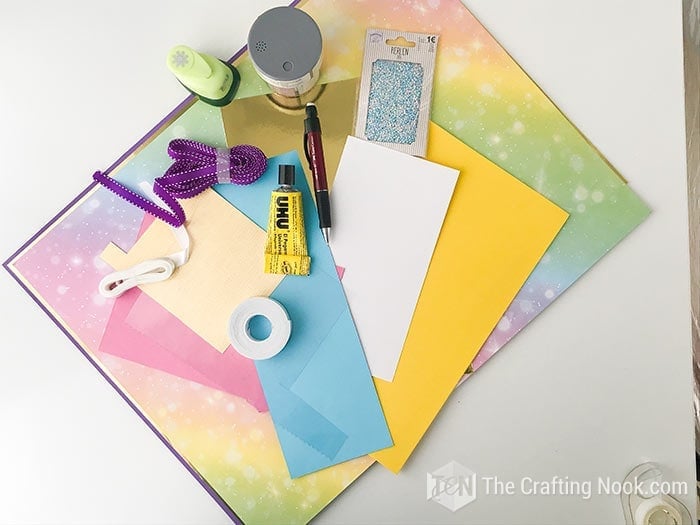
Supplies:
- Color cardstock for the card base.
- Gold plain cardstock for the first layer
- Color (textured) cardstock for the second layer
- 2 Color cardstock for background ggs
- Textured cold cardstock for the shaker window.
- White or your preferred color for the back of the shaker
- Craft foam for the shaker egg. I used yellow because the shaker is gold.
- Clear acetate (transparency film)
- Your favorite filler. I used beads and confetti.
- 2 different matching ribbons (one thicker than the other).
- Double-sided foam tape
- Cutting mat
- Pencil
- Sharpie
- Markers
- Free Cut files or Printable Templates
Tools
- Cutting machine (Silhouette came or cricut machine)
- Scissors and cutter.
- Hot glue gun and glue sticks.
- Ruler
Step by Step Instructions:
I created this quick video tutorial of the process that it took me to create this simple shaker card but if you prefer the step-by-step written with photo kind of tutorial, scroll down and keep reading!
Before we begin, be sure to follow us on Pinterest, Facebook, Instagram, and YouTube, and also sign up for our email list (at the end of this post), so you’ll never miss a post!
Step 1: Getting your pieces cut
Firstly, cut all your pieces as shown below.
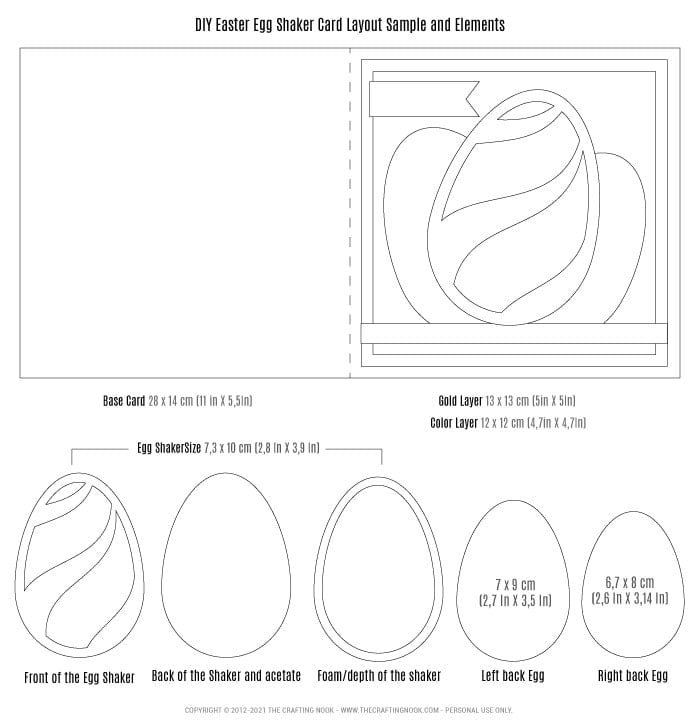
You can get your cut files and printable template HERE for free!
I used my Silhouette Cameo but I made the shapes simple enough in a PDF and SVG file for you to cut with scissors or cutters.

Step 2: Assembling the greeting card base
Fold your base cardstock in half.
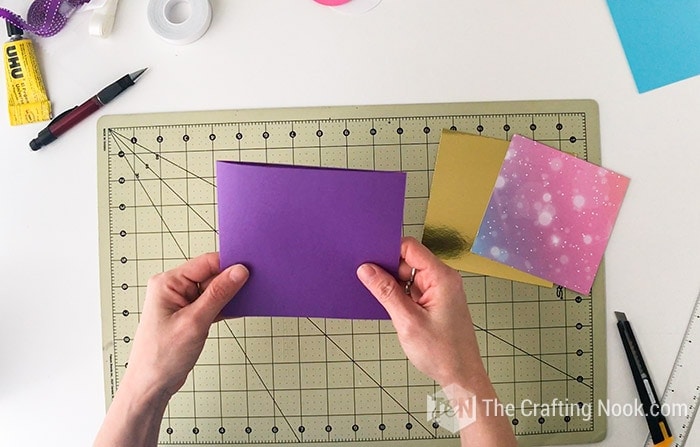
Stack your layer pieces to make sure measurements are good.

Next, on the back of your second layer, apply 5 pieces of double-sided foam tape, one on each corner and one on the center.

Put the piece back on the first layer as centered as possible and peel off the protective paper backing of the adhesive tape pieces to adhere them together.

Glue the two cardstock eggs as shown below or in your preferred way.

Step 3: Assembling the Easter Egg Shaker
Transfer your shaker depth piece to the craft foam.

Then cut it very carefully and glue it to the white piece of card stock.

Make sure you apply just enough glue to glue it and seal it but that won’t spread way too much through the edges.

Trim any excess of craft foam.
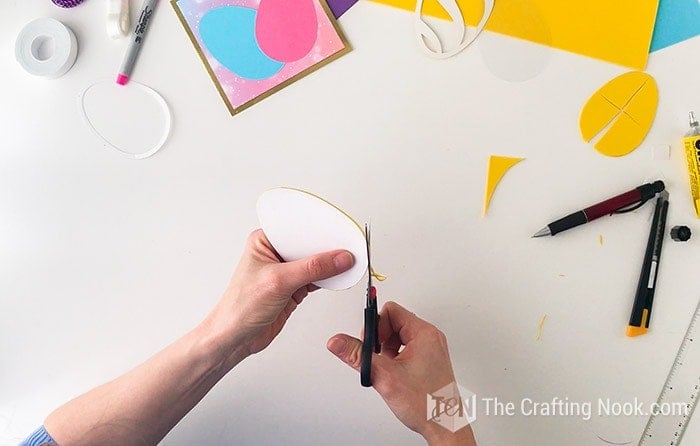
Transfer the egg shape to the clear sheet of acetate and cut it out.

This will create the shaker card window.

Cut 1 strip of each ribbon about an inch longer than the card’s width. Place your ribbons one on top of the other and put them in your desired place. In my case, is on the bottom of both eggs.
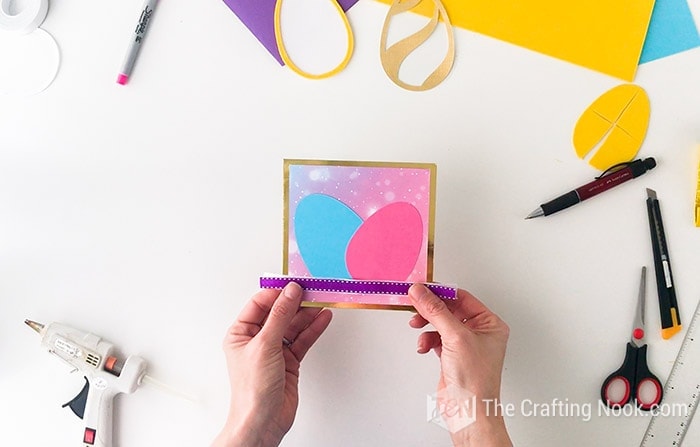
Turn it over and glue both ribbons to the back.
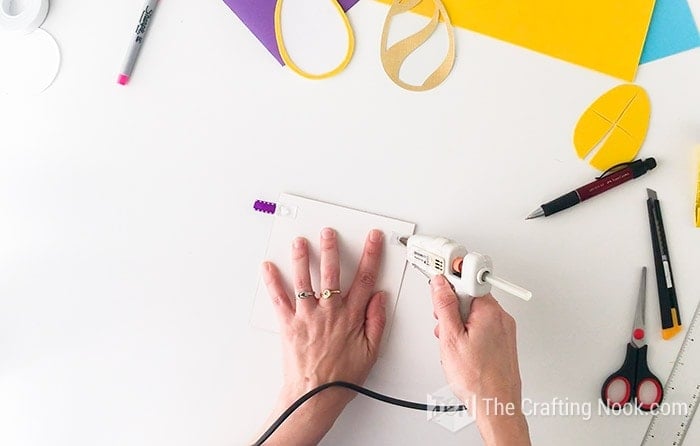
Make a cute bow with one or both ribbons and glue it on top of the ribbons slightly to the right.
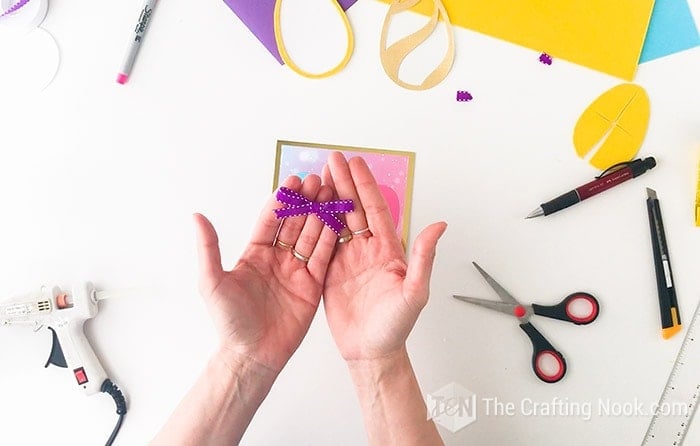
The egg shaker will be the top layer of the card. So at this point, your card is almost ready.
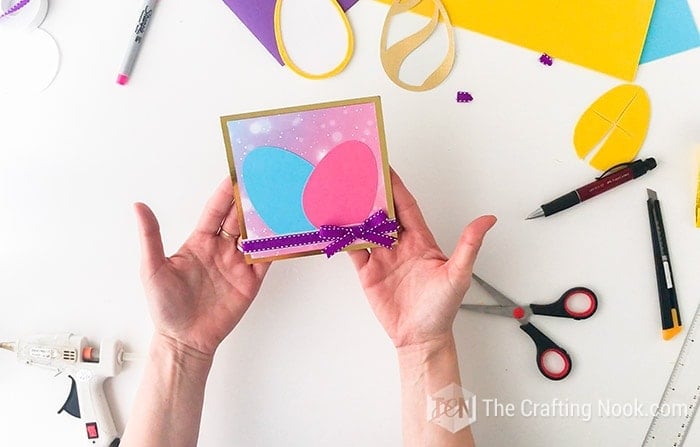
Very carefully, apply glue to the edges of your shaker window. Again just enough to seal it but avoiding spreading.
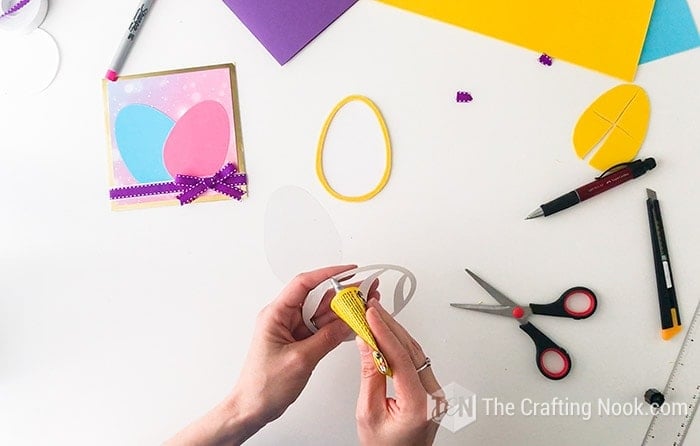
Glue it to the acetate.

Let it dry.
Step 5: Shaker filling
Time to have fun filling the shaker.
I used tiny beads and assorted confetti (not edible).

Put a little bit of each filler you want to use but don’t stuff it, you want to be able to move freely inside of the shaker.

Keep in mind that some materials generate static, like in my case, so it gets stuck in some places but eventually, it moves.
Time to close the shaker.
Here’s the tricky part, and it’s important to be very careful applying the blue so your items won’t get glued.
Same process as the 2 times before, add a thin line of glue around the edges and carefully put it on top of the shaker. Press slightly and let it dry.
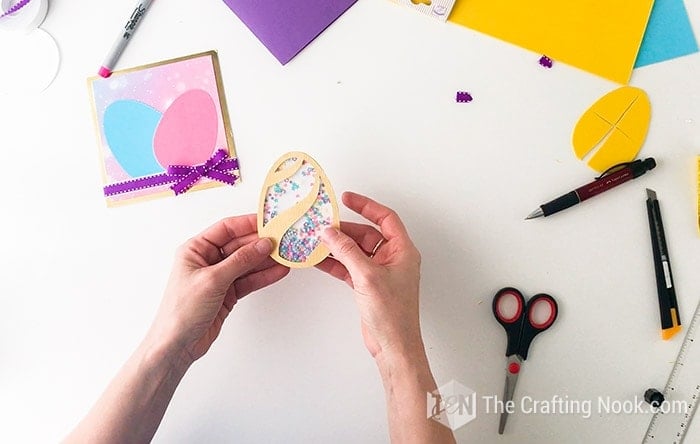
Step 6: Finishing Up The DIY Shaker Card
Then apply glue on the back and place it in the center of the card, slightly turned to add a dynamic feeling and slightly on top of the ribbon.

We are almost there!
Apply 5 pieces of foam double-sided tape to the back of your work, remove the film and put it as centered as possible on your card base.


Lastly, (but not least) and optional, add a sentiment.
I created a simple ribbon and hand-wrote “Happy Easter!”
Alternatively, you could make it a happy birthday card too, if someone happens to have their birthday by those days.
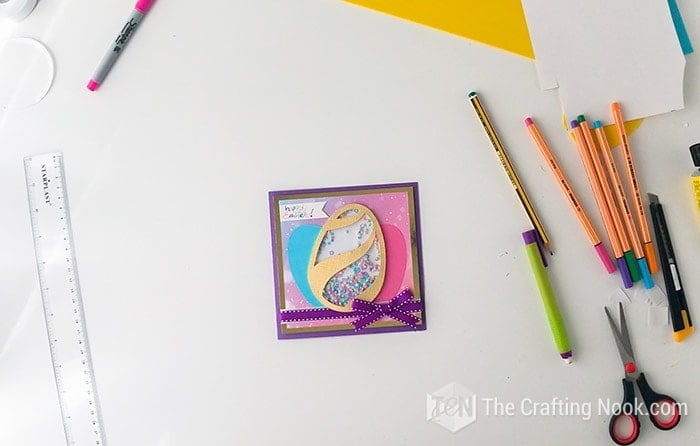
Using foam double-sided tape I place it on the top left side of the card.
Voila!
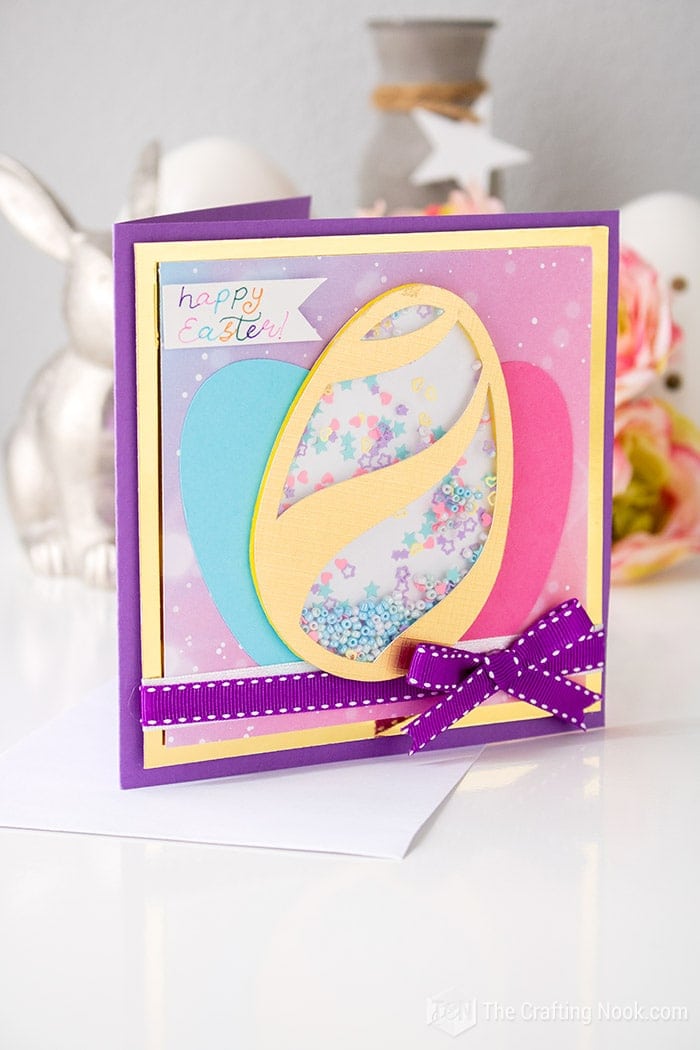
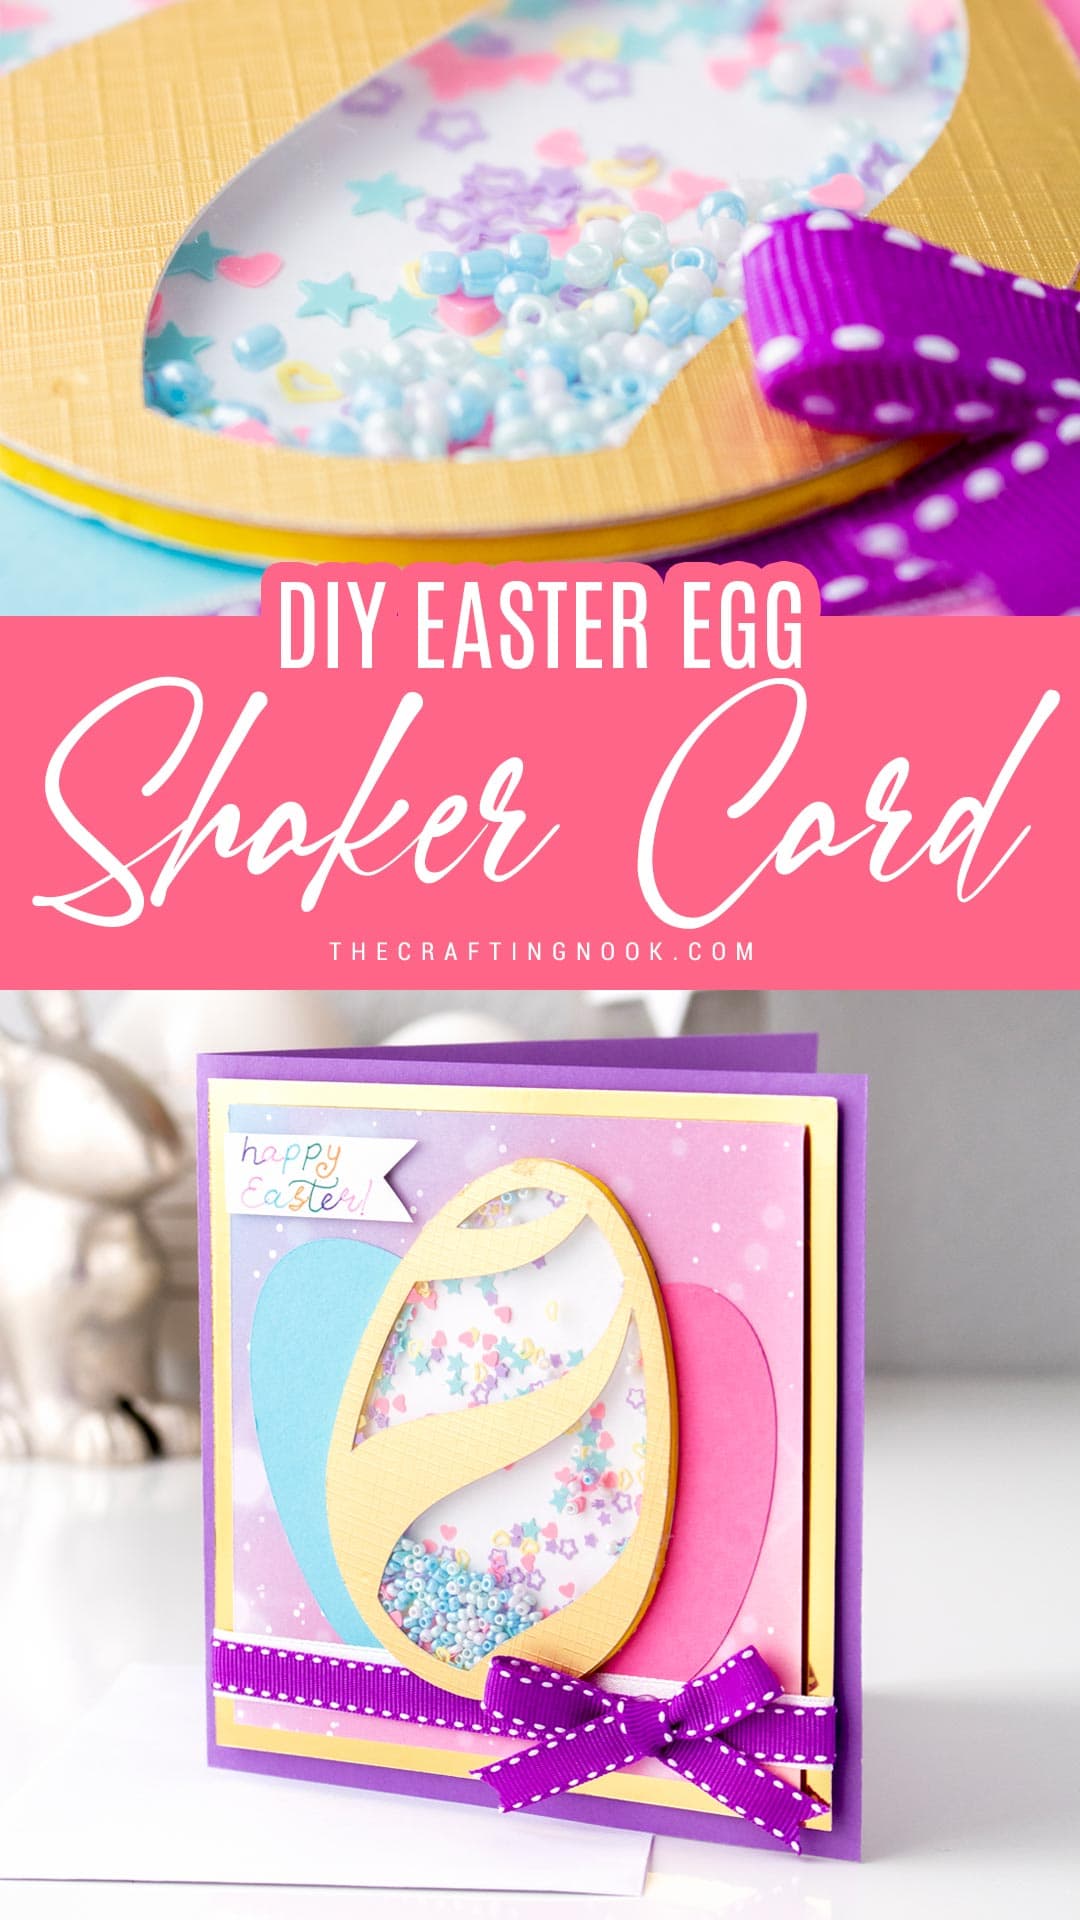
There you go! One super cute easter card with a super fun shaker egg!
Crafting Tips
* Always make sure that the thickness (or height) of the window is larger than the items you are planning on putting in the shaker. Otherwise, the items will get stuck and won’t move around when you shake the card.
* Make sure you use glue that is not very liquid and messy. I personally love UHU Universal glue because it dries fast and it’s not very messy. But you can also use, liquid silicon or foam and poster board adhesive by Beacon.
* For the sake of the aesthetic, you can always paint the sides of the double-sided foam mounting tape to make it look the same color as the cardstock you are using.

My girl immediately said: It’s MINE!!!!
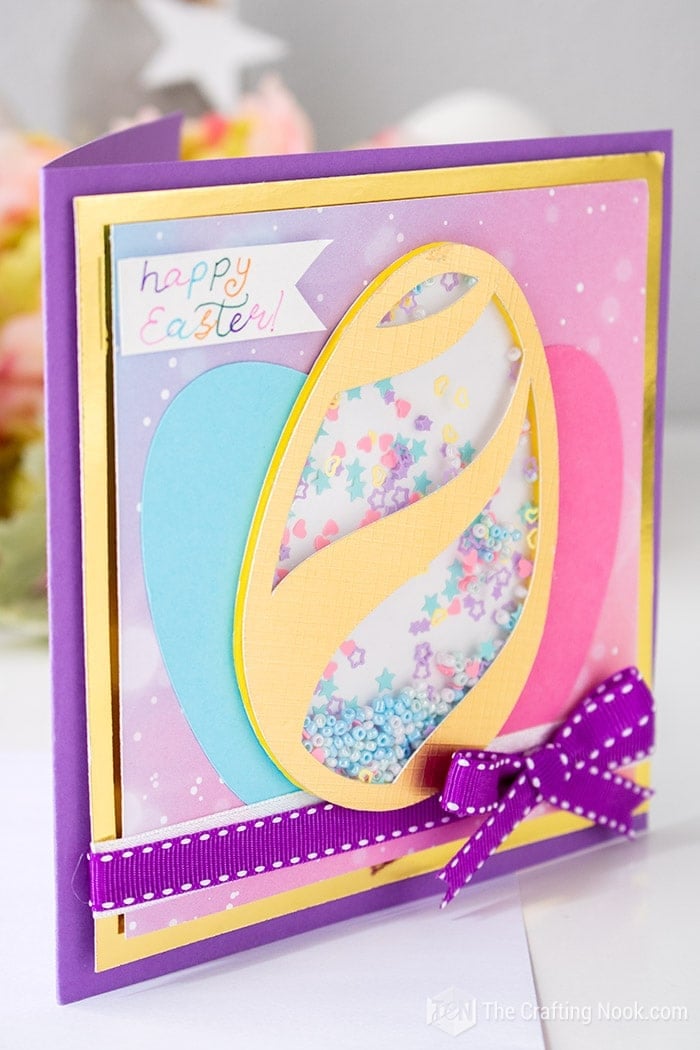
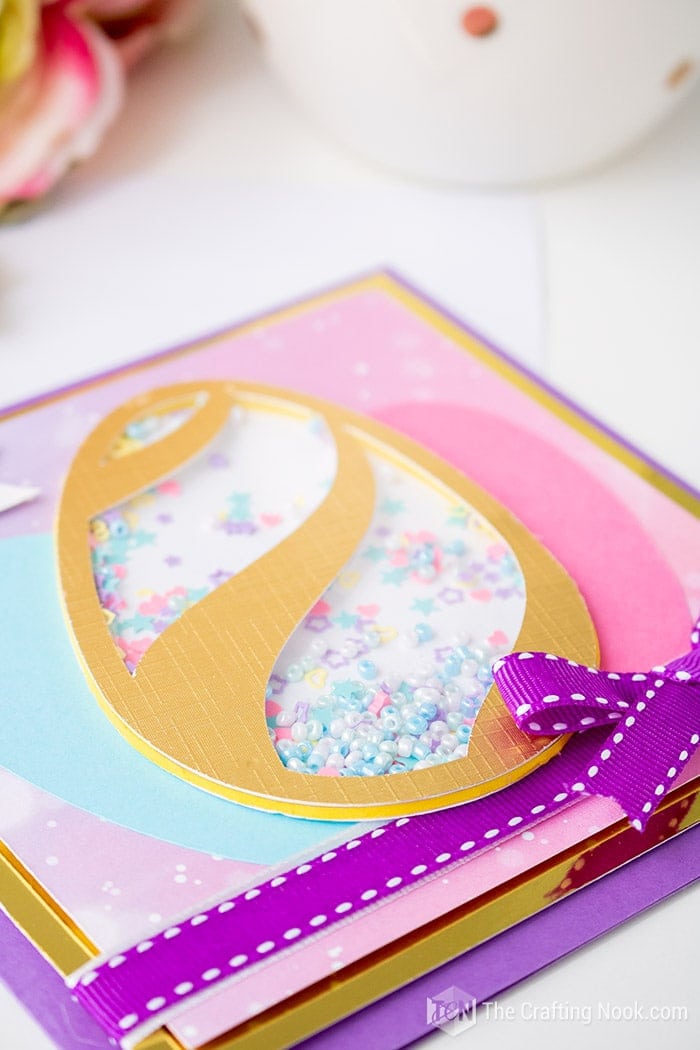
Haha, So I’ll give it to her on Sunday!
Hope you like this project and find inspiration to make one yourself.
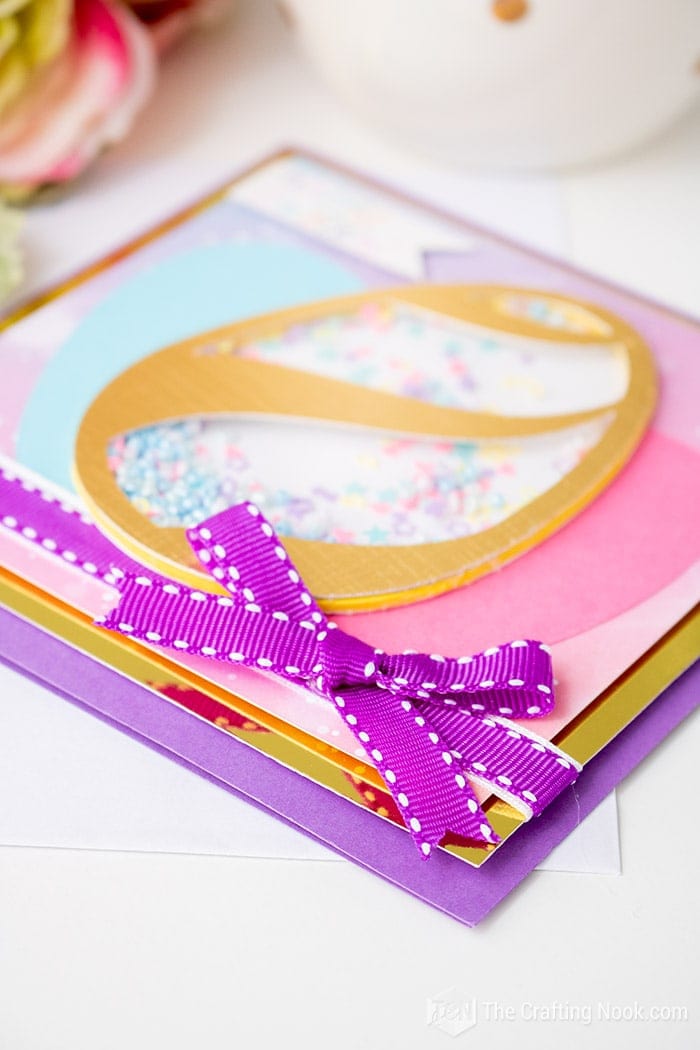
what’s a shaker card?
A Shaker card is a super fun type of card that is made by creating a window in the front design of your card and sandwiching one or more types of “shakeable” materials between two tightly sealed layers, one of which is often transparent or semi-transparent so that the shaker contents remain visible.
When you move or shake your card around, the stuff in the window shake, rattle, and roll to and fro, adding fun, festive cheer to a huge range of handmade card designs.
Shakers are not just for cards, you can make them to decorate many handmade items.
In my case, I decided to not make the window to the card since I am working in a scrapbook style, which tells you that a shaker can be made in numerous ways!
things to put in a shaker
The list could go on and on and on but I’ll list just a few shaker card filler ideas that come at the top of my head.
- Sequins of all sorts, kinds, shapes, colors
- Buttons
- Confetti (including homemade with a hole punch)
- Cake sprinkles
- Glitter of all kinds (including “snow” glitter)
- Gem and rhinestones embellishments
- Tiny pearls
- Jewelry making cabochons and beads
- Flatback charms and embellishments
- Tiny pieces of ribbon and trim
- Beads (including, but certainly not limited to, seed and bugle beads)
- Tiny pompoms
- Plastic or paper die-cut shapes
- Metal or plastic charms
- Sand (natural and artificially colored)
- Dried herbs and spices (such as cloves, star anise, pieces of cinnamon sticks, etc)
- Miniature pinecones
- Googly eyes
- Gemstone chips
- Jewelry making cabochons
- Small puzzle pieces
Other ideas for shakers
The best part of this type of craft is that shakers and the elements and the products that are used as fillers inside of them are not limited strictly to cards.
This same type of paper crafting technique can be utilized in/on gift boxes, tags, scrapbook pages, gift bags, mini albums, fused or sewen clear plastic pockets and pouches, and so many other types of handmade projects.
Imagination is the limit.
Frequently Asked Questions
You would use acetate or a firm plastic to make shaker cards as well as craft foam and your favorite cardstock.
A shaker card is a fun card that has a clear window to fill up with glitter or other sparkly fillers that move around when a person shakes the card. You can also use things like Sequins of all sorts, kinds, shapes, colors, Buttons, Confetti (including homemade with a hole punch), Cake sprinkles, Gem and rhinestones, embellishments, and tiny pearls among so many other cute things.
Shakers can be pretty much any shape that your heart desires and that you have the tools needed to make it. Some of the most common shapes for shakers are circles, ovals, hearts, rectangles, squares, stars, flowers, butterflies, clouds, the sun, pumpkins, windows, Easter eggs, Christmas trees, Christmas ornaments, fruit, mugs and teacups, and even words or letters.
Having the supplies needed to make other more complicated shapes (like owning or having access to a die-cutting machine) you can let your imagination run wild!
More Easter Projects to Try
If you enjoyed this DIY Shaker card, you might also love these other Easter project ideas too!
✂️ Tutorial

Easter egg DIY Shaker Card (+ Freebie)
Tools
- Cutting machine (Silhouette came or cricut machine)
- Scissors and cutter
- Hot glue gun and glue sticks
- Ruler
Supplies
- Color cardstock for the card base.
- Gold plain cardstock for the first layer
- Color textured cardstock for the second layer
- 2 Color cardstock for background ggs
- Textured cold cardstock for the shaker window.
- White or your preferred color for the back of the shaker
- Craft foam for the shaker egg. I used yellow because the shaker is gold.
- Clear acetate transparency film
- Your favorite filler. I used beads and confetti.
- 2 different matching ribbons one thicker than the other.
- Double-sided foam tape
- Cutting mat
- Pencil
- Sharpie
- Markers
- Free Cut files or Printable Templates
Instructions
STEP 1: GETTING YOUR PIECES CUT
- Firstly, cut all your pieces as shown below.
- DIY shaker card layout and pieces to cut template
- You can get your cut files and printable template HERE for free!
- I used my Silhouette Cameo but I made the shapes simple enough in a PDF and SVG file for you to cut with scissors or cutters.
STEP 2: ASSEMBLING THE GREETING CARD BASE
- Fold your base cardstock in half.
- Stack your layer pieces to make sure measurements are good.
- Next, on the back of your second layer, apply 5 pieces of double-sided foam tape, one on each corner and one on the center.
- Put the piece back on the first layer as centered as possible and peel off the protective paper backing of the adhesive tape pieces to adhere them together.
- Glue the two cardstock eggs as shown below or in your preferred way.
STEP 3: ASSEMBLING THE EASTER EGG SHAKER
- Transfer your shaker depth piece to the craft foam.
- Then cut it very carefully and glue it to the white piece of card stock.
- Make sure you apply just enough glue to glue it and seal it but that won’t spread way too much through the edges.
- Trim any excess of craft foam.
- Transfer the egg shape to the clear sheet of acetate and cut it out.
- This will create the shaker card window.
- Cut 1 strip of each ribbon about an inch longer than the card’s width. Place your ribbons one on top of the other and put them in your desired place. In my case, is on the bottom of both eggs.
- Turn it over and glue both ribbons to the back.
- Make a cute bow with one or both ribbons and glue it on top of the ribbons slightly to the right.
- The egg shaker will be the top layer of the card. So at this point, your card is almost ready.
- Very carefully, apply glue to the edges of your shaker window. Again just enough to seal it but avoiding spreading.
- Glue it to the acetate.
- Let it dry.
STEP 4: SHAKER FILLING
- Time to have fun filling the shaker.
- I used tiny beads and assorted confetti (not edible).
- Put a little bit of each filler you want to use but don’t stuff it, you want to be able to move freely inside of the shaker.
- Keep in mind that some materials generate static, like in my case, so it gets stuck in some places but eventually, it moves.
- Time to close the shaker.
- Here’s the tricky part, and it’s important to be very careful applying the blue so your items won’t get glued.
- Same process as the 2 times before, add a thin line of glue around the edges and carefully put it on top of the shaker. Press slightly and let it dry.
STEP 5: FINISHING UP THE DIY SHAKER CARD
- Then apply glue on the back and place it in the center of the card, slightly turned to add a dynamic feeling and slightly on top of the ribbon.
- We are almost there!
- Apply 5 pieces of foam double-sided tape to the back of your work, remove the film, and put it as centered as possible on your card base.
- Lastly, (but not least) and optional, add a sentiment.
- I created a simple ribbon and hand-wrote “Happy Easter!”
- Alternatively, you could make it a happy birthday card too, if someone happens to have their birthday by those days.
- Using foam double-sided tape I place it on the top left side of the card.
- Voila! One super cute easter card with a super fun shaker egg!
Some Easter crafts from my favorite crafters!
- DIY Hop Easter Banner by Karina over at Living and Crafting.
- Easter Bunny Yarn Art by Dinah over at DIY Inspired.
- DIY Plaid Painted Easter Bunny by Michelle over at Weekend Craft
Share and PIN ME!
Til’ next time…


FREE WORKBOOK
Keeping your Sweet Home Organized
Learn how to create intentional habits and simple routines to Keep Your Home Organized. Plus freebies, printables, exclusive content, and tips.
Disclaimer: By clicking on the “Yes” button above you are giving me your consent to collect and use your information according to the law and My Policy Privacy. Zero Spam I promise!
