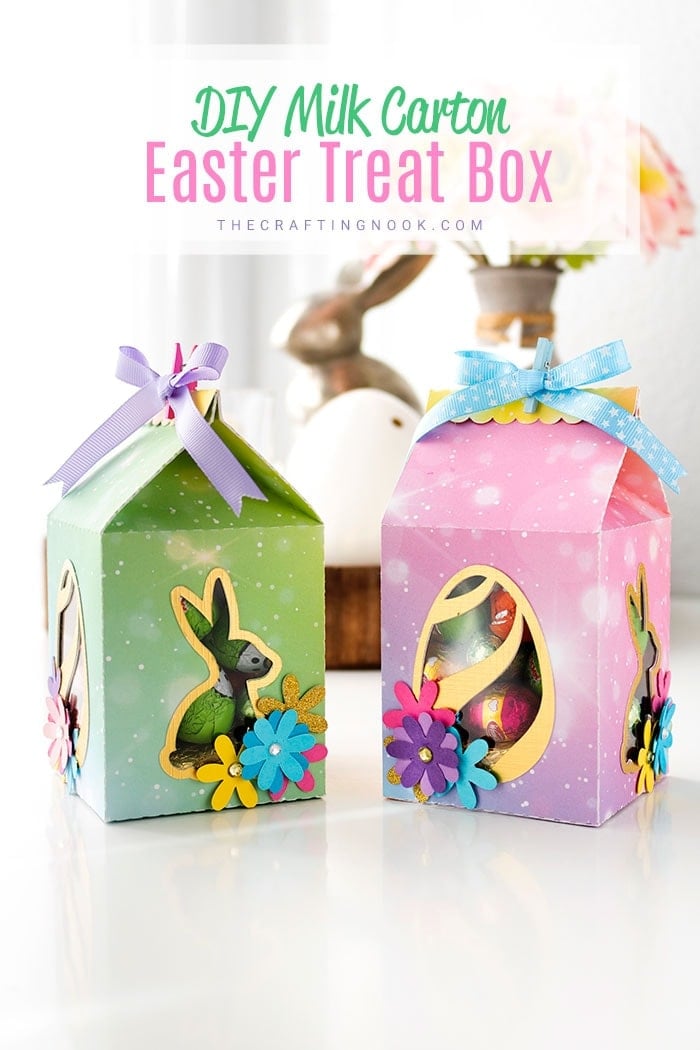
DIY Milk Carton Easter Treat Boxes
This post may contain affiliate links. Please read our Disclosure Policy.
Are you looking for Easter craft ideas? Learn how to make Milk Carton Easter Treat Boxes. This is a fun, cute, and easy Easter craft idea.
Easter is around the corner and Spring is in the air. I love the start of spring as we can see trees getting greener, flowers blooming, and days getting brighter and warmer.
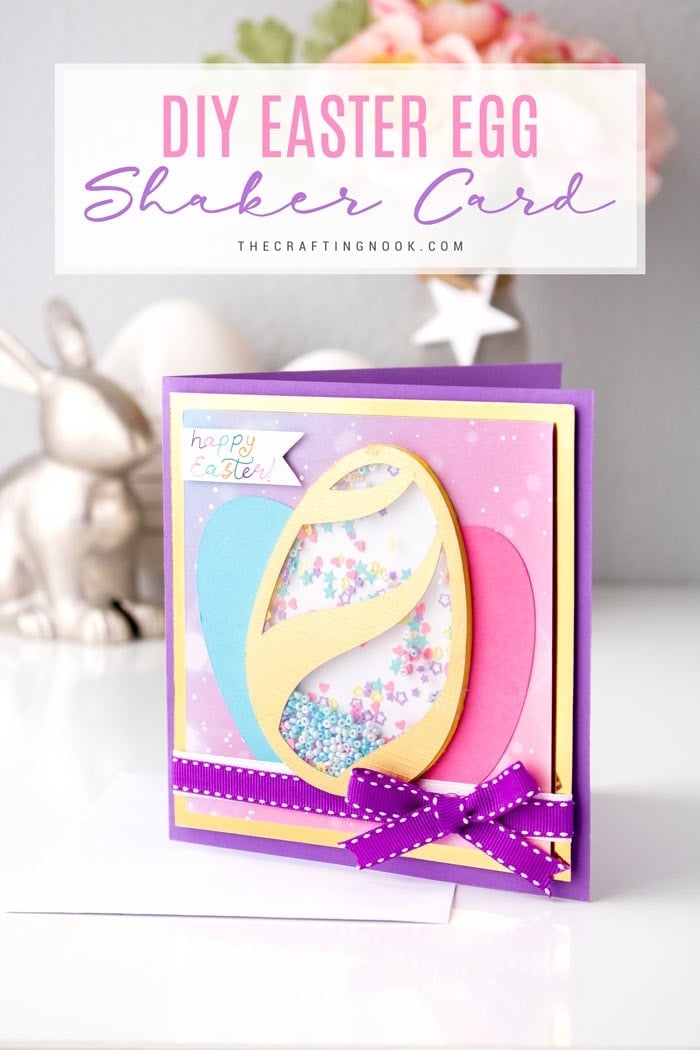
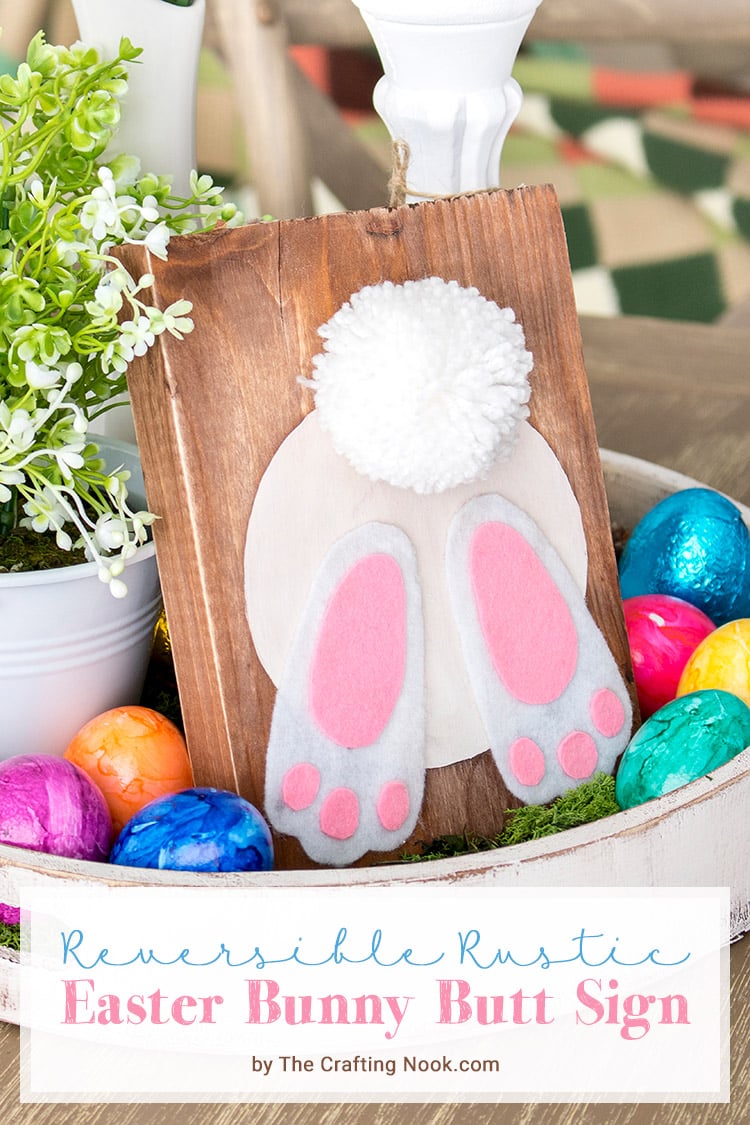
You might also love these other Easter ideas: Pom Pom Tail Easter Bunny Printable, Reversible Rustic Easter Bunny Butt Sign, and DIY Easter egg Shaker Card (+ Freebie).
Table of Contents
Milk Carton Easter Treat Boxes Tutorial
It’s also that time of the year in which we love making cute crafts for our kids. I wanted to make something a little different than the usual Easter baskets but still fill it out with my girl’s favorite things!
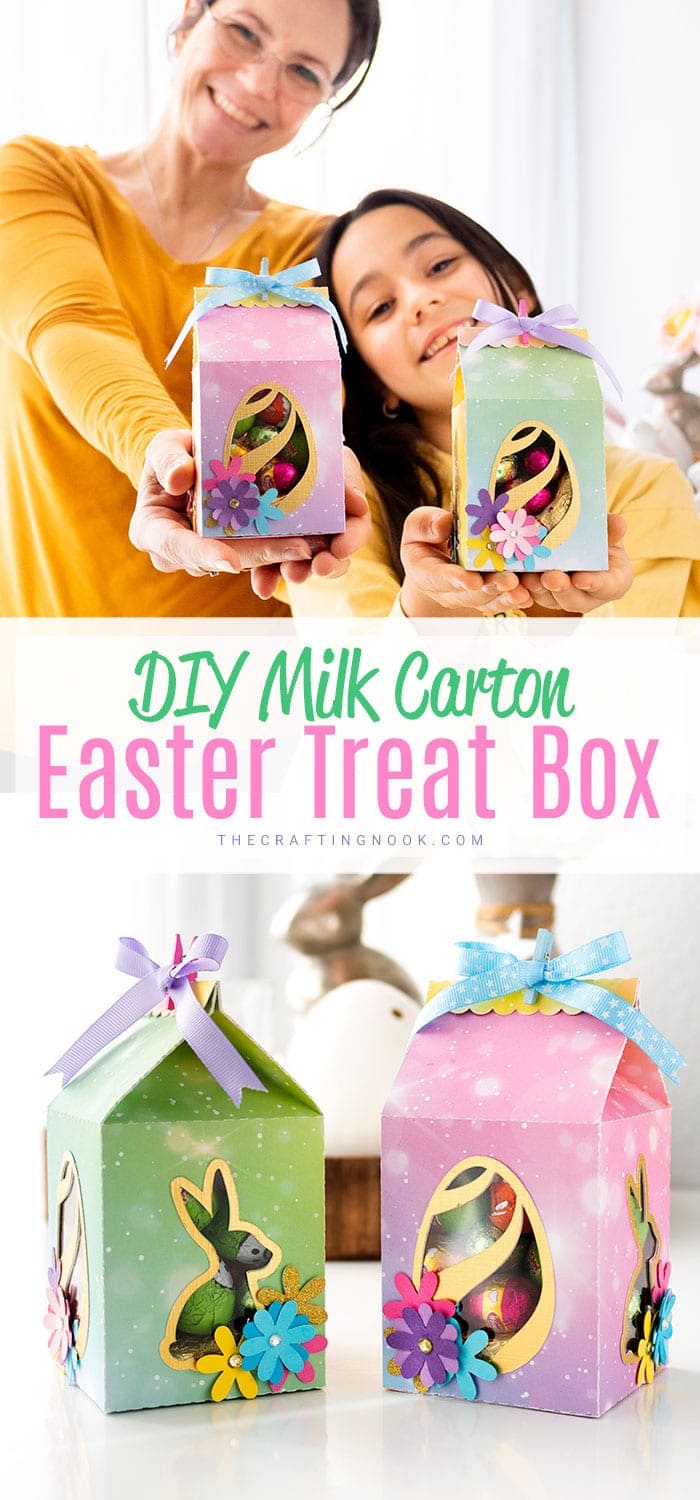
I thought I’d share a quick and easy Easter craft with you – DIY Milk Carton Easter Treat Boxes!
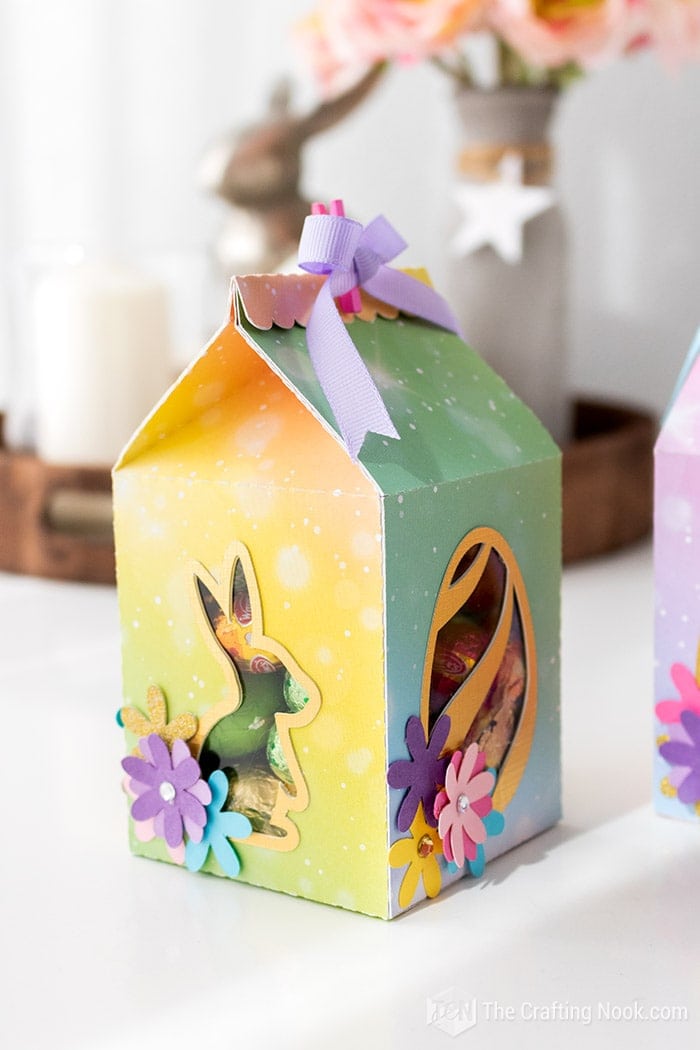
These little boxes are super easy to make and filled with some yummy Easter treats that would make a great little DIY easter gift idea or even cute table decorations at a party.
I personally created them with a cutting machine but if you don’t have one that’s not a reason not to make them.
You can print the printable file I’m sharing and cut them with scissors or a knife. Then you can decide not to cut out the shapes from the milk carton and add decorations as you like!

You can make them in different colors and textures and they are the perfect way to package up a little gift to give to kids, friends or co-workers, or even your kids’ teachers to celebrate Spring.
How to Make Milk Carton Easter Treat Boxes
Craft Supplies:
- Free DIY Milk Carton Easter Treat Boxes cut file, SVG files or printable.
- Glue (UHU, Hot glue gun, cold silicon, any glue that won’t dampen the cardstock)
- Your favorite cardstock (I used this rainbowish that I love)
- Gold cardstock (for decoration)
- Mini Clothespin
- Ribbon bow
- Small paper flowers (or your favorite decorative elements)
- Clear acetate sheet (reused from other boxes work too)
- Yummy candies!
- A Sharpie
Tools:
- Cutting machine (Cricut or Silhouette)
- Scissors and/or craft knife
- Ruler
NOTE:
Just please keep in mind that for Cricut users, I’ve heard the SVG get a bit messed up in their app. Score lines/fold lines turn into solid lines which are read as cut lines and sometimes the elements don’t show in the right size. So there’s that.
Instructions:
I created this quick video overview of the process but if you are more of a step-by-step with photos and text, feel free to scroll down.
Before we begin, be sure to follow us on Pinterest, Facebook, Instagram, and YouTube, and also sign up for our email list (at the end of this post), so you’ll never miss a post!
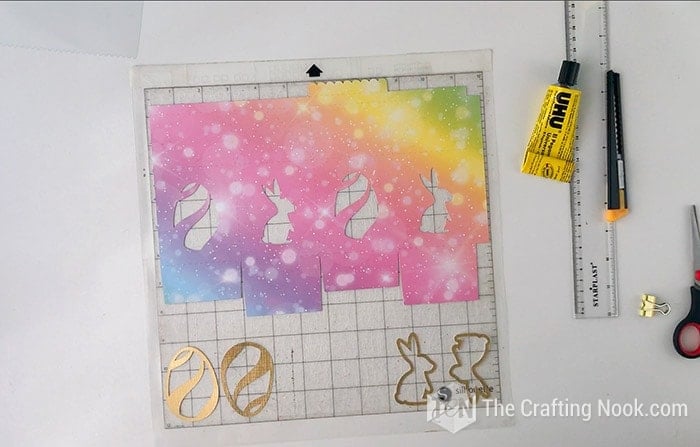
Step 1: Prepping the pieces
I worked on the design in my silhouette studio and prepared the file for you to download if you would like to make one of these too.
Firstly, snag your files and decide how you are going to proceed. If you have a cutting machine, then go ahead and cut your template.

I used decorated cardstock for the milk carton and gold cardstock for the egg and bunny decoration.
If you decide to cut by hand then you will find a PDF for you to print. Make sure you don’t fit to the page nor modify the size in any way so your decoration will fit perfectly. As I mentioned before, you can decide whether or not to cut out the shapes from the milk carton and add decorations as you like!
Also, if you printed your template, then using your ruler and scissors, score along all the dashed lines.
Step 2: Assembling the Milk Carton
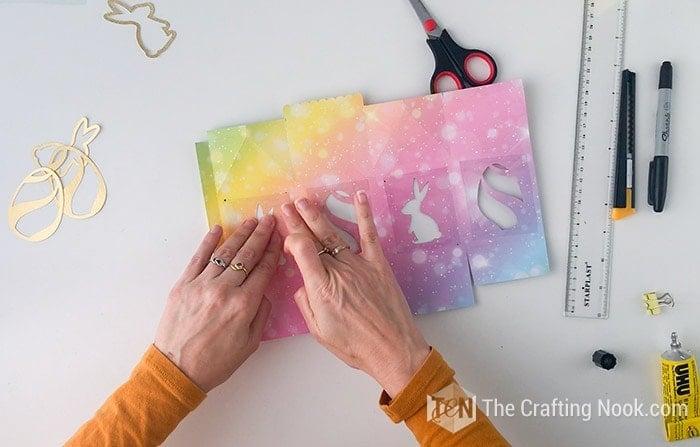
Once you have the template ready, remove the pieces from the cutting mat and start folding the paper milk carton following the score lines.
For this part of the process, I recommend checking out the video (second 00:27).
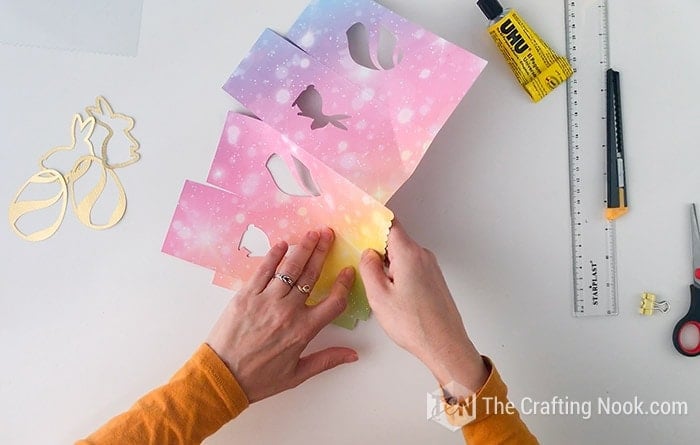
Simulate the assembling of the box to make sure you got everything right.

Then open it again and lay it down inside facing up.
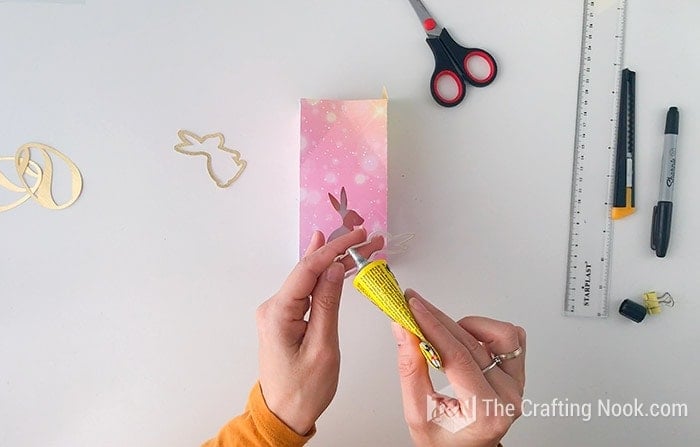
Place your acetate sheet on top of the egg and bunny cutouts. Make some marks to cut rectangles that would cover the designs.
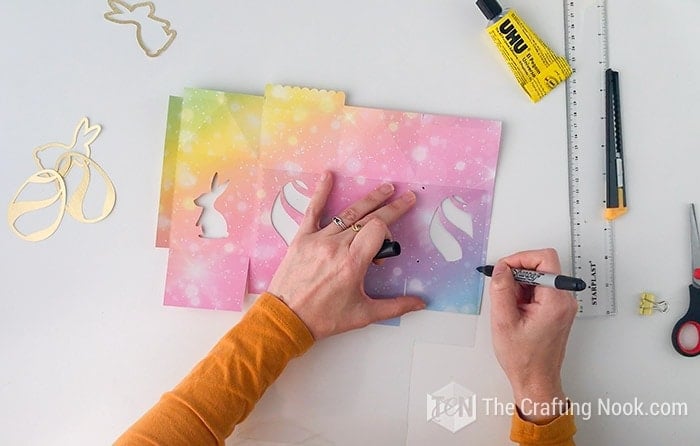
Cut 4 acetate rectangles.

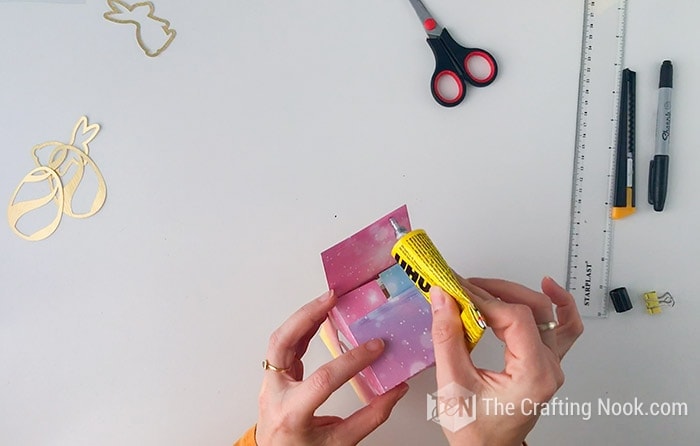
Then using hot glue or your favorite glue (I don’t recommend white glue) secure the acetate in place covering completely the eggs and bunnies.


Then secure it by gluing the tab.


Fold in the bottom: short shape first, then side flaps, then secure the bottom with glue.
Step 3: Decorating the Milk Carton box
Apply glue to the back of each egg and bunny frame and place it to match the milk carton cutouts.


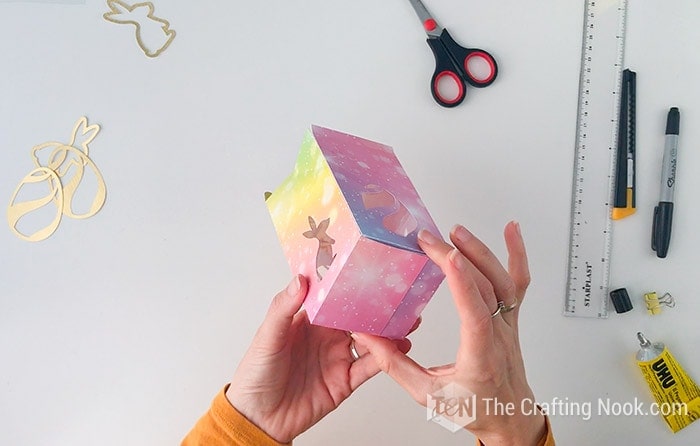
Secured the milk carton with a pressure paper clip to create the shape.

Next, decorate each side (if desired) with cute paper flowers.
Mines were made with paper cutting different color cardstock and gluing 2 different shades.
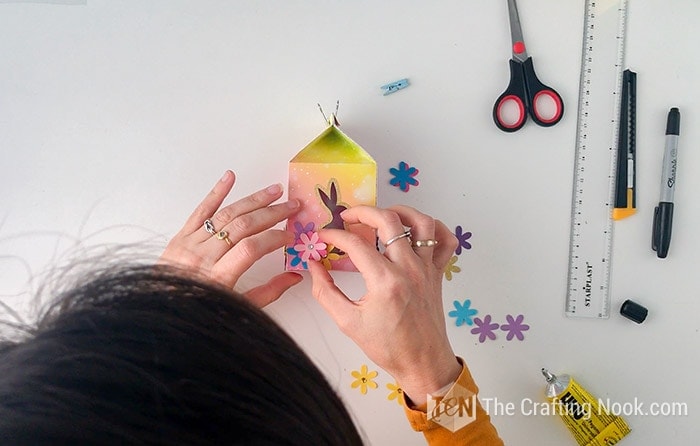
I placed single flowers as the base to simulate volume and then placed a double one on top. Add rhinestones if desired.

Repeat on each side if desired.
Then, glue the ribbon bow to one side of the clothespin.

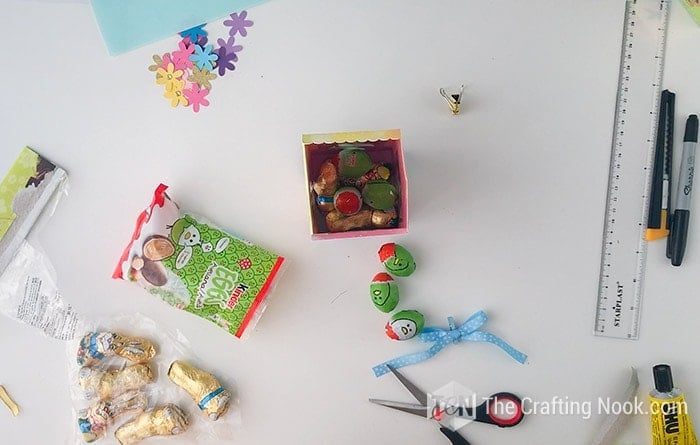
Step 4: Filling up your Easter treat box
Fill your cute milk carton treat box with any kind of yummy treats you want. I used kinder easter eggs, some other smaller chocolate eggs, and chocolate bunnies. But you can use anything you like.
Lastly, secure your milk carton with your cute bow clothespin.

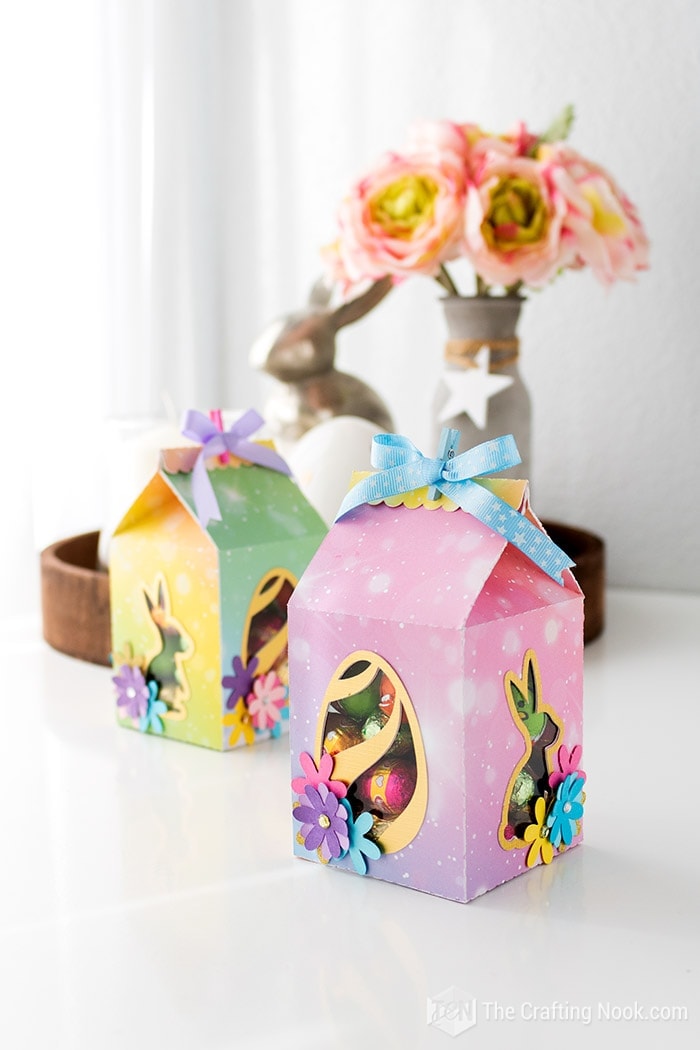
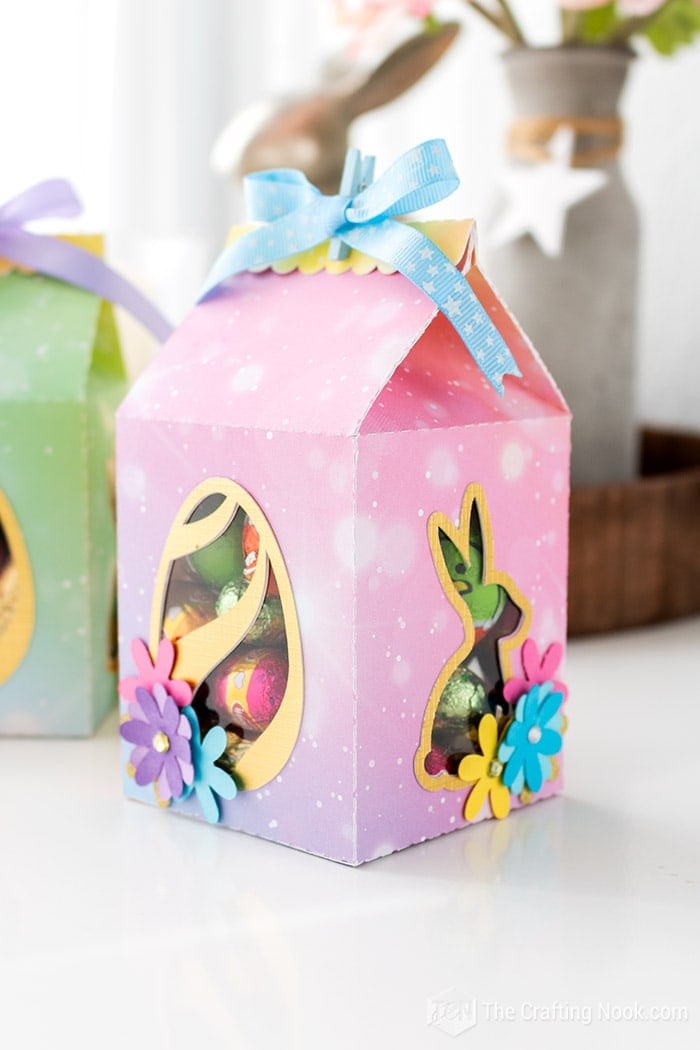
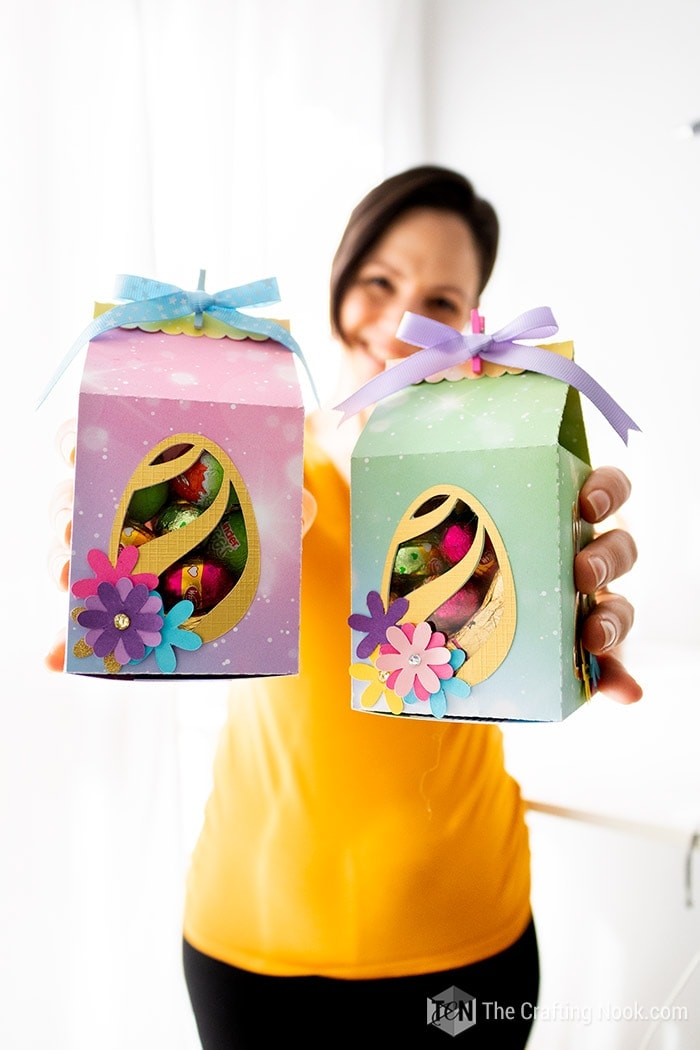
You are done! Here’s the final product!!!
I made 2 of these since my girl wanted to give one to her best friend.

She certainly loved the box and can’t wait to eat it all LOL.
Crafting Tips
* If you don’t have acetate sheets around you can also use clear ziplock bags instead. Any strong clear plastic will work.
* No mini clothespins? No problem! You can always add a dab of hot glue, a paper clip, and even make a couple of holes with a hole punch and tie a ribbon bow.
* If you feel like you don’t want to make the box with the cutouts you can skip that and leave it completely closed.

To be honest I absolutely love how it turned out. It’s even decorative.
I might be making some other milk cartons for other projects soon!
Hope you enjoyed this easy and cute Easter project and hope to see you soon!
Frequently Asked Questions
I used plain white cardstock because I was going to print all the pieces. But If you want to use something different and don’t want to print it all , then you could use scrapbook paper, pattern paper, or any type of cardstock you like for the hat and shamrocks for example.
Your kids’ favorite candies of course, from simple gold coins to the favorite chocolate, cookies, sweets, or even snacks if your family is not that into sweets. Actually, you are in luck, you can even do this candy-free too by putting a special gift mixed with fun confetti.
Your kids’ favorite candies of course, from simple chocolate eggs to the favorite candies, cookies, sweets, jelly beans, or even snacks if your family is not that into sweets. Actually, you are in luck, you can even do this candy-free too by putting small toys mixed with fun confetti.
More Easter Projects to Try
If you liked this Milk Carton Easter Favor Boxes Tutorial, you might also love these other Easter Project ideas too:
✂️ Tutorial

DIY Milk Carton Easter Treat Boxes
Tools
- Cutting Machine (Cricut or Silhouette)
- Scissors and/or craft knife
- Ruler
Supplies
- Free DIY Milk Carton Easter Treat Boxes cut file SVG files or printable.
- Glue UHU, Hot glue gun, cold silicon, any glue that won’t dampen the cardstock
- Your favorite cardstock I used this rainbowish that I love
- Gold cardstock for decoration
- Mini Clothespin
- Ribbon bow
- Small paper flowers or your favorite decorative elements
- Clear acetate sheet reused from other boxes work too
- Yummy candies!
- A Sharpie
Instructions
STEP 1: PREPPING THE PIECES
- I worked on the design in my silhouette studio and prepared the file for you to download if you would like to make one of these too.
- Firstly, snag your files and decide how you are going to proceed. If you have a cutting machine, then go ahead and cut your template.
- I used decorated cardstock for the milk carton and gold cardstock for the egg and bunny decoration.
- If you decide to cut by hand then you will find a PDF for you to print. Make sure you don’t fit to the page nor modify the size in any way so your decoration will fit perfectly. As I mentioned before, you can decide whether or not to cut out the shapes from the milk carton and add decorations as you like!
- Also, if you printed your template, then using your ruler and scissors, score along all the dashed lines.
STEP 2: ASSEMBLING THE MILK CARTON
- Once you have the template ready, remove the pieces from the cutting mat and start folding the paper milk carton following the score lines.
- For this part of the process, I recommend checking out the video (second 00:27).
- Simulate the assembling of the box to make sure you got everything right.
- Then open it again and lay it down inside facing up.
- Place your acetate sheet on top of the egg and bunny cutouts. Make some marks to cut rectangles that would cover the designs.
- Cut 4 acetate rectangles.
- Then using hot glue or your favorite glue (I don’t recommend white glue) secure the acetate in place covering completely the eggs and bunnies.
- Then secure it by gluing the tab.
- Fold in the bottom: short shape first, then side flaps, then secure the bottom with glue.
STEP 3: DECORATING THE MILK CARTON BOX
- Apply glue to the back of each egg and bunny frame and place it to match the milk carton cutouts.
- Decorating the easter treat boxes with gold rabbit accents.
- Secured the milk carton with a pressure paper clip to create the shape.
- Next, decorate each side (if desired) with cute paper flowers.
- Mines were made with paper cutting different color cardstock and gluing 2 different shades.
- Decorating the box around the cutouts with colorful paper flowers
- I placed single flowers as the base to simulate volume and then placed a double one on top. Add rhinestones if desired.
- Repeat on each side if desired.
- Then, glue the ribbon bow to one side of the clothespin.
STEP 4: FILLING UP YOUR EASTER TREAT BOX
- Fill your cute milk carton treat box with any kind of yummy treats you want. I used kinder easter eggs, some other smaller chocolate eggs, and chocolate bunnies. But you can use anything you like.
- Lastly, secure your milk carton with your cute bow clothespin.
- You are done!
Notes
Some super cute Easter crafts from my favorite bloggers
- DIY Bunny Face Decor by Karina over at Living and Crafting.
- Apple Basket Bunny by My Sister’s Suitcase.
- Toilet Roller Paper Bunny Craft by Dinah over at DIY Inspired
- DIY Kids’ Easter Basket by Design Improvised.
- No-Sew Rope Easter Basket by Alice and Lois.
Share and PIN ME!
Til’ next time…


FREE WORKBOOK
Keeping your Sweet Home Organized
Learn how to create intentional habits and simple routines to Keep Your Home Organized. Plus freebies, printables, exclusive content, and tips.
Disclaimer: By clicking on the “Yes” button above you are giving me your consent to collect and use your information according to the law and My Policy Privacy. Zero Spam I promise!