DIY Fairy Tale Bracelet.
This post may contain affiliate links. Please read our Disclosure Policy.
I think most of you already know that I’m quite childish (but not spoiled LOL) and a dreamer. For those who don’t know, yeah… that’s me. Actually I’m like a kid being a mom to another kid, you have no idea what happens here when is play time hahaha!. Because of that I love fairies, and teddies and that kind of things. So it is not weird to think that I can’t help myself from making cute stuff not just for Emma but for me too like this cute Fairy tale bracelet!… Gosh I’m blushed!
DIY Fairy Tale Bracelet.
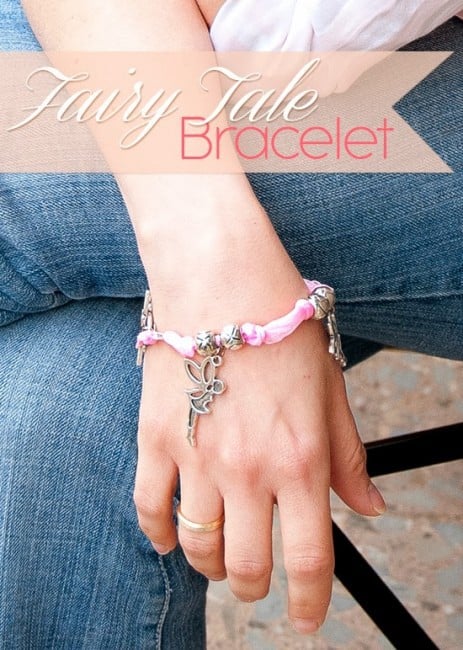
So here is what I’ve come up to last week among others. A bracelet with cute fairies pendants, how sweet!!!
Since I took picture step by step, there is no need of too much explanation, I’ll just point out important details so this post don’t get too long! =P
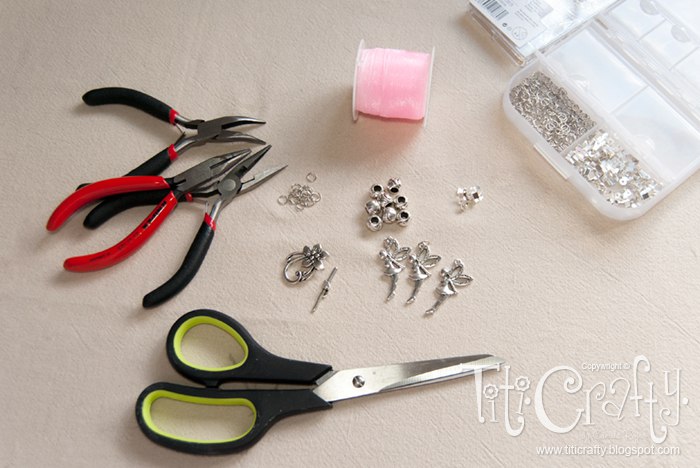
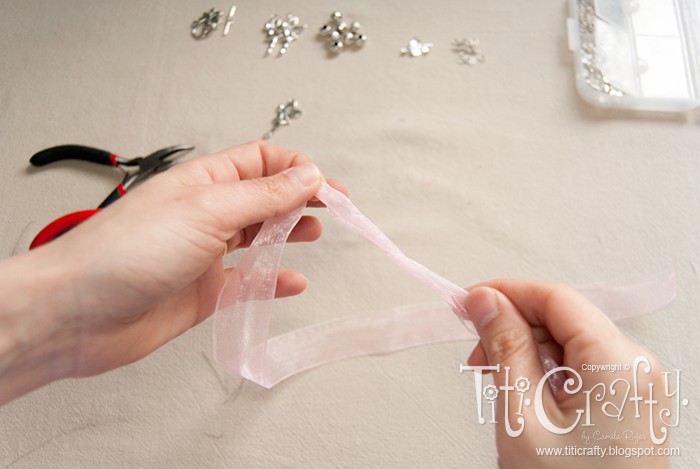
We start with the organza ribbon ribbon (You can use any other). I cut 1 mt (39-40″) 1″ wide. It is better to have leftover at the end.
Ok Lets start!!!
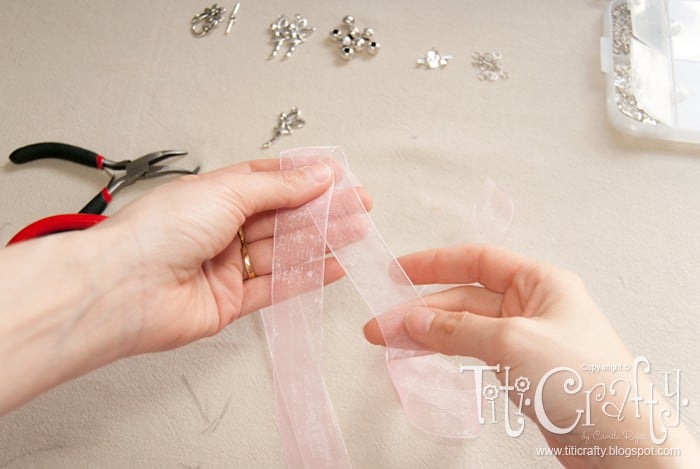
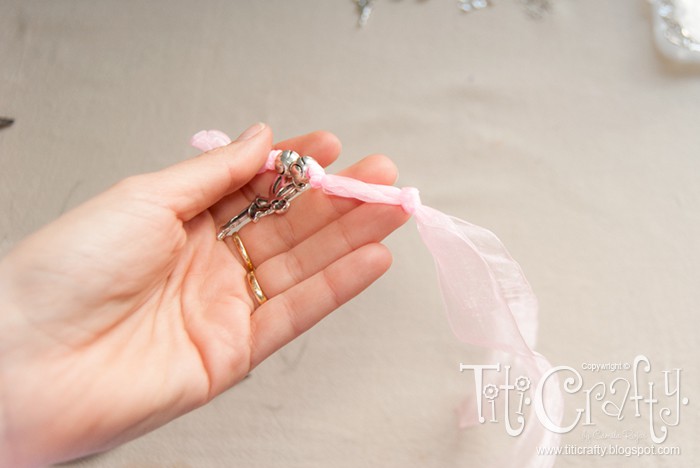
Fold ribbon in half. Make a tight knot in the middle.

This is to avoid fraying.
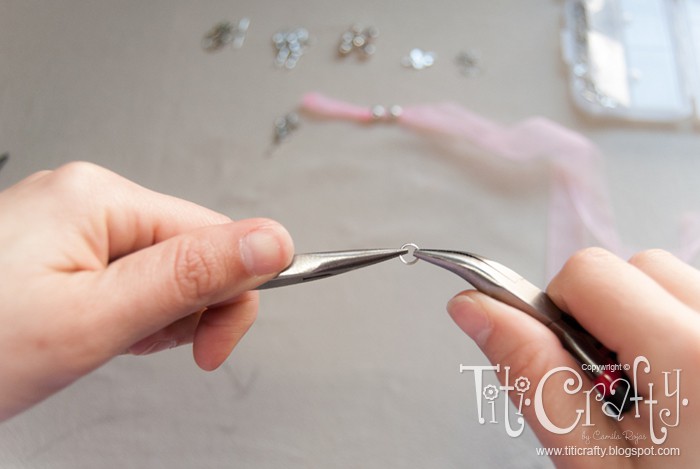
Swirl each side of the knot
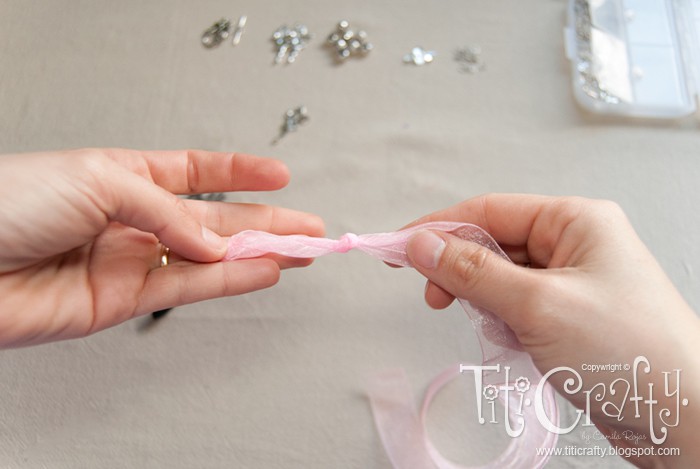
Tight both strips with a knot
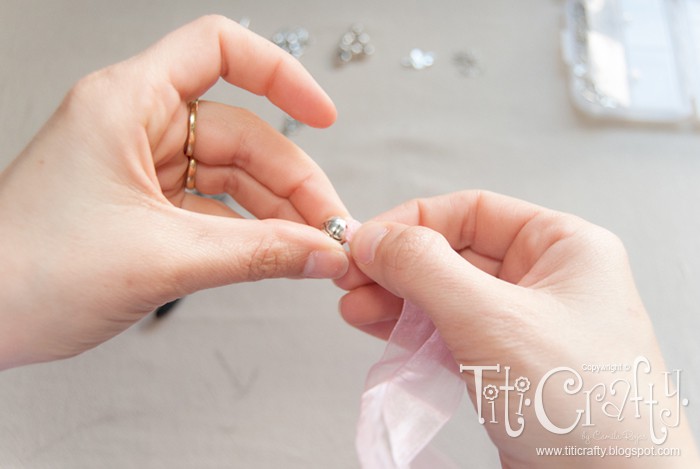
Insert the spacer after the knot
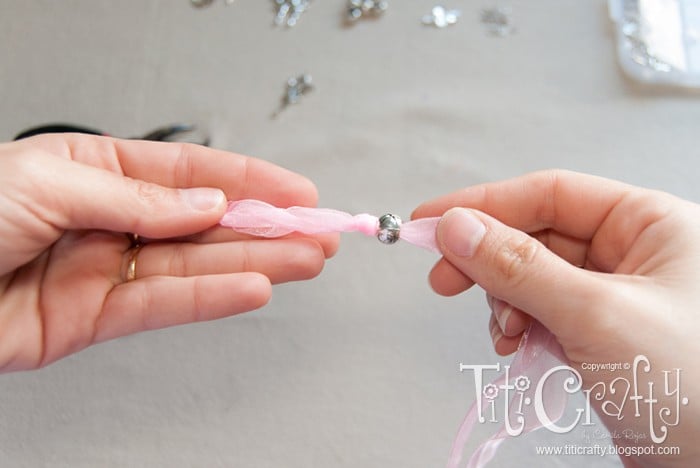

Insert another spacer after it
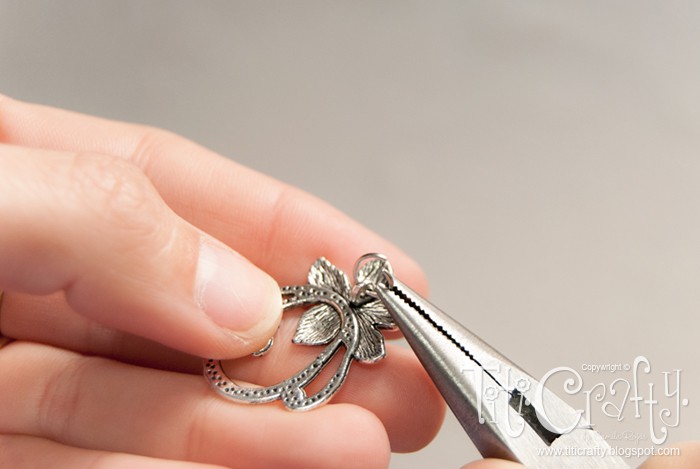
Open a little bit the jump ring

Insert the pendant in the jump ring
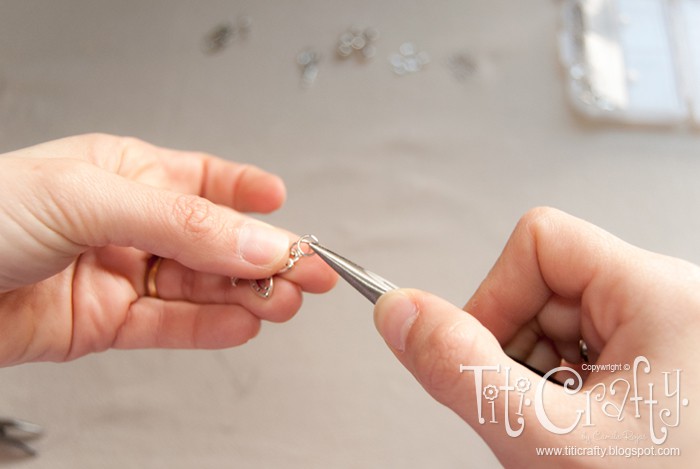
Insert the previous jump ring into another jump ring
Insert the ribbon (between the spacers) in the last jump ring.
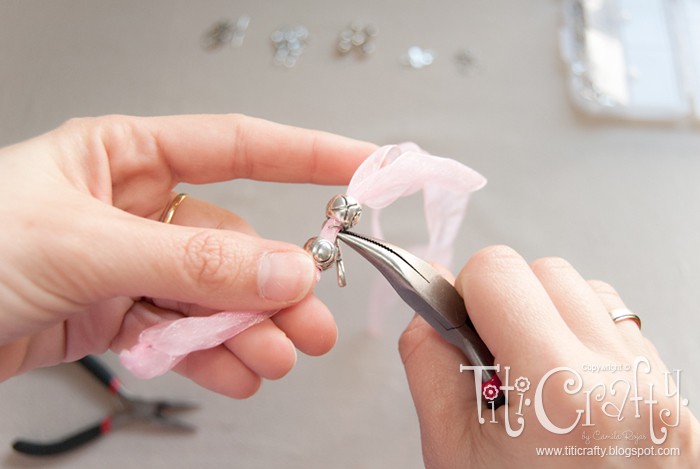
Close the jump ring tight

Ready the first section
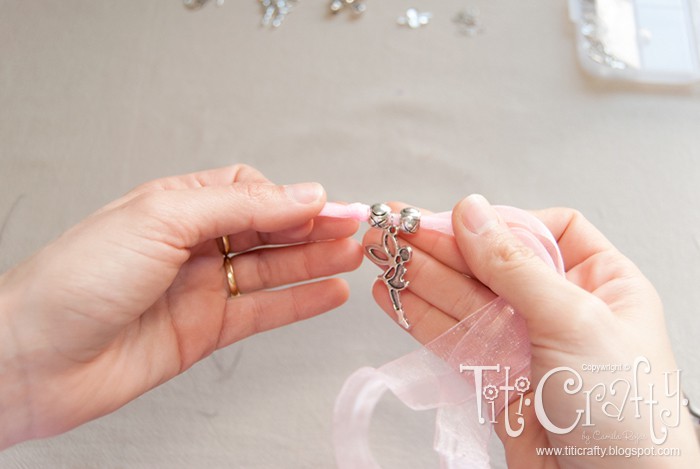
Leave a space (calculate the total length of your bracelet now that you have the first section), make another knot and repeat the process.
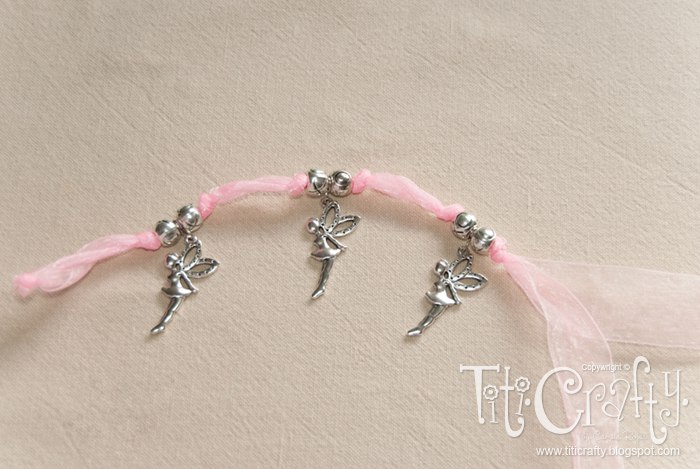
Here you go!
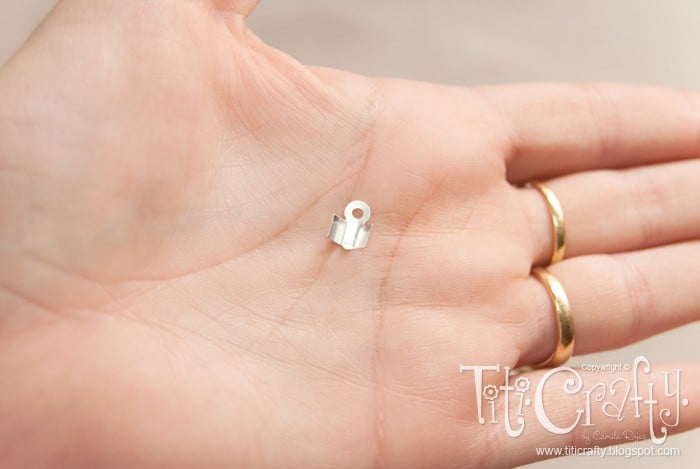
Cord ends

Place it right before where you want the bracelet to be closing (remember that the clasps make it a bit longer)


Tighten with a handle.
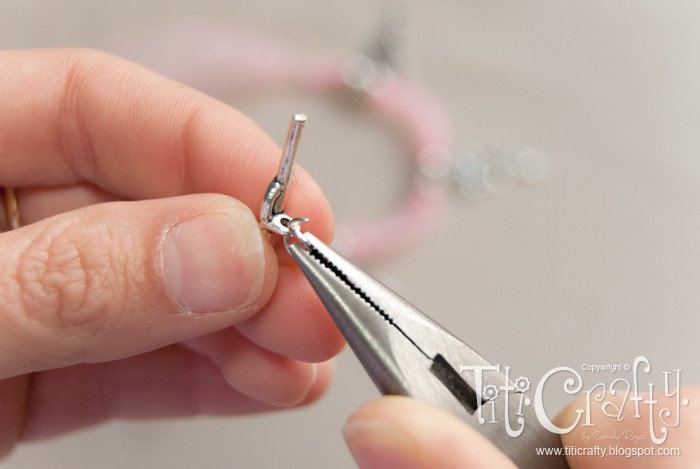

Insert the cord end and one part of the clasp in the jump ring of one end.
Do the same on the other end.

Make a tight knot right after the cord end and cut the leftover.
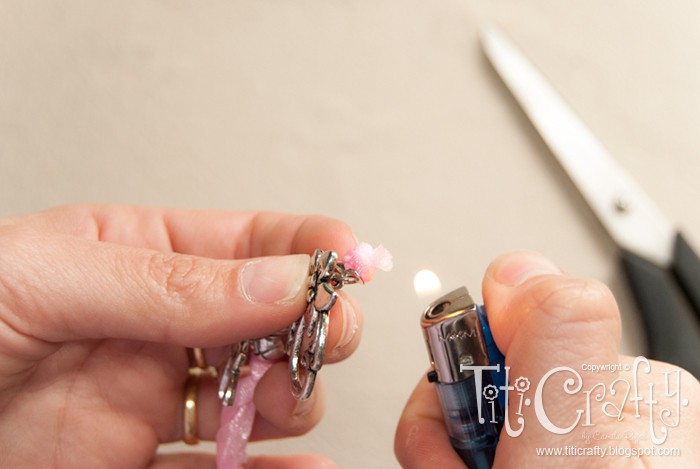
The same juts to avoid fraying.

Close it, try it and enjoy it!!!
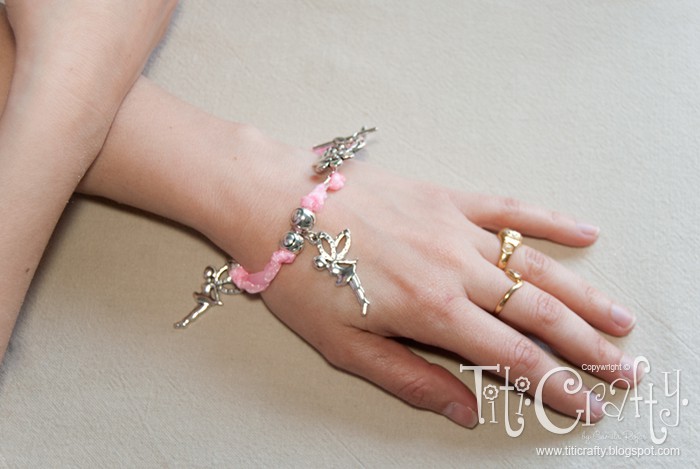
Ready!!!

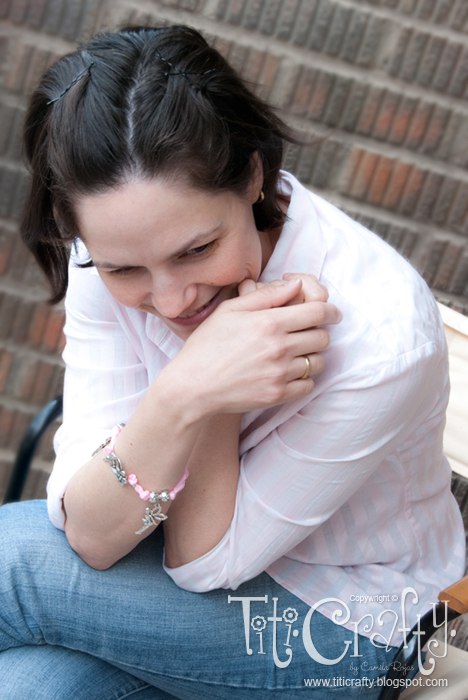

What do you think about this DIY Fairy Tale Bracelet? Cute, isn’t it? Perfect for girls and not so girls =D
Til’ next time…


FREE WORKBOOK
Keeping your Sweet Home Organized
Learn how to create intentional habits and simple routines to Keep Your Home Organized. Plus freebies, printables, exclusive content, and tips.
Disclaimer: By clicking on the “Yes” button above you are giving me your consent to collect and use your information according to the law and My Policy Privacy. Zero Spam I promise!
I love that you did this with a ribbon! It is so pretty. I want to make one now, I will need to go find some pretty beads and ribbon. Thank you for sharing with Snickerdoodle Sunday!
Simple, yet beautiful! Happy SITS day.
I enjoyed your post! Super cute bracelet and great tutorial! I really felt like I could follow along with what you’re doing, and make one myself!
Happy SITS Day!
So cute!! My oldest daughter would LOVE this (she is 8). I love your pictures, too! So easy to see what’s going on and easy to follow along! Thanks for sharing!
Happy SITS day Cami – your website is gorgeous!!
Beth at http://www.goodnessgraciousliving.com
such a pretty ribbon bracelet!Marie @ In Our Happy Place
oh my daughter will love this.. we are a very crafty family.. my parents are both artist.. my mom used to call us the vancraft family lol.. will be sharing the fun with my daughter! thanks for the tutorial!
Very cute, Camila. That would be a great Valentine’s Day gift a special little girl. Didn’t know that was how to keep ribbon from fraying:) Happy SITS
It is really beautiful Camila! Coming by fro SITS, congratulations on your feature day at SITS!
So pretty and simple. Thanks for sharing.
Pretty! I’ve never made jewelry before–now you’ve made me want to try! Visiting from SITS…
I love that bracelet! I’ll have to come back to learn how to do this. Making jewelry is something I’ve wanted to learn to do lately, especially earrings and necklaces, because I can never find what I’m envisioning.
Way to go Cami! It’s soooo pretty!Thanks so much for sharing this at The DIY Dreamer… From Dream To Reality! I can’t wait to see what you link up tomorrow evening!
Thanks so much Christine, made with lots of love!!!!
xoxo
Cami
The tutorial is just great! Just wanted to drop you a note to thank you for sharing this on BeBetsy at the BRAG ABOUT IT Tuesday Party. You have a wonderful site with lots of fun things to learn. Visit us at http://bebetsy we’d love to see you again! Sharon and Denise
Thanks so much BeBetsy! I really put a lot of love on my blog and in everything i make here!!!
Hugs
Cami
This is a very neat bracelet! Thanks for sharing the Friday Follow Along Party! http://www.leahinspired.com
Thank so much for your kind words and for stopping by!
Hugs
Cami
Pinning!!!! Love these tutorial:))) I am just dropping in from Lets Get Social Sunday to thank you for joining in!!
Hugs
Evelyn
@ My Turn for us
http://www.myturnforus.com/
Hey Evelyn, so happy to have you here!!! Thank you so much for your kind comment and for stopping by! Hope to have you back soon!
Hugs
Cami
Oh this is adorable! Love the step by step pictures!I would love for you to share this at my link party, On Display Monday.http://craftandrepeat.wordpress.com/2013/05/06/on-display-monday-link-party-1/HUGSBrianna
Thank you so much, I’m so glad that you like it and inspires you!… I’ll be there next Monday thanks for the invite!
Hugs
Cami
So cute!! I love how you make the steps so easy.
Woohoooo Thanks you so much Dana!!! Glad you like it!
Hugs
Cami
very pretty! xo
Thank you Katherine, Happy that you sopped by, hope to have you back soon!!!
Hugs
Cami