DIY Fabric Placemats with Chevron painted effect
This post may contain affiliate links. Please read our Disclosure Policy.
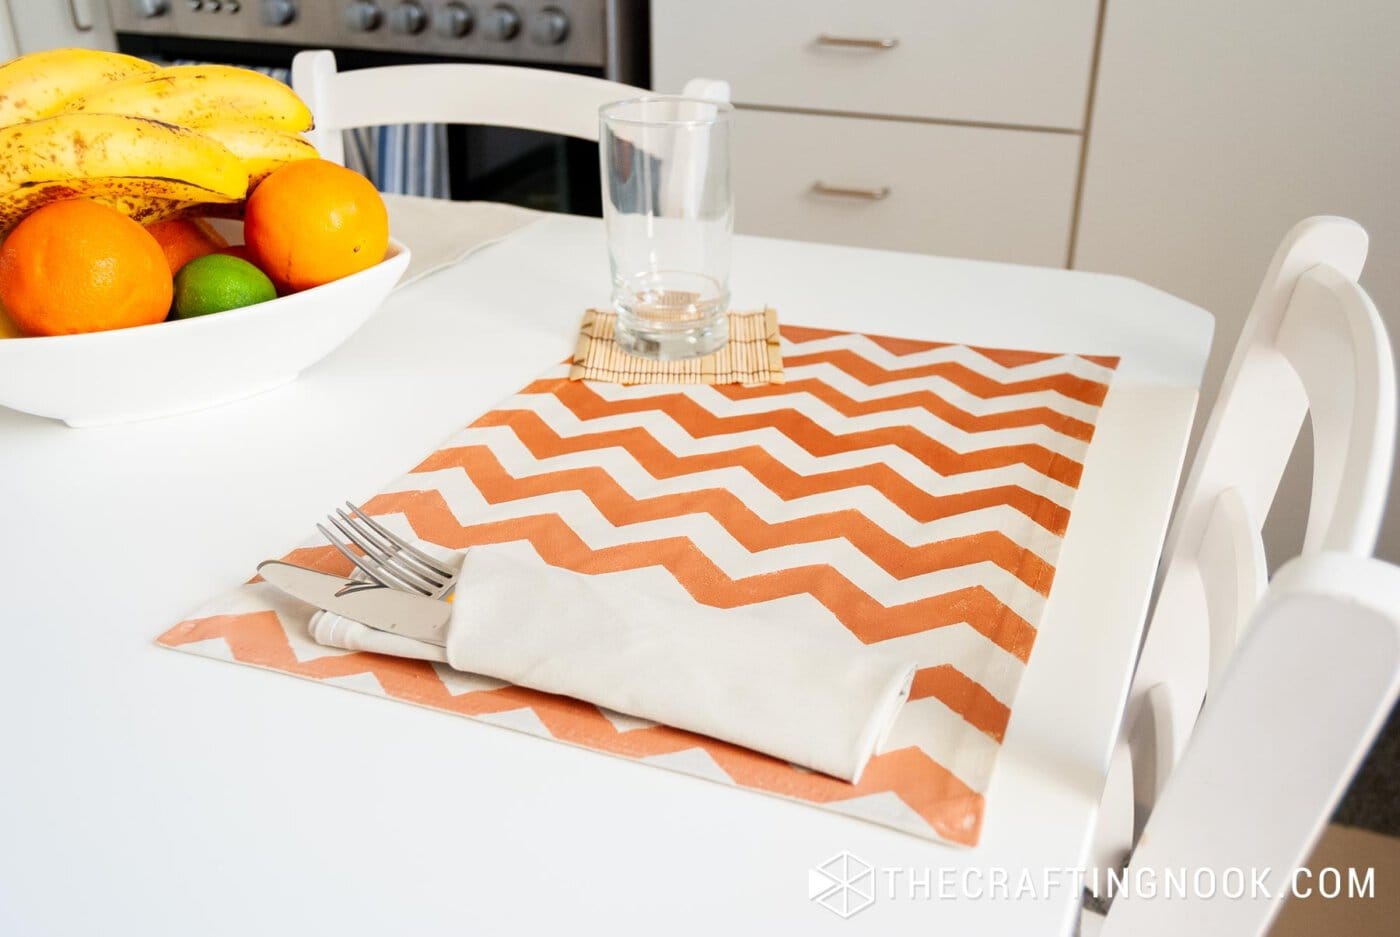
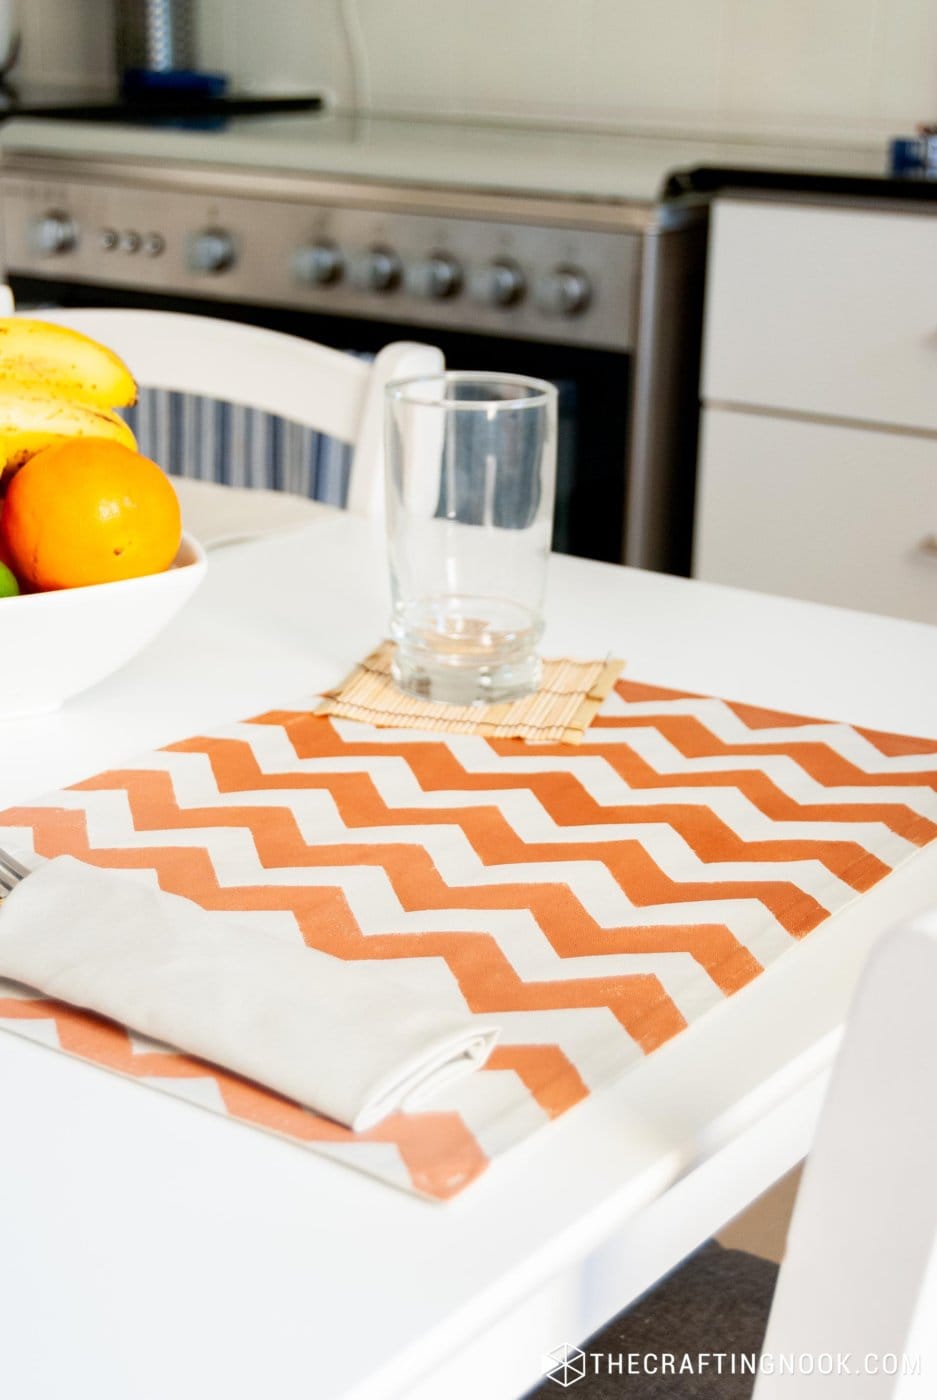
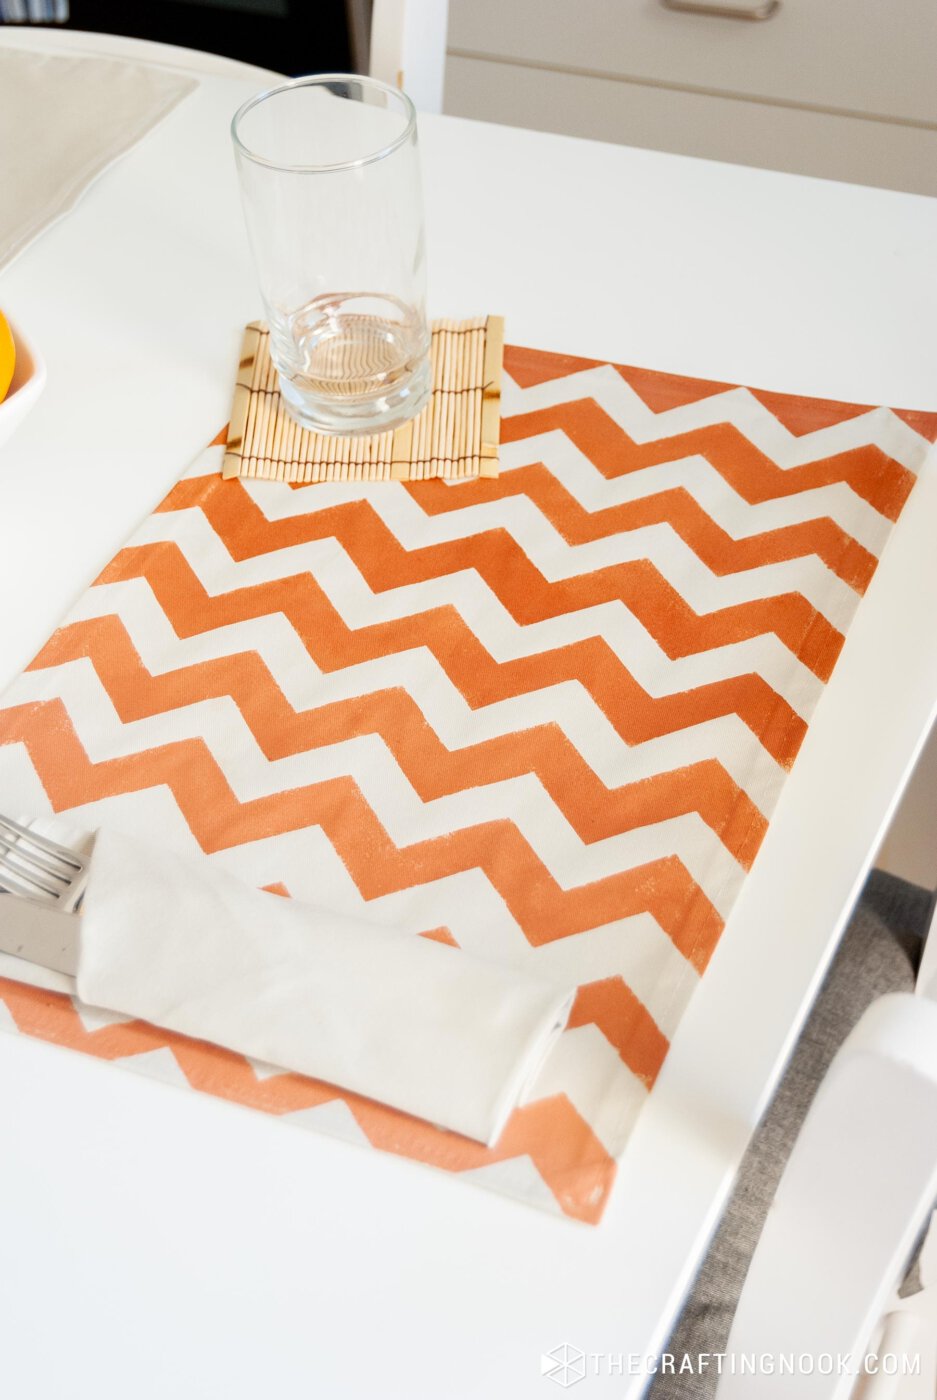
You can make your own DIY fabric placemats with a chevron painted effect using freezer paper and fabric paint just like mine. A fun and simple craft project perfect for any age!
I’m sharing a fun and super decorative craft. I made some ombre chevron placemats, believe it or not, I love Chevron and this is the very first chevron craft that I make.
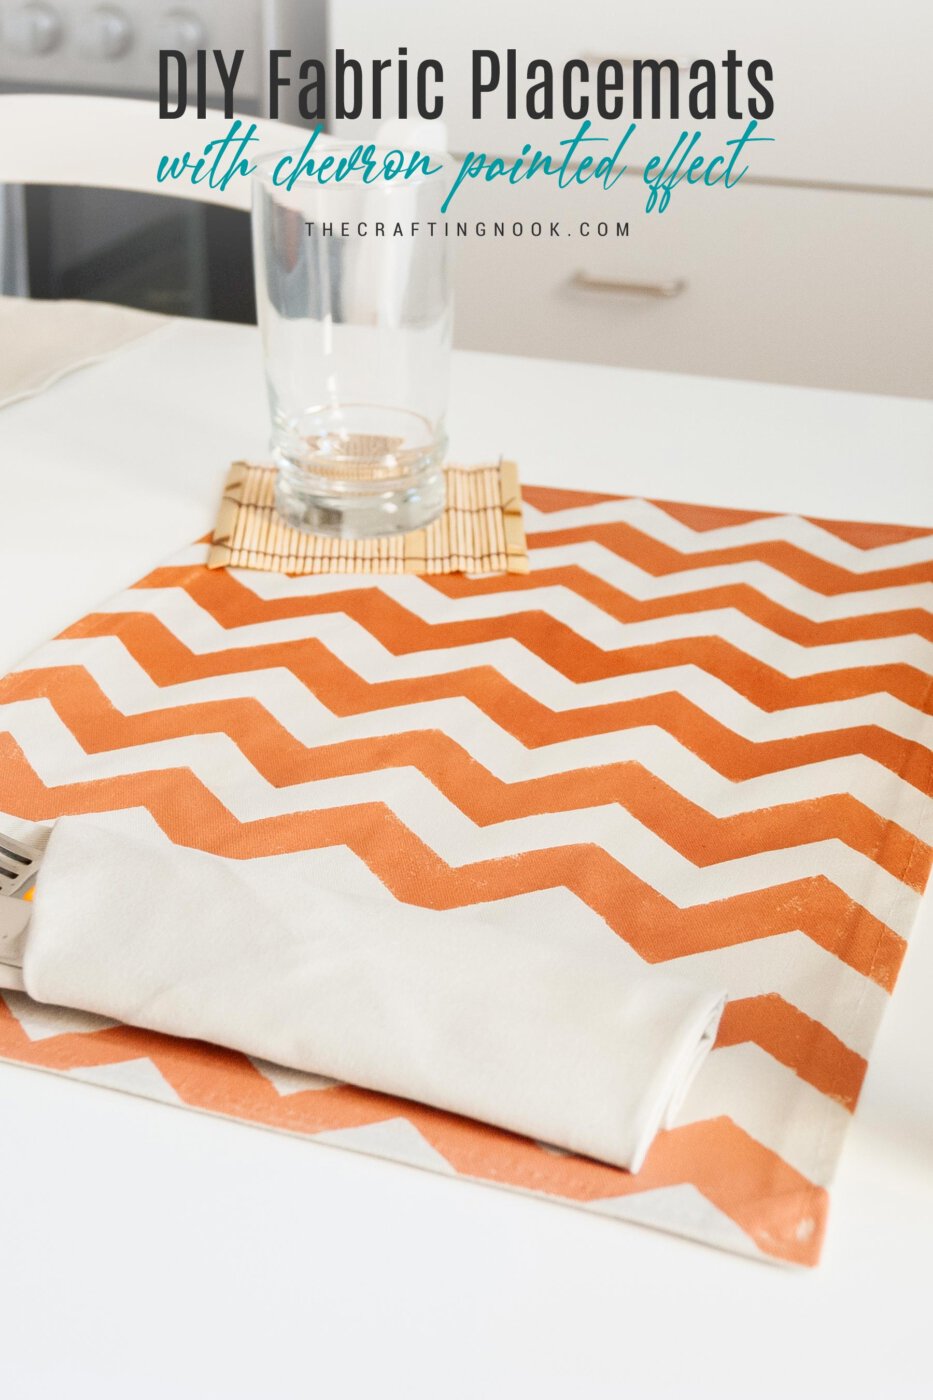
Table of Contents
Ombre Chevron Fabric Placemats Tutorial
This craft is really fun and easy to make, I love playing with paint and this project was no different. Trust me I got my hands really dirty.
For this project, I used freezer paper because is so super easy to use and instead of using a brush, I used a sponge. Nothing fancy, just a normal yellow kitchen sponge.
Working with Freezer paper is super fun and the results are so good. It can take a few tries until you get the hang of it when it comes to using it as stencil and paint on it but trust me is super worth it.
I love how my stenciled monogram Pillow turned out using only freezer paper and black paint. So I keep using it and here you have it.
How to Make Fabric Placemats and stencil paint on it
Supplies:
- 4 rectangle pieces of fabric– 18×14 Inch (45×35 cm)
- Fabric Paint – the color of your choice + White
- Freezer paper
- Sponge
- Matching Thread
- Protective plastic – for the surface you will be working on.
Tools:
- A plastic or glass plate
- Iron and ironing board
- Fabric Scissors
- Ruler or rotary cutter
- Sewing Machine with presser foot.
- Cutting Machine – this is optional since you can draw and cut your own chevron strips of freezer paper.
Instructions:
Hemming is not really my strongest suit. It might just be a case of impatience. therefore it’s the last thing I want to do on a sewing project. Ironically hemming is the only thing you need to stitch to finish the project.
Usually there seemed to be a lot of steps involved in hemming but my impatient brain is telling me it was overcomplicated so I made up my own kind of simpler thing.
Making the Fabric Placemats
Once you have your 4 pieces of fabric cut, I recommend ironing them to get them ready.
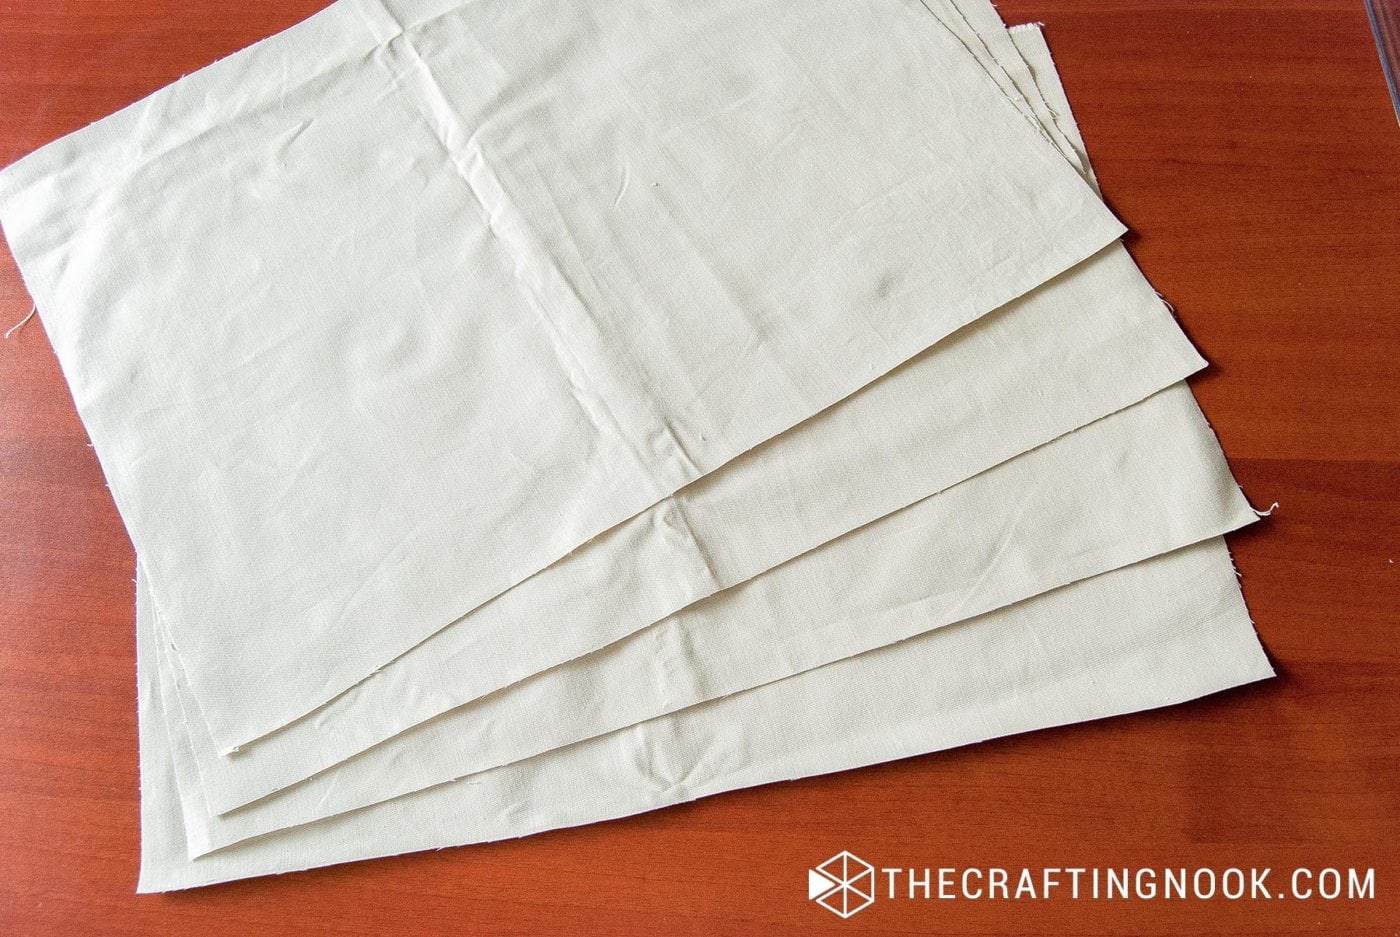
Hem around each side of the fabric. I like to fold 1/4 inch twice.
Working on the wrong side of the fabric make the first fold with raw edges and press the hem towards the wrong side of the fabric to create fold lines. First on one side then on the alternating side.

Now fold the tip of the corner towards the wrong side of the fabric, where the two seam allowances intersect. I like using a mark-n-be-gone marker, but you can also eye ball this and simply fold over and press the fold line.

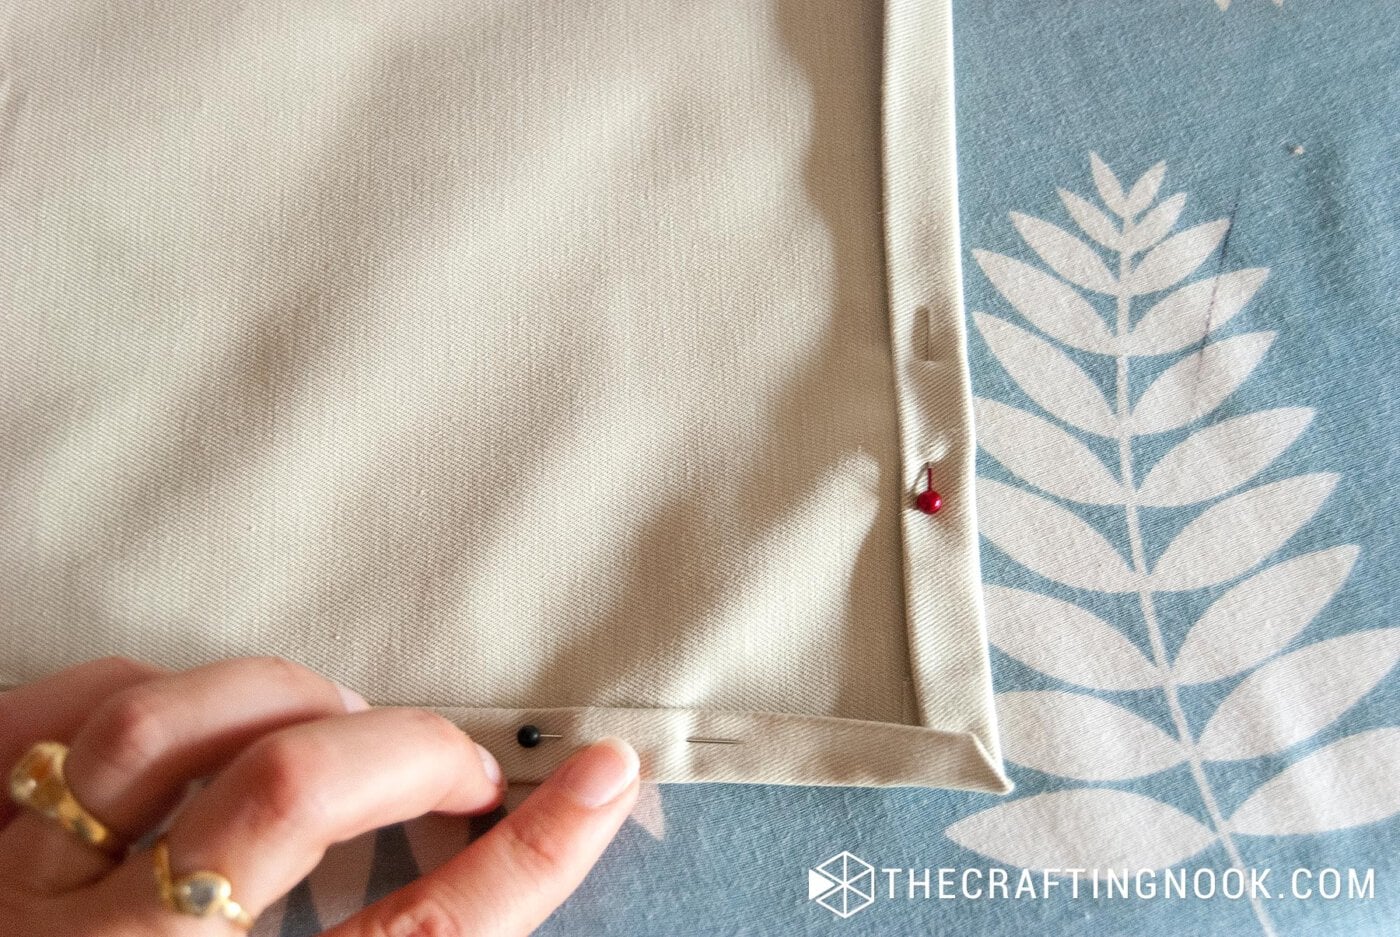
Refold the other hem edges creating a diagonal line between both sides. Press and pin in place to proceed with stitching.
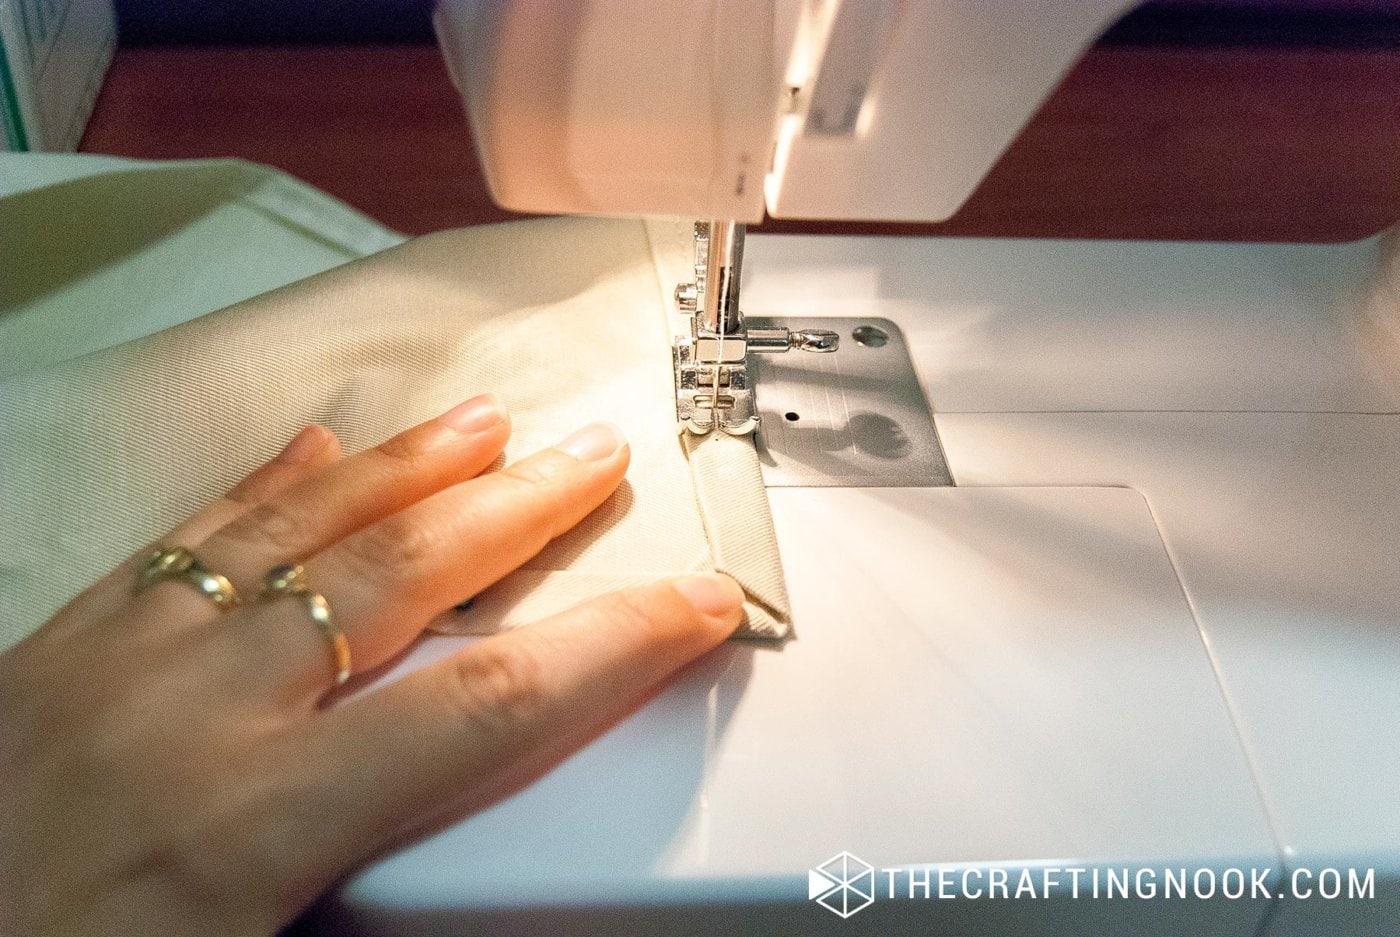
Press again once you have stitched all along the hem.
Repeat with all the other 3 placemats.
Painting the Placemats
I cut some chevron stripes of freezer paper with my Silhouette Cameo.
You can do it either with a cutting machine, cutting the chevron yourself on the freezer paper or even using masking tape to create the chevron pattern if you want.
Place the chevron freezer paper stripes over the right side of the fabric trying to keep an even distance between each stripe.
Iron it onto the fabric well.
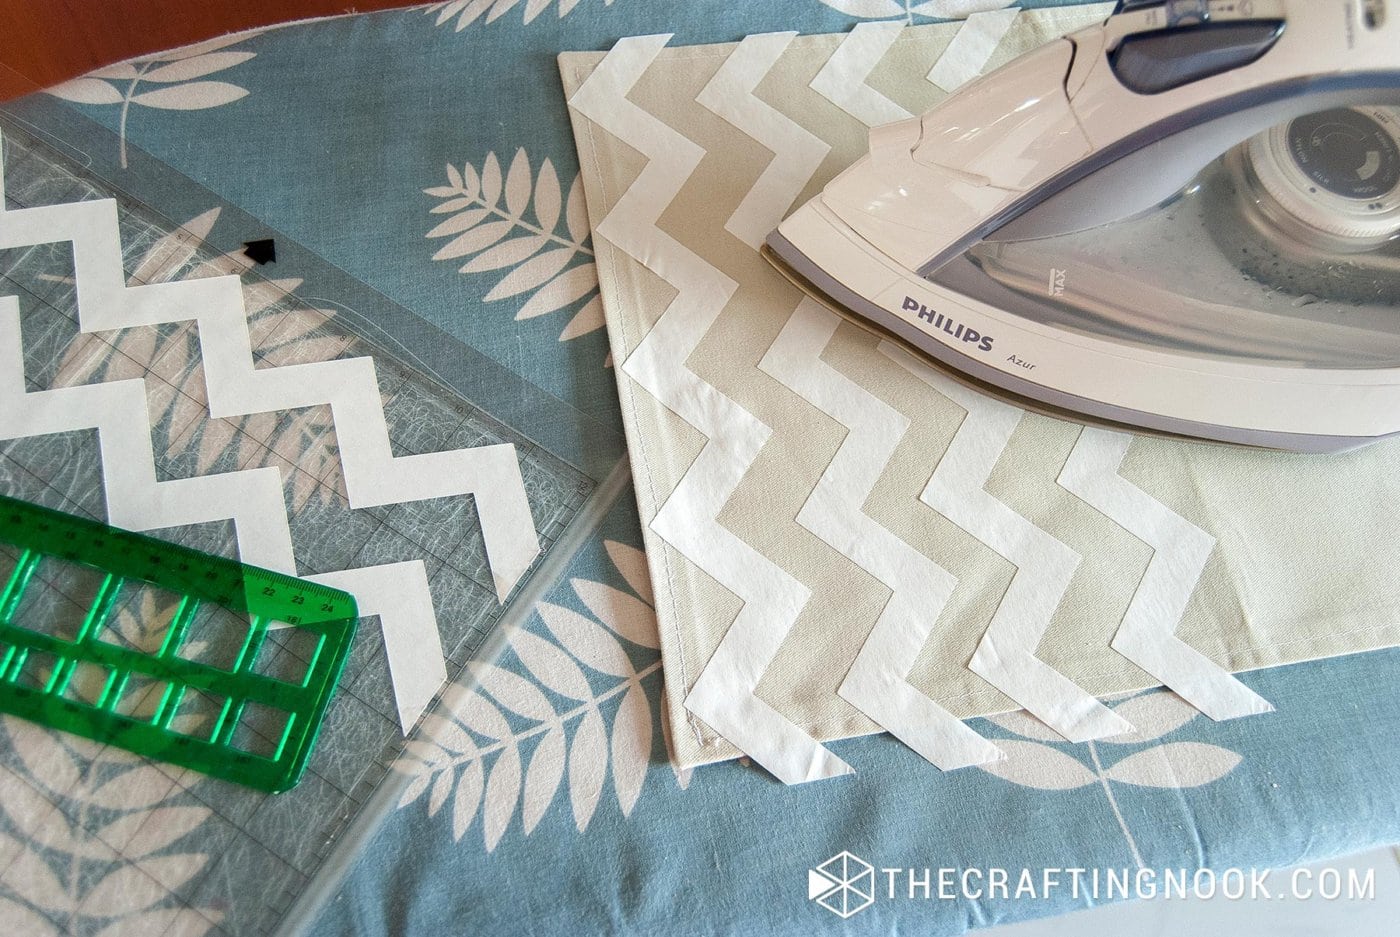
Repeat the process with all the other placemats.
Place some paint on a plate and with the sponge, I spread the paint with small taps until fills the area.
NOTE: Please don’t forget to protect your surface with plastic or paper before starting painting. I forgot and made a bit of a mess. Learn from my mistakes, please!
I like it like that because the paint doesn’t leak into the freezer paper.
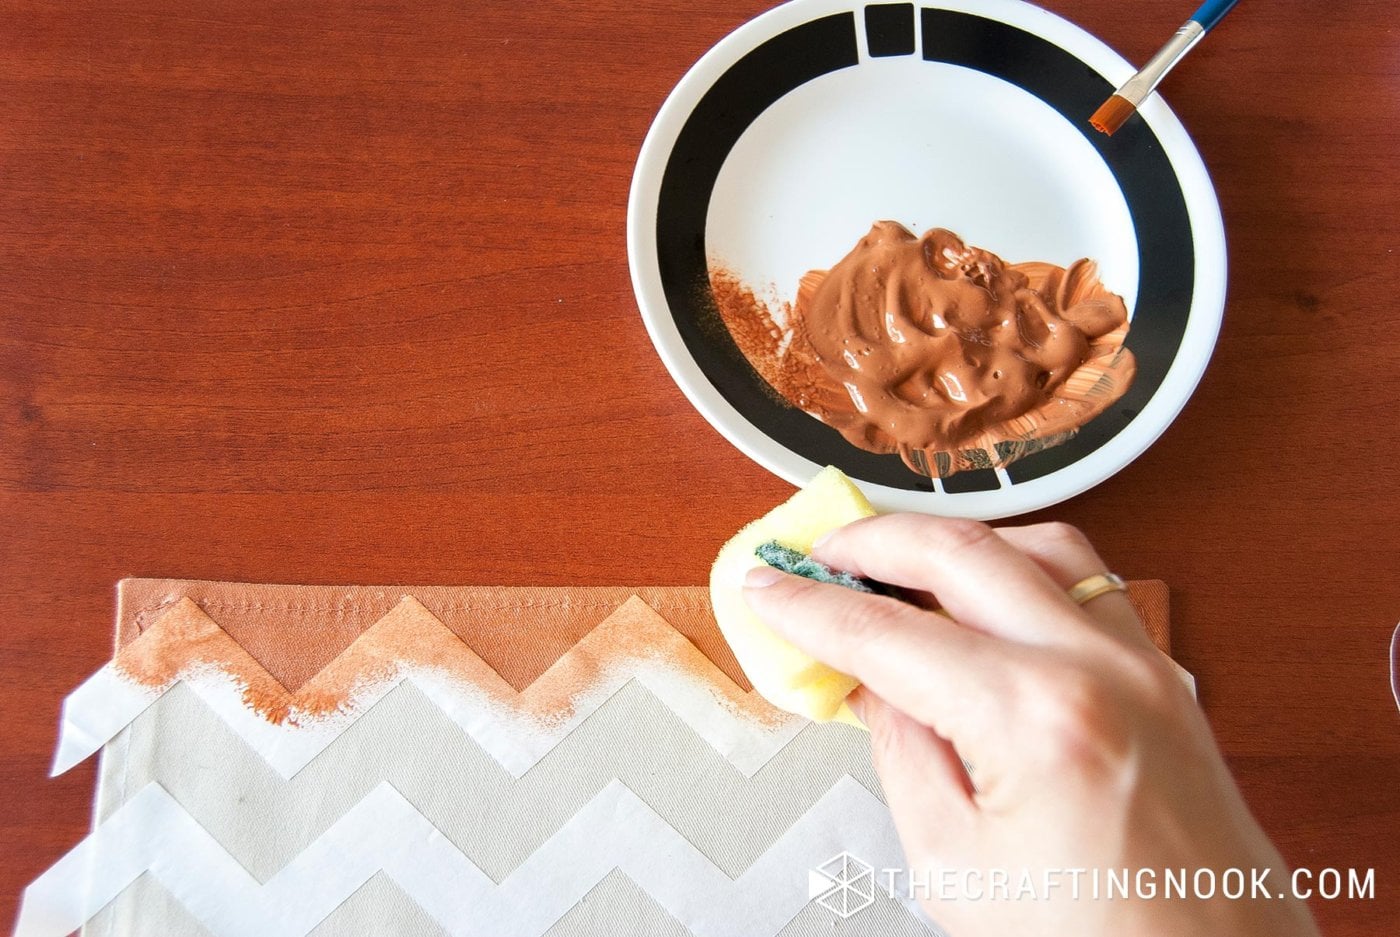
Every 2 or 3 rows add some white paint to the color you are using and mix well with a stick or brush.
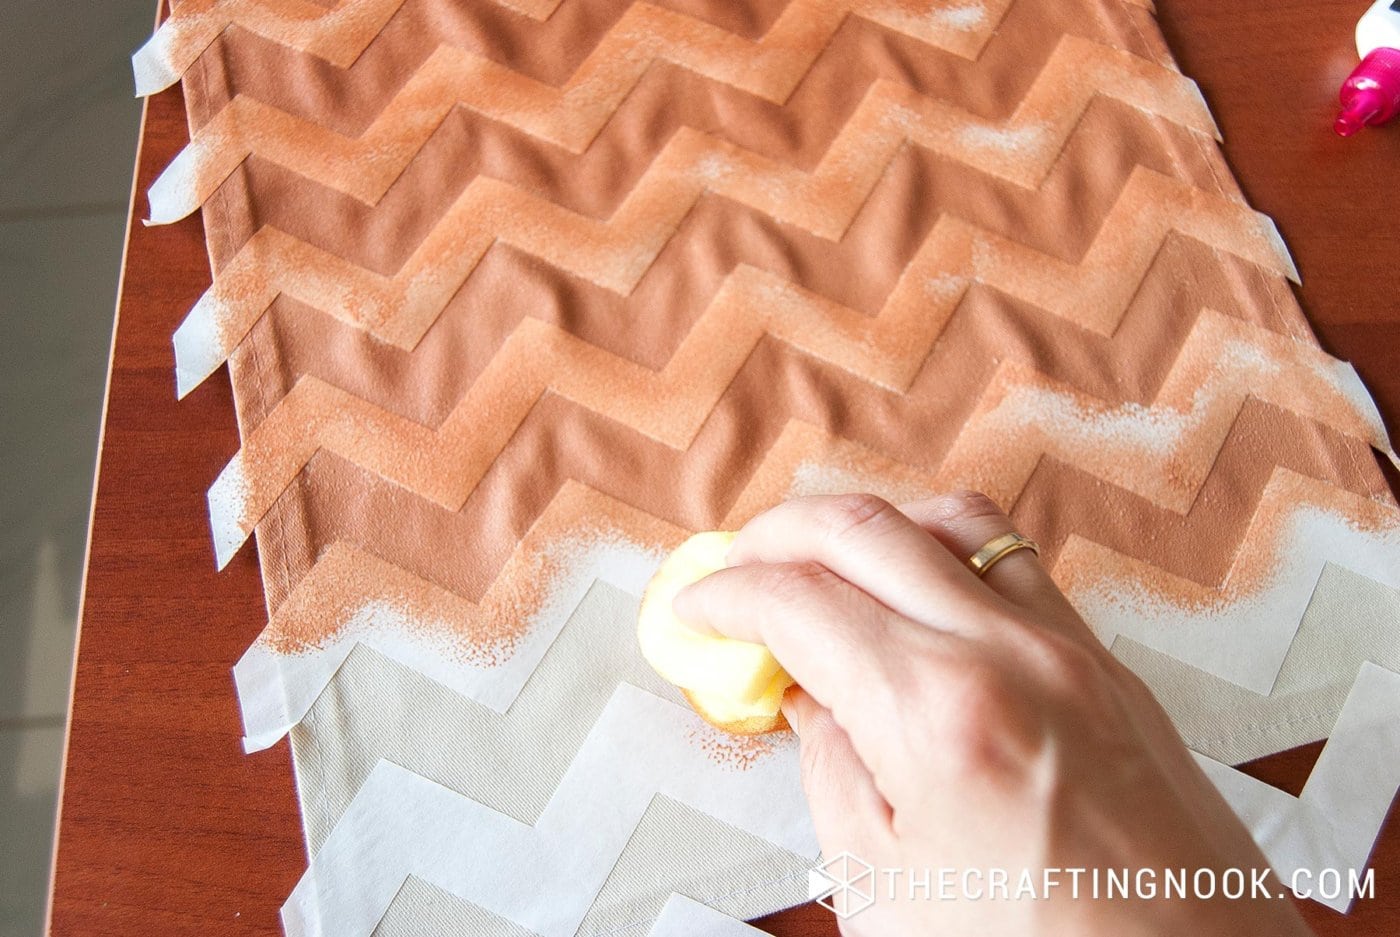
Keep doing this until you finish the placemat and all the rows are painted.
Let it dry well.
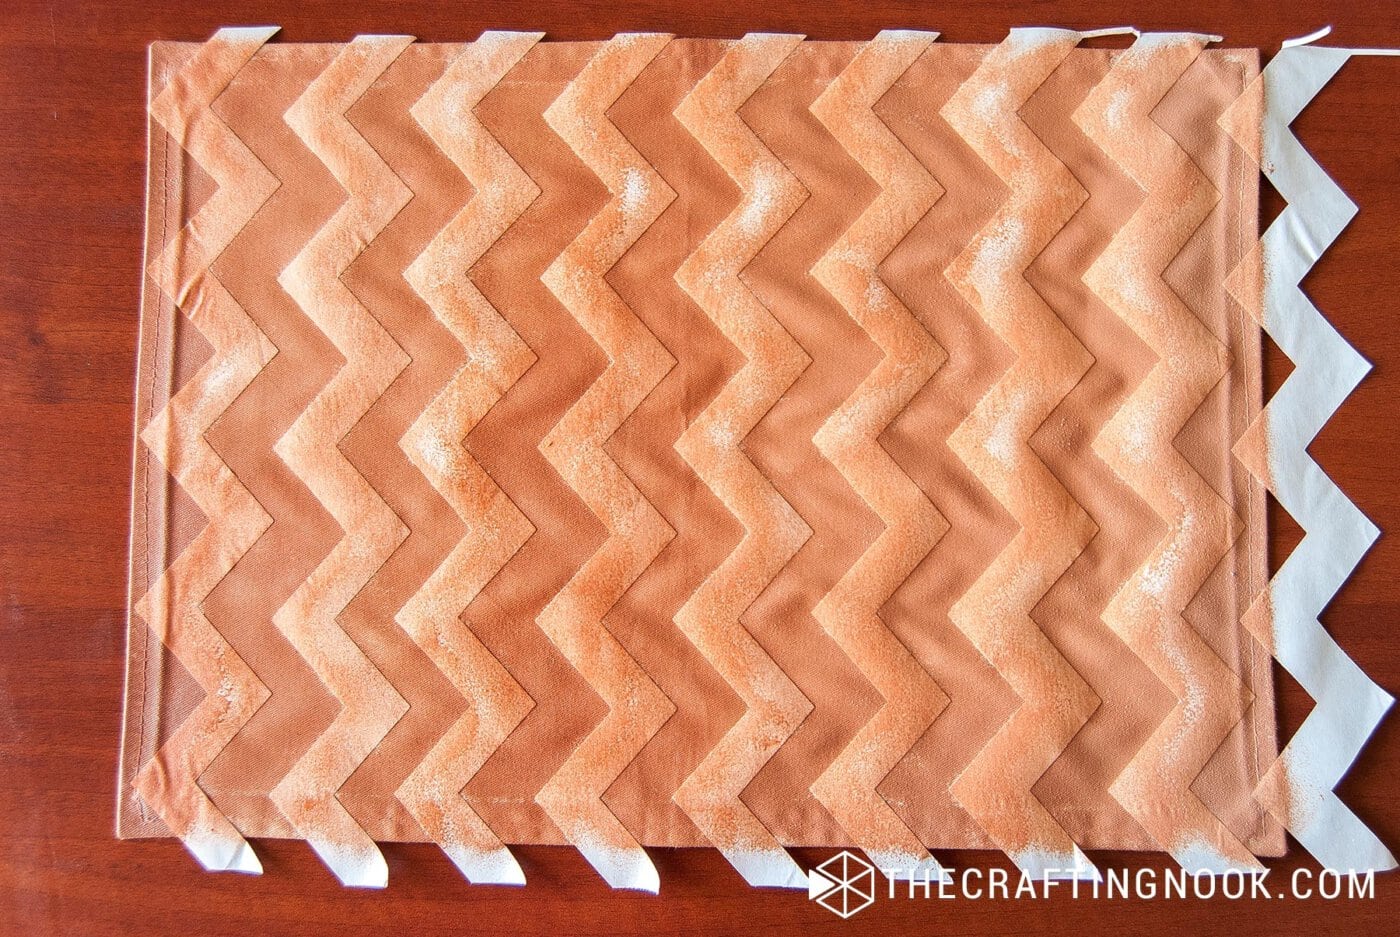
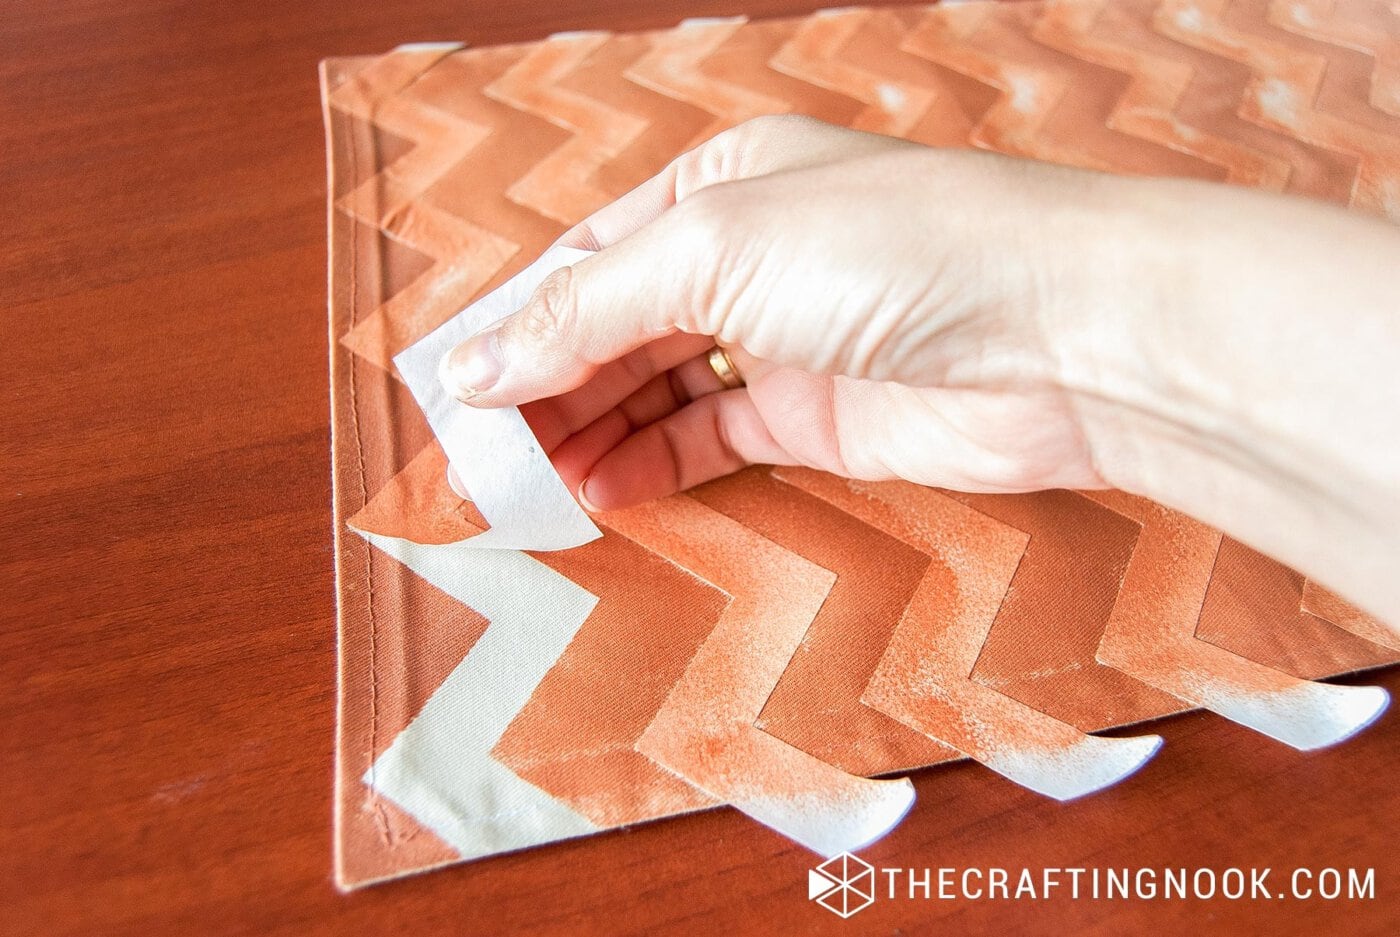
Once dry, remove the freezer paper carefully.
I love this part, it’s kind of satisfying the feeling and sound when peeling off.
That’s it!
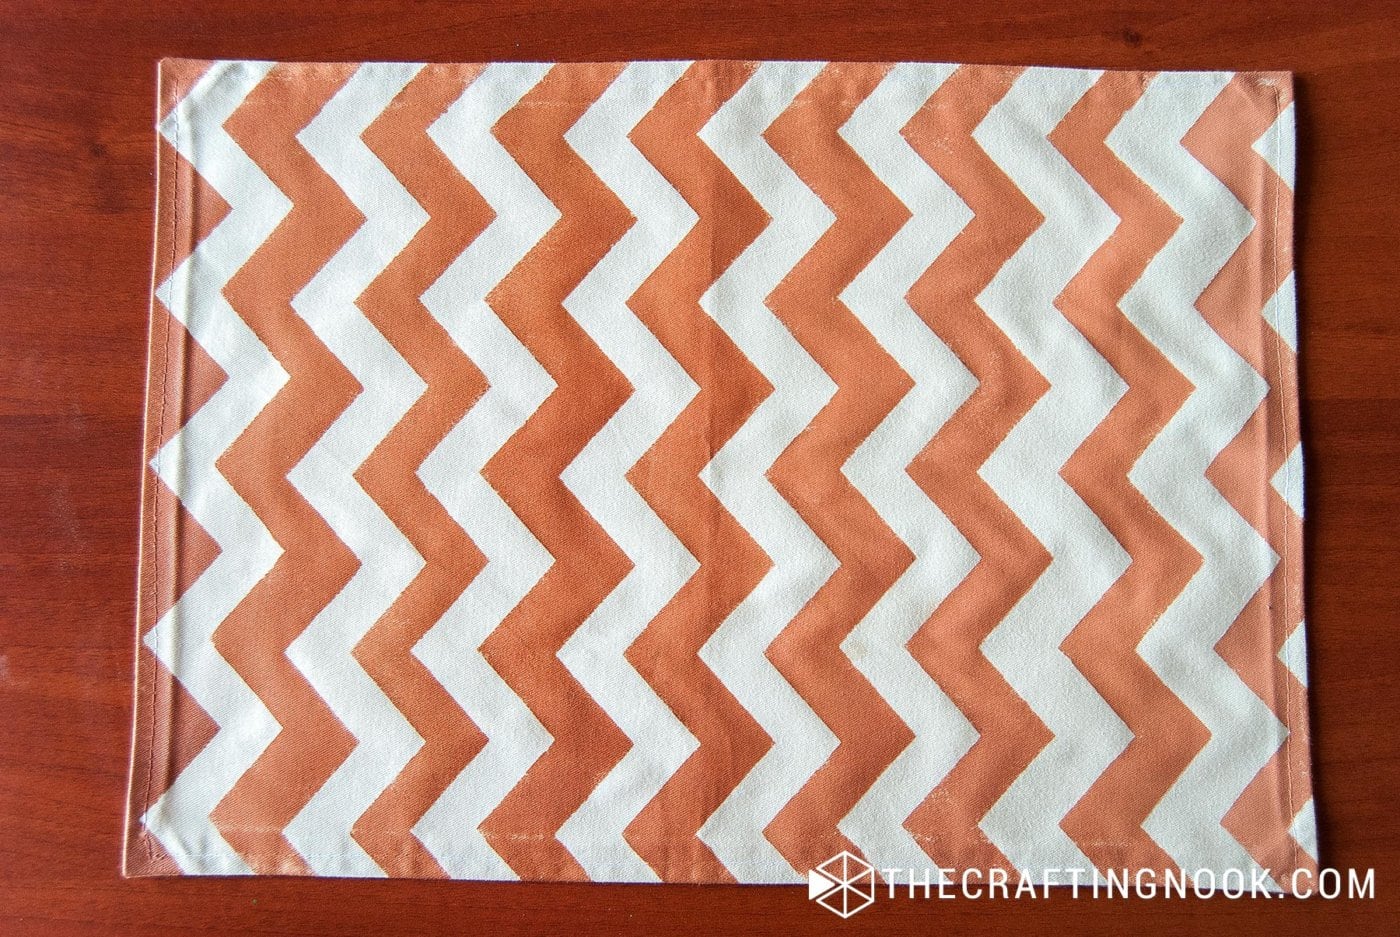
Repeat with the other placemats and you got yourself a cute new set of DIY Fabric Placemats!
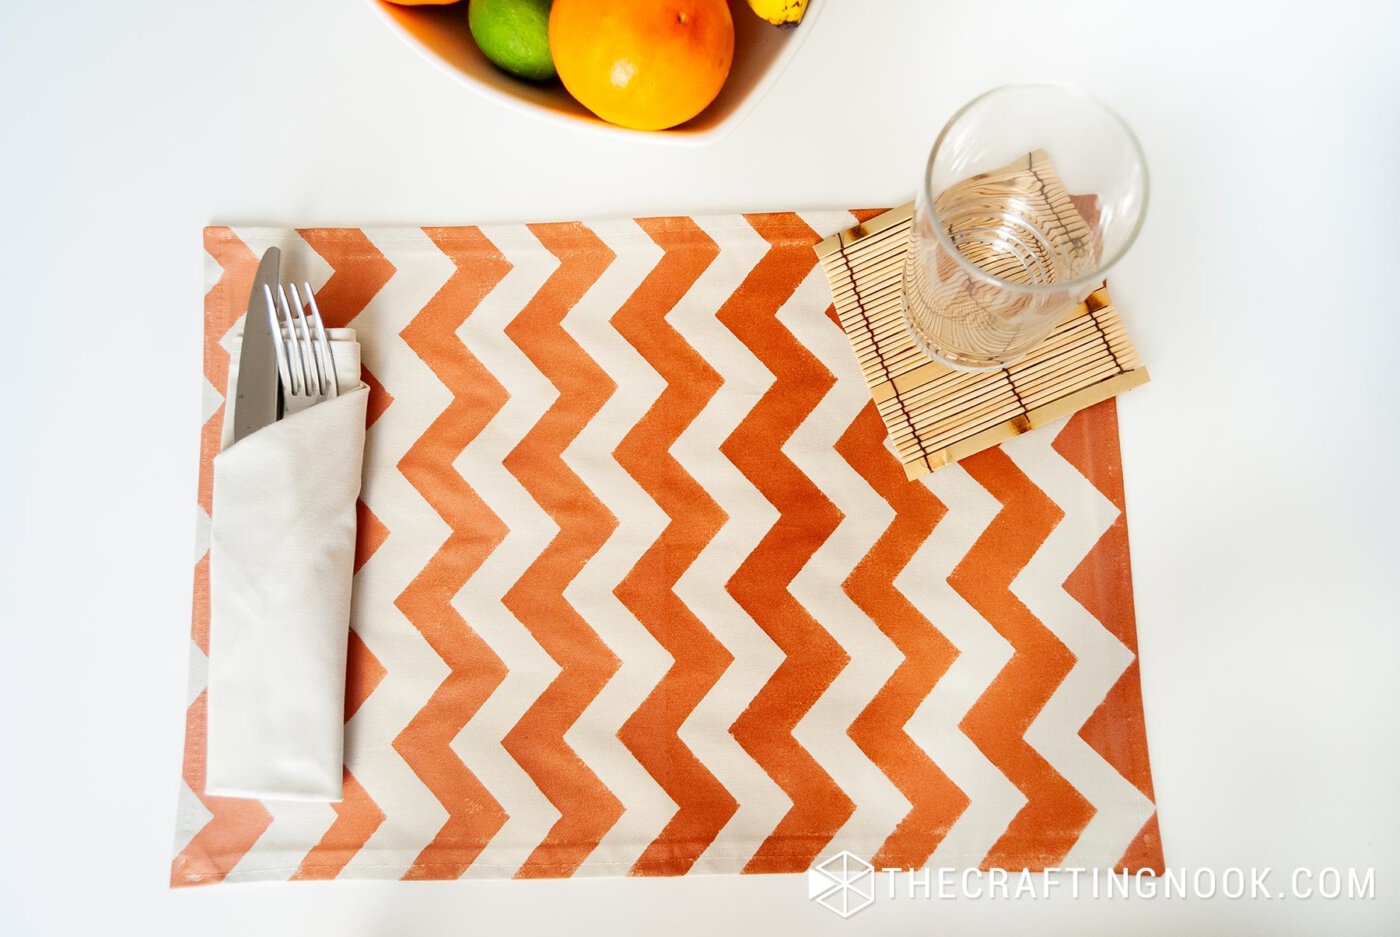
You can’t get it easier than that.
Crafting Tips
- For a sturdier and more durable placemat, use canvas or duck cloth. These fabrics hold paint well and add a rustic feel.
- If sewing isn’t your thing, purchase plain, pre-made fabric placemats and customize them with your painted design.
- Personalize each placemat with monogrammed initials. This works great for a family dinner or as a personalized gift.
- For a fun and playful look, use a splatter paint technique. Flick paint onto the placemat for a dynamic, modern design.
Alternatives and Substitutions
- If sewing isn’t your thing, purchase plain, pre-made placemats and customize them with your painted design.
- Instead of hemming, use fabric glue along the edges for a quick, no-sew option. This is ideal for those who want to avoid sewing altogether.
- Instead of chevron, use geometric shapes like triangles, hexagons, or polka dots. Create stencils using freezer paper or masking tape for these patterns.
- Use tape or paper to create abstract shapes and lines. This allows for a more freeform and modern look, where you can play with different colors and brush techniques.
- Instead of freezer paper, use plastic stencils that can be reused for multiple projects, making the process faster and more economical in the long run.
Frequently Asked Questions
For DIY placemats, it’s best to use medium to heavyweight fabrics such as cotton, canvas, linen, or duck cloth. These fabrics are durable, easy to work with, and provide a good surface for painting. Avoid lightweight fabrics like chiffon or silk, as they may not hold paint well and can be too flimsy for placemats.
No, it’s not recommended to use regular paint. Fabric paint is specially formulated to adhere to fabric and remain flexible without cracking. Regular paint may stiffen the fabric, crack over time, or wash off. If you don’t have fabric paint, you can use acrylic paint mixed with a fabric medium to make it suitable for fabric projects.
To prevent paint from bleeding under the stencil, make sure to iron the freezer paper stencil securely onto the fabric so it adheres well. Use a minimal amount of paint on the sponge and dab lightly. Avoid applying too much paint at once.
Yes, you can use other stencil materials, such as adhesive vinyl, Masking tape or painter’s tape, or Reusable plastic stencils.
To clean your painted fabric placemats wait at least 24-48 hours for the paint to fully cure.
Hand wash or use washing machine on a gentle cycle with mild detergent and cold water. Avoid scrubbing directly on the painted areas. You can air dry them but if you used a high-quality fabric paint, you can also use your dryer in a lower temperature cycle.
More Sewing Projects To Try
Like this DIY Fabric Placemats tutorial? You might definitely love these other Sewing project ideas too:
✂️ Tutorial
DIY Fabric Placemats with Chevron painted effect
Tools
- A plastic or glass plate
- Iron and ironing board
- Fabric Scissors
- Ruler or rotary cutter
- Sewing Machine with presser foot.
- Cutting Machine – this is optional since you can draw and cut your own chevron strips of freezer paper.
Supplies
- 4 rectangle pieces of fabric – 18×14 Inch (45×35 cm)
- Fabric Paint – the color of your choice + White
- Freezer paper
- Sponge
- Matching Thread
- Protective plastic – for the surface you will be working on.
Instructions
Making the Fabric Placemats
- Once you have your 4 pieces of fabric cut, I recommend ironing them to get them ready.
- Hem around each side of the fabric. I like to fold 1/4 inch twice.
- Working on the wrong side of the fabric make the first fold with raw edges and press the hem towards the wrong side of the fabric to create fold lines. First on one side then on the alternating side.
- Now fold the tip of the corner towards the wrong side of the fabric, where the two seam allowances intersect. I like using a mark-n-be-gone marker, but you can also eye ball this and simply fold over and press the fold line.
- Refold the other hem edges creating a diagonal line between both sides. Press and pin in place to proceed with stitching.
- Press again once you have stitched all along the hem.
- Repeat with all the other 3 placemats.
Painting the Placemats
- I cut some chevron stripes of freezer paper with my Silhouette Cameo.
- You can do it either with a cutting machine, cutting the chevron yourself on the freezer paper or even using masking tape to create the chevron pattern if you want.
- Place the chevron freezer paper stripes over the right side of the fabric trying to keep an even distance between each stripe.
- Iron it onto the fabric well.
- Repeat the process with all the other placemats.
- Place some paint on a plate and with the sponge, I spread the paint with small taps until fills the area.
- I like it like that because the paint doesn’t leak into the freezer paper.
- Every 2 or 3 rows add some white paint to the color you are using and mix well with a stick or brush.
- Keep doing this until you finish the placemat and all the rows are painted.
- Let it dry well.
- Once dry, remove the freezer paper carefully.
- I love this part, it’s kind of satisfying the feeling and sound when peeling off.
- That’s it!
- Ombre Chevron Placemats done
- Repeat with the other placemats and you got yourself a cute new set of fabric placemats!
Notes
Share and PIN ME!!!
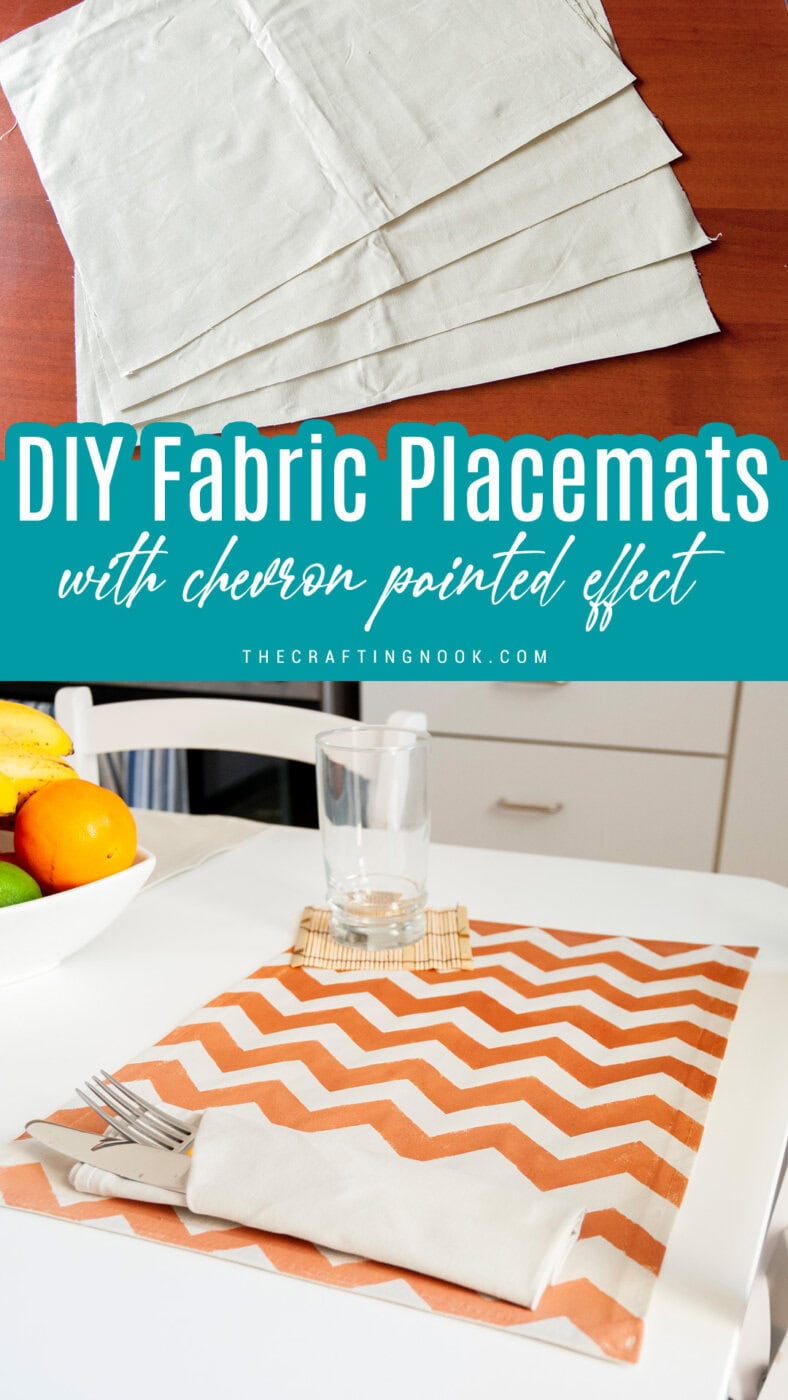
I love how they turned out, how about you? Like it??? Have you done Ombre Chevron Placemats before?
Til’ next time…


FREE WORKBOOK
Keeping your Sweet Home Organized
Learn how to create intentional habits and simple routines to Keep Your Home Organized. Plus freebies, printables, exclusive content, and tips.
Disclaimer: By clicking on the “Yes” button above you are giving me your consent to collect and use your information according to the law and My Policy Privacy. Zero Spam I promise!
These are great! I need some placemats that aren’t plastic and covered in cartoon characters. Pinning and making these for sure!
Ooooh Thank you!!!! Yeah in some point we all want something more like us right??? I loved making these because I can do whatever I want with any color and is unique in some way! So hard to find the right ones in stores!!!
Glad you like it!
XOXO
I love these! I like the colors you picked and the chevron stripes. Too cute!
Woot I’m glad you like it! Those are my mom favorite colors… and I love chevron so I put them together! LOL
XOXO
Super cute and for this mama doable which is a huge bonus :) I’m picturing different colors for different seasons! Thanks so much for sharing on Sunday FUNday!
I’m so glad you like it and want to make them. Yes those are super doable and making them in different colors to match season is genius, how didn’t I think of that????. Thanks so much for your sweet visit and your great idea!!!
XOXO
sweet bit of craftiness my friend! Thank you for sharing your sweet blog at the Thursday Favorite Things Blog Hop. ♥
Thanks Catherine! XOXO
Love how these turned out! The orange is such a fun pop of color and you can never go wrong with chevron!
I agree that we can never go wrong with chevron.. It’s so fun and dynamic isn’t it??? Thanks so much for stopping by and leaving some love! Glad you like this!
XOXO
Those are so pretty! Mine would probably be all crooked, haha. Yours look great though! Thanks for linking up to Snickerdoodle Sunday! Can’t wait to see what you have for us next week! – Kristina
Thanks so much I’m super glad you like it! It’s super easy, I’m sure yours would be Awesome!
XOXO
Your place mats turned out great!! Such a simple project, I love it!! I would love it if you linked this up to my Motivate Me Monday linky party at IT’S A ginger SNAP.
Thanks so much I’m so glad you like it. Thanks so much also for stopping by and leaving some love!
XOXO
What a great project idea! I love the color you chose.
Kathi
Thanks so much!
XOXO
Great job, these turned out so nice.
Yayy Thanks so much… Hope you are having a wonderful weekend!
XOXO