DIY White, Pink and Blue Pompom Wreath for Christmas
This post may contain affiliate links. Please read our Disclosure Policy.
Give your holiday decor a soft, snowy look with this DIY Pink and Blue Pompom Wreath. Easy steps perfect for a cozy Christmas vibe!
Christmas decorating is one of those cozy traditions that instantly sets the mood for the season. It’s no secret that Christmas is my favorite time of the year.
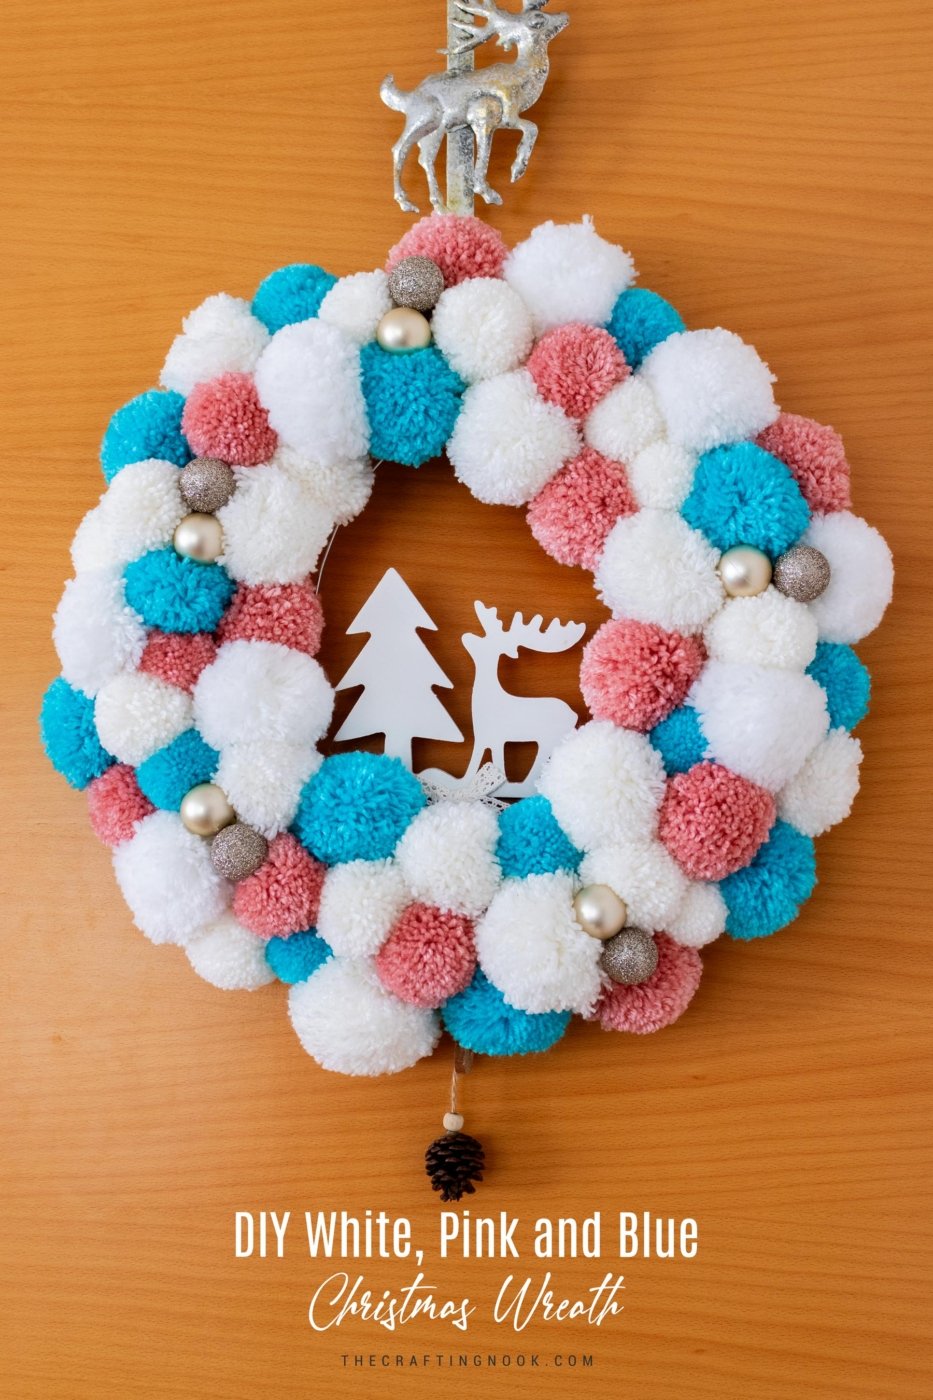
Table of Contents
White, Pink, and Blue Pompom Christmas Wreath
Every year, I find myself inspired to try something a bit different to bring that holiday cheer into my home.
This time, it’s all about soft, snowy vibes with a playful twist of pink and blue—colors that bring a gentle, wintry feel that’s fresh but still festive.
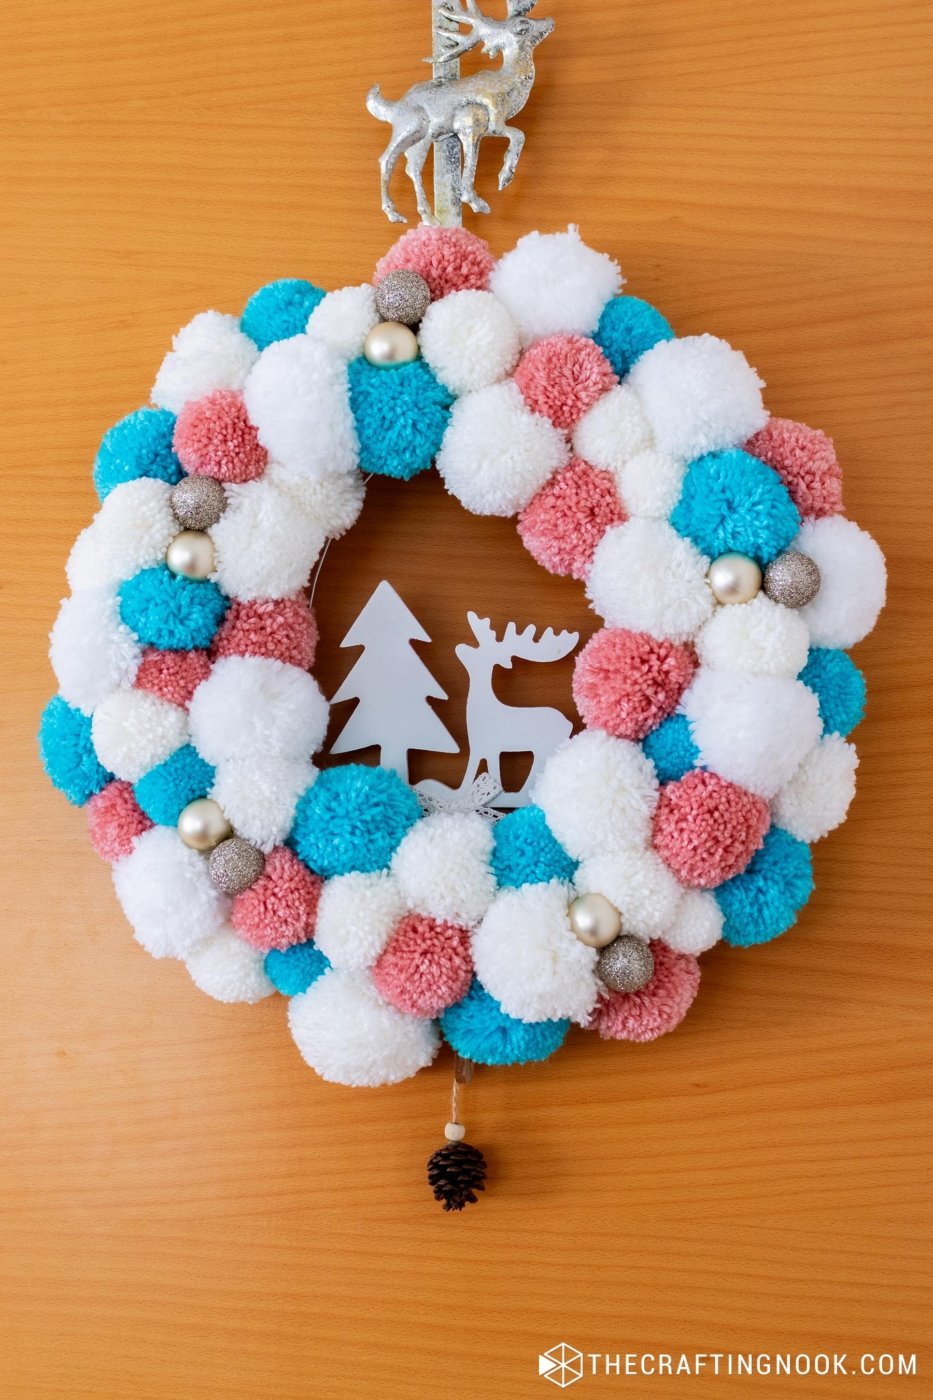
This pom pom wreath project was inspired by last 2 year’s themes but with a little extra cozy magic. I love how the fluffy white pompoms create that perfect snowy look, with hints of pink and blue peeking through for a touch of color.
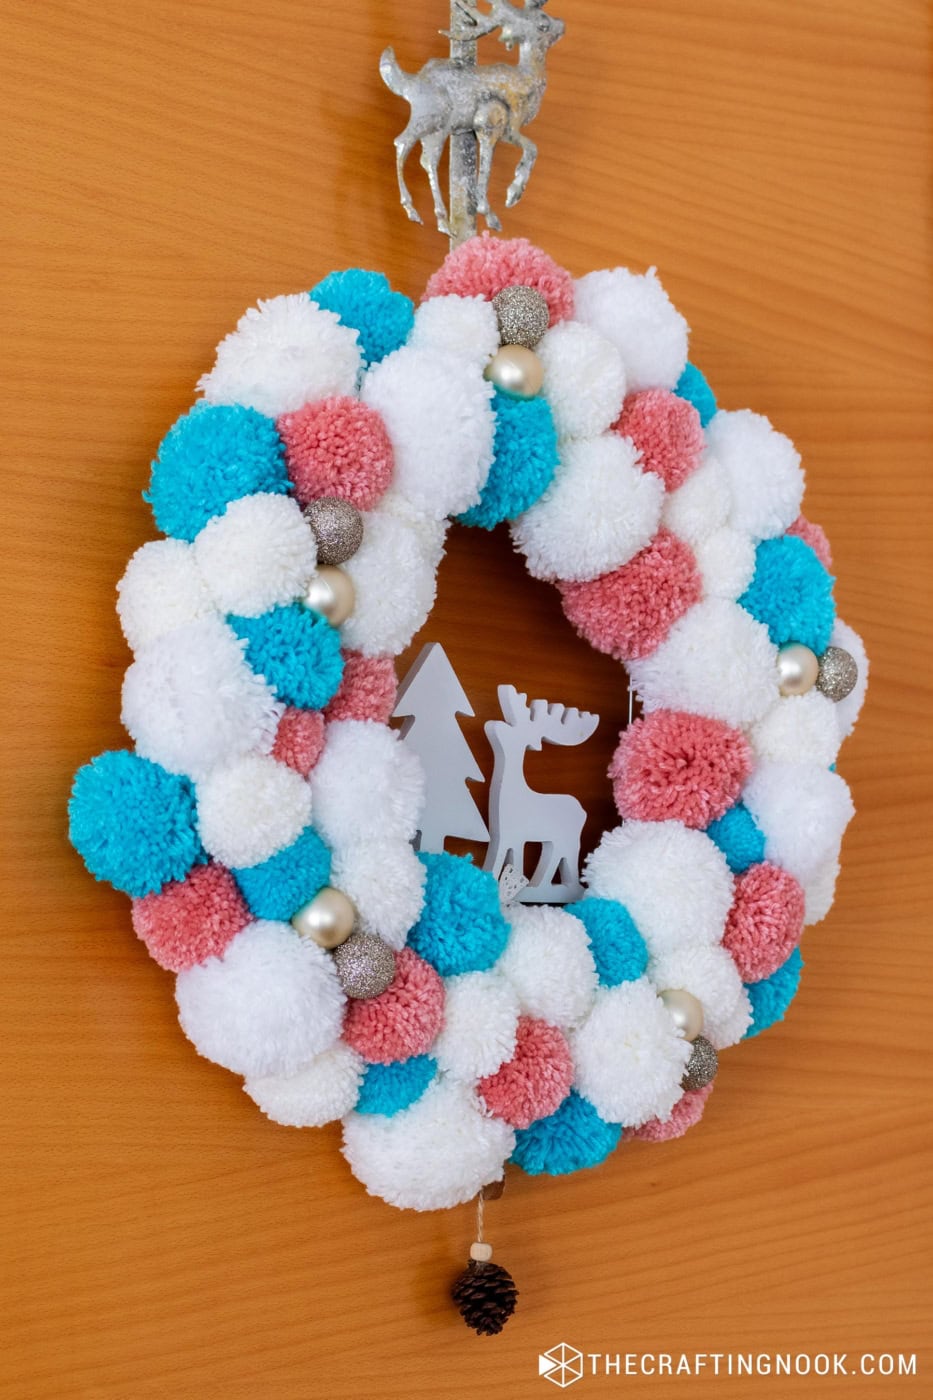
Topping it off with a mini winter scene just feels like the sweetest way to welcome the holidays, and the best part is, that you can customize it as much or as little as you’d like.
How to Make a Christmas Pompom Wreath
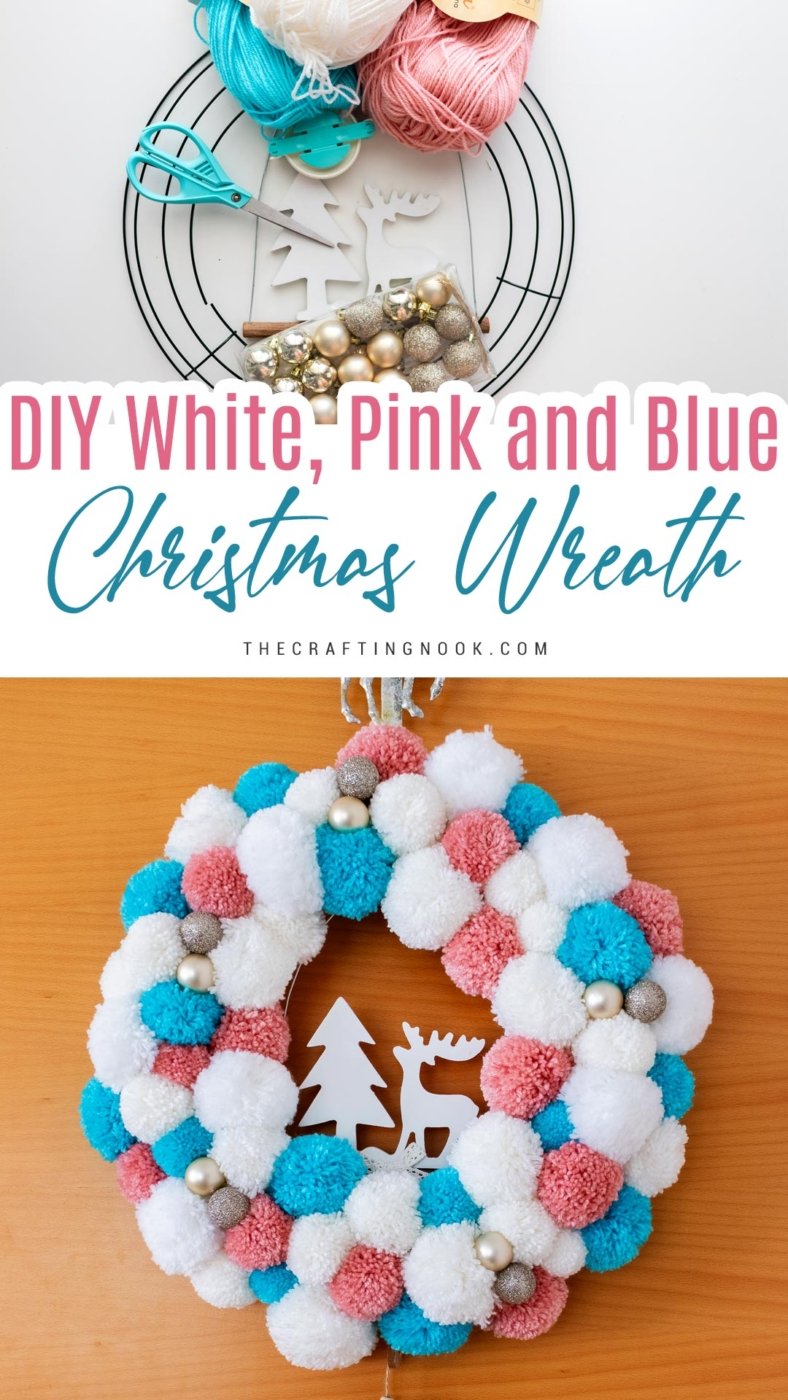
Supplies:
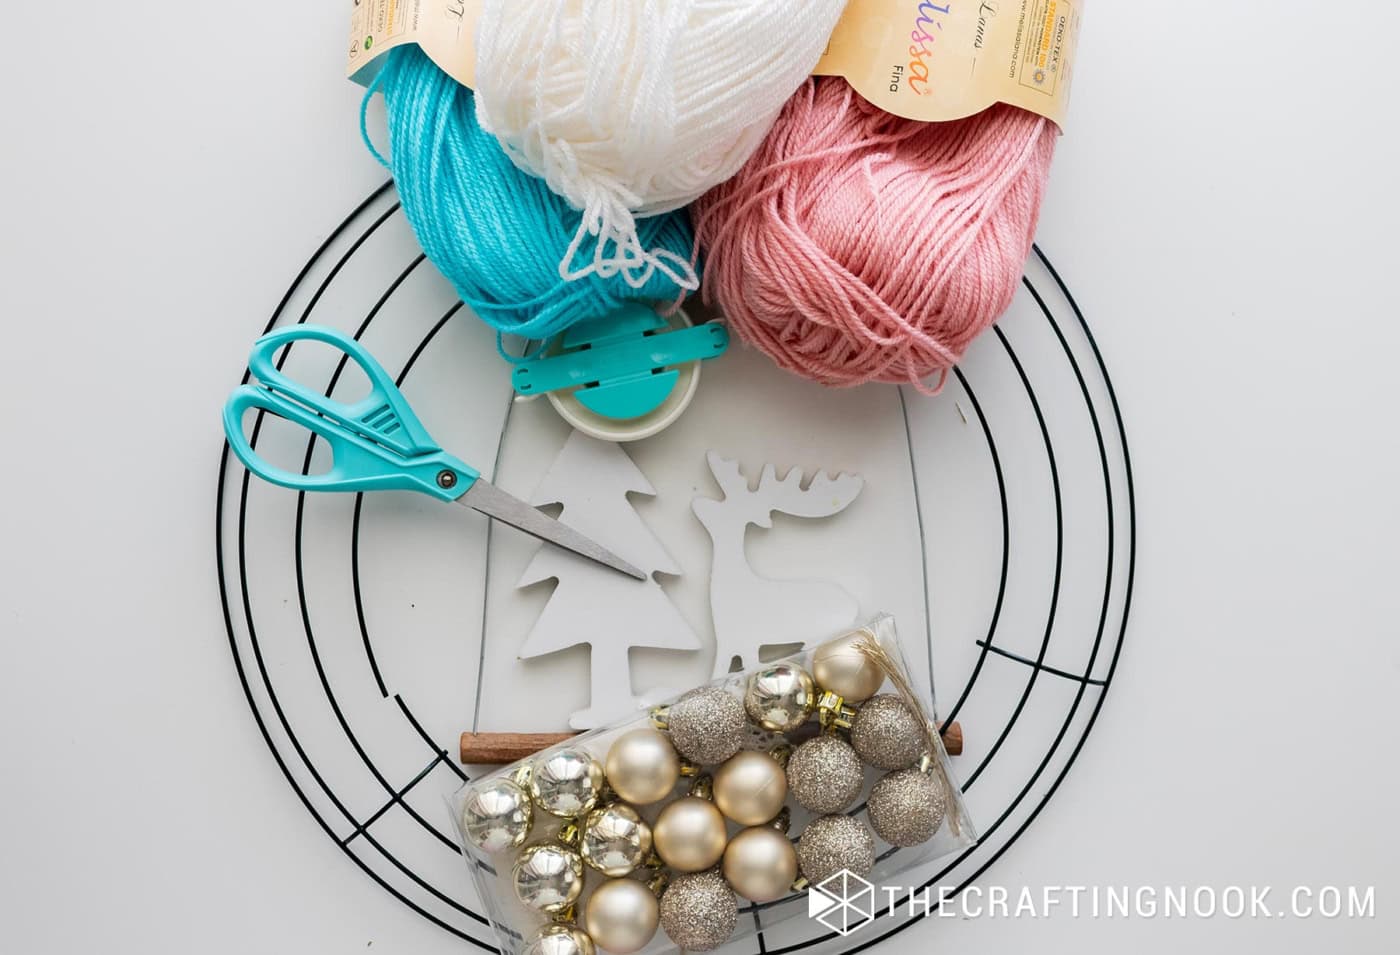
- 12-inch Wire wreath form – the size of your choice
- Yarn in white, pink, and blue – white for most pompoms, with smaller amounts of pink and blue
- Small gold ornaments – I used 10 1-inch ornaments in mate and glitter gold
- A cute wooden decorative piece – I used a tree and a deer hanger. You can use a merry Christmas sign, buttlebrush trees, little houses, or anything you like and have handy.
Tools:
- Sharp Scissors
- Pompom maker – There are 2 I love: The Simple pom pom maker and the Clover set (the one I sed here) or use your hands for a DIY method
Instructions:
Step 1: Make the Pompoms
Start by creating your pompoms in varying sizes. For a snowy look, make about 60% of the pompoms in white, and the remaining in pink and blue.
Use a pompom maker to speed things up, or wrap the yarn around your fingers (or a piece of cardboard) to create the pompoms.
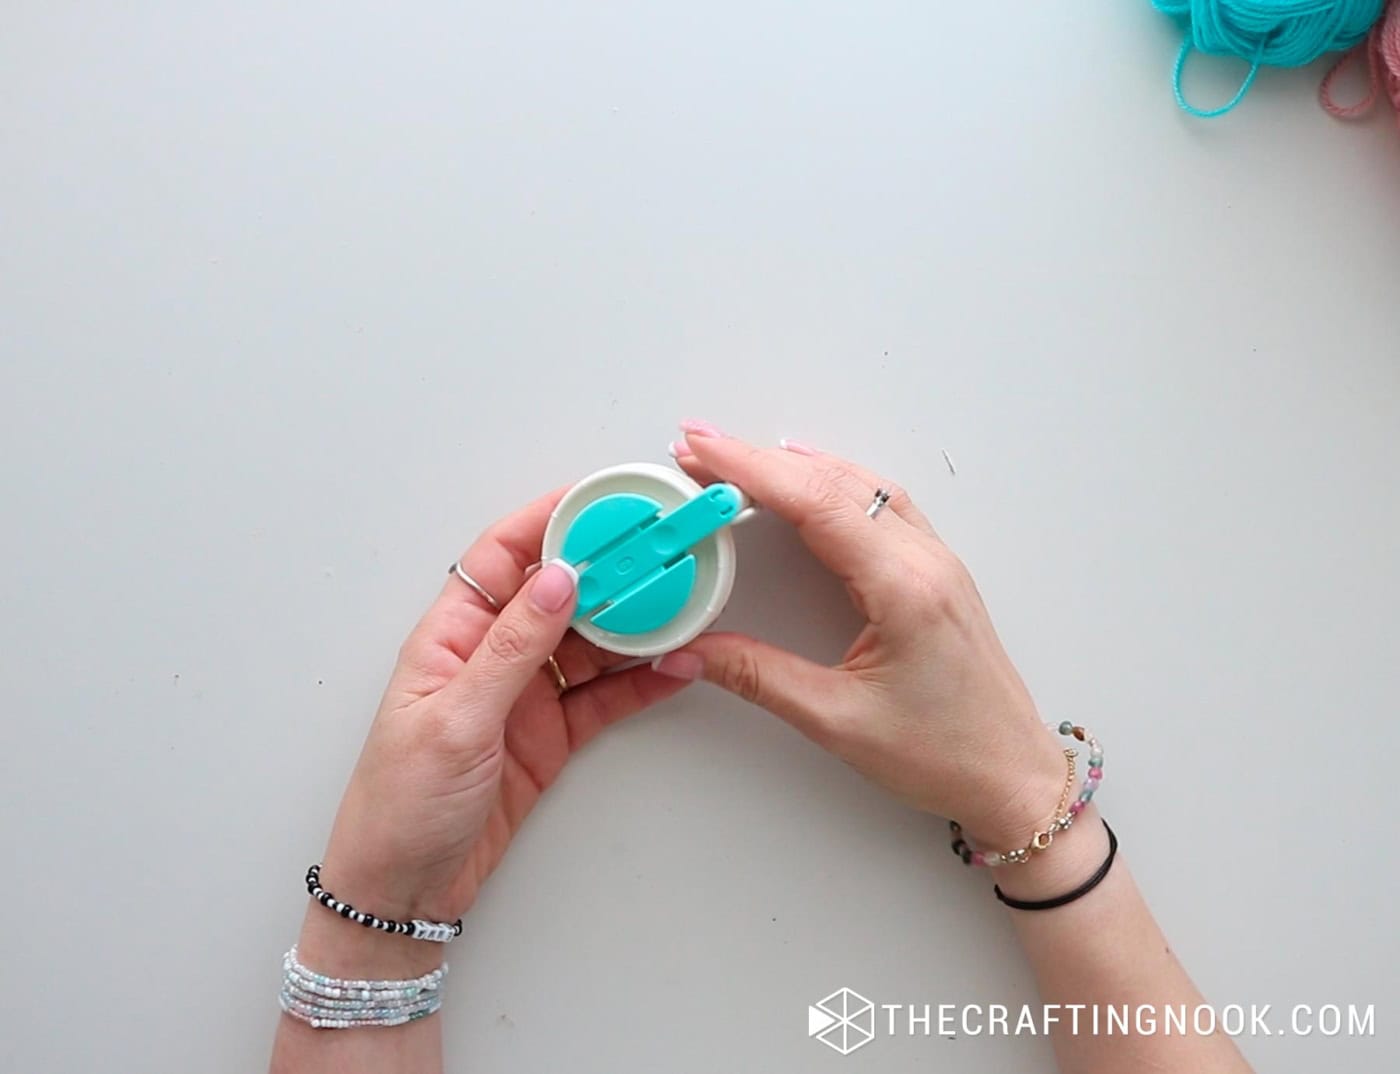
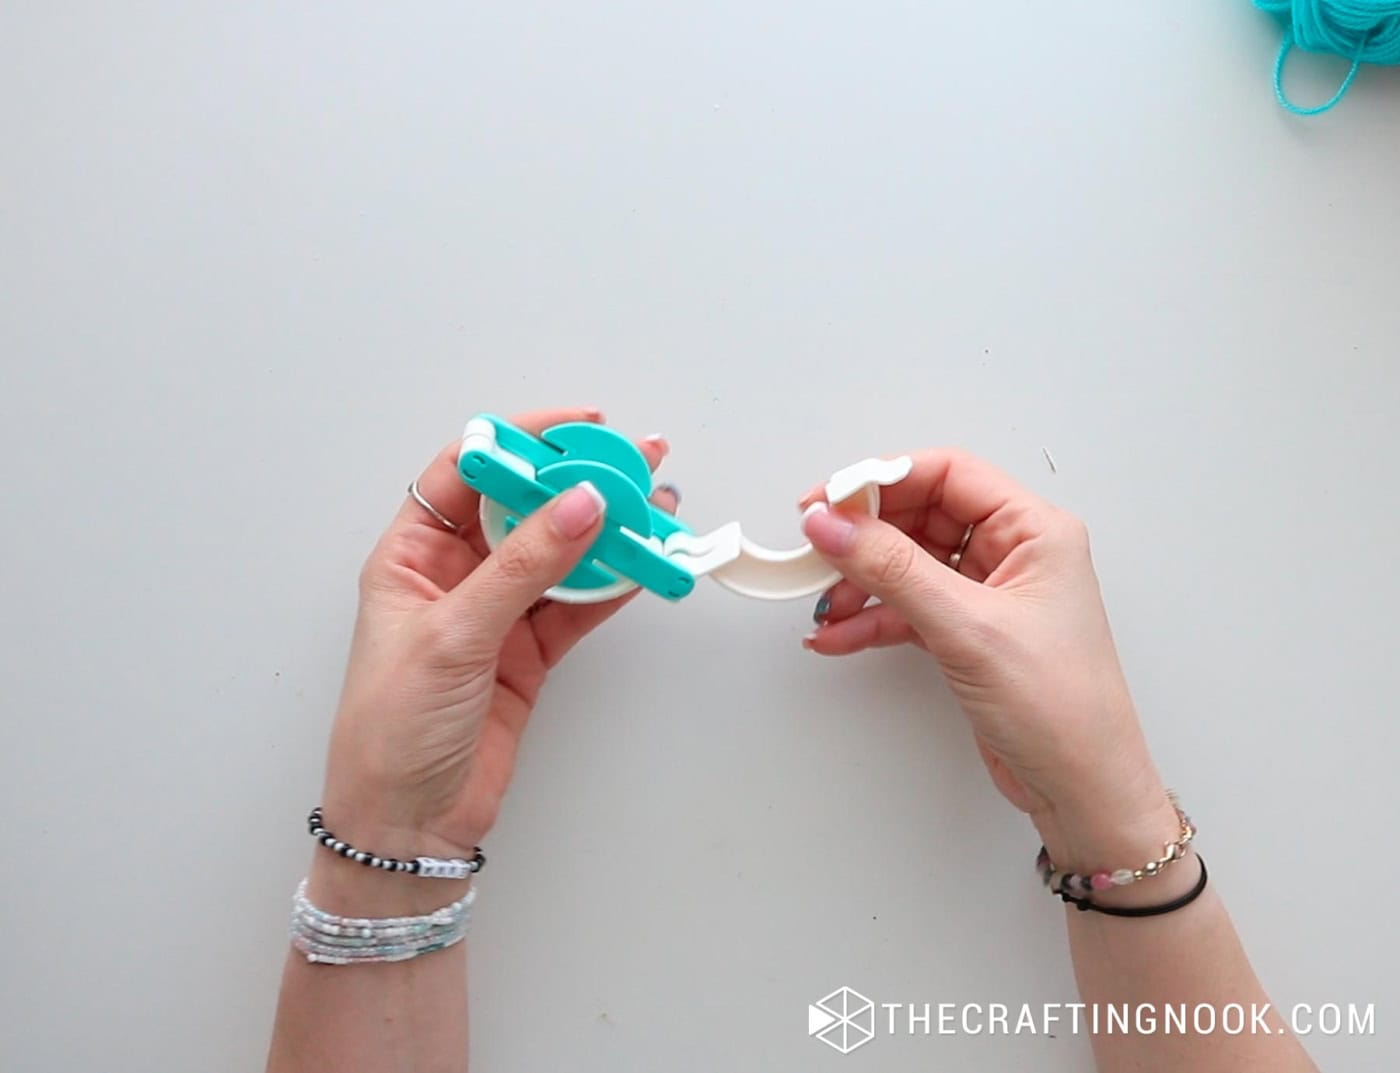
When you use a pompom maker, open one half and start wrapping the yarn around the half-circle until you feel it’s stuffed enough. Then move to the other half and repeat the process. Cut the yarn.
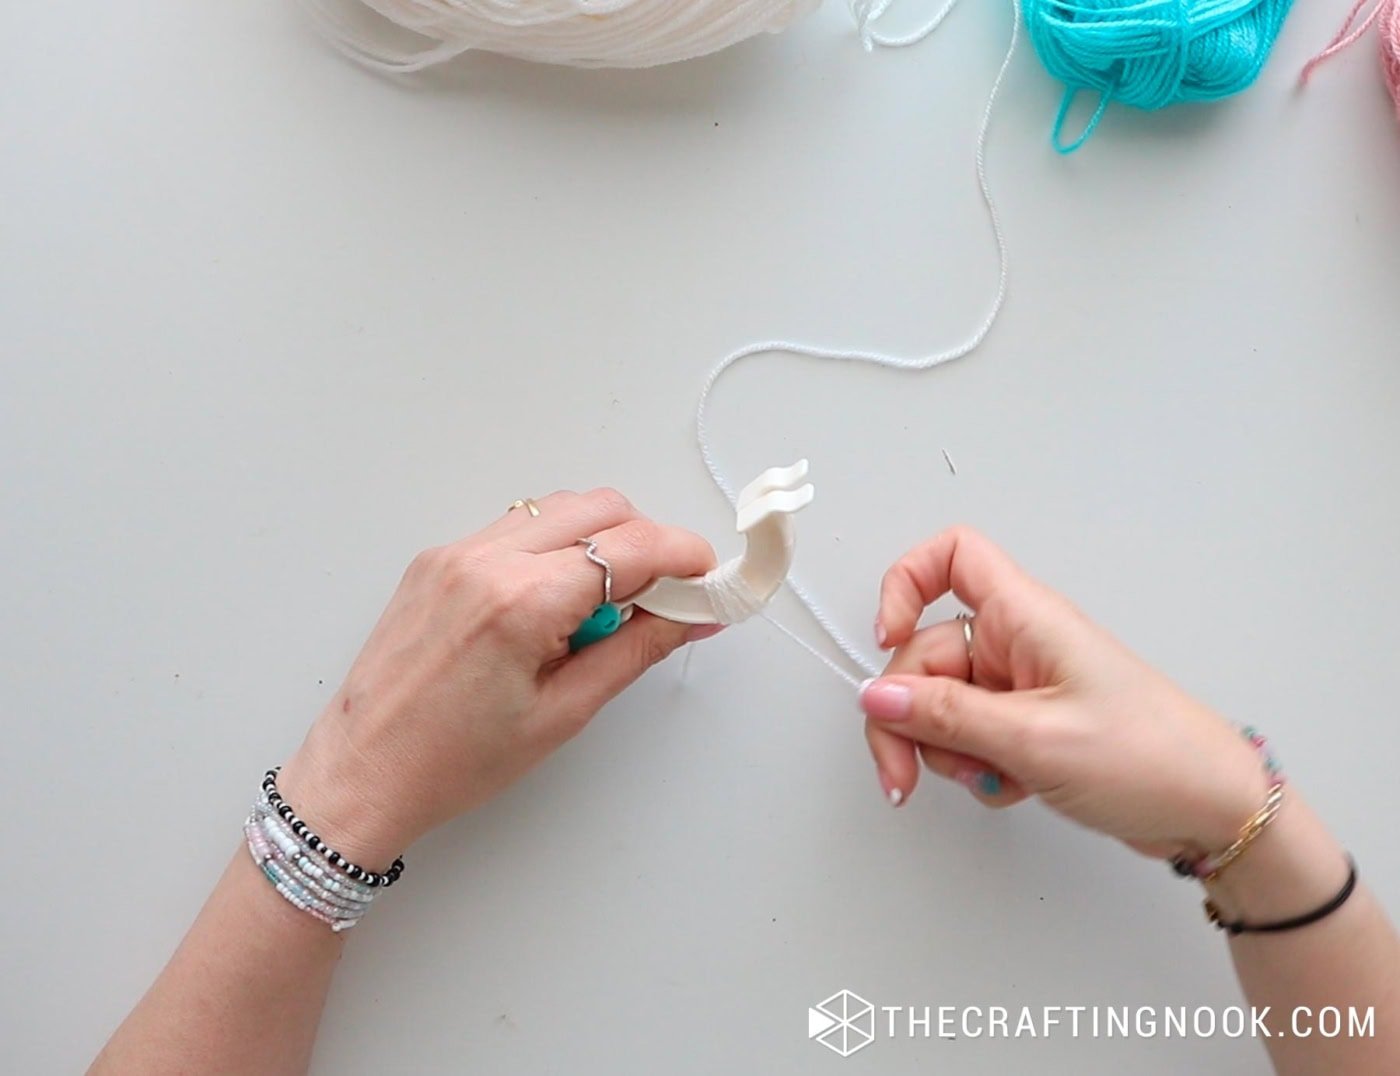
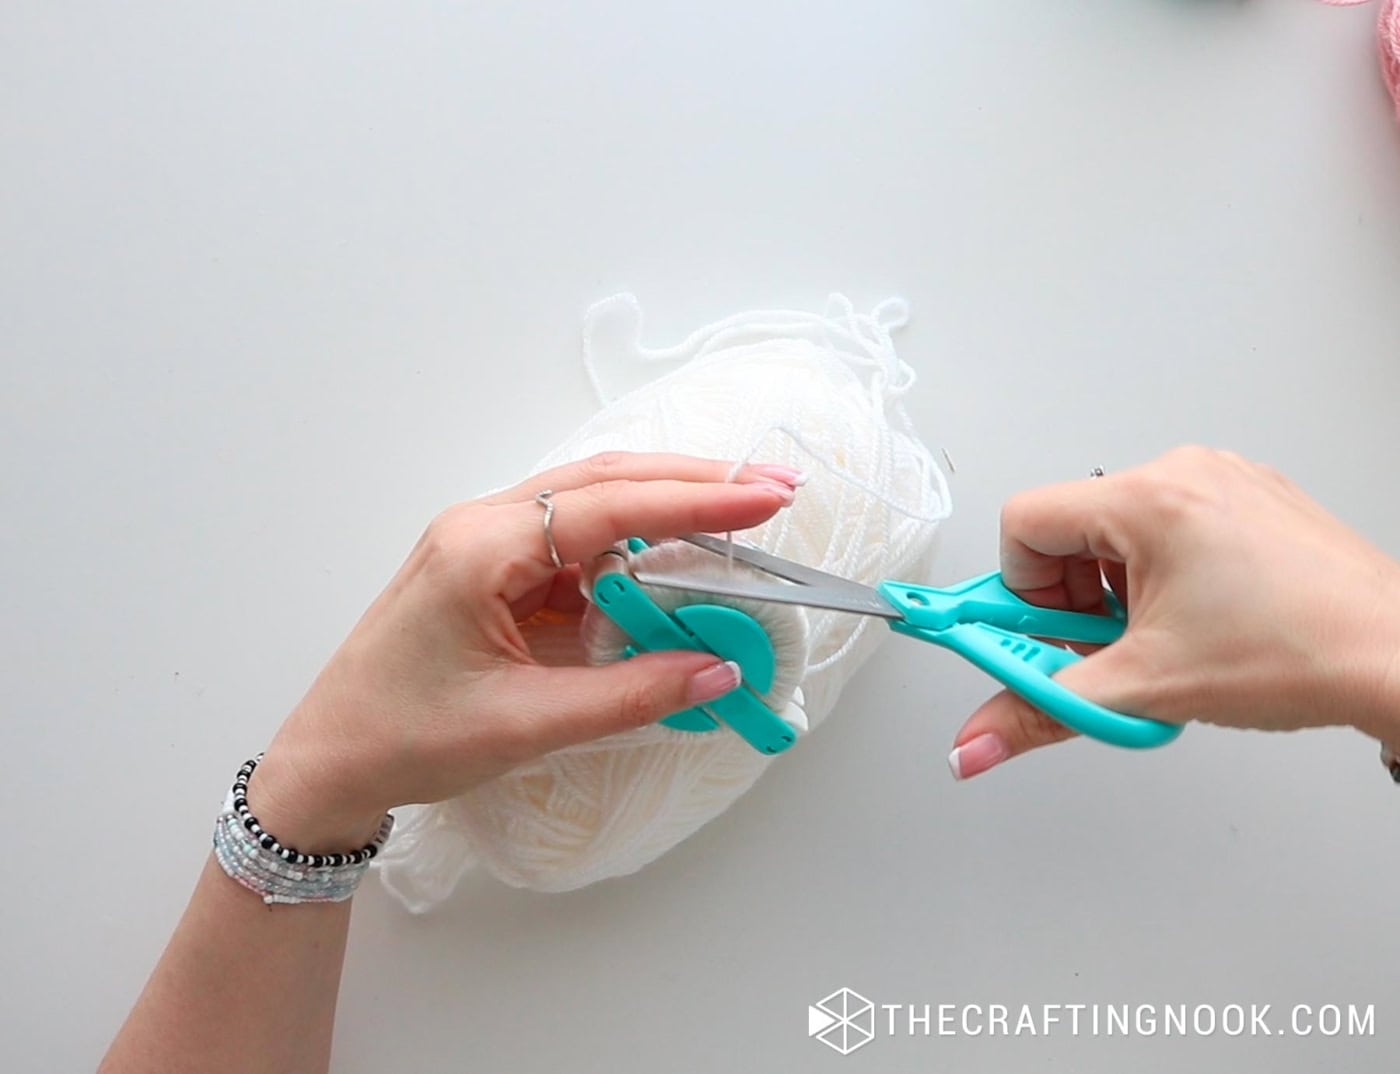
When you are done, close the pompom maker and cut through the center of each side.
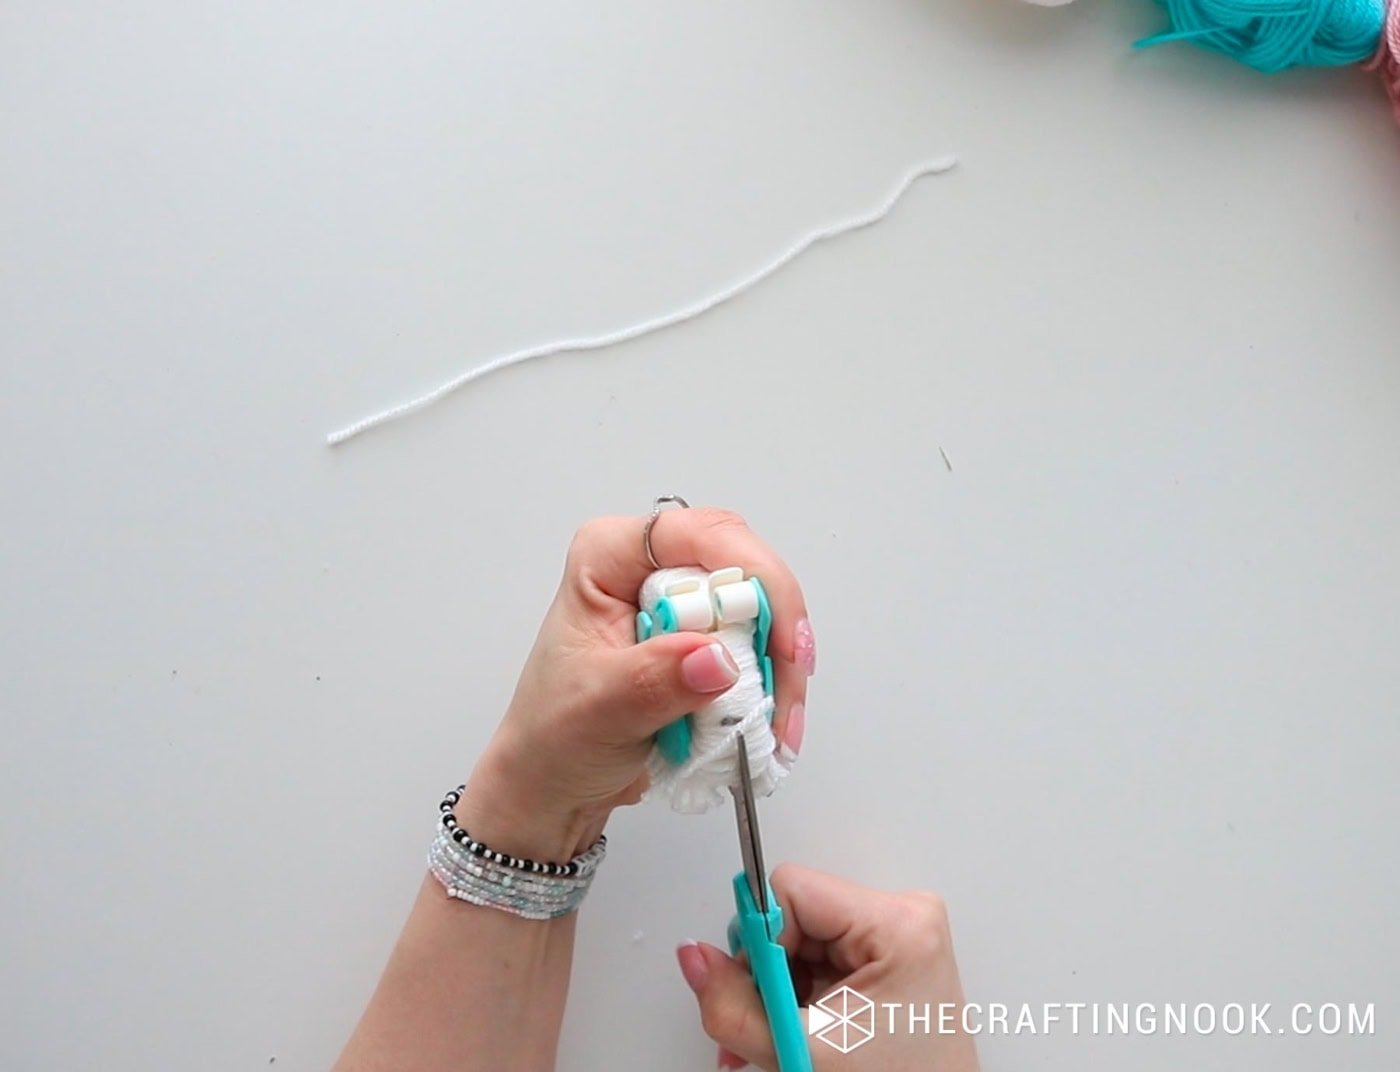
Then cut a 8-inch string of the same yarn and wrap it around the middle of the pompom maker.
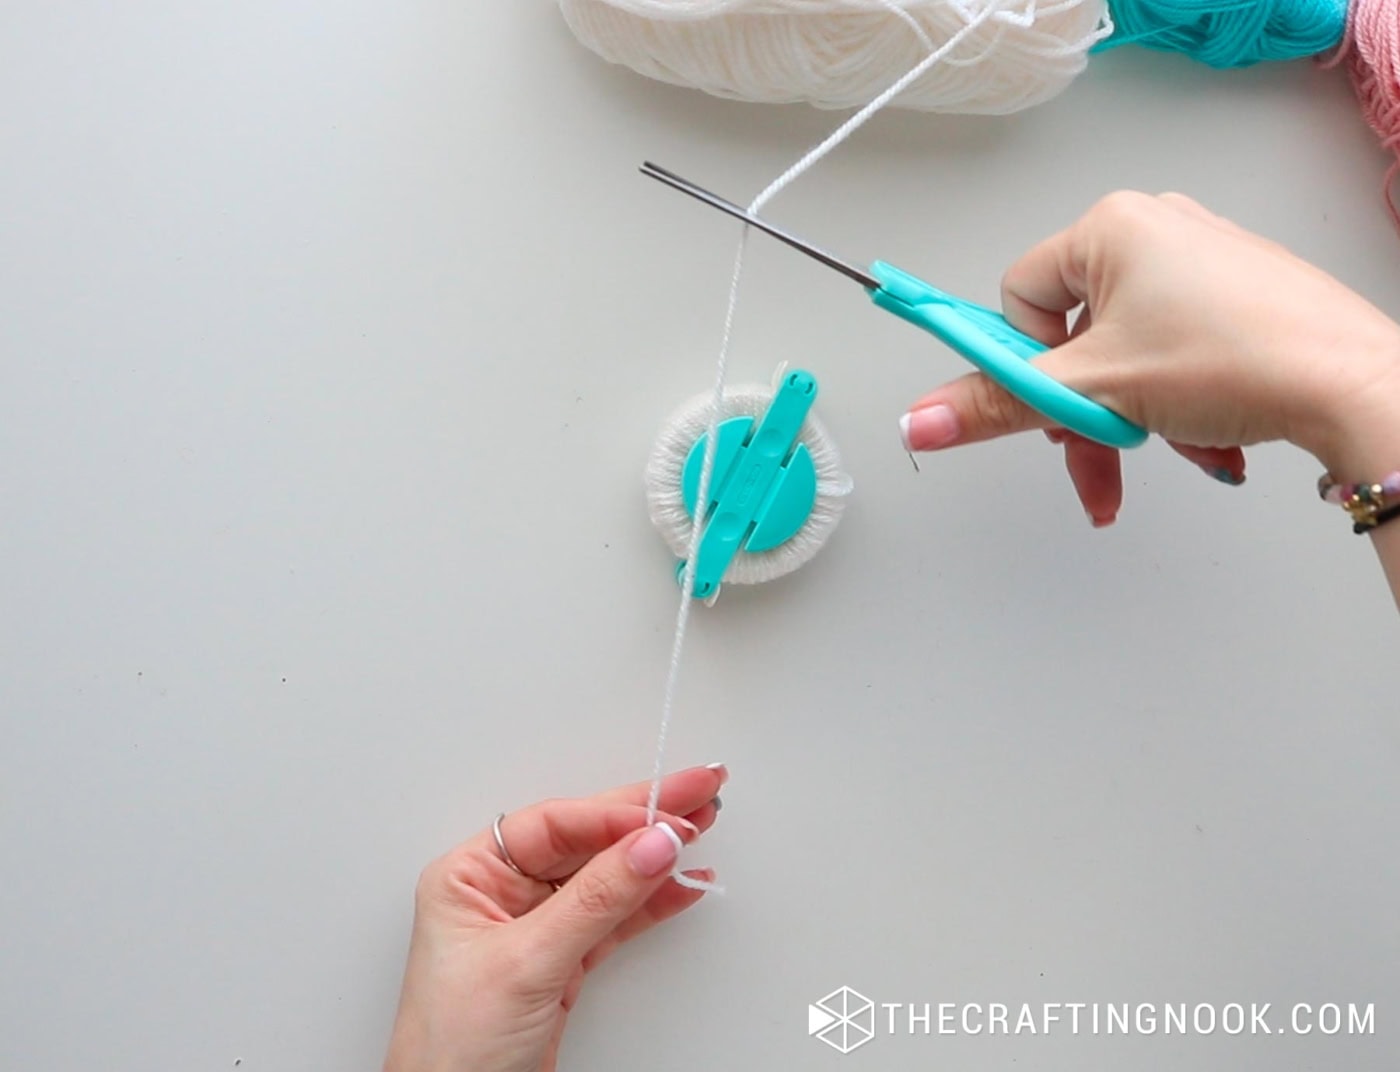
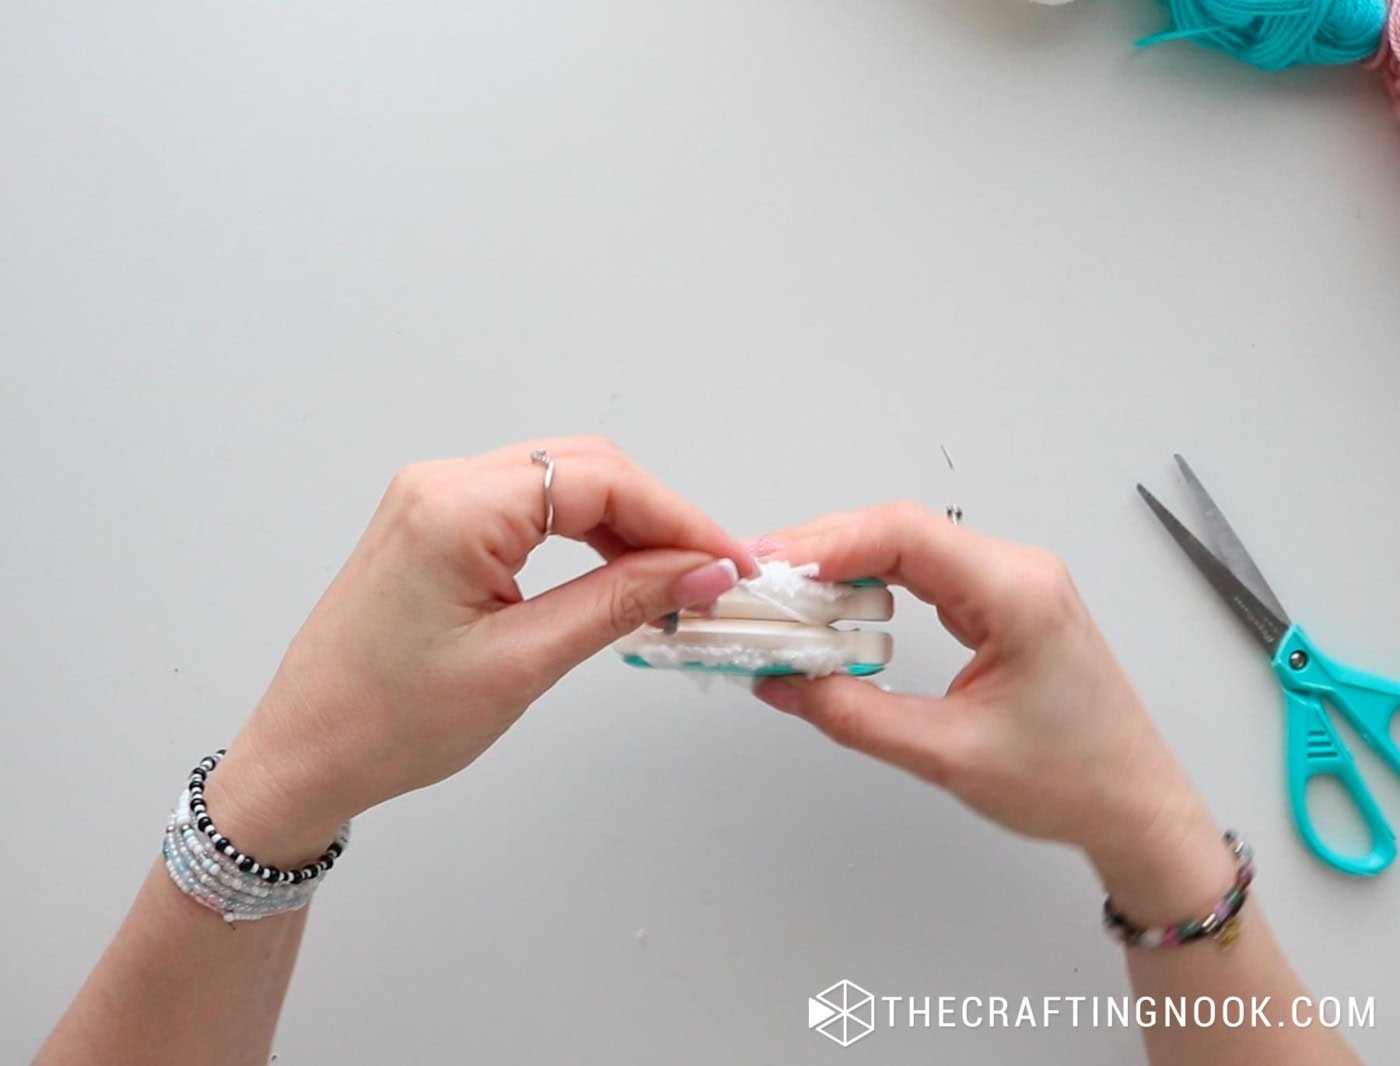
Make a tight knot. I like to go back and forth knitting on both sides of the pompom maker to secure it well.
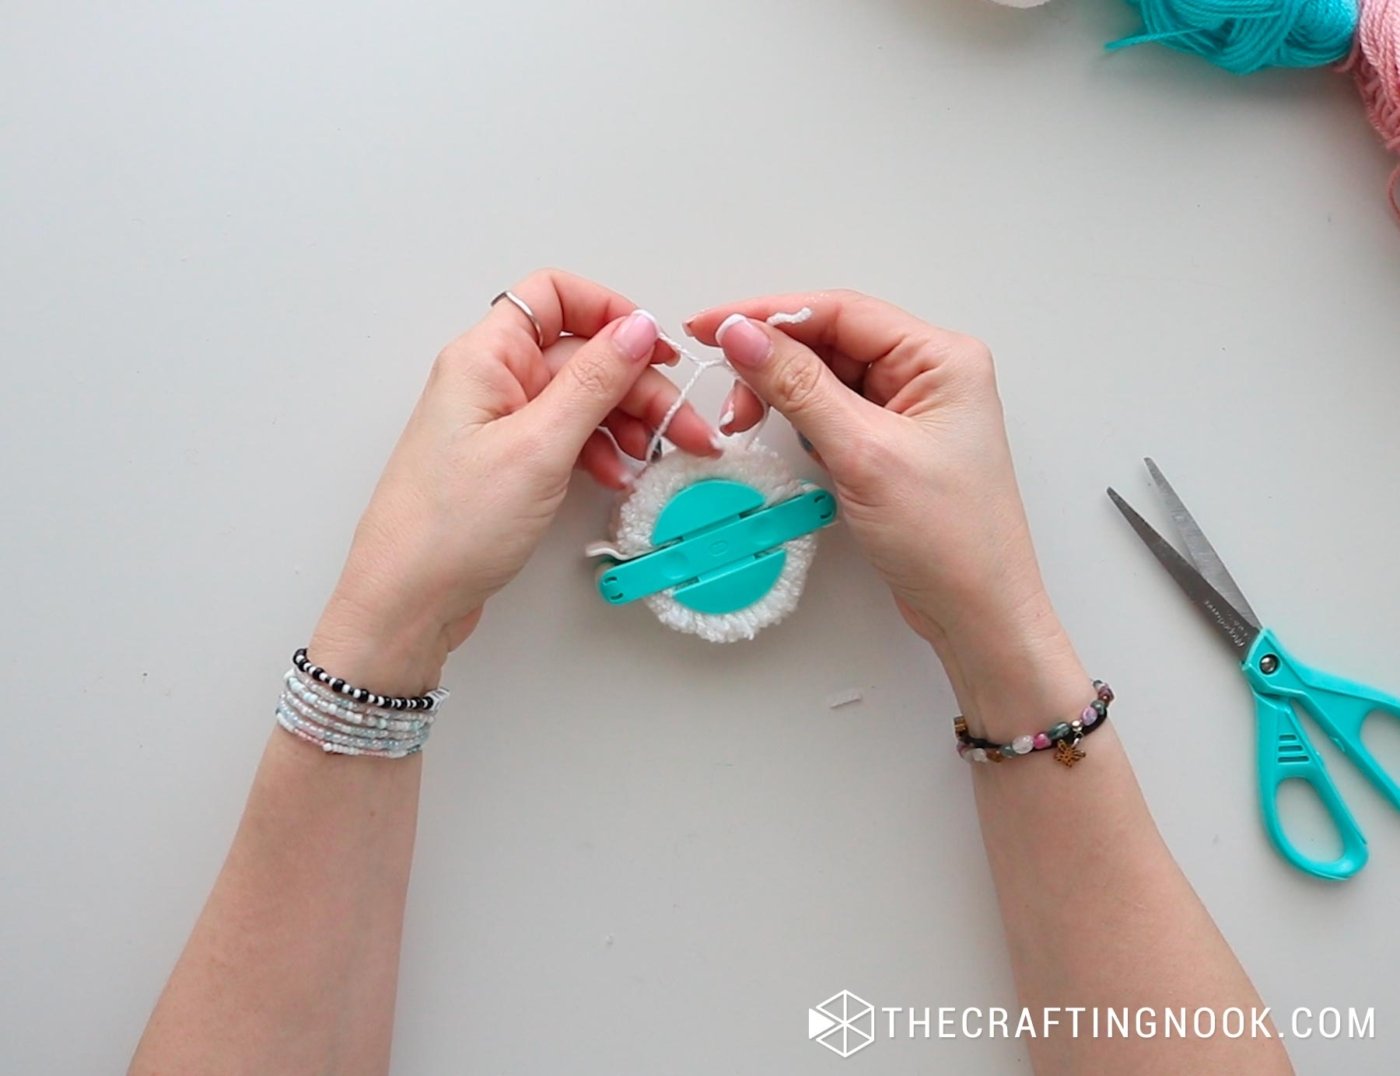
When it’s done, open the half-circle flaps and separate both sides of the pompom maker.
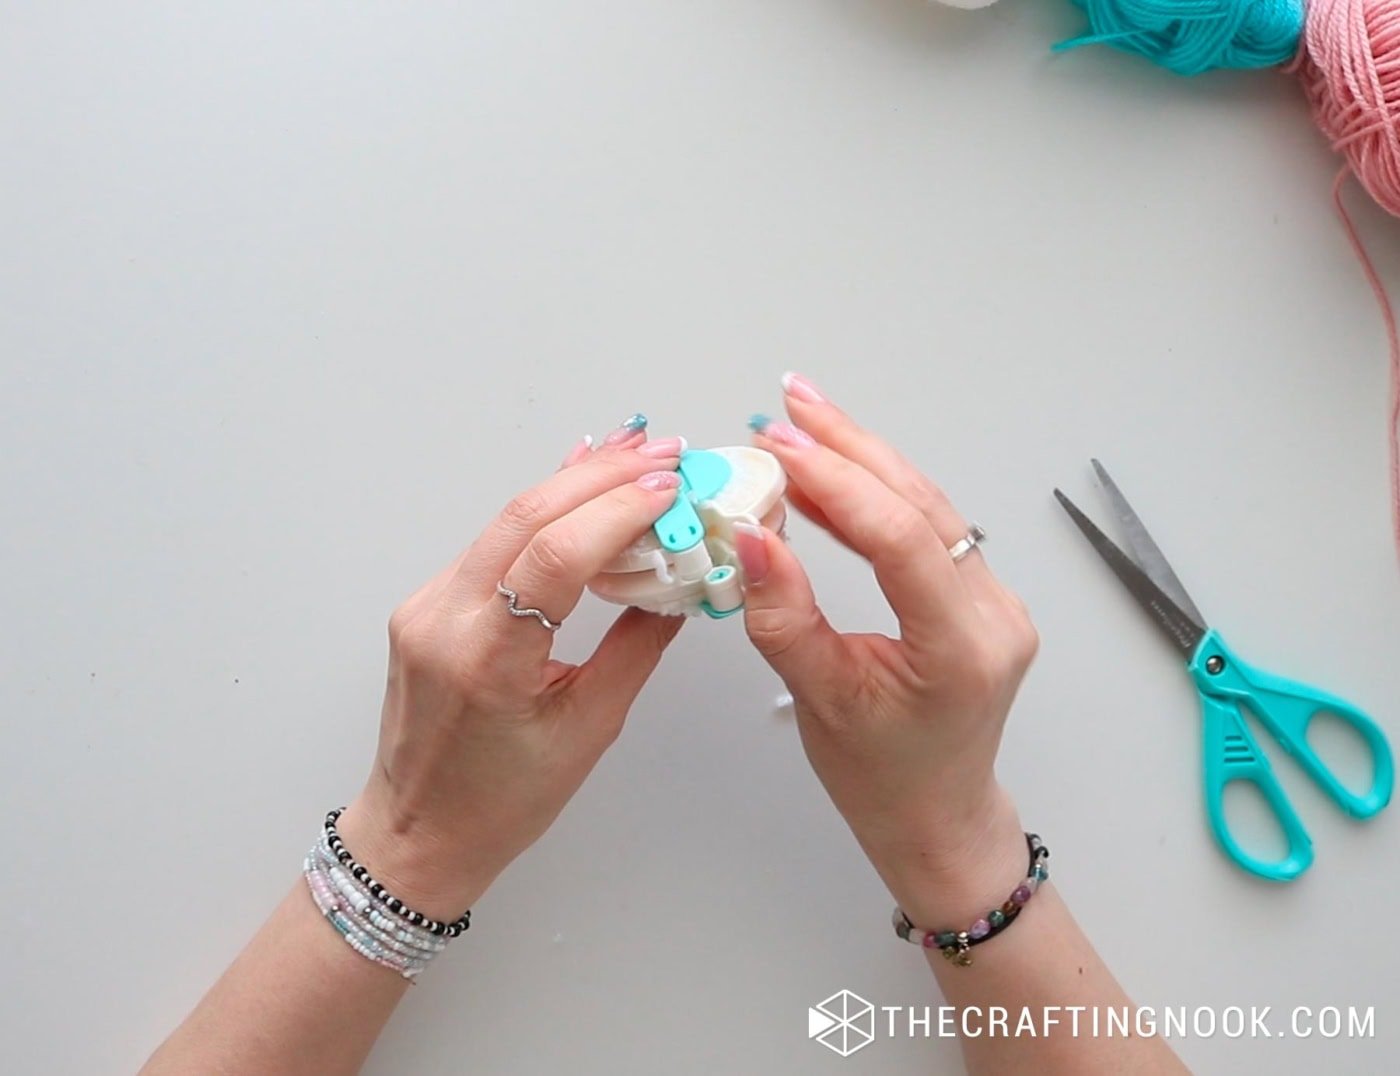
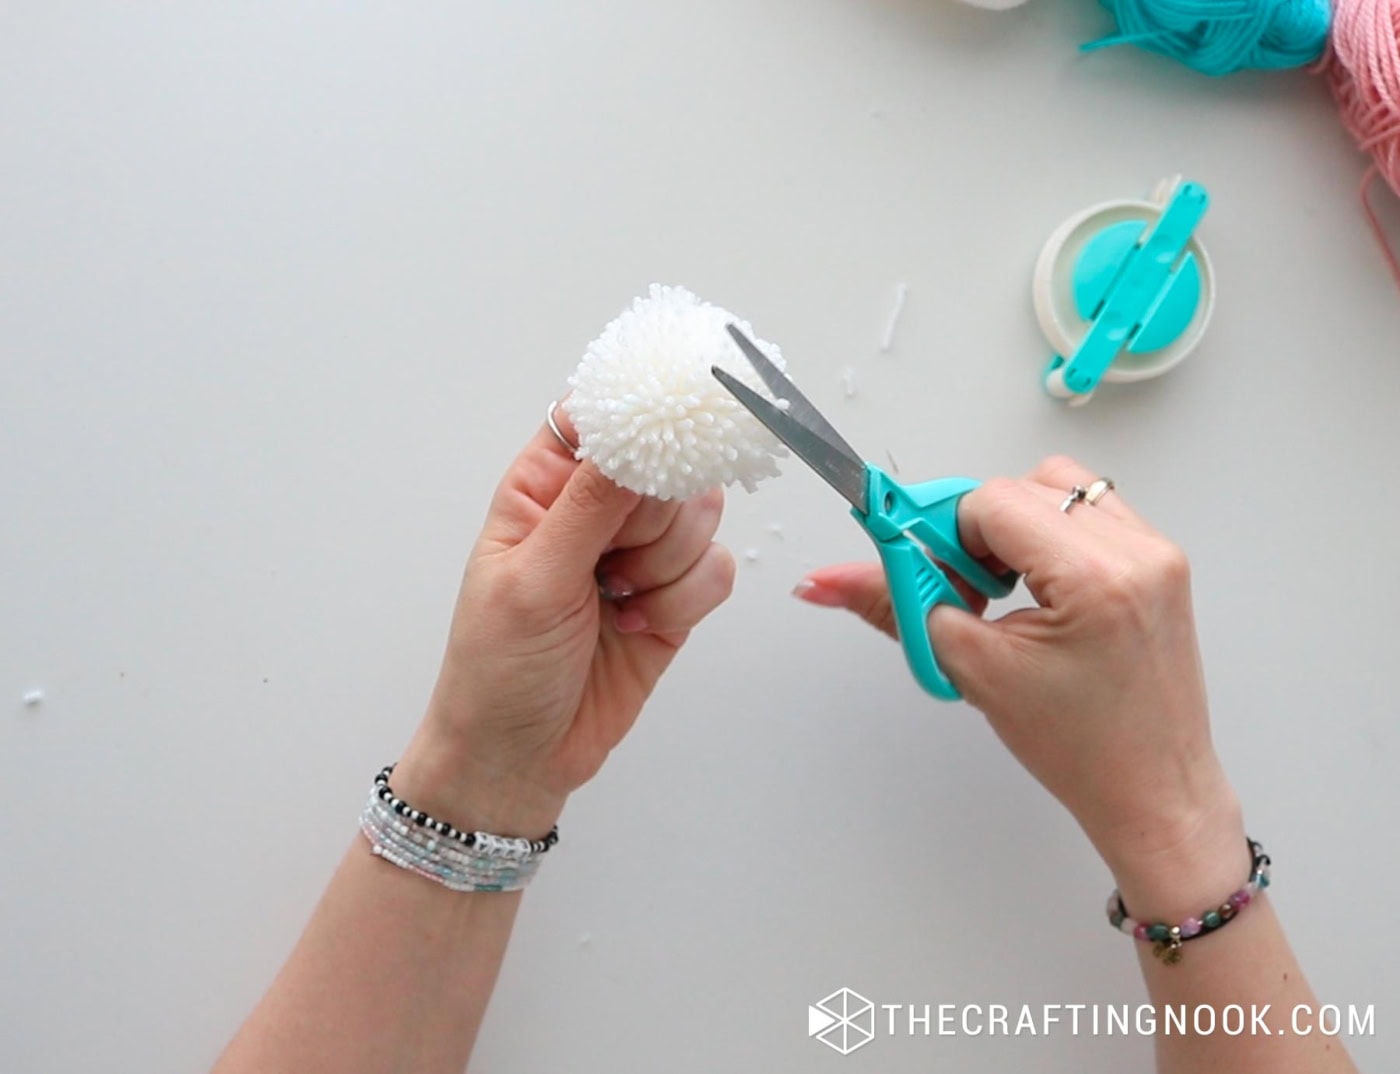
Once each pompom is created, trim it to a neat, fluffy ball shape.
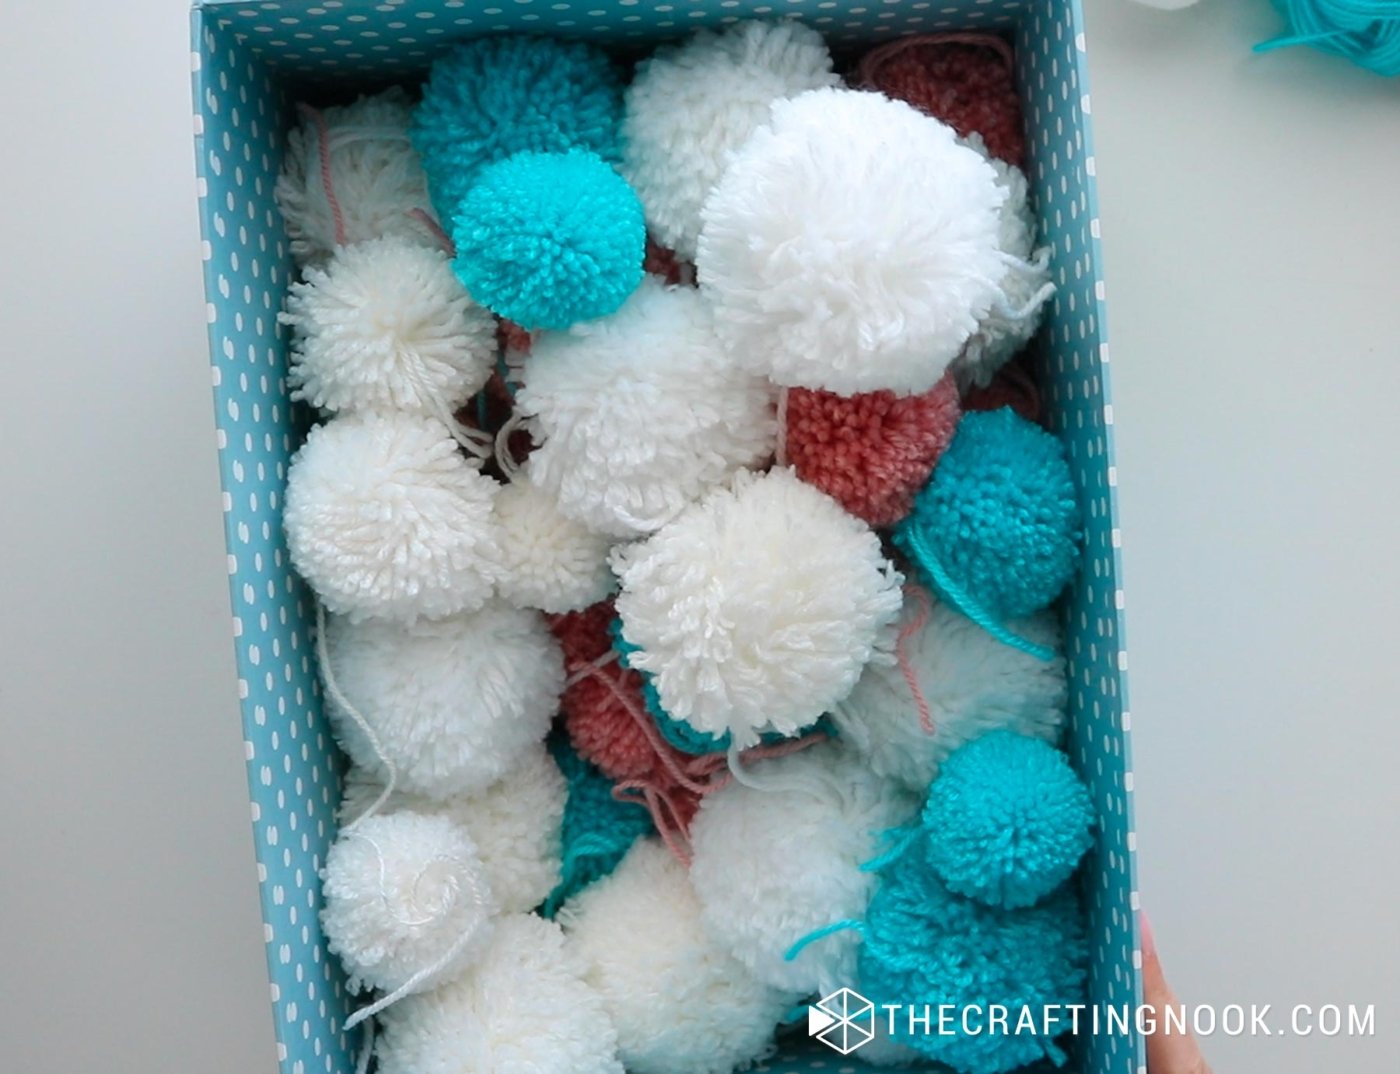
Repeat the process with different sizes and colors.
Step 2: Attach Pompoms to the Wreath Form
Take your wire wreath form and begin attaching the pompoms by tying them onto the frame with a double or triple knot on the back.
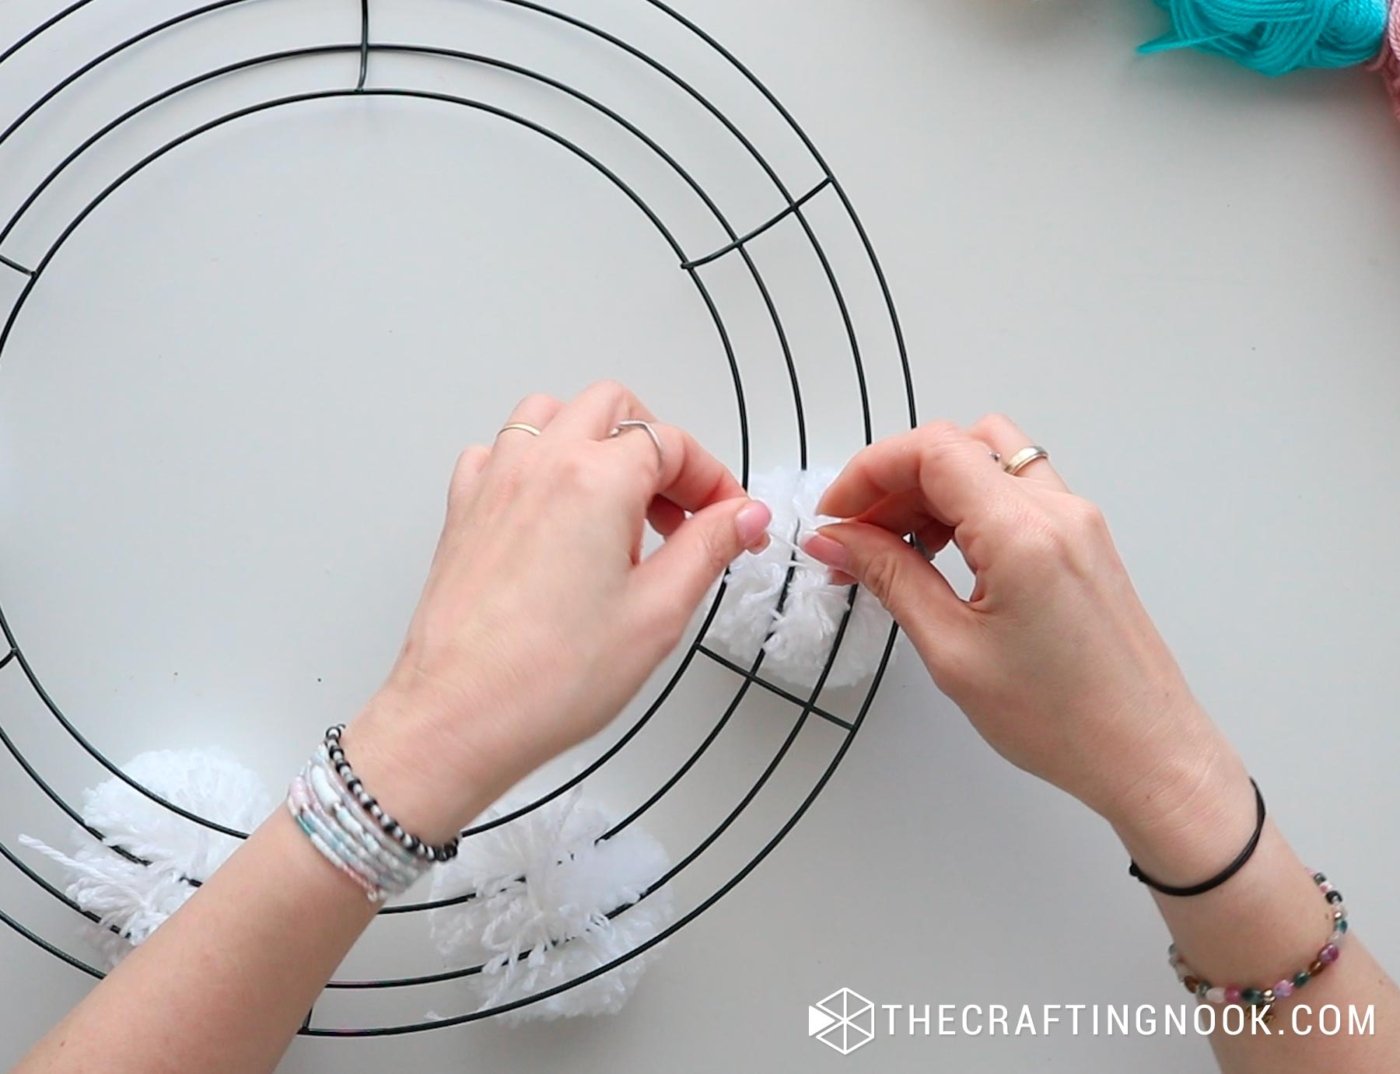
Arrange the white pompoms more densely around the wreath, especially on the outer edge, to create that snowy look.
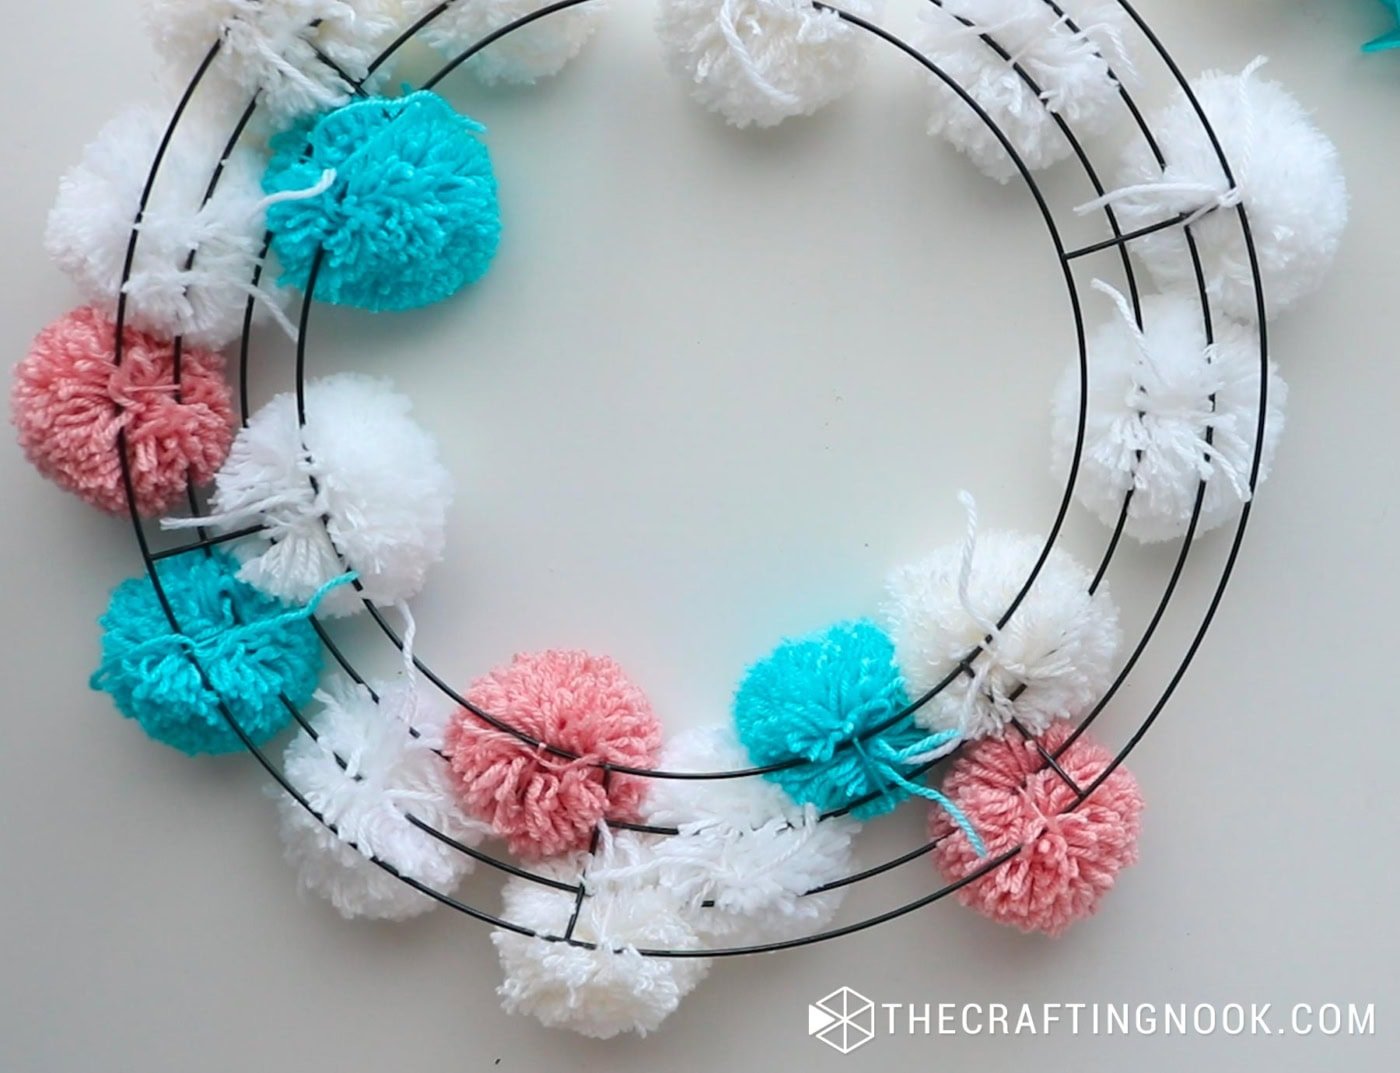
Interweave the pink and blue pompoms sparingly for a soft, colorful touch.
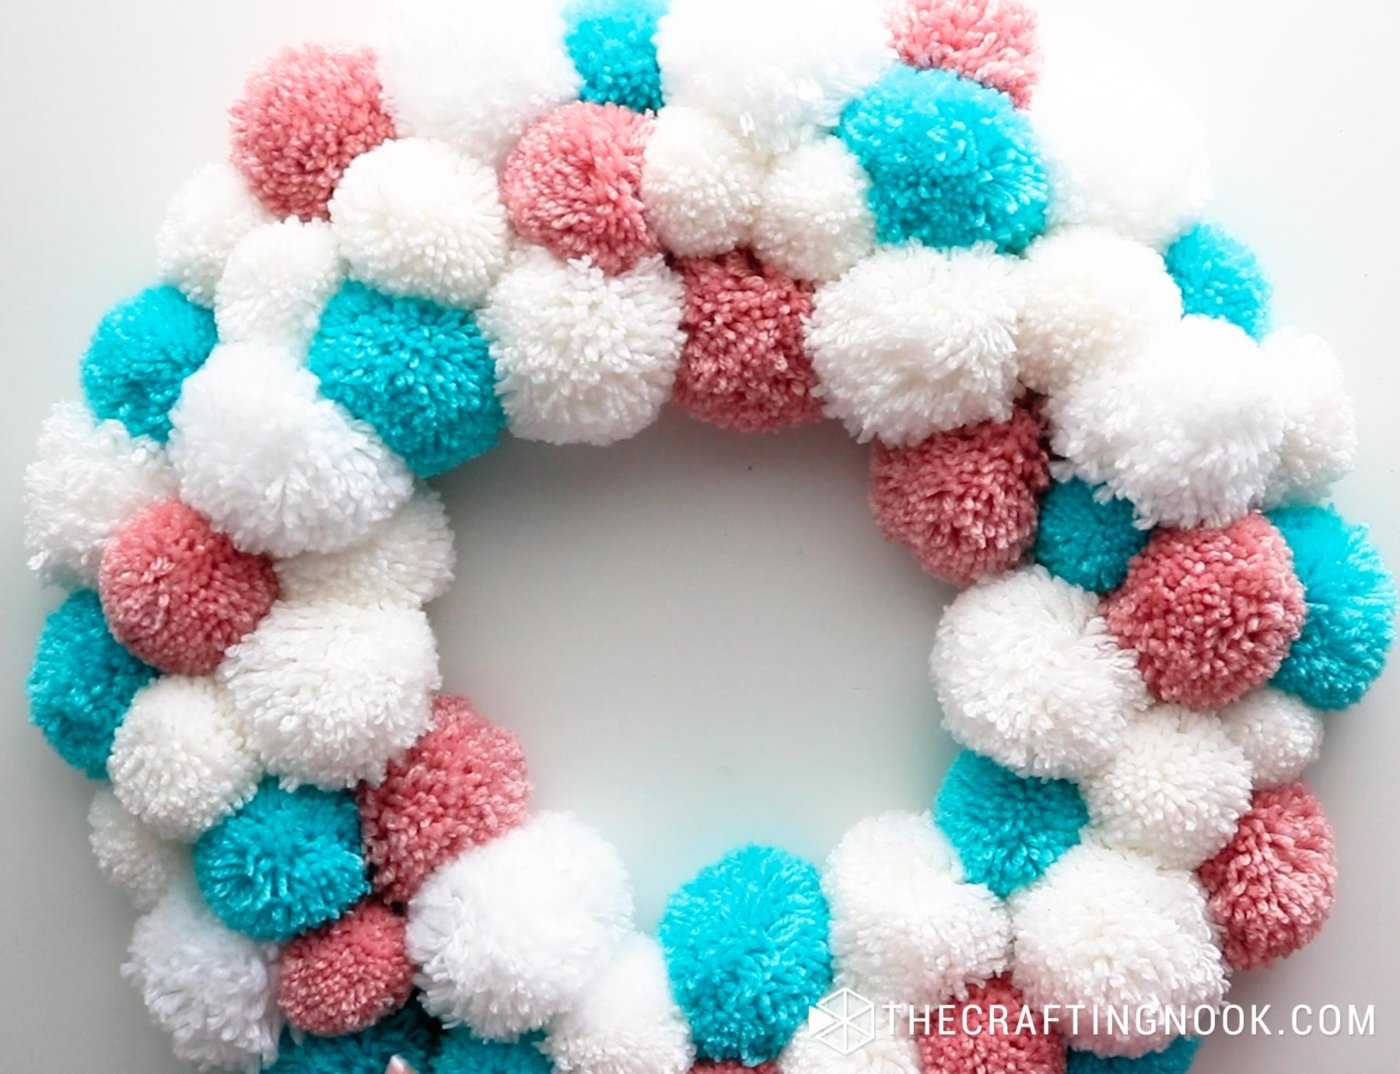
Once you are satisfied with the pompom placements, move on to the next step.
Step 3: Add small gold ornaments
Tie together 2 small gold ornaments with a string of yarn. I used mate gold and glitter ornaments.
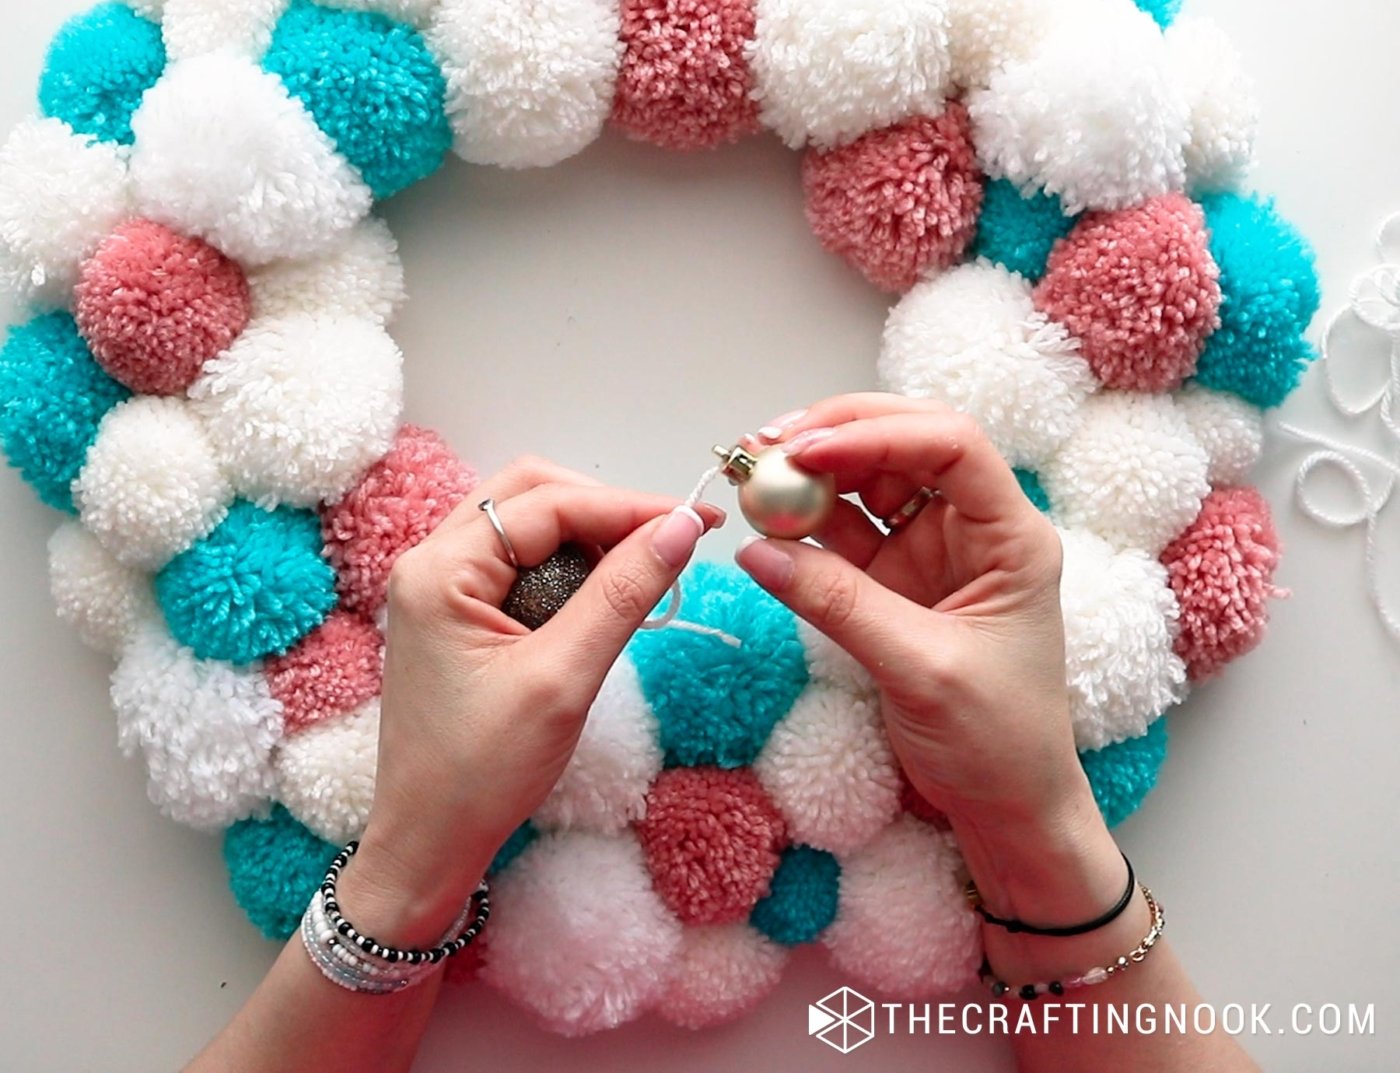
Place them in between pompoms and tie them on the back.
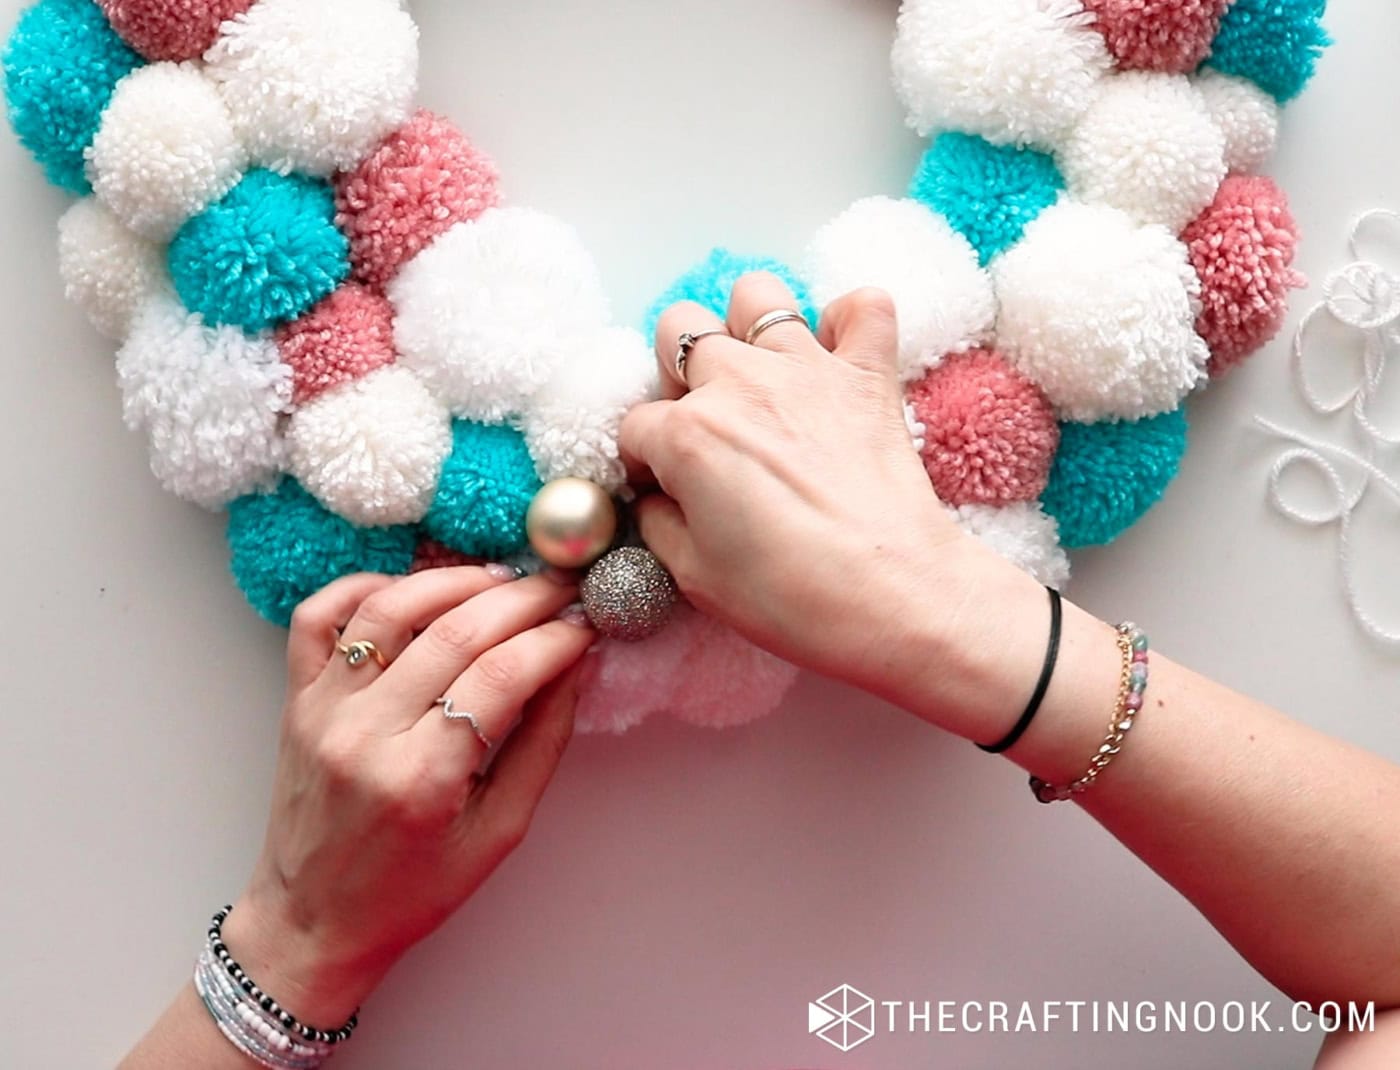
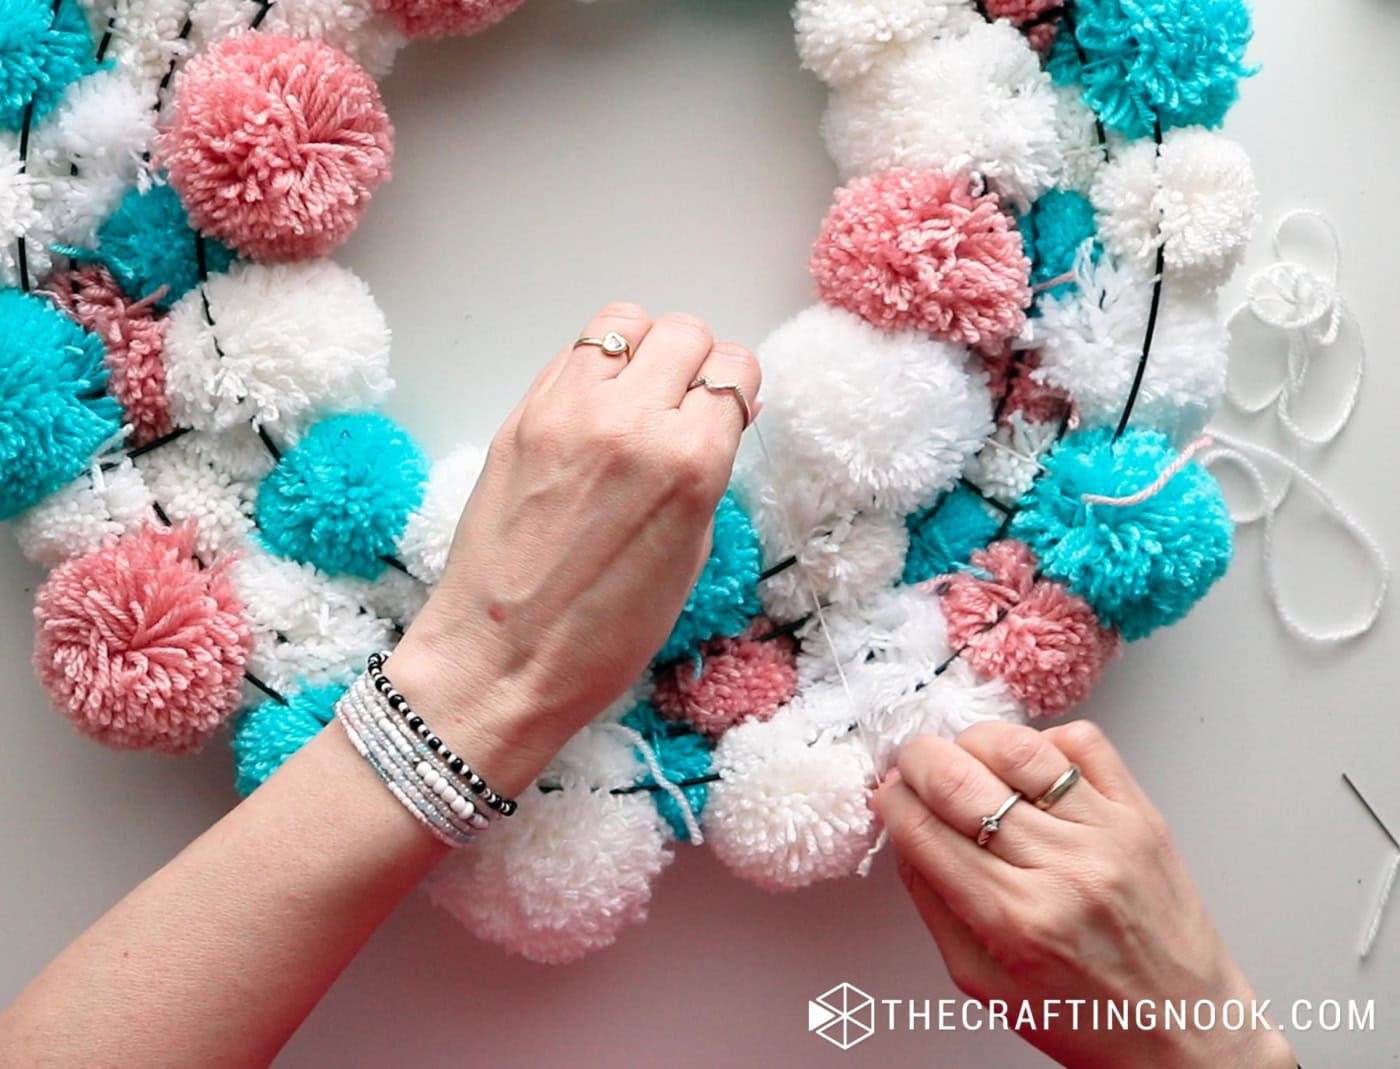
Spread them around the wreath as you like.
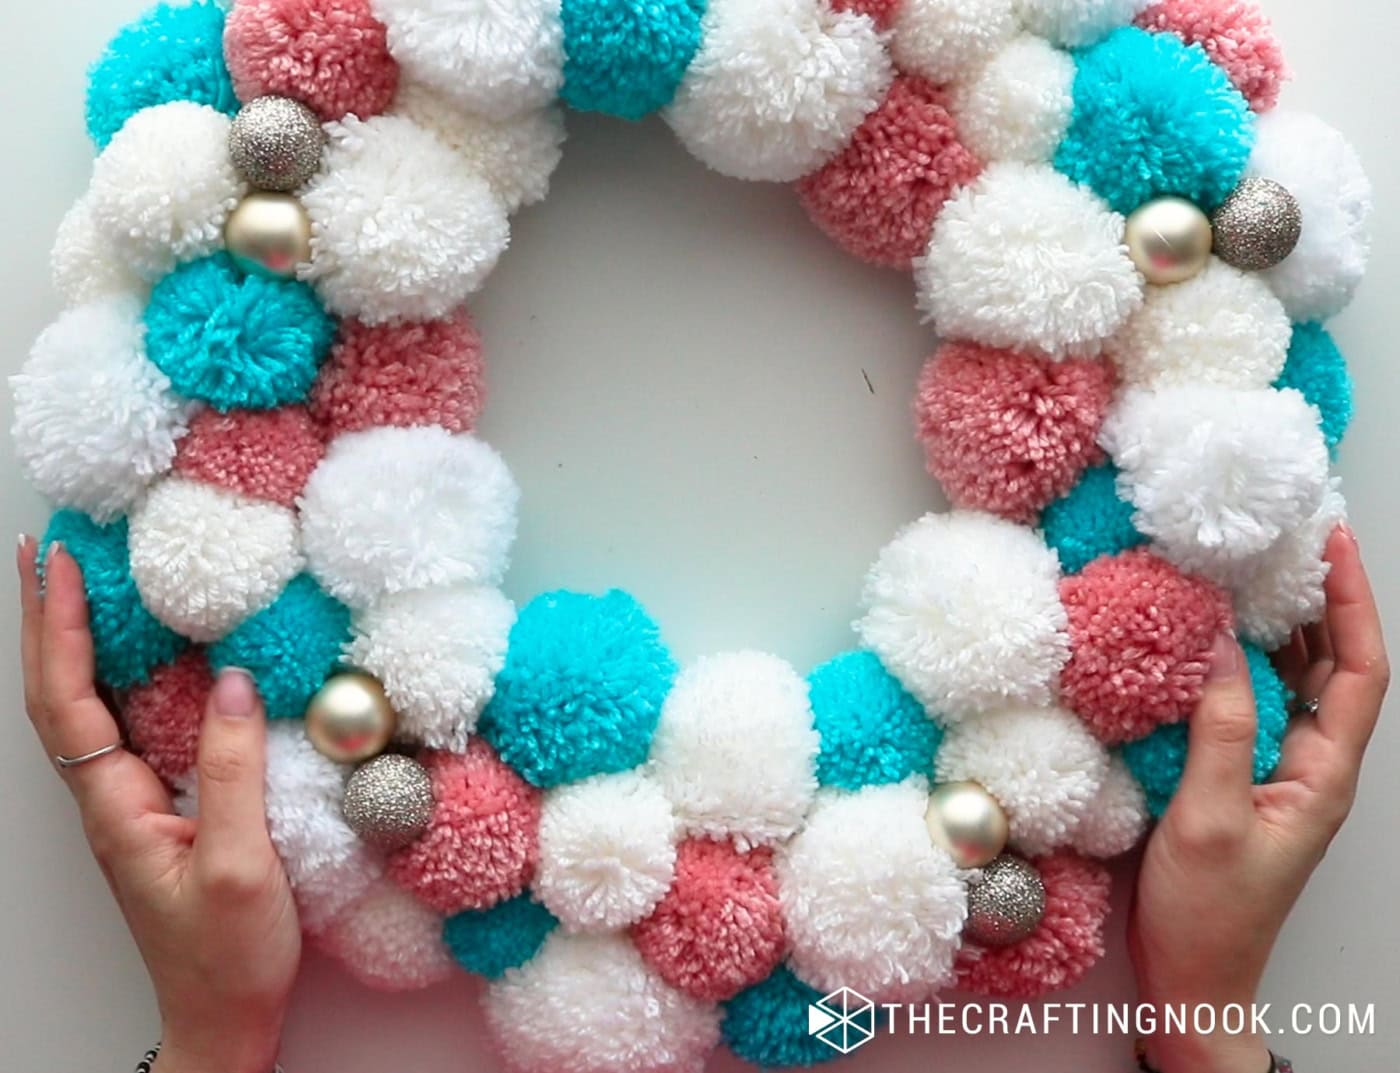
Step 4: Add the decorative Item
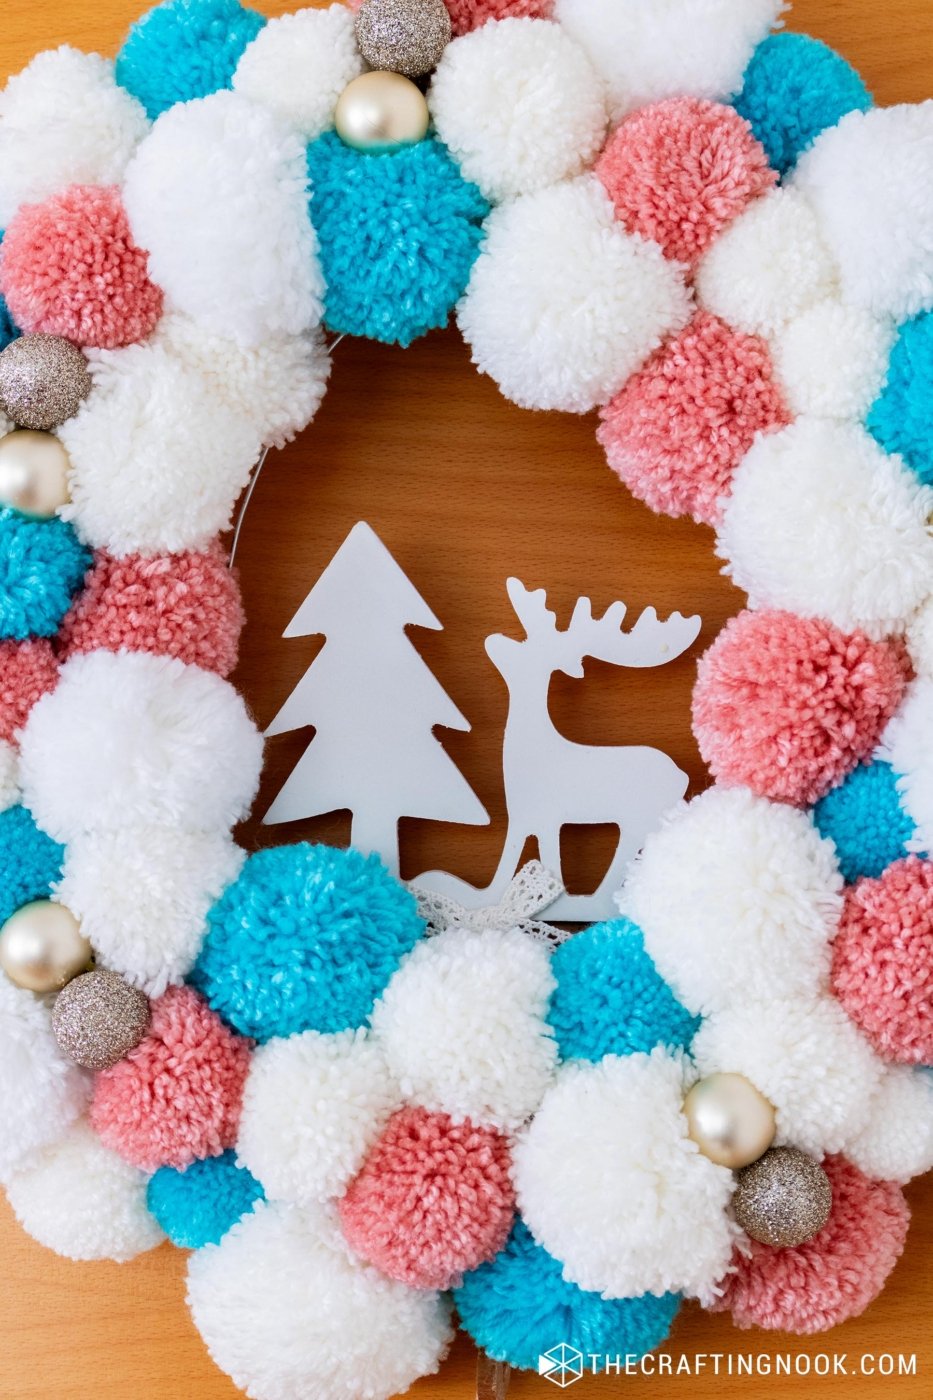
I used a tree and a deer hanger I already had from past years. Since it has a wire around it, I just had to tie it on the back at the top.
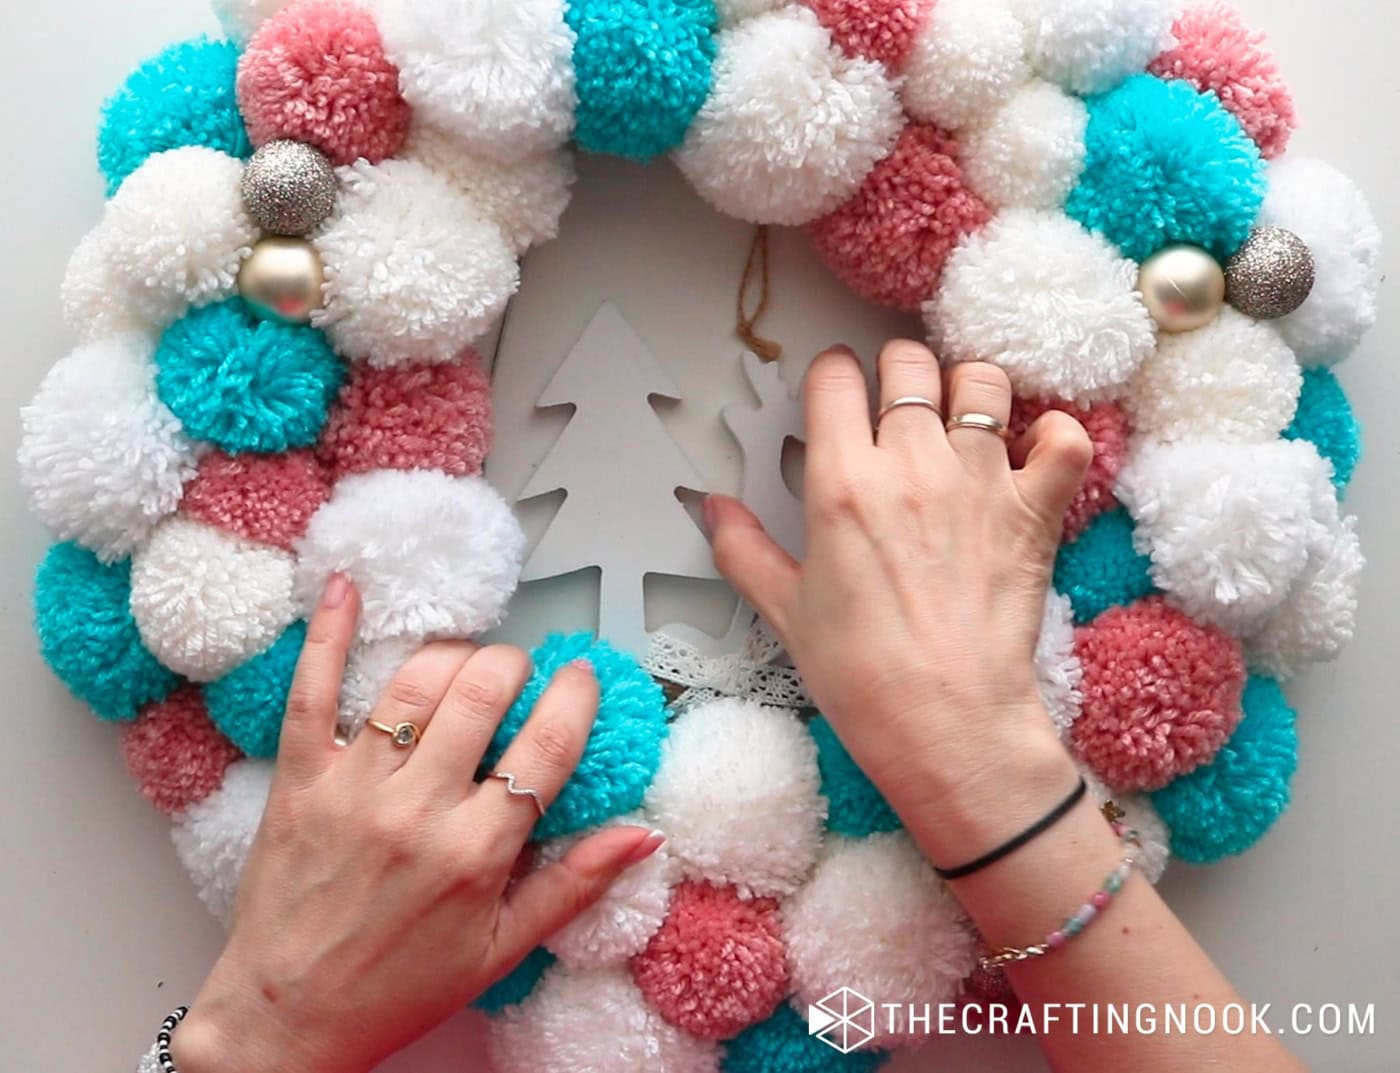
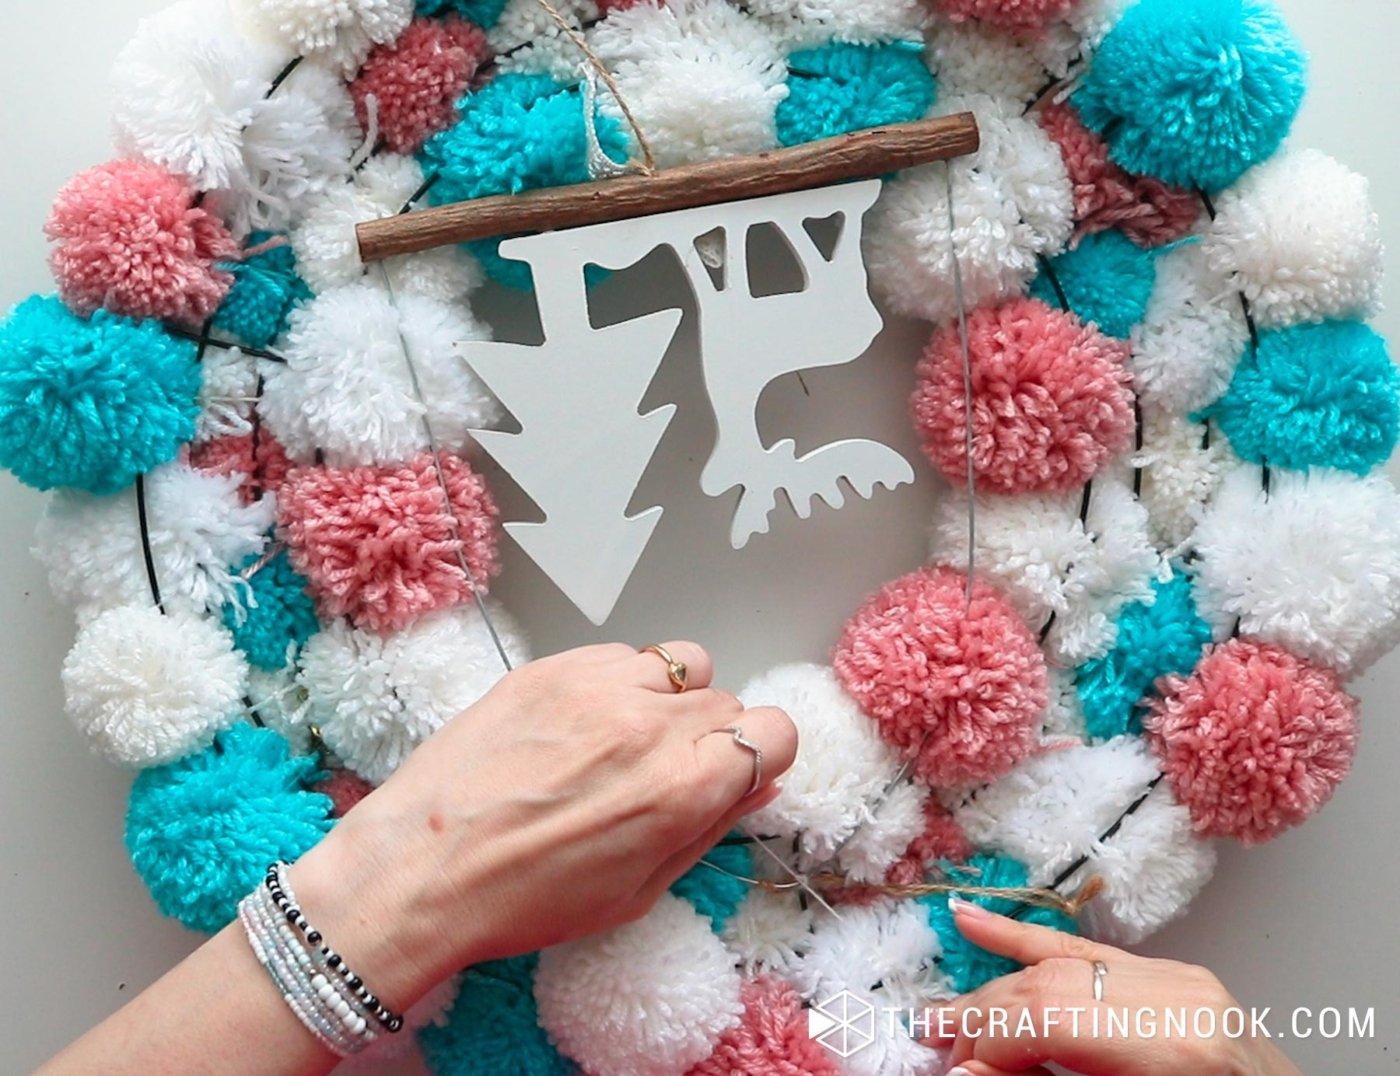
If you are using a wooden sign, make sure you tie it well either on the back or on the front.
If you are creating a winter scene, glue some cute trees and little houses on the inner bottom area of the wreath.
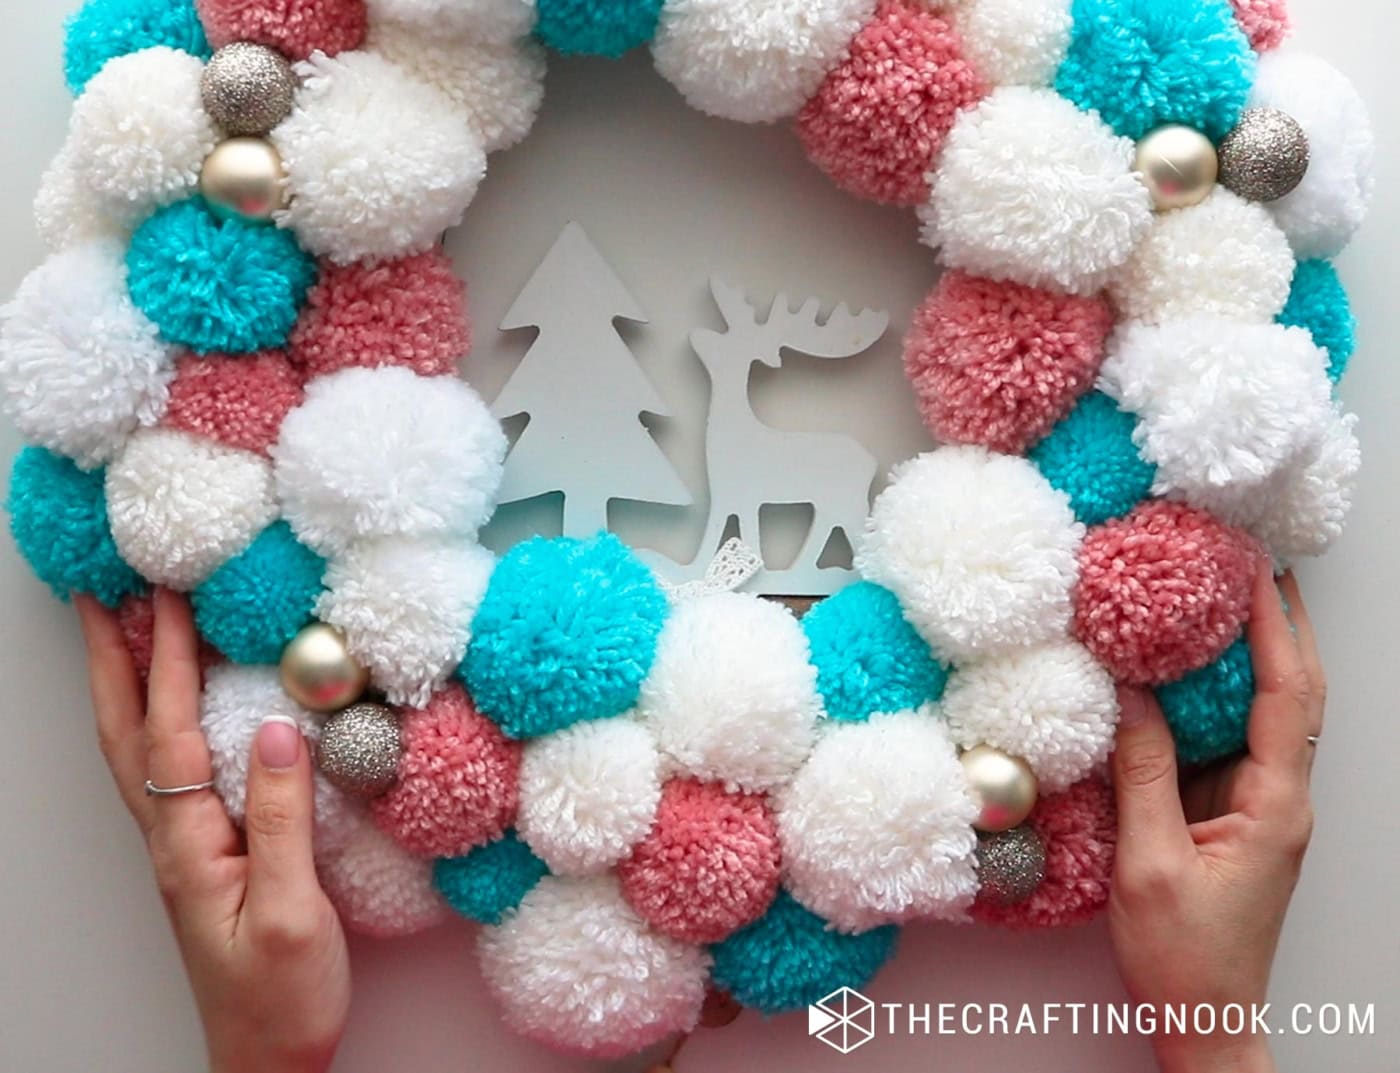
I decided to hang it directly onto the door hanger but you can also use a cute ribbon to hang it and add a little extra cuteness.
Step 5: Final Touches
Step back and take a look at your wreath. Adjust any pompoms to balance the colors and ensure fullness.
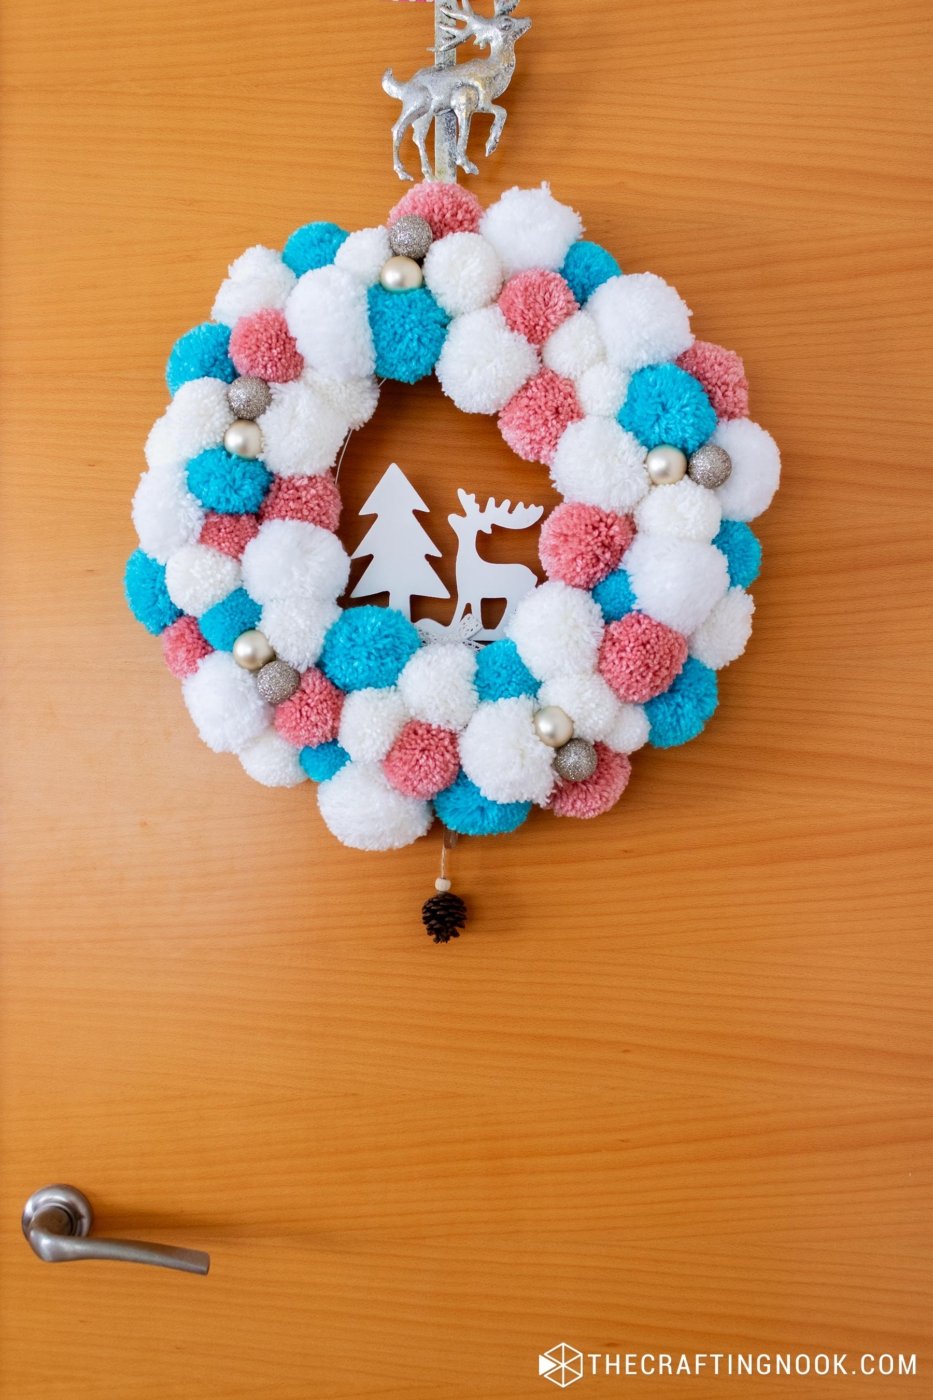
Tweak any elements to make sure they’re securely attached, and make sure your decorations are visible and centered.
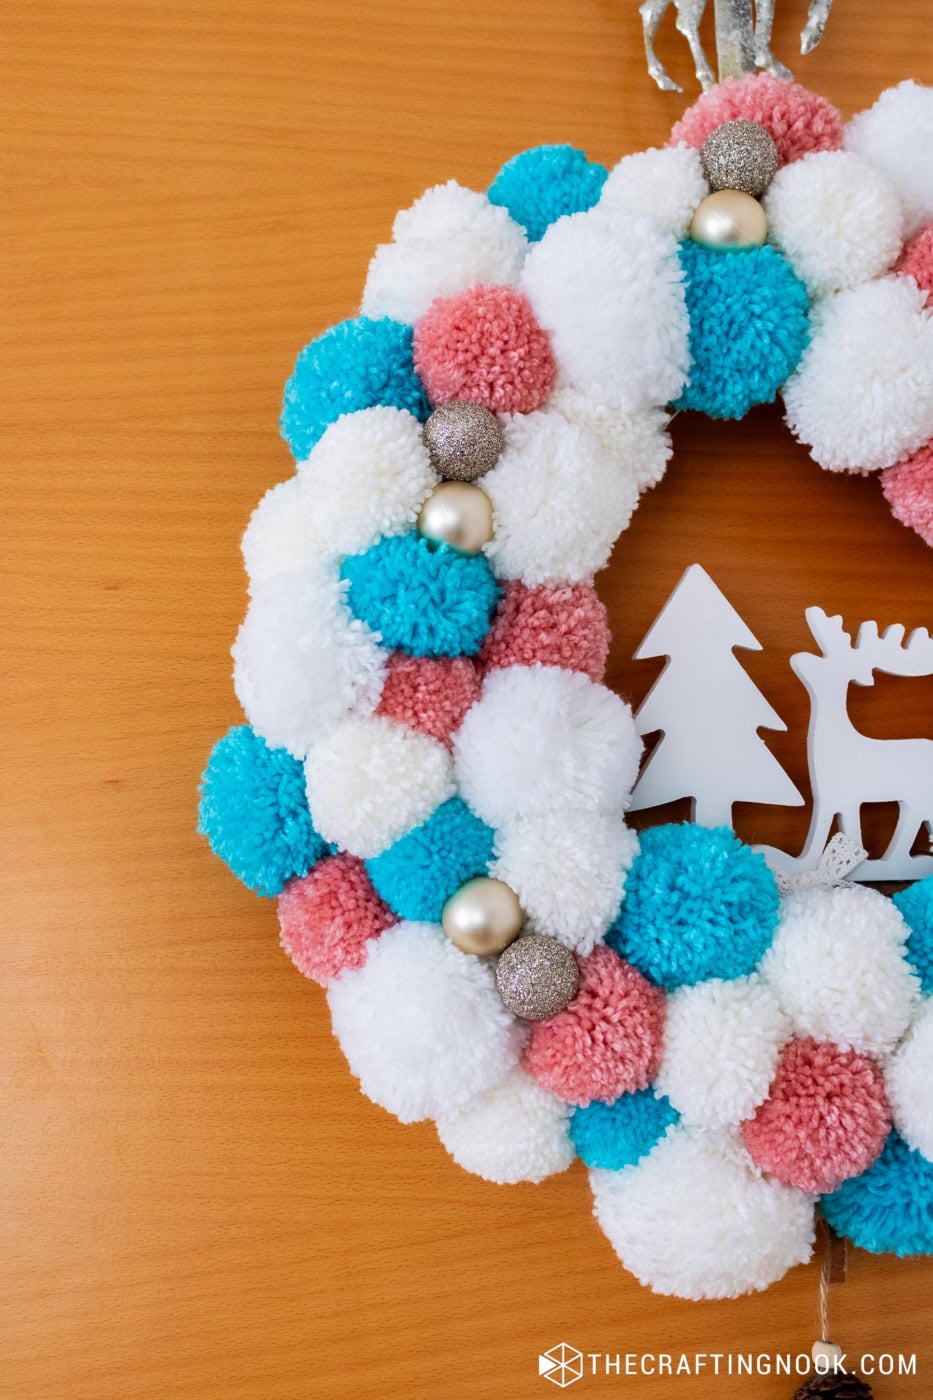
Hang your wreath on your front door, wall, or wherever you want to add that soft, snowy holiday touch!
Crafting Tips
- If you have yarn leftovers from other projects, use them to make mini pompoms in white, pink, or blue to fill in gaps and add texture without extra supplies.
- If you’re short on time or don’t need the wreath to be reusable, hot glue the pompoms directly onto the wire frame.
- Lightly spritz the completed wreath with a touch of faux snow spray to create an extra frosty, winter wonderland look.
- Wrap battery-operated mini fairy lights around the wreath for a magical glow, especially pretty when the wreath is hung in a cozy, dim-lit corner or near your front door.
- For tiny filler pompoms, wrap yarn around a fork and tie in the center before cutting the edges. This makes mini pompoms quickly without a special tool.
- Incorporate small scented ornaments or add a few drops of essential oil (like pine or cinnamon) to a couple of the pompoms. This can turn the wreath into a festive air freshener!
Alternatives and Substitutions
There are several ways to make pompoms, you can make pompoms with cardboard, you can make it with a different simpler pompom maker, or you can use your fingers.
To save time, buy pre-made pompoms in your color scheme. They’re easy to find in craft stores.
If you’re looking for a cleaner, more structured look, try using felt balls instead of yarn pompoms. They’re available in various colors, and you can easily glue or string them onto the wreath.
While white, pink, and blue create a soft, wintry feel, you could try other combinations like red and green for a classic look or metallics (gold, silver, and white) for a more traditional look.
Instead of the decorative hanger, you can add house and bottle brush trees, small ornaments, like mini snowflakes, bells, or even mini wreaths.
Instead of a wire form, a foam wreath form can hold the pompoms with hot glue, making it easier to secure everything and avoid shifting.
For a rustic look, use twine or burlap instead of a ribbon bow. It’ll bring in a natural touch, which can look great against the soft pompoms.
Frequently Asked Questions
The number depends on the wreath size, but generally, for a 12-inch wreath, around 50-60 pompoms in various sizes should cover it nicely. Feel free to adjust the amount based on how full and fluffy you want the wreath to look.
Absolutely! A foam wreath base works well and can be easier to attach pompoms using hot glue. You can even use a grapevine wreath for a rustic touch, though it may take more pompoms to cover it completely.
ALthough making pompoms is a fun activity especially if you involve the kids, you can also buy pre-made pompoms to save time or if you prefer a uniform look. They come in various colors and sizes, making it easy to stick with your color scheme.
Use sturdy, high-quality yarn or felt pompoms, which tend to hold up better over time. Store the wreath in a protective bag or box to keep dust and moisture away when not in use.
It depends on the size of your wreath and if you’re making the pompoms yourself. Making all the pompoms and assembling the wreath can take a few hours, but it’s a great project to spread over a few days or share with friends or family.
A pompom maker helps keep things uniform and fast, but you can also make them by wrapping yarn around your fingers, a fork, or a piece of cardboard if you prefer a DIY method.
More Christmas Projects To Try
Like this DIY White, Pink and Blue Pompom Wreath for Christmas tutorial? You might definitely love these other Christmas project ideas too:
✂️ Tutorial
DIY White, Pink and Blue Pompom Wreath for Christmas
Tools
- scissors
- Pompom maker
Supplies
- 12- inch Wire wreath form – the size of your choice
- Yarn in white, pink, and blue – white for most pompoms, with smaller amounts of pink and blue
- Small gold ornaments – I used 10 1-inch ornaments in mate and glitter gold
- A cute wooden decorative piece – I used a tree and a deer hanger. You can use a merry Christmas sign buttlebrush trees, little houses, or anything you like and have handy.
Instructions
Step 1: Make the Pompoms
- Start by creating your pompoms in varying sizes. For a snowy look, make about 60% of the pompoms in white, and the remaining in pink and blue.
- Use a pompom maker to speed things up, or wrap the yarn around your fingers (or a piece of cardboard) to create the pompoms.
- When you use a pompom maker, open one half and start wrapping the yarn around the half-circle until you feel it’s stuffed enough. Then move to the other half and repeat the process. Cut the yarn.
- When you are done, close the pompom maker and cut through the center of each side.
- Then cut a 8-inch string of the same yarn and wrap it around the middle of the pompom maker.
- Make a tight knot. I like to go back and forth knitting on both sides of the pompom maker to secure it well.
- When it’s done, open the half-circle flaps and separate both sides of the pompom maker.
- Once each pompom is created, trim it to a neat, fluffy ball shape.
- Repeat the process with different sizes and colors.
Step 2: Attach Pompoms to the Wreath Form
- Take your wire wreath form and begin attaching the pompoms by tying them onto the frame with a double or triple knot on the back.
- Arrange the white pompoms more densely around the wreath, especially on the outer edge, to create that snowy look.
- Interweave the pink and blue pompoms sparingly for a soft, colorful touch.
- Once you are satisfied with the pompom placements, move on to the next step.
Step 3: Add small gold ornaments
- Tie together 2 small gold ornaments with a string of yarn. I used mate gold and glitter ornaments.
- Place them in between pompoms and tie them on the back.
- Spread them around the wreath as you like.
Step 4: Add the decorative Item
- I used a tree and a deer hanger I already had from past years. Since it has a wire around it, I just had to tie it on the back at the top.
- If you are using a wooden sign, make sure you tie it well either on the back or on the front.
- If you are creating a winter scene, glue some cute trees and little houses on the inner bottom area of the wreath.
- I decided to hang it directly onto the door hanger but you can also use a cute ribbon to hang it and add a little extra cuteness.
Step 5: Final Touches
- Step back and take a look at your wreath. Adjust any pompoms to balance the colors and ensure fullness.
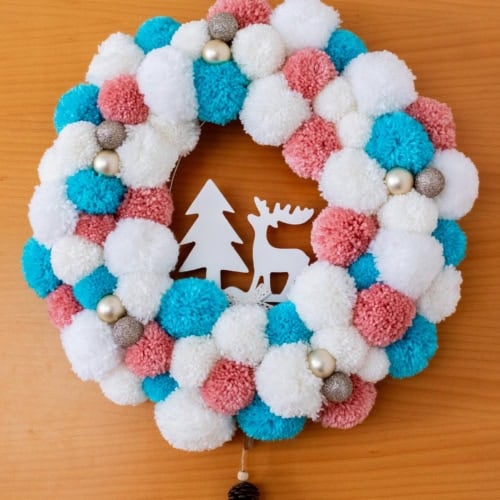
- View from far away of White, Pink and Blue Pompom Wreath for Christmas hanging on the door
- Tweak any elements to make sure they’re securely attached, and make sure your decorations are visible and centered.
- Hang your wreath on your front door, wall, or wherever you want to add that soft, snowy holiday touch!
Share and PIN ME!!!
Til’ next time…


FREE WORKBOOK
Keeping your Sweet Home Organized
Learn how to create intentional habits and simple routines to Keep Your Home Organized. Plus freebies, printables, exclusive content, and tips.
Disclaimer: By clicking on the “Yes” button above you are giving me your consent to collect and use your information according to the law and My Policy Privacy. Zero Spam I promise!
