DIY Buffalo Check & Gnome Christmas Wreath
Nothing says holiday season quite like buffalo check, so we’re giving it a little twist for the holidays! See the step-by-step tutorial for creating this festive Gnome Christmas Wreath. This is one you won’t want to miss! Get the details here.
Wait, what? Did someone say it’s December already?
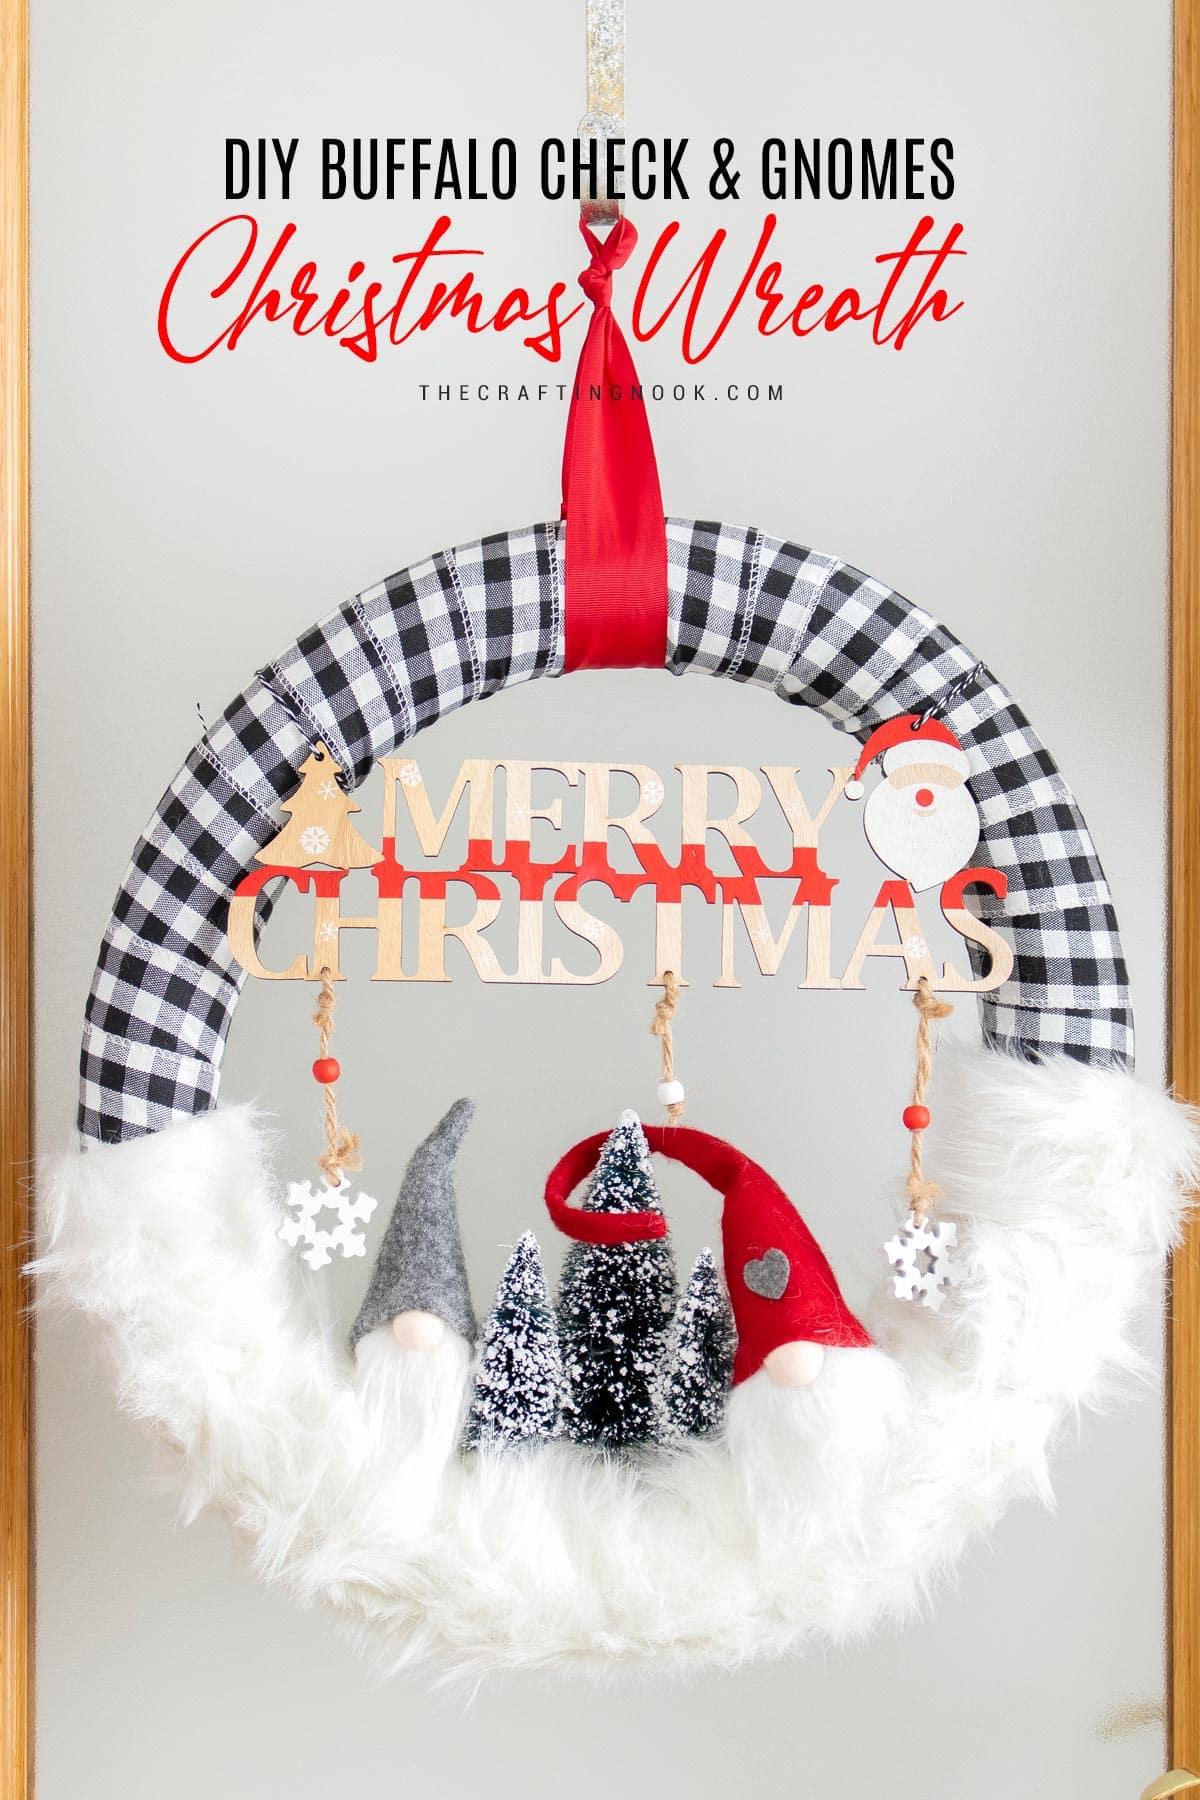
Table of Contents
Easy Gnome Christmas Wreath Tutorial
When did that happen?
This post may contain affiliate links. Please read our Disclosure Policy.
Tell me you feel the same.
This year went by so freakin’ fast. But let’s be honest, I’m also so excited. As every year, I enjoy so much getting ready for Christmas!
This is the fifth year of my tradition of creating Christmas Wreaths. I don’t create wreaths for every season or holiday but for Christmas, I made it a tradition.
I absolutely LOVE having a Christmas wreath to receive visitors. My door looks so festive and pretty with it that I just can’t help it, I have to have one every year.
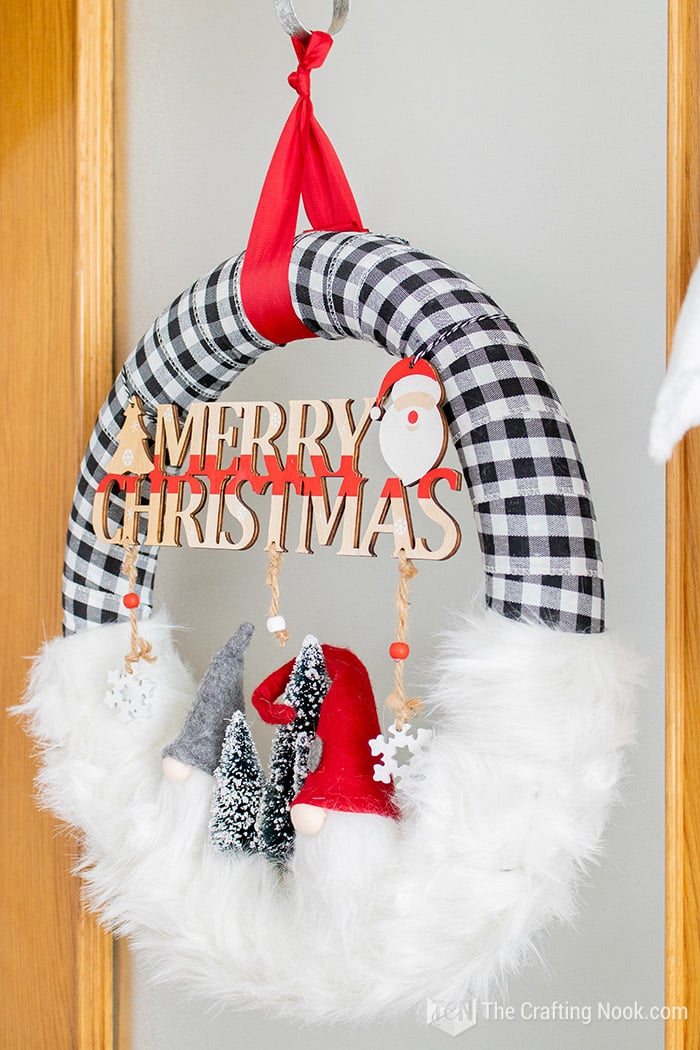
And this year for our Christmas decor, I’m focusing on creating a cozy but chic rustic but still, Winter wonderland feel with lots of plaids, buffalo check, natural textures, wood, pine boughs; and rustic touches.
I can’t wait to share more of it with you, woot!
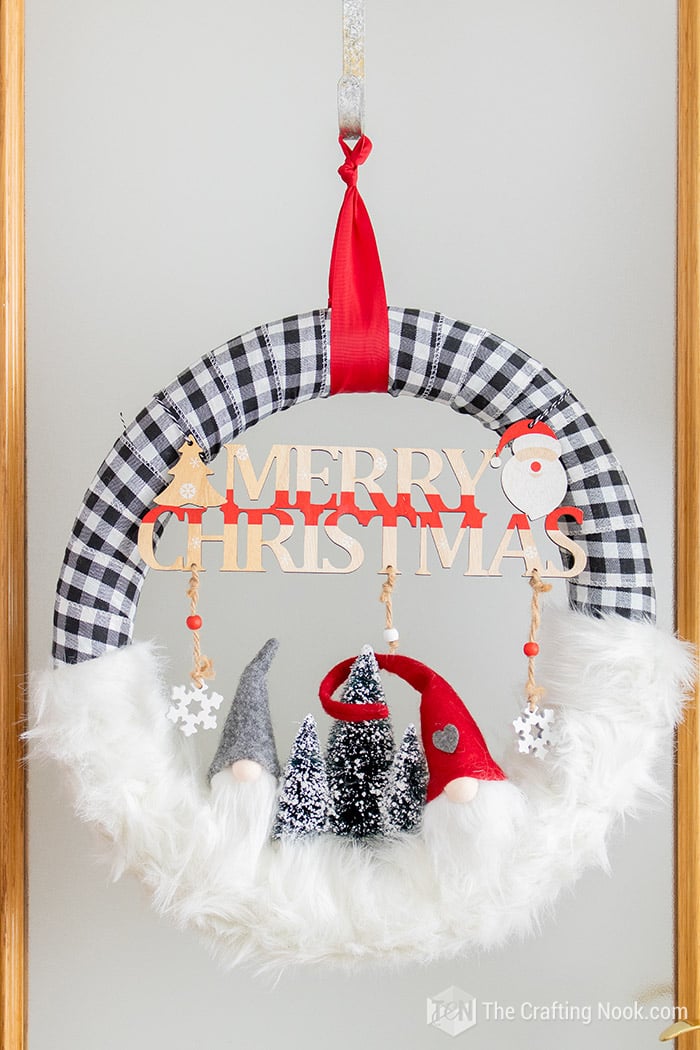
But for now… this simple and thrifty DIY Christmas Gnome Wreath idea is an easy way to add a cute, wintery and cheery feel to your Christmas decor to your front door this Holiday season.
How to Make this Buffalo Check Gnome Christmas Wreath
I had so much fun working on this
Supplies:
- Black and white buffalo check ribbon
- Red ribbon
- Foam wreath form (size of your choice.)
- Faux Fur ribbon or garland (or anything you like to simulate snow)
- Bottle brush Trees.
- Merry Christmas Wooden sign
- 2 cute gnomes (I used these cute Christmas gnome ornaments).
- Pins
- Twine.
Tools:
- Scissors
- Hot glue gun
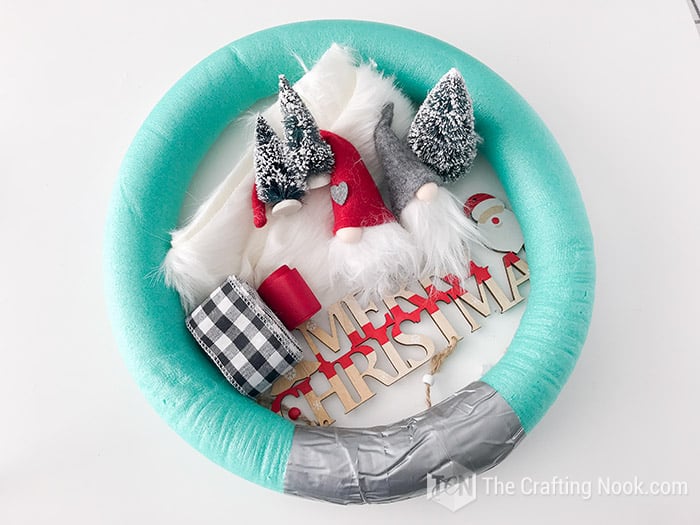
Instructions:
Before we begin, be sure to follow us on Pinterest, Facebook, Instagram, and YouTube, and also sign up for our email list (at the end of this post), so you’ll never miss a post!
1. Get your foam wreath form (I created mine with pool noodle if you are interested in making it yourself) and start wrapping it with your buffalo check ribbon.
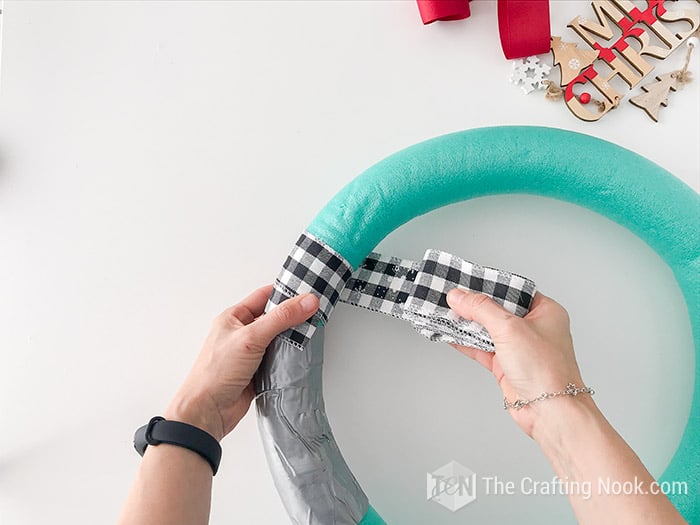
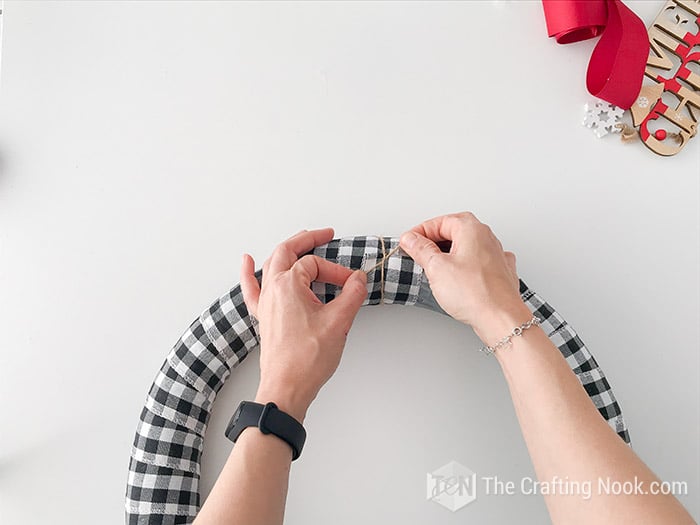
2. If like me, you don’t want to use glue, fold the end of the ribbon and secure it with a piece of twine or a pin.
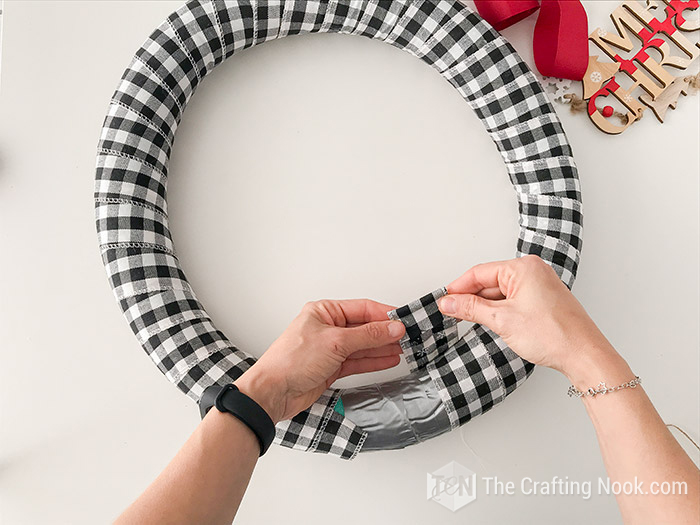
This is the best way to make your wreath form last for years!
3. Then decide where will be the bottom of your wreath, wrap it with the fur ribbon. In this case, you can’t find a fur ribbon, you can use any faux fur fabric and cut strips 2 inches wide and as long as you need.
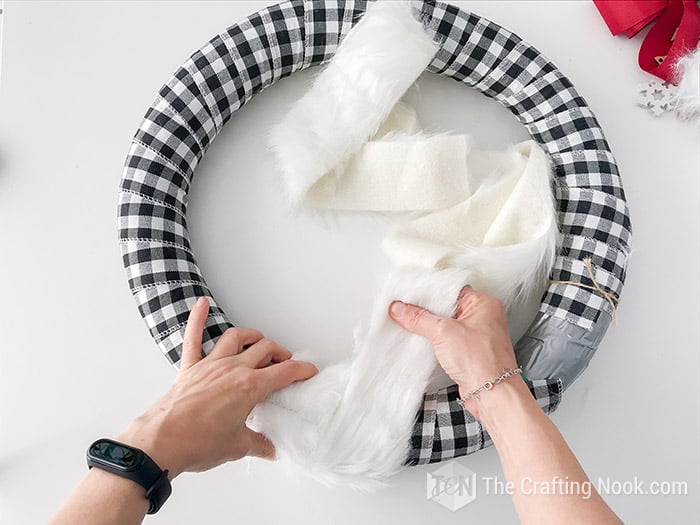
4. Secure the end of your ribbon with a pin.
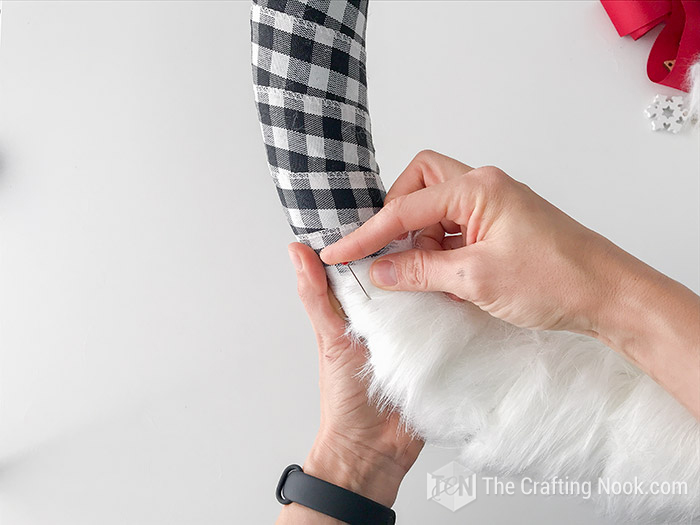
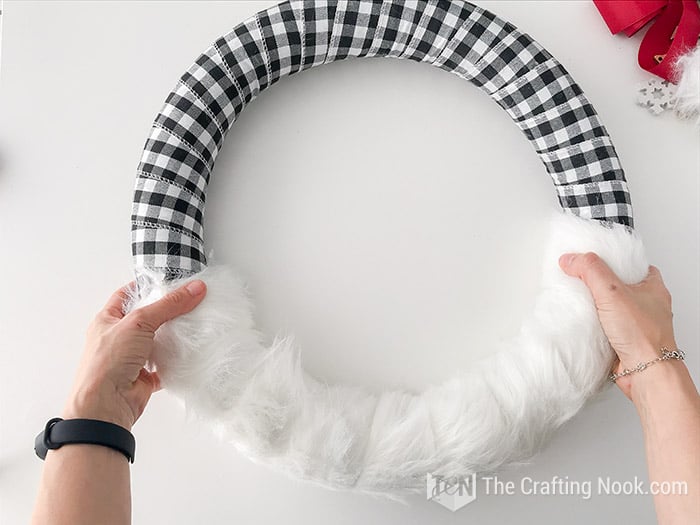
5. Once done, start gluing your bottle brush trees. I recommend using a low-temperature glue gun for this.
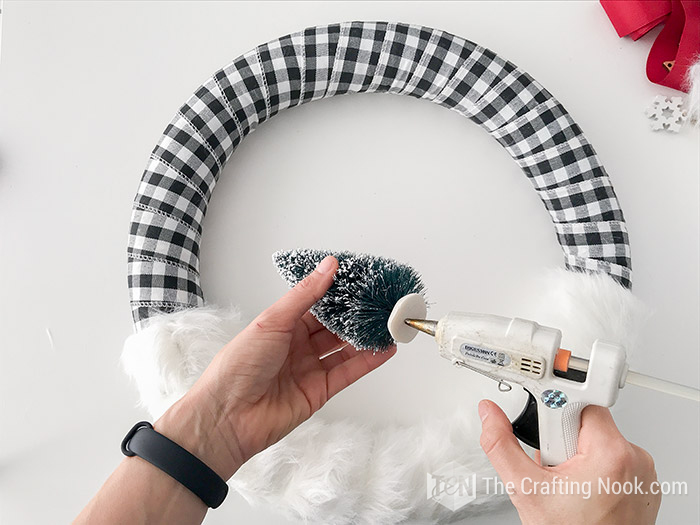
I recommend one large tree in the middle and 2 medium ones on both sides of the large tree.
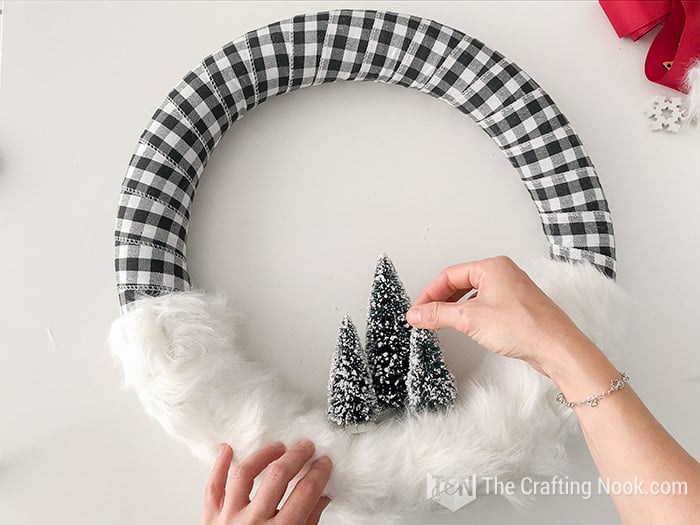
6. Then depending on the type of gnomes, you are using I would suggest securing them with pins.
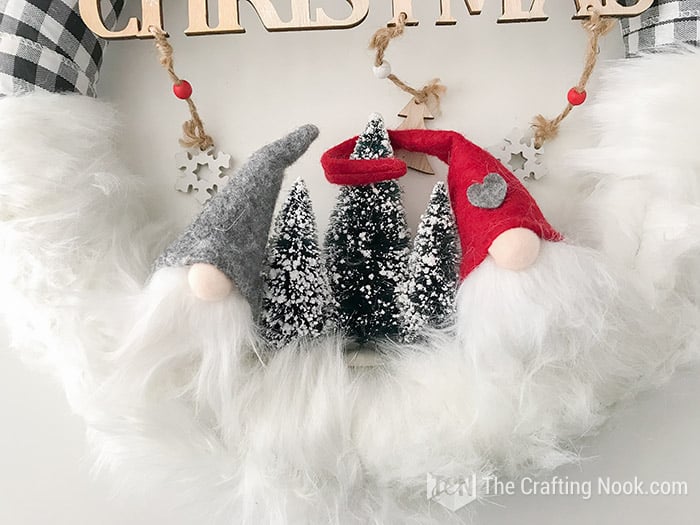
In my case, my gnomes were only heads so I secure them with pins on the back of the hat and made sure the gnome’s beard would blend in with the fur.

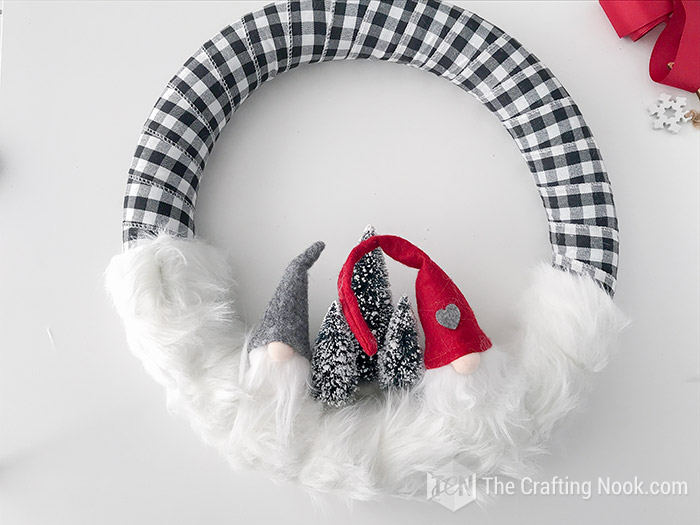
7. Next, I placed the Merry Christmas sign on the top of the wreath and secure it with some black and white twine trying my best to camouflage among the black and white from the ribbon.
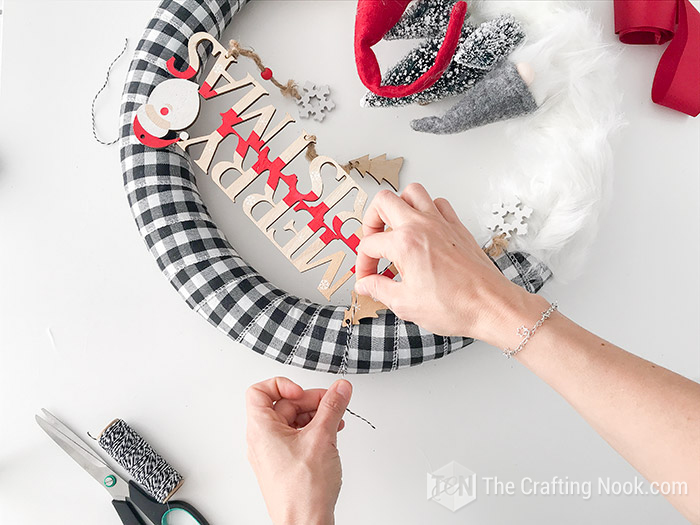
8. Finally, with a Red Ribbon, I created a hanger for my pretty and easy Buffalo Check Gnome Christmas Wreath.
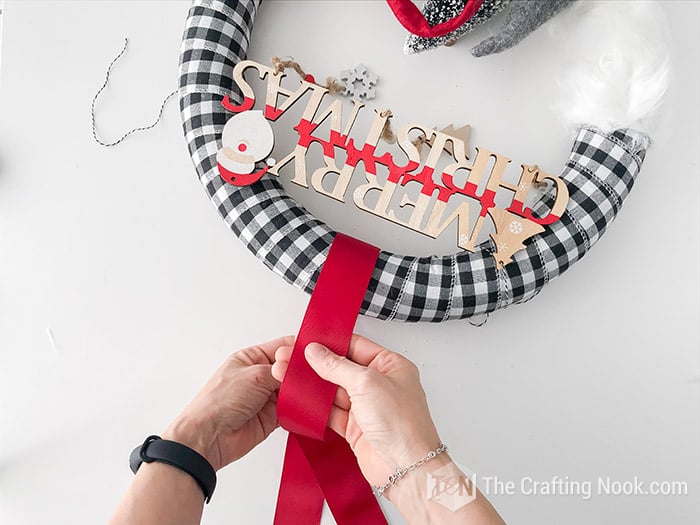
That’s pretty much it.
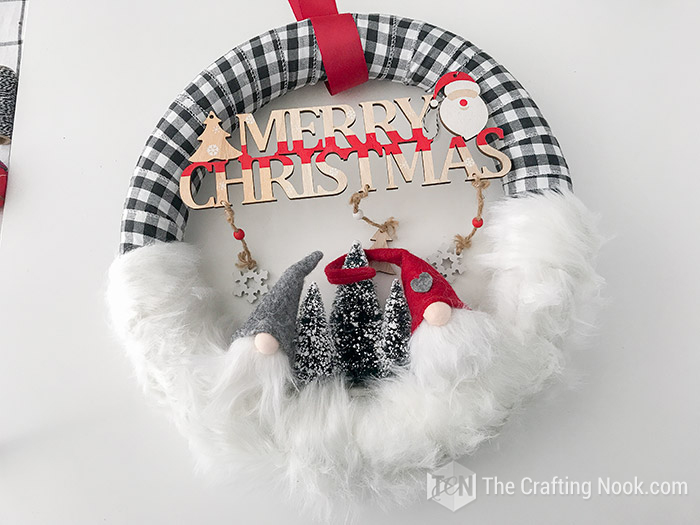
I also made the point of the hat to go around one of the bottle brush trees.
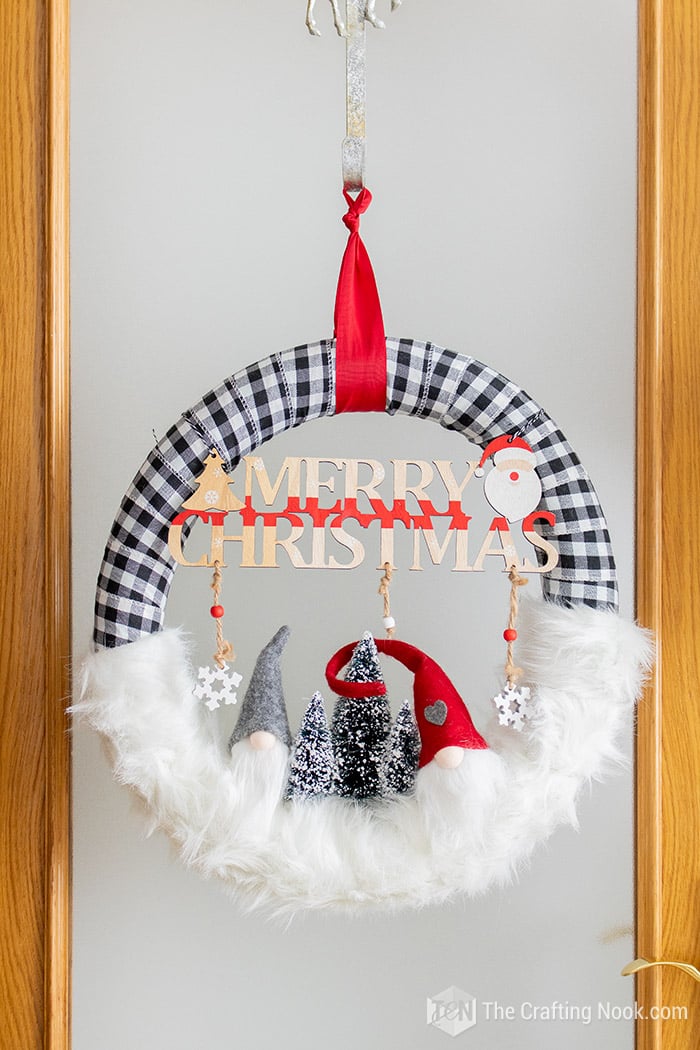
I absolutely love how it looks. It’s like a mix between the rustic buffalo check with a winter wonderland feel. I just love it.
Crafting Tips
- Don’t glue stuff directly to the wreath form, instead, you can wrap strips of fabric or a cheap ribbon around the wreath so you can glue over it. That way when you are done, you can just cut the fabric or ribbon and reuse the wreath form.
- If you’re working with kids on this type of project who are not experienced with handling hot glue guns carefully, make sure you use a low-temperature glue gun and stay with them all the time until they handle it well.
- I recommend using a good sharp pair of scissors. But if you are working with kids then use snub-nosed, classroom scissors and be with them the whole time.
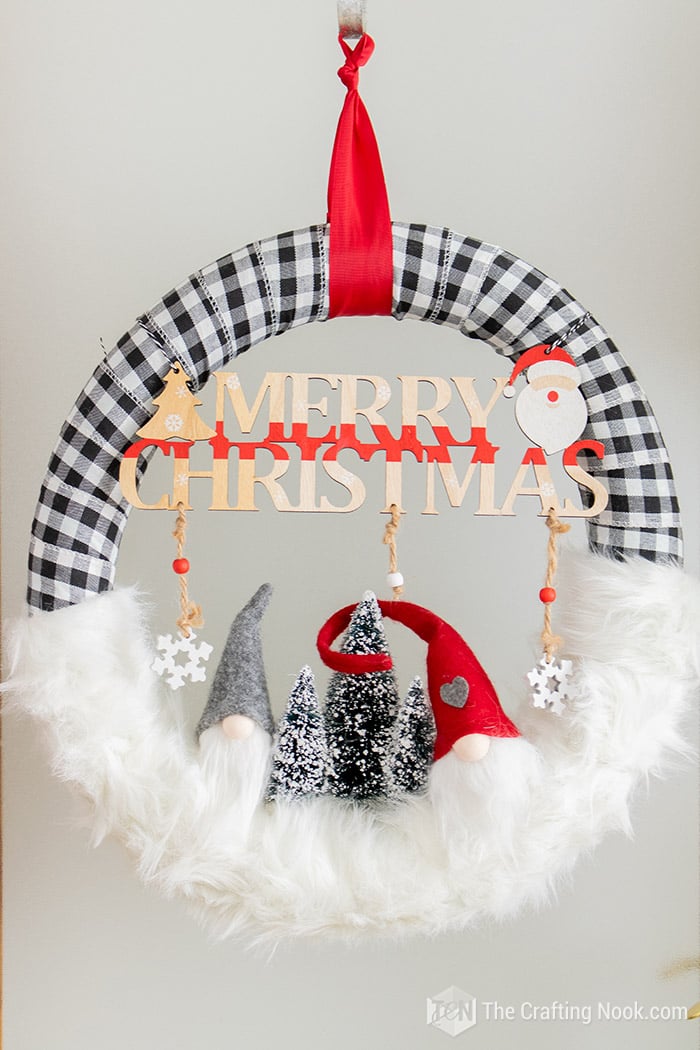
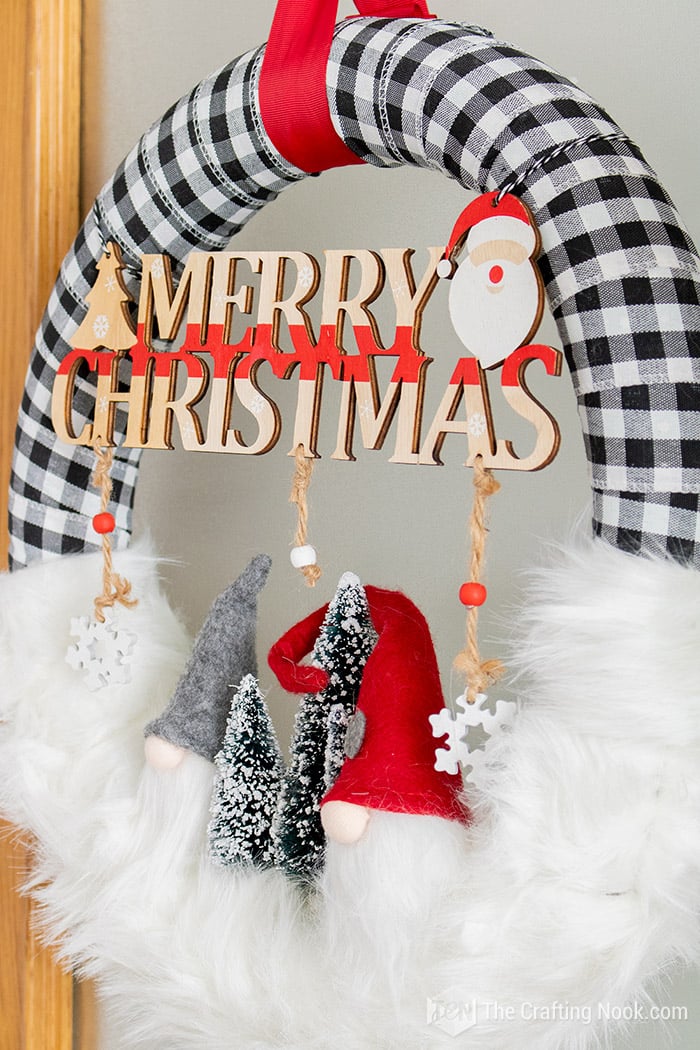
Once Christmas is over you can take it all down and reuse your supplies for another project. The only thing that might get damaged is the fur, but saving all the rest is pretty good to me!
Hope you enjoyed today’s project and that it inspires you to create one for yourself.
Frequently Asked Questions
You can use a foam wreath or even a grapevine wreath or even wire frame wrapping it in fabric or ribbon. Optionally, you can use a pool noodle and create your own wreath base and even make larger wreaths.
You can use any ribbon you like, this one is a fabric ribbon, but you can use burlap ribbon, fabric scraps, and even scarves will do.
You can find super cute gnomes at dollar stores, craft stores, Etsy shops, or even Amazon. Alternatively, you can make some yourself.
More Christmas Wreaths to Try
Loving this Gnome Christmas Wreath Tutorial? You might also love these other Christmas project ideas too:
✂️ Tutorial

DIY Buffalo Check & Gnome Christmas Wreath
Tools
- scissors
- Hot glue gun
Supplies
- Black and white buffalo check ribbon
- Red ribbon
- Foam wreath form size of your choice.
- Faux Fur ribbon or garland or anything you like to simulate snow
- Bottle brush Trees.
- Merry Christmas Wooden sign
- 2 cute gnomes I used these cute Christmas gnome ornaments.
- Pins
- Twine.
Instructions
- Before we begin, be sure to follow us on Pinterest, Facebook, Instagram, and YouTube, and also sign up for our email list (at the end of this post), so you’ll never miss a post!
- Get your foam wreath form (I created mine with pool noodle if you are interested in making it yourself) and start wrapping it with your buffalo check ribbon.
- If like me, you don’t want to use glue, fold the end of the ribbon and secure it with a piece of twine or a pin. This is the best way to make your wreath form last for years!
- Then decide where will be the bottom of your wreath, wrap it with the fur ribbon. In this case, you can’t find a fur ribbon, you can use any faux fur fabric and cut strips 2 inches wide and as long as you need.
- Secure the end of your ribbon with a pin.
- Once done, start gluing your bottle brushes trees. I recommend using a low-temperature glue gun for this.
- I sugest one large tree in the middle and 2 medium ones on both sides of the large tree.
- Then depending on the type of gnomes, you are using I would suggest securing them with pins.
- In my case, my gnomes were only heads so I secure them with pins on the back of the hat and made sure the gnome’s beard would blend in with the fur.
- Next, I placed the Merry Christmas sign on the top of the wreath and secure it with some black and white twine trying my best to camouflage among the black and white from the ribbon.
- Finally, with a Red Ribbon, I created a hanger for my pretty and easy Buffalo Check Gnome Christmas Wreath.
- That’s it. You got yourself a gorgeous gnome Christmas wreath!
Some of my favorite bloggers’ Christmas decor:
- Decorating Floating Shelves for Christmas by Michelle over at Weekend Craft.
- Christmas living room tour by Beth over at Home Stories A to Z.
- Christmas in the Living Room by Liz over at Love Grows Wild
Share and PIN ME!

Til’ next time…


FREE WORKBOOK
Keeping your Sweet Home Organized
Learn how to create intentional habits and simple routines to Keep Your Home Organized. Plus freebies, printables, exclusive content, and tips.
Disclaimer: By clicking on the “Yes” button above you are giving me your consent to collect and use your information according to the law and My Policy Privacy. Zero Spam I promise!


