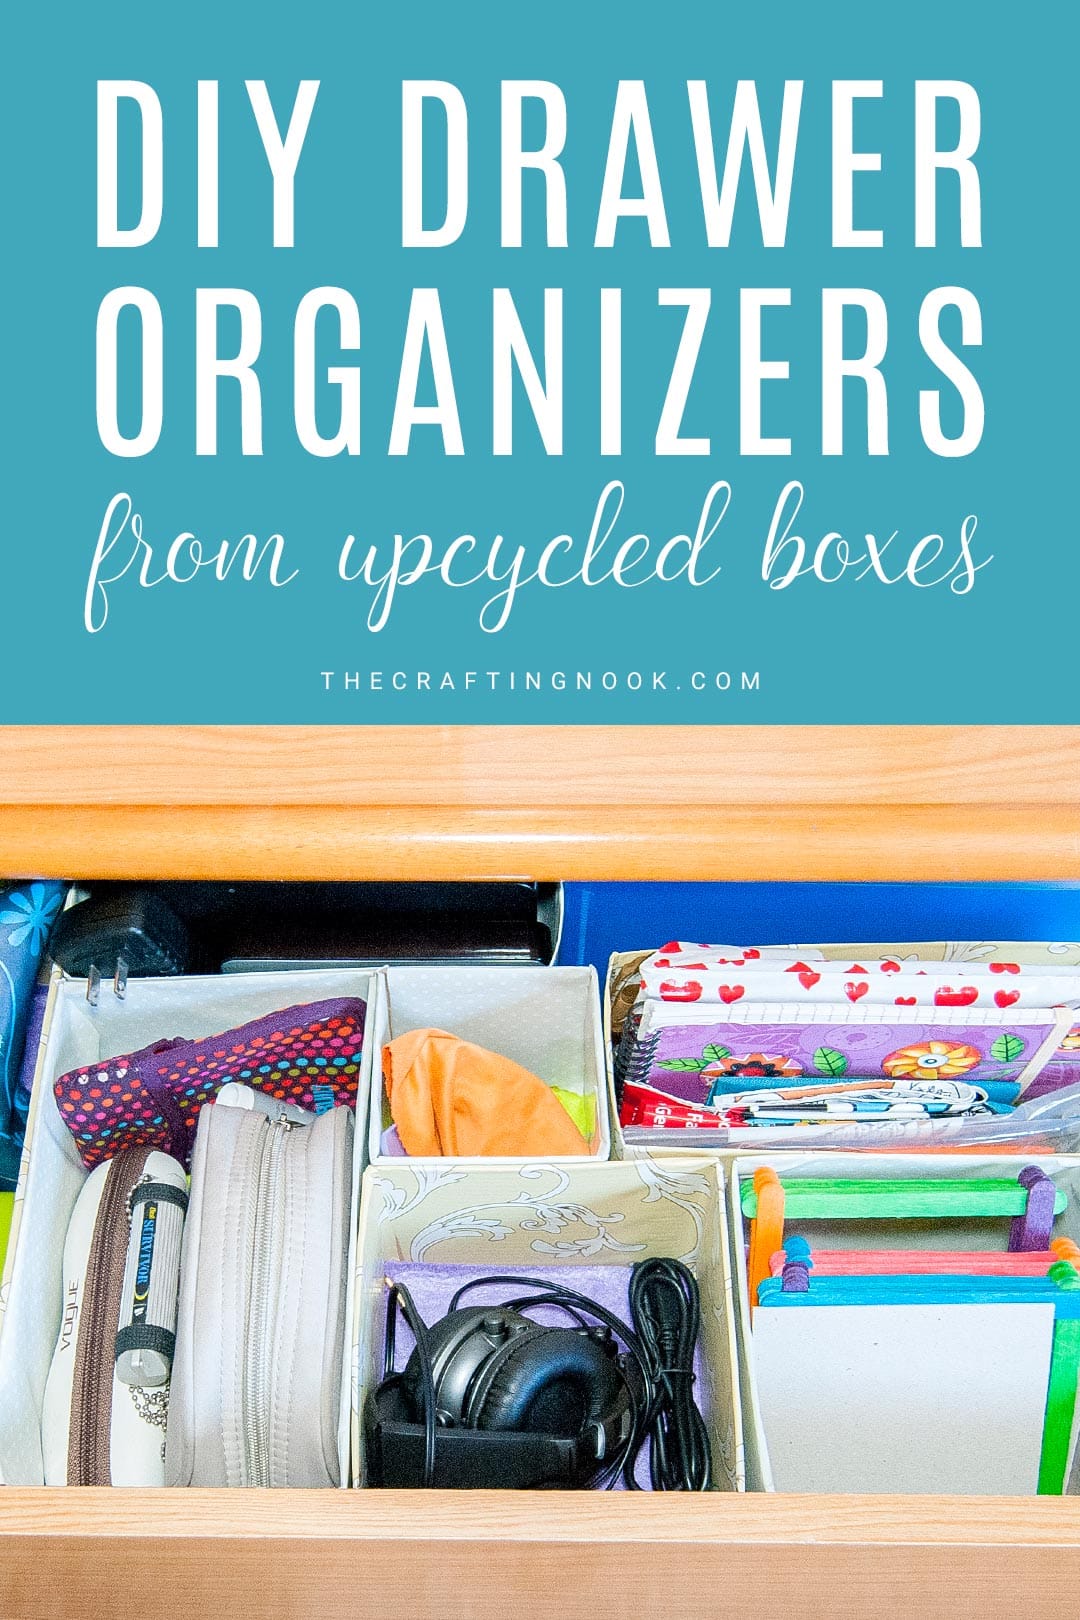
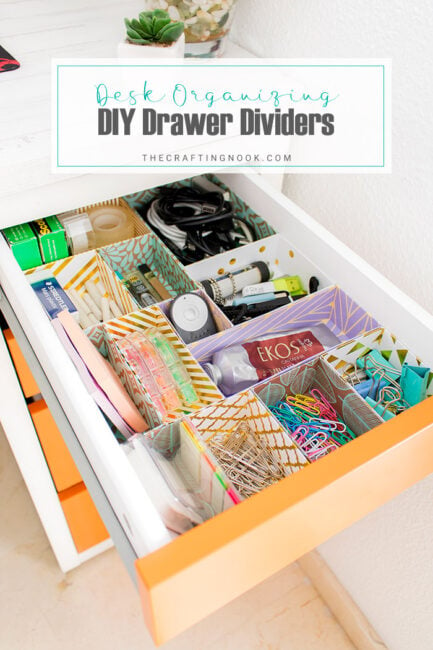
DIY Drawer Organizers with Upcycled Boxes
This post may contain affiliate links. Please read our Disclosure Policy.
Let’s say you have a drawer you need to organize. You could buy fancy drawer organizers, or you could make them yourself. We show you how to make simple DIY drawer organizers from recycled boxes right here.
Decorated shoe boxes, cereal boxes, or even electronic boxes make perfect drawer organizers. Contact paper, scrap paper… Just take a look around you and you will see what you can reuse, repurpose, and upcycle!
In this tutorial, I will show you how to be creative with what you have and just buy what’s needed so you get this project done on a budget.
I’ve mentioned in the past that I love keeping things organized and that I love boxes. When I saw this idea on The Thinking Closet where she was upcycling boxes, I got a super inspiration to upcycle a bunch of boxes that I had around the house to keep my drawers organized =D.
You might also love these other organization ideas: How to Keep Your Home Organized, Upcycled organizing box for ribbons and tapes, and DIY Drawer Dividers for Desk Organizing (+Tips and Tricks).
Table of Contents
How do you organize a desk drawer?
Before even starting organizing, we need to create an efficient storage system for your desk. For this let’s break the steps so it’s easier to digest.
- Evaluate your space, what’s your available space, what do you have, what do you really need.
- Prioritize the top drawer. Set here only what is most important and that you use every day.
- Create pretty organizers.
- Smartly fill each drawer.
- Keep things organized, if you don’t create a mess you won’t need to organize again.
- Don’t be scared of empty spaces. Empty space is good too.
- Find new ways to organize and stay organized.
To get organized on a budget, make use first of what you already have. Things that might otherwise end up in the trash or recycling, so you’re saving the planet as well.
For years I have been gathering and collecting all kinds of boxes, cereal, shoes, those that come when someone gets a new phone or iPad, and some of them I was already using to store things like mini markers, pen drives, paperclips.
The boxes are the perfect size for most drawers and sturdy enough to work well for organizing.
Lauren shared a great idea to keep craft drawers organized saving money, you can see her post HERE for more details. I also love how I Heart Organizing organized her drawers.
I figured I could use those boxes would look a little more fun with contact paper and some scrap of felt added to the bottom pop for color and protection so they would also work well with the decor I had in mind.
Here I’m sharing how I made it. It didn’t turn out as I wanted since the contact paper, I chose wasn’t the best. It was not sticky enough so it was hard to make it stay straight. I would give it a try again with some better contact paper.
How to Upcycle Boxes for organization
When you have a specific place for each thing or group of similar things, it is easy to keep the organization. I love to have things handy and when I get that level of organization, I usually keep it.
Today I thought I would share with you how I made these super easy and (probably) FREE drawer organizers to hold my office supplies. This table I have has a great size but I still needed a way to organize all those small items that end up all mixed up in the drawers.
I had just tossed everything and anything into those drawers turning them into my personal junk drawer. I could never find a thing in there and sometimes I bought things I already had but didn’t remember.
How to make these Drawer Organizers
I liked the final result. It was so satisfying getting all my stuff organized and handy =D.
I completely forgot to take the “before” picture but if you have an office drawer you know how it could have been LOL.
So, here it is, I hope you like it.
Supplies:
- Different cardboard boxes
- Contact paper
- Felt
- Hot glue gun
- Pencil or sharpie, ruler and scissors or knife.

Instructions:
Before we begin with the full instructions, be sure to follow us on Pinterest, Facebook, Instagram, and YouTube, and also sign up for our email list (at the end of this post), so you’ll never miss a post!
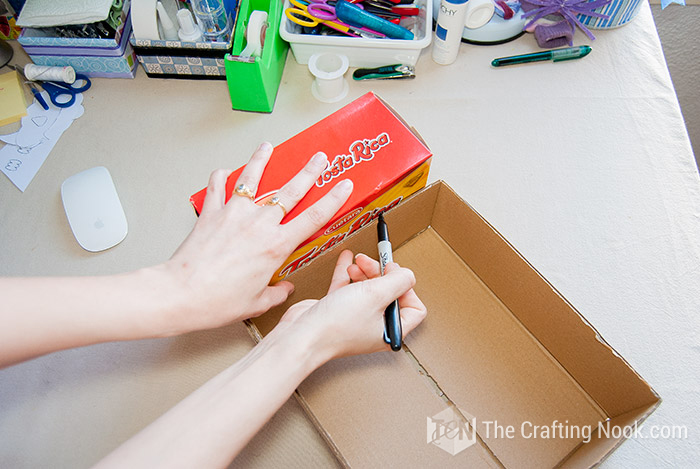
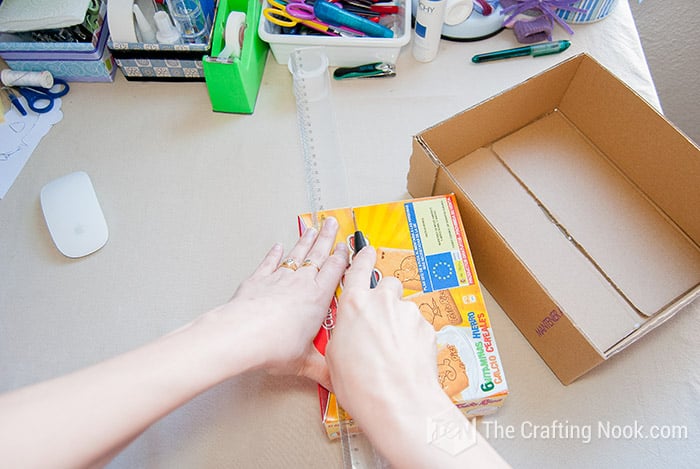
Step 1: Measuring and Cutting
The first thing I did was cut all the boxes to the same height. Once I had my desired location for each of the boxes, I used the drawer as a guide to mark the height around each edge of each box then started cutting them.

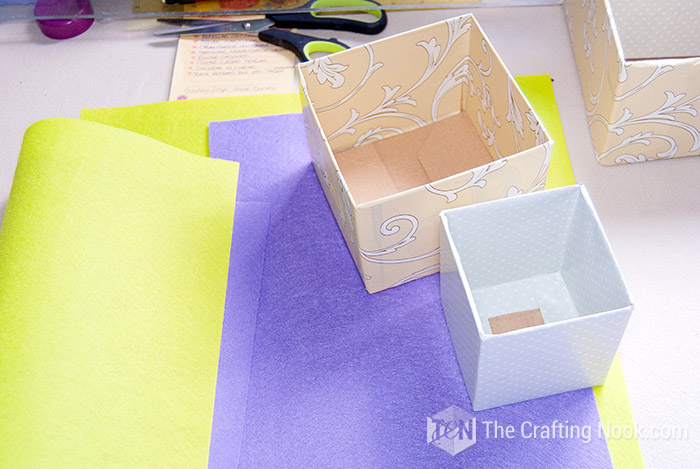
Step 2: Wrapping and decorating
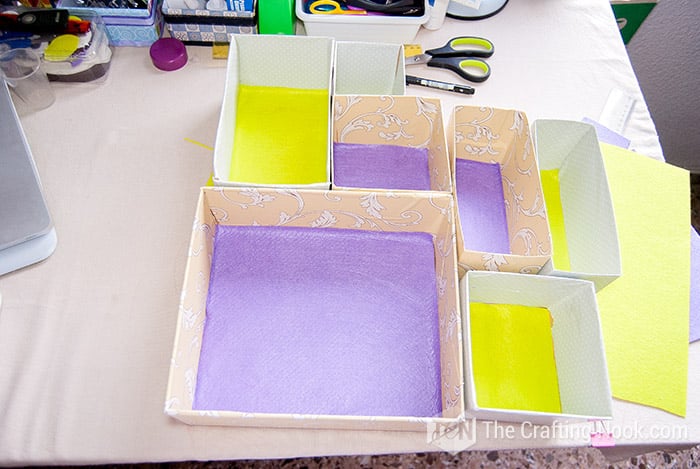
Once I had them all cut, I wrapped every box inside and outside with two different contact papers. Use your favorite patterns and mix and match.

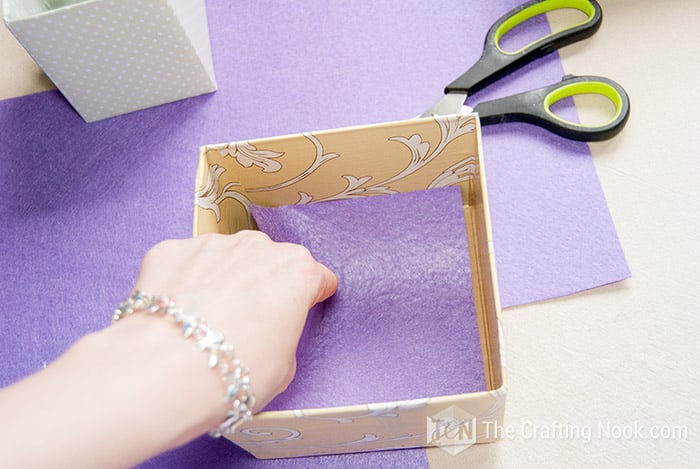
Then I cut some felt to put in the bottom of the boxes. I glued the felt with hot glue.
The upcycled boxed drawer organizers are ready.
Step 3: Organizing the drawer
Then what I had to do is just make them fit into the drawer it’s fun because you can play around with the drawer organizers like a puzzle =D.
Once I was happy with the placement, I purged, put things back where they belonged and the rest of the items found themselves in their new upcycled box drawer organizers.
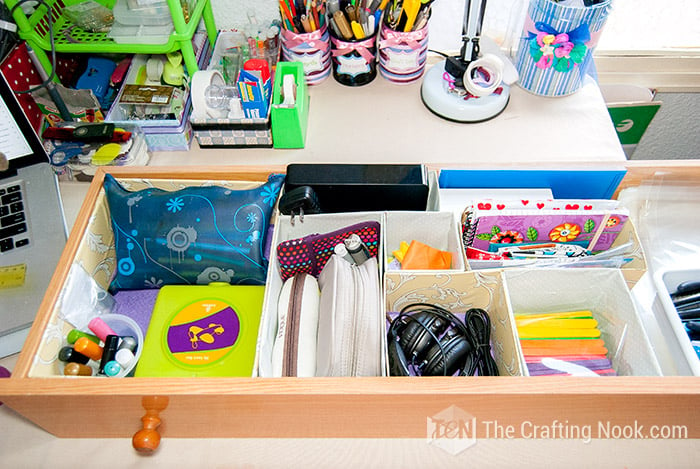
There you go! One organized drawer with your own cardboard drawer dividers.

Oh, happy day! No messier drawer!
The best kind of organization is the simple one, and when it’s free, it’s even better! So, start collecting all those boxes, they could be useful in so many spaces, you could use them in a children’s desk or drawers, or even in bathroom drawers, so many possibilities!
Frequently Asked Questions
I can think of a gazillion things but I have only experience with two, cardstock and cardboard boxes. You can use cardstock or pieces of cardboard to create your own dividers. Anything less heavy than cover cardstock might not hold for long so I suggest thick/heavy materials.
But the truth is, dividers can be made out of anything. It will depend on your skills and how perfectionist you are.
Pretty much any drawer. If you find strong cardboard boxes, you can use them in your kid’s drawers, dresser drawers, your utensil drawer. Just make sure wherever you use them if they will get in contact with humidity, water, or way too heavy things that might damage your dividers reinforce them.
These drawer organizers can also be used as magazine holders, craft supplies storage among other storage ideas.
OMG, I could talk about this forever LOL. You can go from leftover wrapping paper using the decoupage technique, to any type of contact paper that you love. Use fabric with either decoupage or just mod podge, or glue. You can make fun eclectic collages from photos, magazine cutouts, printed digital paper, cute paper napkins, etc. Anything that could be glued to the boxes and fun ideas will work and will make them such attractive storage solutions.
More Organization Ideas to try
If you enjoyed this upcycled boxes organization tutorial, you might also love these other organization ideas too:

✂️ Tutorial

DIY Drawer Organizers From Recycled Boxes Tutorial
Tools
- Hot glue gun
- Pencil or sharpie
- Ruler
- Scissors or knife.
Supplies
- Different cardboard boxes
- Contact paper
- Felt
Instructions
STEP 1: MEASURING AND CUTTING
- The first thing I did was cut all the boxes to the same height.
- Once I had my desired location for each of the boxes, I used the drawer as a guide to mark the height around each edge of each box then started cutting them.
STEP 2: WRAPPING AND DECORATING
- Once I had them all cut, I wrapped every box inside and outside with two different contact papers.
- Use your favorite patterns and mix and match.
- Then I cut some felt to put in the bottom of the boxes. I glued the felt with hot glue.
- The upcycled boxed drawer organizers are ready.
STEP 3: ORGANIZING THE DRAWER
- Then what I had to do is just make them fit into the drawer it’s fun because you can play around with the drawer organizers like a puzzle =D.
- Once I was happy with the placement, I purged, put things back where they belonged and the rest of the items found themselves in their new upcycled box drawer organizers.
- There you go! Easy peasy!
Notes
Happy organizing everyone!!!
What do you think? have you ever upcycled boxes to create drawers organizers before?
Tell me all about it in the comments!
If you found this tutorial helpful, don’t forget to PIN and share it with friends

Til’ next time…


FREE WORKBOOK
Keeping your Sweet Home Organized
Learn how to create intentional habits and simple routines to Keep Your Home Organized. Plus freebies, printables, exclusive content, and tips.
Disclaimer: By clicking on the “Yes” button above you are giving me your consent to collect and use your information according to the law and My Policy Privacy. Zero Spam I promise!