Personalized Rhinestone T-Shirt

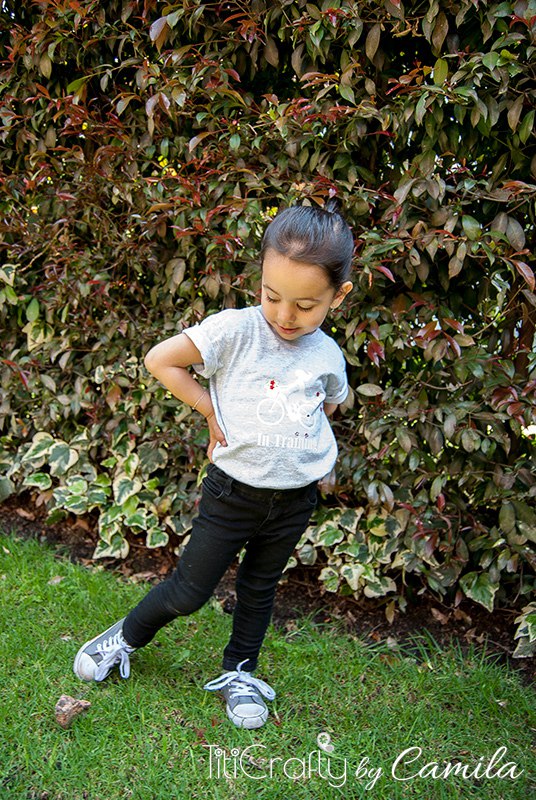
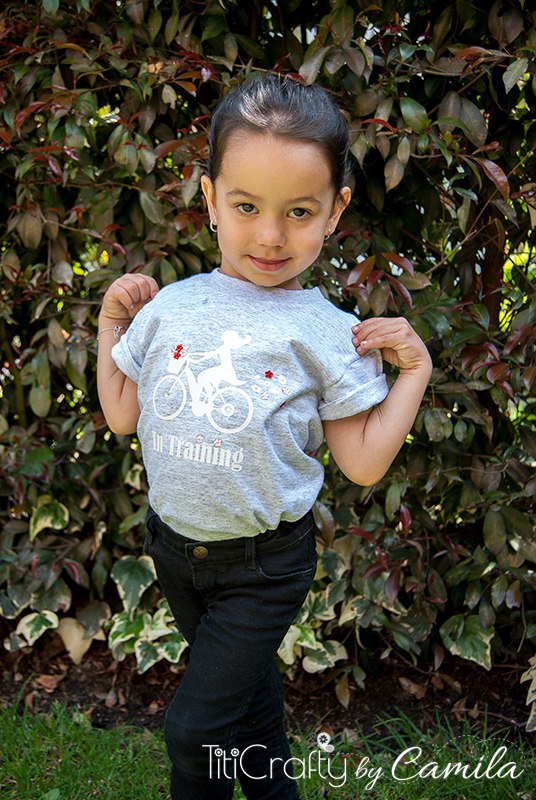
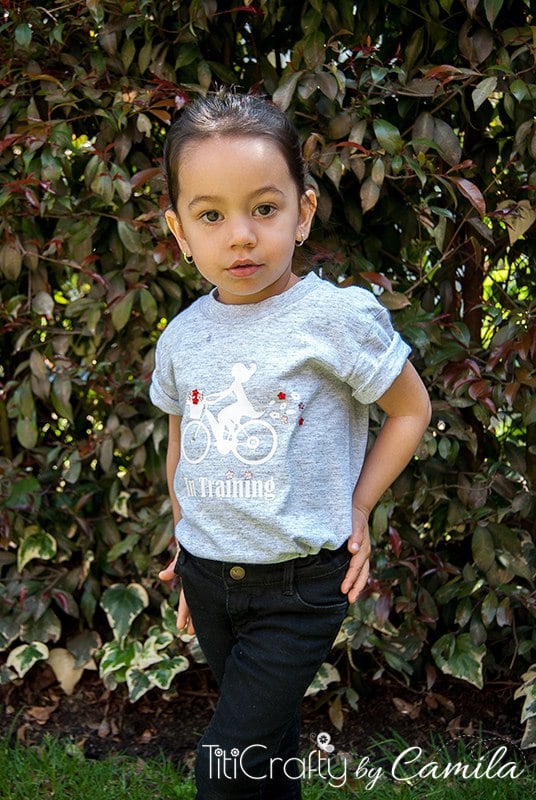
Ok so, I was dying to make something with Rhinestones but at the moment I’m not able to buy the starter kit I’m eager to have. So I figured there should be a way to do something cute without the kit. My first attempt is this cute personalized rhinestone T-Shirt I made for my little girl and I love how it turned out! Do you recognize the T-shirt??? Oh yeah is the Onesie I turned into T-shirt and shared recently!

Personalized Rhinestone T-Shirt

Personalized Rhinestone T-Shirt #Tutorial #rhinestonesproject #silhouetteproject

I must say I was surprised to see that those rhinestones didn’t come off after washing it in the washer machine and I even tumble dried it. So I’m in love with this glue. I’m sure you might find it on your local craft store. I’m already planning to make lots of new rhinestones cute creations!

What you need:

  • T-Shirt
  • Rhinestones
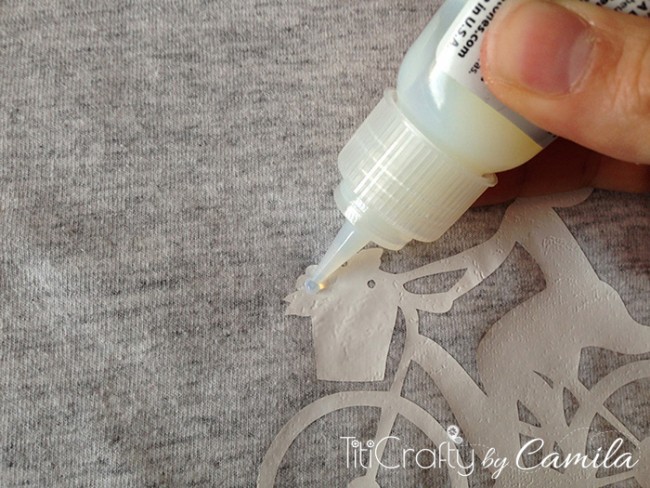
  • Fabric Glue
  • Contact papar or masking paper.
  • Tweezers

The first think I did was measuring my rhinestones so I could make each letter big enough to fit the rhinestones.

Then on my Silhouette studio I started working. I wrote EMMA on a San-serif font and turned it into shape by ungroup it.

Using the OFFSET tool I made each part of the letter bigger than the rhinestone width. In my case it was 0.5 cm so I made the letter parts at least 0.6 cm wide. Each offset is different depending on the font so that’s something you have to try.

Screen-Shot-2014-12-19-at-5.17.31-PM

Once the offset was set, I removed the original letter leaving only the offset stroke. And I repeated the process on the other letters.

Screen-Shot-2014-12-19-at-5.25.03-PM

Then I created a rectangle around the name so when I cut the letters would be holes.

Screen-Shot-2014-12-19-at-5.26.21-PM

I prepared to cut using the settings for Clear sticker paper. Sadly I didn’t have masking paper or solid vinyl for this at the moment so I had to use transparent contact paper. I have now vinyl, masking paper and solid contact paper though so my next projects will be easier to see LOL.

Screen-Shot-2014-12-19-at-5.34.06-PM

I cut, pealed the letters off and placed the name on my T-shirt. I must say this transparent contact paper didn’t make it easy but it worked.

IMG_4605
IMG_4606
IMG_4607

Then I got my fabric glue, tweezers and rhinestones and got to work!

IMG_4608

I made straight lines of glue inside the hollow space and with tweezers I glued the rhinestones in place. I kept doing this on each part of each letter until I finish all.

IMG_4609
IMG_4610
IMG_4611

Left it dry for about 1 hour and pealed off the contact paper. It wasn’t totally dry but with careful I could remove it without damaging the rhinestones shape. I did it like that because the glue is really strong and I didn’t want to risk it the contact paper to stick forever. Then I left it dry as directed on the glue instructions for 9 hours and washed after 48 hours. Everything went perfect. It took me about 1 1/2 hours in total to finish the project!

IMG_4614

Tadaaaa… There you go! A cute and resourceful Rhinestone T-Shirt project!

IMG_4613
DSC_5995
DSC_5988
DSC_5985

What do you think? Have you used rhinestones like this before? Any tips you can add so we all learn???

Til' next time...

Camila author signature
Email Subscription image with workeets on a table

GET INSTANT ACCESS TO THE HOME ORGANIZED WORKBOOK

Plus freebies, printables, exclusive content, tips, stay connected, be the first to know great offers and Product Launches!

Disclaimer: By clicking on the "Yes, I want it" button above you are giving me your consent to collect and use your information according to the law and My Policy Privacy and The Cookie Policy. Zero Spam I promise!

Leave a Reply

Your email address will not be published. Required fields are marked *

This site uses Akismet to reduce spam. Learn how your comment data is processed.

4 Comments

  1. you make this looks so easy, trust me freehand is superhard, you got loucky with a name like emma!! Try Brooke doing this method and you’ll go nuts!! Have you done another name using this method, because I’d love to try it!! I just got my first silhouette and learning to use it is so hard you’re blog has been really helpful!!
    Did I see you used regular contact paper? if so what setting do I turn my knob to on the cutter, oh wait I can check that out when I send the cuts to the machine (right?) Do I use my cutting board if I use contact paper? Also why did you pick this font? IS there anything you can recommend as far as advise for a beginner silhouette student ( I’m not going to lie I am feeling super overwhelmed, I ended up here bc I purchase my machine with the softwear the person is talking about above and it is not very helpful!! I was thinking about going back to the freehand method (kinda like what you did but just printing out the text or design backwards and either tracing the design and the glueing down the stones: one by one , or onto the back of the transfer tape and then ironing the product on..
    but I like your idea of just glueing directly onto the shirt, so I was wondering about the questions above!!
    thx in advance
    Jennie

    1. Hi Jenny,
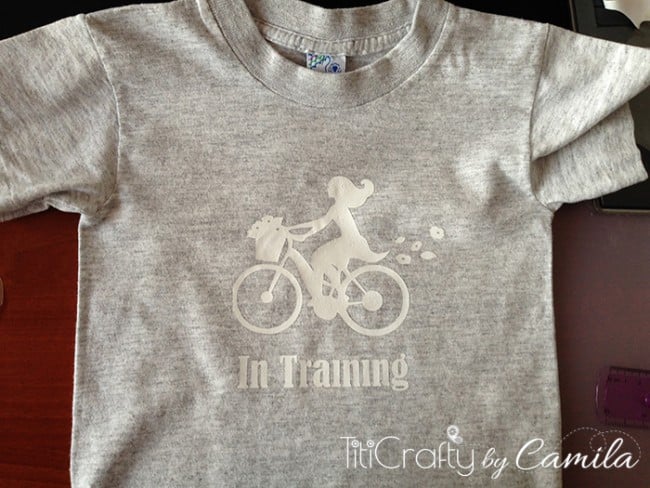
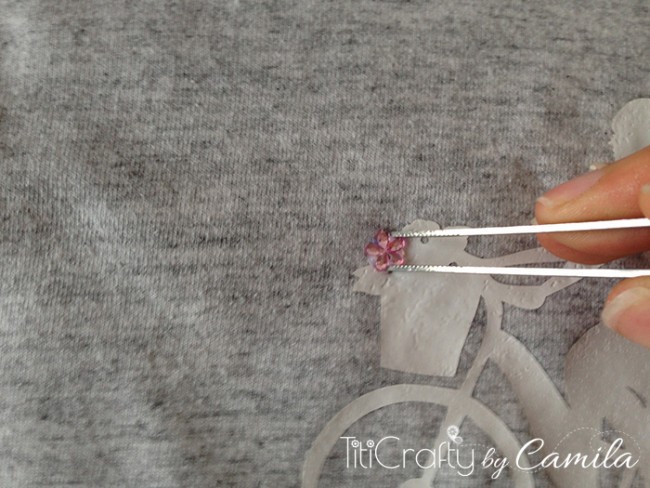
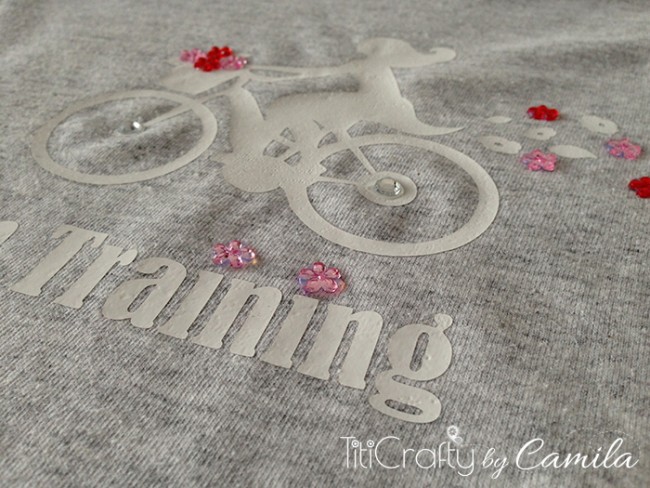
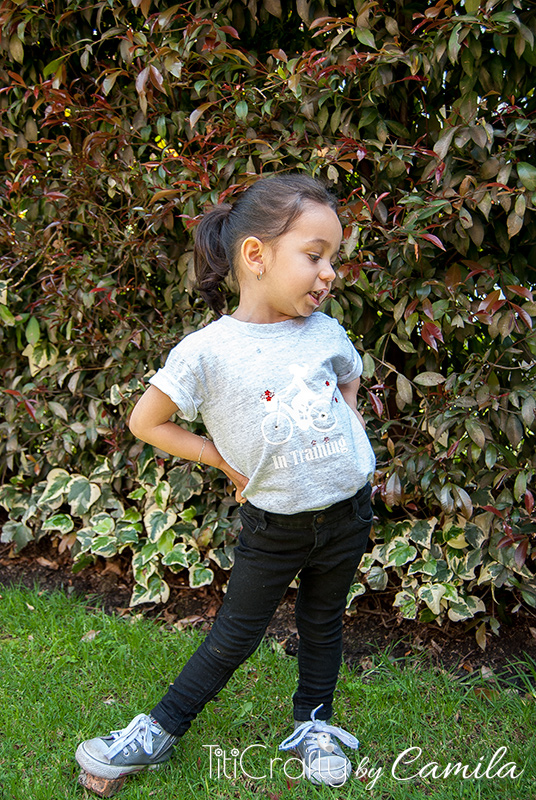
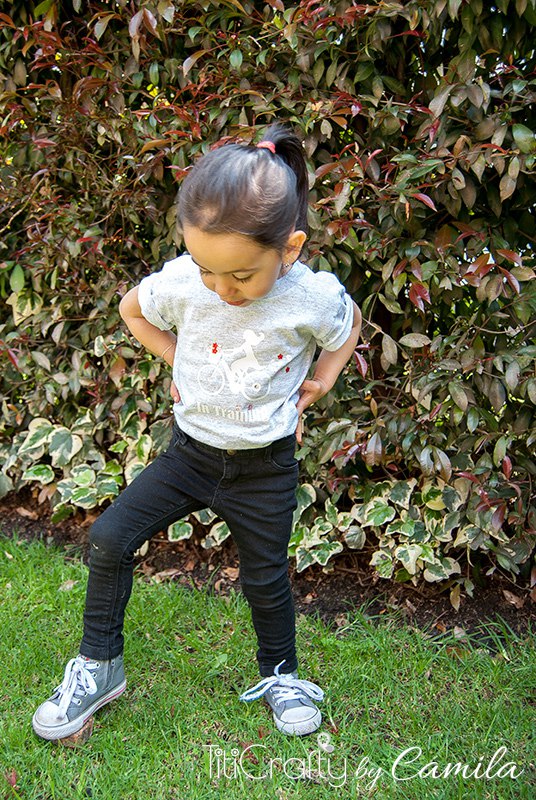
      Thank you for your insight. I haven’t done it with any other name, since I have only one kid and she’s crazy about anything sparkling LOL. This method is not hard at all but it is indeed time consuming and patience too. If you got a silhouette cameo you could buy your rhinestone starting kit. I haven’t used it but most of my fellow cameo users say it’s super easy to make rhinestones work. I did use contact paper because it was only a guide to where I should put the rhinestones and I didn’t need it to stick too much. If was going to paint I would never have used contact paper. I believe I used the setting for transfer material, it was probably 1 in the knife and I did use the matt. I actually use the matt always because I like to avoid waste of material. so unless what I’m doing is larger than the matt I would always use the matt for any material. The font I used, I used it because it was simple-basic and then I made sure the thickness of each part of the letters were the same as my rhinestones. Whatever you decide to do, pick a really good glue and that’s specially for fabric. I got mine and a rhinestone never came off even in the dryer. I must say that I always use low heat with my girl’s clothes so I’m not sure how would that go with regular dryer heat. Other think you can do is using heat transfer vinyl and add rhinestones as details to your design that looks pretty too. I made one, it was a bike rider and all the flowers and details were in rhinestones. You can find it under my DIY & Crafts or searching for rhinestones or silhouette.

      hope I made sense and could answer your questions!
      Hugs
      Cami

    1. I must confess I would love that starter kit but since I can’t buy it here yet I figured out how to still make one LOL. Glad you like this!
      XOXO