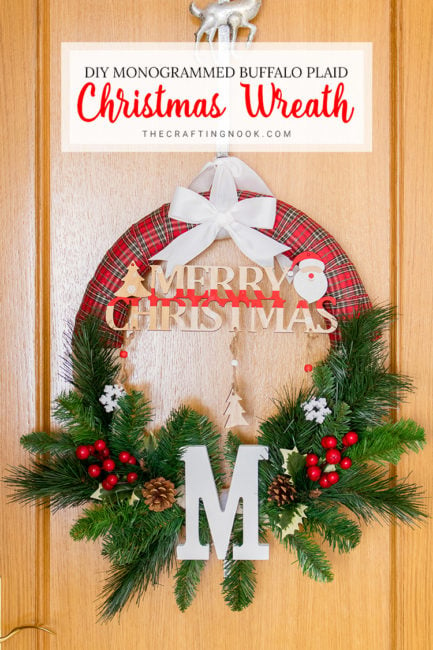
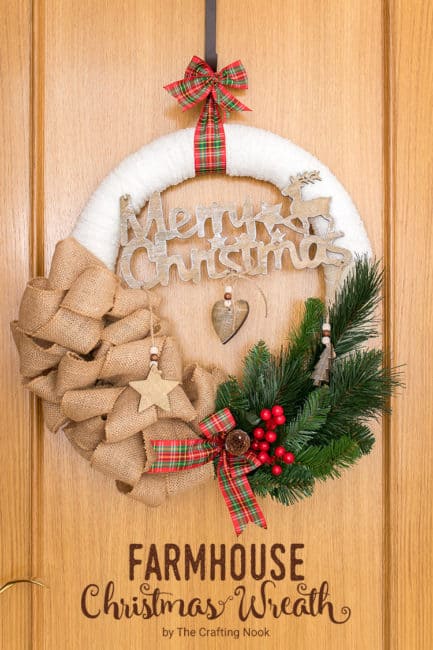
DIY Black and White Christmas Wreath
This post may contain affiliate links. Please read our Disclosure Policy.
A DIY Christmas wreath is an easy way to add holiday season flair to your home. Creating a black and white Christmas wreath is a simple craft that requires a few supplies, mostly inexpensive and that’s quick to make. Learn how to make a creative black and white Christmas wreath in this easy tutorial with a free video clip.
Christmas is upon us and there is nothing I love more than creating handmade home decor, especially for the holidays.

Table of Contents
Black and White Christmas Wreath with a gorgeous BUFFALO CHECK Bow
It’s always a joy and so much fun to create personalized decorative items in an affordable price for our holiday decor. A low budget is always my priority as also using supplies that anyone would have at home.
This simple yet gorgeous Black and white Buffalo Check Christmas wreath is versatile and can be used throughout the year by switching some of the elements.
The best part, this DIY wreath is so easy to make you don’t have to spend a lot of money or time, just change out the greenery and/or the ribbon for each season or holiday and you are good to go.
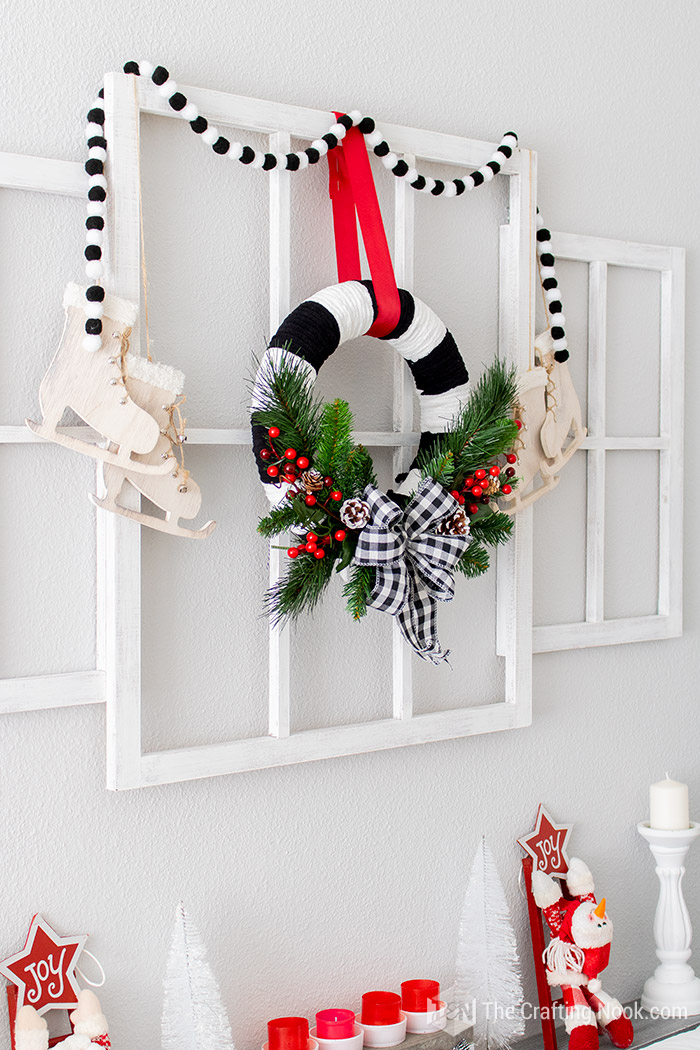
If this beautiful diy project doesn’t get you ready for the season, I don’t know what will.
I also just shared another Christmas Wreath I made for our front door with buffalo check ribbon, bottle brush trees, and gnomes. I just SO love it. Check it out here if you are interested.
How to make a Black and White Christmas Wreath
Let’s get into the spirit of the holidays with this easy and inexpensive homemade Christmas wreath craft.
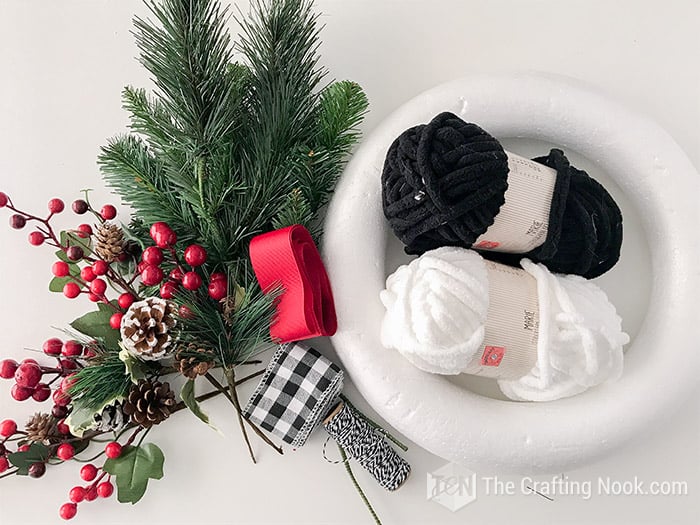
Supplies:
- Foam wreath form (size of your choice.)
- Black and white fluffy yarn.
- Black and white buffalo check ribbon
- Red ribbon
- Greenery stems
- Red berry Stems (mine came decorated with pine leaves and pinecones)
- Thinner yarn, floral wire, or anything easy to hide to secure items to the wreath.
Tools:
- Hot glue gun.
- Scissors
Instructions:
First Step: Wrap the wreath form with black and white yarn
1. Firstly, decide what color of yarn you are going to start with. I started with white.
2. Start wrapping your yarn around your foam wreath form. I decided to make 2-inches stripes and that got me around 10-12 loops with this thick yarn.
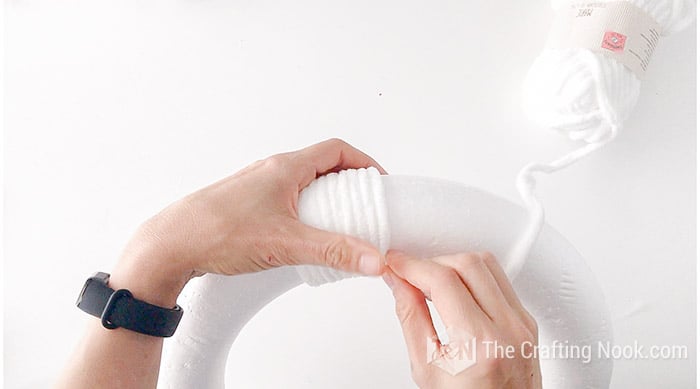
3. Once your white stripe is done, don’t cut it, just leave it sideband.
4. Start rapping with the black yarn slightly overlapping the white yarn string.

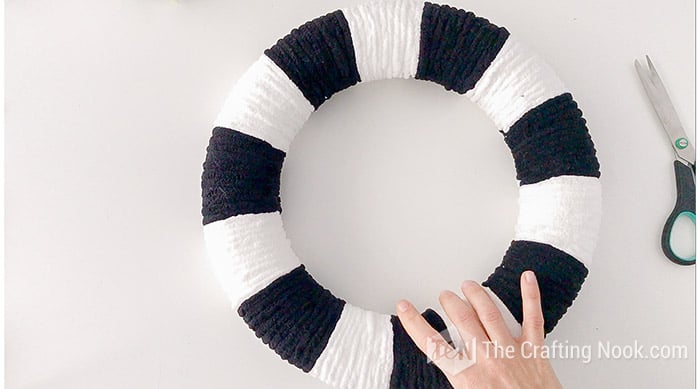
5. Then swap and leave aside the black yarn and wrap it with the white until you finish the whole wreath.
6. When you have finished the whole wreath form, cut your yarn leaving a couple of inches to make a knot.
7. Cut excess.
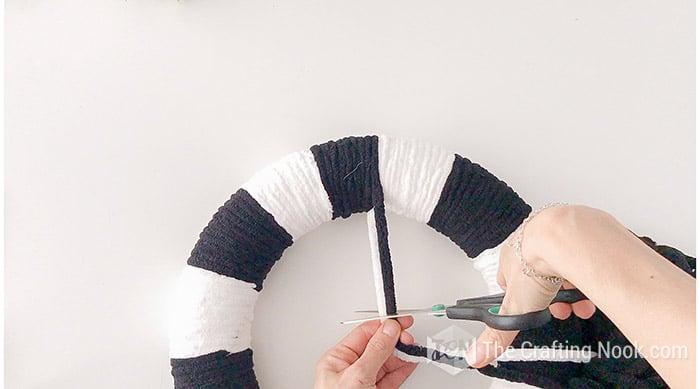
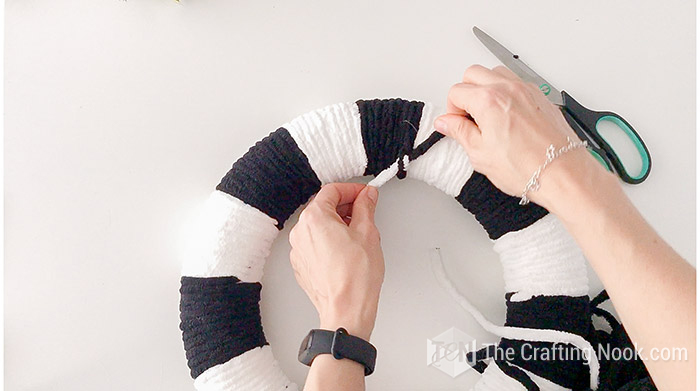
When you are done you should have something like this:
Step 2: Add the greenery
8. Now get your greenery stems and bend them to make a semi-circle to match your wreath form.
9. Place them in opposite directions meeting in the center of what you decide will be the bottom of your wreath.
10. Make sure you hide the metallic stems (wires) among the leaves.
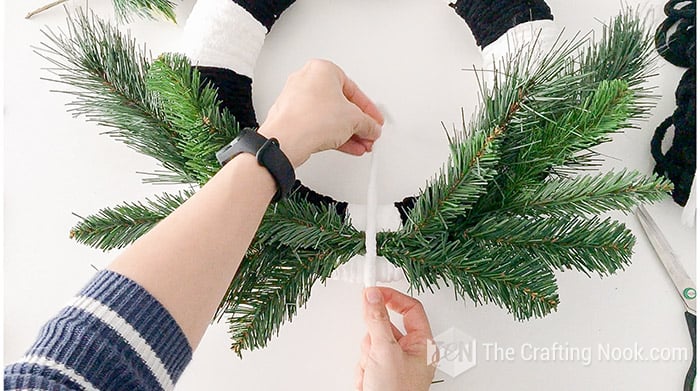
11. Secure with a string of yarn the same color that the center is on your wreath making a knot on the back. In my case it was white.
12. Then secure on both ends of the greenery stems the same way as above.
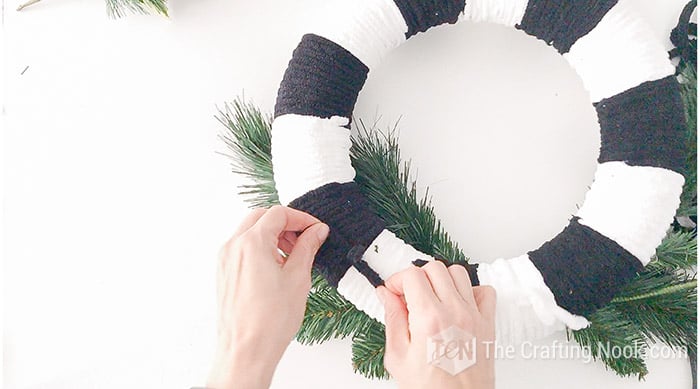
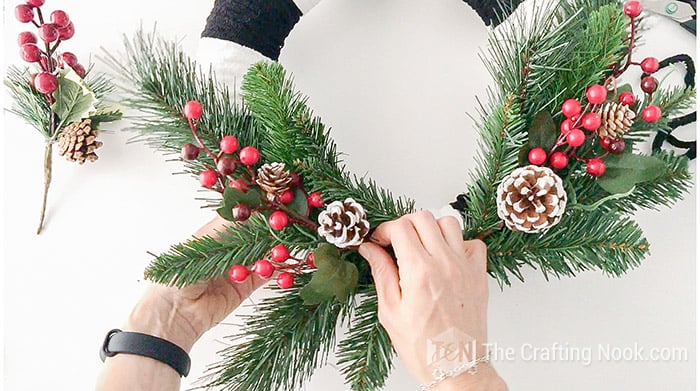
13. Then insert your red berries stems between the greenery leaves and secure them if necessary, with twine or matching yarn.
Step 3: Add a Bow
14. Make a cute buffalo check ribbon bow. In the video, you can see how I made mine.
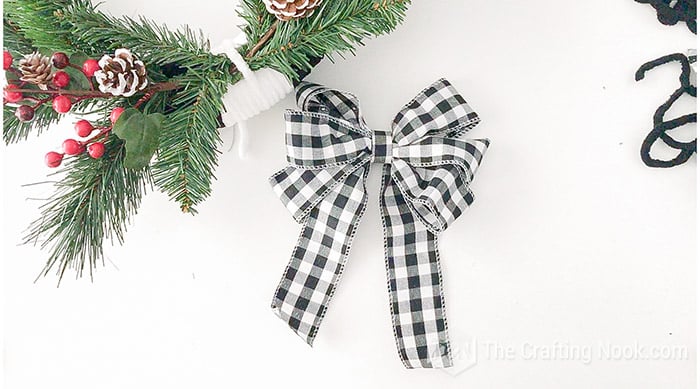
15. Glue 2 strings of yarn on the back of the bow and place them in the middle of the greenery stems and secure the bow on the back with each string separately.
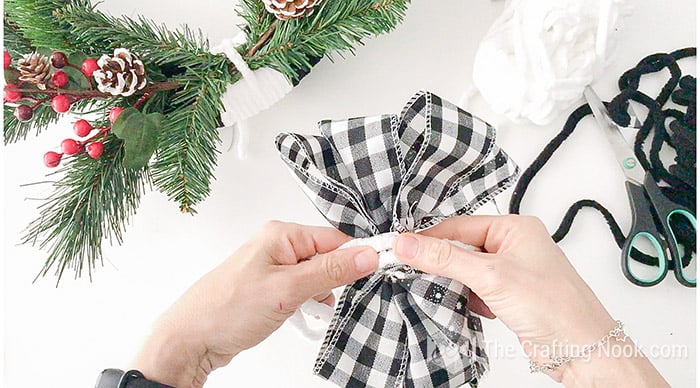
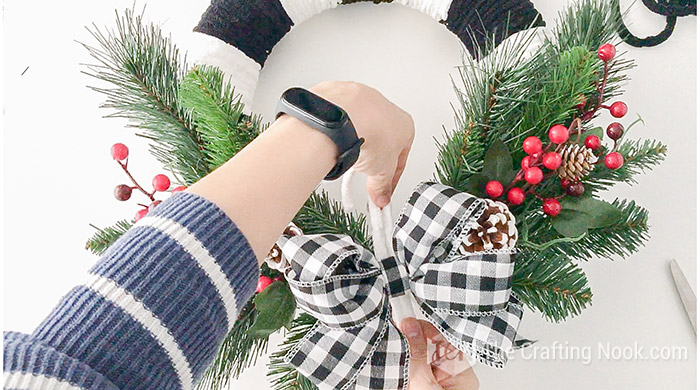
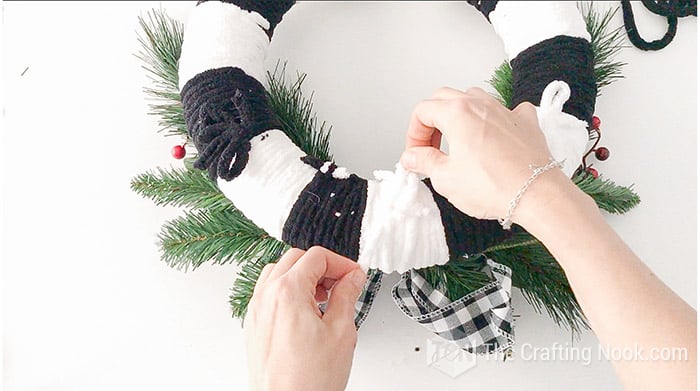
16. Cut the excess yarn from all the knots on the back.
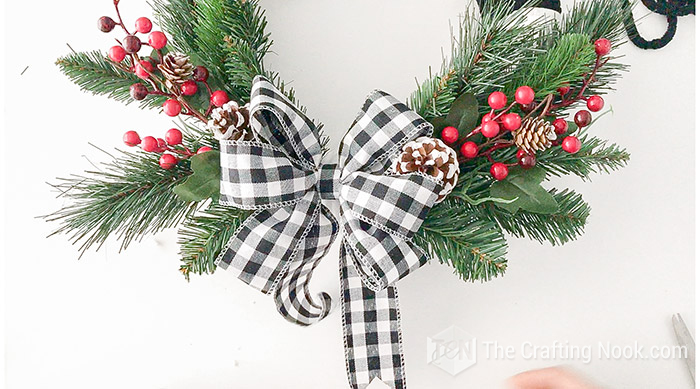
Step 4: Hang the Christmas Wreath
17. Finally, Use your red ribbon for your hanger.
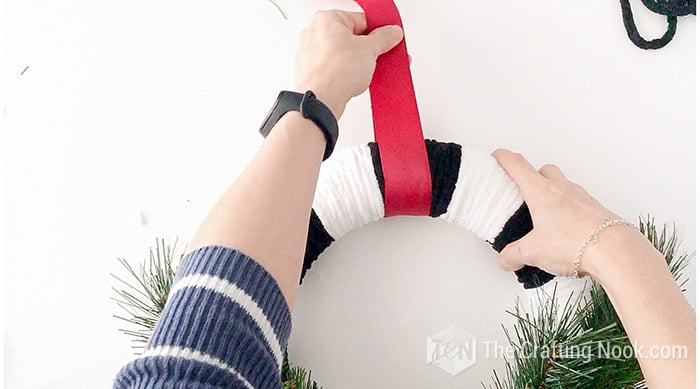
Hang your black and white Christmas wreath and there you go!!!

Crafting Tips
- Don’t glue stuff directly to the wreath form, instead, you can wrap strips of fabric or a cheap ribbon around the wreath so you can glue over it. That way when you are done, you can just cut the fabric or ribbon and reuse the wreath form.
- If you’re working with kids on this type of project who are not experienced with handling hot glue guns carefully, make sure you use a low-temperature glue gun and stay with them all the time until they handle it well.
- Fluffier yarns work best in this project.
- Additional or alternative details you could add here and there in this wreath: Glitter, eucalyptus stems, ornaments, and twigs, and even battery power light strings among other things.
I absolutely LOVE how it turned out. So simple, so easy, and yet SOOO pretty!!!
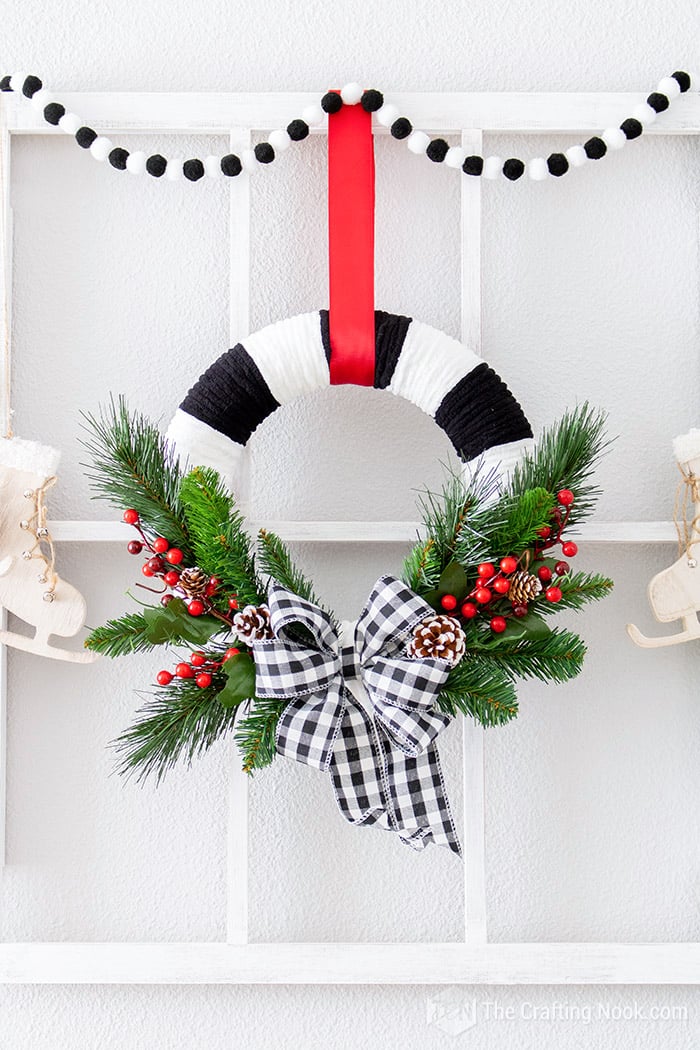
I decided to place my gorgeous wreath hung on my window frame wall art I recently made for the wall behind the sofa!
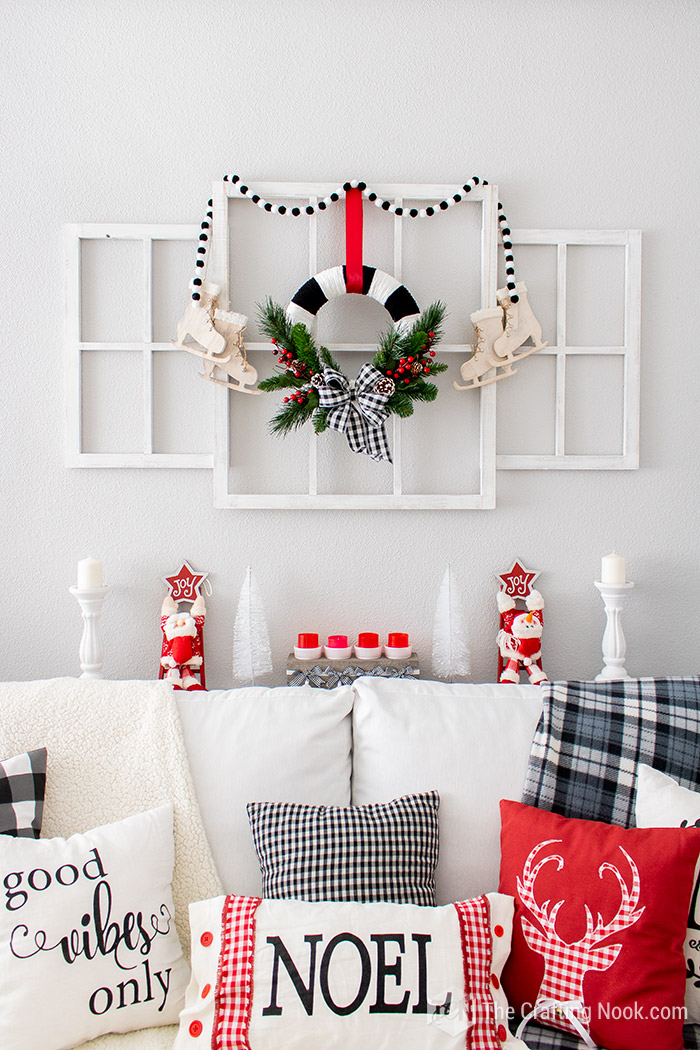
How cute does it look?
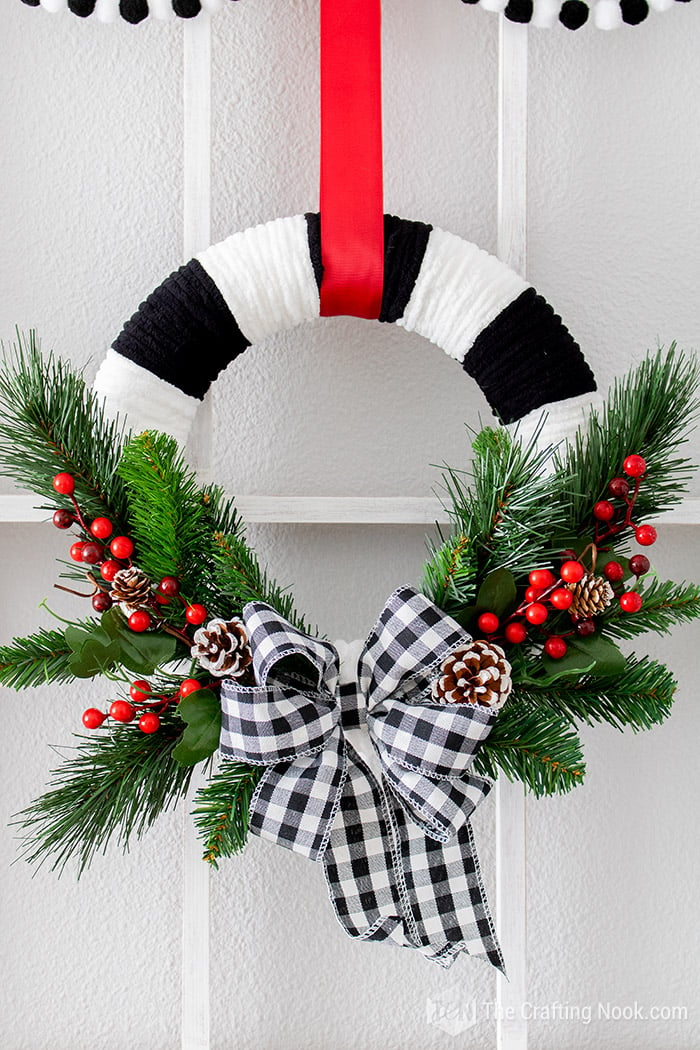
Once Christmas is over you can take it all down and reuse your supplies for another project or use it partially too.
Hope you enjoyed today’s project and that it inspires you to create one for yourself.
Frequently Asked Questions
You can use a foam wreath or even a grapevine wreath or even wire frame wrapping it in fabric or ribbon. Optionally, you can use a pool noodle and create your own wreath base and even make larger wreaths.
I used one that looks and feels like fleece and around 8mm thick. But there are many other types of fluffy yarns to choose from so choose your favorite, or that fits your budget. I only recommend that it’s at least 5mm thick so it gives that cozy wintery look.
You can use any ribbon you like, this one is a fabric ribbon, but you can use burlap ribbon, fabric scraps, and even scarves will do.
You can find super cute springs at a dollar store, craft stores, Etsy shops, or even Amazon.
Wall decor – Use a piece of ribbon or cord to hang the wreath on a wall, mantle, window, or door. On a tabletop – put a hurricane vase with a candle in the center.
More DIY Christmas Wreath Ideas to try
Loving this black and white Christmas wreath tutorial? You might also love these other Christmas project ideas too:
✂️ Tutorial

DIY Black and White Christmas Wreath
Tools
- Hot glue gun
- scissors
Supplies
- Foam wreath form size of your choice.
- Black and white fluffy yarn.
- Black and white buffalo check ribbon
- Red ribbon
- Greenery stems
- Red berry Stems mine came decorated with pine leaves and pinecones
- Thinner yarn floral wire, or anything easy to hide to secure items to the wreath.
Instructions
FIRST STEP: WRAP THE WREATH FORM WITH BLACK AND WHITE YARN
- Firstly, decide what color of yarn you are going to start with. I started with white.
- Start wrapping your yarn around your foam wreath form. I decided to make 2-inches stripes and that got me around 10-12 loops with this thick yarn.
- Once your white stripe is done, don’t cut it, just leave it sideband.
- Start rapping with the black yarn slightly overlapping the white yarn string.
- Then swap and leave aside the black yarn and wrap it with the white until you finish the whole wreath.
- When you have finished the whole wreath form, cut your yarn leaving a couple of inches to make a knot.
- Cut excess.
STEP 2: ADD THE GREENERY
- Now get your greenery stems and bend them to make a semi-circle to match your wreath form.
- Place them in opposite directions meeting in the center of what you decide will be the bottom of your wreath.
- Make sure you hide the metallic stems (wires) among the leaves.
- Secure with a string of yarn the same color that the center is on your wreath making a knot on the back. In my case it was white.
- Then secure on both ends of the greenery stems the same way as above.
- Then insert your red berries stems between the greenery leaves and secure them if necessary with twine or matching yarn.
STEP 3: ADD A BOW
- Make a cute buffalo check ribbon bow. In the video, you can see how I made mine.
- Glue 2 strings of yarn on the back of the bow and place them in the middle of the greenery stems and secure the bow on the back with each string separately.
- Cut the excess yarn from all the knots on the back.
STEP 4: HANG THE CHRISTMAS WREATH
- Finally, Use your red ribbon for your hanger.
- Hang your black and white Christmas wreath and there you go!!!
Some of my favorite bloggers’ Christmas decor:
- Embroidery Hoop Christmas Wreath by Amanda over at Weekend Craft.
- Easy One Hour Pinecone Wreath by Cassity over at Remodelaholic
- Let it Snow Holiday Wreath by Krista over at The Happy Housie
Share and PIN ME!

Til’ next time…


FREE WORKBOOK
Keeping your Sweet Home Organized
Learn how to create intentional habits and simple routines to Keep Your Home Organized. Plus freebies, printables, exclusive content, and tips.
Disclaimer: By clicking on the “Yes” button above you are giving me your consent to collect and use your information according to the law and My Policy Privacy. Zero Spam I promise!

