DIY Fairy Tale Bracelet.
This post may contain affiliate links. Please read our Disclosure Policy.
I think most of you already know that I’m quite childish (but not spoiled LOL) and a dreamer. For those who don’t know, yeah… that’s me. Actually I’m like a kid being a mom to another kid, you have no idea what happens here when is play time hahaha!. Because of that I love fairies, and teddies and that kind of things. So it is not weird to think that I can’t help myself from making cute stuff not just for Emma but for me too like this cute Fairy tale bracelet!… Gosh I’m blushed!
DIY Fairy Tale Bracelet.
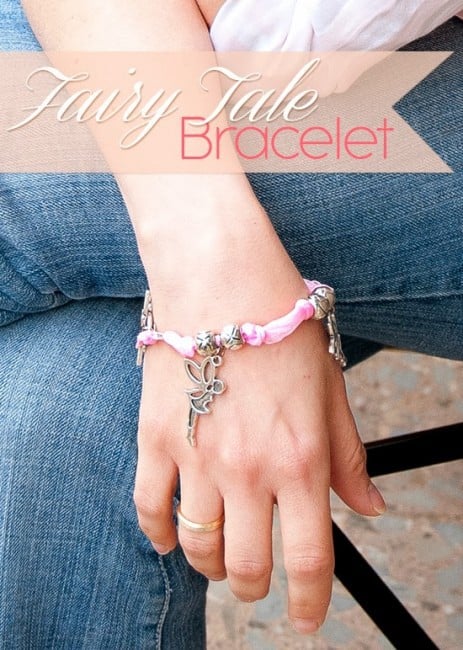
So here is what I’ve come up to last week among others. A bracelet with cute fairies pendants, how sweet!!!

Since I took picture step by step, there is no need of too much explanation, I’ll just point out important details so this post don’t get too long! =P
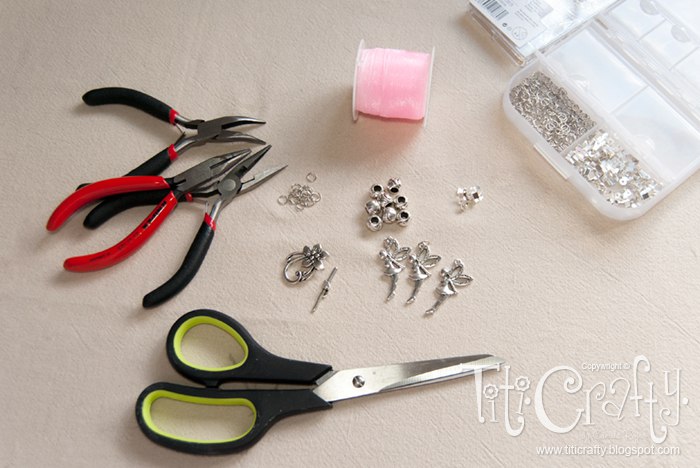
We start with the organza ribbon ribbon (You can use any other). I cut 1 mt (39-40″) 1″ wide. It is better to have leftover at the end.
Ok Lets start!!!
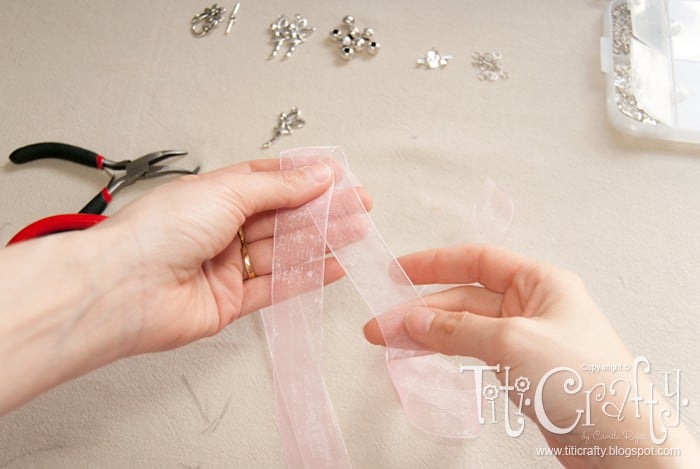
Fold ribbon in half. Make a tight knot in the middle.

This is to avoid fraying.
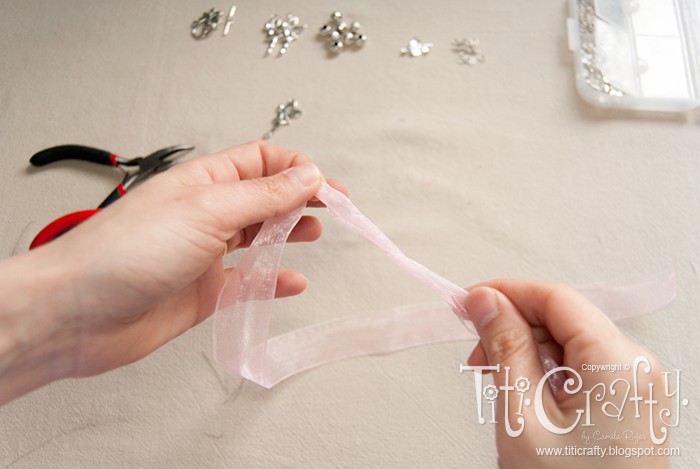
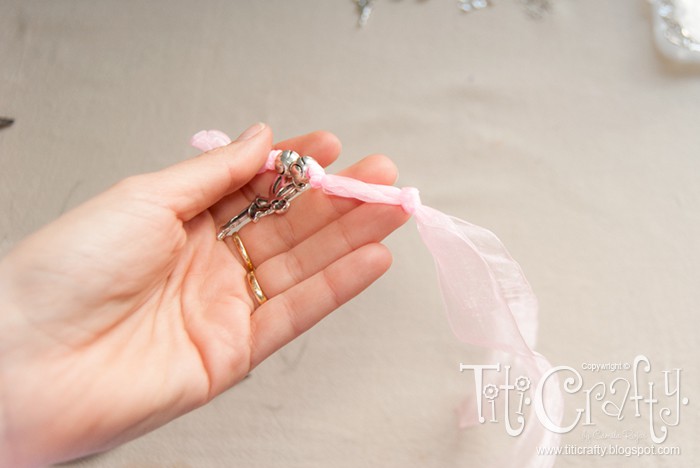
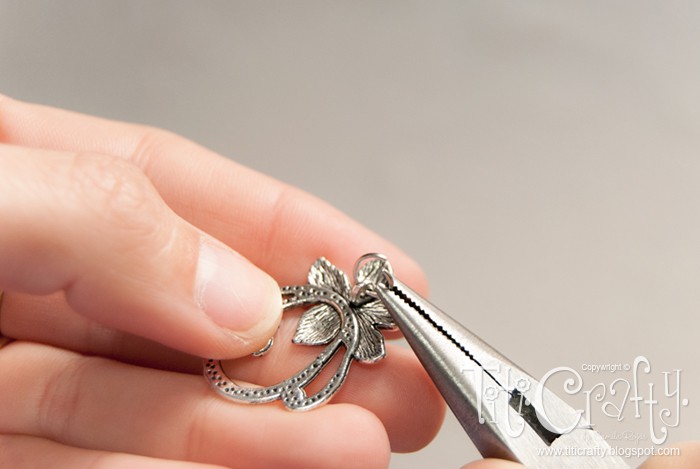
Swirl each side of the knot
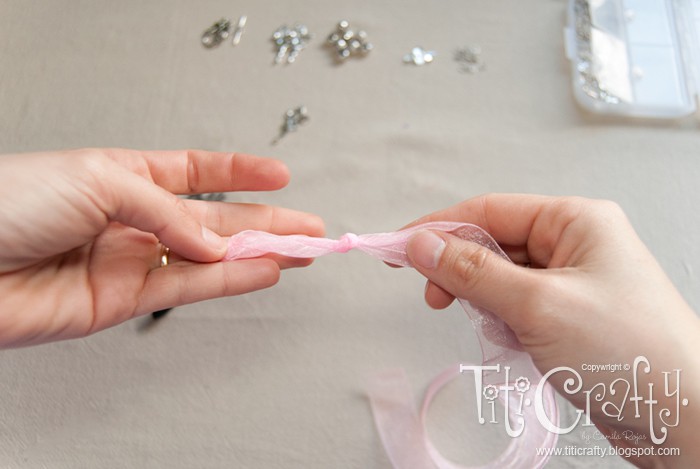
Tight both strips with a knot
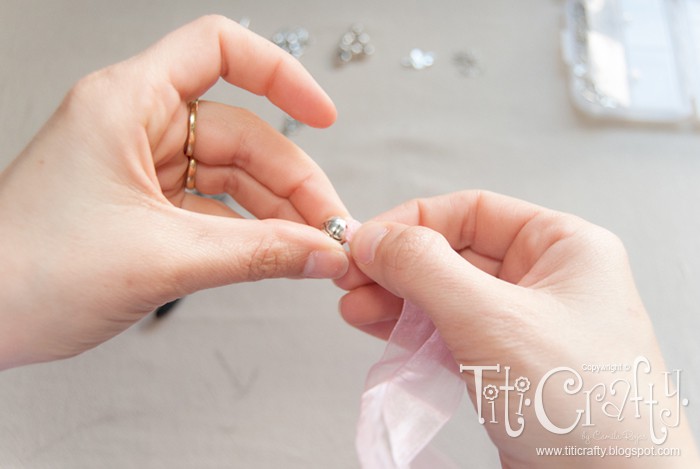
Insert the spacer after the knot
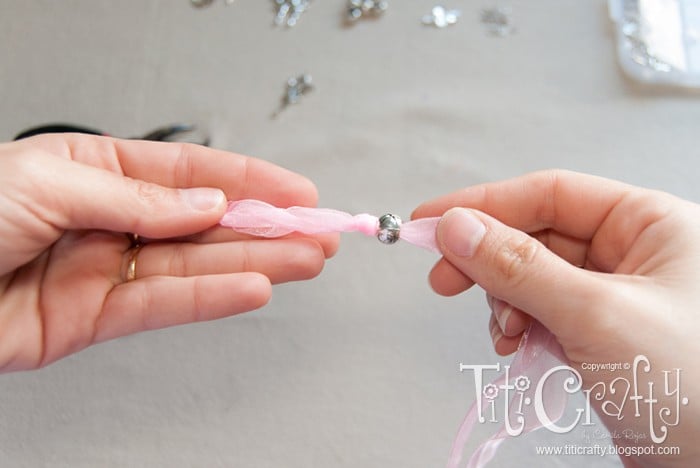

Insert another spacer after it
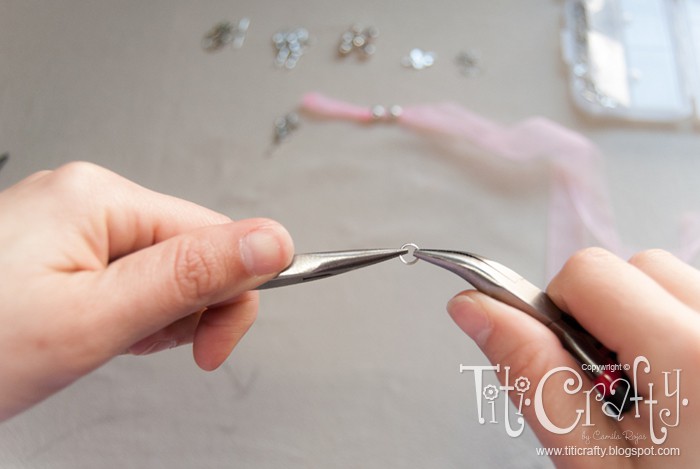
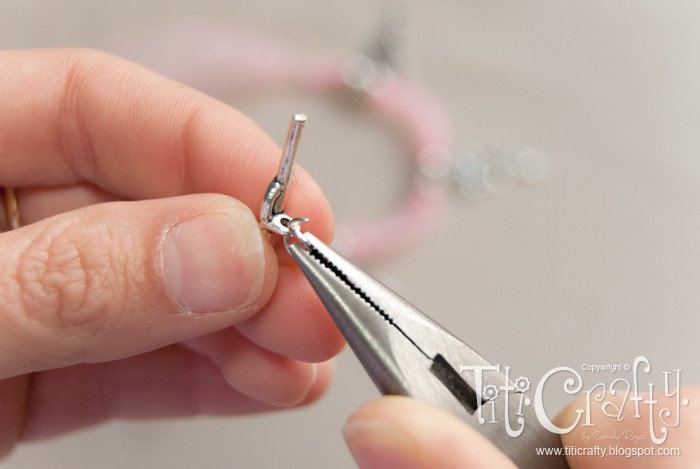
Open a little bit the jump ring

Insert the pendant in the jump ring
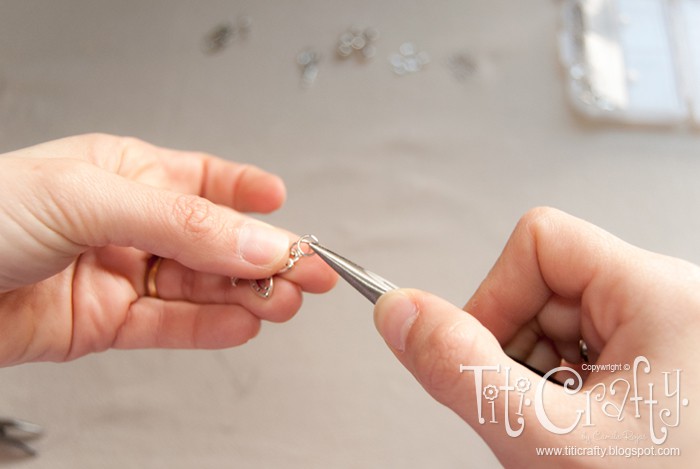
Insert the previous jump ring into another jump ring
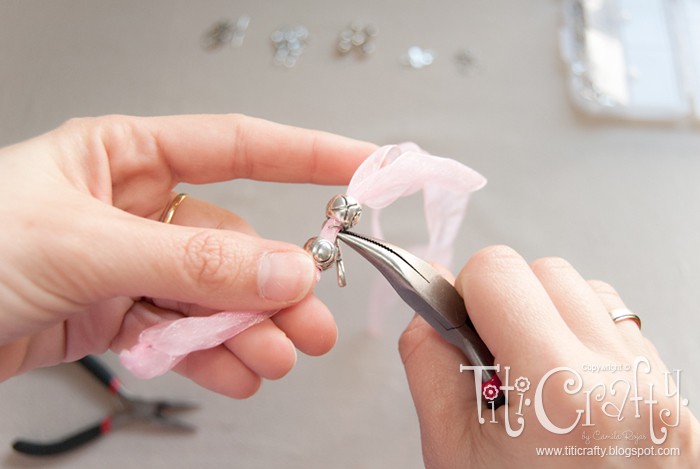
Insert the ribbon (between the spacers) in the last jump ring.
Close the jump ring tight

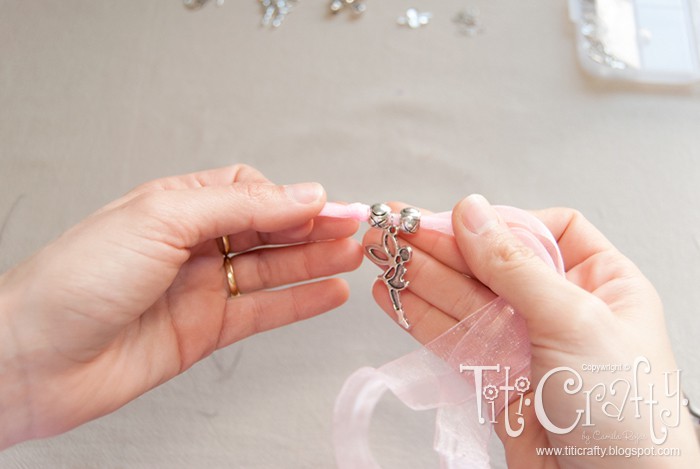
Ready the first section
Leave a space (calculate the total length of your bracelet now that you have the first section), make another knot and repeat the process.
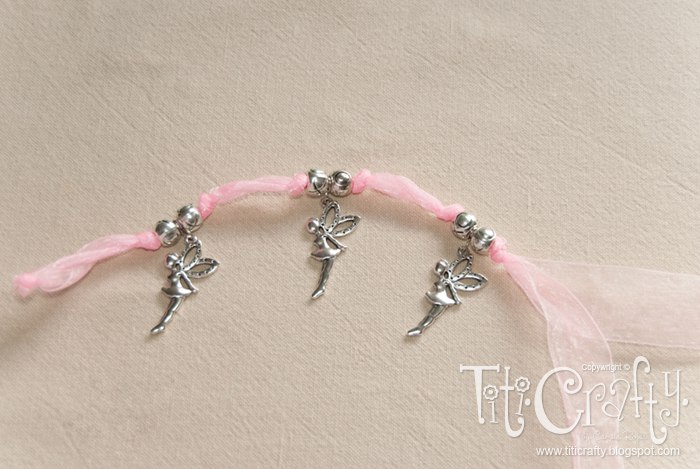
Here you go!
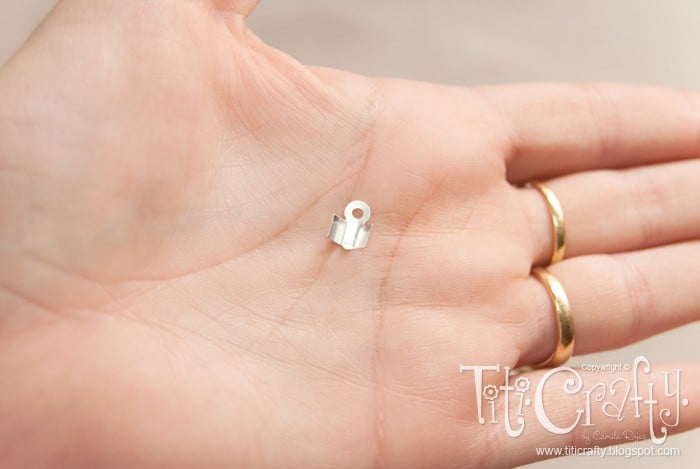
Cord ends

Place it right before where you want the bracelet to be closing (remember that the clasps make it a bit longer)


Tighten with a handle.

Insert the cord end and one part of the clasp in the jump ring of one end.
Do the same on the other end.

Make a tight knot right after the cord end and cut the leftover.
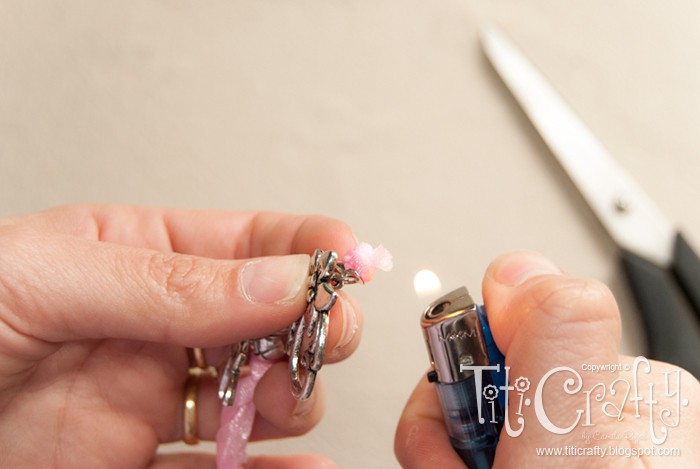
The same juts to avoid fraying.

Close it, try it and enjoy it!!!
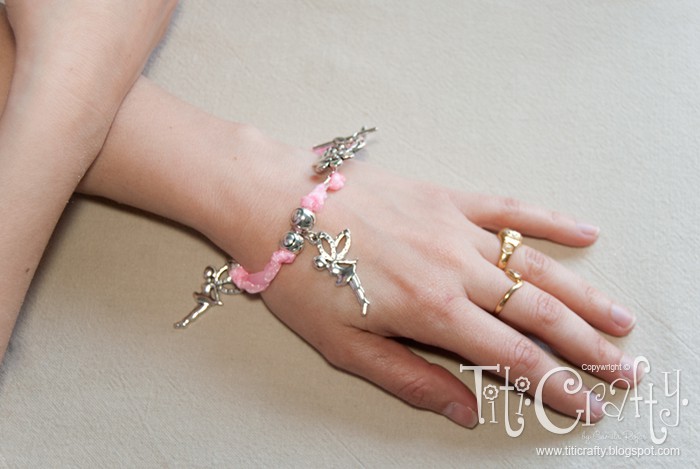
Ready!!!


What do you think about this DIY Fairy Tale Bracelet? Cute, isn’t it? Perfect for girls and not so girls =D
Til’ next time…


FREE WORKBOOK
Keeping your Sweet Home Organized
Learn how to create intentional habits and simple routines to Keep Your Home Organized. Plus freebies, printables, exclusive content, and tips.
Disclaimer: By clicking on the “Yes” button above you are giving me your consent to collect and use your information according to the law and My Policy Privacy. Zero Spam I promise!