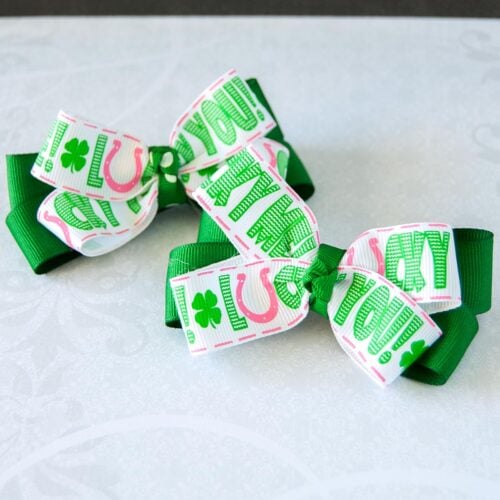
DIY No sew Hair Bows for St. Patrick’s Day
This post may contain affiliate links. Please read our Disclosure Policy.
Create adorable St. Patrick’s Day DIY No Sew Hair Bows effortlessly with easy steps. Celebrate St. Patrick’s Day in style with these cute bows for your little one!
This is a Sponsored post written by me on behalf of Hairbow Supplies Etc. All opinions are 100% mine.
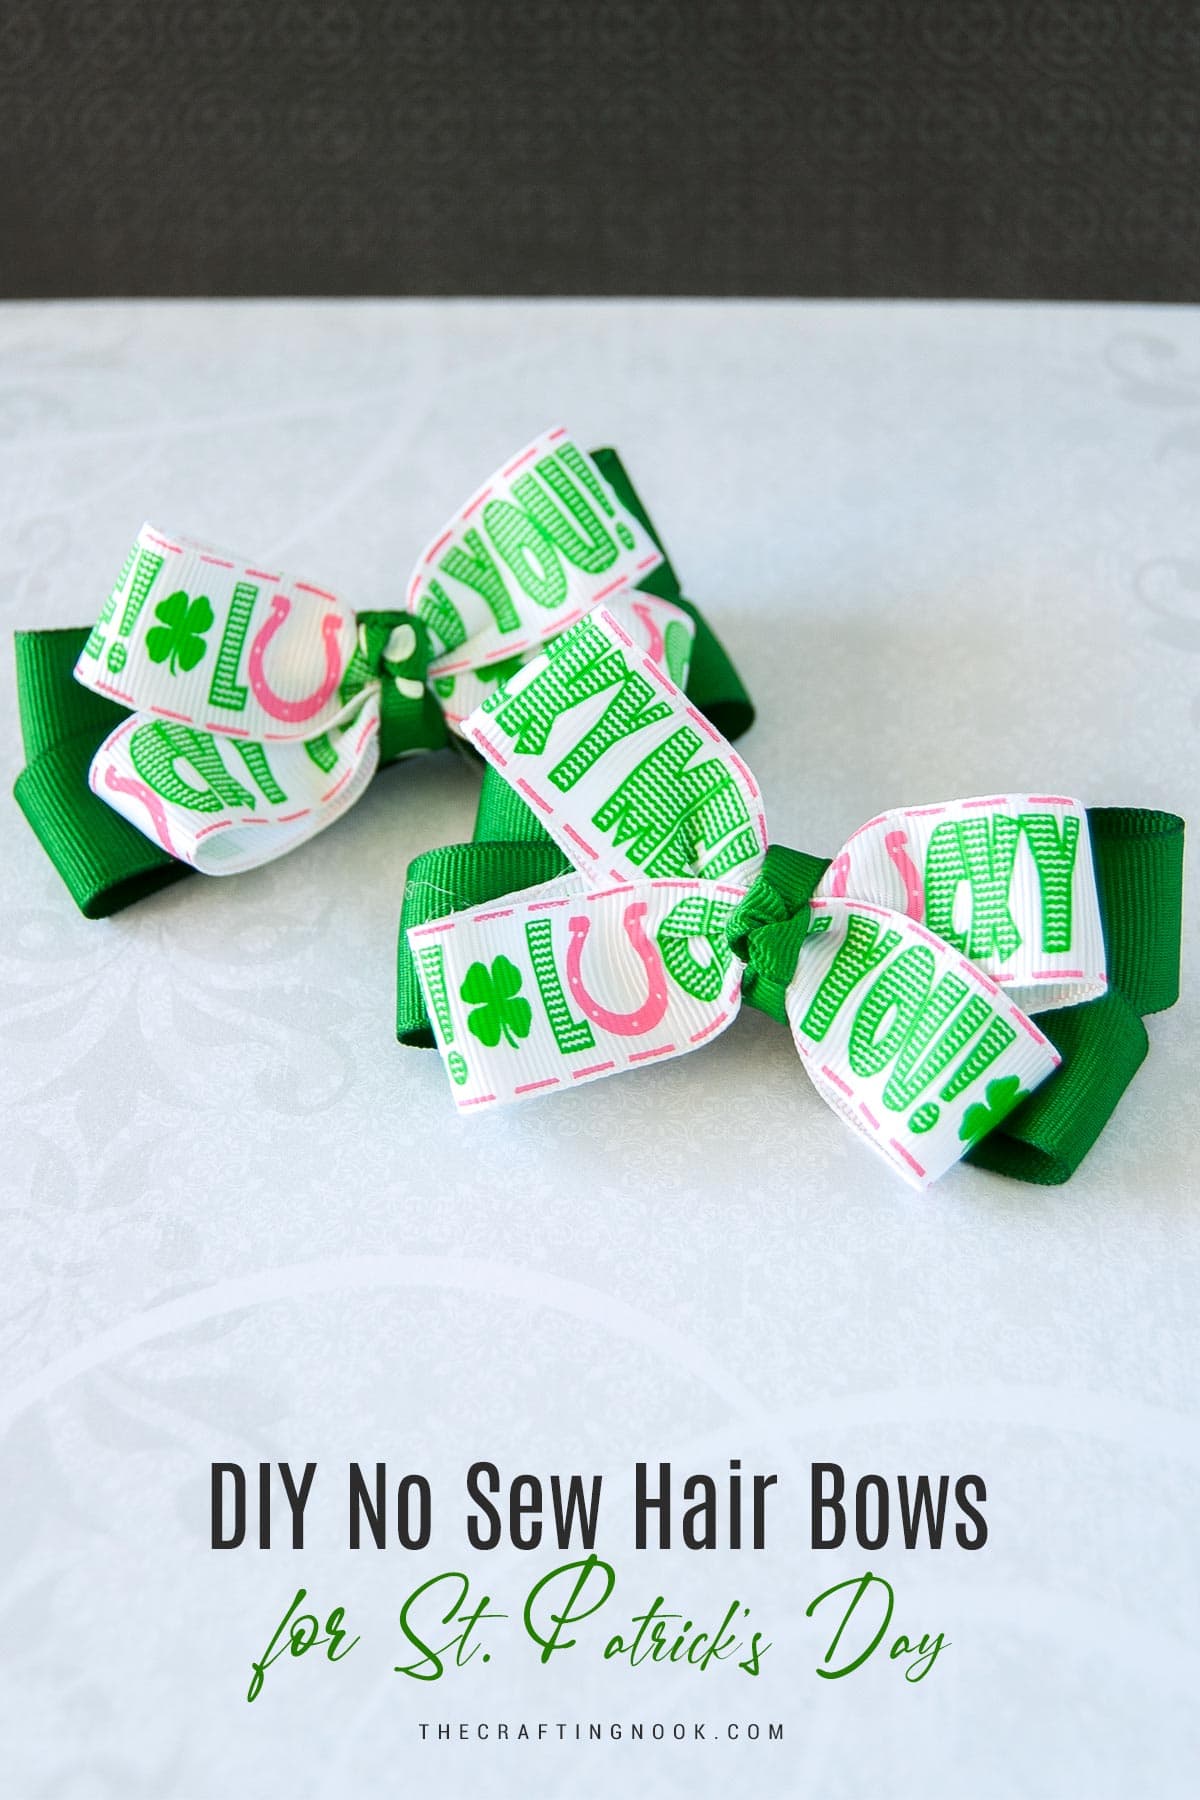
Table of Contents
St. Patrick’s Day DIY No Sew Hair Bows for Girls
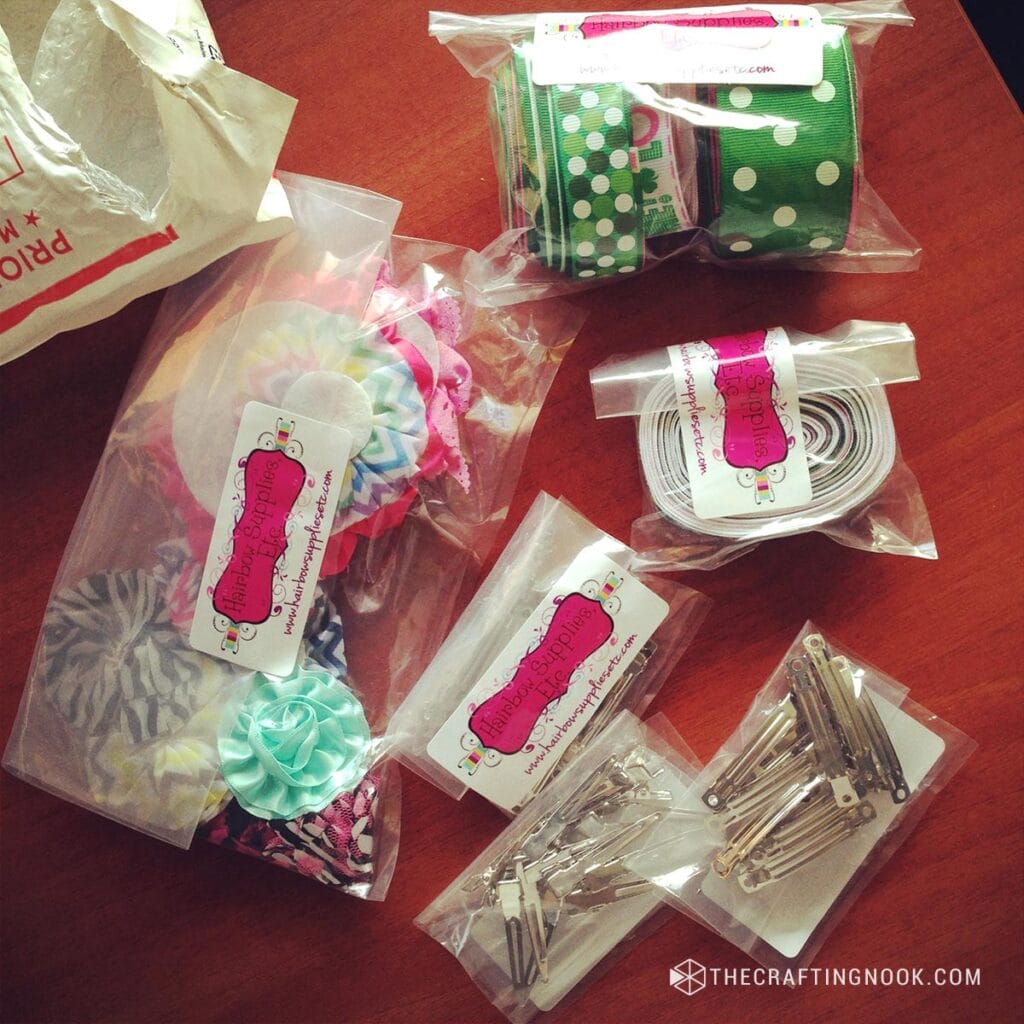
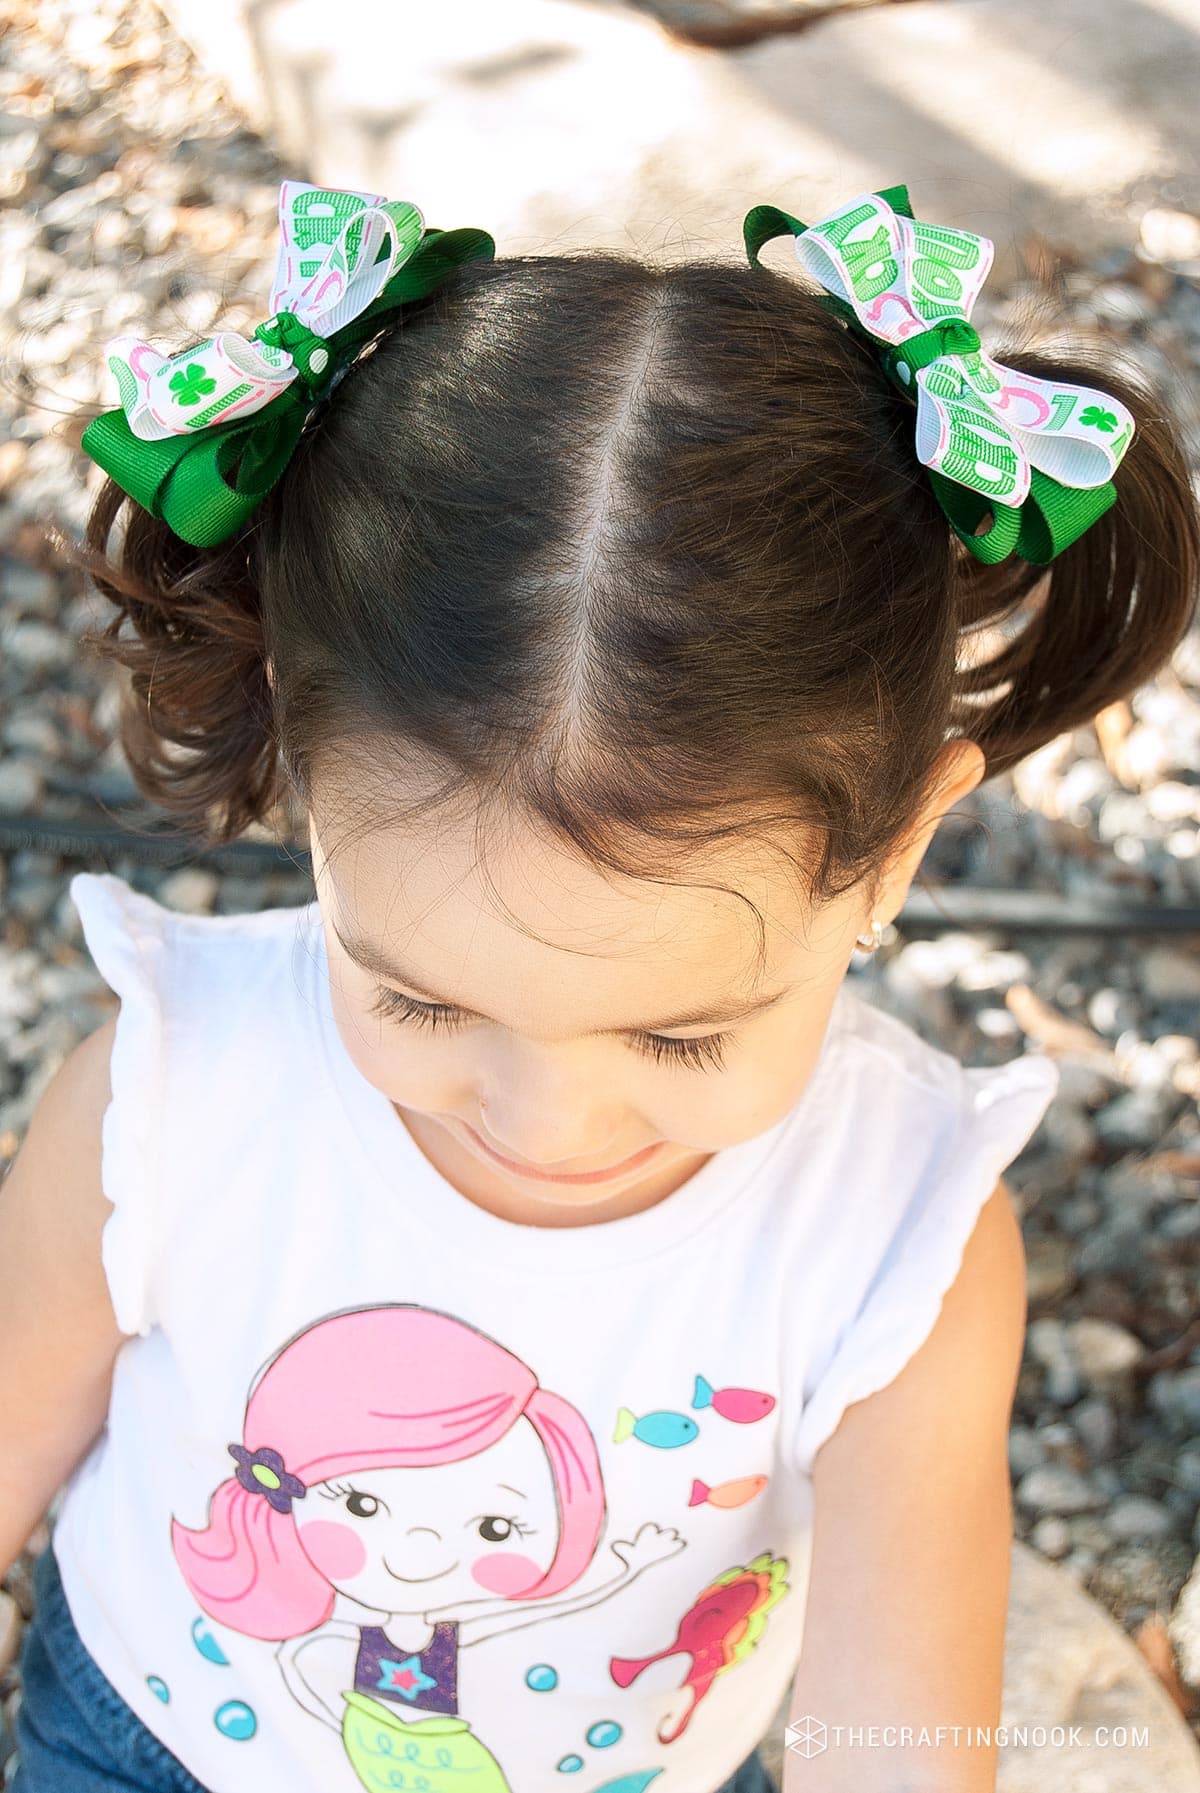
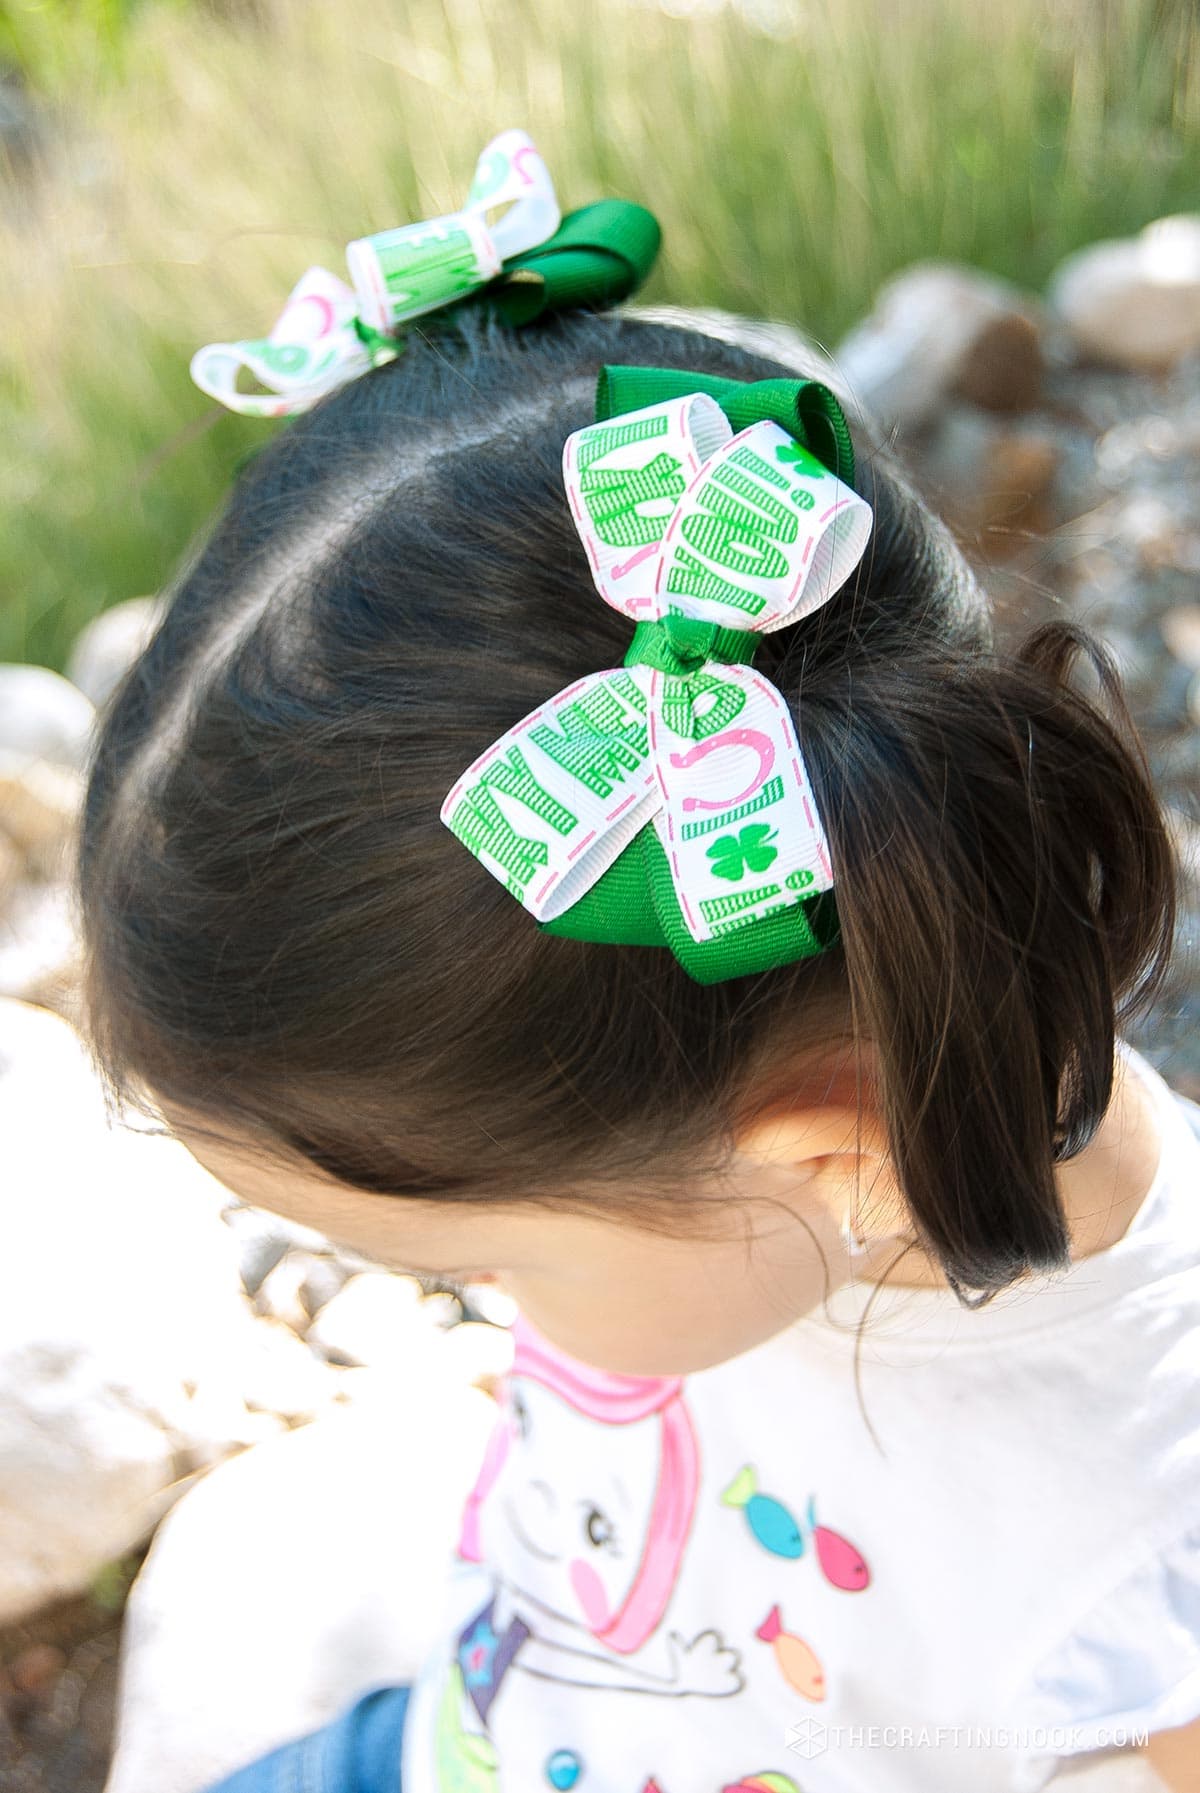
St Patrick’s Day is coming and I thought it would be fun to start celebrating it making something cute for my girl. I made these cute Lucky Me, Lucky You no sew bows using products I got from Hairbow Supplies Etc.

I recently got these adorable supplies from them and I can tell you, I love their stuff. The ribbons are so much better than those I already had. They are soft and easy to handle. They have bright colors and a great variety of sizes, colors, and patterns.
How to make No sew Hair Bows
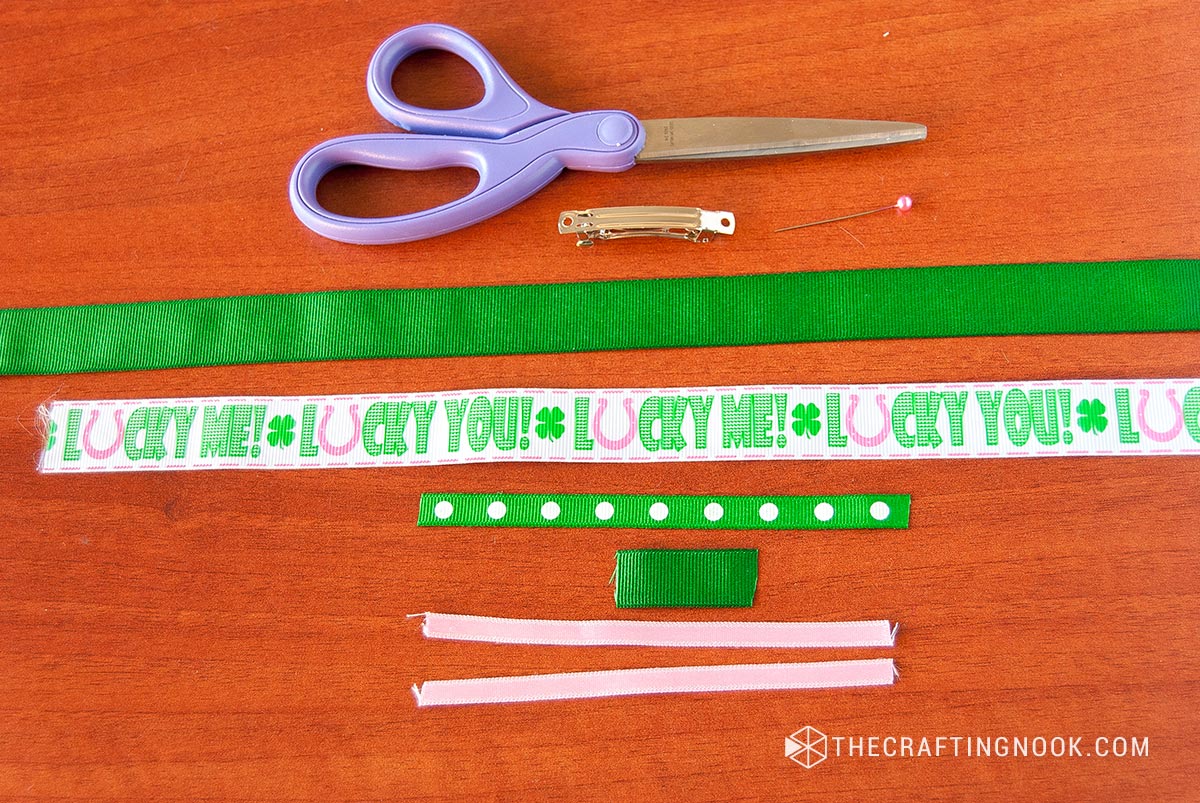
Supplies:
- 2 strips 18 Inches green solid grosgrain ribbon {7/8 inch W}
- 2 Strips 15 Inches Lucky You, Lucky Me painted grosgrain ribbon {7/8 inch W}
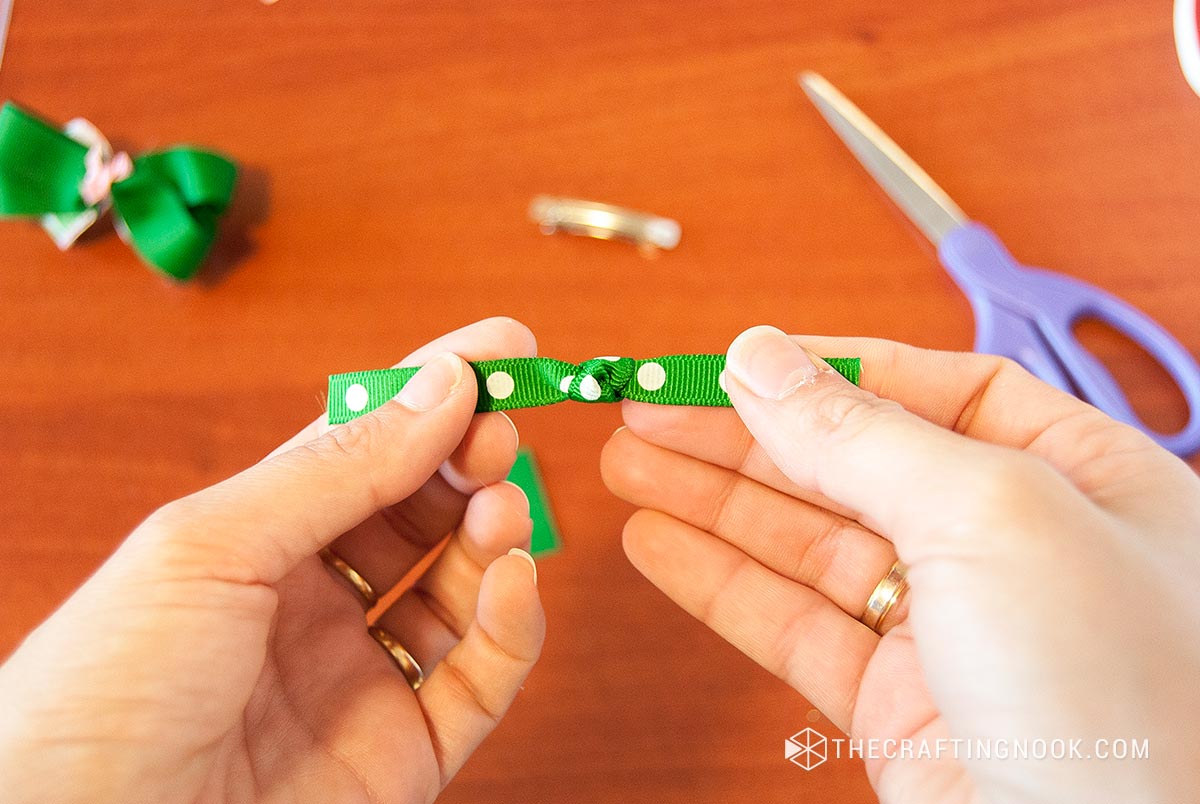
- 2 strips 5 inches Polka Dot Grosgrain Ribbon Lot {3/8 inch W.}
- 2 Strips 1-inch solid green grosgrain ribbon {5/8 inch W}
- 2 30 mm French Barrette Clips {1-1/4 inch} –>
- 2 strips 6 inches of a thread of very thin ribbon.
Tools:
- Hot Glue Gun and glue sticks
- Scissor
- A Pin
Instructions:
1. Fold the 18-inch strip in half.
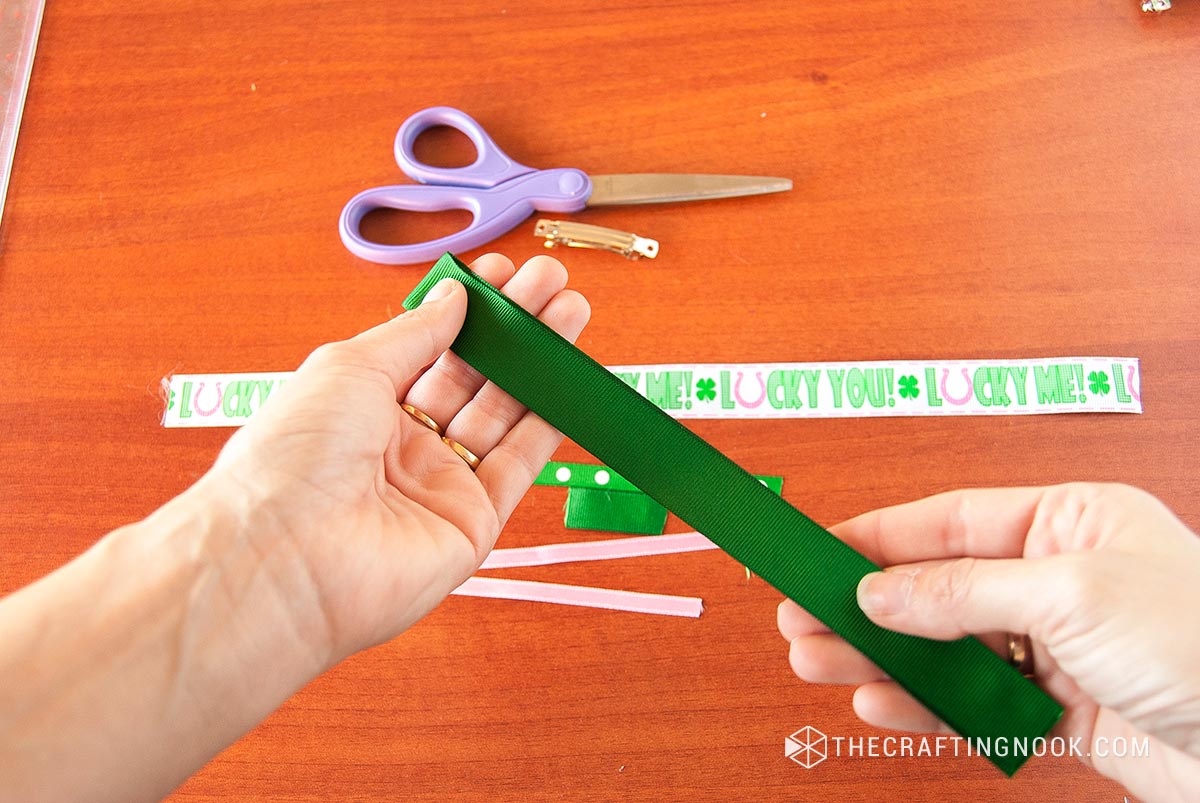
2. Insert the pin exactly in the middle of the fold line

3. Unfold and position the pin with the tip facing you. Find one end and insert it in the pin like in the image below.
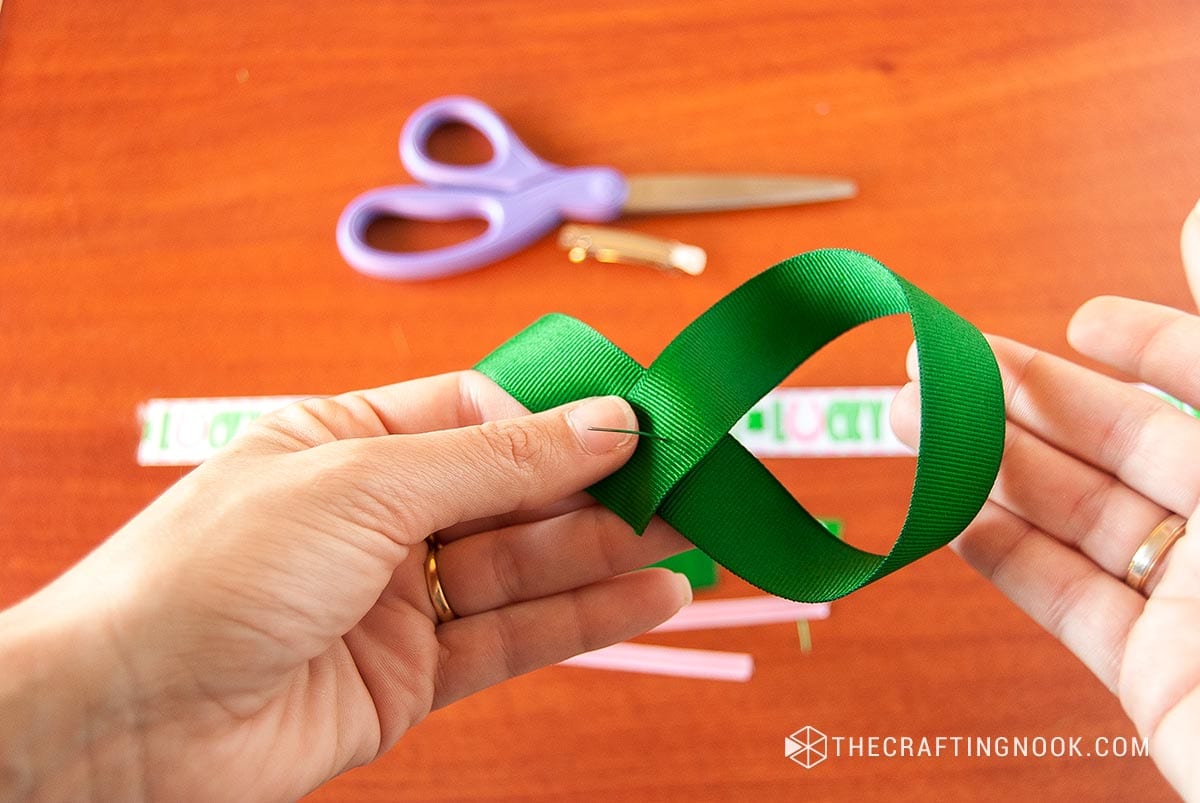
4. Do the same on the other end but in the opposite direction. You will get an 8 or infinite symbol
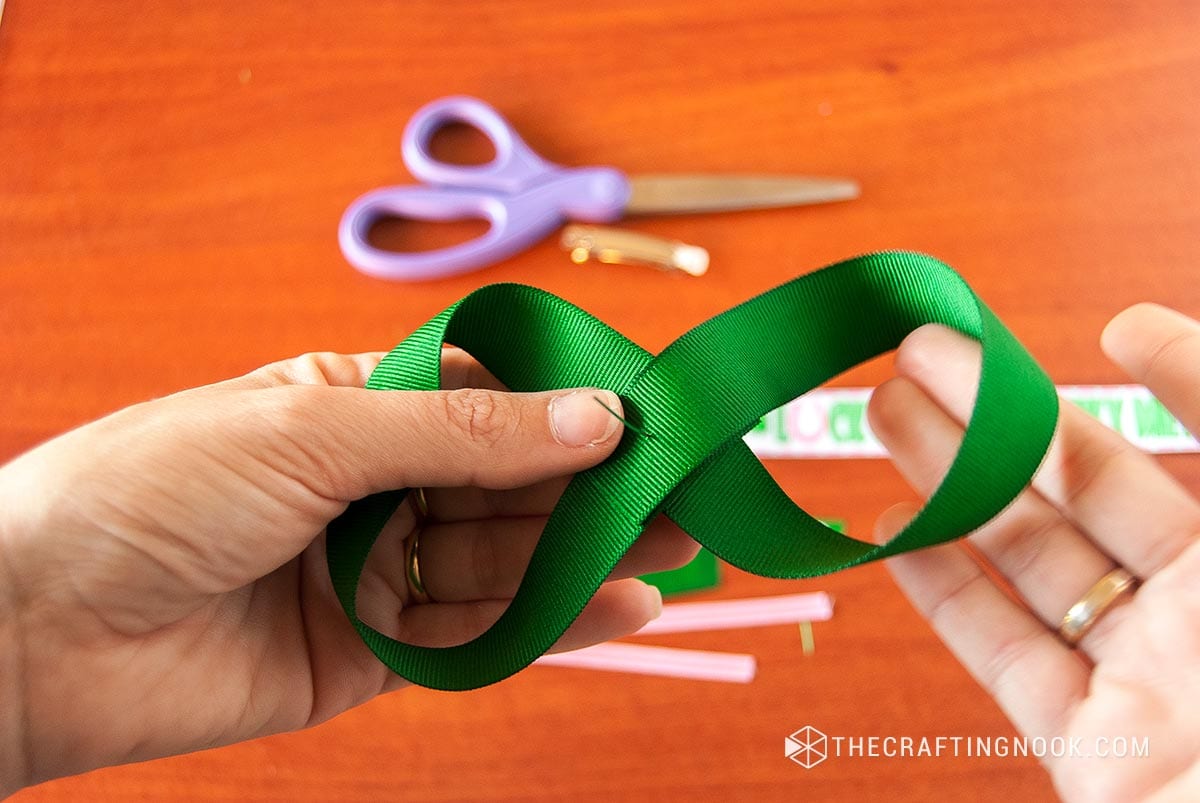
5. Then insert the middle of each loop in the pin like this:

6. Now holding tight the ribbons take out the pin and insert it in the same place but crossing it like this:
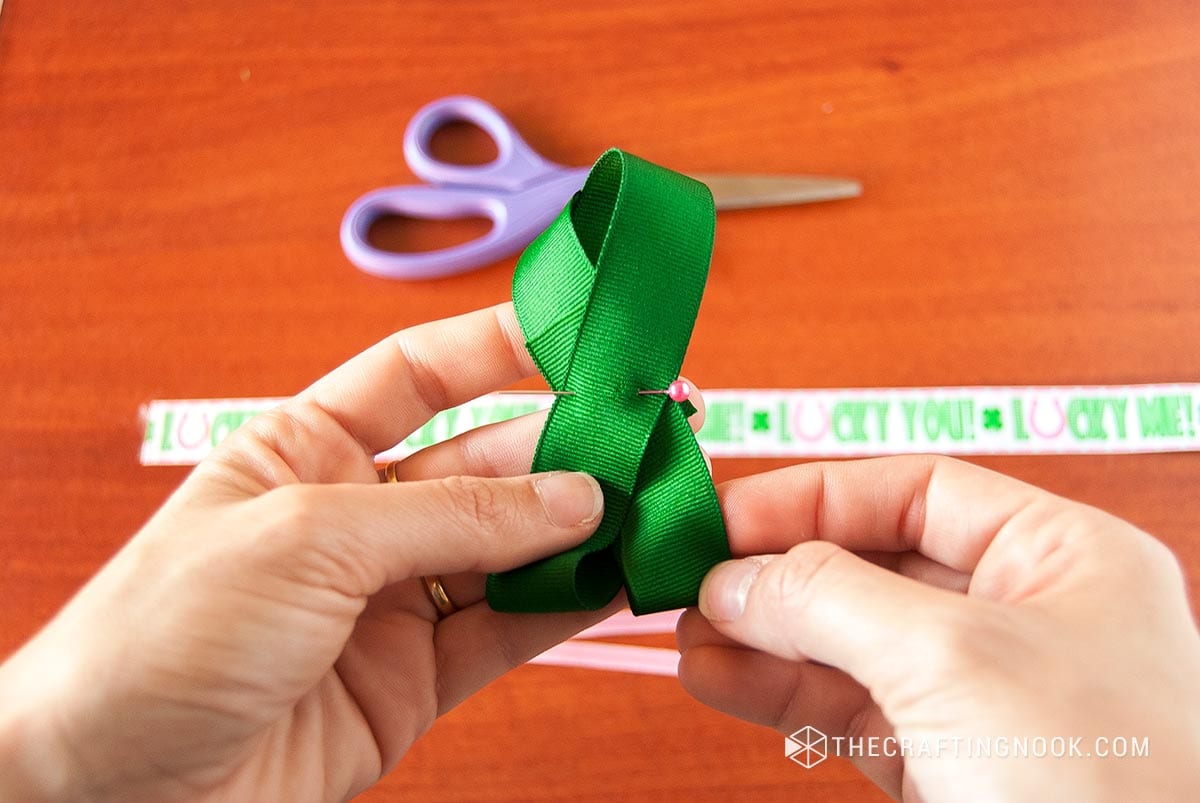
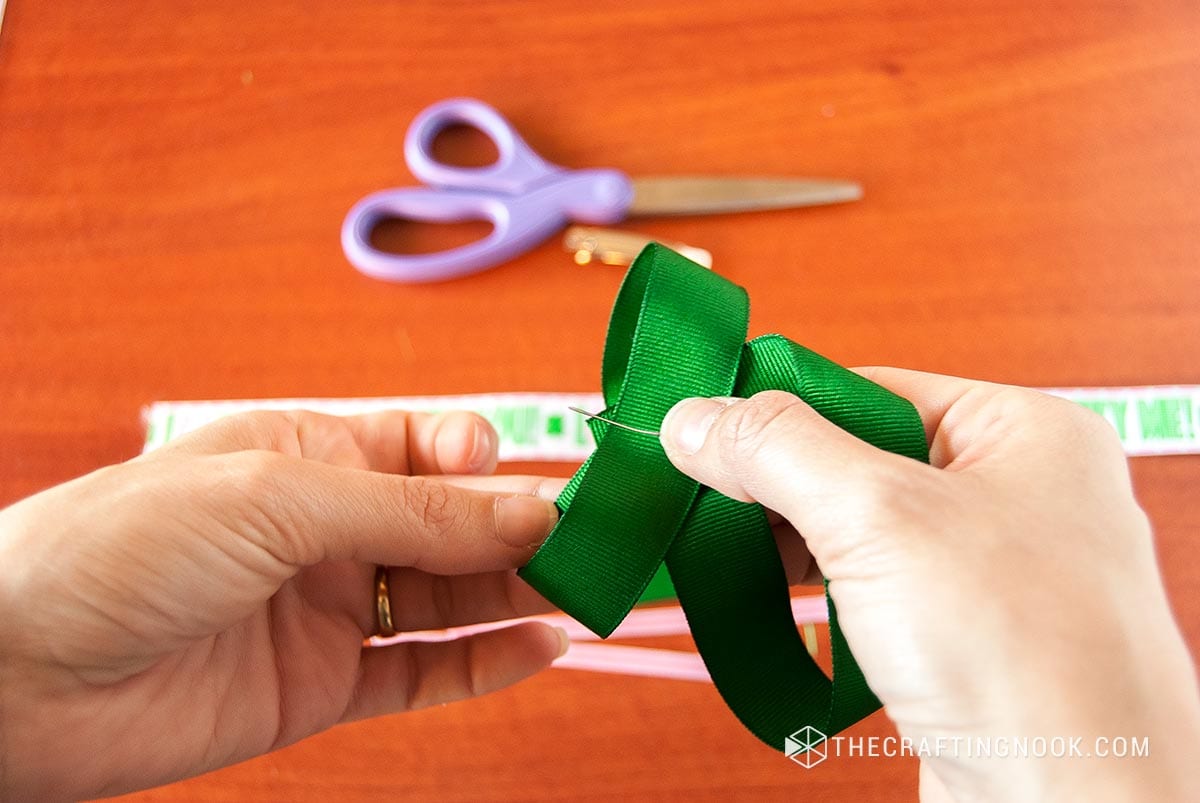
7. Using the thread or thin ribbon make a knot around the center of the bow like in the image below:

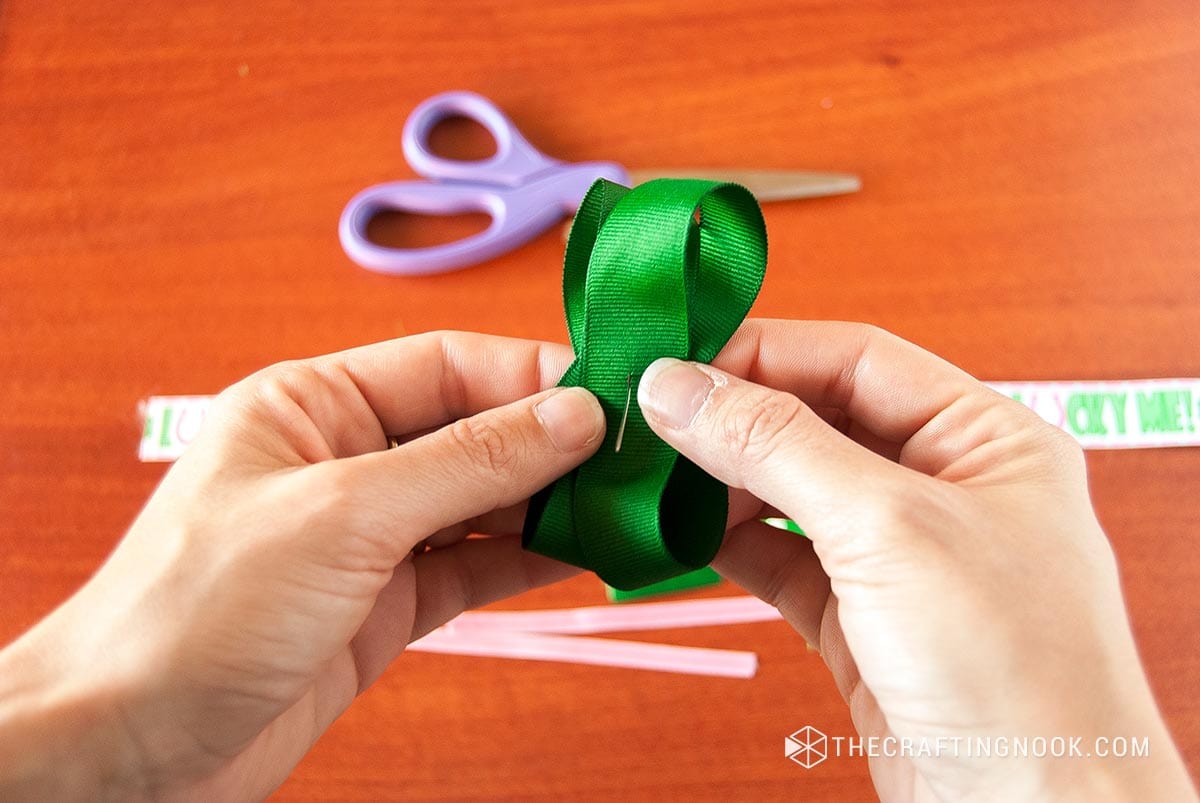
8. Remove the pin.

9. Do exactly the same process with the 15 inches ribbon.

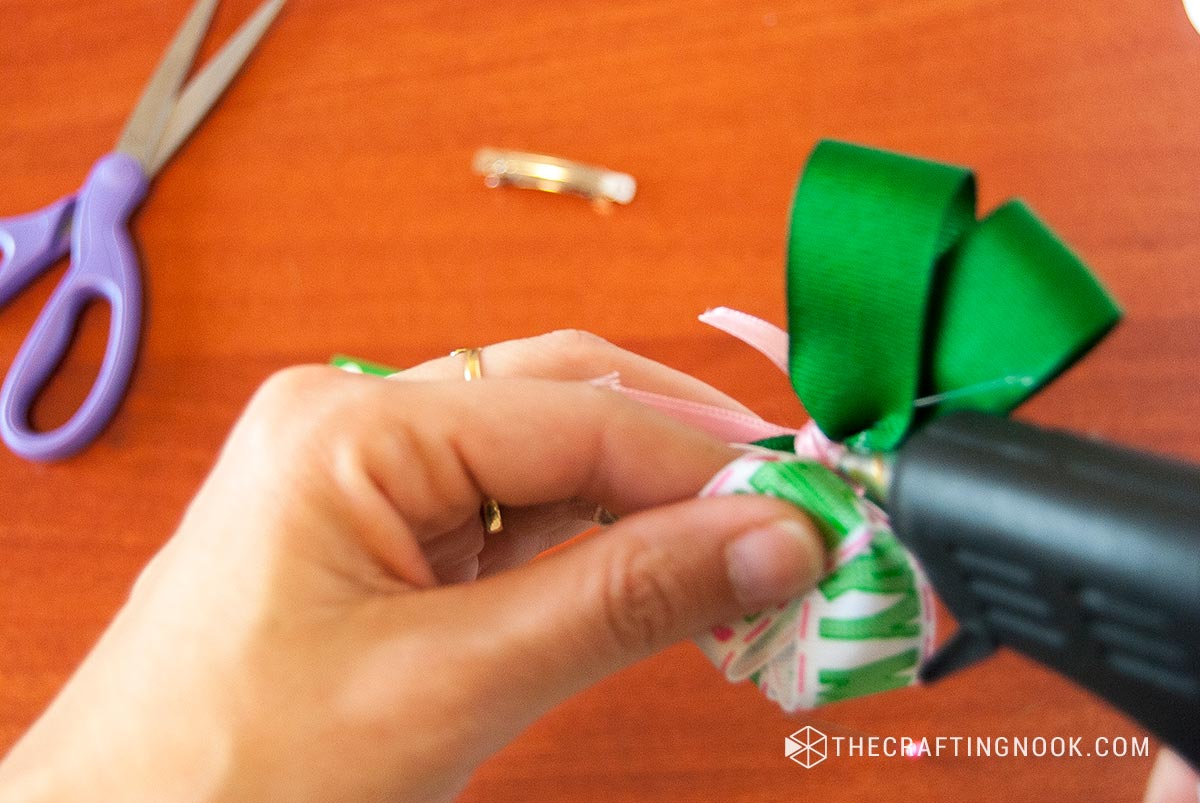
10. Place the patterned bow over the solid one and tie a knot with the remaining thread or ribbon to keep them in place.

11. Secure both bows with dots of glue from your hot glue {sorry about the blurry pic}.
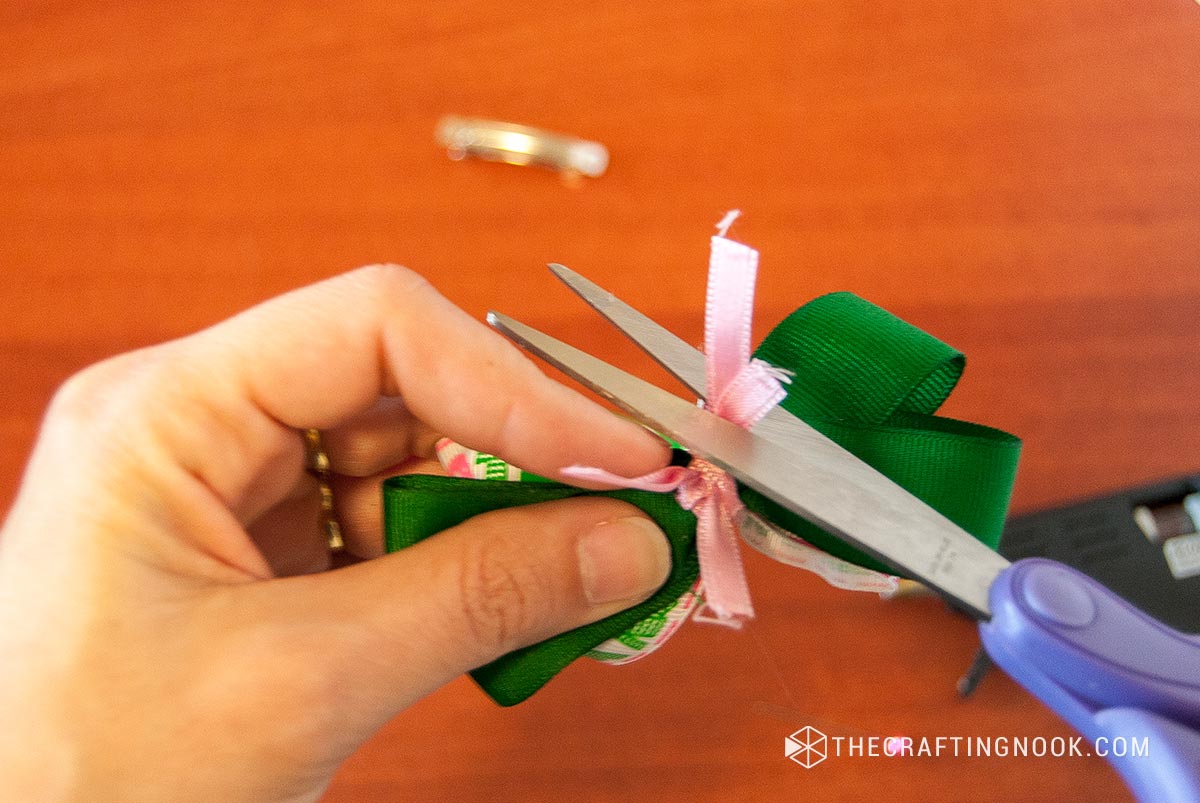
12. Cut the excess thread or strip of ribbon.
13. Find the 5 inches piece of ribbon and make a knot in the middle.
14. Place it in the middle of the bow to hide the other ribbon or thread.
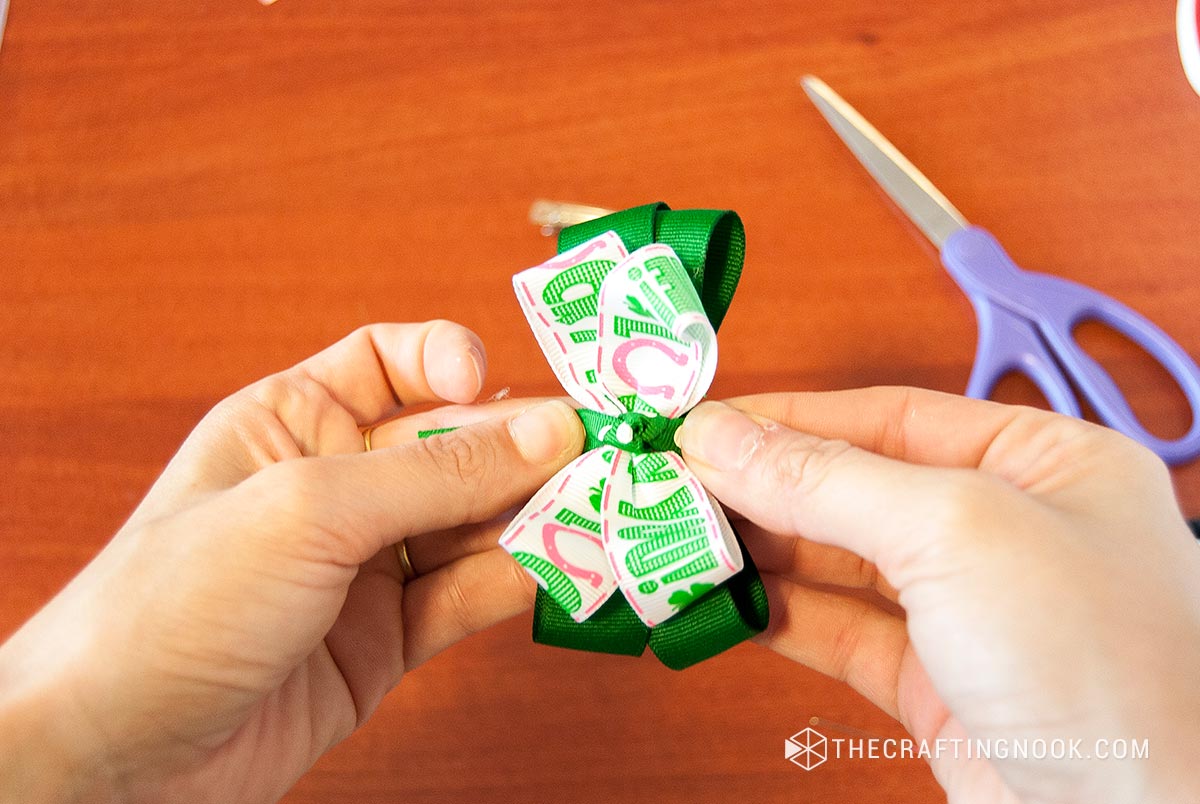
15. Glue both ends on the back.

16. Find the 1 inch strip and burn a little bit the ends to avoid fraying.

17. Glue it to the back of the bow.
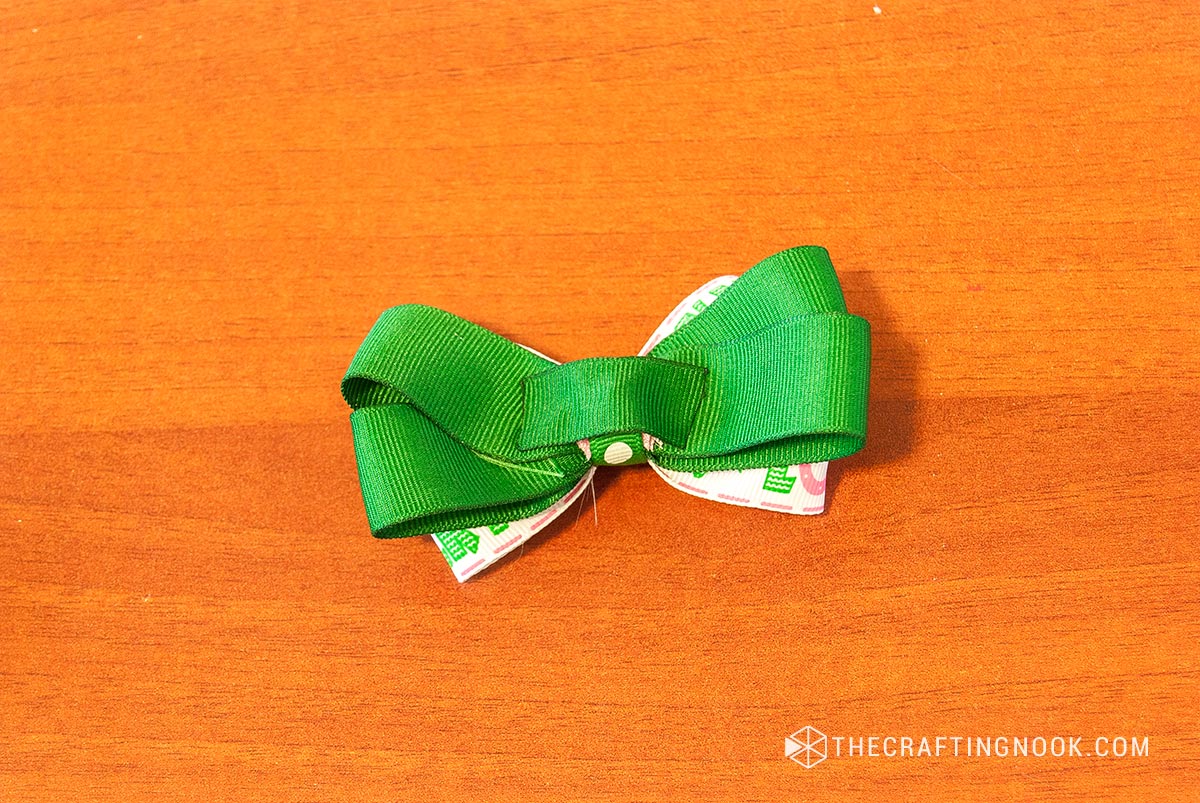
18. And finally glue the barrette hair clip to the bow with a thin line of glue.

19. Repeat process with another hair bow if you want them to be twins.
20. Let your little girl wear these ribbon bows with pride. Lucky her!
That’s it!!! Some really cute no sew Diy hair Bow clips to celebrate this St. Patrick’s Day. Yayyyy!!!.
Crafting Tips
- Use sharp scissors for clean ribbon cuts.
- Carefully burn ribbon ends slightly to prevent fraying.
- Feel free to experiment with different ribbon widths for varied bow sizes. Thicker sizes, fluffier bows.
- Consider adding tiny charms or beads for a personalized touch.
What do you think? Aren’t they adorable???
Hope you enjoyed this fun tutorial.
Frequently Asked Questions
Hairbow supplies etc is a good place to start if you like buying online. Amazon is another great place too. Also try your local craft stores
Oh Yes, experiment with satin, grosgrain, or velvet for varied textures.
Use a paperclip, bobby pins, alligator clips, or even your fingers to hold the folds.
Yes, feel free to sell, but crediting the tutorial for ethical crafting is always a plus.
More St. Patrick’s Day to Try
If you enjoyed this St. Ptracik’s Day DIY Boutique Hair Bows tutorial, you might also love these other St. Patrick’s Day project ideas too:

✂️ Tutorial
DIY No sew Hair Bows for St. Patrick’s Day
Tools
- Hot glue gun and glue sticks
- Scissor
- A Pin
Supplies
- 2 strips 18 Inches green solid grosgrain ribbon {7/8 inch W}
- 2 Strips 15 Inches Lucky You {7/8 inch W} Lucky Me painted grosgrain ribbon
- 2 strips 5 inches {3/8 inch W.} Polka Dot Grosgrain Ribbon
- 2 Strips 1-inch solid green grosgrain ribbon {5/8 inch W}
- 2 30 mm French Barrette Clips {1-1/4 inch}
- 2 strips 6 inches of a thread of very thin ribbon.
Instructions
- Fold the 18-inch strip in half.
- Insert the pin exactly in the middle of the fold line
- Unfold and position the pin with the tip facing you. Find one end and insert it in the pin like in the image below.
- Do the same on the other end but in the opposite direction. You will get an 8 or infinite symbol
- Then insert the middle of each loop in the pin like this:
- Now holding tight the ribbons take out the pin and insert it in the same place but crossing it like this:
- Using the thread or thin ribbon make a knot around the center of the bow like in the image below:
- Remove the pin.
- Do exactly the same process with the 15 inches ribbon.
- Place the patterned bow over the solid one and tie a knot with the remaining thread or ribbon to keep them in place.
- Secure both bows with hot glue {sorry about the blurry pic}.
- Cut the excess of thread or ribbon.
- Find the 5 inches ribbon strip and make a knot in the middle.
- Place it in the middle of the bow to hide the other ribbon or thread.
- Glue both ends on the back.
- Find the 1 inch strip and burn a little bit the ends to avoid fraying.
- Glue it to the back of the bow.
- And finally glue the barrette clip.
- Repeat process with another hair bow if you want them to be twins.
- Let your girl wear them with pride. Lucky her!
Share and PIN ME!!!

Til’ next time…


FREE WORKBOOK
Keeping your Sweet Home Organized
Learn how to create intentional habits and simple routines to Keep Your Home Organized. Plus freebies, printables, exclusive content, and tips.
Disclaimer: By clicking on the “Yes” button above you are giving me your consent to collect and use your information according to the law and My Policy Privacy. Zero Spam I promise!
