DIY Valentine Favor Box for Candy and Small Gifts
This post may contain affiliate links. Please read our Disclosure Policy.
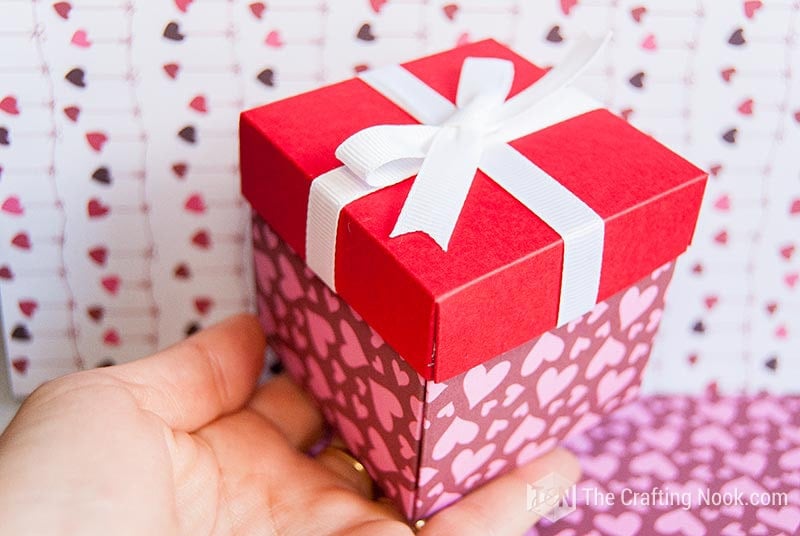
This DIY Valentine favor box is a simple way to package candy or small gifts for Valentine’s Day. It’s designed for adult gifting—think friends, coworkers, party favors, or handmade touches for Valentine tables. The box is easy to make, uses basic craft supplies, and works well for both casual and more polished gift presentations.

Table of Contents
How to make this Valentine Candy Favor Box
This DIY Valentine favor box is easy to make, uses basic supplies, and works well for packaging candy or small gifts in a simple, handmade way—perfect when you want your Valentine gift to feel thoughtful without being complicated.
I love, love, love giving gifts made with my hands, but even when you buy something you can put a little of yourself into wrapping it. So a favor box makes the trick and the possibilities are endless.
These cute little candy boxes are perfect for any kind of celebrations although I’m sharing them for Valentine’s day.
Project snapshot
- Project type: Paper craft
- Age: All ages, but kids with supervision
- Time commitment: ~20–30 minutes
- Budget range: Low
- Skill level: Beginner
- Tools required: Basic tools
- Customization level: Fully customizable
Supplies:
- Cardstock (plain or patterned, depending on each person) – My recommendation is that you use good-quality cardstock or heavy paper so it doesn’t get damaged too easily.
- Ribbons, laces, or anything you like to decorate – any type of ribbon works but for this type of gift, I love grosgrain or satin but there are so many types out there that why limit?
- Decorative items such as hearts, notes, embellishments, etc.
- Lots of candies!
Tools:
- Scissors or a cutter knife.
- Hot Glue
- Ruler
Instructions:
Before you start, make sure you have your cardstock, scissors, and glue ready.
Step 1: Prep the template and cardstock
I created a printable template for both the box and the lid. You can download the template here if you’d like. The template is optional, but it helps keep the box neat and evenly sized. It’s available in both Letter and A4 formats, and I’m also sharing the digital paper used in this tutorial.
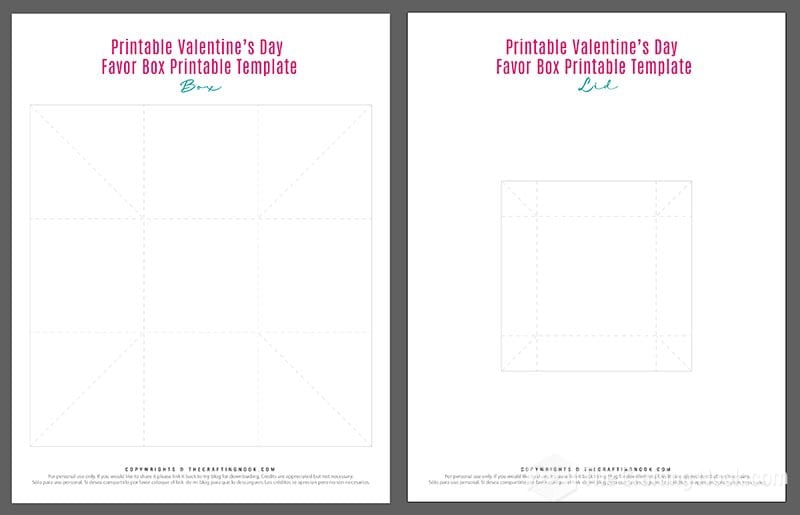
Print the box template directly onto the back of the cardstock you plan to use. For contrast, you can print the lid on a different cardstock or plain paper.
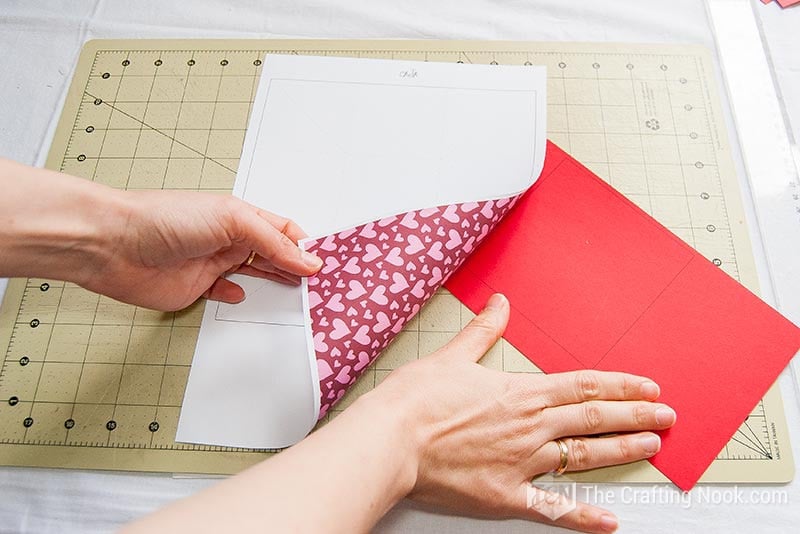
Once printed, carefully cut out all template pieces.

Note: These free printable templates are for personal use only. No commercial use is allowed.
Step 2: Assemble the candy box
Fold the cardstock along the dashed lines to form the base shape of the box. Make firm creases so the box holds its structure.
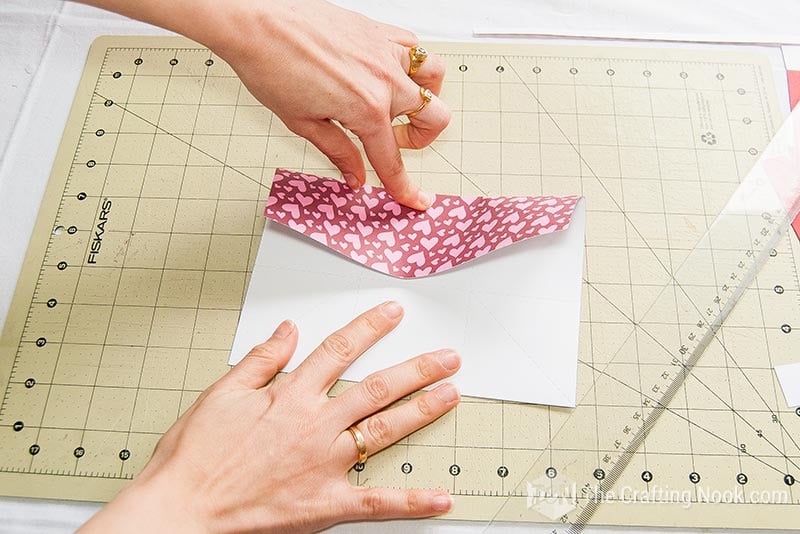
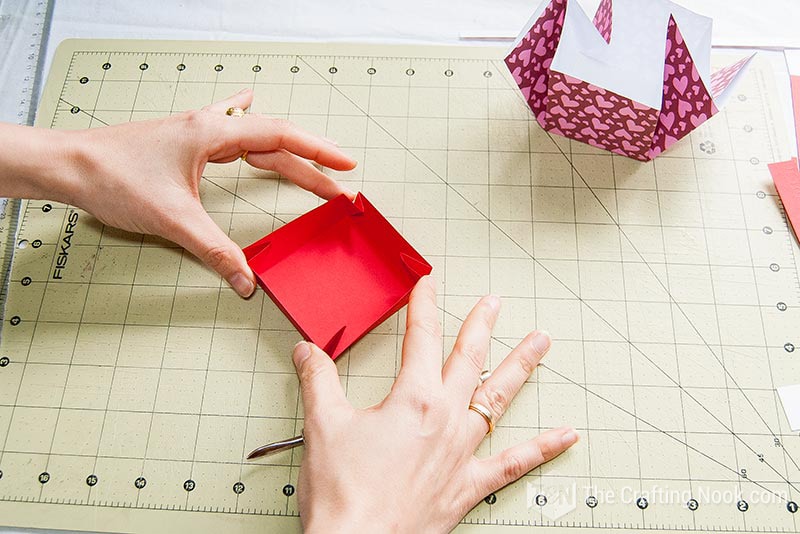
Fold the corner flaps inward, then bring all four sides together so the box takes shape.
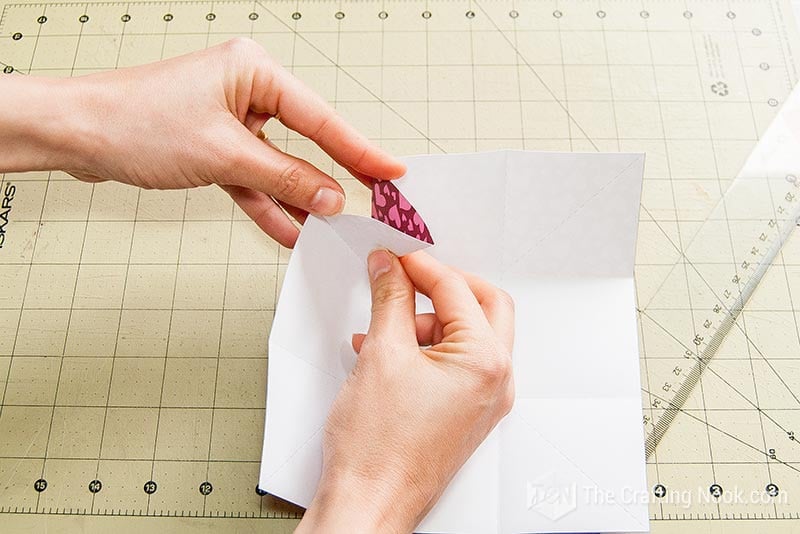
The folded corners should sit inside the box, helping it stay upright without glue.

Step 3: Assemble the lid
Assemble the lid using the same folding method as the box.
Since the lid is what keeps everything closed, apply a small dab of hot glue to the corner flaps before pressing them together.
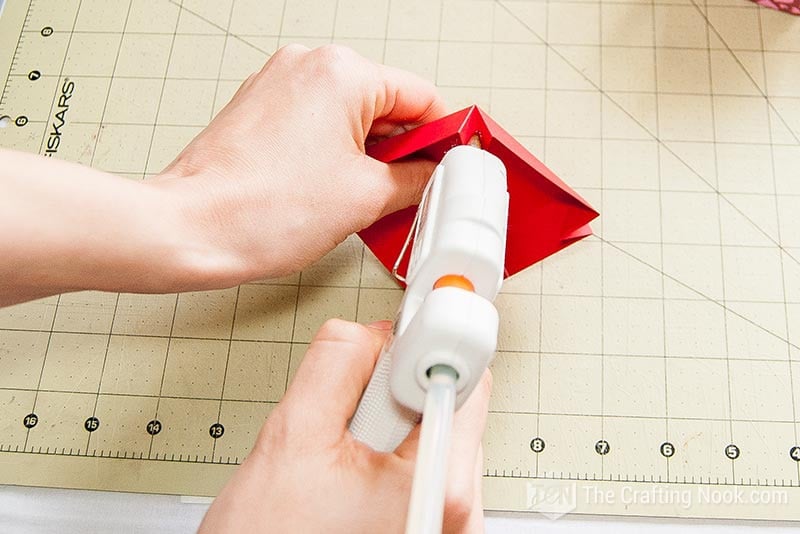
Hold briefly until the glue sets.
Step 4: Decorate the box
Once the box and lid are assembled, decorate the outside as desired.
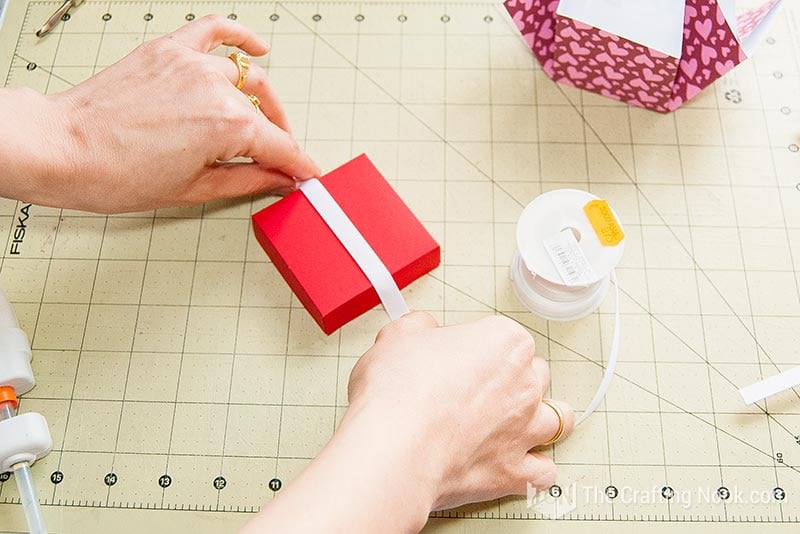
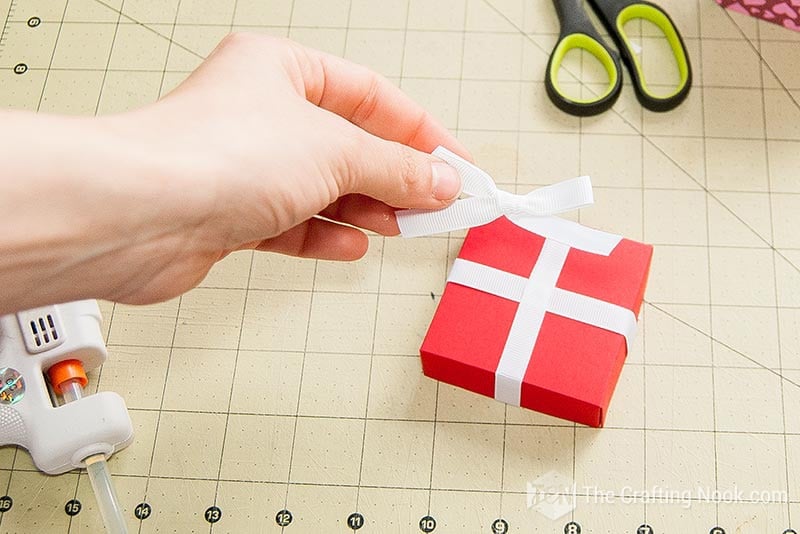
I used white grosgrain ribbon for contrast and added a simple ribbon bow, securing everything with hot glue.
Step 5: Fill and finish the gift box
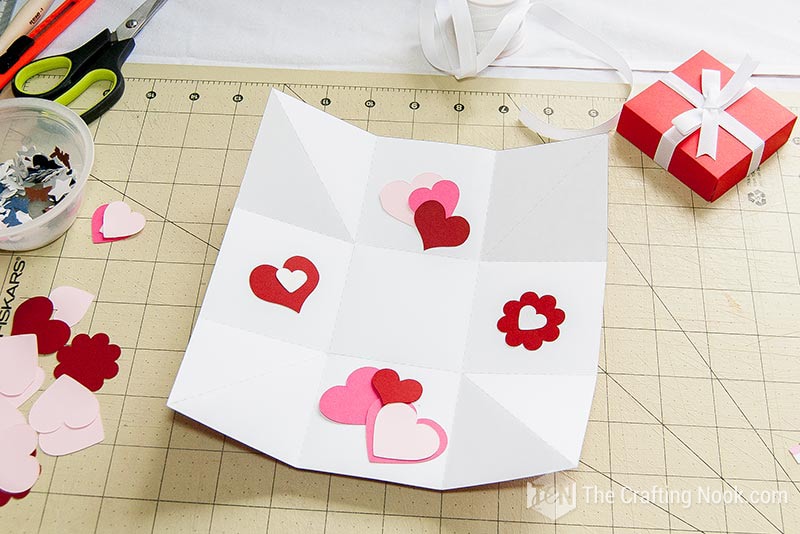
Decorate the inside of the box if you’d like. I added paper flowers, heart cutouts, and a handwritten message, but any decorative paper or small details work well.
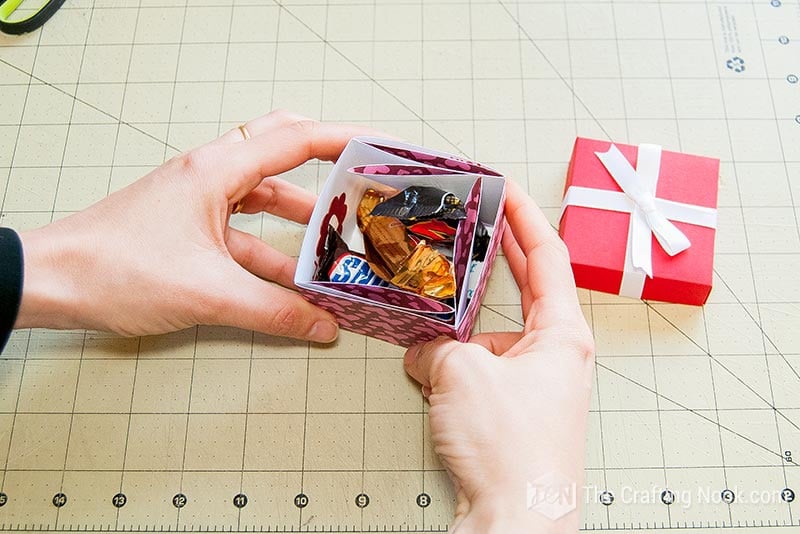
Place candy or small gifts inside the box, then set the lid on top to close it.
Your Valentine’s Day favor box is ready to gift.

Crafting Tips
- Use cardstock or heavy paper so the box keeps its shape once folded and filled. Thin paper tends to bend or tear more easily.
- Make firm creases along all fold lines. This helps the box assemble cleanly and look more polished.
- If you’re using glue, apply small amounts only where needed, especially on the lid corners. Too much glue can warp the paper.
- Keep decorations lightweight. Heavier embellishments can pull on the paper and affect how the lid fits.

Sometimes the simplest details say much more since we put a lot of love into making them ourselves.


Alternatives and Variations
Paper options:
Instead of printed templates, you can use plain cardstock, scrapbooking paper, or textured paper for a more polished look. Mixing two colors—one for the box and one for the lid—adds contrast without extra decoration.
Decoration swaps:
Ribbon can be replaced with twine, fabric strips, lace, or paper bands. A simple folded paper strip works well if you want a cleaner, more minimal finish.
Non-candy fillers:
This box also works well for small gifts like jewelry, notes, gift cards, or self-care items. Adjust the decoration style depending on what you plan to place inside.
Occasion variations:
While this version is styled for Valentine’s Day, the same box design works for other celebrations by changing the paper, colors, or ribbon.

Frequently Asked Questions
No, a cutting machine isn’t required. This project can be made using scissors and basic craft tools, making it accessible for most crafters.
When made with cardstock or heavy paper, the box is sturdy enough for candies and small gifts. Using thicker paper helps the box keep its shape once filled.
Pretty much whatever you want that will fit in. You can put any type of treats and candies, chocolate candies like Hershey’s kisses, or Snickers, maybe hide a pretty little jewelry piece, a love note, confetti to hide a special gift. I mean, you name it, if it makes you happy and it fits inside, you are good to go.
Yes, these boxes can be made ahead of time and stored flat or assembled. Add candies or gifts closer to Valentine’s Day to keep everything fresh.
I hope you liked it! What do you think??? This Valentine’s Day Favor Box is Cute or what???
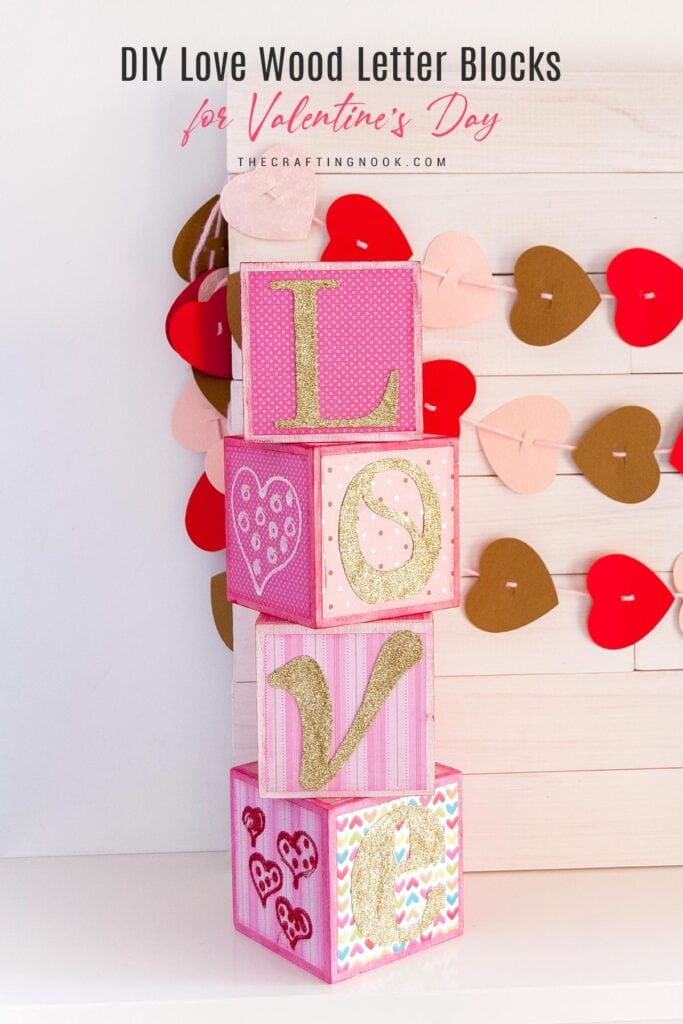
More Valentine’s Day Crafts to Try
If you like this DIY Valentine’s Day Candy Box tutorial, you might also love these other Valentine’s Day project ideas too:


✂️ Tutorial

DIY Candy Box for Valentine’s Day
Tools
- Scissors or Cutter knife.
- Hot glue
- Ruler
- Pencil
Supplies
- Cardstock {plain or patterned depends on each person} – My recommendation is that you use good quality cardstock or heavy paper so it doesn’t get damaged too easily.
- Ribbons laces, or anything you like to decorate – any type of ribbon works but for this type of gift, I love grosgrain or satin but there are so many types out there that why limit?
- Decorative items such as hearts notes, embellishments, etc.
- Lots of candies!
Instructions
Step 1: Prep the template and cardstock
- I created a printable template for both the box and the lid. You can download the template here if you’d like. The template is optional, but it helps keep the box neat and evenly sized. It’s available in both Letter and A4 formats, and I’m also sharing the digital paper used in this tutorial.
- Print the box template directly onto the back of the cardstock you plan to use. For contrast, you can print the lid on a different cardstock or plain paper.
- Once printed, carefully cut out all template pieces.
- Note: These free printable templates are for personal use only. No commercial use is allowed.
Step 2: Assemble the candy box
- Fold the cardstock along the dashed lines to form the base shape of the box. Make firm creases so the box holds its structure.
- Fold the corner flaps inward, then bring all four sides together so the box takes shape.
- The folded corners should sit inside the box, helping it stay upright without glue.
Step 3: Assemble the lid
- Assemble the lid using the same folding method as the box.
- Since the lid is what keeps everything closed, apply a small dab of hot glue to the corner flaps before pressing them together.
- Hold briefly until the glue sets.
Step 4: Decorate the box
- Once the box and lid are assembled, decorate the outside as desired.
- I used white grosgrain ribbon for contrast and added a simple ribbon bow, securing everything with hot glue.
Step 5: Fill and finish the gift box
- Decorate the inside of the box if you’d like. I added paper flowers, heart cutouts, and a handwritten message, but any decorative paper or small details work well.
- Place candy or small gifts inside the box, then set the lid on top to close it.
- Your Valentine’s Day favor box is ready to gift.
Video

Share and PIN ME!

Til’ next time…


FREE WORKBOOK
Keeping your Sweet Home Organized
Learn how to create intentional habits and simple routines to Keep Your Home Organized. Plus freebies, printables, exclusive content, and tips.
Disclaimer: By clicking on the “Yes” button above you are giving me your consent to collect and use your information according to the law and My Policy Privacy. Zero Spam I promise!
This is adorable!! Saying hi from Melrose Family :-)
Thank you so much Johlene!!!! Happy to have you visiting!
XO
simply W.O.W
Hi Cami! I’m stopping in from Let’s Get Real today. These boxes are really adorable. This would be a great project for my Girl Scouts. They will have a ball making them.
Love this so much! I featured you today on the Ginger Jamboree. Feel free to grab a “featured” button from my sidebar!
This is awesome! And you explained it so well. I can be a bit directionally-impaired with making such great looking boxes. Thank you for linking up to Ladies Only Blog Share Link Party!
Absolutely marvelous tutorial! Very detailed and easy to follow! Thanks for linking up with us at the Create Link Inspire party! You were featured today!! http://www.marvelousmommy.com/2014/02/10-valentines-day-diy-projects/
Great tutorial! You make some of the greatest, cutest, craftiest things. Glad you link up to us at Snickerdoodle Sunday!
What a nice idea to make the Valentine Gift box and your tutorial is great. Thank you for sharing with the Clever Chicks Blog Hop! I hope you’ll join us again next week!
Cheers,
Kathy Shea Mormino
The Chicken Chick
http://www.The-Chicken-Chick.com
Great idea. Have a great week and thanks for sharing at Wednesday’s Adorned From Above Link Party.
Debi and Charly
What a cute idea! I’m going to use this to place little surprises throughout the house on Valentine’s Day…candy, cookies, notes! Thanks!
This is such a cute idea! I never thought of making my own boxes! I love how you give specific directions too, I definitely need those! Mary
What a cute little fun box! I love paper crafting! It’s been pinned to the party boards! Marti
Very cute! Will you share this today on Worthwhile Wednesdays? http://thecraftiestallie.blogspot.com/2014/01/1-worthwhile-wednesdays-link-party.html
Thanks,
Allie
Awww I love this project! So glad you shared!
Thanks so much Paula. Glad you like it!
XOXO