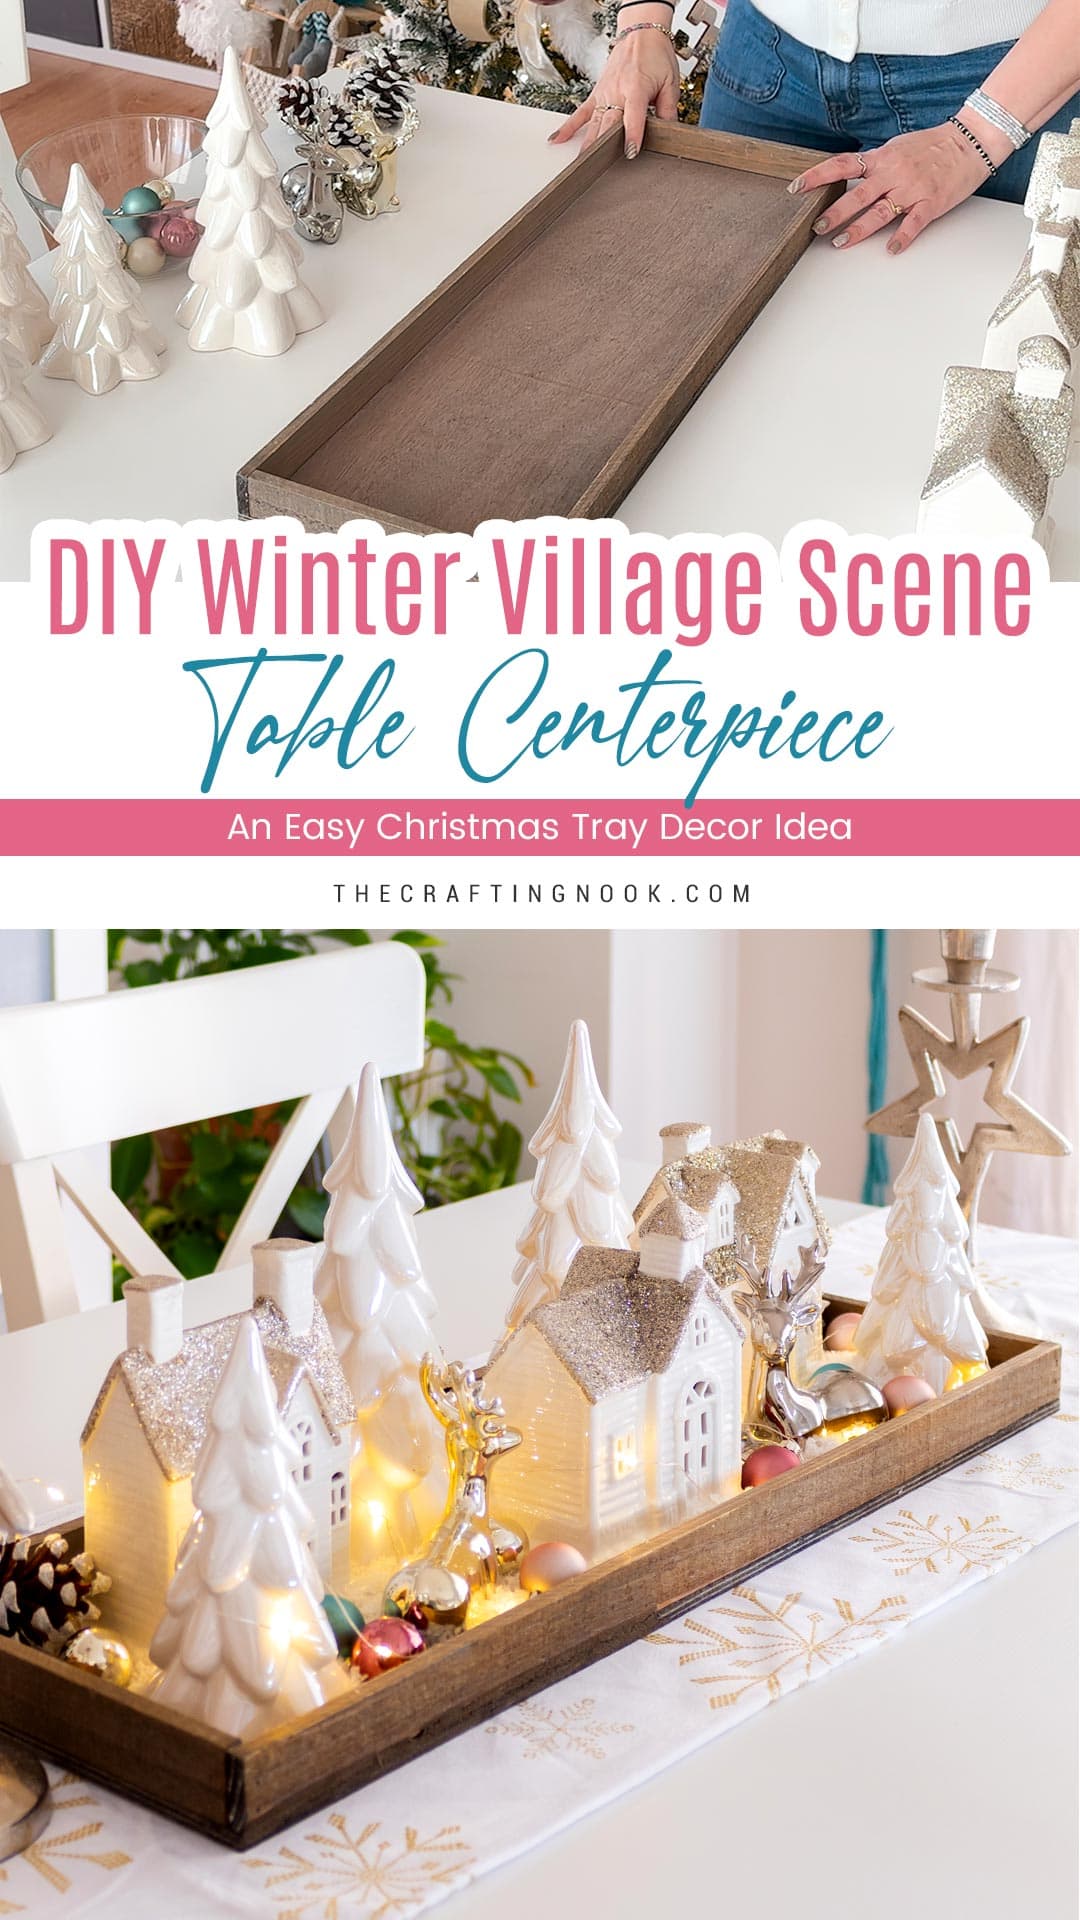
DIY Winter Village Table Centerpiece. An Easy Christmas Tray Decor Idea
This post may contain affiliate links. Please read our Disclosure Policy.
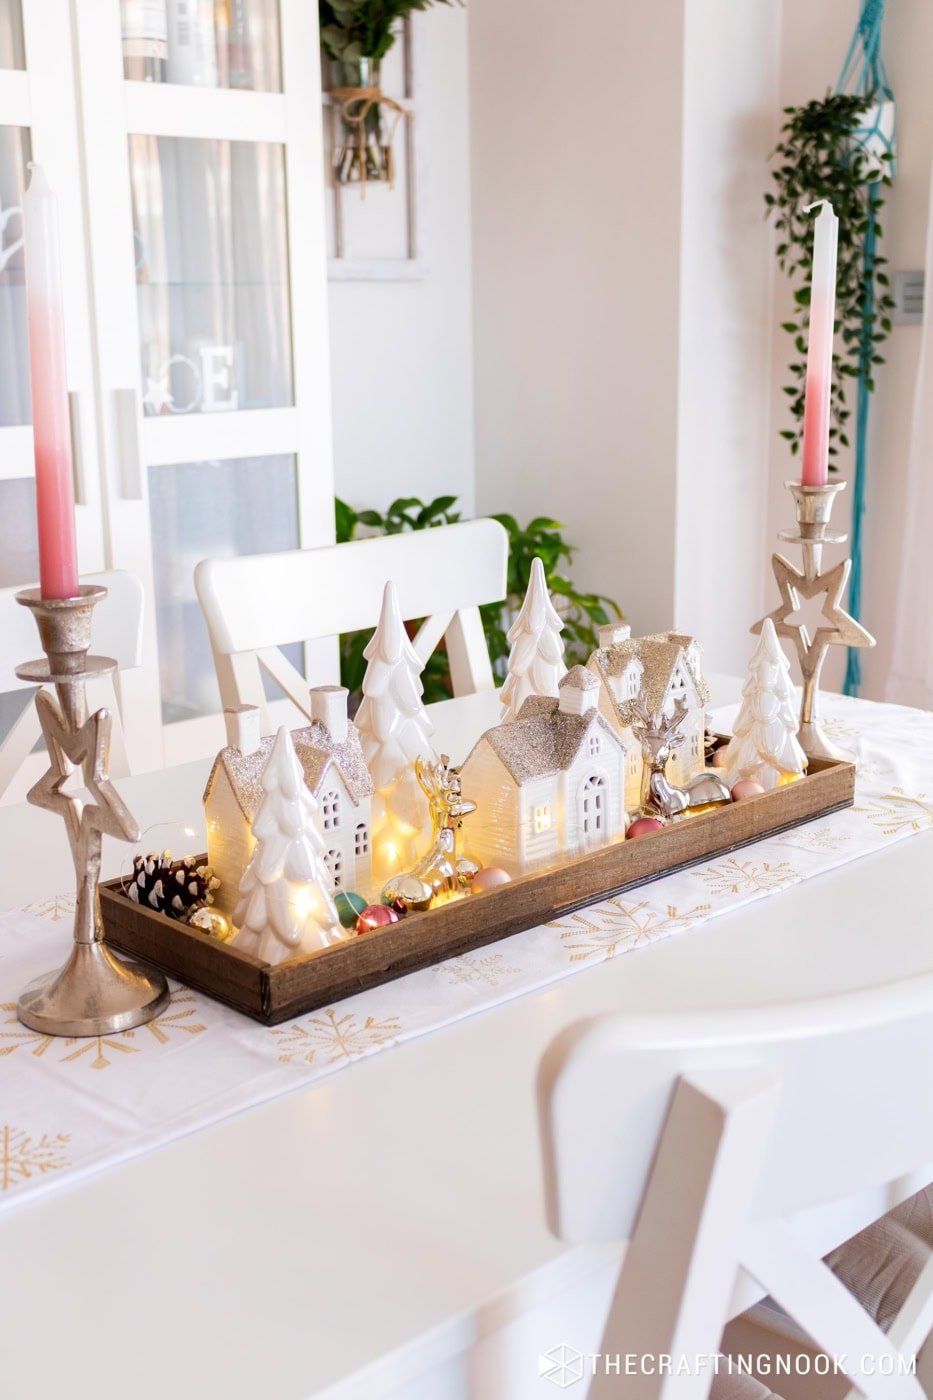
I created a cute DIY Winter Village Table Centerpiece using a wooden tray, ceramic houses, faux snow, and lights. A simple but super cute Christmas village decor idea.
Winter decorating always takes me to my happy place. Not in a big, dramatic way, more like those quiet moments when the house feels a little cozier, the lights feel a little softer, and suddenly I’m on the floor surrounded by tiny ceramic houses and sparkly deer… just doing my thing. Maybe it’s the glow, maybe it’s the nostalgia of these little winter scenes, or maybe it’s just a fun excuse to create a tiny DIY winter village that makes the whole table feel magical.

Table of Contents
My Cute and Easy Christmas Tray Decor Idea
This year, I put together the sweetest winter village centerpiece using a long wooden tray, a handful of ceramic houses, bottle-brush-style ceramic trees, fairy lights, and fluffy faux snow. It’s simple, elegant, and works beautifully as a Christmas village centerpiece, a winter tray decor idea, or even as your main winter table centerpiece all season long.
And the best part?
It takes minutes to assemble but looks like you spent hours.
How to Make a Winter Village Table Centerpiece
Let me walk you through how I made this little snowy scene so you can create your own.
Supplies:
- Long wooden tray
- Faux snow (the fluffier kind works beautifully)
- Ceramic houses
- Ceramic or bottle brush trees
- Pinecones
- Mini ornaments (optional but adorable)
- Fairy lights
- Small decorative deer or figurines
Instructions:
Below is the full step-by-step breakdown using the photos you shared.
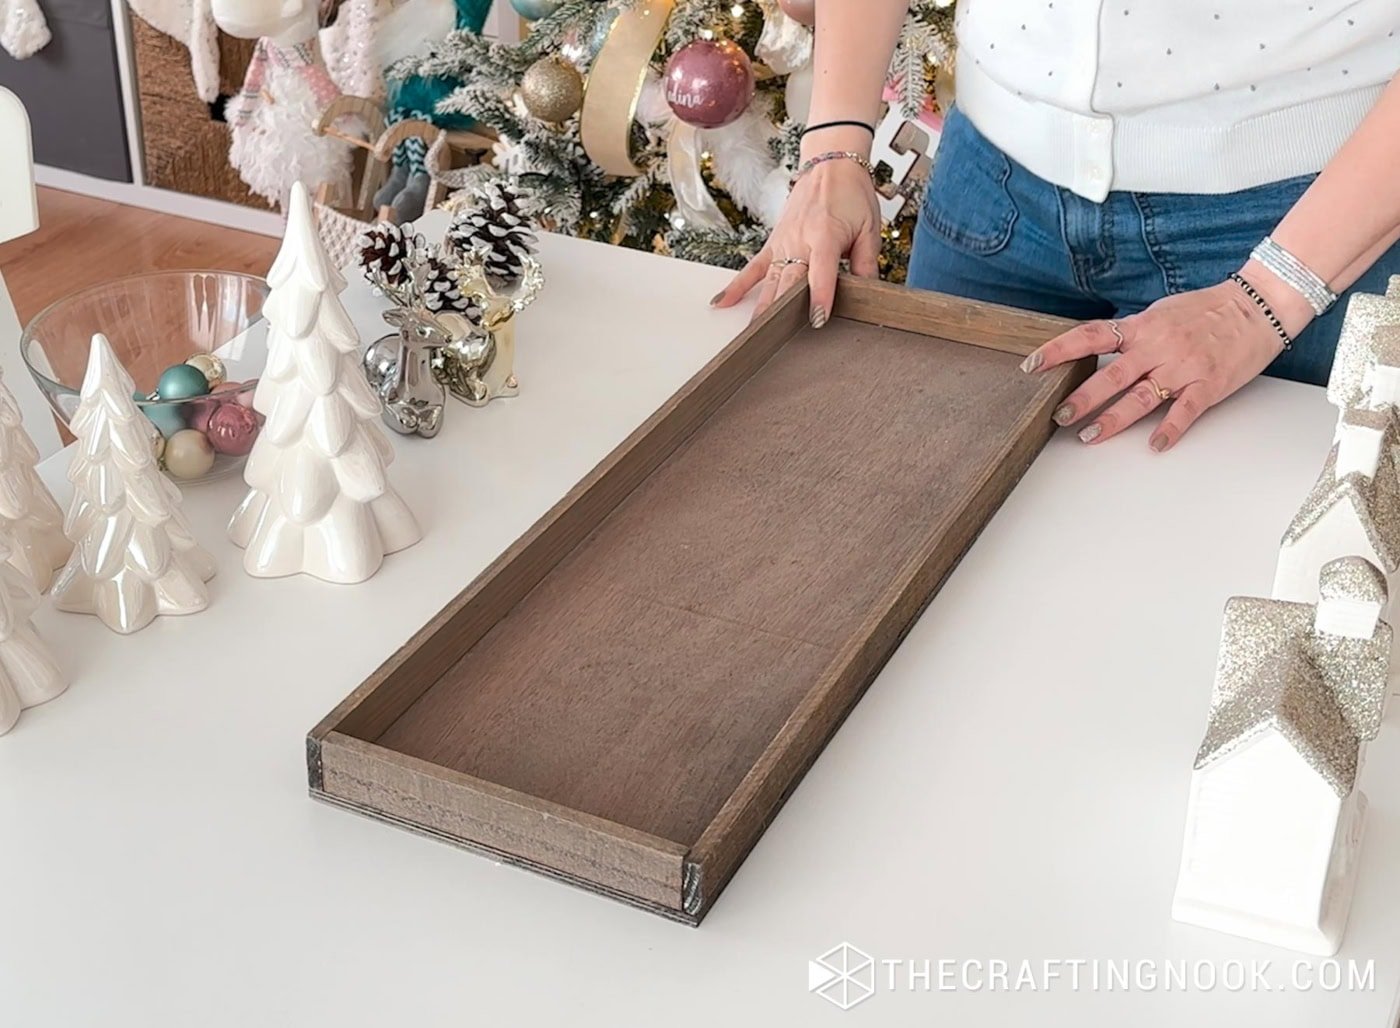
Step 1: Start with your wooden tray
Use any long, narrow tray you already have. A wooden one gives a warm, rustic touch. Place it on your dining table or wherever you want your winter village centerpiece to live.
Step 2: Add a layer of faux snow
Pour faux snow down the center of the tray. No need to make it perfect — a slightly uneven texture actually makes your snowy road look more natural.

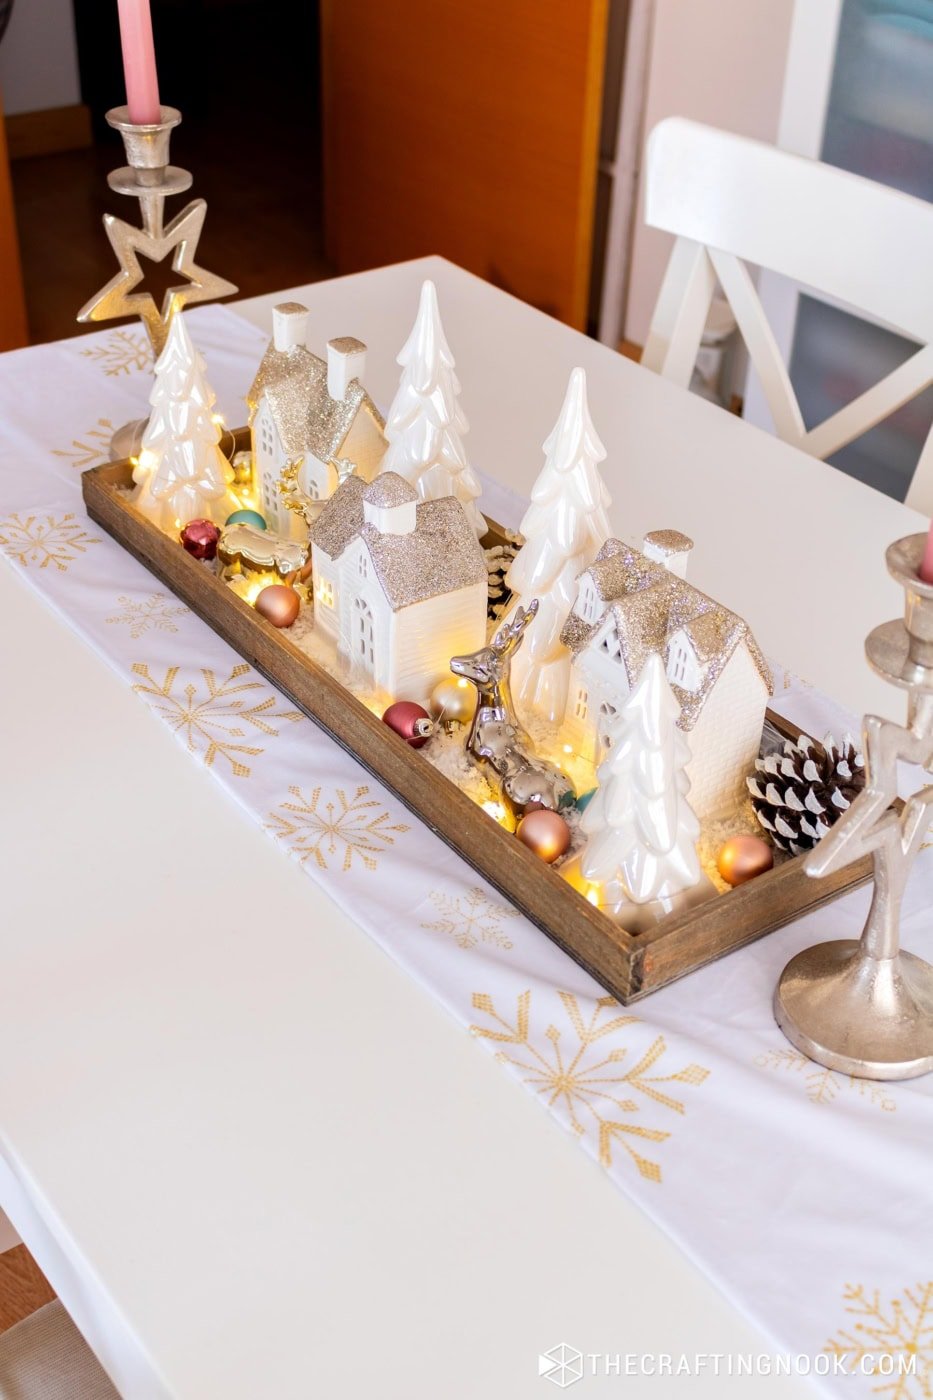
Step 3: Place your ceramic houses and ceramic trees for height
Start arranging your houses in a staggered layout so the village feels full and cozy. Leave some breathing room for trees and accents.
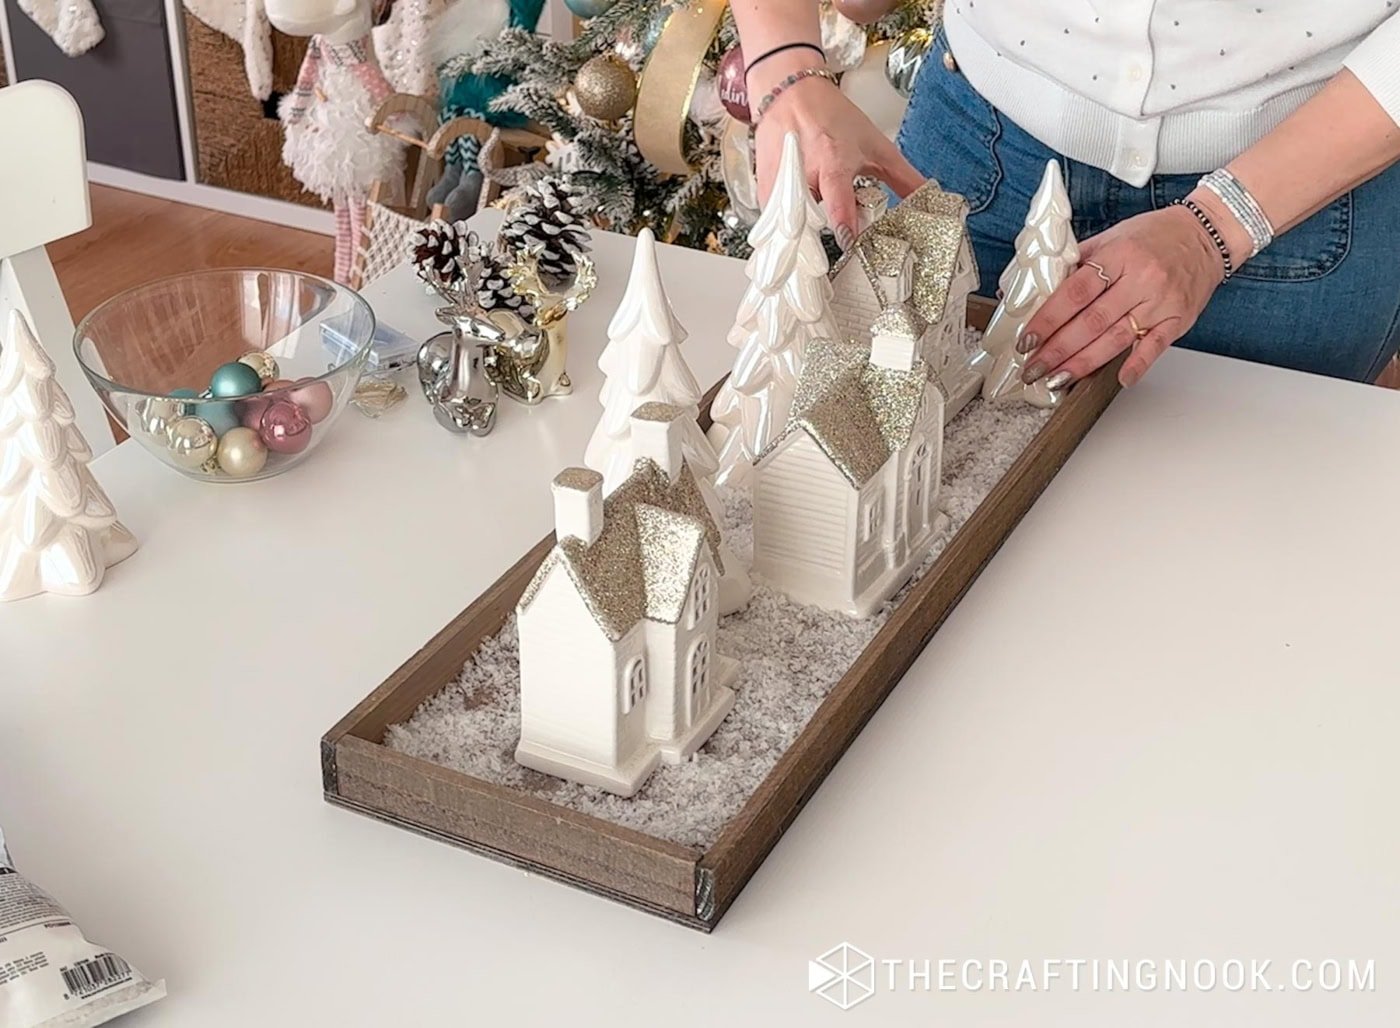
Place your trees behind and between the houses to build dimension. This gives your DIY winter village that charming layered look from every angle.
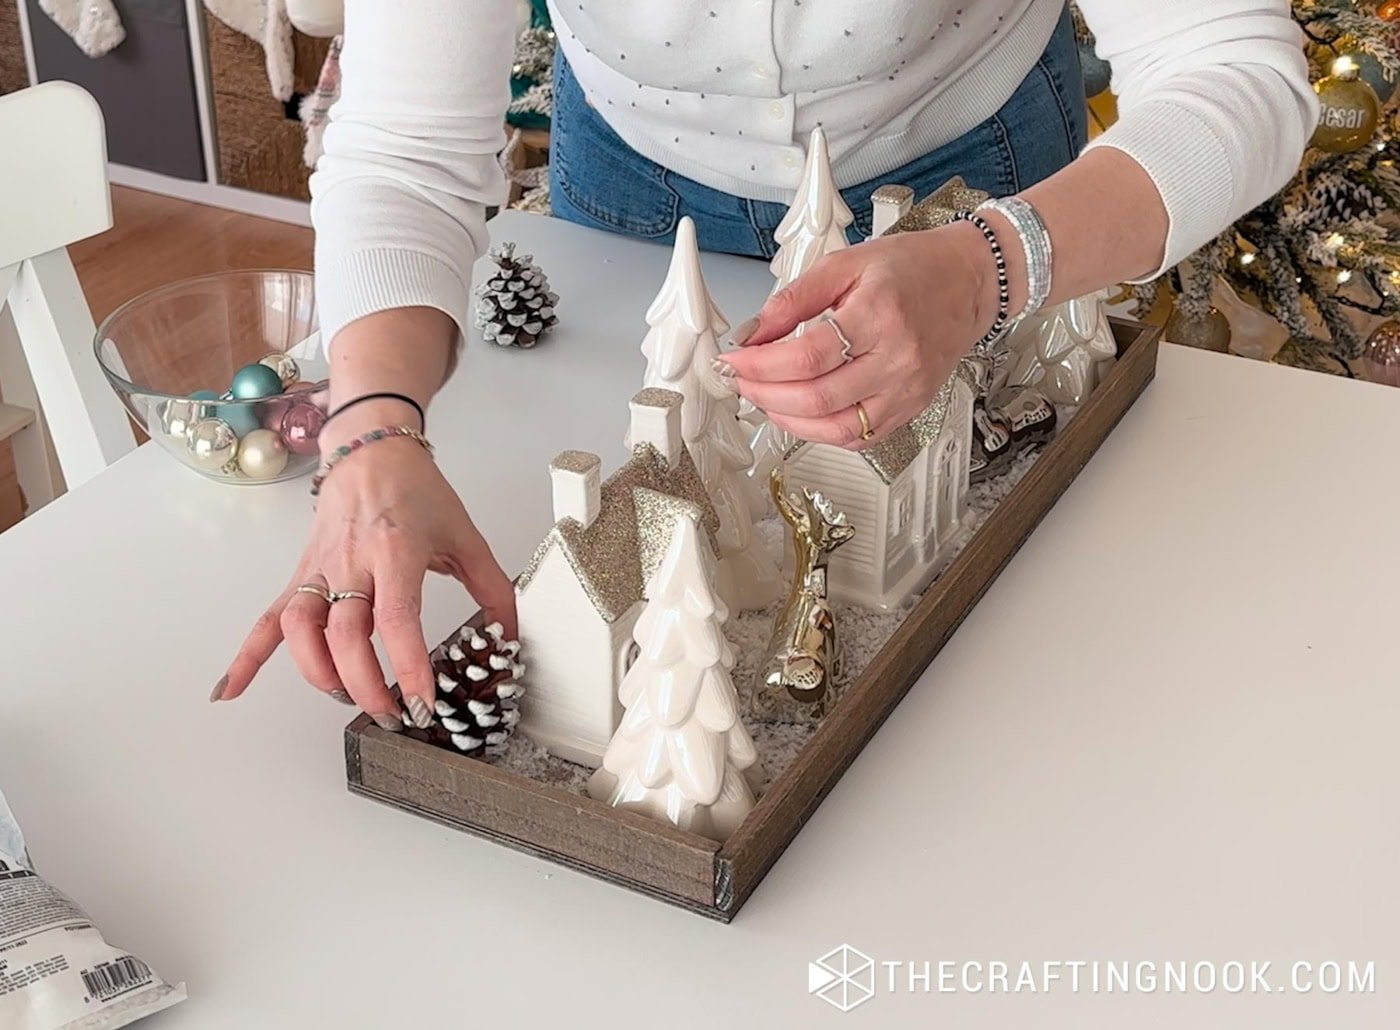
Step 4: Add pinecones and little accents
Tuck pinecones into the corners or beside the houses. Add deer or small figurines to bring personality to your village scene.
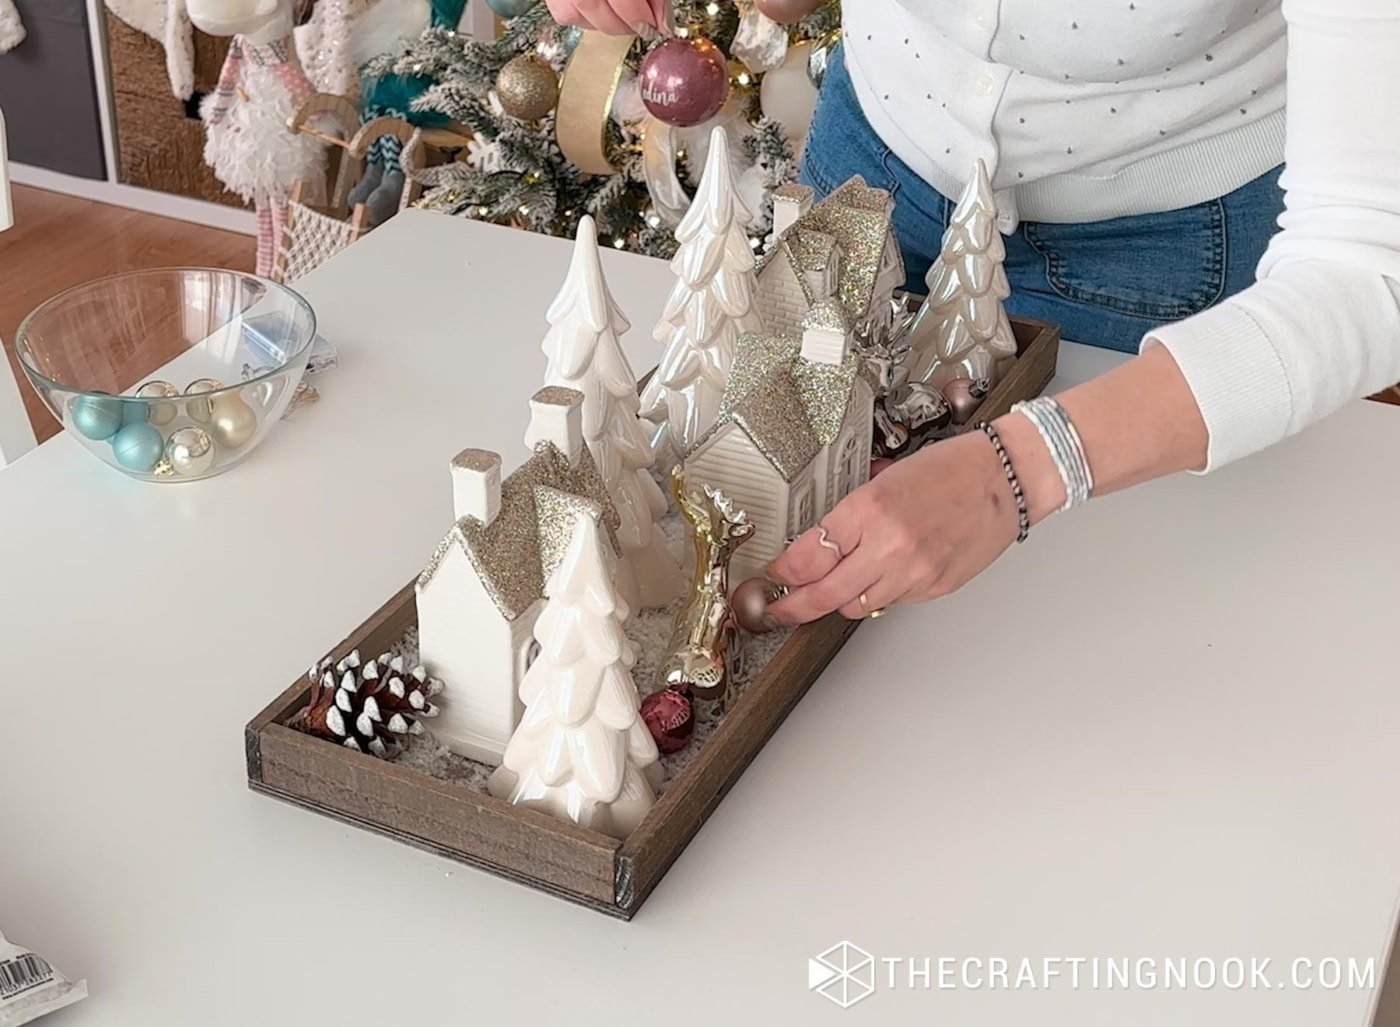
Step 5: Mix in small ornaments
Scatter a few mini ornaments around the base — not too many, just enough to introduce soft color and shine.
Step 6: Weave fairy lights throughout
Gently tuck a strand of fairy lights around the houses and trees. Let a few bulbs shine through the windows or glow softly behind roofs. This is what makes your Christmas village centerpiece truly come alive.
Step 7: Final touches
Adjust the pieces until it feels right — slide a tree a little back, angle a deer, fluff the snow. When you’re happy with it, set the tray on your table and watch it transform the whole room.

Crafting Tips
- Keep your tallest pieces at the back for a balanced look.
- Mix matte, glossy, and glitter textures for extra dimension.
- Hide the battery pack behind a pinecone or house.
- Use a narrow tray if your table is small — the village will still look adorable and not overcrowded.
- Want a cleaner look? Stick to one color palette (like all white and gold).
Projects like this remind me why I love winter decorating so much — it’s simple, cozy, and lets you slow down for a minute to create something beautiful with your hands. This little village has been one of my favorite pieces this year, and I hope it inspires you to build your own version at home.

If you make one, I’d love to see it!
Frequently Asked Questions
If pieces feel wobbly, create a little “nest” of snow around the base.
Absolutely. Small evergreen clippings, cinnamon sticks, or natural pinecones look beautiful in this kind of winter table centerpiece.
Not at all. Wood gives a rustic vibe, metal feels more modern, and a ceramic tray looks clean and polished. As long as it’s long enough to hold your village, it will work.
Coffee tables, sideboards, mantels, kitchen islands — any flat surface can host a little DIY winter village scene.
Heck Yes! This project is fully re-usable. Just pack everything carefully after the season, and rebuild your cozy village next winter.
More Christmas Projects to Try
Loving this Winter Village Table Centerpiece tutorial? You might also love these other gorgeous Christmas project ideas too:


✂️ Tutorial

DIY Winter Village Table Centerpiece
Supplies
- Long wooden tray
- Faux snow the fluffier kind works beautifully
- Ceramic houses
- Ceramic or bottle brush trees
- Pinecones
- Mini ornaments optional but adorable
- Fairy lights
- Small decorative deer or figurines
Instructions
Step 1: Start with your wooden tray
- Use any long, narrow tray you already have. A wooden one gives a warm, rustic touch. Place it on your dining table or wherever you want your winter village centerpiece to live.
Step 2: Add a layer of faux snow
- Pour faux snow down the center of the tray. No need to make it perfect — a slightly uneven texture actually makes your snowy road look more natural.
Step 3: Place your ceramic houses and ceramic trees for height
- Start arranging your houses in a staggered layout so the village feels full and cozy. Leave some breathing room for trees and accents.
- Place your trees behind and between the houses to build dimension. This gives your DIY winter village that charming layered look from every angle.
Step 4: Add pinecones and little accents
- Tuck pinecones into the corners or beside the houses. Add deer or small figurines to bring personality to your village scene.
Step 5: Mix in small ornaments
- Scatter a few mini ornaments around the base — not too many, just enough to introduce soft color and shine.
Step 6: Weave fairy lights throughout
- Gently tuck a strand of fairy lights around the houses and trees. Let a few bulbs shine through the windows or glow softly behind roofs. This is what makes your Christmas village centerpiece truly come alive.
Step 7: Final touches
- Adjust the pieces until it feels right — slide a tree a little back, angle a deer, fluff the snow. When you’re happy with it, set the tray on your table and watch it transform the whole room.
Share and PIN ME!!!
Til’ next time…


FREE WORKBOOK
Keeping your Sweet Home Organized
Learn how to create intentional habits and simple routines to Keep Your Home Organized. Plus freebies, printables, exclusive content, and tips.
Disclaimer: By clicking on the “Yes” button above you are giving me your consent to collect and use your information according to the law and My Policy Privacy. Zero Spam I promise!