DIY Halloween Black Cat Felt Softie with Pattern and Video
This post may contain affiliate links. Please read our Disclosure Policy.
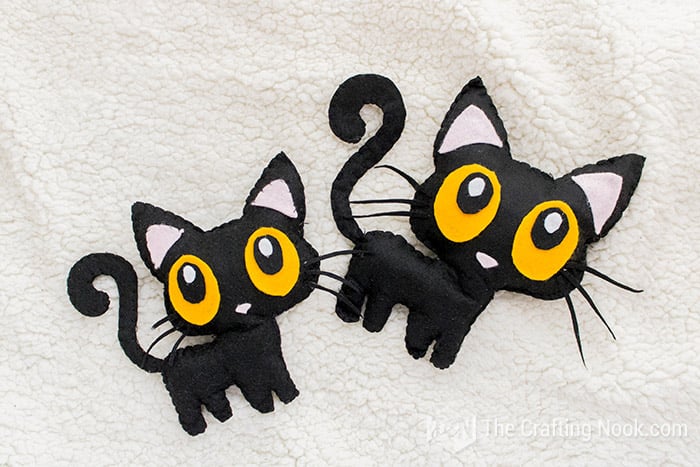
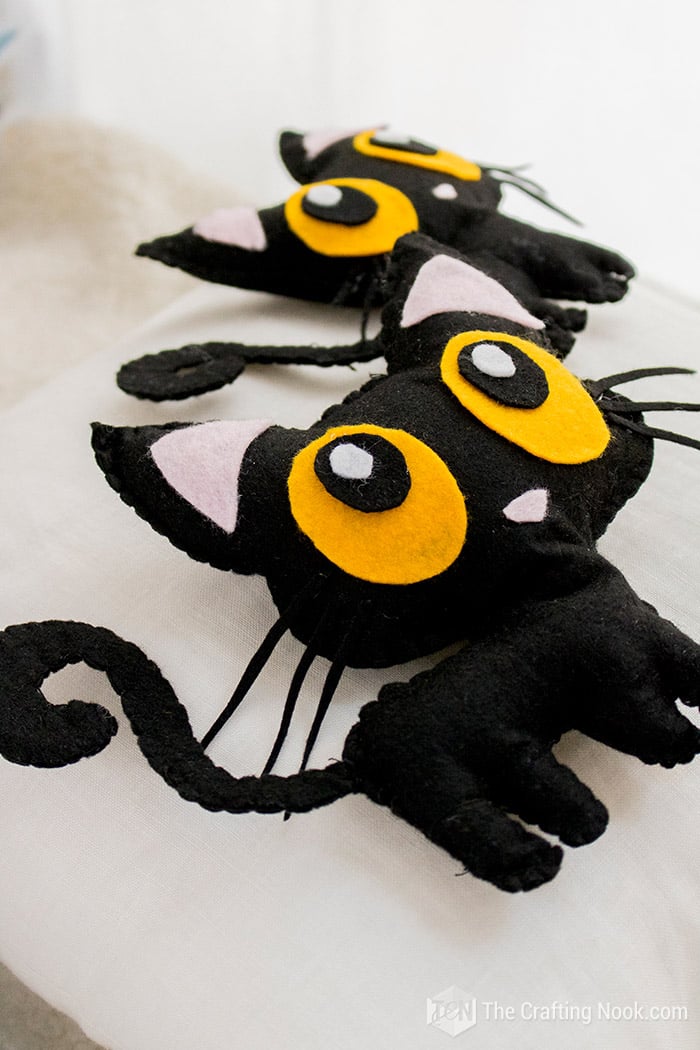
Meet Cleo and Cloe. A Free Halloween Black Cat Felt Softie Pattern to enjoy with kids. This a Perfect Beginner Sewing Project to teach your kids how to sew and have lots of fun together. Because Halloween does not always need to be scary how about this cute Halloween Black Cat Softie?

Table of Contents
What is Sew a Softie for Halloween
Sew a Softie for Halloween is an idea that was born in 2017 by Trixi from Sew a Softie. She noticed there wasn’t a huge range of free softie tutorials around so she decided to run a Sew a Softie for Halloween tutorial hop.
The hop starts on October 1st and lasts for 3 weeks. I can assure you; you’ll have tons of Halloween softie tutorials to keep you busy until way past Halloween. I’m just in love with all the ideas! Make sure you visit Trixi’s Instagram to see all the amazing ideas and cute softies from this Hop!
Why this project is so good
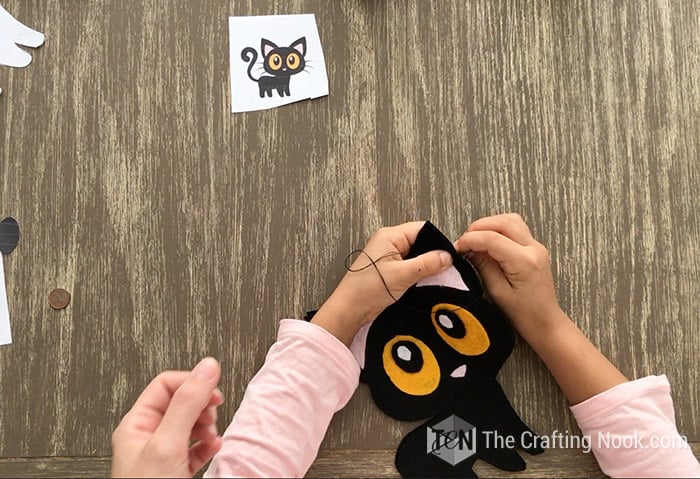
This project was the perfect opportunity to involve my girl. She’s always up for new things and I’m lucky enough that she always wants to get involved in things blog-related. This was her first time sewing and we had fun (and stressed moments LOL) while practicing stitches.
You see, my girl (and probably most kids) sometimes has a hard time accepting that learning new things doesn’t mean you do it right the first time. It needs practice and to hear constructive criticism like, trying smaller stitches or larger stitches. Or even her own mind saying I don’t do it right.

Thankfully, she listens and when we explained, things take time and practice and that when we correct her, not to make her feel bad, but to show her how to improve, she seemed to understand and accept it better to the point to finishing her practice subject in a blink.
Needless to say, she was so proud when she made her first stitches all by herself and even more proud when we finished her Kitty Cat.
How to Make Halloween Black Cat Felt Softies?
This project was fairly easy but as we got through, we find out it was a little tricky in some parts. We both being a bit perfectionist (bad combo) we had to find easier ways to make this cute Halloween Black Cat Softie. One way we found was to glue the details, like eyes, nose, and years instead of sewing them.
Other than that, it was fun.
Supplies:
- Halloween Black Cat Softie Pattern – you can snag it below.
- Black felt
- Yellow/orang{ish} felt
- White felt
- Light pink felt
- Wire (any gauge that you can easily bend)
- Black thread, needle (there are needles for kids)
- Synthetic filling.
Tools:
- Wire cutter (pliers)
- Hot glue gun or a quick-dry glue of your choice.
- Scissors.
Fabric Variation and Alternatives
Of course, imagination is the limit. You can:
- Mix and match patterned fabrics,
- Use cotton fabrics,
- Use fleece fabric,
- Or even plush toy fabric.

Instructions:
I made a video tutorial for you to make it easier to see the process, however, if you are more of a step-by-step photo kind of person, just scroll a bit and keep reading!
Step 1: Prep Work
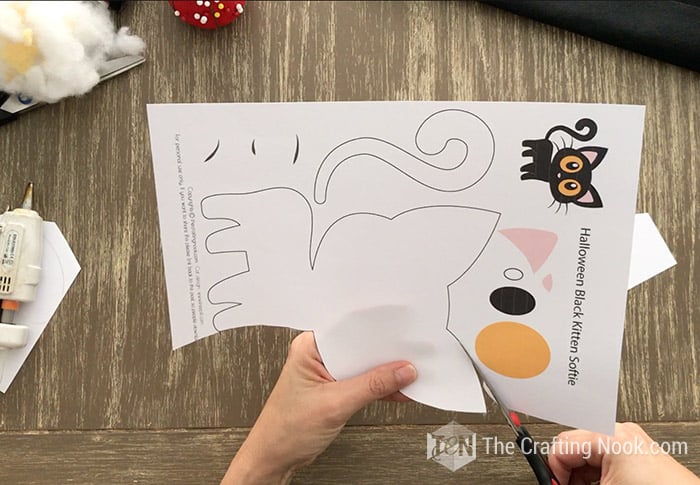
First, print your Black Cat Softie Pattern and cut each piece. You will find extra pieces (really small) that are optional like whiskers and show marks. I only used the essentials, body, eyes, tail, ears, hand nose.
Step 2: Cutting the pieces
Then lay your pattern pieces on the correct felt color and cut your pieces. I always cut on the fold so I get both pieces at once.

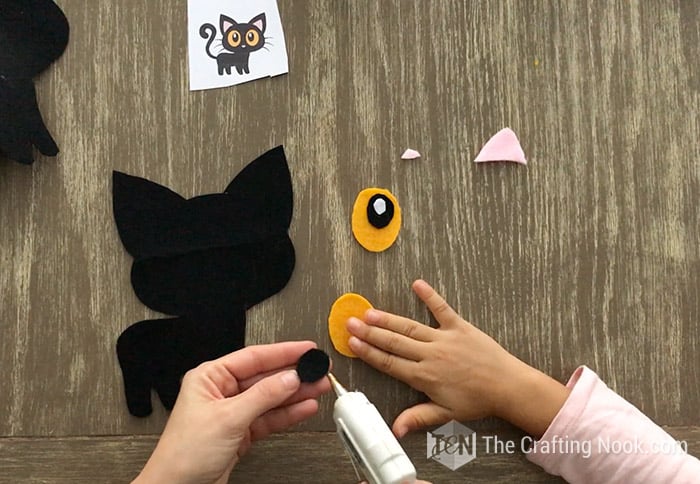
Step 3: Making the eyes
Assemble your kitty eyes gluing them with your hot glue or favorite glue.

The basic kitty is done by now so it’s time to sew.

Step 4: Sewing the Kitten
We found that since the head is the largest space, we started from the years to leave part of the cheeks and chest to stuff it.
Starting right at the base of the year, start stitching. We recommend blanket stitching for this project, although your favorite stitch type should work as well.
If you are not familiar with this type of stitches, check out Maggy’s tutorial from Red Ted Art. She’s amazing teaching hand-sewing stitches.
Sew along the edges until you get to the butt where the tails should be. Stop there.
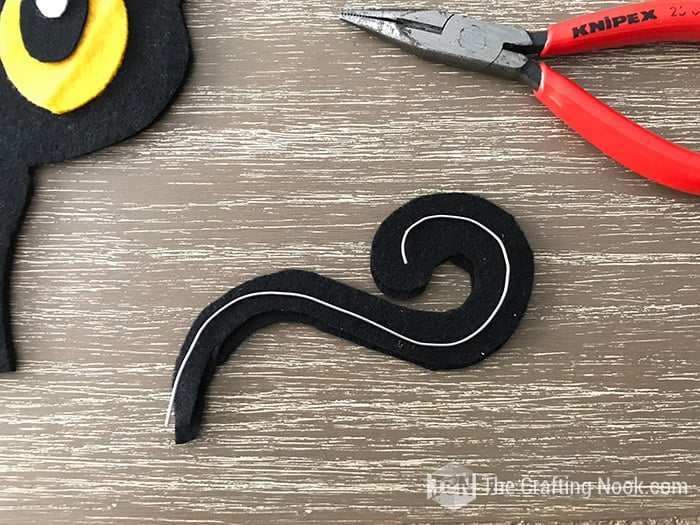
Step 5: Create the tail
Take your tail pieces and your wire. Shape the wire just like your tail.
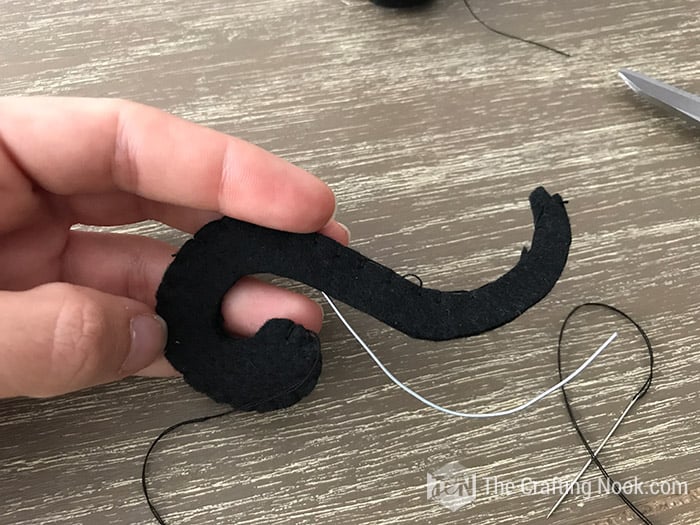
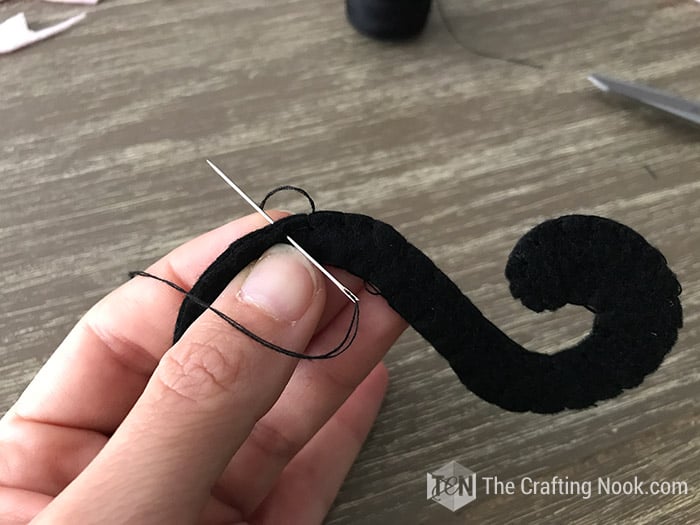
Then stitch along the outer edge until the rounded tip of the tail.

Insert the wire through the open side and stitch to enclose the wire inside.
Step 6: Attaching the tail to the black cat
Insert the tail between the two layers of felt, were you stopped sewing. Make sure at least 1/4 Inch gets inside so you can secure it well. Pin in place.
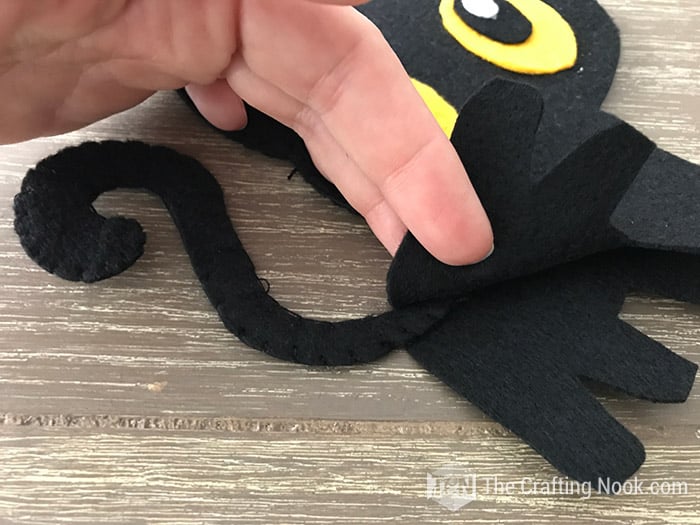

Stitch several times over the tail.
Then keep stitching along the edges all through the chest. Stop there.
Side NOTE: Depending on the size you choose; you might want to stuff the back legs as you stitch them.
Step 7: Stuffing the Softie
Stuff your kitty as you like. Add more stuffing if you want it stiffer or a bit less if you want it fluffier.
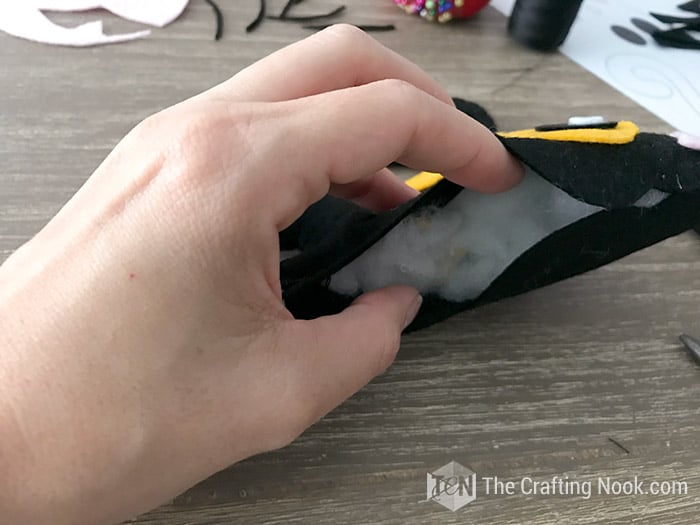
Stitch it to close it using the same blanket stitch.

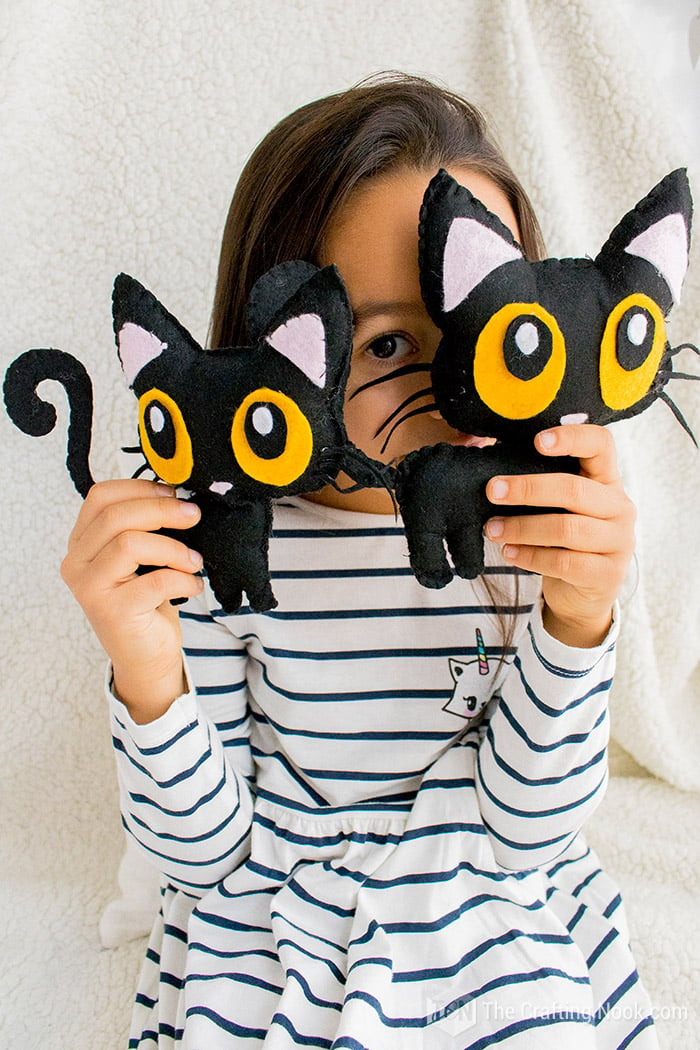
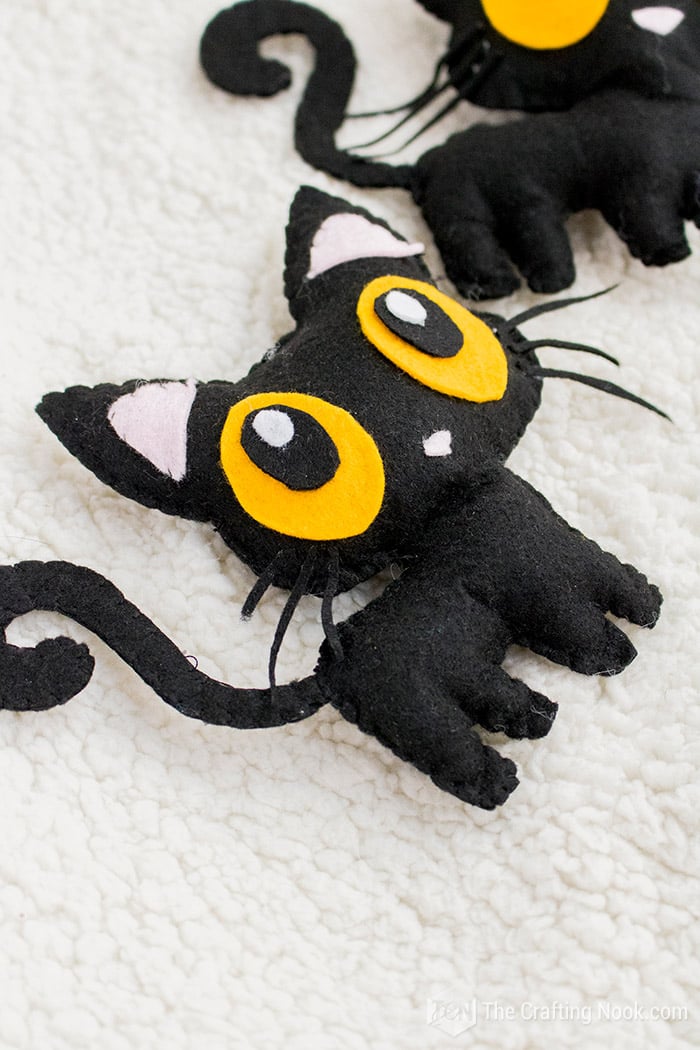
There you go, You got yourself a super cute Halloween Black Cat Softie!!!

Ours is called Cleo Large one, Cloe, the small one.
These are so cute and fun to make.
My girl fell in love with them, even though, one was supposed to be mine, she just can’t separate them LOL.
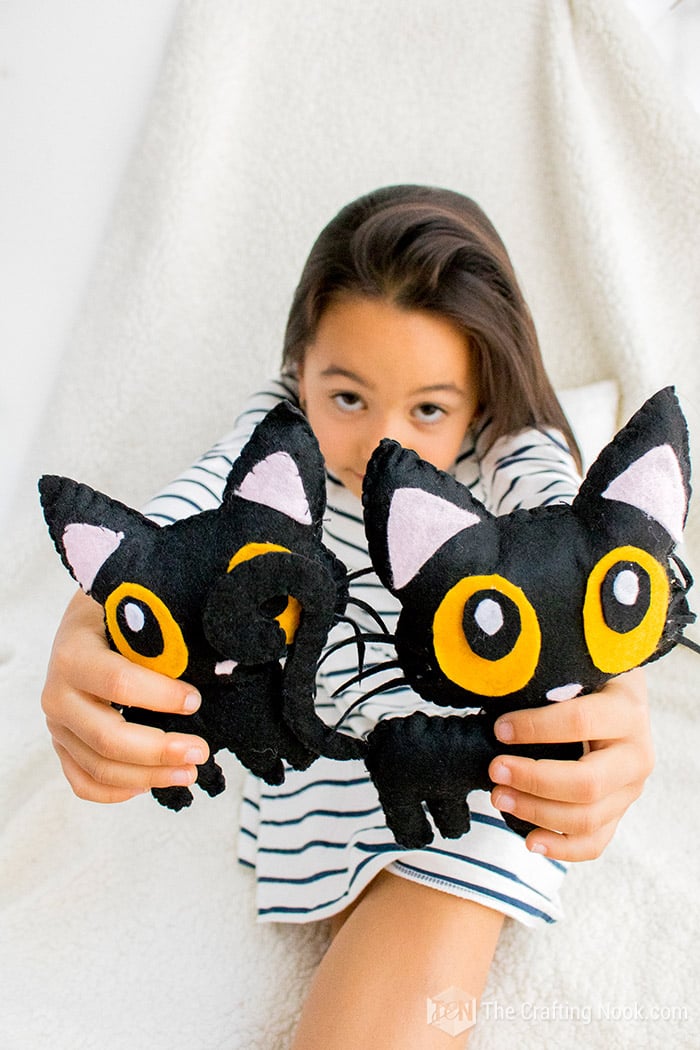


So, what do you think? Aren’t you as in love with them as we are?

Hope you enjoyed this cute project and that you make your own Halloween Black Cat Softie. If you do Tag me on Facebook or Instagram @thecraftingnook so I can see it.
Frequently Asked Questions
Of course, imagination is the limit. You can mix and match patterned fabrics, use cotton fabrics, fleece fabric, or even plush toy fabric.
Yes, they can indeed. Especially when working with felt, this type of project is the best to teach kids to sew and improve their skills.
No, you don’t. Actually, the best softies are hand-sewn. Hand sewing is a great technique to improve motor skills, for both kids and adults. But if you have a sewing machine, you can use it, of course.
More Halloween Sewing Projects to Try
If you like this Halloween Black Cat Softie tutorial you might also love these other Halloween projects too:


✂️ Tutorial

DIY Halloween Black Cat Softie with Pattern
Tools
- Wire cutter (pliers)
- Hot glue gun or a quick-dry glue of your choice.
- scissors
Supplies
- Halloween Black Cat Softie Pattern
- Black felt
- Yellow/orang{ish} felt
- White felt
- Light pink felt
- Wire any gauge that you can easily bend
- Black thread needle (there are needles for kids)
- Synthetic filling.
Instructions
STEP 1: PREP WORK
- First, print your Black Cat Softie Pattern and cut each piece. You will find extra pieces (really small) that are optional like whiskers and show marks. I only used the essentials, body, eyes, tail, ears, hand nose.
STEP 2: CUTTING THE PIECES
- Then lay your pattern pieces on the correct felt color and cut your pieces. I always cut on the fold so I get both pieces at once.
STEP 3: MAKING THE EYES
- Assemble your kitty eyes gluing them with your hot glue or favorite glue.
- The basic kitty is done by now so it’s time to sew.
STEP 4: SEWING THE KITTEN
- We found that since the head is the largest space, we started from the years to leave part of the cheeks and chest to stuff it.
- Starting right at the base of the year, start stitching. We recommend blanket stitching for this project, although your favorite stitch type should work as well.
- If you are not familiar with this type of stitches, check out Maggy’s tutorial from Red Ted Art. She’s amazing teaching hand-sewing stitches.
- Sew along the edges until you get to the butt where the tails should be. Stop there.
STEP 5: CREATE THE TAIL
- Take your tail pieces and your wire. Shape the wire just like your tail.
- Then stitch along the outer edge until the rounded tip of the tail.
- Insert the wire through the open side and stitch to enclose the wire inside.
STEP 6: ATTACHING THE TAIL TO THE BLACK CAT
- Insert the tail between the two layers of felt, were you stopped sewing.
- Make sure at least 1/4 Inch gets inside so you can secure it well. Pin in place.
- Stitch several times over the tail.
- Then keep stitching along the edges all through the chest. Stop there.
- Side NOTE: Depending on the size you choose, you might want to stuff the back legs as you stitch them.
STEP 7: STUFFING THE SOFTIE
- Stuff your kitty as you like. Add more stuffing if you want it stiffer or a bit less if you want it fluffier.
- Stitch it to close it using the same blanket stitch.
- There you go, You got yourself a super cute Halloween Black Cat Softie!!!
If you want to see what the other ladies have done, check these out!
1. A Free Softie Spider Pattern by Coloured Buttons
2. Halloween Felt Pencil Toppers Tutorial by Molly and Mama
3. Ghost Puppets by The Craft Train
4. sew a softie ghost (and ghost animals) by Wild Olive
5. Halloween Sleeping Masks by Pysselbolaget
6. Felt Halloween Ornaments Set 3 Felt with Love Designs
7. Sew a Softie gets SPOOKY! by The Crafting Fiend
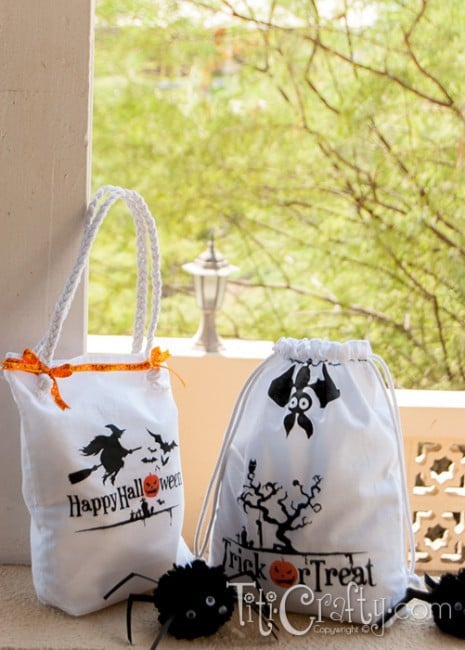
8. Halloween Sew a Softie – Trick or Treat Bags by Sum of their Stories
9. Mini Skeleton Softie {Tutorial Free Pattern} by Felt with Love Designs
10. How to Sew a Pumpkin Kitty Softie by Creative Creatives
11. Sugar Skull Softie by Sewing School
12. Felt Spider Softie (tutorial free pattern) by Make Film Play
13. Pumpkin the Frog Prince by Happiness @ tnr4
14. Bat Cat Halloween Sewing Pattern by Miss Daisy
15. Martin Monster by Heather’s Sewing and Stitching Story
Enjoyed this Halloween Black Cat Softie Tutorial? Don’t forget to share with your friends!

Til’ next time…


FREE WORKBOOK
Keeping your Sweet Home Organized
Learn how to create intentional habits and simple routines to Keep Your Home Organized. Plus freebies, printables, exclusive content, and tips.
Disclaimer: By clicking on the “Yes” button above you are giving me your consent to collect and use your information according to the law and My Policy Privacy. Zero Spam I promise!
