How to Make a Pillowcase in 20 Minutes or Less
This post may contain affiliate links. Please read our Disclosure Policy.
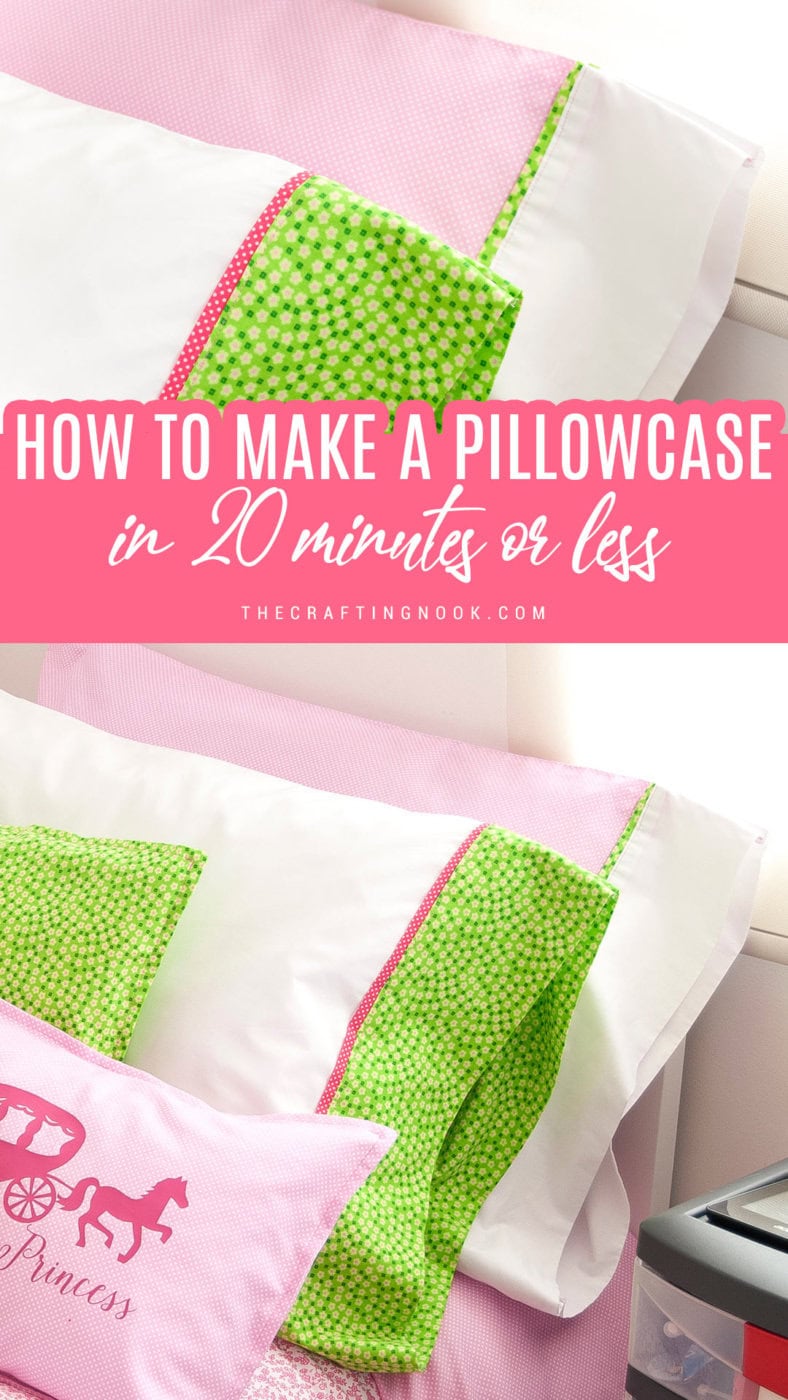
Learn how to make a pillowcase in 20 minutes or less! Easy, fun tutorial with simple steps and playful fabric ideas to customize your style!
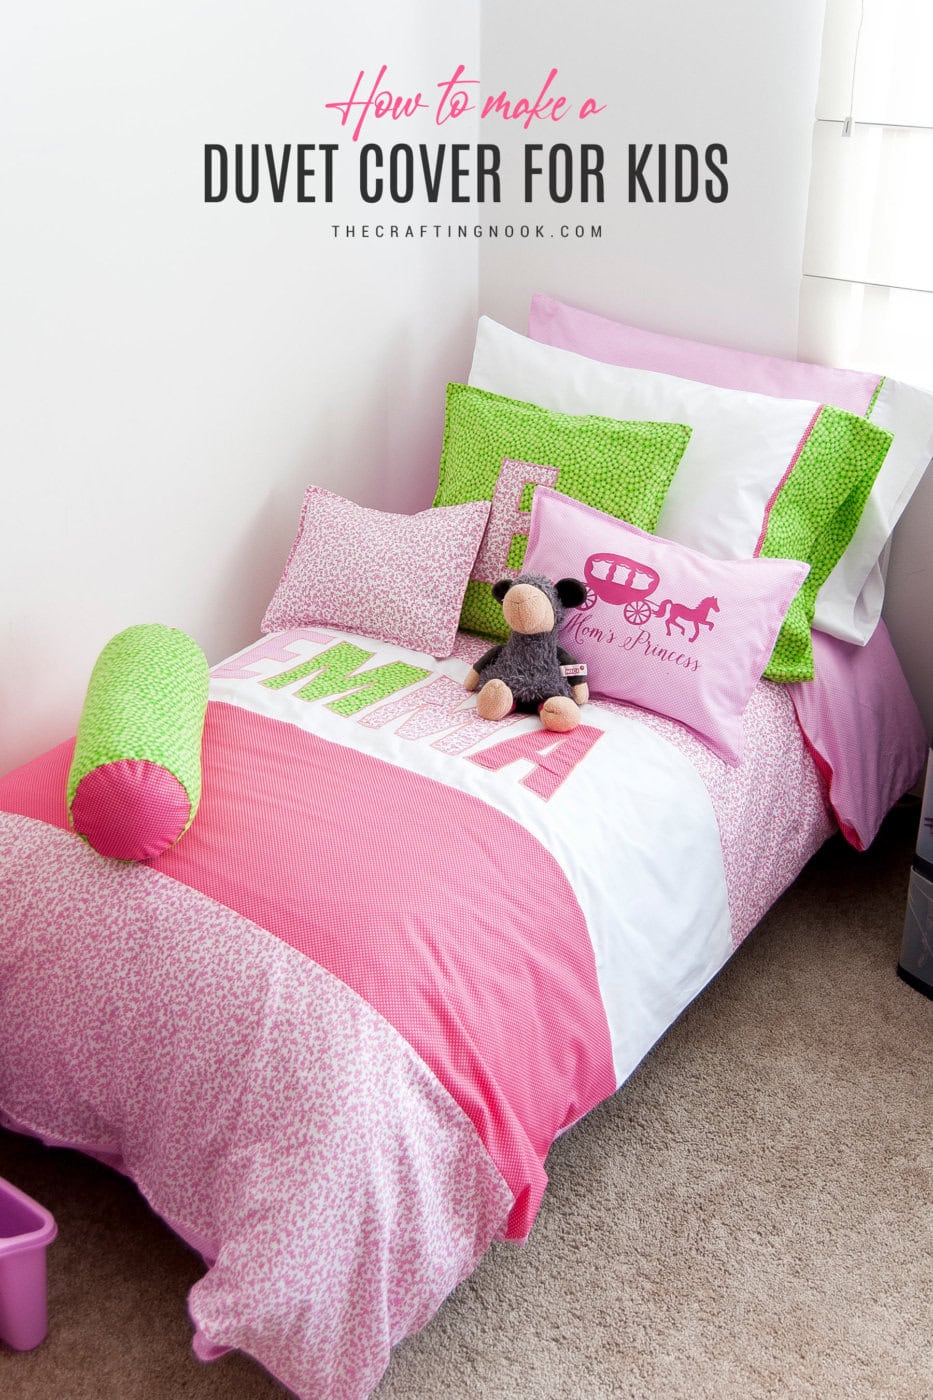
After making my daughter’s duvet cover, I had enough fabric left to make many other fun stuff for her. The first thing that came to mind was pillowcases.
Since the duvet cover was all mixing and matching fabrics, I decided to do the same with the pillowcases.
I ended up making a lot more than pillowcases, I ended up making throw pillow coveres for all her smaller pillows but those might be a tutorial for another time.
This easy project is perfect for beginners. If you have been thinking about starting sewing, this project can be a great place to start, and my 10-minute envelope pillowcase too.
Table of Contents
How to Make a Standard Size Pillowcase
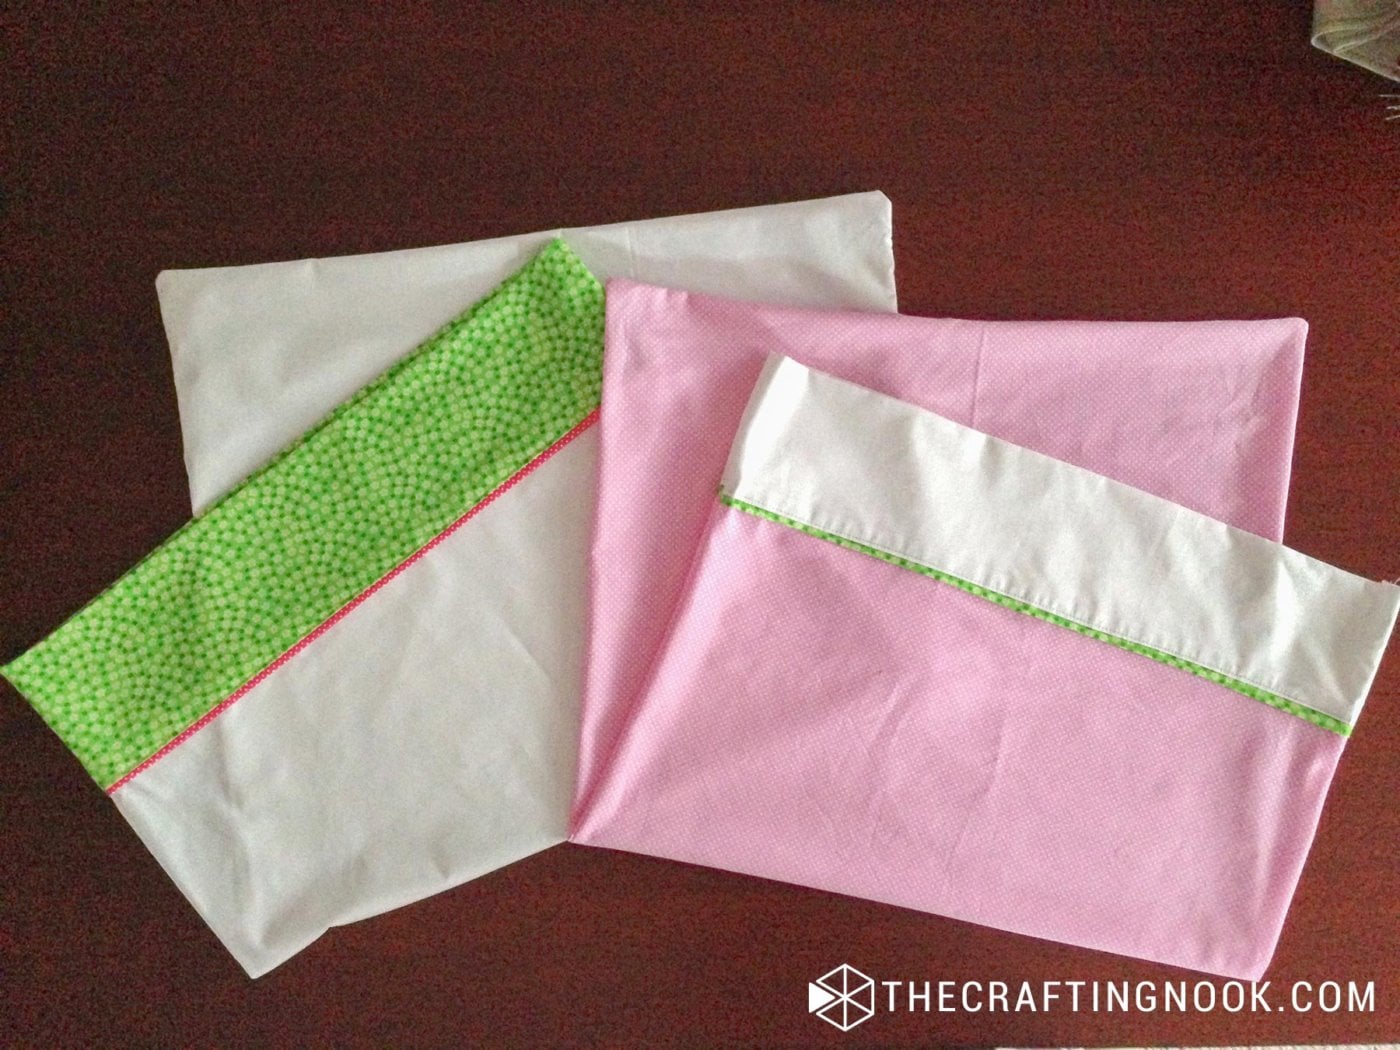
I made 2 standard-size pillowcases with different color combinations but for the sake of this tutorial, I’ll explain one and the process is exactly the same for any other color combo.
This easy pillowcase tutorial makes 20” x 30” standard pillowcases. It will fit standard-size pillows and some queen-size pillows too.
Supplies:
- 2 Pieces of Fabric A: rectangles of 52 cm X 65 cm (21 x 25 Inches.)
- 2 Pieces of Fabric B: 2 strips of 52 cm X 22 cm (21 X 9 Inches)
- 2 Pieces of Fabric C: 2 strips of 52 cm X 5 cm (21 X 2 Inches)
- Color matching thread
- Fabric Marker
Tools:
- Sewing Machine
- Sharp Fabric Scissors or rotary cutter
- Pins
- Measurement tape
- Ruler
Instructions:
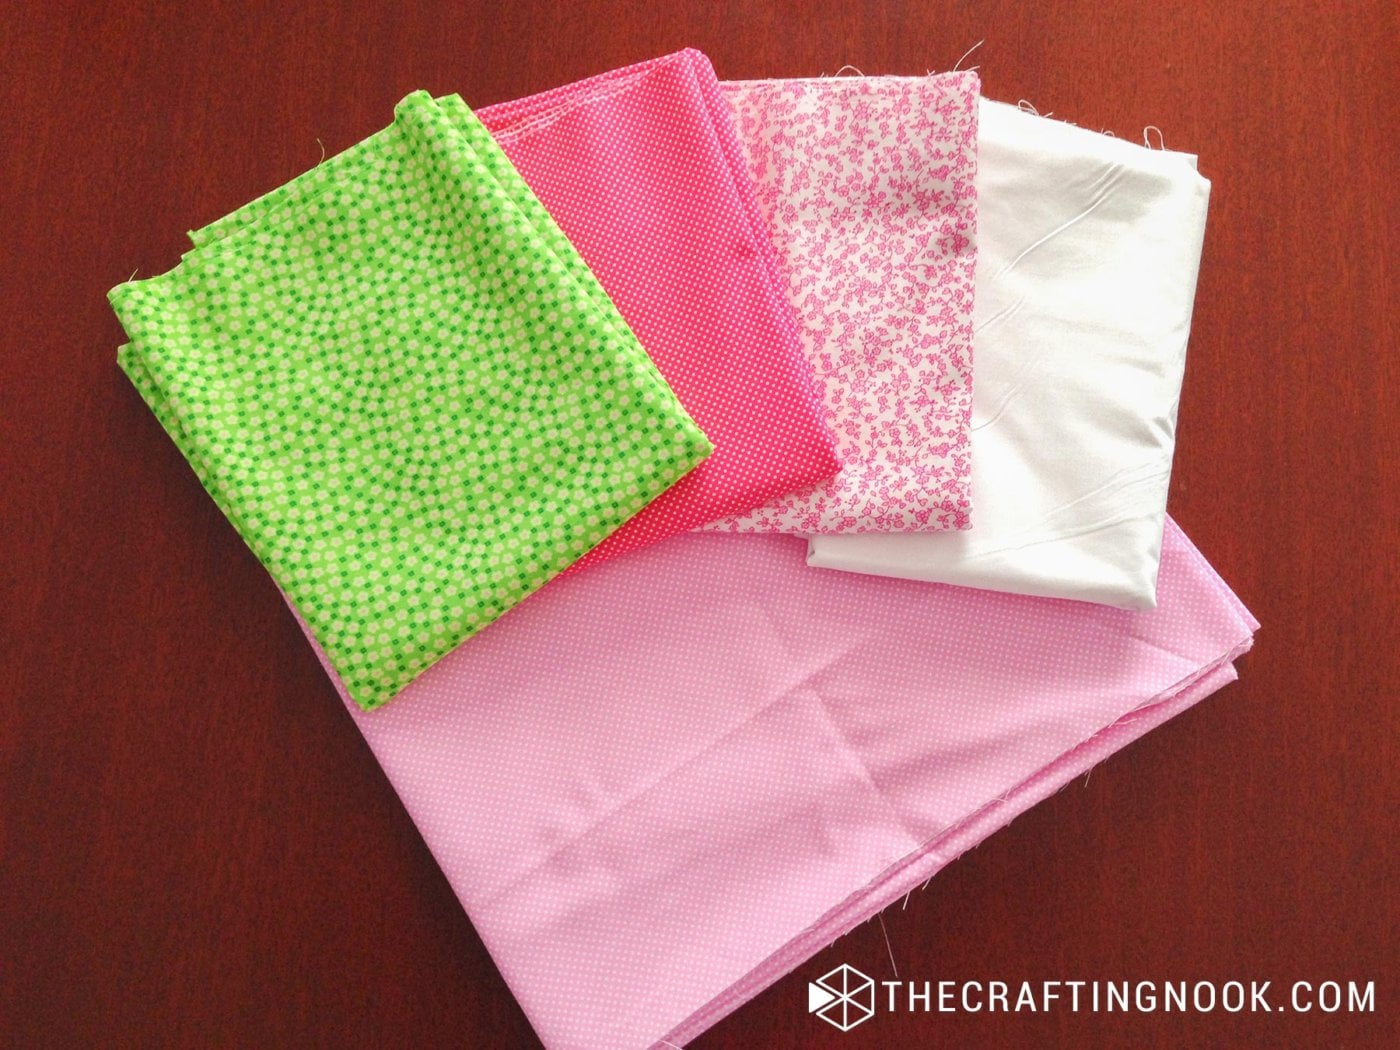
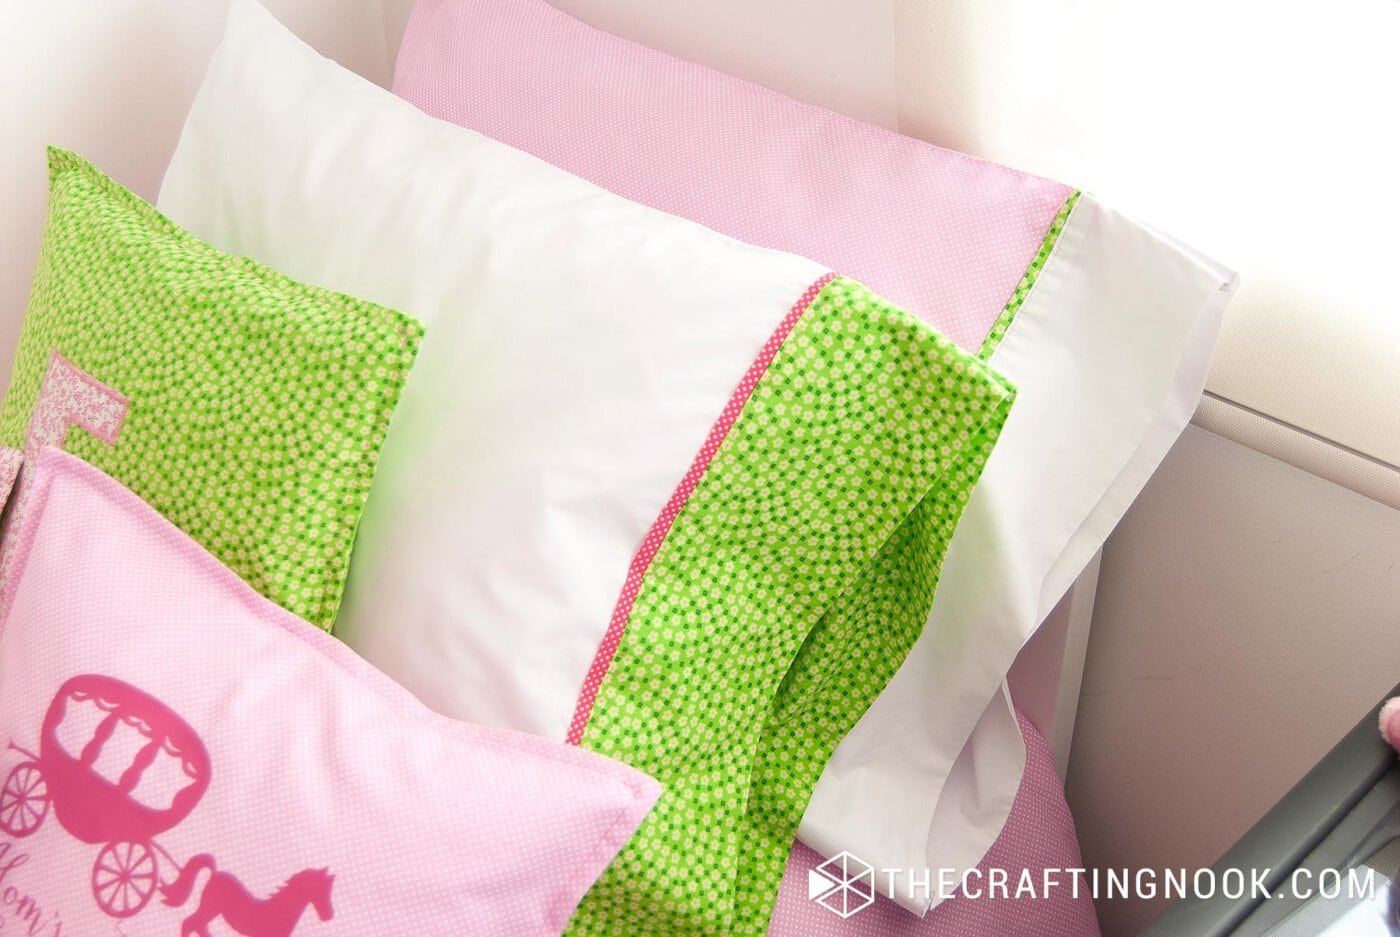
Since these pillows were made to match my girl’s Duvet Cover I made her, I used these 2 combinations: A plain white base with decorative patterned fabrics on the edges and a patterned base with white and patterned fabrics on the edges.
The good thing is that because of the matching fabric method these pillowcases take less than a yard of fabric.
Prep Work
1. First, cut all your fabric pieces.
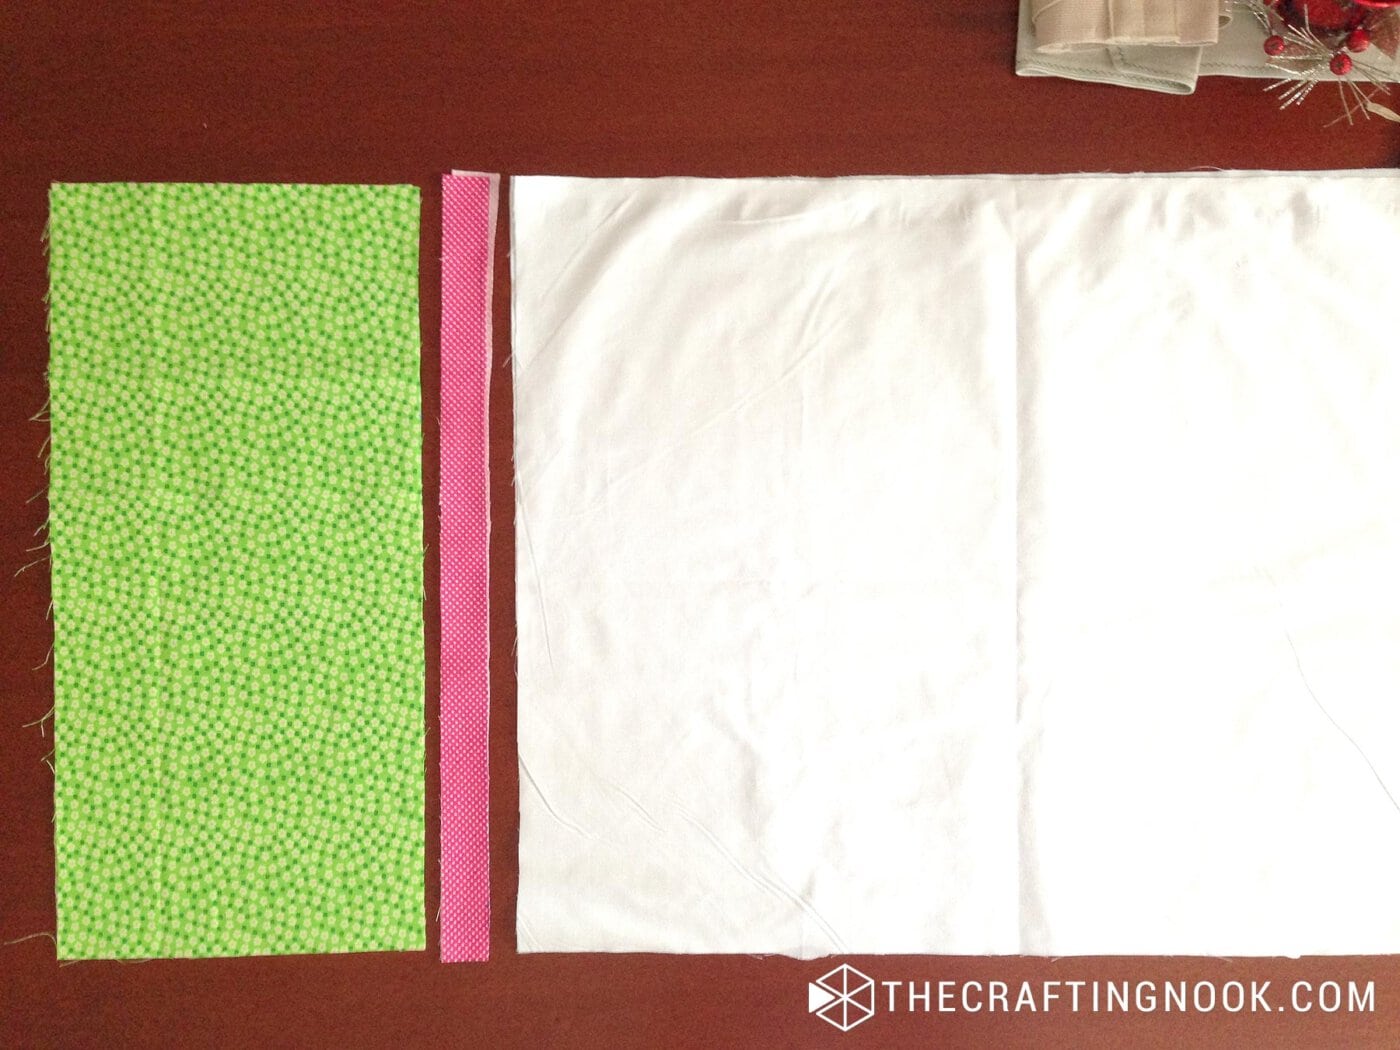
2. You will have 6 pieces in total. The way your pieces would work is a white base, a thin strip, and a thicker piece.
3. Then press all your pieces for easier handling.
4. Next, fold in half lengthwise both fabric B pieces wrong sides together – 52 cm X 5 cm (21 X 2 Inches). Press and set aside.
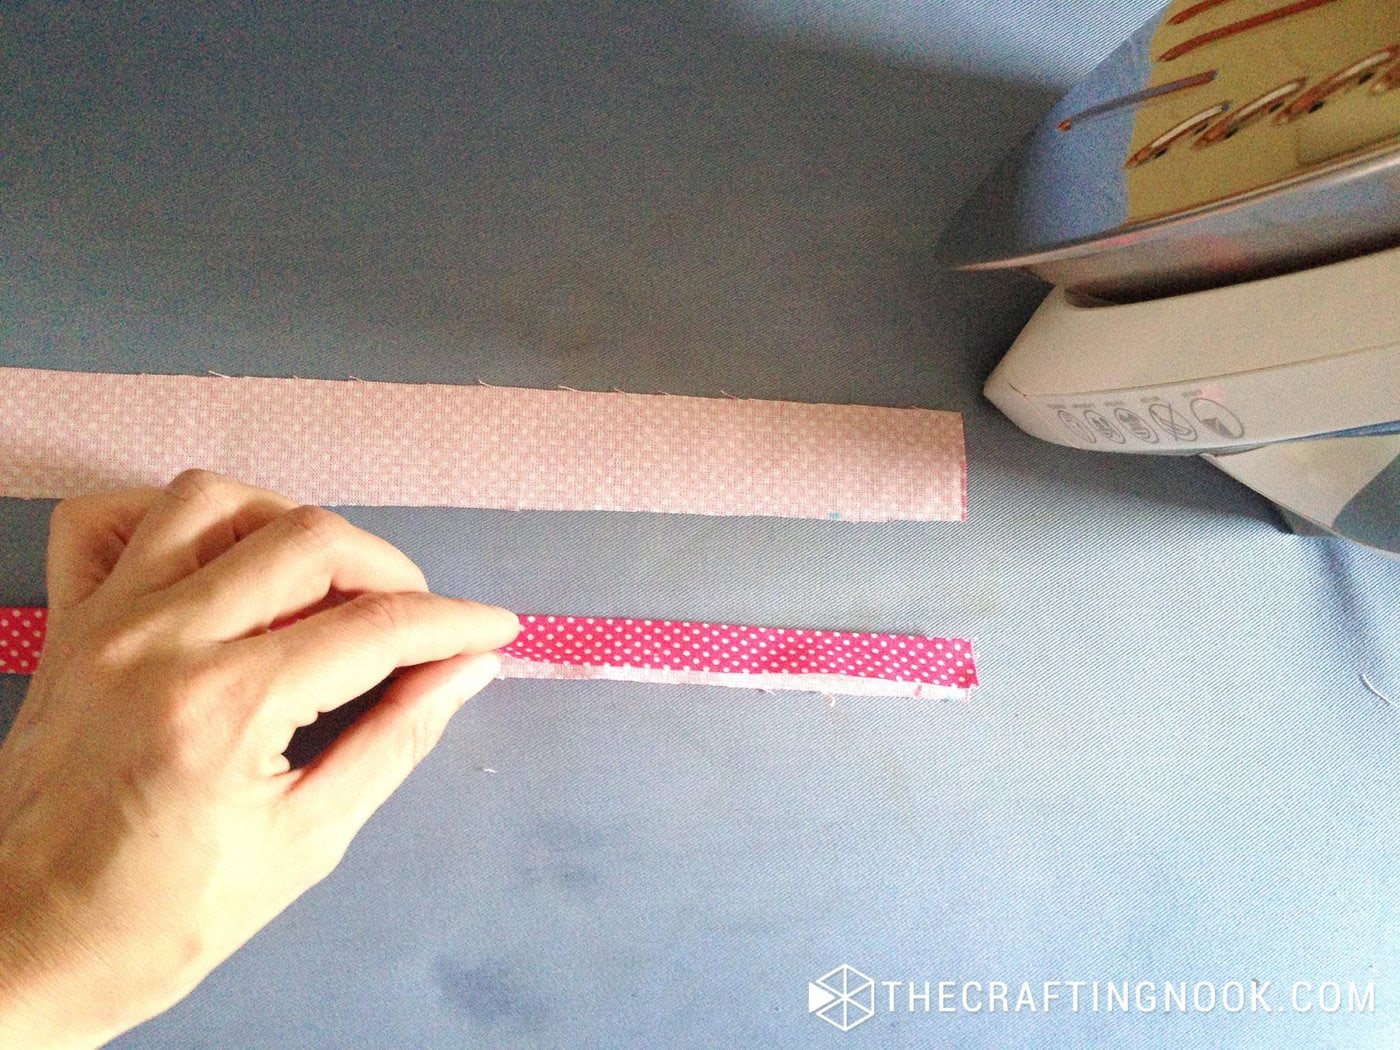
5. Fold in half lengthwise both fabric B pieces wrong sides together – 52 cm X 22 cm (21 X 9 Inches). Press.
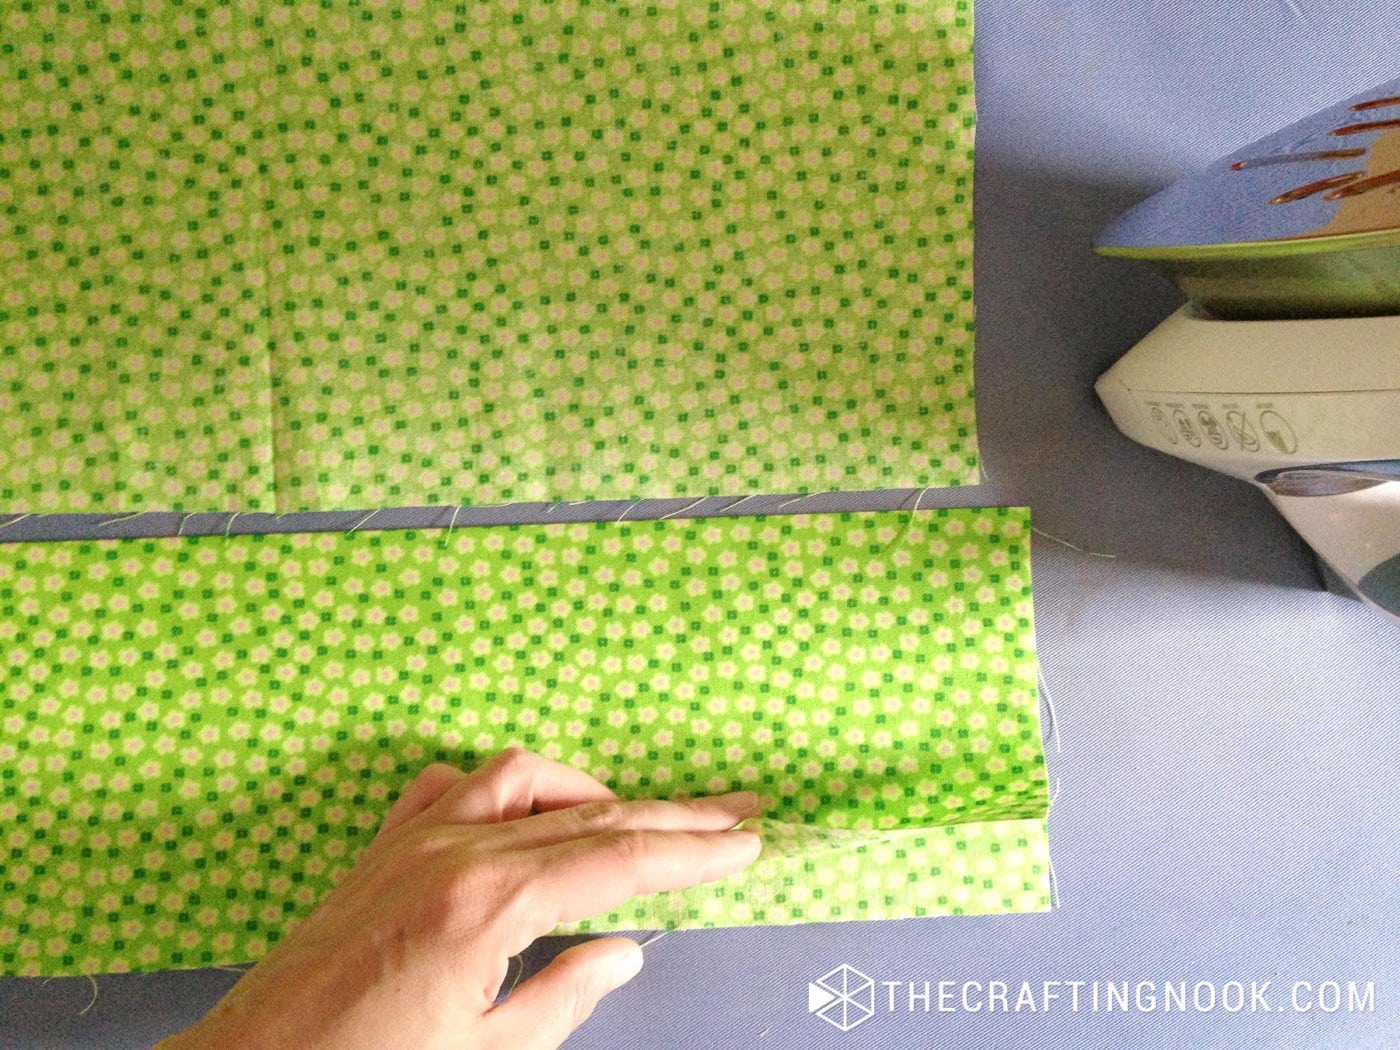
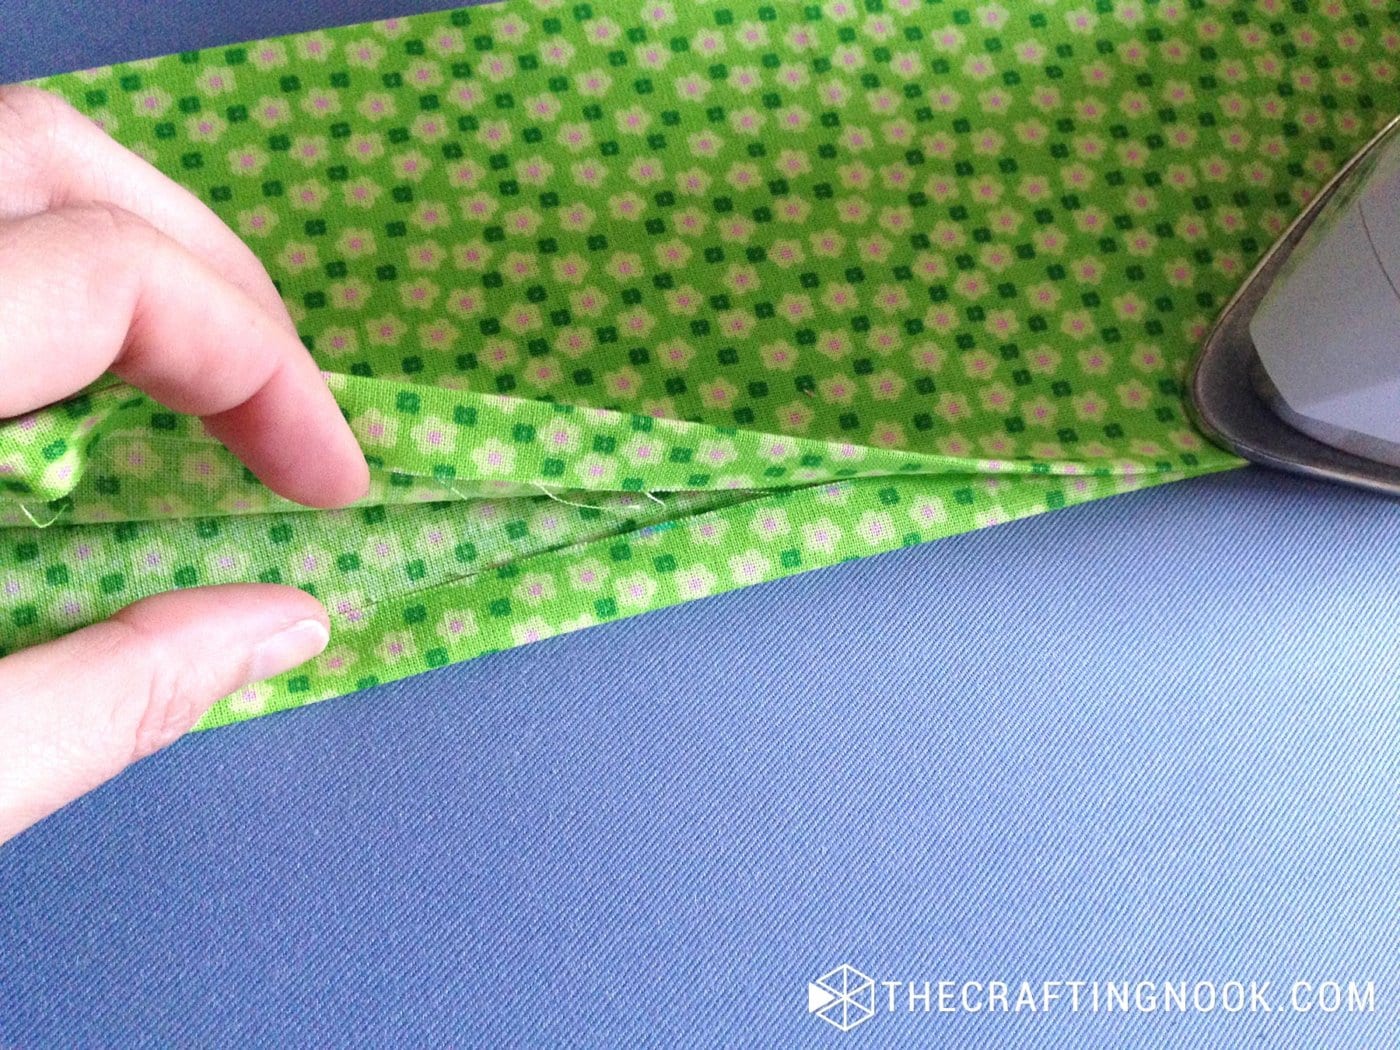
6. Fold inwards the edges of fabric B to make a hem – about 1cm (1/4 inch).
Assembling the Pillowcase
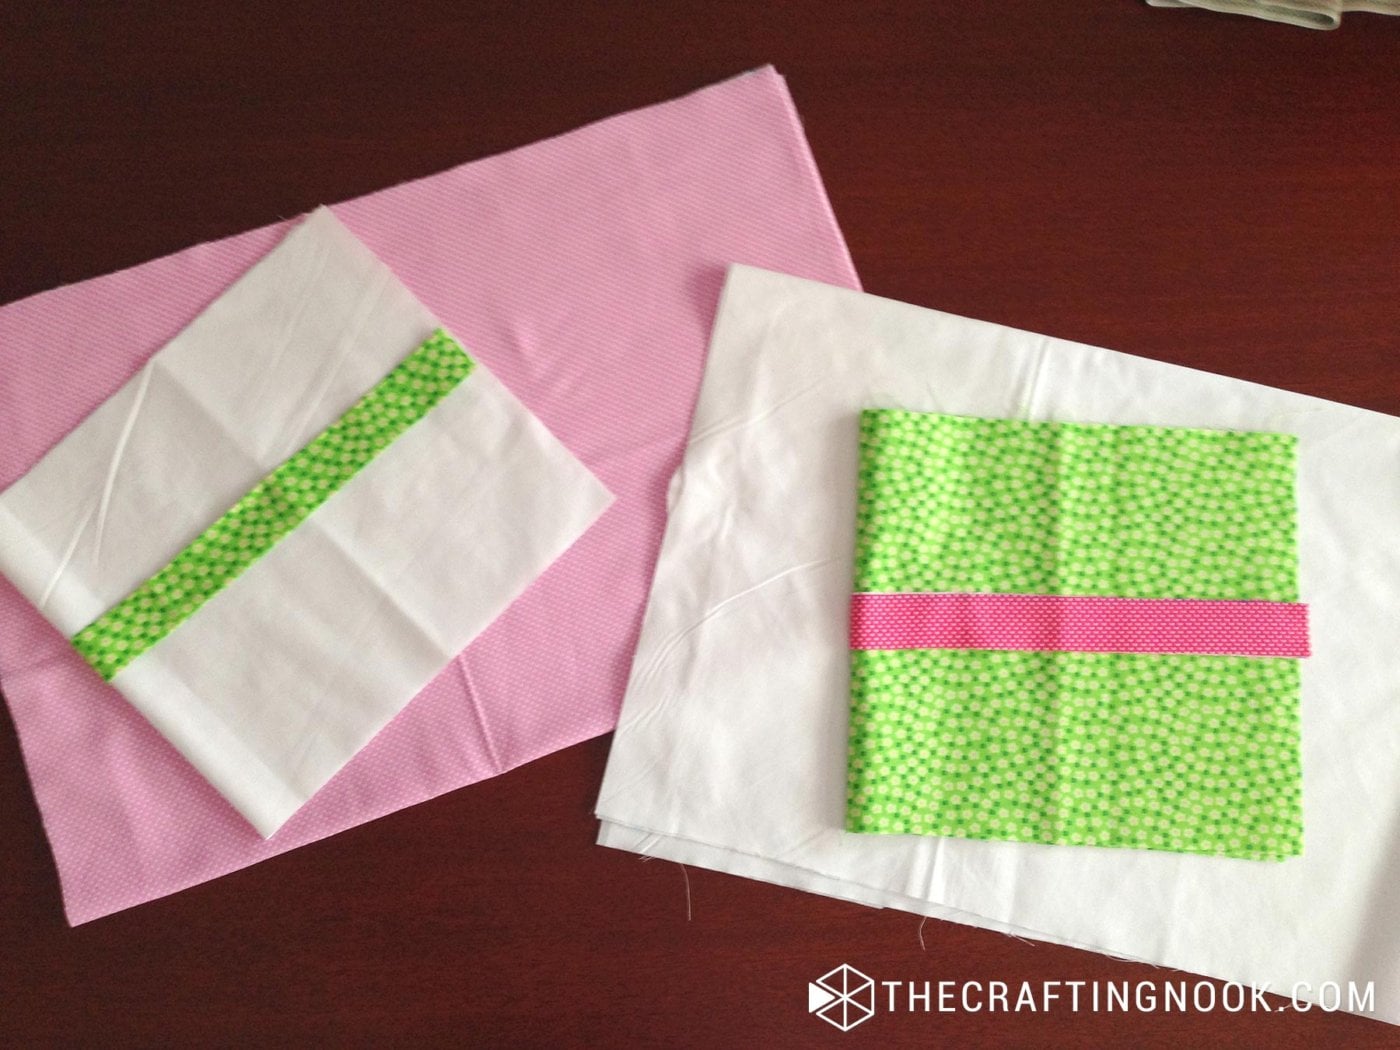
7. Then, take the main fabric A and place fabric C on top aligning close to the raw edge and pin.

8. Then Insert fabric A and C between both folded hems of fabric B.
9. For this match fabric A edge of fabric B hem edges.
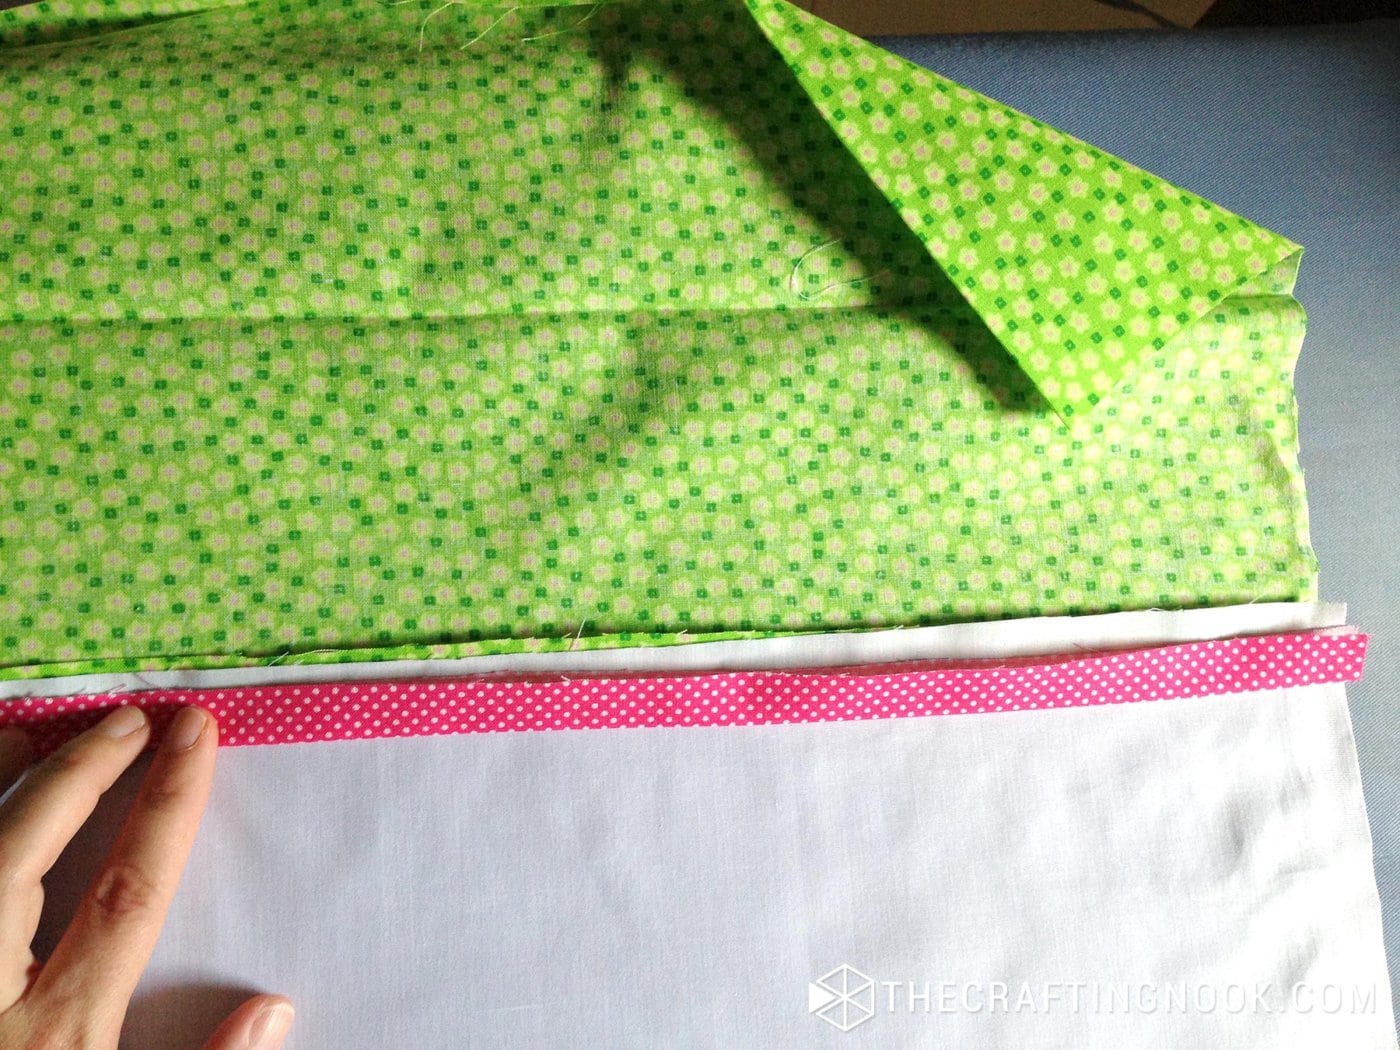
10. Then lay the other edge over the fabric C leaving a little more than 5 mm.
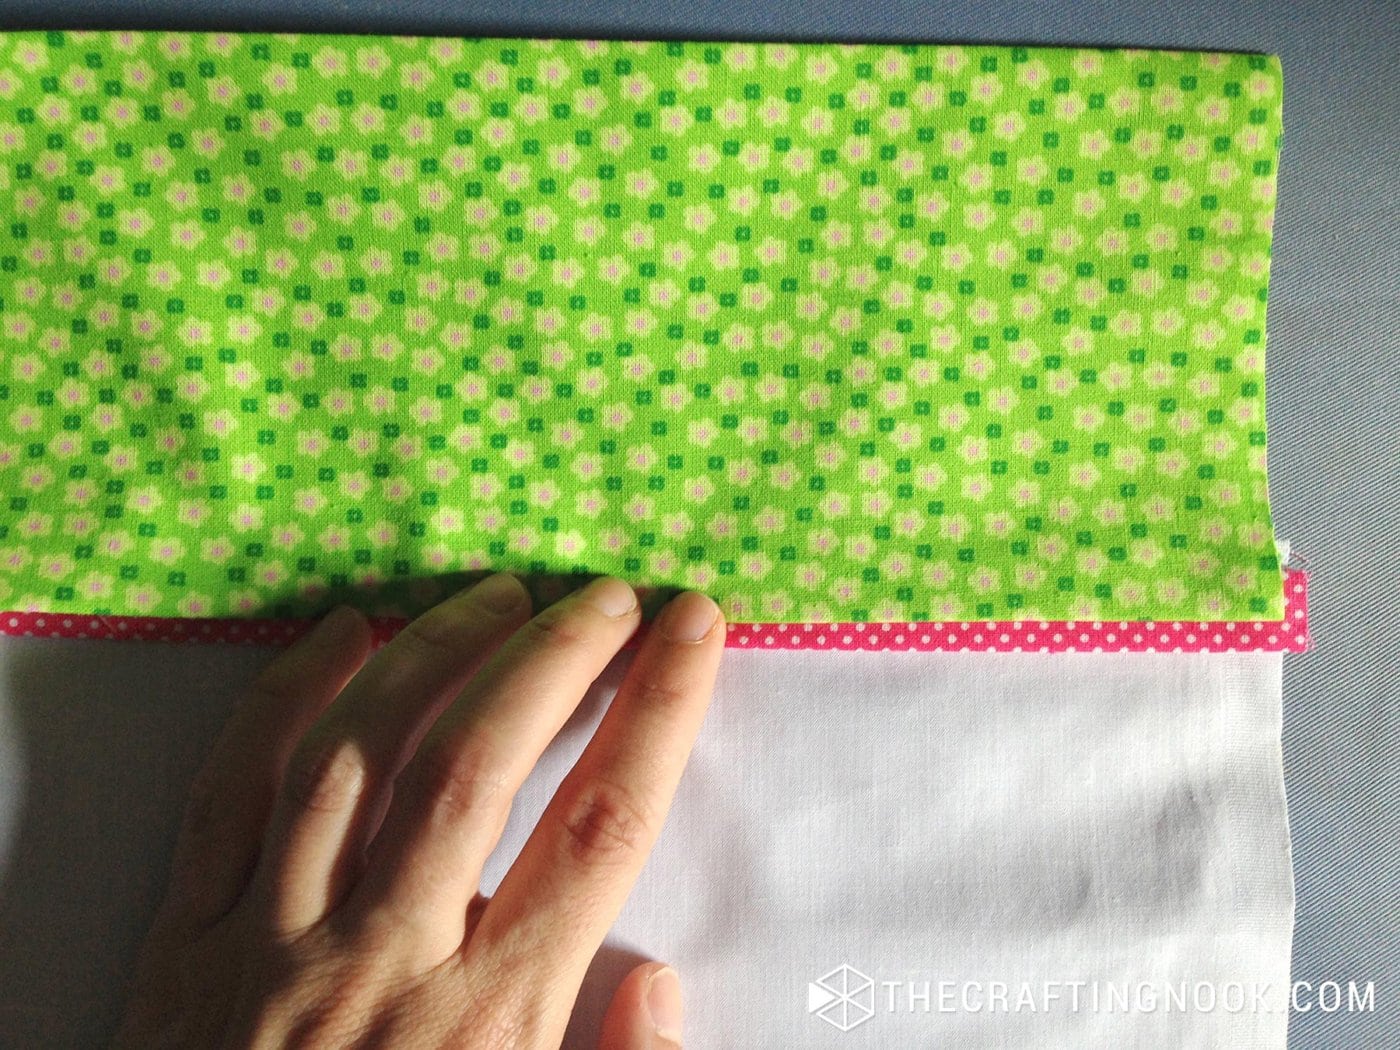
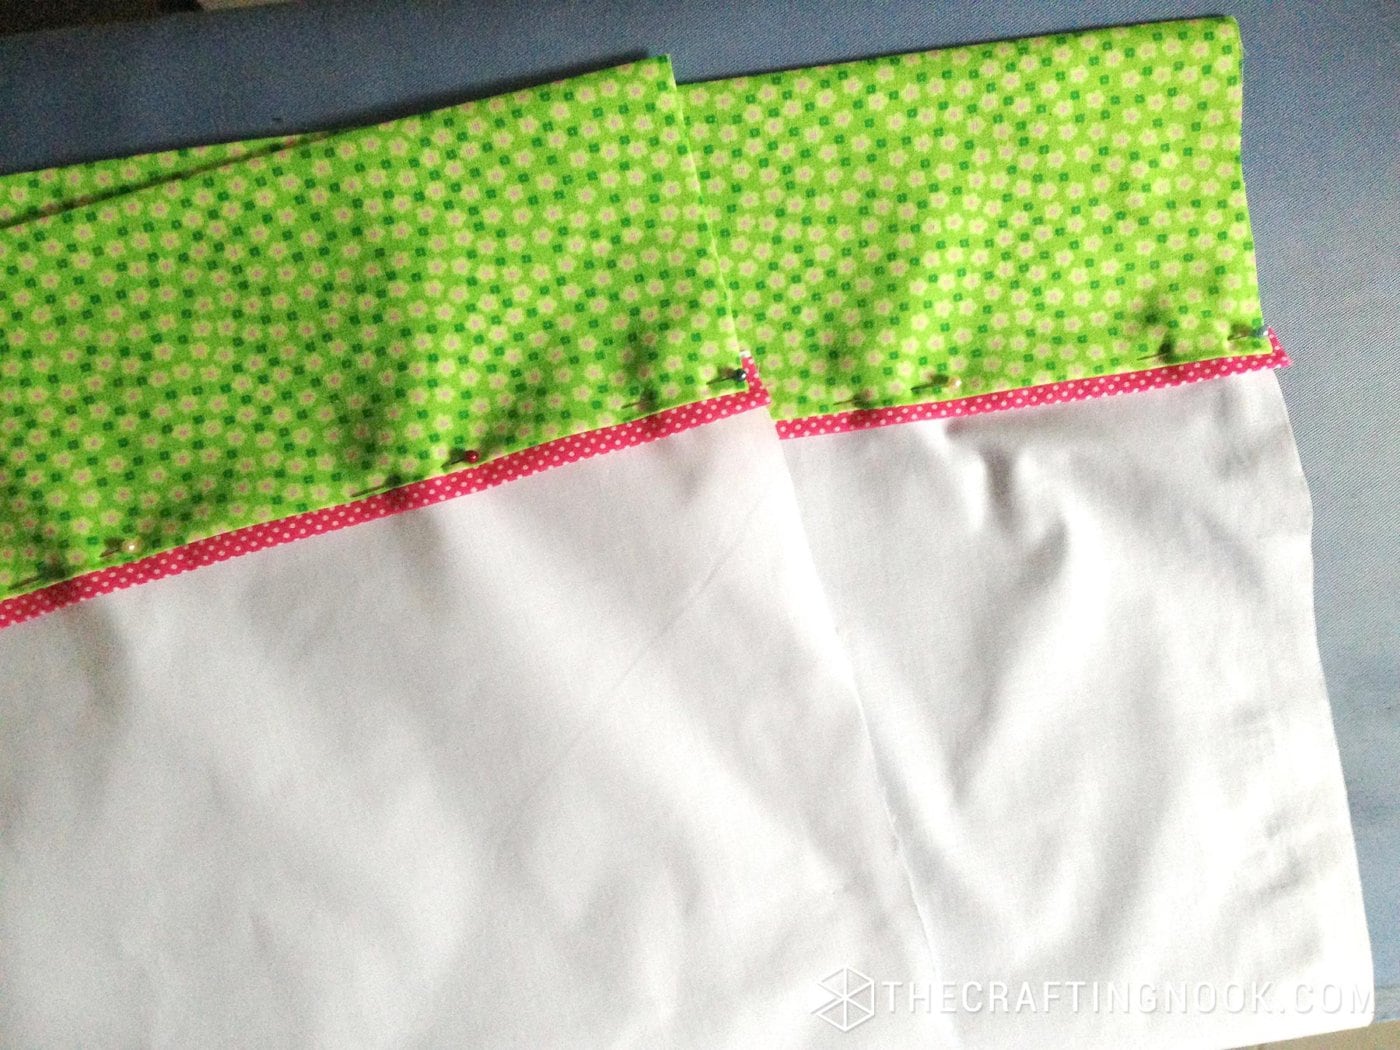
11. Pin in place to keep layers of fabric together. Make sure both sides are aligned and pinned correctly. Repeat with the pieces of the other panel.
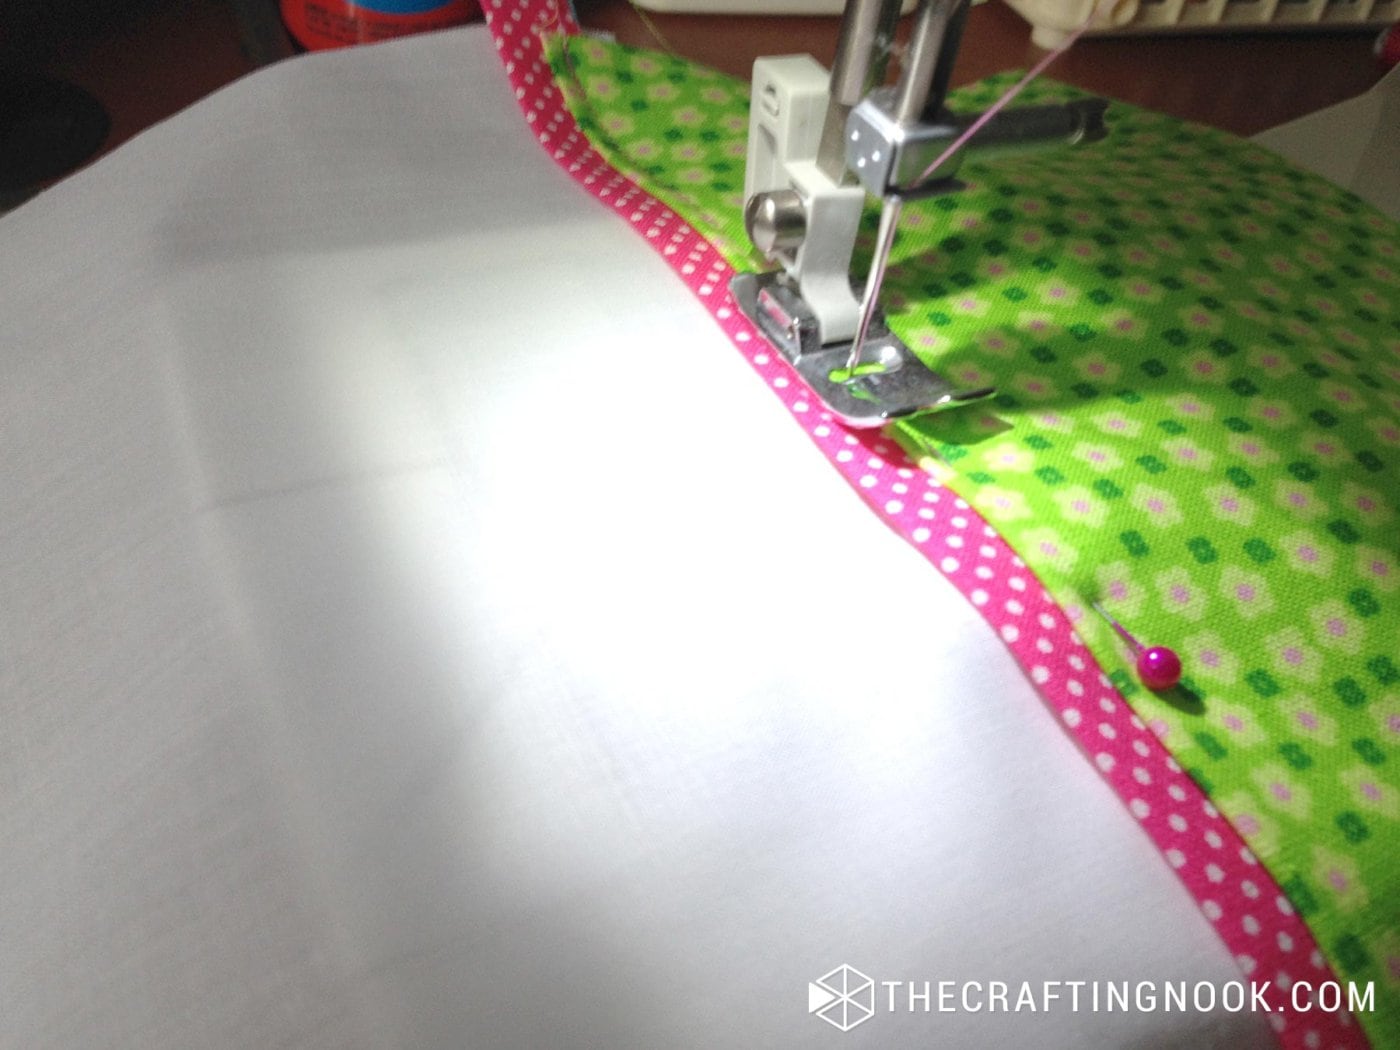
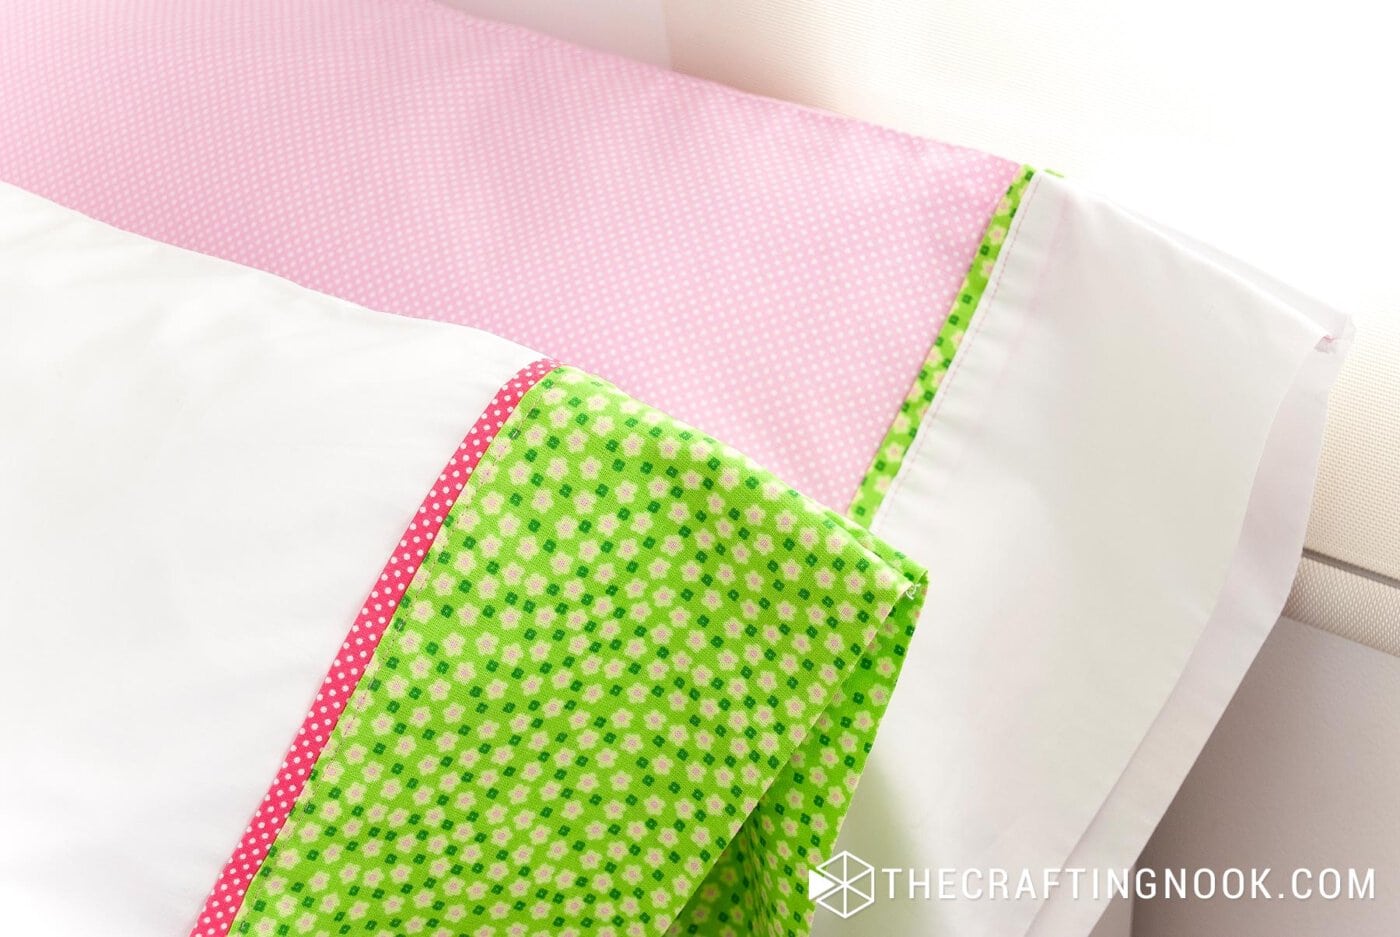
12. Stitch along fabric B close to the edge on both panels.
13. Then put both panels with right sides together (the one with fabric C) aligning all the edges, stitch all 3 sides of the pillow pieces leaving the cuff open.
14. Serge or zigzag the edges.
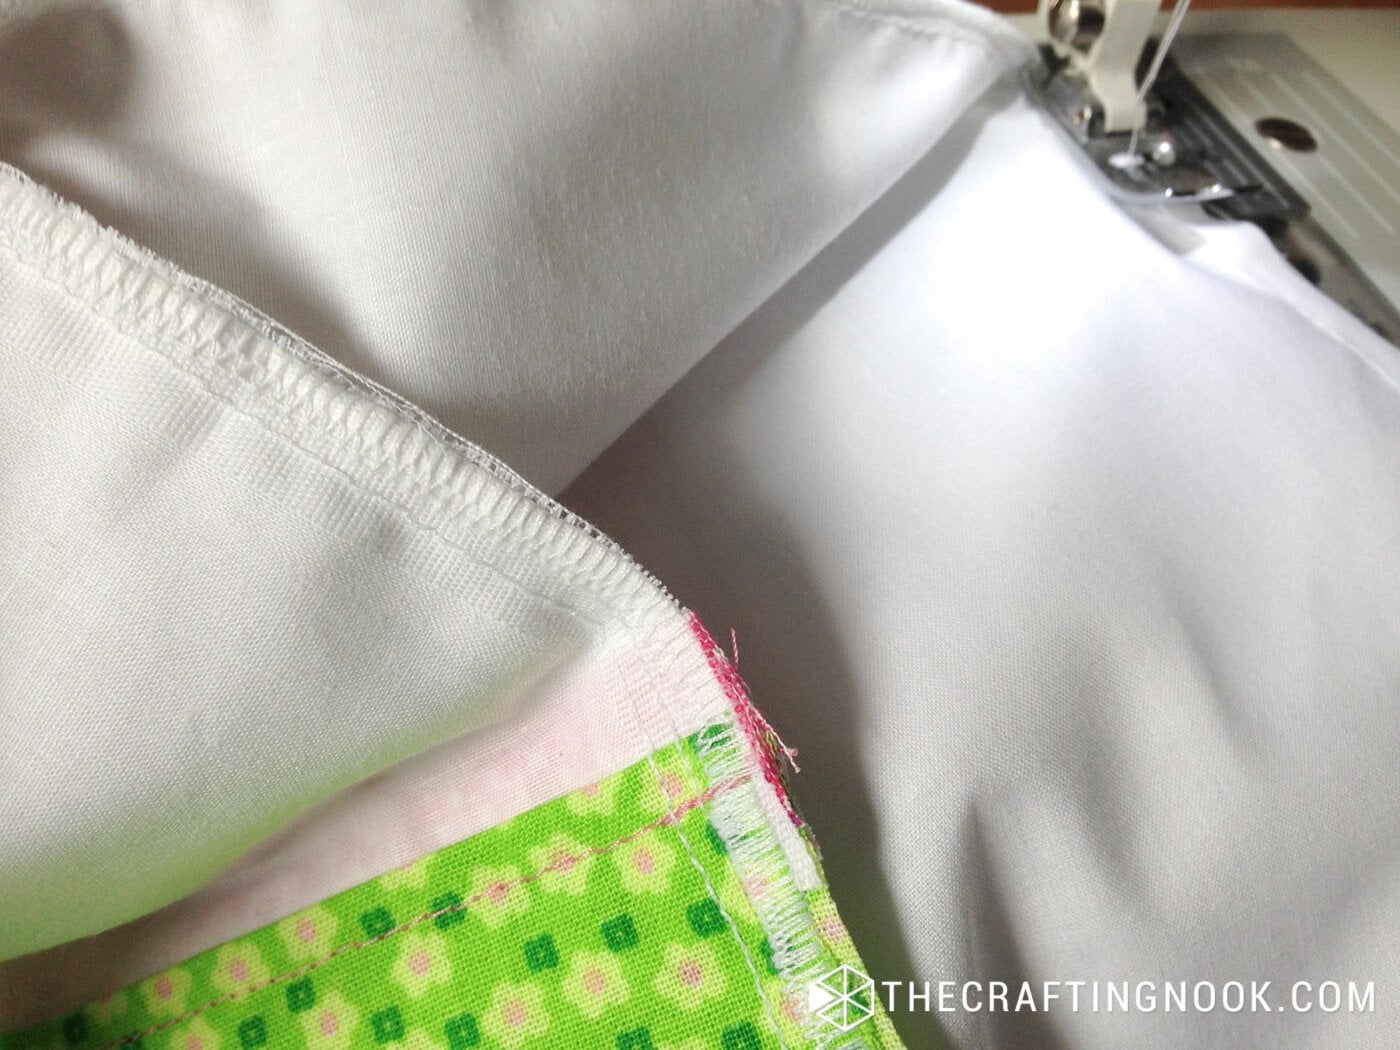
15. Trim any excess of fabric along the zig-zag.
16. Dinally. do the same for the other simple pillowcase using your favorite fabric combination. These are the ones I did for my girl.
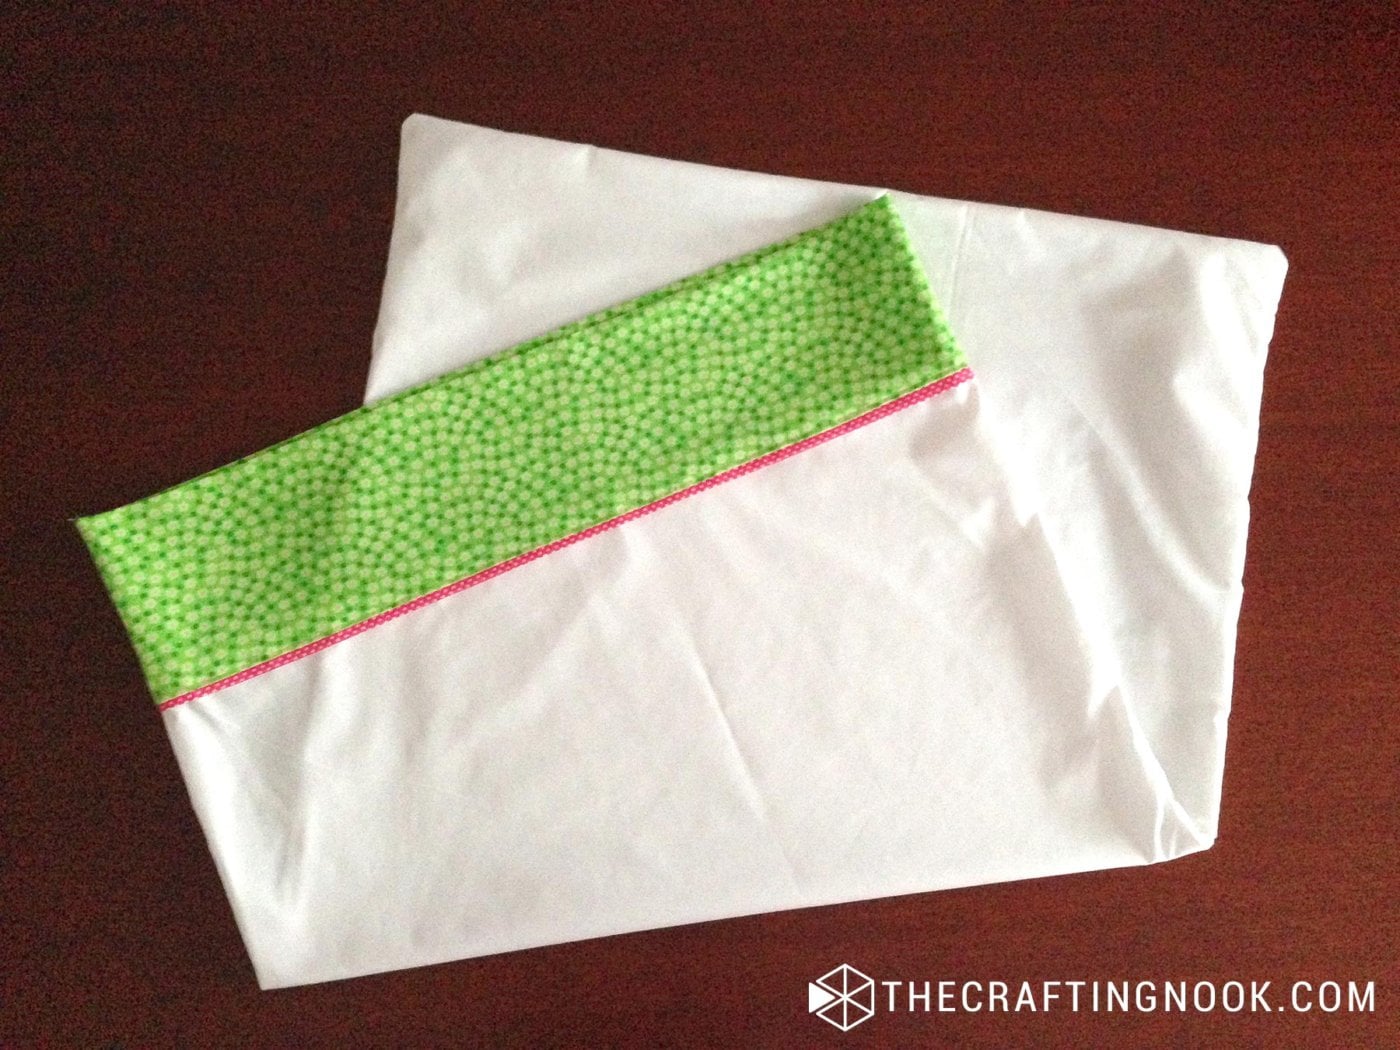
There you go! We have our first pillowcase finished and looking so good!
That’s it!
Crafting Tips
- Although this tutorial has used girly colors, you can definitely choose different fabrics styles, and colors to match boys and even adults.
- You can alternatively use old bed sheets, curtains, or large fabric scraps to create an eco-friendly pillowcase. Mixing and matching different patterns can give a unique, eclectic look.
- Before sewing, pressing your fabric helps ensure clean, straight seams. This is especially helpful when working with different fabric textures and thicknesses.
- Be sure to pin your fabric pieces together well, especially where the fabric layers overlap. This prevents any slipping while you sew.
- You can either use matching thread for a seamless look or go bold with contrasting thread for decorative, visible stitches.
- If you prefer not to leave the pillow exposed, add an extra fabric flap on the open end to tuck the pillow inside for a cleaner look.
I made additionally a few pillow covers to match the duvet cover and the pillowcases:
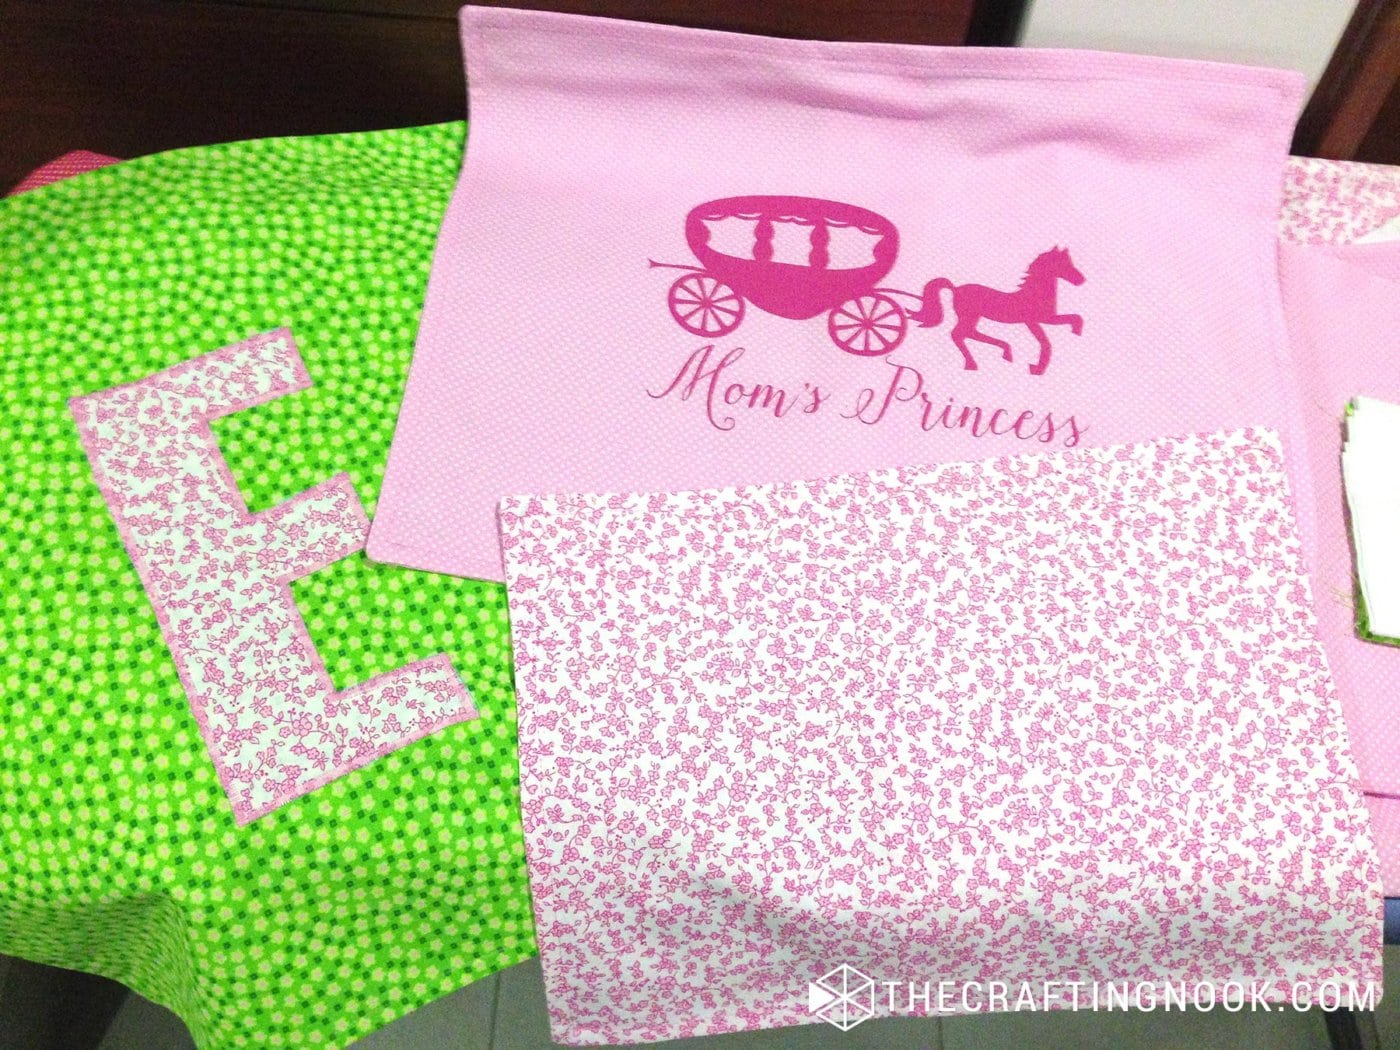
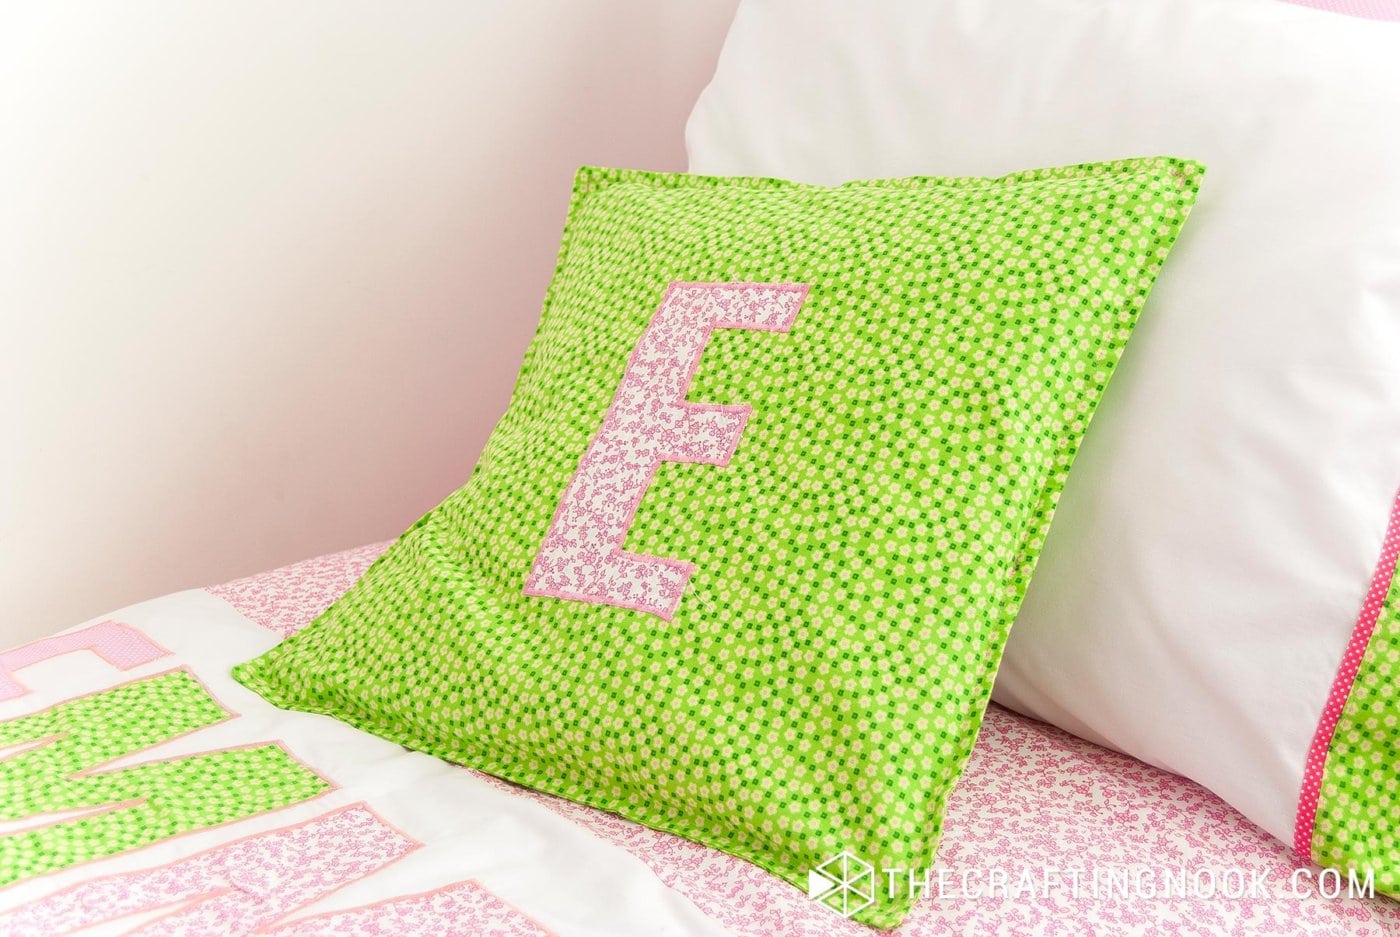
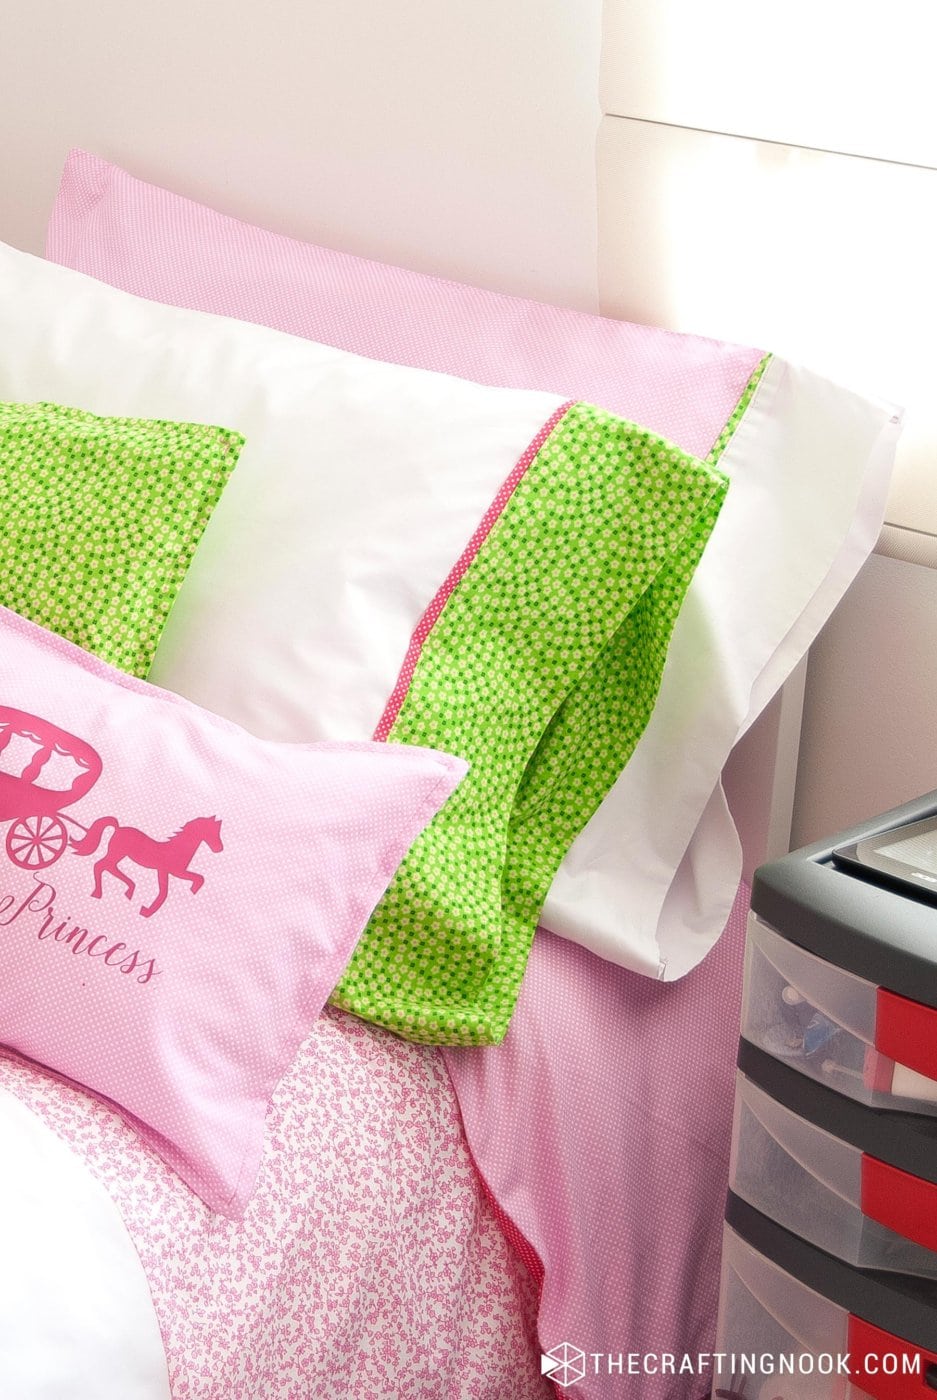
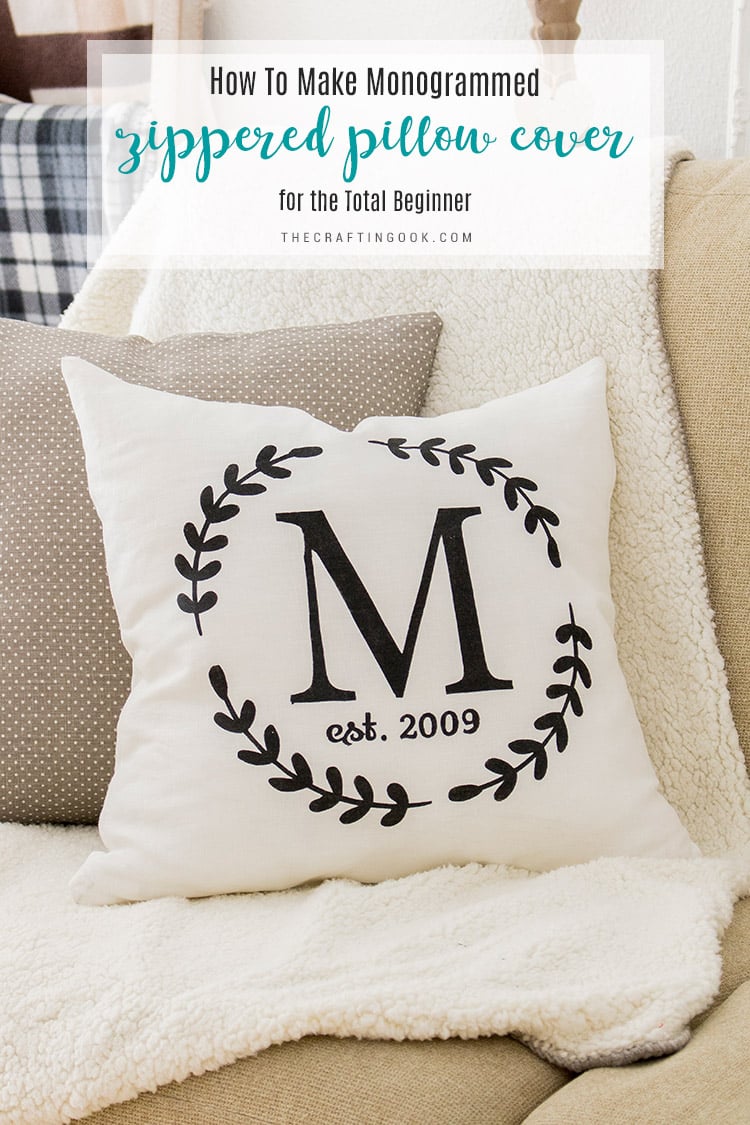
On one, I monogrammed the letter E with the same technique I used for the duvet cover.
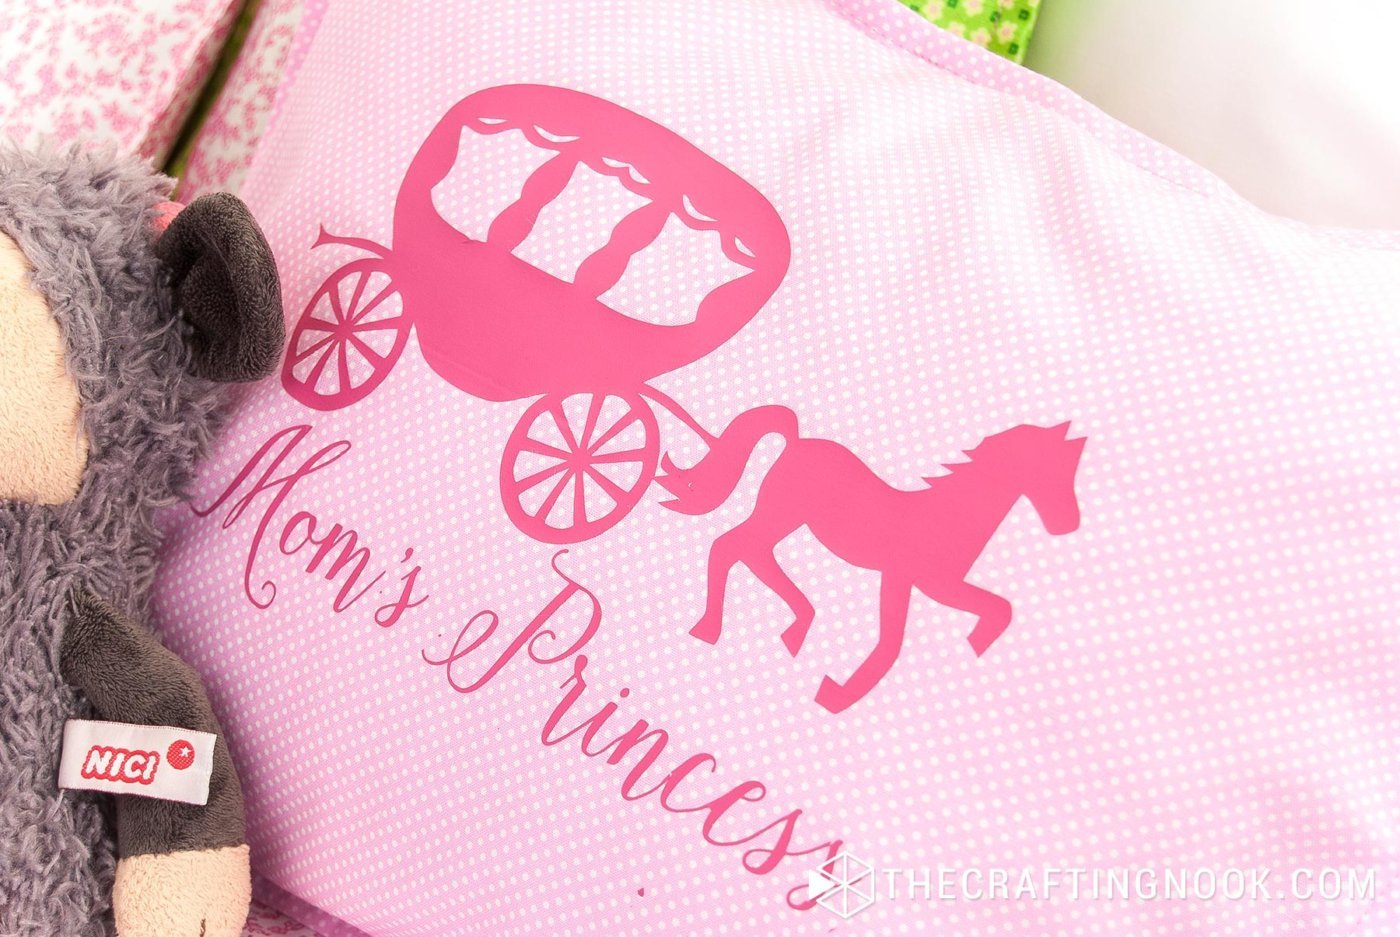
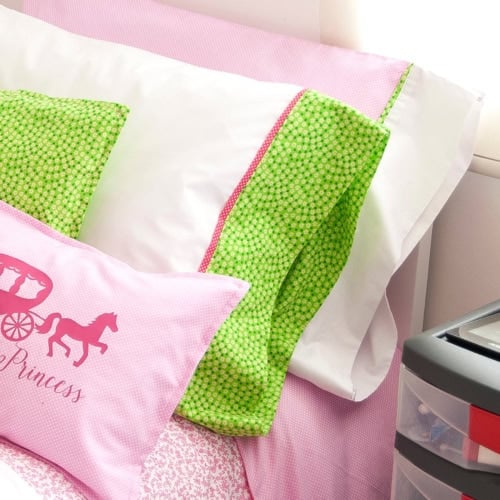
On another, I stamped a cute design using heat transfer vinyl. The design can be found on Silhouette Store and I added “Mom’s Princess”.

So this is it! This is the final result of my bedding complete set. We love the final result and she’s enjoying every minute of it.
Alternatives and Substitutions
For children with sensitive skin or allergies, use organic cotton fabric. It’s free of harsh chemicals and pesticides, making it a healthier option.
For a King or Queen Size Pillowcases, simply adjust the measurements to fit larger pillow sizes. Measure your pillow and add a little extra for seam allowances.
For Travel-Size or Decorative Pillowcases, make smaller versions for travel pillows or decorative throw pillows. These are especially fun for creating matching bedroom sets.
Additional Accessories you could make
- Matching Duvet Cover: Create a matching or complementary duvet cover to complete the set.
- Coordinating Bed Skirt: Make a simple bed skirt from the same fabric or coordinating fabric to give the whole bed a cohesive look.
- Fabric Headboard Cover: Use extra fabric to create a matching cover for a headboard, or even make a soft, padded headboard to match the duvet cover.
- Bed Canopy or Curtain: If you have extra fabric, create a matching canopy or curtains to coordinate with the duvet cover. This creates a cohesive, magical bedroom theme.
Frequently Asked Questions
Cotton and cotton blends are popular because they’re breathable, soft, and easy to care for. Flannel is great for cooler months, while silk or satin can be used for a luxurious feel that’s also gentle on skin and hair.
Measure your pillow first and adjust the pattern slightly if needed. Add about 1/2 inch of seam allowance on all sides, and if you prefer a looser fit, you can add a bit more.
Wash them according to the care instructions for your fabric. Most cotton pillowcases can be machine washed in cold water and tumble dried on low. If you use silk or satin, you may need to hand wash or use a delicate cycle.
Yes! Simply adjust the measurements to fit your desired pillow size. Measure your pillow and add extra fabric for seam allowances.
More Sewing Projects To Try
Like this diy pillowcase free tutorial? You might definitely love these other sewing project ideas too:
✂️ Tutorial
How to Make a Pillowcase in 20 Minutes or Less
Tools
- Sewing Machine
- Sharp Fabric Scissors or rotary cutter
- Pins
- Measurement tape
- Ruler
Supplies
- 2 Pieces of Fabric A: rectangles of 52 cm X 65 cm 21 x 25 Inches.
- 2 Pieces of Fabric B: 2 strips of 52 cm X 22 cm 21 X 9 Inches
- 2 Pieces of Fabric C: 2 strips of 52 cm X 5 cm 21 X 2 Inches
- Color matching thread
- Fabric Marker
Instructions
Prep Work
- First, cut all your fabric pieces.
- You will have 6 pieces in total. The way your pieces would work is a white base, a thin strip, and a thicker piece.
- Then press all your pieces for easier handling.
- Next, fold in half lengthwise both fabric B pieces wrong sides together – 52 cm X 5 cm (21 X 2 Inches). Press and set aside.
- Fold in half lengthwise both fabric B pieces wrong sides together – 52 cm X 22 cm (21 X 9 Inches). Press.
- Fold inwards the edges of fabric B to make a hem – about 1cm (1/4 inch).
Assembling the Pillowcase
- Then, take the main fabric A and place fabric C on top aligning close to the raw edge and pin.
- Then Insert fabric A and C between both folded hems of fabric B.
- For this match fabric A edge of fabric B hem edges.
- Then lay the other edge over the fabric C leaving a little more than 5 mm.
- Pin in place to keep layers of fabric together. Make sure both sides are aligned and pinned correctly. Repeat with the pieces of the other panel.
- Stitch along fabric B close to the edge on both panels.
- Then put both panels with right sides together (the one with fabric C) aligning all the edges, stitch all 3 sides of the pillow pieces leaving the cuff open.
- Serge or zigzag the edges.
- Trim any excess of fabric along the zig-zag.
- Dinally. do the same for the other simple pillowcase using your favorite fabric combination. These are the ones I did for my girl.
- There you go! We have our first pillowcase finished.
Notes
Share and PIN ME!!!
Til’ next time…


FREE WORKBOOK
Keeping your Sweet Home Organized
Learn how to create intentional habits and simple routines to Keep Your Home Organized. Plus freebies, printables, exclusive content, and tips.
Disclaimer: By clicking on the “Yes” button above you are giving me your consent to collect and use your information according to the law and My Policy Privacy. Zero Spam I promise!