How to Make Italian Meringue
This post may contain affiliate links. Please read our Disclosure Policy.
This amazing delicious Italian Meringue is creamy, fluffy, airy, sweet enough, and so beautifully white! You will love it. Let me tell you, this Meringue turned out to be the best I’ve ever done so I had to share it with you! Learn how to make it here!
I used Italian Meringue for another recipe I was making and let me tell you – this Italian Meringue turned out to be the best I’ve ever made. So, I had to share it with you!
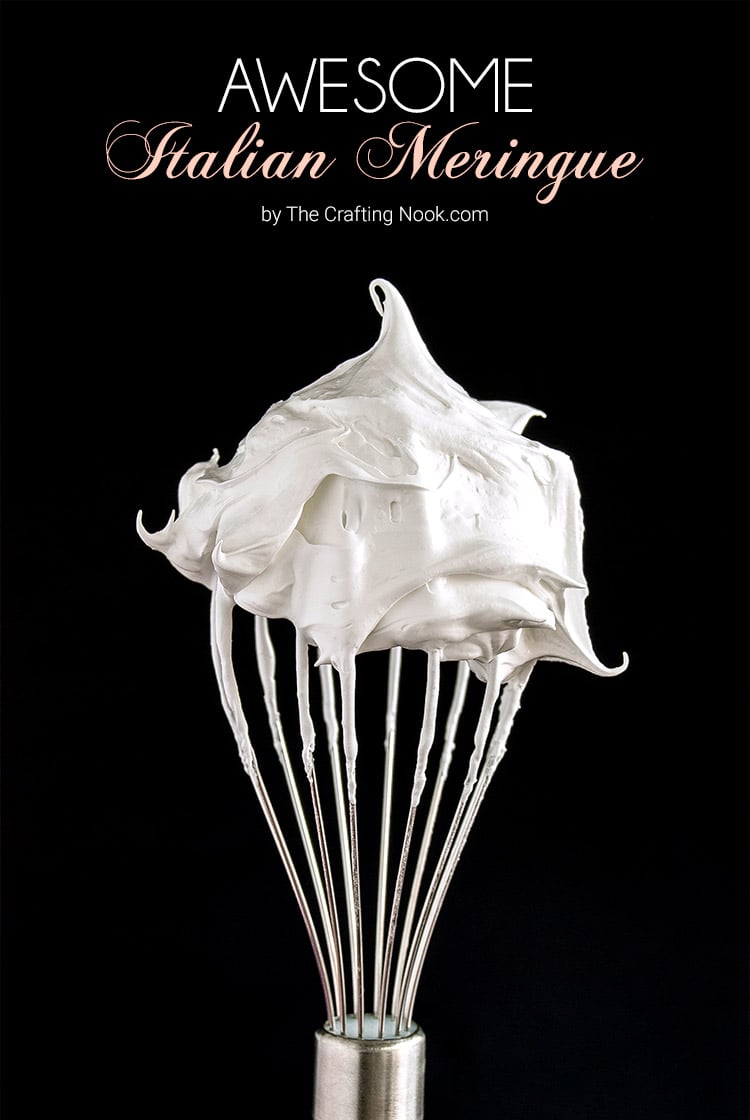
I’ve seen so many Italian meringue recipes and I’ve tried so many of them but this one – Oh my! It’s creamy, fluffy and airy, sweet enough and so beautifully white! You will love this.
Table of Contents
What’s a MERINGUE?
Meringue is essentially egg whites with sugar and air incorporated into them. A sweet egg white mixture is used for desserts, pastries, and other sweet treats. Afterward, it may be torched, boiled, baked, or steamed to achieve the desired result.
What is the difference between Italian meringue and other meringues?
Basically, the difference relies on the technique used to make meringues. There are 3 main ones. French, Italian, and Swiss.
- French: or basic meringue is the method best known to home cooks and the least stable until baked. Fine white sugar (powdered sugar) is beaten into egg whites.
- Swiss: Egg whites and sugar are gently beaten in a pan that sits above boiling water, without touching the water. After the sugar is fully dissolved in the mixture, it is taken off the heat and vigorously beaten to attain maximum volume and then at a slower speed until cooled and very stiff.
- Italian: is made with boiling sugar syrup, instead of caster sugar. The result is a very stable meringue, which is suitable for use in various pastries without collapse. Italian meringue is made by whipping hot sugar syrup into softly whipped egg whites until stiff and until the meringue becomes cool. It is safe to use this type of meringue without cooking it. It does not deflate for a long time and can either be used for decoration on pies and other pastries or baked.
Italian Meringue
Italian meringue is by far my favorite, the most stable one and it has always been a challenge for me.
When I was a teen, I used to make a lot of desserts, mostly pies and 3 leches cakes, I always had a hard time with the meringue. Maybe you remember my Key Lime Pie post.
Well, that’s when I learned about the different kinds of meringues and I understood. I started practicing and perfecting it ever since. Now we are kind of addicted to it LOL. Hope you like it!
How to Make Italian Meringue Recipe
Ingredients:
- Water
- Egg whites
- Sugar
- Powder sugar (Optional)
- Cream of tartar
- Optional Vanilla extract or lemon zest.
Tools:
- Stand Mixer
- Candy Thermometer.
Directions:
- This recipe makes a small batch. Serves about 24 Cupcakes or covers a 2-layered 6 Inches cake (16cm).
- First, Start beating the egg whites and the teaspoon cream of tartar on a stand or electric mixer with the whisk attachment at medium-high speed. Make sure the bowl is dry and clean.
- While beating the egg whites, prepared the syrup.
- In a small saucepan mix water with 3/4 cup of sugar over medium-low heat. The idea is to create a transparent syrup so we need to let the water evaporate. stir every couple of minutes.
- When it starts to boil, go back to egg whites and check if it forms hard stiff peaks. If so, add the 1/4 cup of sugar and mix until well combined.
- Keep an eye on the syrup. I know there is a way to know when it’s ready through a candy thermometer (the ideal temperature for the syrup is 113°C/235°F, higher than that it enters the hard candy stage and you don’t want that) but since I don’t have that thermometer, I use other techniques below:
- Keep whipping. For instance, I know it must get thicker, so once it starts to thicken, I use a skimmer {weird right?}. I get some of the syrup and of course, it slips through the holes but the little it stays there I blow slowly and if it forms bubbles, the syrup is done! I do this about every 2 minutes until it’s done when I don’t have a thermometer handy.
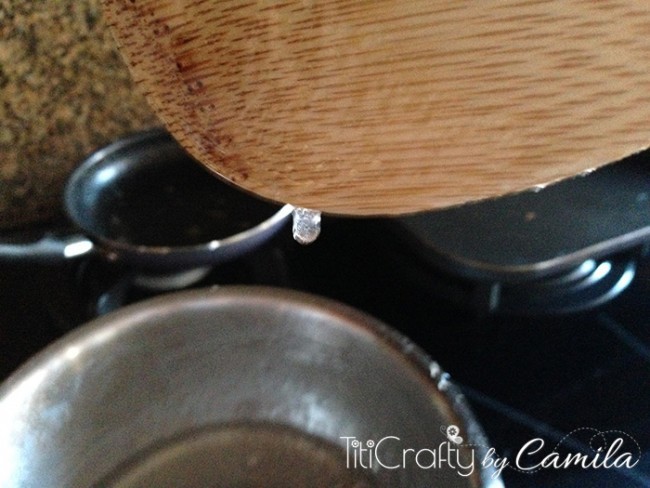
- Another way to know is with a wooden spoon. Mix the syrup and lift the spoon thin threads of syrup should form and then the last few drops should stay in place and accumulate.
- Once the syrup is ready, immediately start to pour it into the egg whites (still beating and taking it to a high speed) without turning off the mixer and really slowly letting the syrup form a thin thread.
- When you added all the syrup, let it beat for about 5 more minutes or until it cools again.
- Lastly and optionally if you want the Italian meringue a bit thicker add in a tbsp. of icing sugar and beat for about 2 more minutes.
- There you go! You are ready to decorate your favorite desserts!
Uses for Italian Meringue Frosting
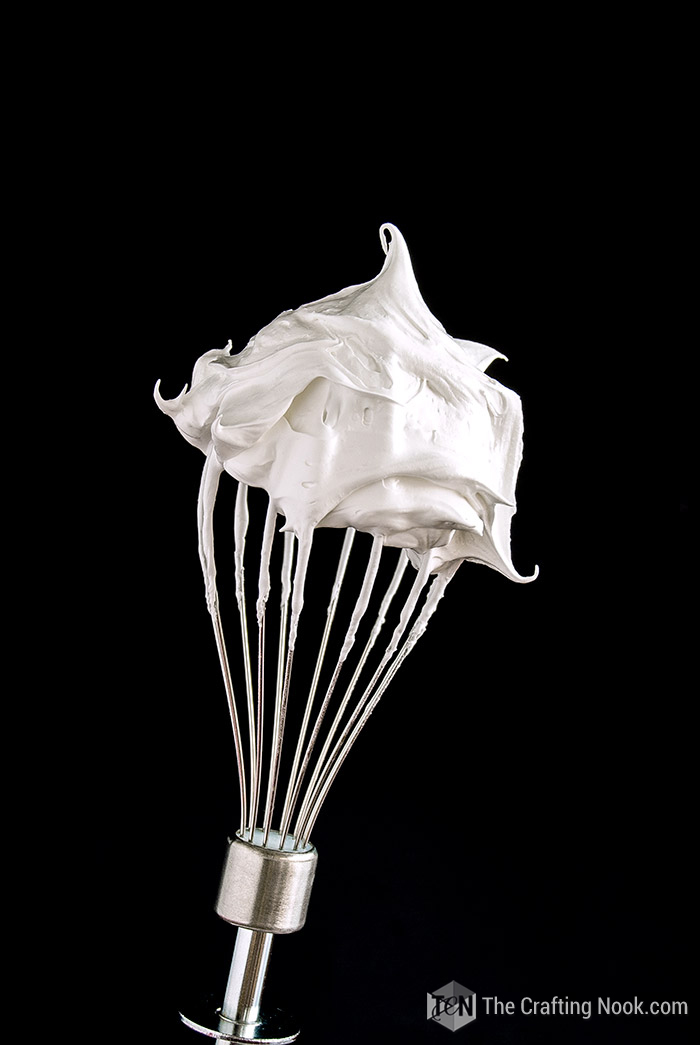
You can use this Meringue to frost angel cakes, Cupcakes, Lemon/Lime pies or even eat the whole batch with a spoon like my mom does LOL!
Meringue Tips
Use a Thermometer. Although I learned how to make it without one, the moisture content and hardness of sugar syrup can be more accurately gauged by its temperature. In this case, we’re looking for the “soft ball stage,” which requires 240°F /113°C is what we’re after.
Use very clean tools. It’s very important that your mixing bowl and tools are clean of fat or grease since this prevents egg white from foaming properly.
Use Eggs at Room Temperature. Room temperature egg whites whip up faster. Warmer egg whites make it easier for sugar to dissolve in the meringue.
Add an Acid. Adding an acid like lemon juice, cream of tartar, or even vinegar raises the pH, helping to denature some of the egg protein. Whipping takes slightly longer, but the acid gives the foam more flexibility, making it less likely to collapse when you get to folding, piping, and baking—basically, an acid is your stability insurance.
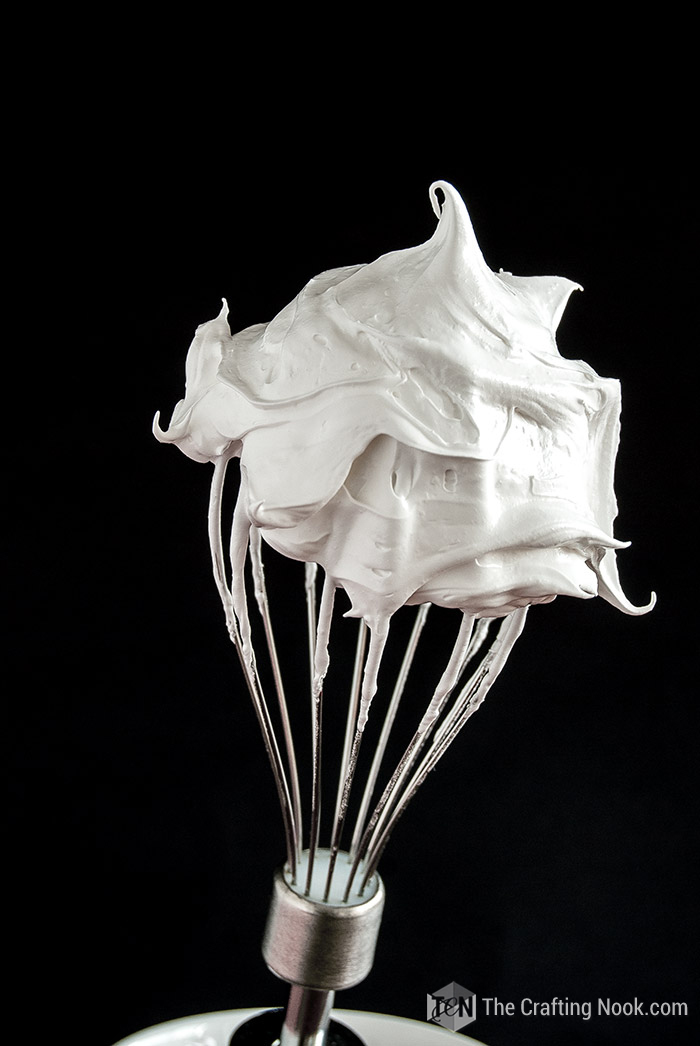
If you are a Meringue lover you will LOVE this Italian Meringue! You should definitely try it.
Frequently Asked Questions
Considering the three main types of meringue, I wouldn’t suggest eating French meringue without baking because it contains uncooked egg. While salmonella-contaminated eggs are increasingly rare in most (Western) countries, including the UK, this is probably wise.
Whisk until the meringue forms soft peaks and the bowl feels slightly warm to the touch. When you lift the whisk up, the meringue should still be warm and hold its shape.
Egg whites are sensitive to freezing temperatures, so they don’t hold up well in the freezer. In addition, once the meringue has been frozen and thawed, it could turn rubbery or crusty. In some cases, the meringue becomes too soggy when defrosted. So, I don’t recommend freezing it!
Because that adds acidity. Adding an acid like lemon juice, cream of tartar or even vinegar raises pH, helping to denature some of the egg protein. Whipping takes slightly longer, but the acid gives the foam more flexibility, making it less likely to collapse when you get to folding, piping, and baking—basically, an acid is your stability insurance.
This meringue can be stored in the refrigerator for up to five days and at room temperature for up to two days covered. It can be in a piping bag, a covered bowl, etc. Remember that stability is what allows this to happen. It is important to note that if you use this meringue as part of another recipe, the storing information may vary.
More Dessert Recipes to Try
If you enjoyed this delicious Italian Meringue recipe, you might also love these other dessert recipe ideas too:
🥣 Recipe
How to Make Traditional Italian Meringue
Equipment
- Stand Mixer
- Candy Thermometer.
Ingredients
- 2 egg whites Room temperature
- 1 cup of sugar
- 1/2 cup of water
- 1 tbsp of Icing sugar *Optional
- 1/3 tsp cream of tartar
Instructions
- This recipe makes a small batch. Serves about 24 Cupcakes or covers a 2-layered 6 Inches cake (16cm).
- First, Start beating the egg whites and cream of tartar on a stand mixer at medium-high speed. Make sure the bowl is dry and clean.
- While beating the egg whites, prepared the syrup.
- In a small pot mix water with 3/4 cup of sugar over medium-low heat. The idea is to create a transparent syrup so we need to let the water evaporate. stir every couple of minutes.
- When it starts to boil, go back to egg whites and check if it forms hard peaks. If so, add the 1/4 cup of sugar and mix until well combined.
- Keep an eye on the syrup. I know there is a way to know when it’s ready through a candy thermometer (the ideal temperature for the syrup is 113°C/235°F, higher than that it enters the hard candy stage and you don’t want that) but since I don’t have that thermometer, I use other techniques below:
- Keep whipping. For instance, I know it must get thicker, so once it starts to thicken, I use a skimmer {weird right?}. I get some of the syrup and of course, it slips through the holes but the little it stays there I blow slowly and if it forms bubbles, the syrup is done! I do this like every 2 minutes until it’s done when I don’t have a thermometer handy.
- Another way to know is with a wooden spoon. Mix the syrup and lift the spoon thin threads of syrup should form and then the last few drops should stay in place and accumulate.
- closeup of sugar drop
- Once the syrup is ready, immediately start adding it to the egg whites {still beating and taking it to a high speed} without turning off the mixer and really slowly letting the syrup form a thin thread.
- When you added all the syrup, let it beat for about 5 more minutes or until it cools again.
- Lastly and optionally if you want the Italian meringue a bit thicker add in a tbsp. of icing sugar and beat for about 2 more minutes.
- There you go! You are ready to decorate your favorite desserts!
What do you think? Have you made Italian Meringue before? Any tips you could add to the recipe?
Other delicious desserts using Meringue that I love from my favorite bloggers:
- Chocolate Meringue Pie with Macadamia Crust by Pies and Tacos.
- Lemon Meringue Dessert Pots by the Baking Explorer.
- Boccone Dolce by Your Homebase Mom
Share and PIN ME
Til’ next time…


FREE WORKBOOK
Keeping your Sweet Home Organized
Learn how to create intentional habits and simple routines to Keep Your Home Organized. Plus freebies, printables, exclusive content, and tips.
Disclaimer: By clicking on the “Yes” button above you are giving me your consent to collect and use your information according to the law and My Policy Privacy. Zero Spam I promise!


