Easy DIY Farmhouse TV Stand
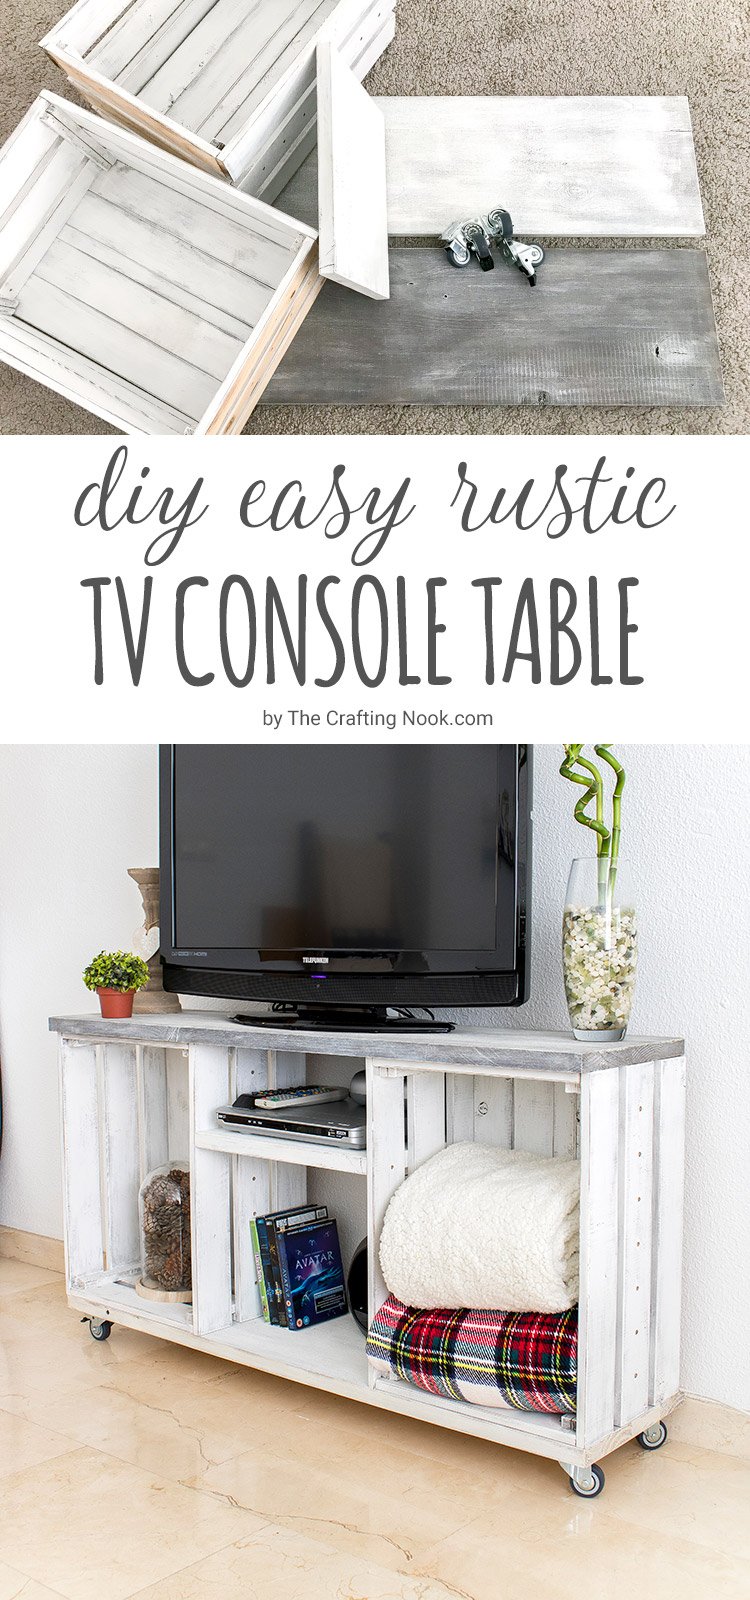
This Rustic DIY farmhouse tv stand is so easy to make. With a couple of wooden crates, a few boards, and regular tools you can create a super fun table for your TV. You can paint it in any combination and technique you love and make a unique piece of furniture that will make your room gorgeous!
Has it happened to you, that there is something you were long desiring to make but when you finally manage to make it, life just gets in the way and you don’t get to share or actually enjoy?
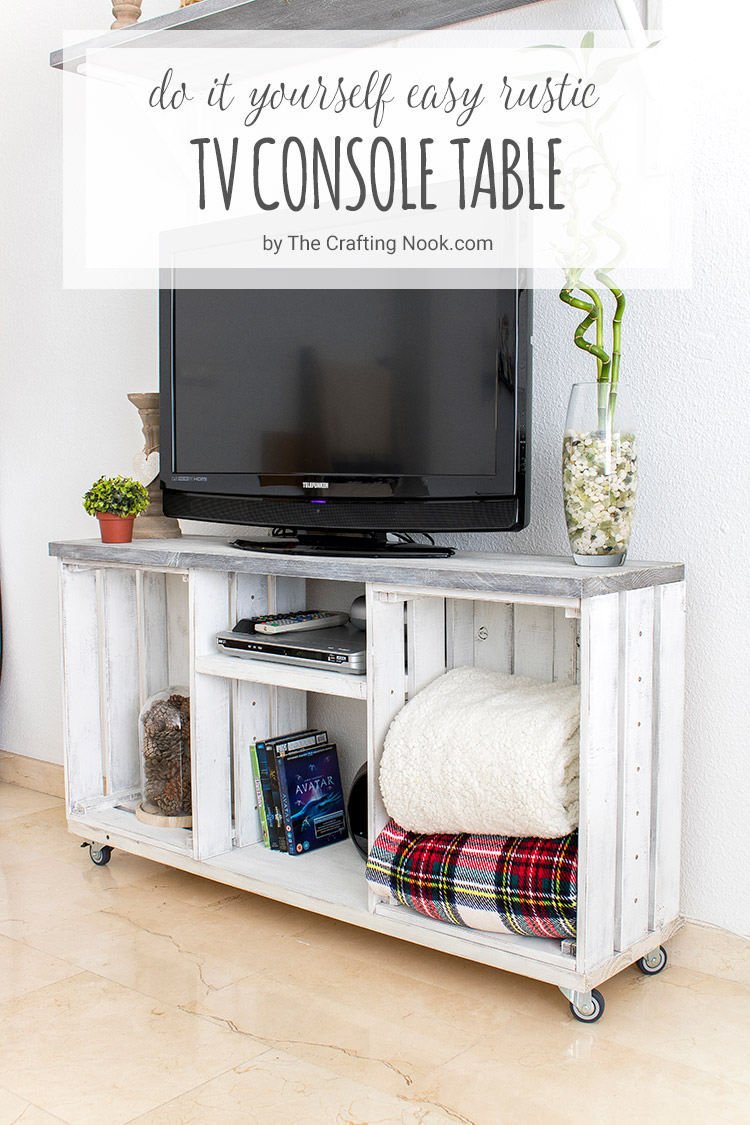
Well, it has to me this past year many times. This DIY Farmhouse TV Stand is one of those cases. It’s my very first furniture piece ever. I can’t say how much I love it.
This post may contain affiliate links. Please read our Disclosure Policy.
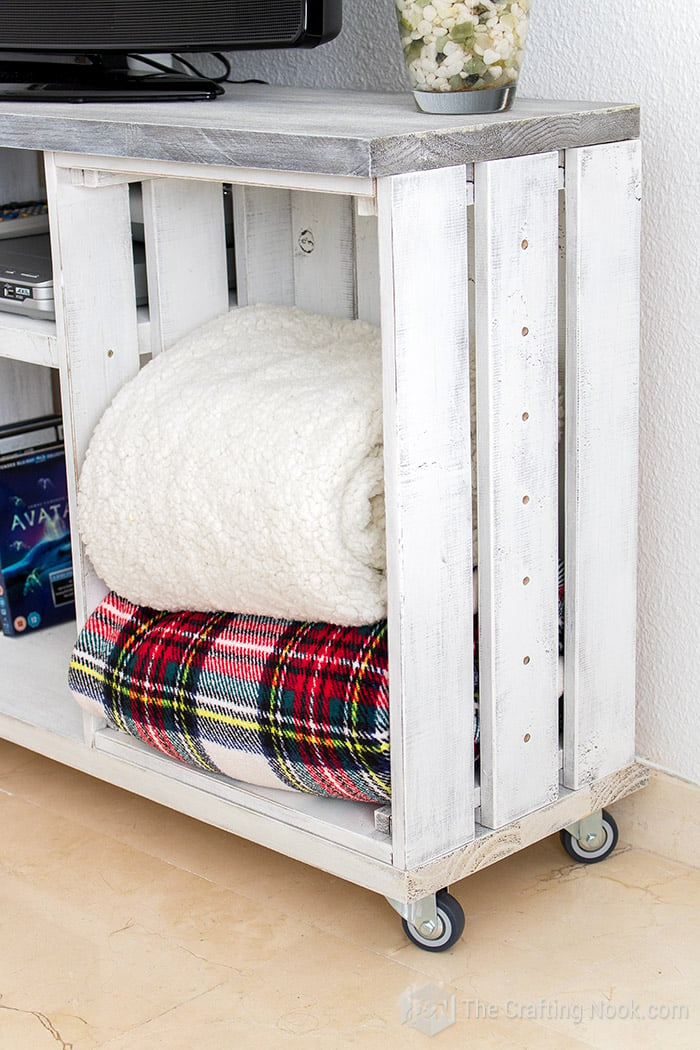
It might not look like much but to me is a huge accomplishment since I wanted to start creating and working with wood so badly for such a long time. Since I’m crazy in love with the rustic/farmhouse style, I painted it to look as aged and rustic as I possibly could.
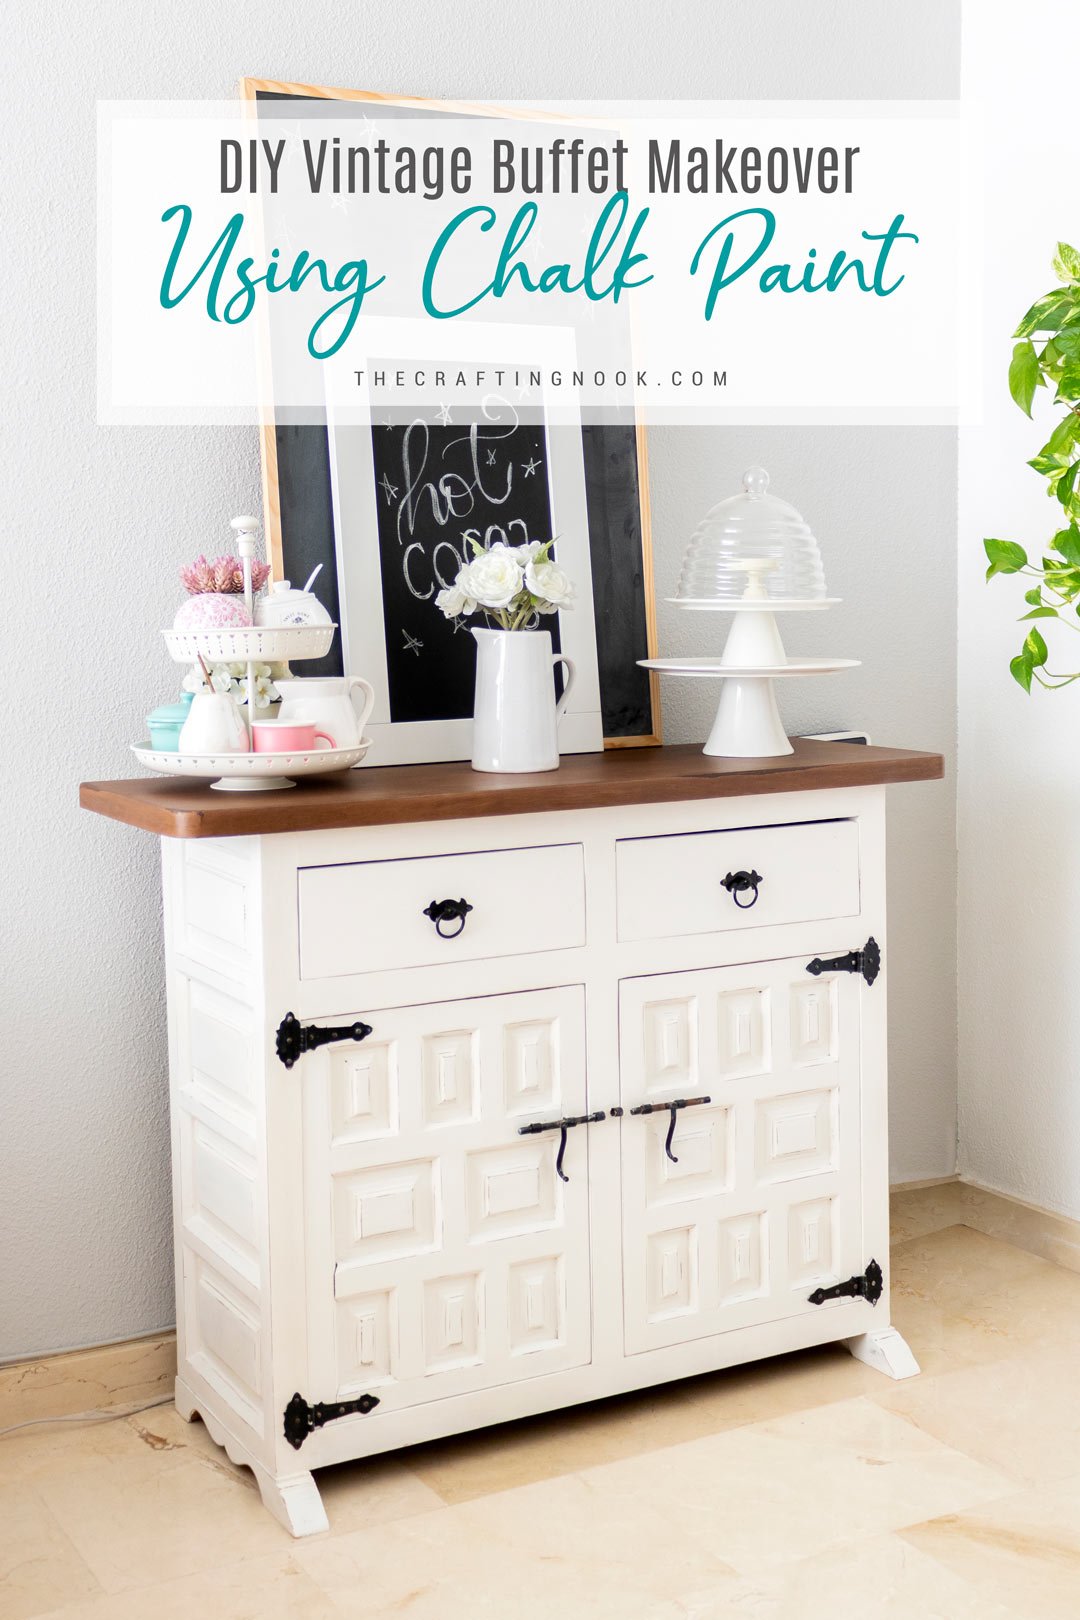
You might also love these other Woodworking ideas: DIY Rustic Wooden Headboard, DIY Vintage Buffet Makeover using Chalk Paint, and Trofast IKEA Hack: Installing a door to hide the messy drawers.
Table of Contents
Easy Rustic DIY Farmhouse TV Stand Project
I did make a rustic headboard a few years ago for my mom’s guest room. But it hardly qualifies as a furniture piece but as working with wood goes, I loved the experience.
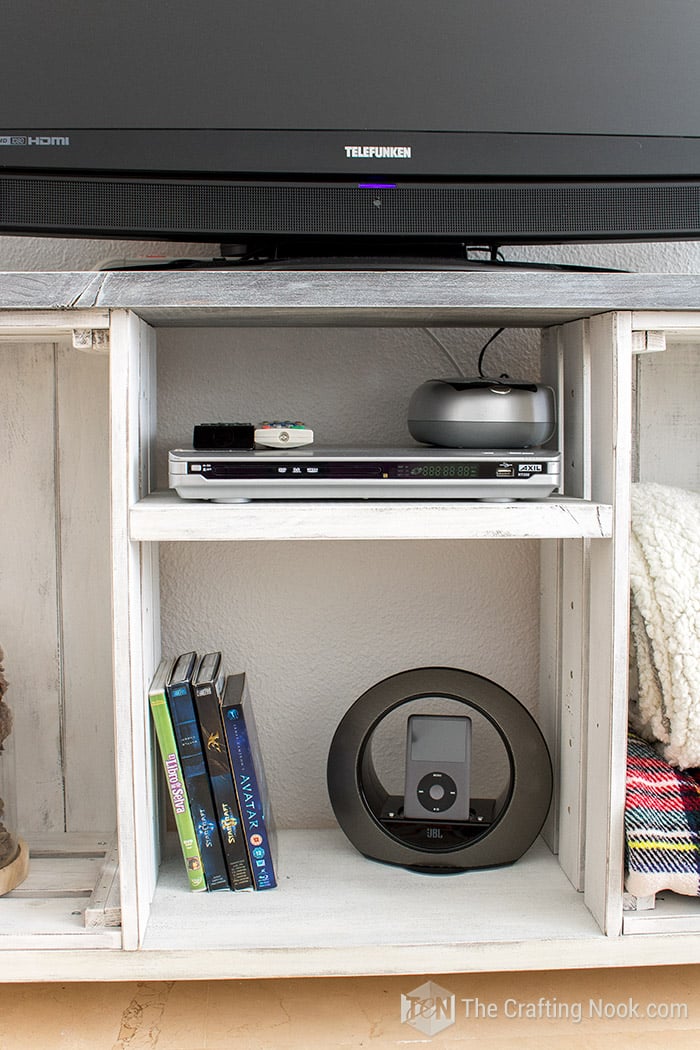
The main idea was to create a rustic tv stand that would work as an entertainment center or media center because having a kid at home it’s likely that we’ll end up having game consoles of some sort. I wanted it to also allow me to make it part of my home decor as well as have plenty of storage space.
In this post, I’m sharing specifically how to create the rustic DIY Farmhouse TV Stand for my living room with a quick overview of the painting technique. You can find specific painting techniques tutorials in separate posts linked below.
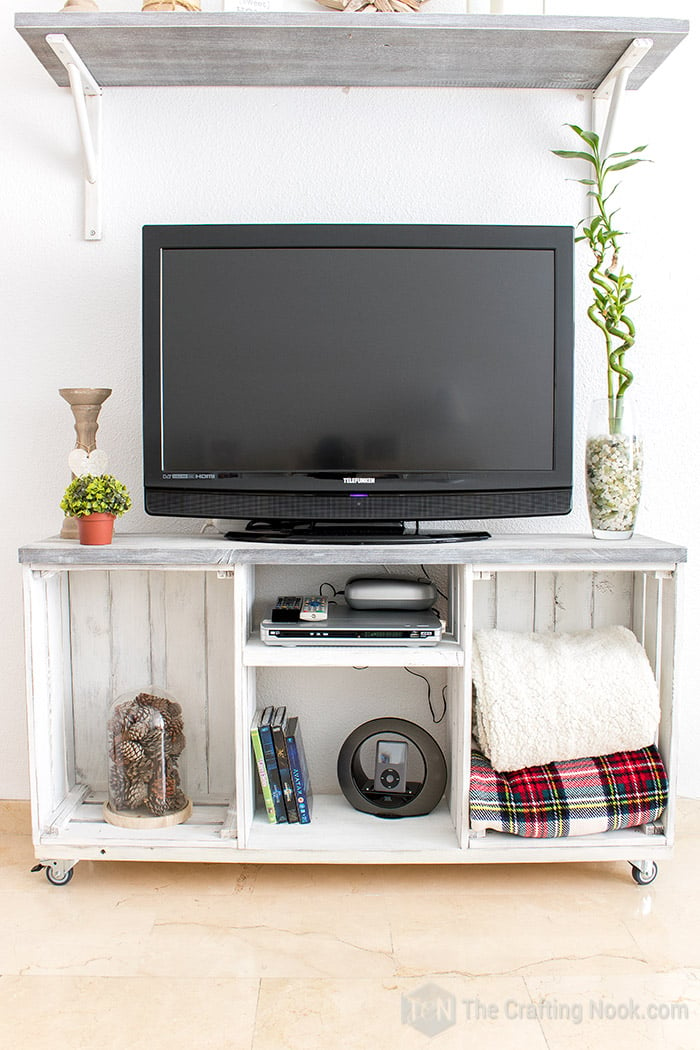
This DIY tv stand is SO insanely easy to put together although I had something so different in mind when I started this project. We had recently moved to a new apartment and we had NO furniture. I wanted to make our TV console table myself from scratch for my room decor.
Then on the hardware store with hubby, we were not finding exactly what we were looking for, so right there we started sharing our ideas and we end up buying everything for this project you see now. This can change so fast but still get something extraordinary.
How to Make a TV Stand
For this DIY Craft project, I can’t give you specific measurements because since the base is a couple of crates, the size may vary a lot from place to place. So, please remember that you can adjust each piece as you think fits. You can make it longer and just increase the size of long boards and the short board acting as a shelf.
Basically, all measures will depend on how long you want the DIY Farmhouse TV Stand to be and the size of your crates.
The assembling itself took me about an hour to complete. The painting was another thing. It took me about two days between coats and drying time to get the best finish possible.
So, how about getting started with this fun and super easy Rustic Farmhouse TV Stand?
Here we go!
Supplies:
* As mentioned above, sizes are very variable since crates are different in each place. My full length is 45,27 In.
- 2 long pine wood boards
- 2 large wooden crates
- 1 Small pinewood board Size follows: length of long pine boards – both crates width – 3-5 mm = small board.
- 4 wheels (I used 2 with break and 2 without.)
- Wood Screws (it will depend on the wood you use but I used 3.5 x 30 EU or 6 x 1 14/ USA )
- Drill bit (3mm)
- Screw Driver
- Bubble level.
Instructions:
I made this video tutorial for you on my assembling process. If you are more of a written detailed tutorial just scroll down a little bit and keep reading, you will also find an overview of how I painted each piece but the actual painting technique tutorial and video will come to the blog soon.
Before we begin, be sure to follow us on Pinterest, Facebook, Instagram, and YouTube, and also sign up for our email list (at the end of this post), so you’ll never miss a post!
Step 1: Prep Work
Ok let’s start with the sizes. what we did was basic math. We sum the width of both crates then substrates it from the total length of the long boards. we had to fix the margins of error since crates are not perfect and it was not fitting perfectly between both long boards.
We sanded about 5 mm from the small board (shelf). You might want to subtract about 3-5 mm from the small board length so you don’t have to sand it so much.
My crates are from a hardware store. I’ve seen them on Ikea and other stores. If you can get your hands on a real crate would be even better.
Since the crates were made with pine wood, I decided to work only with pinewood for all the pieces. But other alternatives are using plywood, or even pallet wood if you want an even more rustic look.

This being said, once you have all our supplies handy we start the work
Step 2: Staining the Long table pieces
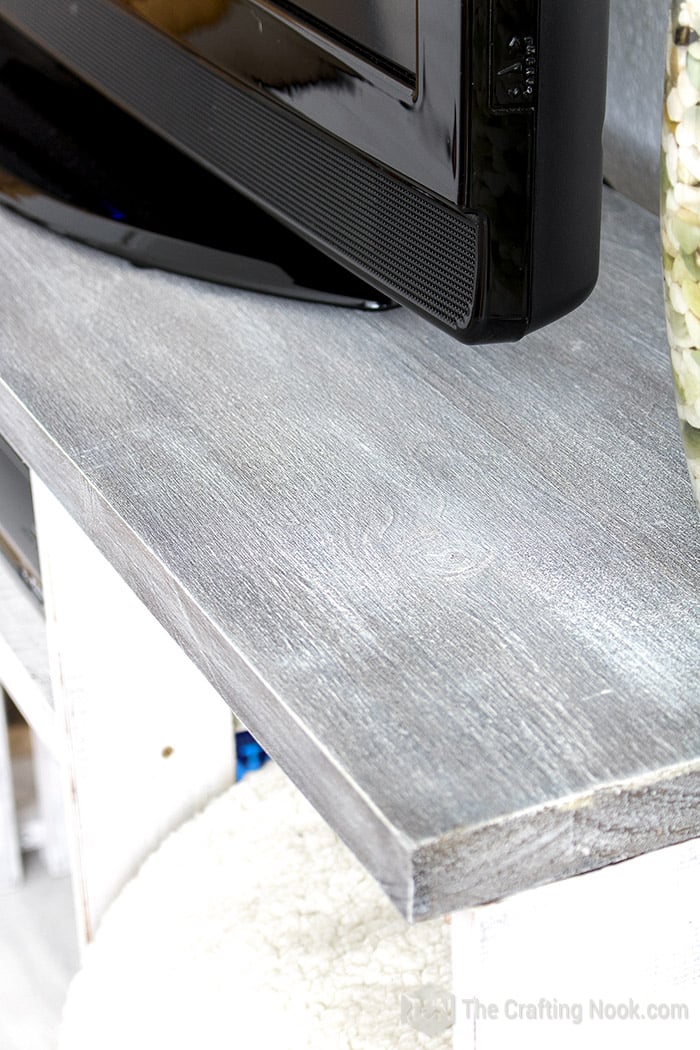
As an overview of the painting, I decided to go with aged grey (limewashed look) for the top board and aged white (Distressed look) for the rest. You can find detailed tutorials on those techniques in the links provided.
So, I prep my wood, Sanding, and clean.
Then stained the top board with gray paint diluted with water.
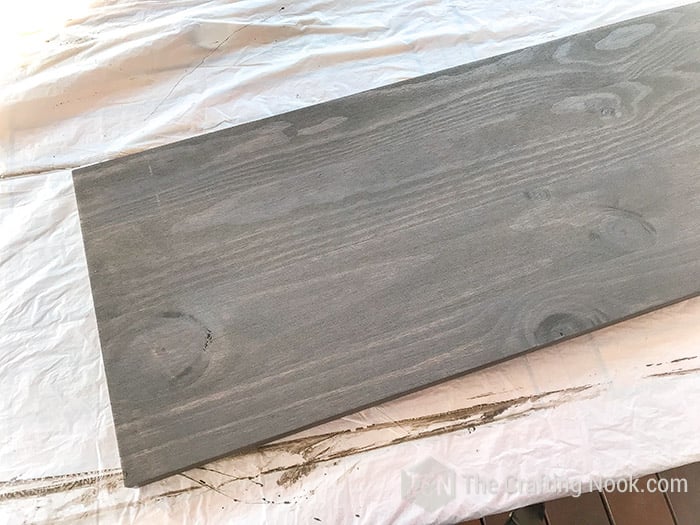
The rest of the wood pieces were stained with walnut wood stain.
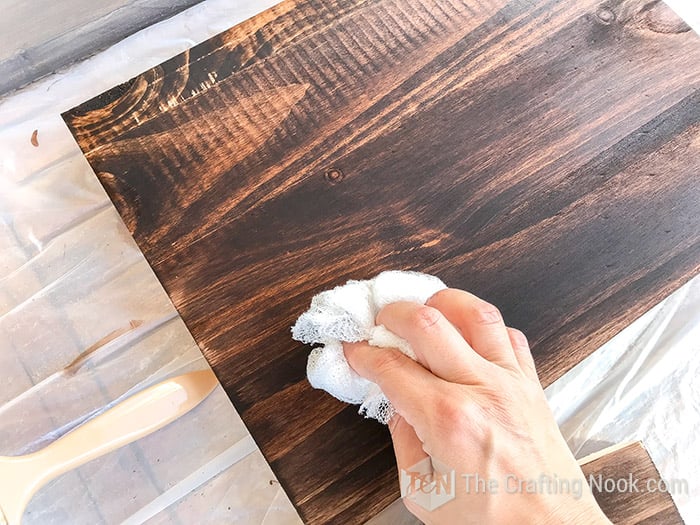
Let them dry well.
Step 3: Dry Brushing the Main TV Table pieces
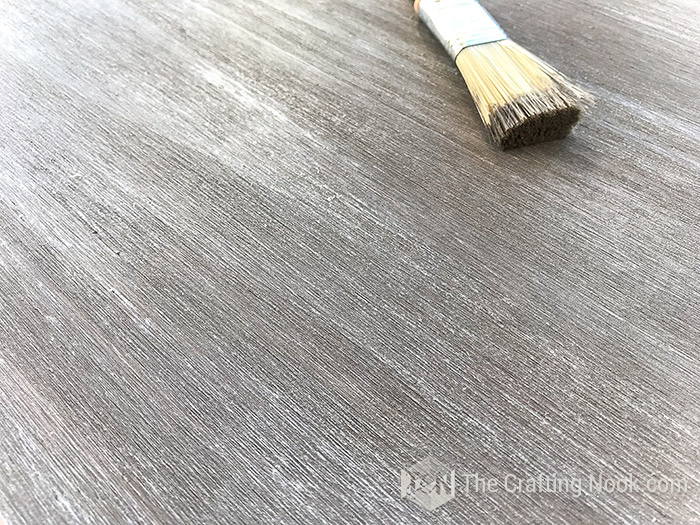
Once dry I started with the top board. I dry brushed cotton white paint all over the board, top and bottom.
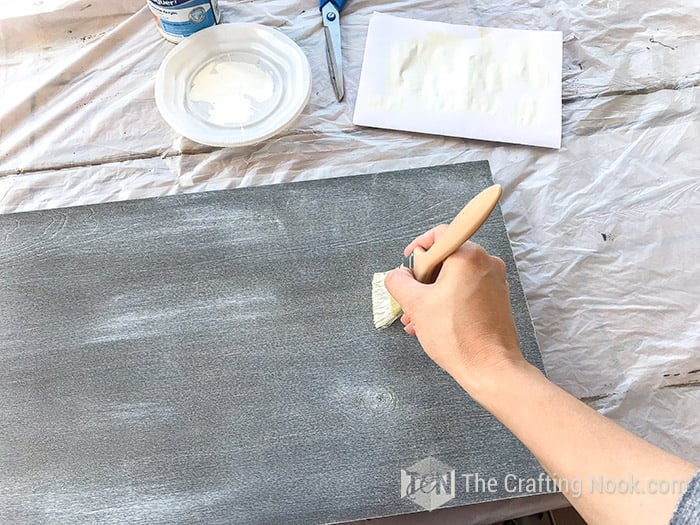
For this board, I made sure the dry brush was literal. because I wanted to create an effect in which it would get painted only the creases of the wood. If you get the brush too wet you will just create strong brush strokes. If that’s what you actually want then you are good wetting your brushes.
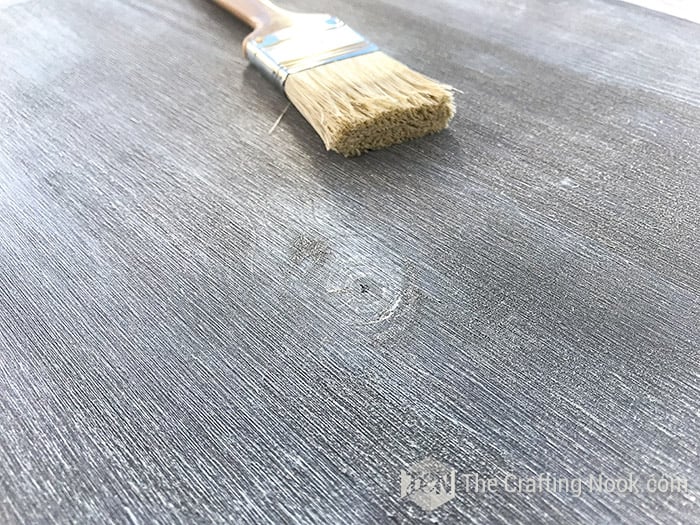
I dry brushed in both directions. Same as wood lines and across too. Again, it’s really important that your brush is really dry. I know it sounds crazy. Just dip the tips of your brush into the paint and then brush it off on a piece of paper. You will see it actually paints. LOL.

I let it dry between hands. I applied a couple of hands.
Finally, I applied some dry brush with the gray paint to darken the grey a bit but making sure I don’t remove the white. It’s like some touches.
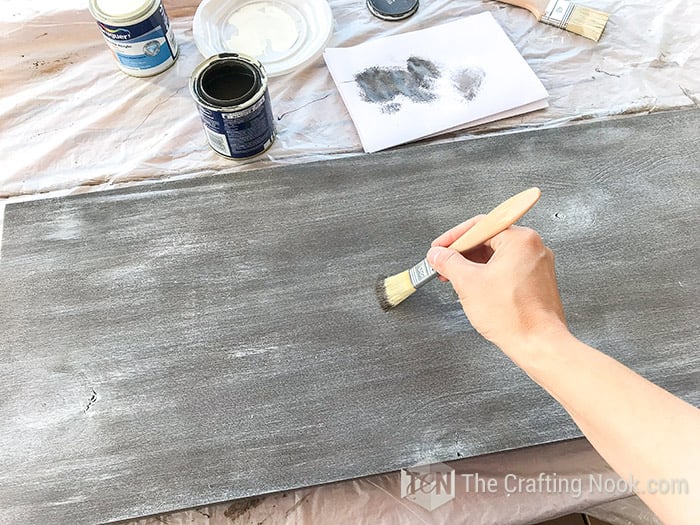
For the white boards, I still used the dry brush technique but this time a little more paint on the brush and less brushing off.
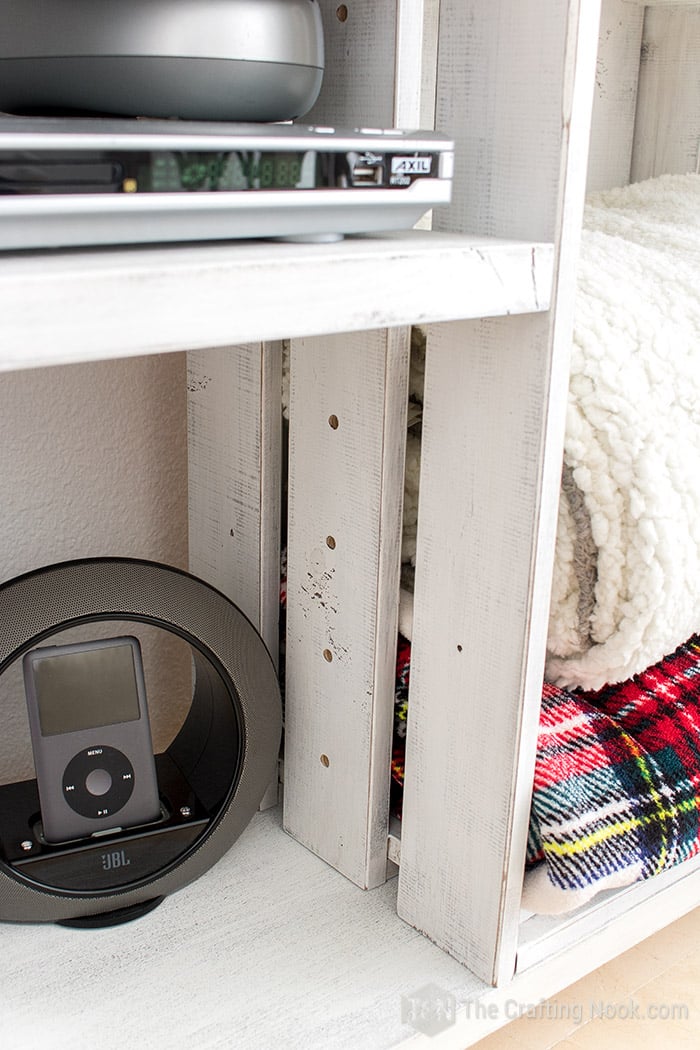
My intention was to actually turn it into white BUT with that aged effect letting the original string show up.
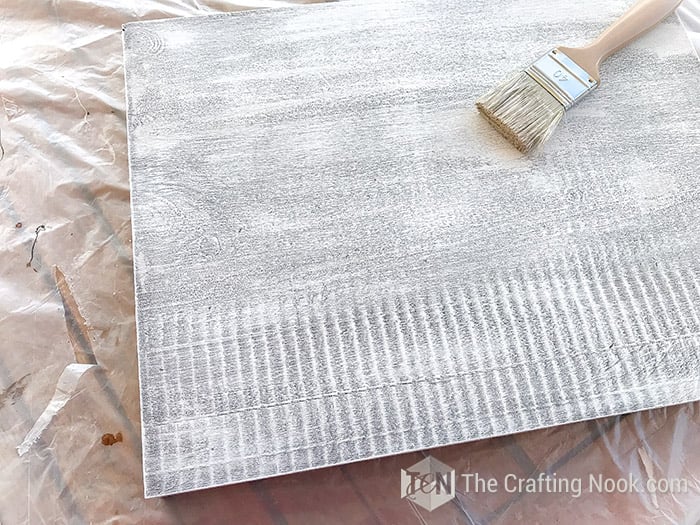

This took me about 3 hands and over a couple of hours drying between hands.
Let all the pieces dry well. Best overnight.
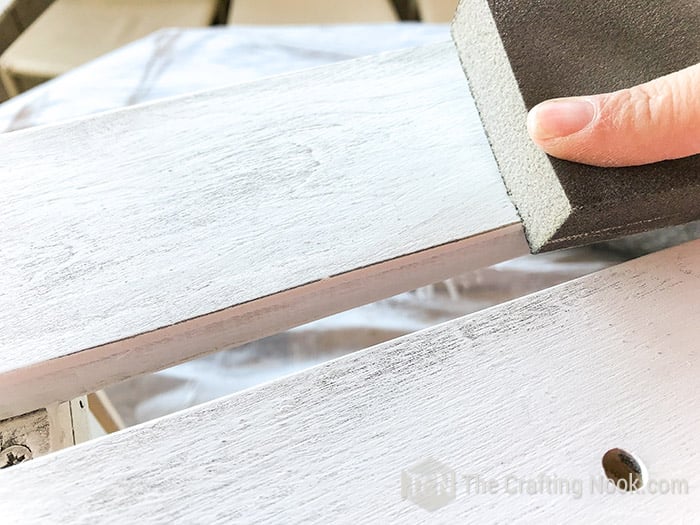
I used a high grit sand block to sand off paint excess on some points like edges and where I thought the paint covered too much. I really wanted a rustic aged look.
Time to seal and protect. It didn’t work for me to use a liquid sealer; the brush would drag the dry brushed paint. ¡¡¡¡NO FUN!!!! Instead, I used a heavy-duty spray sealer. Applied 2 coats on each piece and let it dry for about 30 min between coats and overnight after the last coat so the smell would disappear.
Step 4: Assembling the TV Stand.
Now to the fun part!
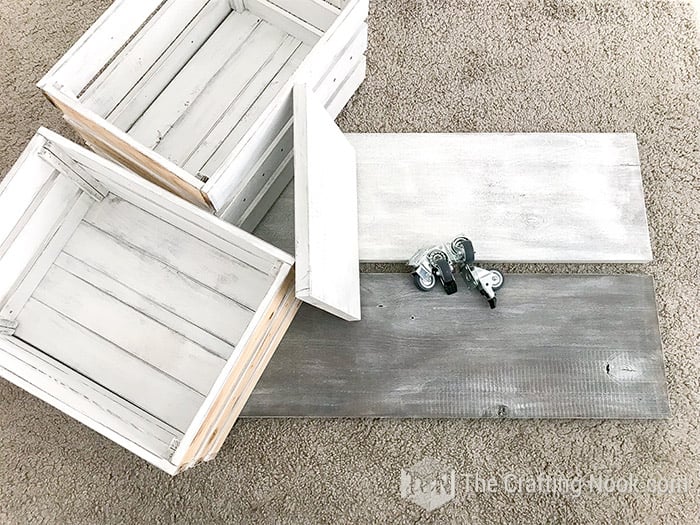
Decide the height you want the middle shelf to be and measure on the sides of your crates. Mark with a pencil.
Also, make sure both crates are facing the same side. You should measure the right side on one and the left side on the other.


Using a 3mm wood drill bit, make the holes where you marked.
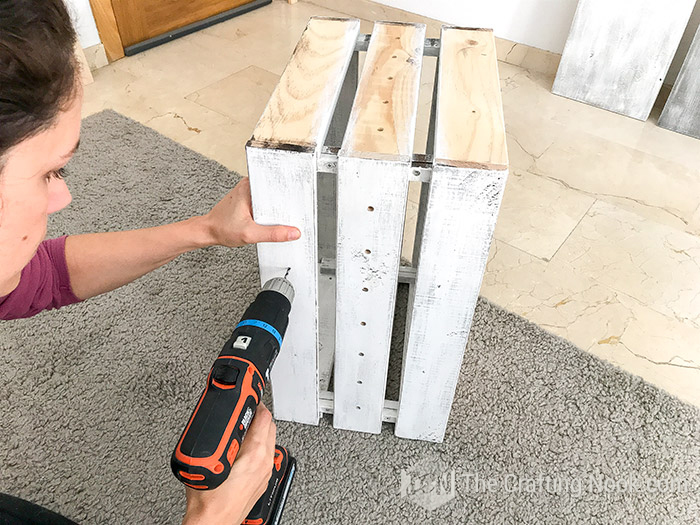
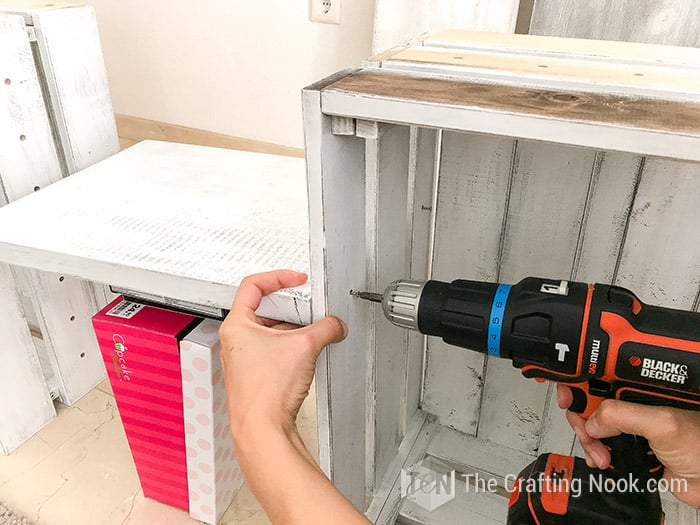
Screw your shelf board in place. I didn’t have help so you can see I piled up boxes and movie cases to hold the board LOL.
You could alternatively make pocket holes with a Kreg jig on the bottom side of the shelf board if you don’t want the screws to be visible inside the crates.
I didn’t use wood glue anywhere because my intention is to be able to disassemble it if I have to move out of this apartment.
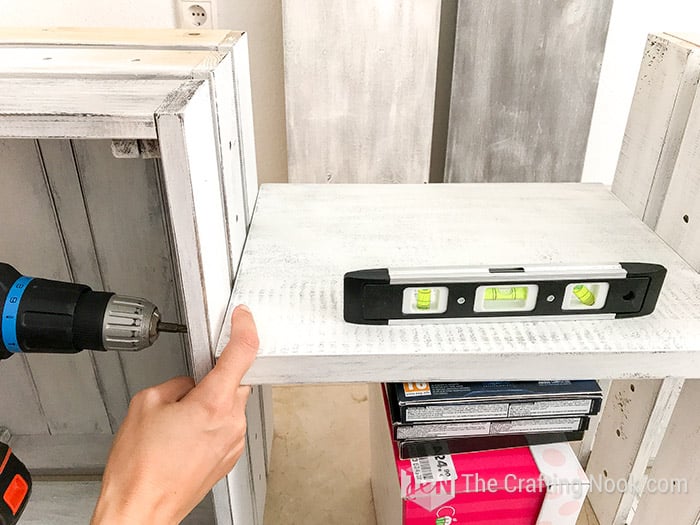
Once you have one side in place I recommend using a bubble level to make sure your shelf will be well leveled to screw the other side.

When you are done you will get something like this.
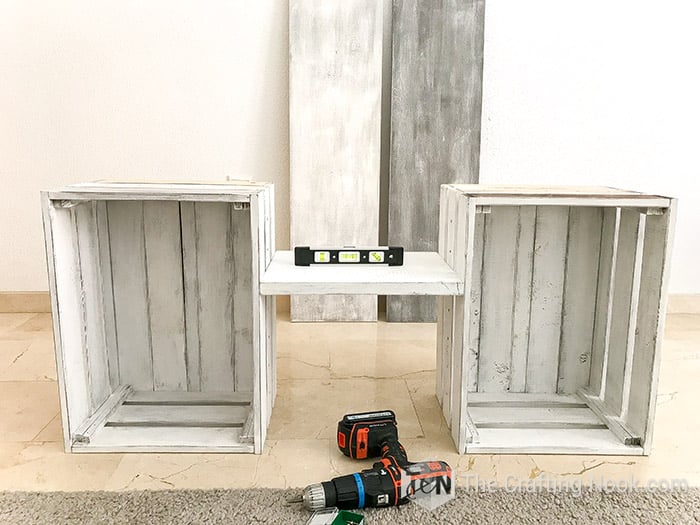
Lay your base board on the floor right side facing up and place the crates on top aligning front edges together.
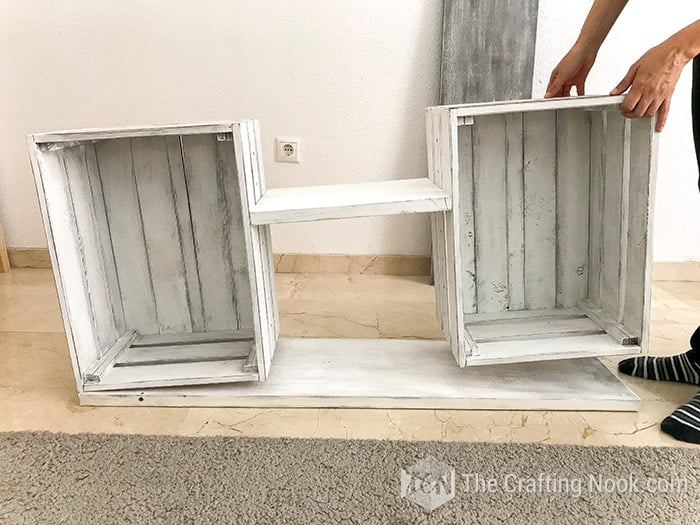
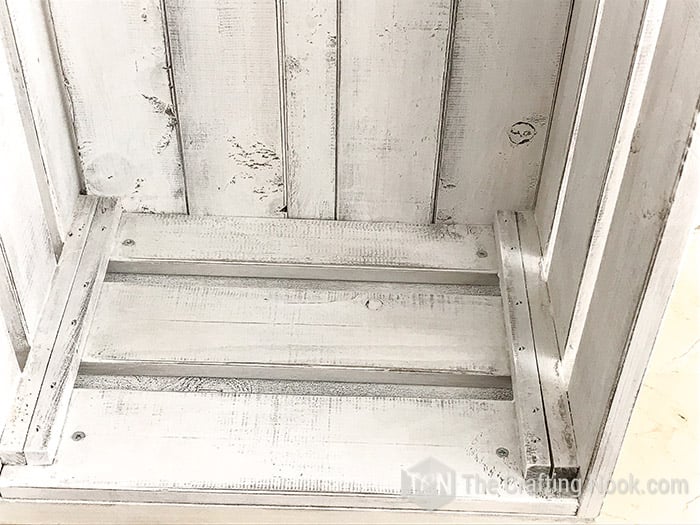
Screw the four corners of each crate to the base board.
Then lay your top board on top of crates with the pretty side facing up.
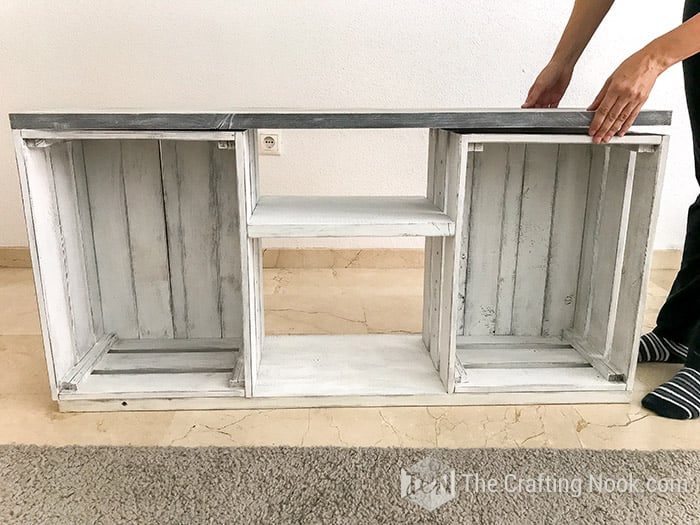
I left 150 mm extra from the edge on the front.

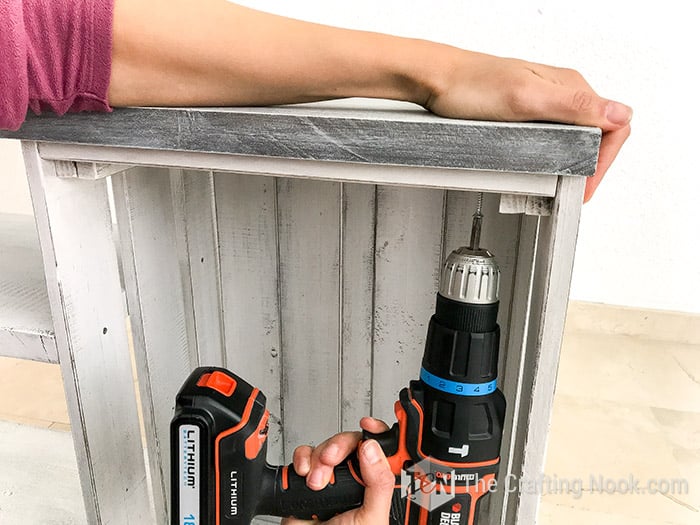
Again screw the four corners of each crate.
Step 5: Installing the wheels
Now, turn your table upside-down, and let’s install the wheels. I put the 2 with great on the left side.
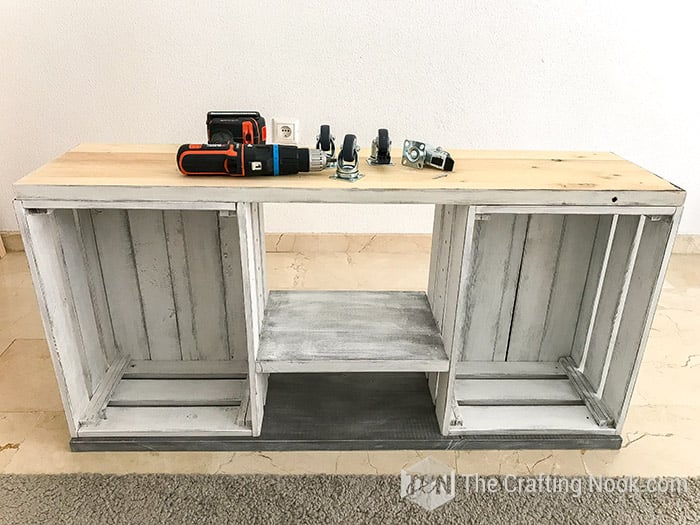
Mark the place where you want the wheels making sure you leave the same space between edges and the wheel frame on all 4 sides.
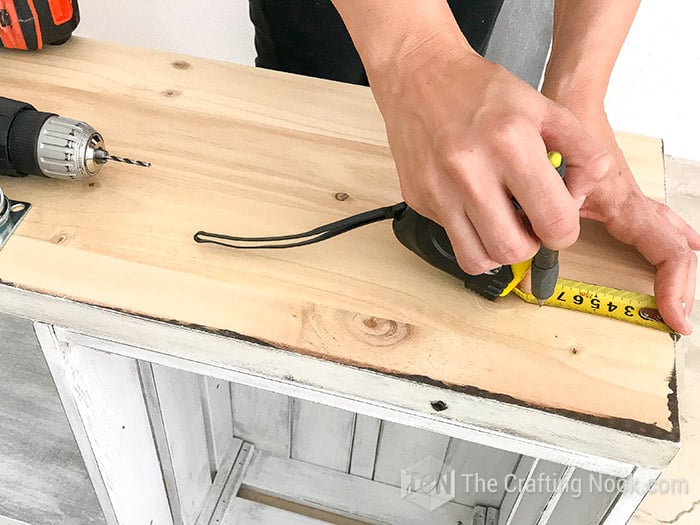

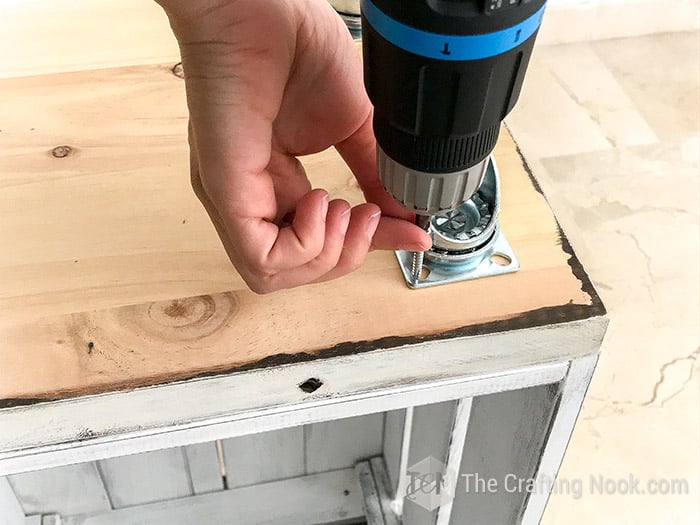
Screw the wheels in place.
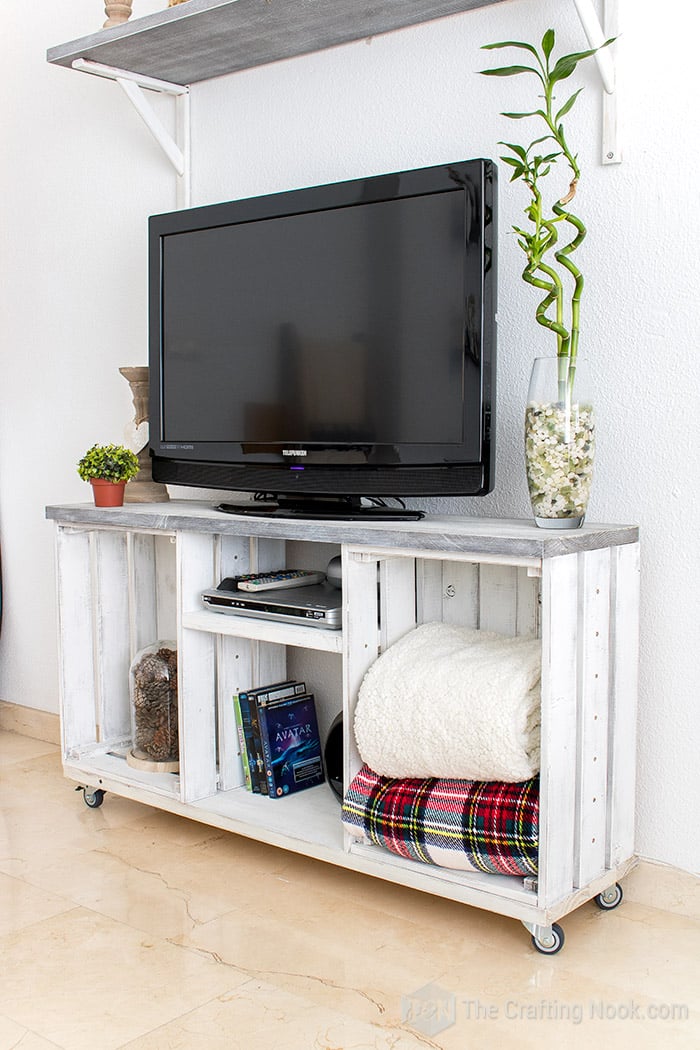
Put your Farmhouse TV Stand back up and you are done!!!!!
Woot!
Just put it where you want it and decorate it as you love it!!!!

I even made a shelf with the same gray technique to install on top and make it as my mantel since I don’t have a fireplace where I live. I LOOOOOOVE it.

What do you think? Isn’t it super easy?
Frequently Asked Questions
Besides a table you can build yourself, you can also use dressers, sideboards, small TV stands, short dressers, white entertainment centers, small tables, and so many other options.
To calculate the optimal height of your TV stand, measure the distance from the floor to the average sightline of viewers in your household. Once you have that number, subtract half of the TV’s height. Your TV stand should fall within an inch or two of the difference.
Console Table. If you’re struggling with whether you want to mount your TV on the wall or if you want to get a TV stand, a console table will give you the best of both worlds!
More Furniture and WoodWorking projects to Try
If you like this DIY Farmhouse TV Stand tutorial you might also LOVE these other woodworking project ideas too:
✂️ Tutorial

Easy Diy Farmhouse Tv Stand Tutorial
Tools
- Drill bit (3mm)
- Screw driver
- Bubble level.
Supplies
- 2 long pine wood boards
- 2 large crates
- 1 Small pinewood board Size follows: length of long pine boards – both crates width – 3-5 mm = small board.
- 4 wheels I used 2 with break and 2 without.
- Wood Screws it will depend on the wood you use but I used 3.5 x 30 EU or 6 x 1 14/ USA
Instructions
STEP 1: PREP WORK
- Ok let’s start with the sizes. what we did was basic math. We sum the width of both crates then substrates it from the total length of the long boards. we had to fix the margins of error since crates are not perfect and it was not fitting perfectly between both long boards.
- We sanded about 5 mm from the small board (shelf). You might want to subtract about 3-5 mm from the small board length so you don’t have to sand it so much.
STEP 2: STAINING THE LONG TABLE PIECES
- As an overview of the painting, I decided to go with aged grey (limewashed look) for the top board and aged white (Distressed look) for the rest. You can find detailed tutorials on those techniques in the links provided.
- So I prep my wood, Sanding, and clean.
- Then stained the top board with gray paint diluted with water.
- The rest of the wood pieces were stained with walnut wood stain.
- Let them dry well.
STEP 3: DRY BRUSHING THE MAIN TV TABLE PIECES
- Once dry I started with the top board. I dry brushed cotton white paint all over the board, top and bottom.
- For top board board, I made sure the dry brush was literal. because I wanted to create an effect in which it would get painted only the creases of the wood. If you get the brush too wet you will just create strong brush strokes. If that’s what you actually want then you are good wetting your brushes.
- I dry brushed in both directions. Same as wood lines and across too. Again it’s really important that your brush is really dry. I know it sounds crazy. Just dip the tips of your brush into the paint and then brush it off on a piece of paper. You will see it actually paints. LOL.
- I let it dry between hands. I applied a couple of hands.
- Finally, I applied some dry brush with the gray paint to darken the grey a bit but making sure I don’t remove the white. It’s like some touches.
- For the white boards, I still used the dry brush technique but this time a little more paint on the brush and less brushing off.
- My intention was to actually turn it into white BUT with that aged effect letting the original string show up.
- This took me about 3 hands and over a couple of hours drying between hands.
- Let all the pieces dry well. Best overnight.
- I used a high grit sand block to sand off paint excess on some points like edges and where I thought the paint covered too much. I really wanted a rustic aged look.
- Time to seal and protect. It didn’t work for me to use a liquid sealer, the brush would drag the dry brushed paint. NO FUN!!!! Instead, I used a heavy-duty spray sealer. Applied 2 coats on each piece and let it dry for about 30 min between coats and overnight after the last coat so the smell would disappear.
STEP 4: ASSEMBLING THE TV STAND.
- Decide the height you want the middle shelf to be and measure on the sides of your crates. Mark with a pencil.
- Also, make sure both crates are facing the same side. You should measure the right side on one and the left side on the other.
- Using a 3mm wood drill bit, make the holes where you marked.
- Screw your shelf board in place. I didn’t have help so you can see I piled up boxes and movie cases to hold the board LOL.
- You could alternatively make pocket holes with a Kreg jig on the bottom side of the shelf board if you don’t want the screws to be visible inside the crates.
- I didn’t use wood glue anywhere because my intention is to be able to disassemble it if I have to move out of this apartment.
- Once you have one side in place I recommend using a bubble level to make sure your shelf will be well leveled to screw the other side.
- Lay your base board on the floor right side facing up and place the crates on top aligning front edges together.
- Screw the four corners of each crate to the base board.
- Then lay your top board on top of crates with the pretty side facing up.
- I left 150 mm extra from the edge on the front.
- Again screw the four corners of each crate.
STEP 5: INSTALLING THE WHEELS
- Now, turn your table upside-down, and let’s install the wheels. I put the 2 with great on the left side.
- Mark the place where you want the wheels making sure you leave the same space between edges and the wheel frame on all 4 sides.
- Screw the wheels in place.
- Put your Farmhouse TV Stand back up and you are done!!!!!
I would love to hear your thought on this in comments.
Some DIY TV Stand ideas I love from my favorite bloggers:
- How to Build a Farmhouse TV Console by Remodelaholic.
- Easy DIY Barn Door TV Console Tutorial by Shanty 2 Chic.
- DIY Pallet TV Stand by Preparing for Peanut.
If you enjoyed this tutorial, don’t forget to PIN and share it with friends.
Til’ next time…


FREE WORKBOOK
Keeping your Sweet Home Organized
Learn how to create intentional habits and simple routines to Keep Your Home Organized. Plus freebies, printables, exclusive content, and tips.
Disclaimer: By clicking on the “Yes” button above you are giving me your consent to collect and use your information according to the law and My Policy Privacy. Zero Spam I promise!


