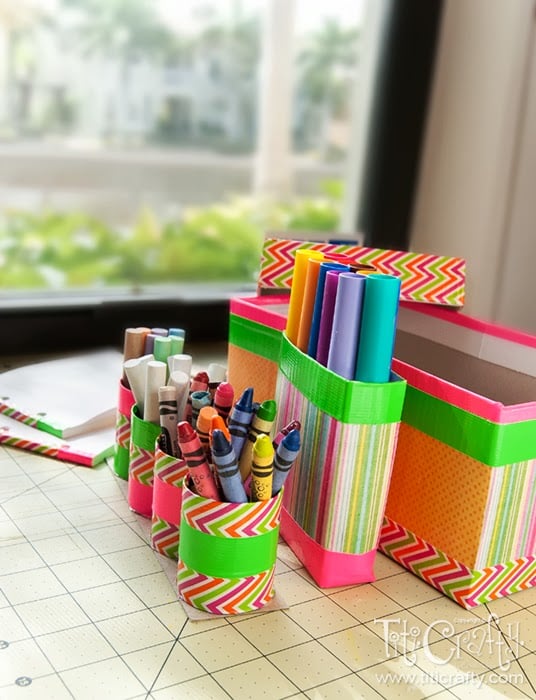
DIY Duck Tape® Art Kit!
It’s Back to School Season and my little girl isn’t going to school yet but she just loves to paint and learn the colors, letter, and shapes. I’m so eager to buy school supplies that I can’t stop thinking of ways to start teaching her different things. That’s why making this Duck Tape® Art Kit made me sooo happy, for once, I could have the best of both worlds: working with her in her favorite activity and keeping everything organized in one place yayyy!
Easy Duck Tape® Art Kit!
This is a Sponsored post written by me on behalf of Walmart for SocialSpark. All opinions are 100% mine.
I have to confess, this is the first time I use Duck Tape® ever or any decorated tape for that matter. So, I think you can imagine how excited I was when I got to Walmart and saw all the amazing variety of designs and colors they have OMG!. It was deadly difficult to choose. I spent like more then an hour just to choose a few rolls. As soon as I got home I made a few tryouts just to see how it works and let me tell you it’s awesome!.
This post may contain affiliate links. Please read our Disclosure Policy.
I love the texture. It’s strong and flexible so you can make straight lines with it which is perfect for matching one line next to the other and to follow edges. It completely covers surfaces. I don’t think I could go to Walmart without buying at least one…umm ok maybe two…
Many of you know that I love repurposing and recycling, so for this project I used a shoe box, a medicine box and TP tubes as bases. Also used white glue, scrapbook papers and of course Duck Tape®.
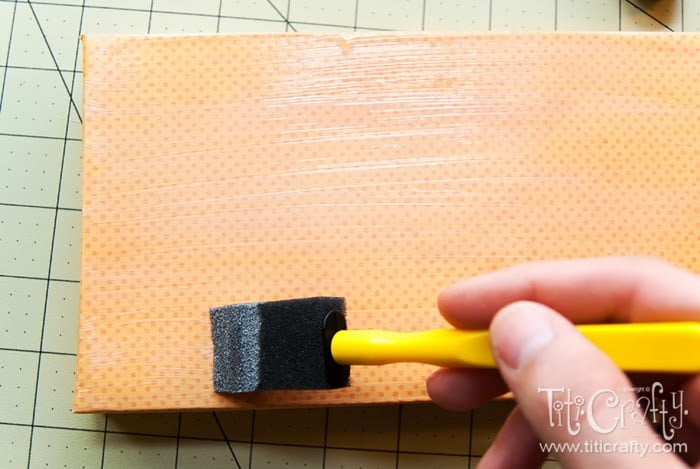
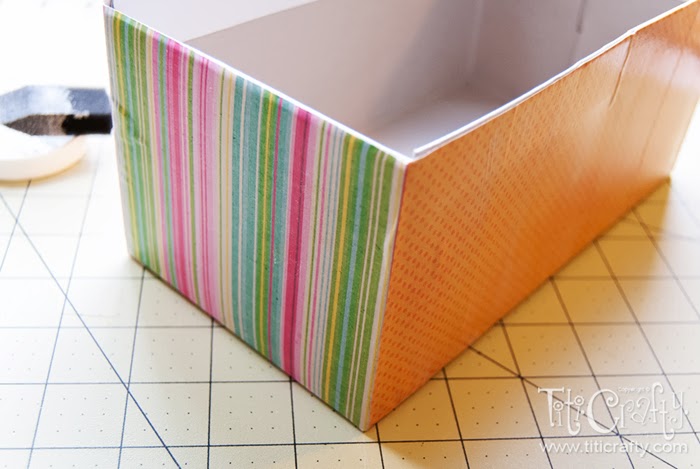
The first thing I did was cover the shoe box with scrapbook papers and white glue.
Of course, I sealed all the paper with glue so it would be more resistant.
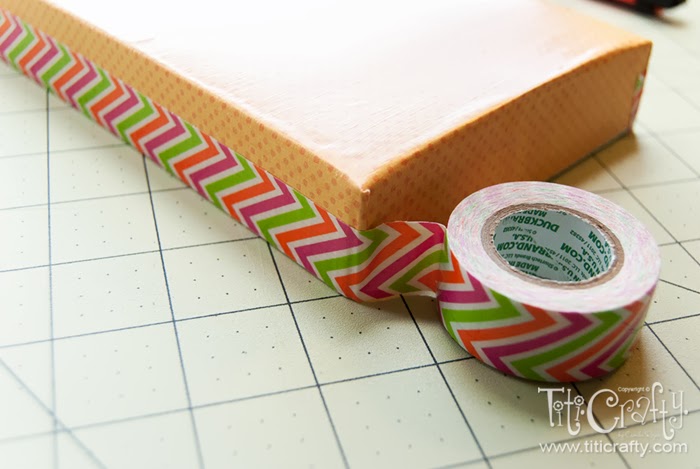
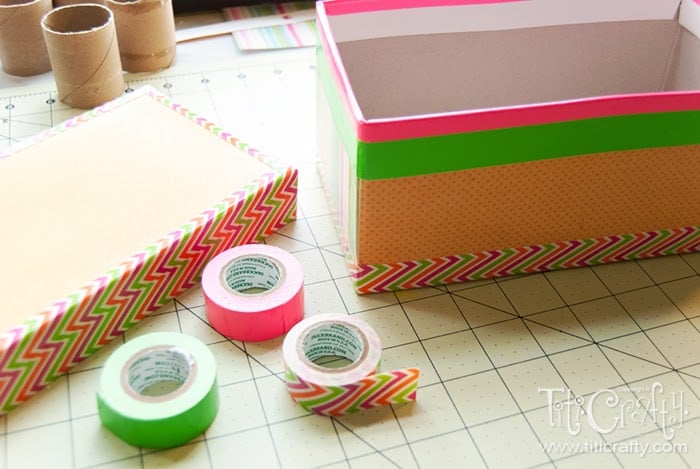
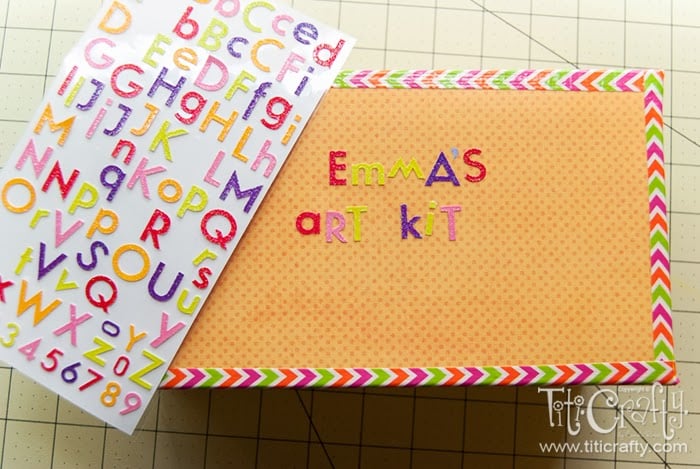
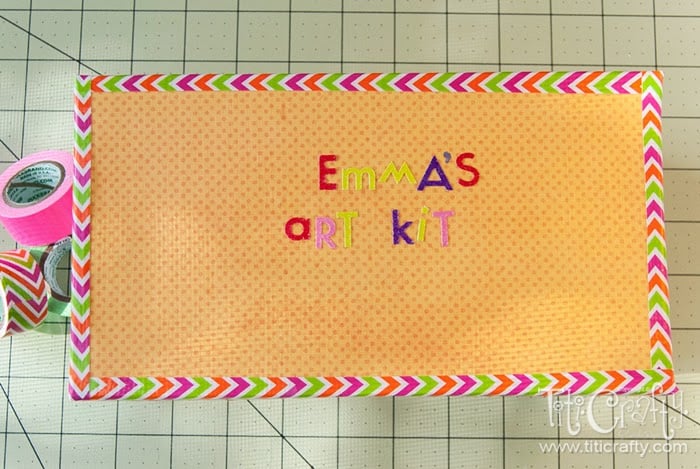
As soon as it was dry, I wrapped the edges of the box and the lid with the chevron Duck Tape®. It looks so cute.
On the lid, I used some letter-shaped stickers to label it.
Then I cut the TP tubes in half.
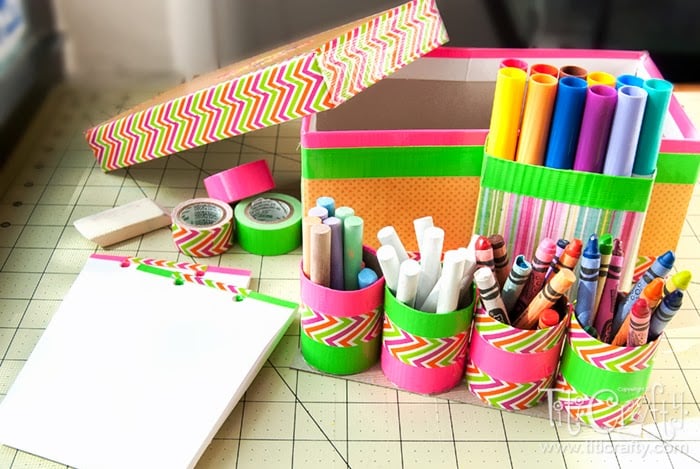
I started to wrap them with the Duck Tape® coordinating the chevron one with the plain pink and lime ones. I love how they turned out.
Since the plan was to use these, as crayon and Chalk holders I cut a strip of cardboard and glued every TP tube to it with hot glue gun to have a base underneath.
For Emma’s markers, I used the medicine box and did the same process as in the shoe box. First cover with paper, seal it and then applied the Duck Tape® on the edges.
Last but not least, I made some drawing pads with regular white paper. I cut a bunch of paper in 4 parts {same sizes} and then I made two piles.
With a paper punch I made a couple of holes in each pile. Make sure all the holes are in the same place. Then I cut thin strips of Duck Tape® to insert them trough those holes and fasten all the pages together.
Once all 4 holes were secured, I wrapped the edges with more Duck Tape® so it would look like the spine of a notebook =D.
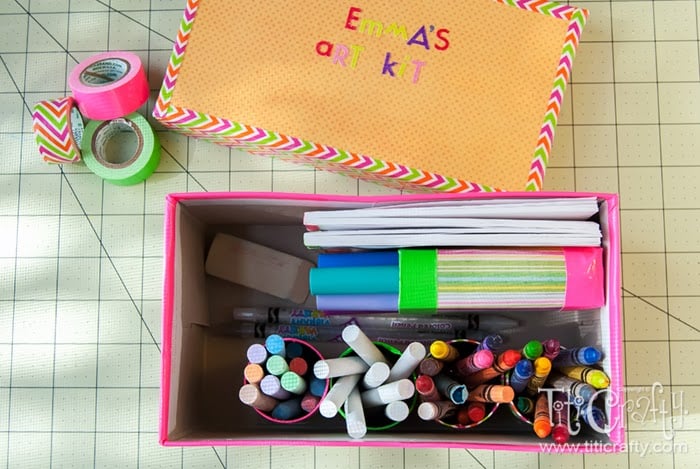
And Tadaaaaa done!!! I put everything inside and closed the box. I couldn’t believe everything was actually inside one place LOL.
Confession, I had to cut a bit of the edges of the pads so they would fit inside the box.
What do you think? Cute or what???
Emma loved it too!
Now your turn my lovely readers, what have you done for your kids for back-to-school season?
What other things have you done with these amazing Duck Tape® products? Did you know you could follow them @TheDuckBrand for tons of creative inspiration? Oh Yeah! Awesome!!! And also you can check out all their designs and buy Duck Tape at Walmart
Til’ next time…


FREE WORKBOOK
Keeping your Sweet Home Organized
Learn how to create intentional habits and simple routines to Keep Your Home Organized. Plus freebies, printables, exclusive content, and tips.
Disclaimer: By clicking on the “Yes” button above you are giving me your consent to collect and use your information according to the law and My Policy Privacy. Zero Spam I promise!


