Craft from the Past. Earrings Holder, SO EASY and SO USEFUL!!!
This post may contain affiliate links. Please read our Disclosure Policy.
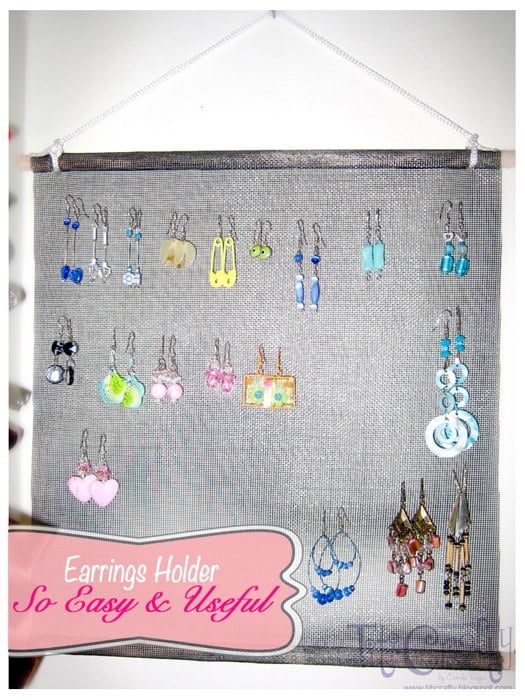
So… Look what I found in my back ups!!!!. I made this Earrings Holder years ago when still living in Venezuela to keep all my earrings organized and easy to reach. This is and easy and useful craft from the past LOL.
Craft from the Past. Earrings Holder, SO EASY and SO USEFUL!!!
What happens? When we have boxes or little drawers where we keep our jewelry we usually forget we even have most of them. We keep buying or making new ones and the old ones get lost. Has that happened to you?.
Probably if I wanted to make it again I’d decorate it a bit more. But at that moment I just made something simple and useful and I wasn’t looking for fashion hahaha.
It is super easy to make you just need 2 wooden or plastic sticks of about 30 cm (12”), plastic mosquito net, cord (or ribbon) and hot glue.
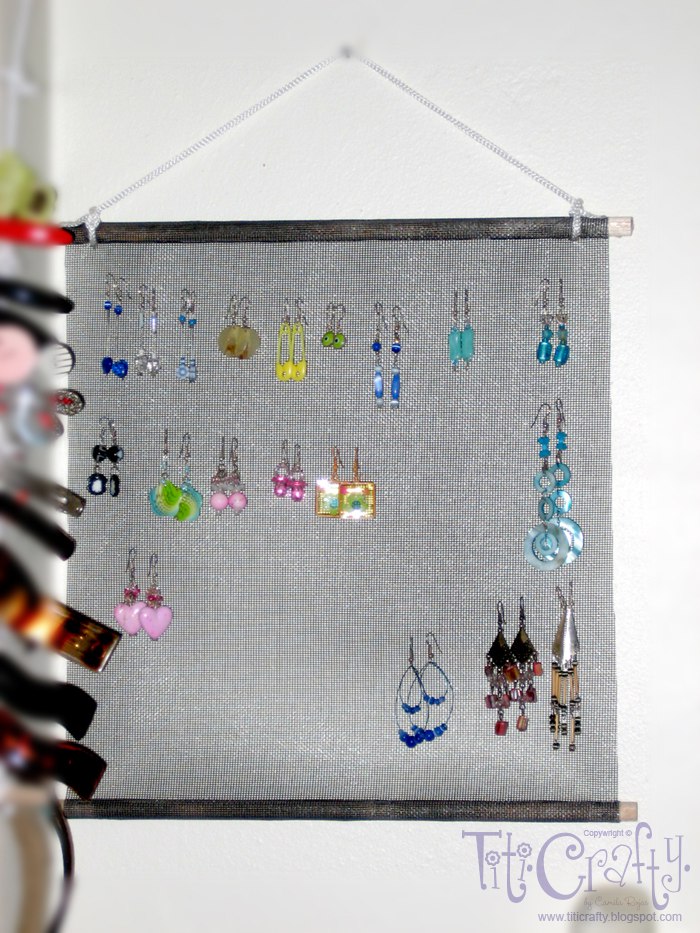
Just cut the net a bit narrower than the sticks and as long as you want it. Once you have the piece of net you need you have to roll one end of net a couple of loops around the stick and add a line of hot glue along the stick to attach them.
Do it on both ends of the net. Then cut a piece of cord or ribbon and tie them to both ends of one stick.
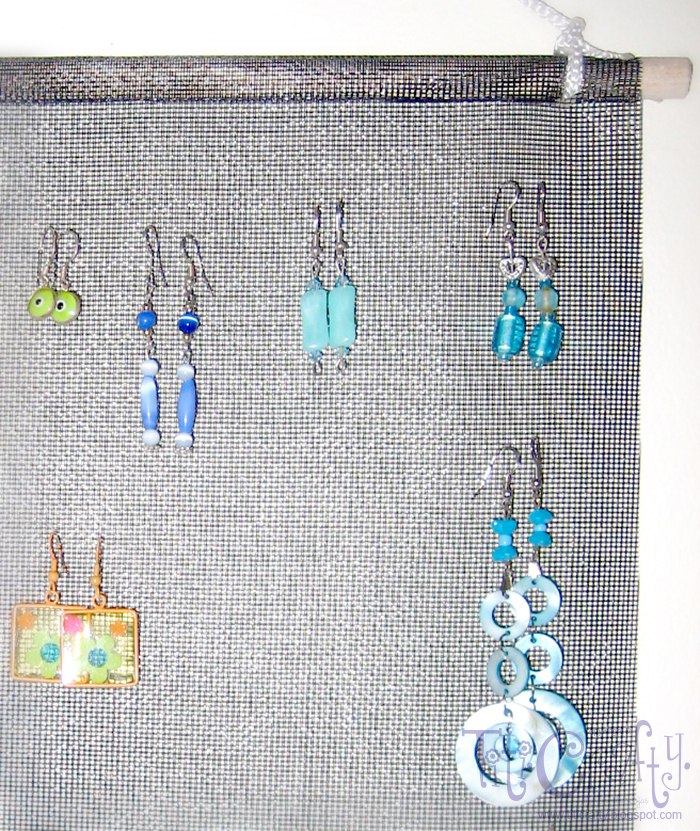
That is it!… Just hang your earrings!
I’ll try to make a new one here in Colombia since I’ve got a lot of earrings =P and I have them in a travel holder. It is actually cute, white and transparent, it looks very nice but it is not that easy to reach if you have that many.


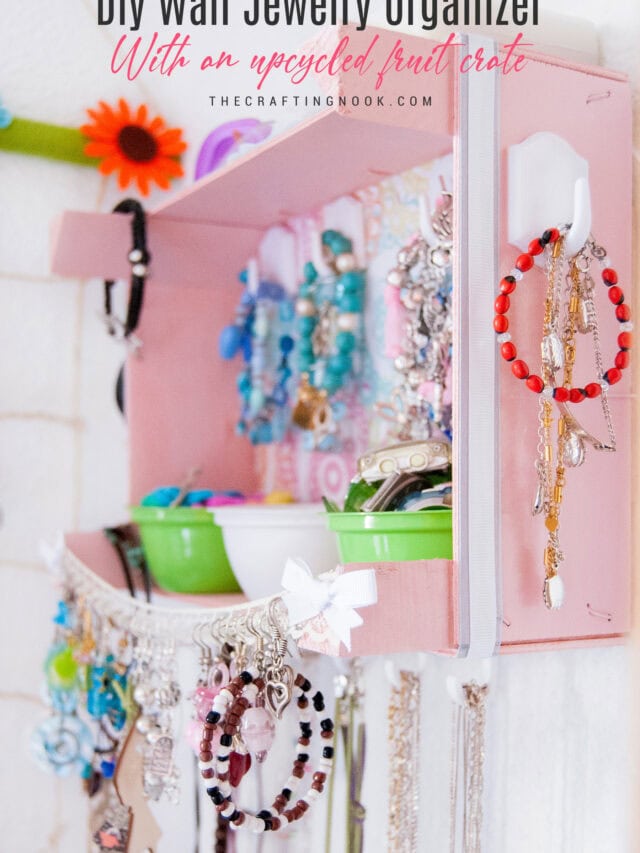
My crafty earring holder is something I have in my To {Re}Do list of projects. I’m planning on doing my Earring Holder cuter and functional. What do you think?
What do you think, have you tried something like this before???
If you liked this projects, you might also like these too:
Til’ next time…


FREE WORKBOOK
Keeping your Sweet Home Organized
Learn how to create intentional habits and simple routines to Keep Your Home Organized. Plus freebies, printables, exclusive content, and tips.
Disclaimer: By clicking on the “Yes” button above you are giving me your consent to collect and use your information according to the law and My Policy Privacy. Zero Spam I promise!