DIY Owls Charm Bracelet and Earrings
This post may contain affiliate links. Please read our Disclosure Policy.
Are you a total owl lover? Then you’ll want to check out this adorable and easy DIY owl charm bracelet and earrings tutorial! Get ready to show off your new accessories and be the talk of the town… or school… or library!
I’m so into crafty jewelry and I also crazy love owls! I love making them as much as I enjoy seeing them on Pinterest or on other blogs.

Most of you know well how much I love owls, right??? So, I really love how this simple diy charm bracelet turned out.
Table of Contents
DIY Charm Bracelet and Earrings with Owls
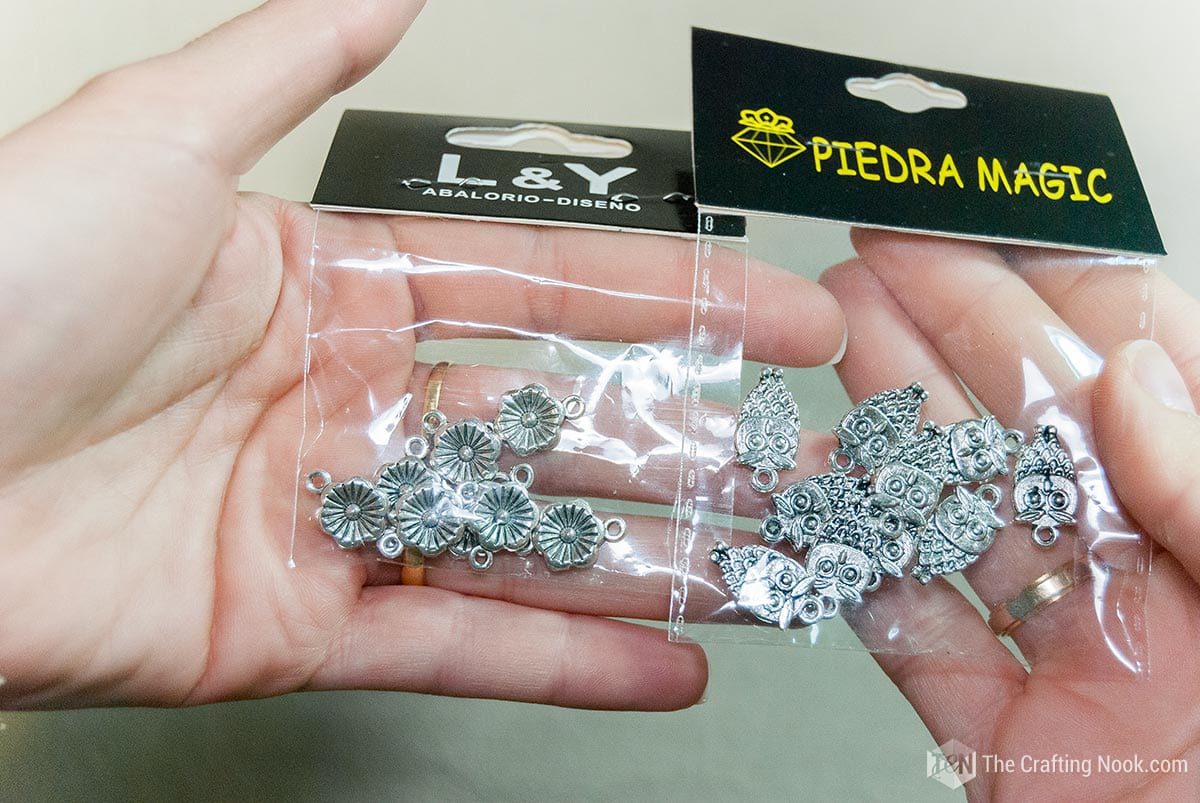
I found these cute owls charms and flower connectors in my local craft store and I just could not resist the temptation of buying them and making something really cute.
I love how it turned out and I use it very often!!!…
The best part of this diy bracelet is that it’s super easy to make and inexpensive, and makes a great and unique gift idea, let me show you.
How to make this DIY Charm Bracelet and Earrings
Whether you’re a seasoned crafter or a newbie looking for a fun project, this tutorial is perfect for you. So grab your supplies and let’s get ready to create some seriously cute accessories that will make you the envy of all your friends!
Learn here how to make some adorable owl charm jewelry.
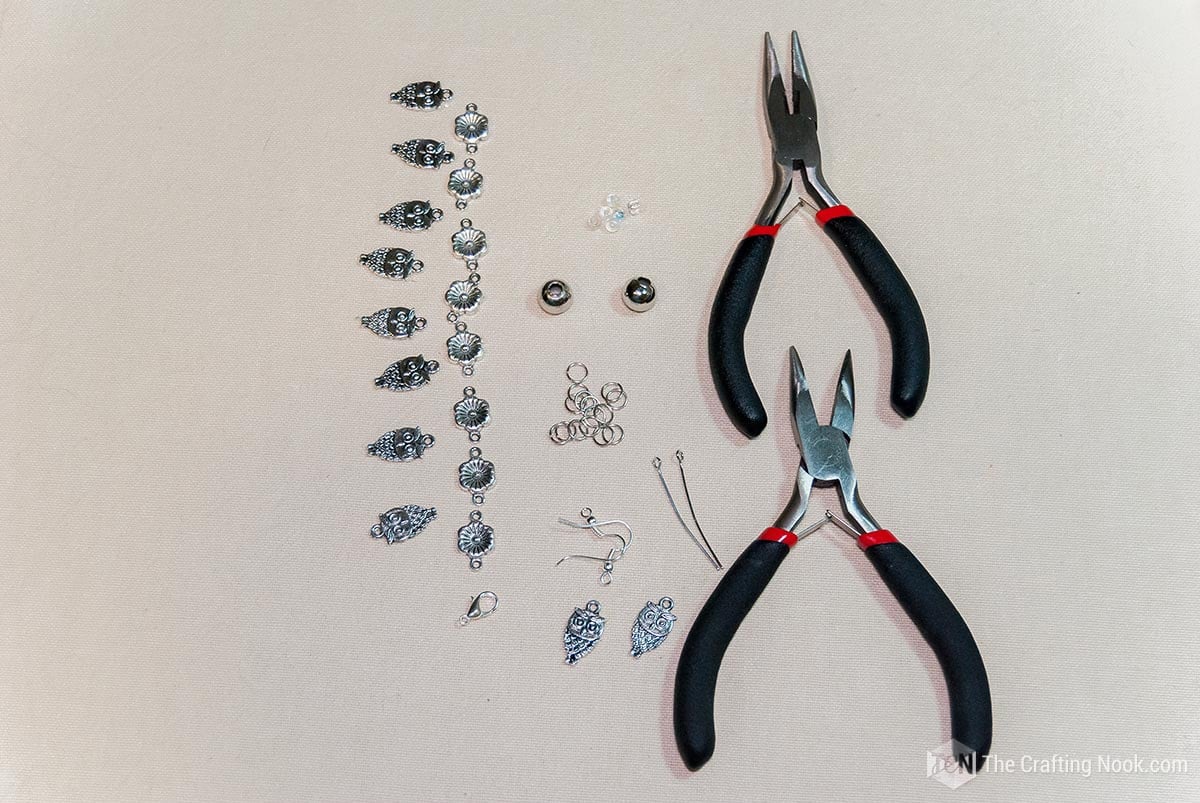
Supplies:
- Owl charms (about 10 or so) – or your favorite ones.
- Connectors (about 8 or so) – I used cute flowers but feel free to use your favorite ones.
- Jump Rings (about a dozen) – 5 to 6 mm.
- 1 lobster clasp.
- 2 eye pins.
- 2 earring fishhooks
- 4 2mm clear beads
- 2 8mm metal beads
Tools:
- Round nose pliers
- Bend flat nose pliers
- Flat nose pliers
Instructions:
The Bracelet
For the bracelet, I started joining the connectors with jump rings until I reached the length I needed.
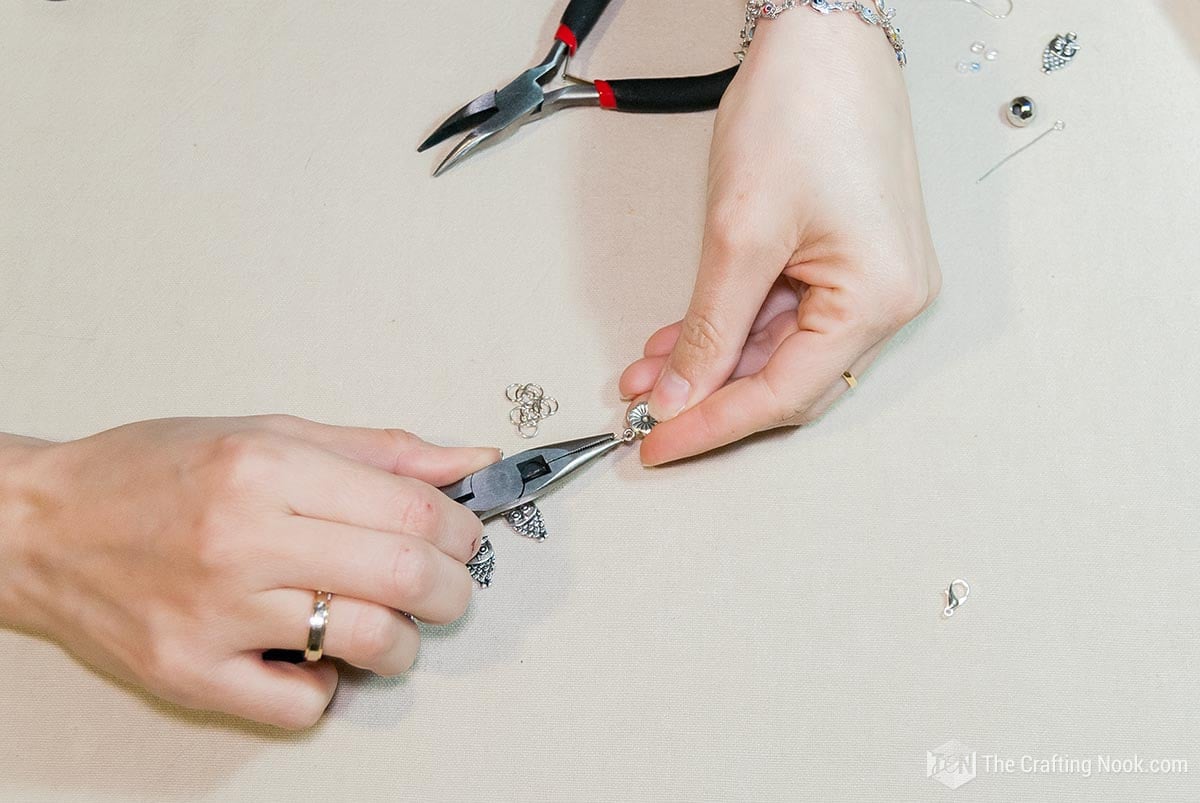
For this, you open the jump ring using 2 pliers (preferably flat) slightly pushing one forward and the other towards you.
Insert 2 connectors (flowers) and with the same technique, close the jump ring but backward.
Make sure you insert the connector facing the same side if yours are like mine and the other side was completely flat.
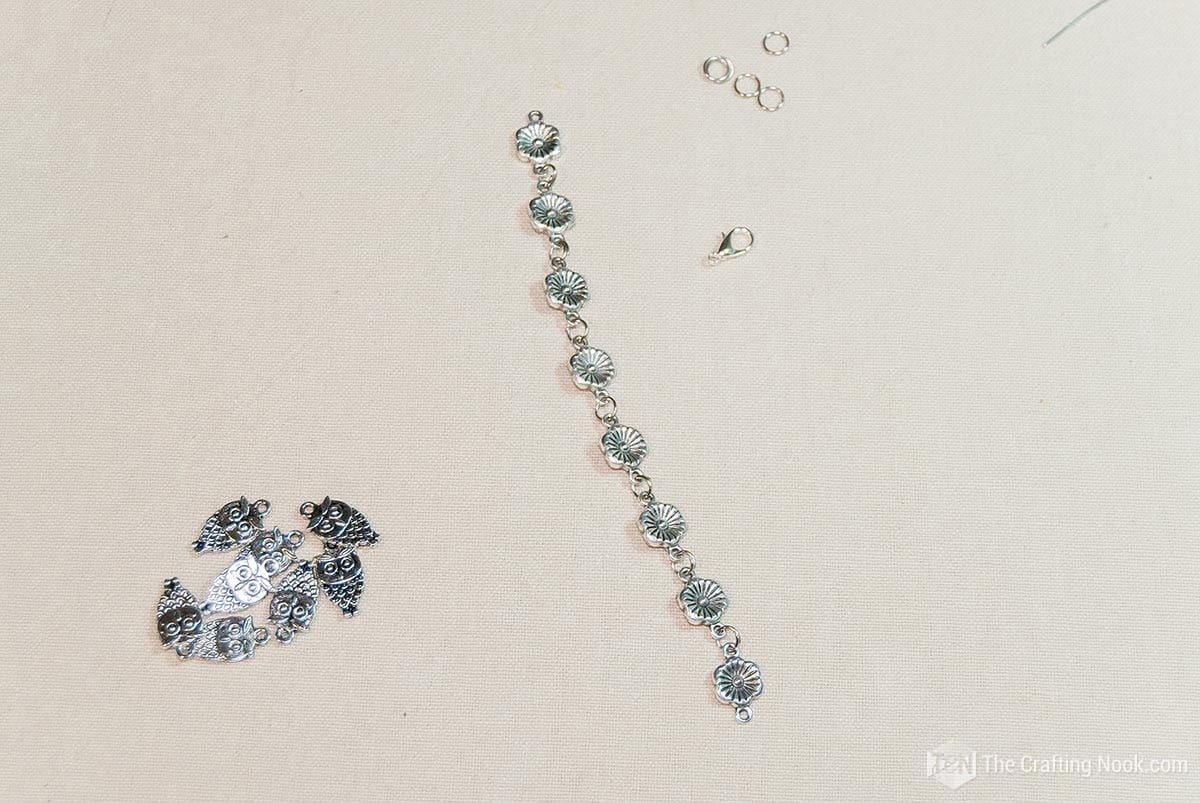
It should look something like follows:

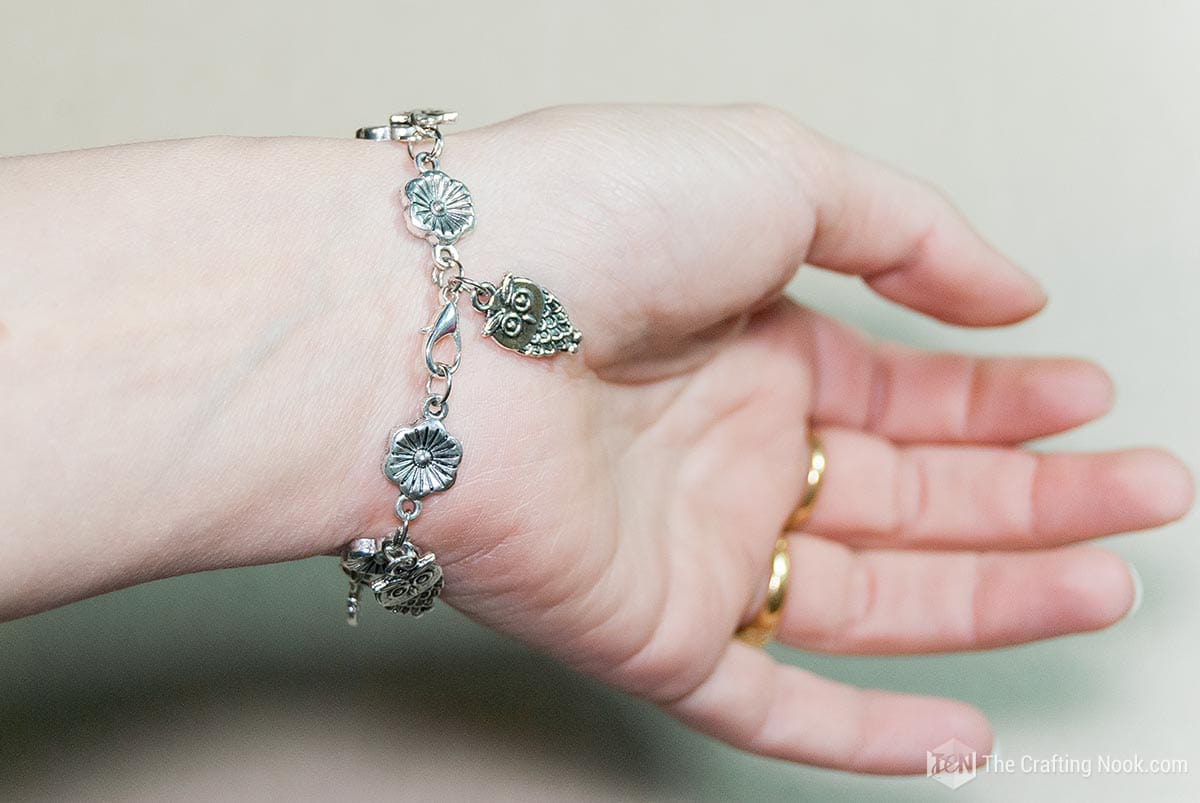
When you reached the desired length of your bracelet it’s time to install the clasp.
I usually use double jump rings for this because it makes it more difficult to slip out.

And finally, I added the pendants hanging them with jump rings.
Here again, use the same technique described above to open and close the jump rings.
Also, make sure all the pendants face correctly. In my case, they were the same on both sides, so I was good.
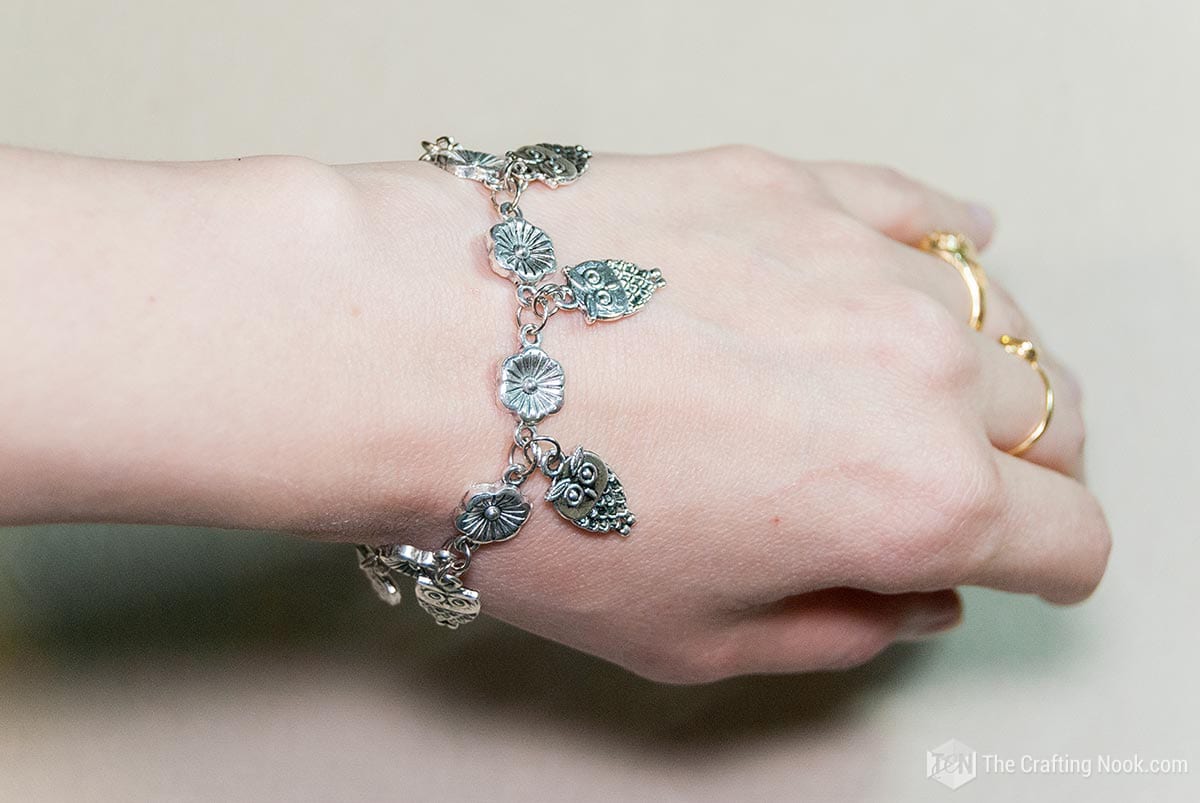
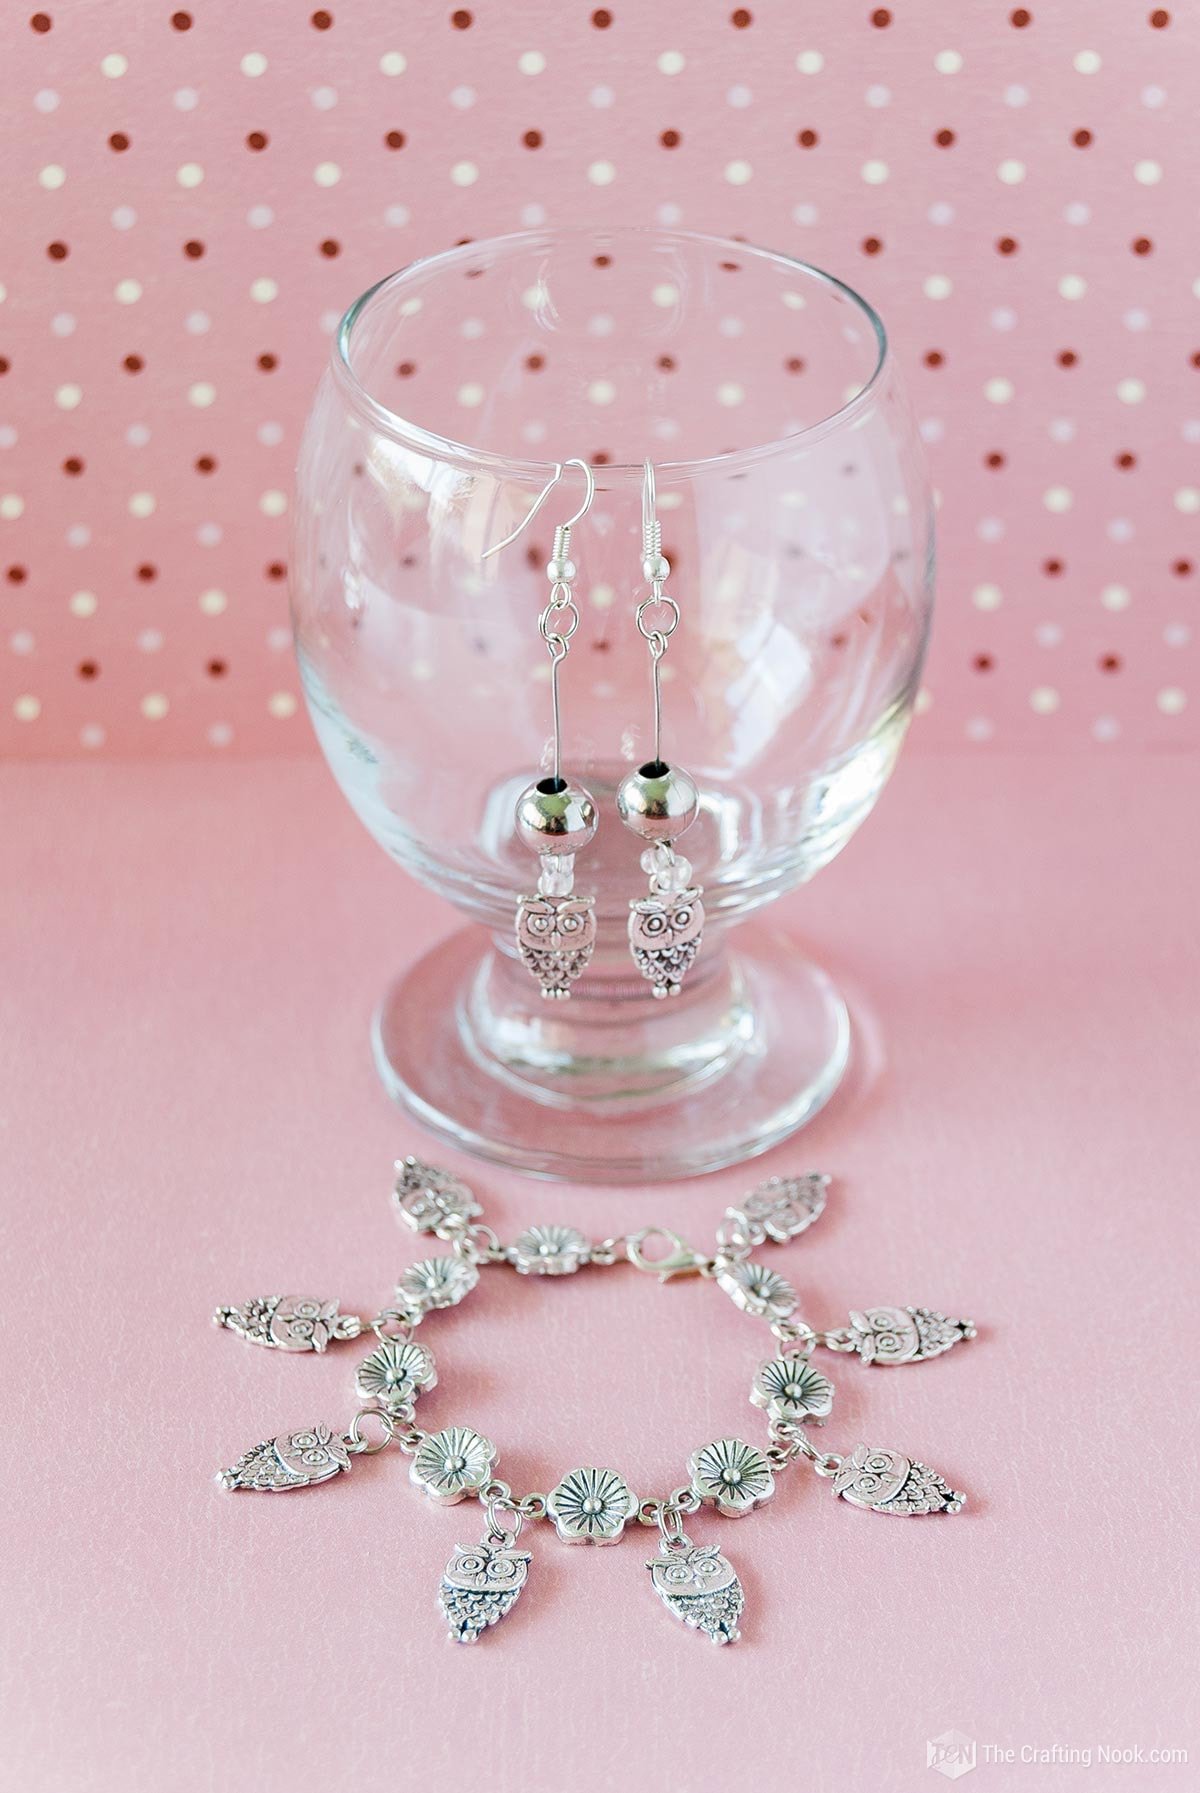
Done!!! You got yourself a gorgeous diy charm bracelet!

The Earrings
A quick disclosure, back when I made these pieces I didn’t have all the jewelry-making tools. So I had to make it work. The reason I still share it is because I wanted you to see that even if you don’t have all the tools, you can still do this. My eye pins didn’t turn out perfect but they worked!
Now for the earrings, I started with the eye pins. I made another eye on the other end with needle nose pliers (again I didn’t have the round nose pliers yet).
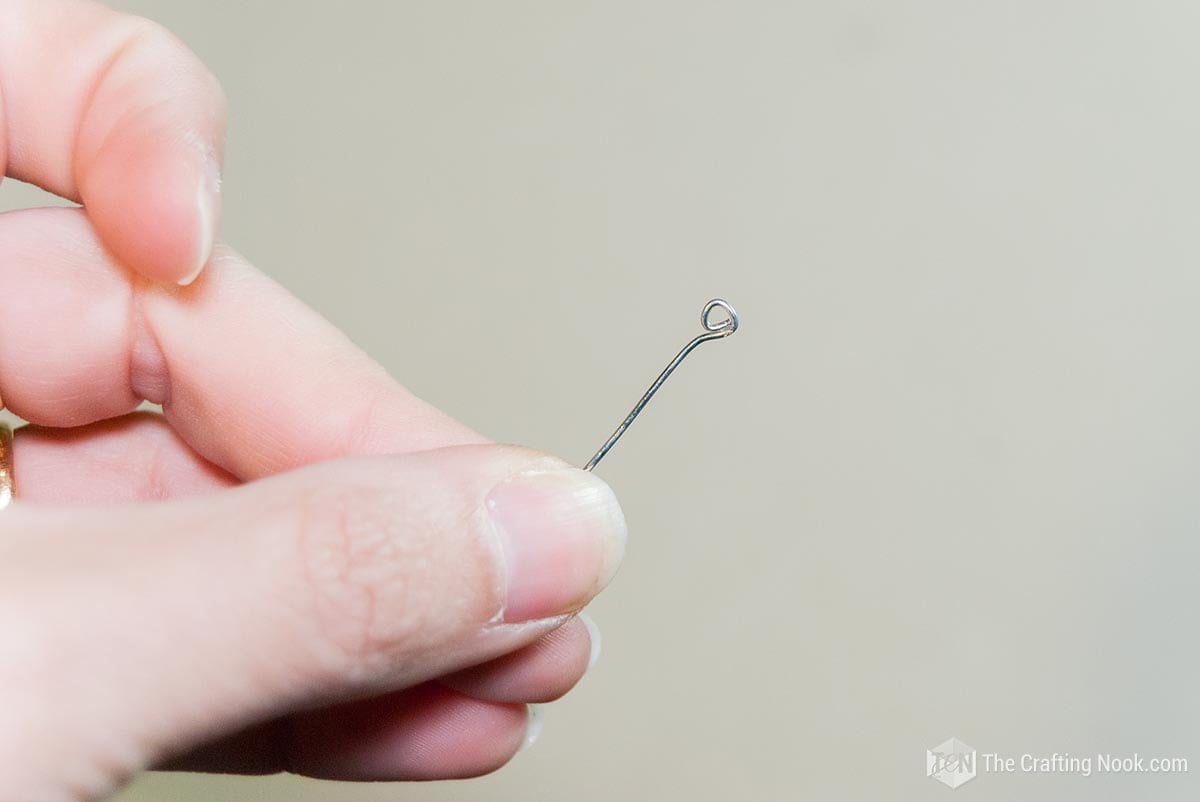
As you can see not perfect but it did the trick.
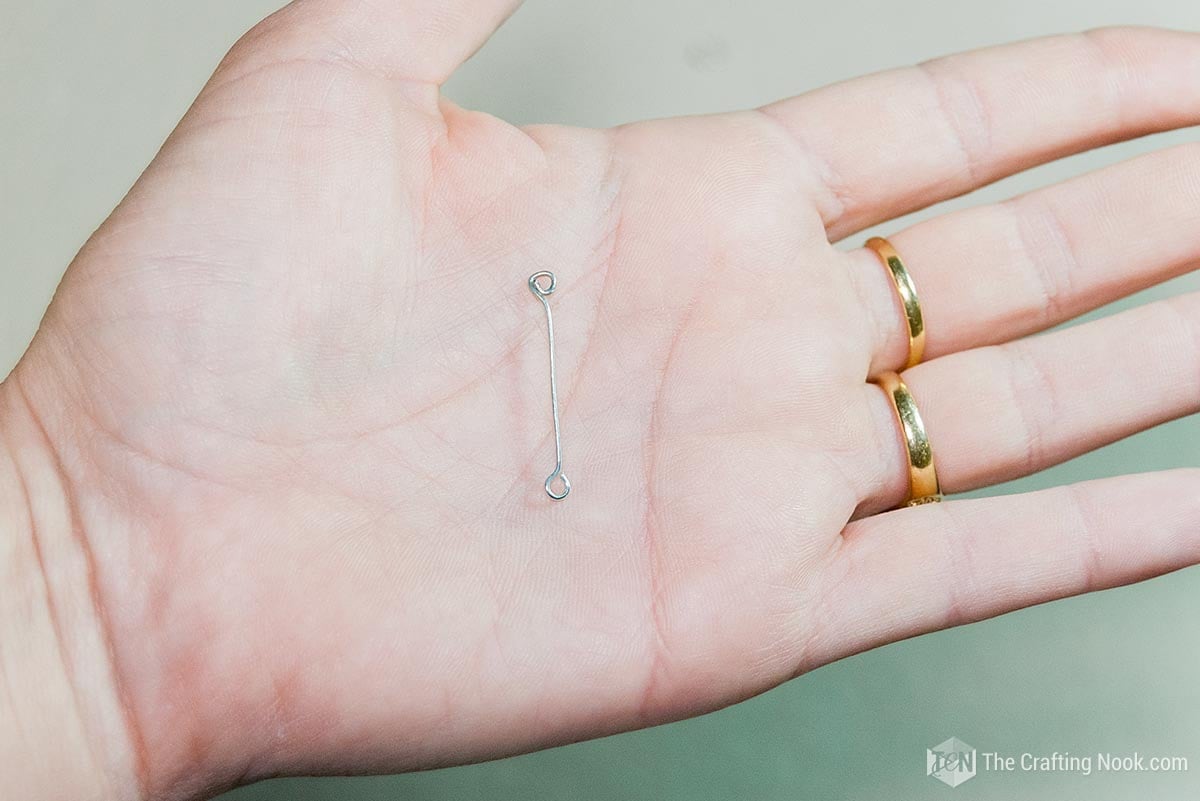
So the right way to make a loop to create an eye pin is to put the end of the pin between the jaws of the round nose pliers and bend the wire all around the pliers to make a circle. Adjust the position of the pliers and make the end of the wire reach the wire body.
I ended up with something like this:
Then I inserted 2 beads and one owl charm into an opened jump ring.
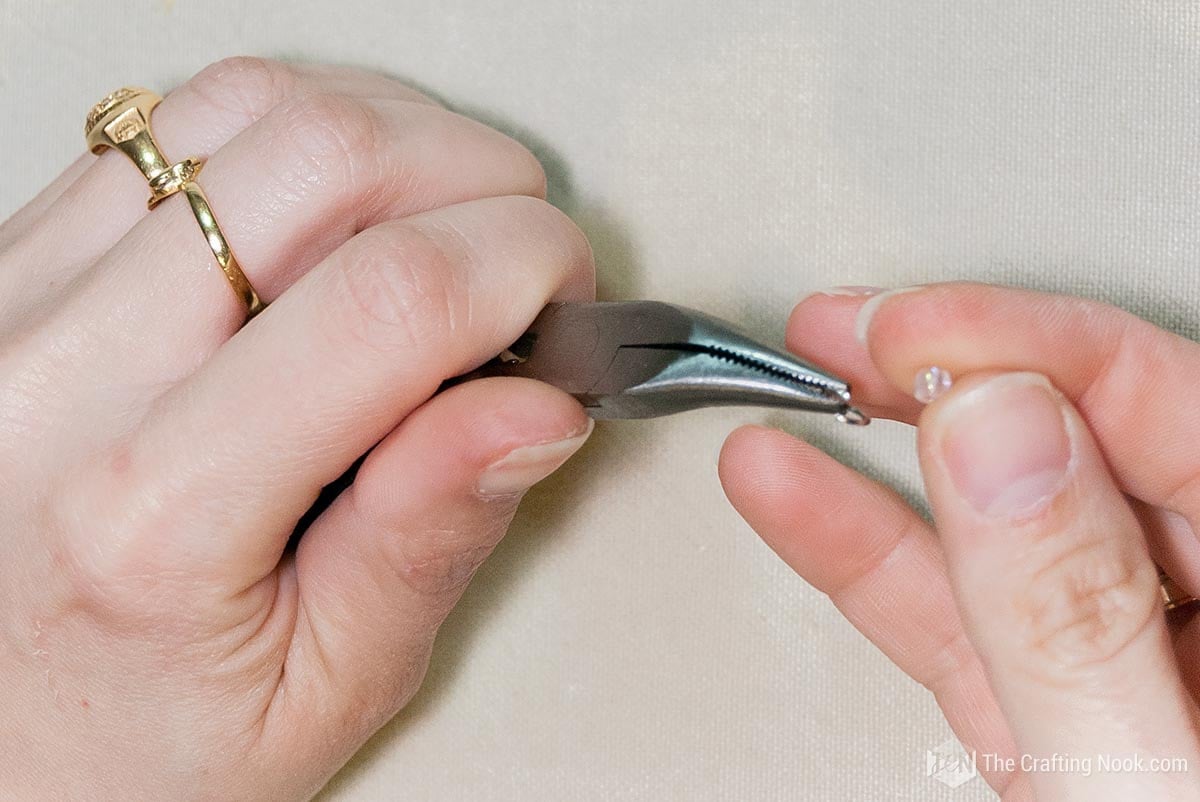
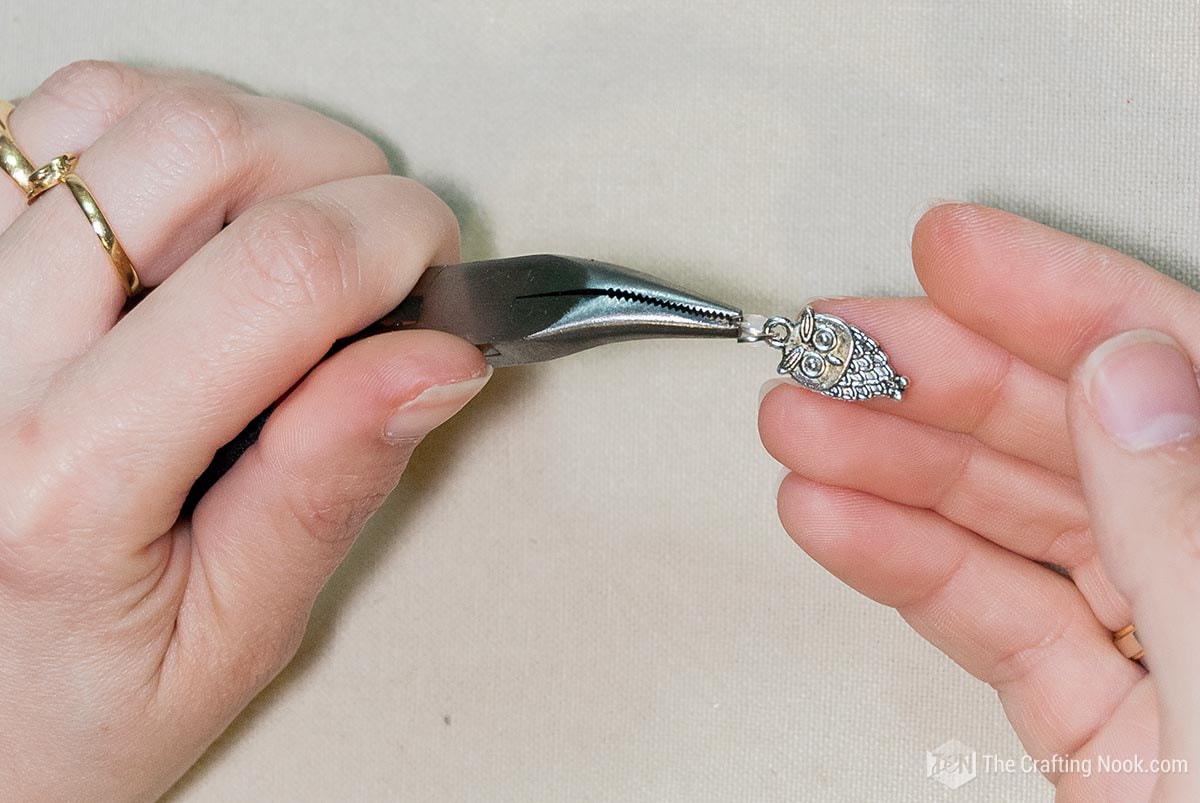
Before closing the jump ring, I inserted the eye pin.


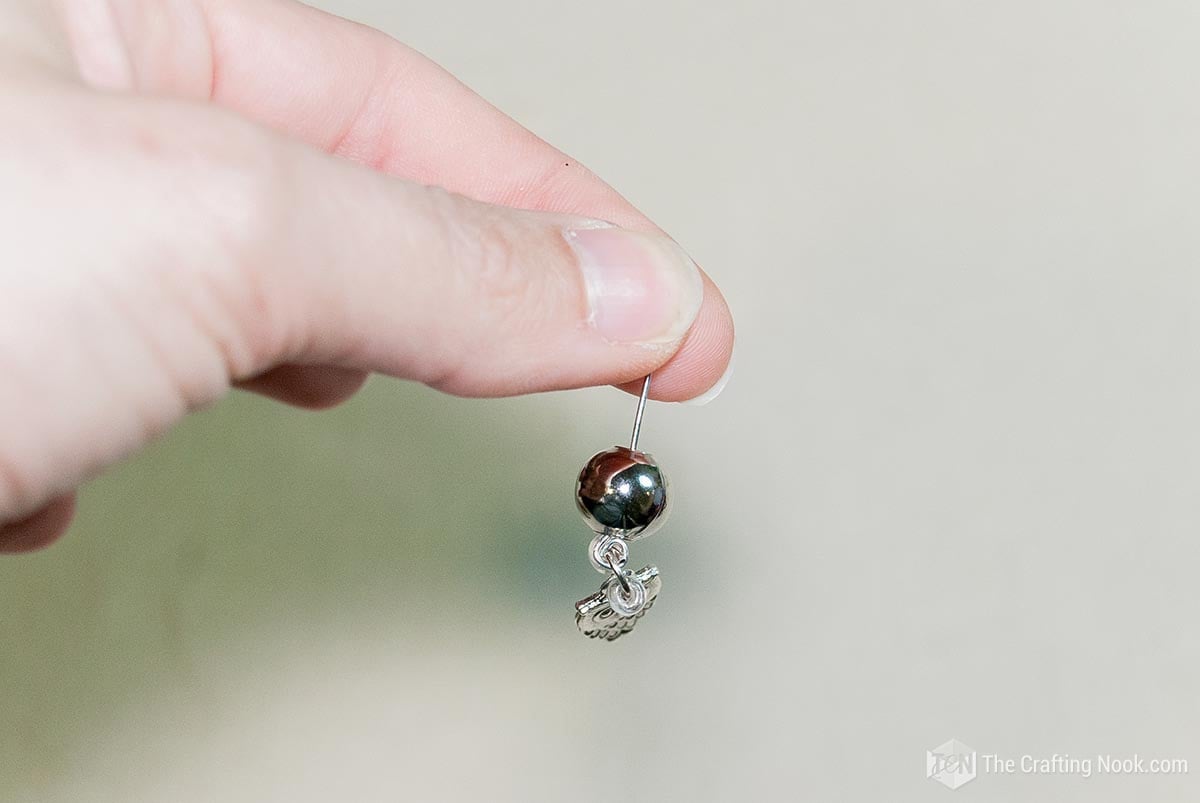
Then I inserted the metallic bead in the eye pin
Finally, connected it to the earring fishhook with double jump rings.
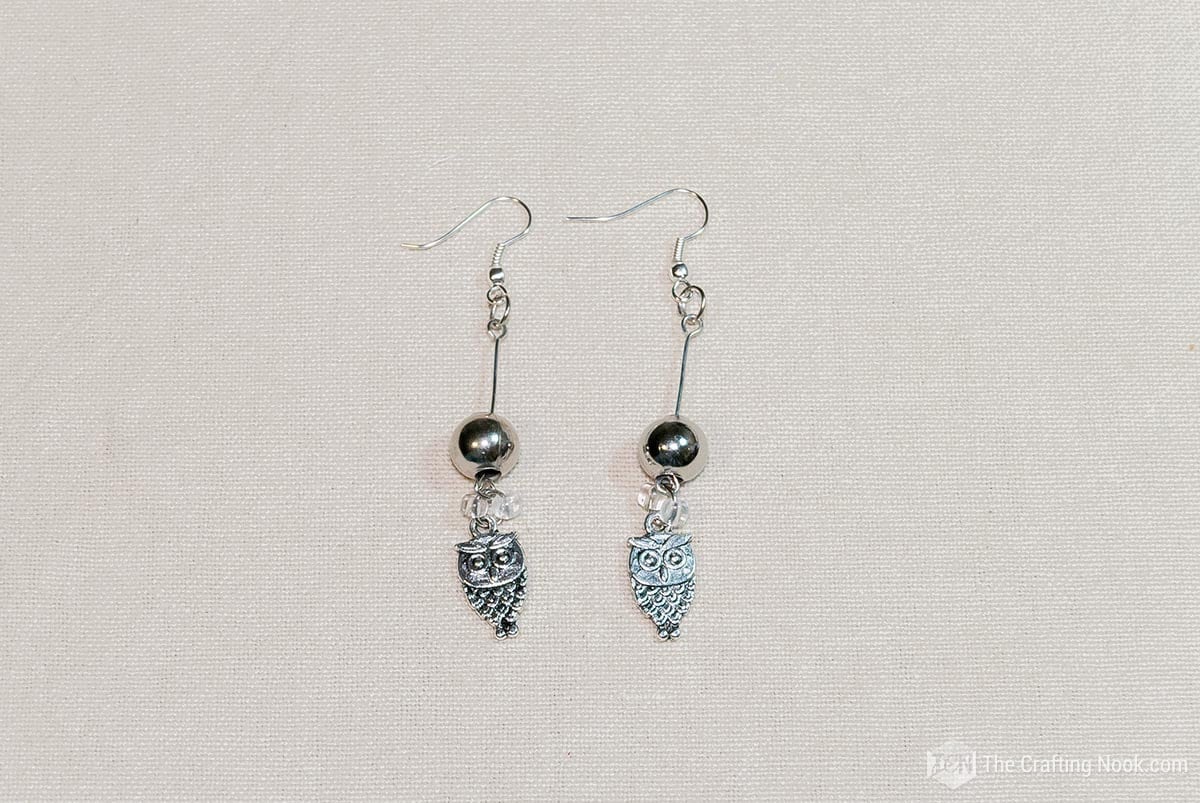
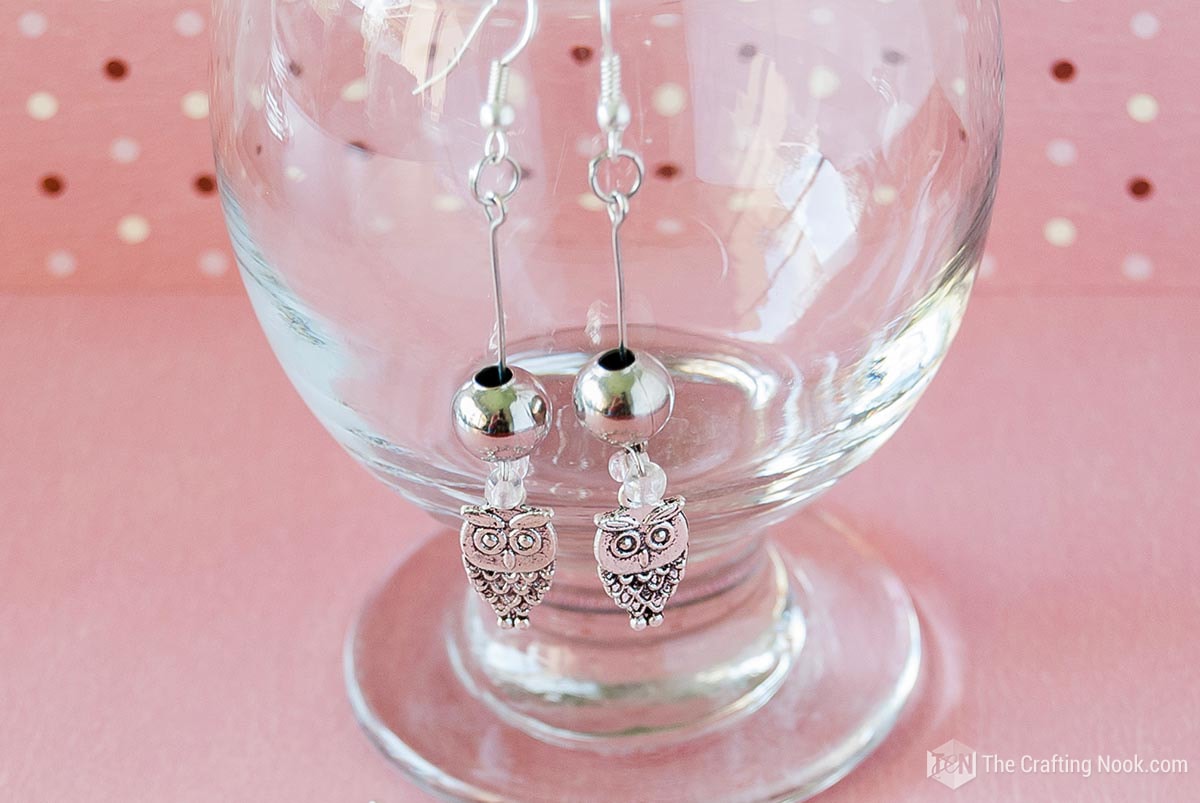
Tadaaaaaa! The cute owl earrings are ready to use.
I literally spent like 20 minutes making them.
Ok, maybe a bit more because I had to take these pictures LOL. But really it didn’t take more than that.

Cute, isn’t it?
Crafting Tips:
* Jump rings are small metal rings used to connect your charms and beads together. To make sure they’re securely fastened, always use pliers to open and close them, instead of trying to do it with your fingers.
* Experiment with different charm styles: There are so many different types of charms out there that you don’t need to limit to owls! Try mixing and matching different styles to create a unique and personalized look for your jewelry.
* Use a bead board to plan out your design: A bead board is a great tool for planning out your bracelet and earring design before you start stringing things together. This will help you visualize your finished product and make sure everything looks balanced and cohesive.
* If you’re having trouble attaching the wire to your bracelet or earring hooks, try using pliers to gently bend the wire into the right shape. This will make it easier to attach the pieces together without damaging them.

How do I look??? I looooove it!!!! How about you??? Do you like owls jewelry?


Frequently Asked Questions
Nope! This is a beginner-friendly project that anyone can do. You’ll just need a bit of patience and some basic crafting tools like pliers.
It will depend on your level of experience and how intricate you want your designs to be. In my case, it took me around 20-30 minutes. But even if you are a beginner this project shouldn’t take more than an hour to complete.
Absolutely! You can use different colors, shapes, and materials to create a unique and personalized set of charm bracelets and earrings that reflect your personal style.
You will need some basic jewelry-making tools, such as pliers and wire cutters, but these are readily available at most craft stores or online retailers and they are not really expensive.
More Jewelry Projects to Try
if you enjoyed this DIY Owls Charm Bracelet and Earrings tutorial, you might also love these other handmade jewelry project ideas too:


✂️ Tutorial
DIY Owls Charm Bracelet and Earrings
Tools
- Round nose pliers
- Bend flat nose pliers
- Flat Nose Pliers
Supplies
- Owl charms about 10 or so – or your favorite ones.
- Connectors about 8 or so – I used cute flowers but feel free to use your favorite ones.
- Jump Rings about a dozen – 5 to 6 mm.
- 1 lobster clasp.
- 2 eye pins.
- 2 earring fishhooks
- 4 2mm clear beads
- 2 8mm metal beads
Instructions
THE BRACELET
- For the bracelet, I started joining the connectors with jump rings until I reached the length I needed.
- For this, you open the jump ring using 2 pliers (preferably flat) slightly pushing one forward and the other towards you.
- Insert 2 connectors (flowers) and with the same technique, close the jump ring but backward.
- Make sure you insert the connector facing the same side if yours are like mine and the other side was completely flat.
- When you reached the desired length of your bracelet it’s time to install the clasp.
- I usually use double jump rings for this because it makes it more difficult to slip out.
- And finally, I added the pendants hanging them with jump rings.
- Here again, use the same technique described above to open and close the jump rings.
- Also, make sure all the pendants face correctly. In my case, they were the same on both sides, so I was good.
- Done!!! You got yourself a gorgeous diy charm bracelet!
THE EARRINGS
- Now for the earrings, I started with the eye pins. I made another eye on the other end with needle nose pliers.
- As you can see not perfect but it did the trick.
- So the right way to make a loop to create an eye pin is to put the end of the pin between the jaws of the round nose pliers and bend the wire all around the pliers to make a circle. Adjust the position of the pliers and make the end of the wire reach the wire body.
- I ended up with something like this:
- Then I inserted 2 beads and one owl charm into an opened jump ring.
- Before closing the jump ring, I inserted the eye pin.
- Then I inserted the metallic bead in the eye pin
- Finally, connected it to the earring fishhook with double jump rings.
- Tadaaaaaa! The cute owl earrings are ready to use.
Some really cool handmade jewelry pieces from my favorite bloggers:
- Leather Wrap Bracelets with Charm by Amy Latta Creations.
- DIY Studded braid bracelets by A Pumpkin and a Princes.
- T-shirt yarn bracelets by Blue Bear Wood.
Share and PIN ME!

Til’ next time…


FREE WORKBOOK
Keeping your Sweet Home Organized
Learn how to create intentional habits and simple routines to Keep Your Home Organized. Plus freebies, printables, exclusive content, and tips.
Disclaimer: By clicking on the “Yes” button above you are giving me your consent to collect and use your information according to the law and My Policy Privacy. Zero Spam I promise!
These are adorable! It’s weird, I was just a Micheal’s earlier today looking at supplies to start making jewelry. This will be a great “get started” tutorial. Thanks!
BTW, I found you over at the Let’s Get Real Hop. Have a great day!
Thanks so much Miki, I’m glad this tutorial can be helpful for you! Also thanks so much for your sweet visit!
XOXO
This is super cute especially because I am on an owl everything kick right now. And the tutotial is super easy to follow.
Owls are the best, aren’t they???? Thanks so much, I’m glad you like it!
XOXO
These came out adorable, and your pics are very helpful. Thanks for sharing on Let’s Get Real (I’m co-hosting this week)!
Thanks so much for your sweet visit. It’s good to hear that you like the pics!
XOXO
Super cute! I pinned this easy DIY to my Owl board :)
Thanks Gina! Glad you like it! it was fun and easy to make!
XOXO
So cute! Love the set!! Thank you for sharing it with us. Pinning. :)
Glad you like it Marti! YAyyy
XOXO
Really cute Cami! Thanks for sharing this with our Let’s Get Real readers. My daughter has been asking me about making jewelry, but I haven’t known where to start. This is a great tutorial. Thanks for the help!
Thanks so much for stopping by! Making these are so easy and you probably will easily find the supplies!
XOXO
Oh so pretty! Love the tutorial! Thanks for linking up to Snickerdoodle Sunday.
Thanks SOOO much Yayyyy!!!!
Hugs
Cami
You are so crafty – these turned out so beautifully, Cami! They remind me of the pandora bracelets – just MUCH prettier!
Thanks so much for linking up at the Save Money Monday linky party. Please be sure to stop by again next week!
Thanks so much Jazmin! I’m so excited you like it. Super easy to make too! Thanks so much for your lovely visit!
XOXO
Cami
Thank you for this step by step tutorial. I just recently started making my own jewelry and was trying to figure out how to make the earrings like that.
Again thank you!
It’s so much fun making jewelry!!! I love it and I’m glad this one inspired you!
XOXO
Cami
I really like the necklace you made. It’s so cute! Heidi’s Wanderings
Thanks Heidi! I’m glad you like it! XOXO
Pretty set and great tutorial. Thanks for sharing.
Yayyy Thanks so much for stopping by. glad you like it!
XOXO