DIY Buffalo Check Christmas Ornaments (from old Baubles)
Got some Christmas Baubles that got old and maybe ugly but don’t know what to do? You can easily make cute Buffalo Check Christmas Ornament and give them a gorgeous new look! Buffalo Check Christmas Ornaments are all in and I must confess I hope the trend stays! LOVE IT!!!
This is my first year including red in my Christmas Decorations since I moved to my new home. My 2016 Christmas Decoration was all neutral rustic and in 2017 I made it rustic and white.

Table of Contents
Buffalo Check Christmas Ornaments Tutorial
This year I decided to go for the white and red, still rustic and I found buffalo plaid Christmas decor so cool that I said why not?
This post may contain affiliate links. Please read our Disclosure Policy.
I had all these old deteriorated baubles stored from last year’s Christmas tree and wanted to give them a new look. Then I saw These super cute fabric ornaments from A Place of my Taste and they turned out so adorable that I knew I wanted to make some.
The problem was that I like to be able to reuse things so I didn’t want to use glue and since my baubles were not made from foam either I could not use pins.
Then I catch some ideas from Etsy where they just wrapped the baubles with fabric and that was a perfect option for me. Since I love buffalo check and buffalo plaid, I knew what kind of fabric I was going to use!
Upcycling an old Christmas Bauble into a Buffalo Check Ornaments
There are so many ways to do this but this is how it worked for me. I wanted even edges at the top so I cut fabric circles.
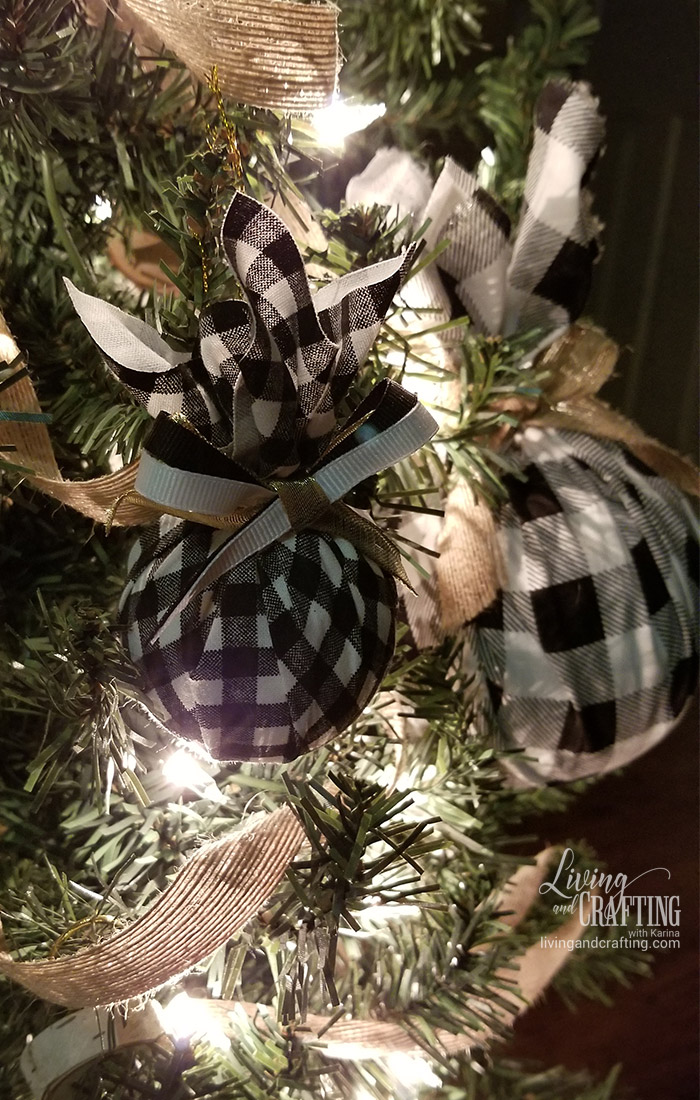
My dear Friend Karina from Living and Crafting made hers using squared pieces of fabric and dollar tree baubles. The plaid ornaments turned out so beautiful. Make sure you check her out.

This project could easily end up being free if you happen to have all the elements: old Baubles, scraps of fabric, and ribbons.
In my case, I only spent on the fabric and ribbon because I really wanted a red and white buffalo check. But I already had the Baubles so it wasn’t so bad.
I found that projects like this one are the perfect night craft to spend time with the whole family during the holiday season. Grabbing some cookies, hot chocolate, or tea, and let’s get crafty!
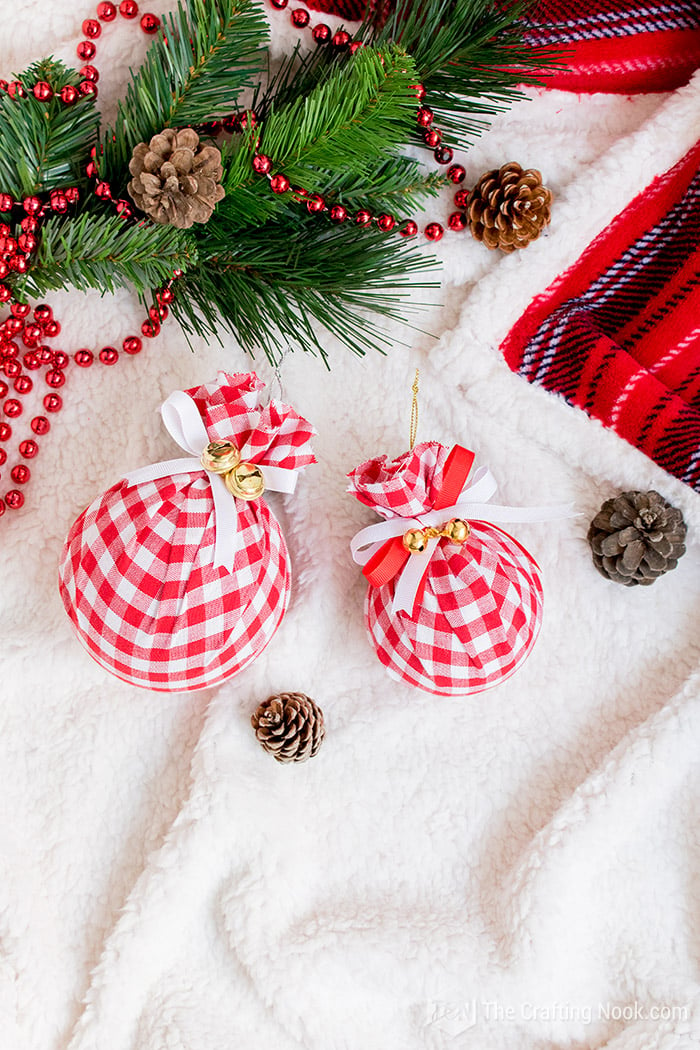
This project also makes super cute and thoughtful gifts if you add a personalized tag to it or instead of jingle bells, you use a letter charm as a monogram.
How to make Buffalo Check Christmas Ornaments
Supplies:
- Old Baubles (or plastic/foam balls)
- Fabric (of your choice)
- Ribbons
- Thread or rubber bands
- Jingle bells
- *Optional: Elastic nylon for the bells if your ribbon doesn’t work.
- Fabric chalk or Mark and be gone markers
Tools:
- Measuring Tape
- Pins
- Pair of scissors
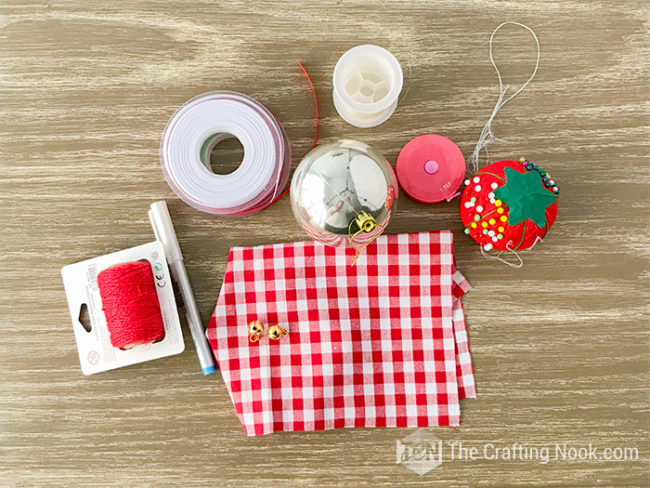
Follow these easy steps:
Before we begin, be sure to follow us on Pinterest, Facebook, Instagram, and YouTube, and also sign up for our email list (at the end of this post), so you’ll never miss a post!
1. First of all, wipe off any dust or dirt from the ornaments. You don’t want to get that gorgeous fabric all dirty.
2. Then you need to know your baubles or ornament sizes so you can cut your fabric. What I did was use a measuring tape to decide what size I wanted the fabric.
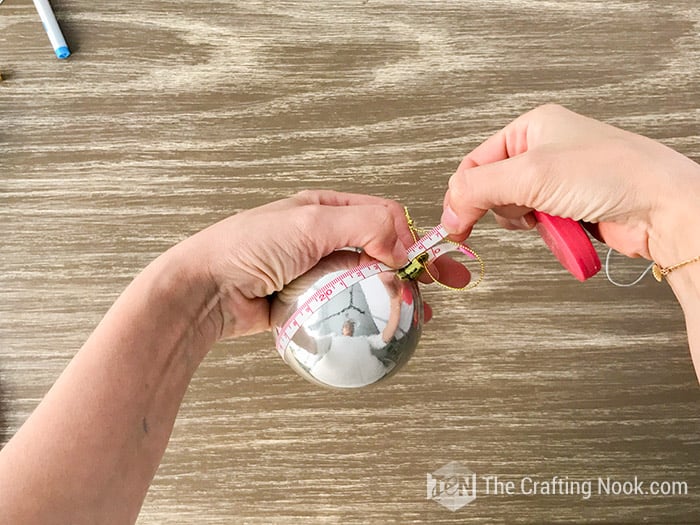
3. Then I measured and cut the fabric squared shape.

4. To make the circles, fold your fabric in half twice.
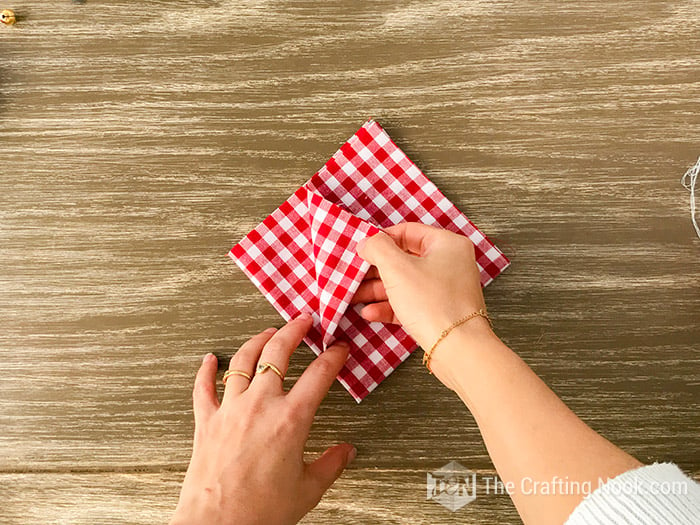
5. Measure on the side and then keep fixed the center corner and move the tip little by little, making marks as you go.
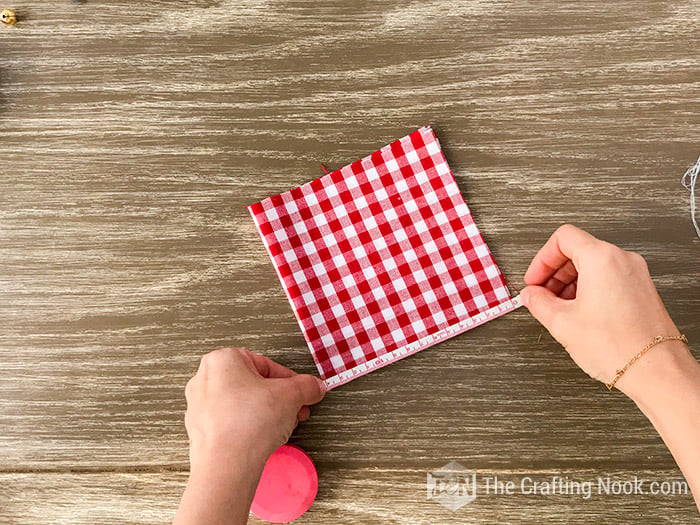
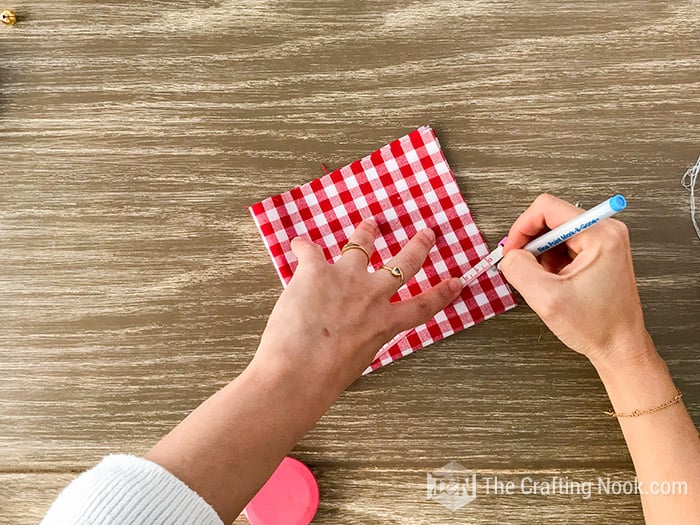
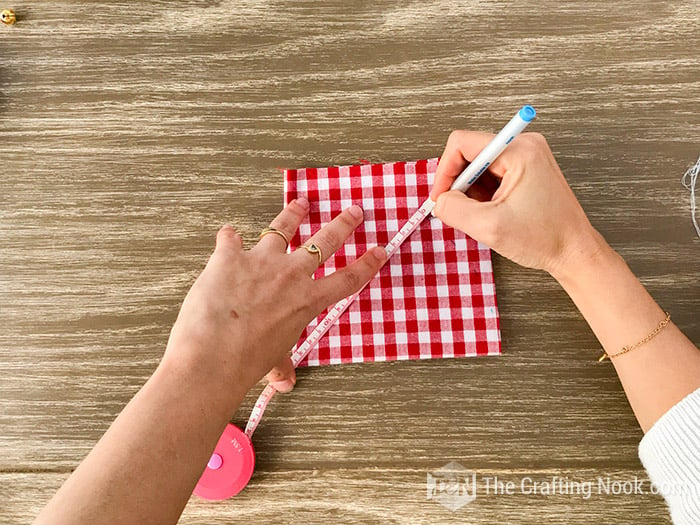
6. Pin your fabric so it’s easier to cut the curve.
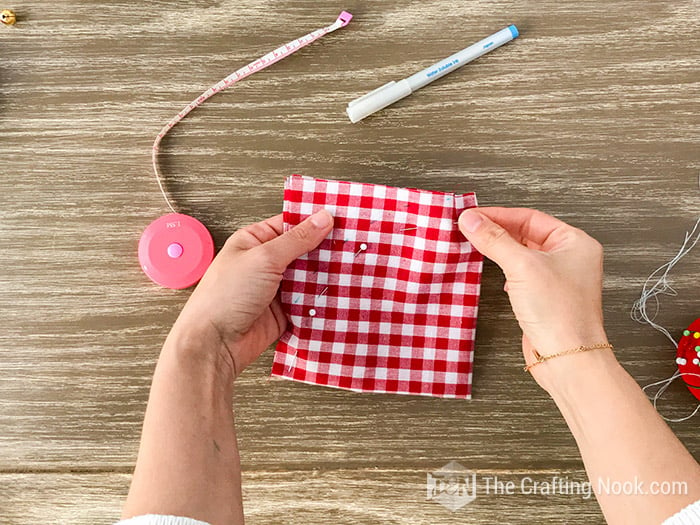
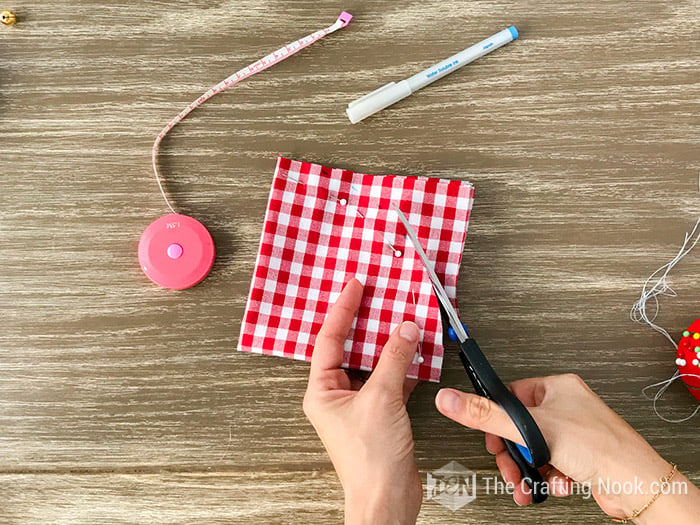
7. Remove pins and unfold your fabric. You got a pretty circle there!
8. Place your bauble (or ball) right in the center of your fabric and gather it around the bauble hanger (if yours have it).
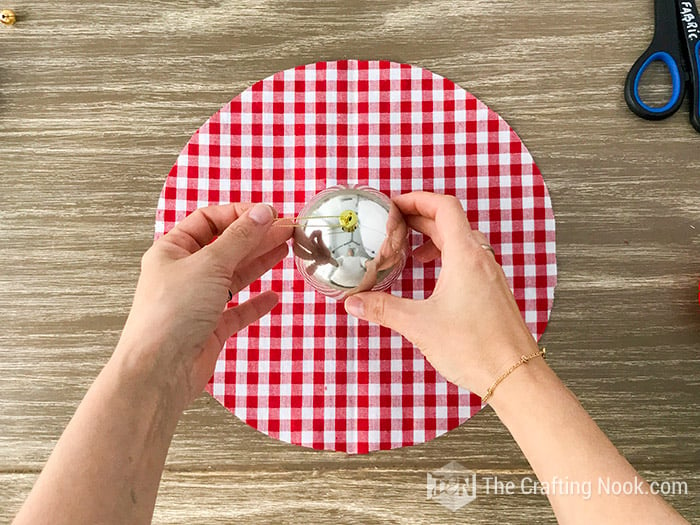
9. Pull the edges and fix large wrinkles to make them as even as possible.
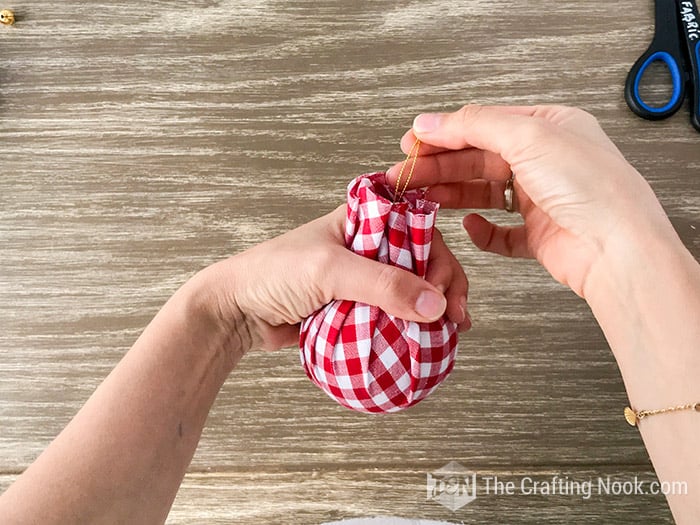
10. Using a thread or rubber band secure your fabric in place around the gathered fabric. I used a red Thread. Tie a really tight (seriously REALLY TIGHT ) knot.
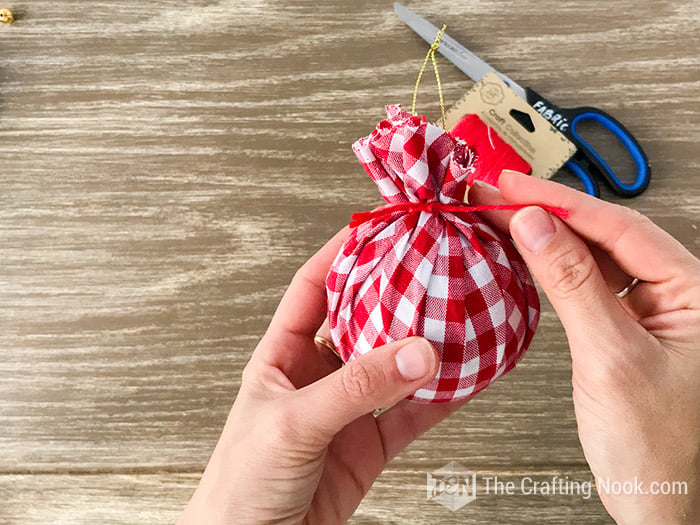
11. Then take your ribbon or ribbons as I did. Measure more or less how much you need and cut.
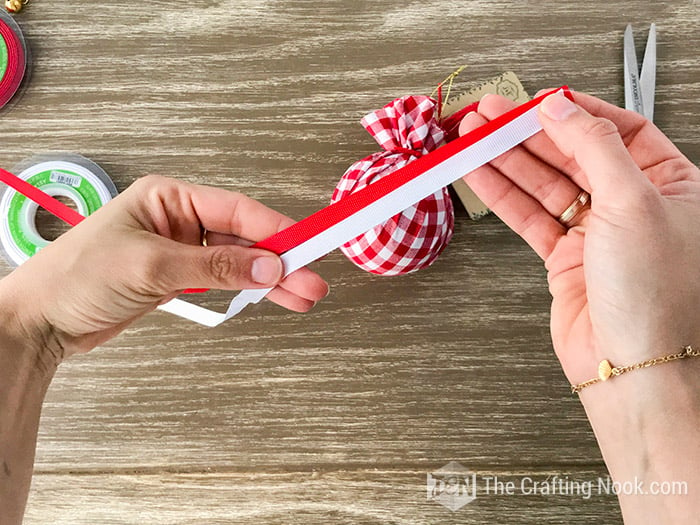
12. Tie a cute bow around the bauble neck. Since I used 2 ribbons, I separated both bow wings.
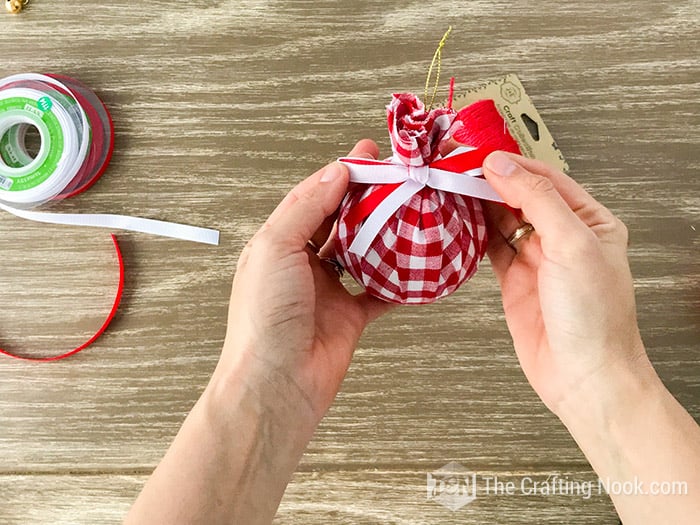

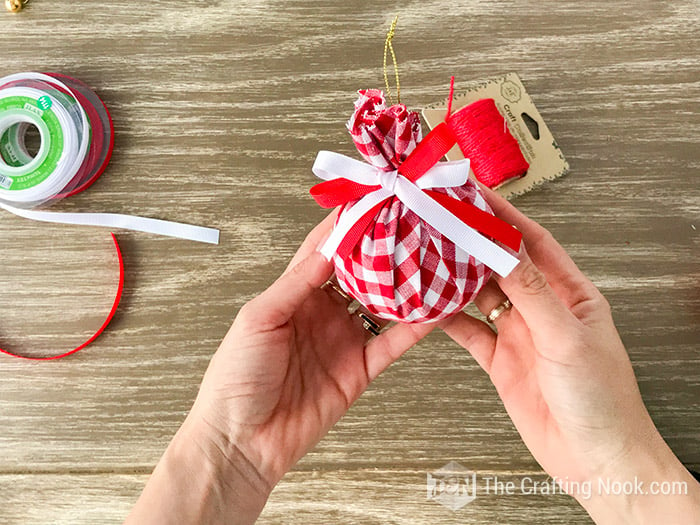
13. Last but not least. I put some jingle bells below the bow. Cut a string of nylon and insert the bells. Tie it around the ball neck.

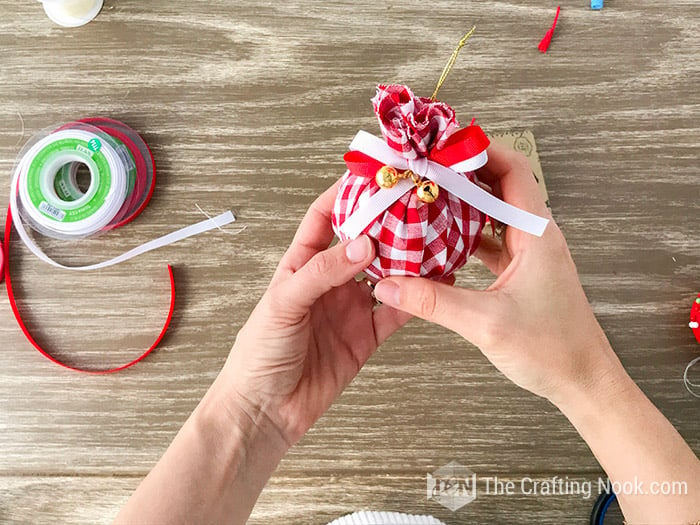
There you go, you are done and got yourself an adorable buffalo check Christmas ornament!
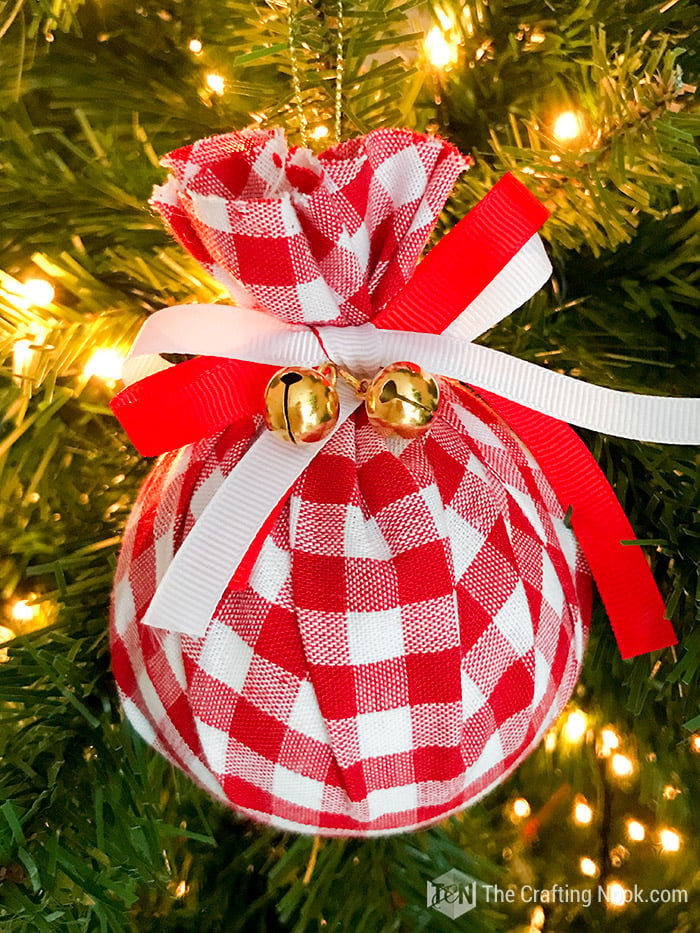
I made about 8 of these buffalo check Christmas ornaments a few of them larger in about an hour or so. Not bad.
Crafting Tips
When you avoid using glue, you can reuse these ornaments for years and years. These same ornaments changed colors every year. So that’s why I recommend using threads or elastic bands to keep things in place and make the bows without glue. That way you can remove everything and get ready for next year.
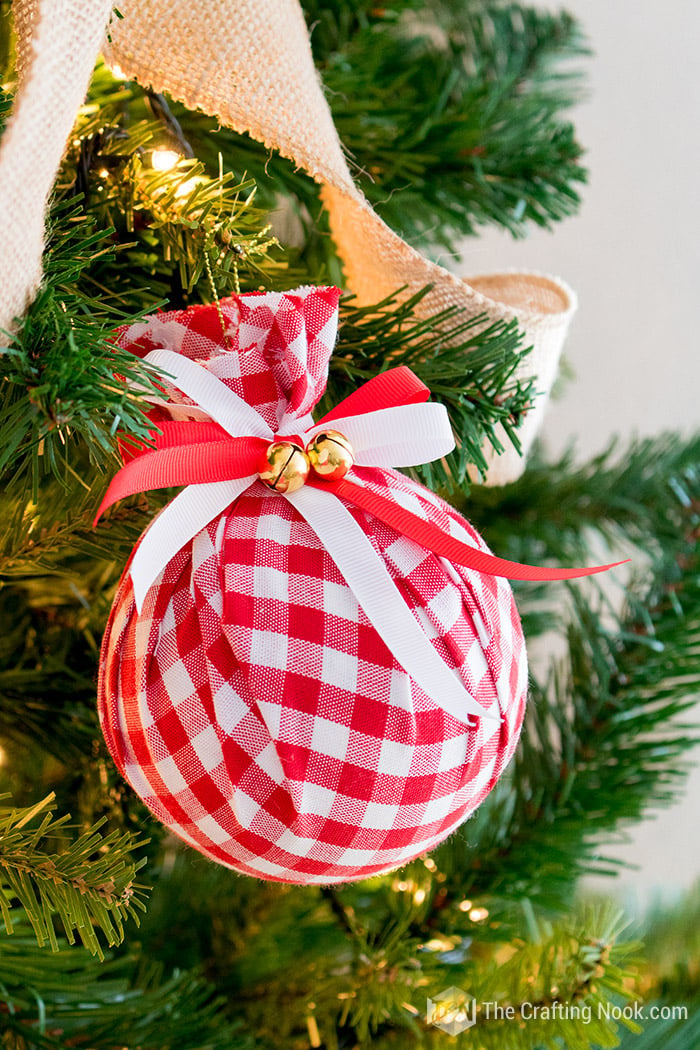

This project could even make a pretty Christmas gift if you may! So many possibilities and so simple to make!
Hope you enjoyed this Buffalo Check Christmas Ornament project as much as I did make it.
Merry Christmas!!!!
Frequently Asked Questions
Thrift stores and second-hand shops are great places to start. Also asking relatives and neighbors can work too. Then if you can’t find any, a dollar store or dollar tree might be your best friend to find perfect ornaments for this project.
You can use any type of fabric that you love. Between you and me, the plaid fabric just rocks! But you can use fleece, cotton, solid color, or patterned ones.
Absolutely! You can go for pretty grosgrain ribbons to satin, organza, yarn, twine, and anything else your creativity calls for! If you happen to go for a solid fabric then a buffalo check ribbon would be a hit!
The sky is the limit. How about some really pretty letter charms as monograms? Or maybe red berries and some springs. Gift tags if you intend it as a gift. Or even why not the ribbon bows alone!
More Christmas Ornaments To Try
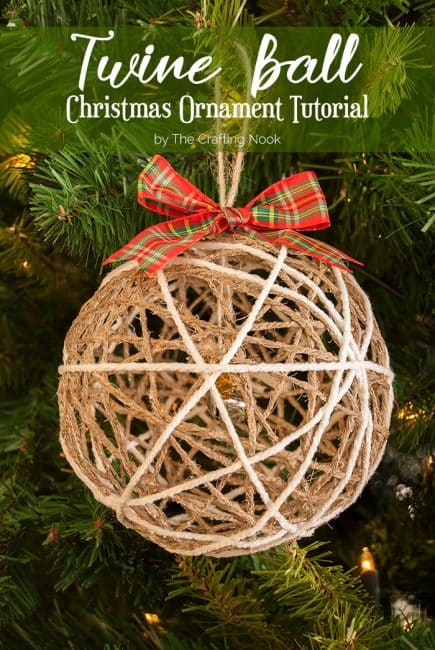
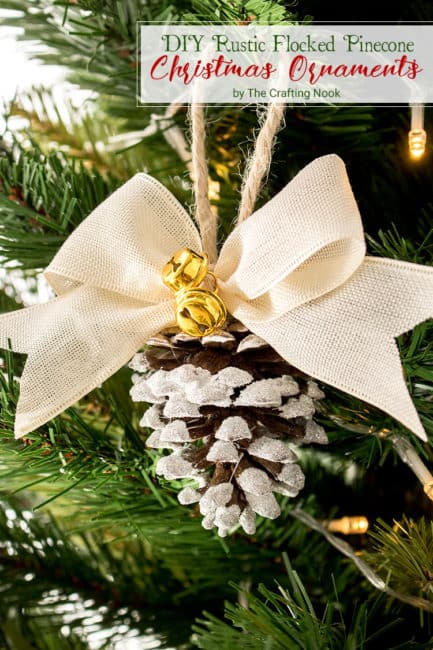
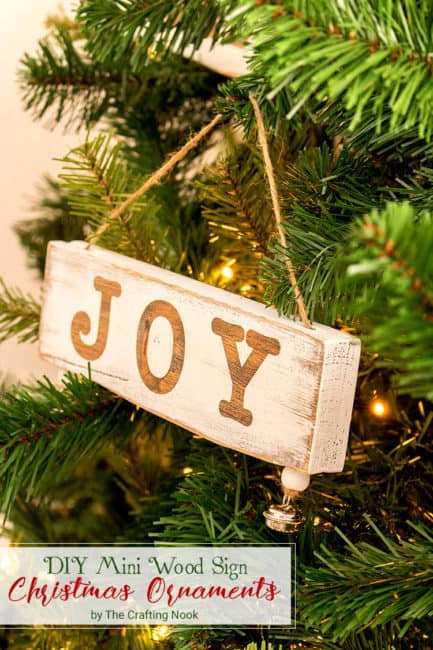
If you enjoyed these easy buffalo check Christmas ornaments, you might also love these other Christmas project ideas too:
✂️ Tutorial
DIY Buffalo Check Christmas Ornaments (from old Baubles)
Tools
- Measuring tape.
- Pins
- Pair of scissors
Supplies
- Old Baubles or plastic/foam balls
- Fabric of your choice
- Ribbons
- Thread or rubber bands
- Jingle bells
- *optional: Elastic nylon for the bells if your ribbon doesn’t work.
- Fabric chalk or Mark and be gone markers
Instructions
- First of all, wipe off any dust or dirt from the ornaments. You don’t want to get that gorgeous fabric all dirty.
- Then you need to know your baubles or ornament sizes so you can cut your fabric. What I did was use a measuring tape to decide what size I wanted the fabric.
- Then I measured and cut the fabric squared shape.
- To make the circles, fold your fabric in half twice.
- Measure on the side and then keep fixed the center corner and move the tip little by little, making marks as you go.
- Pin your fabric so it’s easier to cut the curve.
- Remove pins and unfold your fabric. You got a pretty circle there!
- Place your bauble (or ball) right in the center of your fabric and gather it around the bauble hanger (if yours have it).
- Pull the edges and fix large wrinkles to make them as even as possible.
- Using a thread or rubber band secure your fabric in place around the gathered fabric. I used a red Thread. Tie a really tight (seriously REALLY TIGHT ) knot.
- Then take your ribbon or ribbons as I did. Measure more or less how much you need and cut.
- Tie a cute bow around the bauble neck. Since I used 2 ribbons I separated both bow wings.
- Last but not least. I put some jingle bells below the bow. Cut a string of nylon and insert the bells. Tie it around the ball neck.
- There you go, you are done and got yourself an adorable buffalo check Christmas ornament!
- Now repeat with the rest of your ornaments!
Make sure you jump over Karina’s blog for another Buffalo Check Christmas Ornament method to make a cute Christmas ornament.
Share and PIN ME!

Til’ next time…


FREE WORKBOOK
Keeping your Sweet Home Organized
Learn how to create intentional habits and simple routines to Keep Your Home Organized. Plus freebies, printables, exclusive content, and tips.
Disclaimer: By clicking on the “Yes” button above you are giving me your consent to collect and use your information according to the law and My Policy Privacy. Zero Spam I promise!
