DIY Polka Dot Painted Shoes for Kids Using Puffy Paint
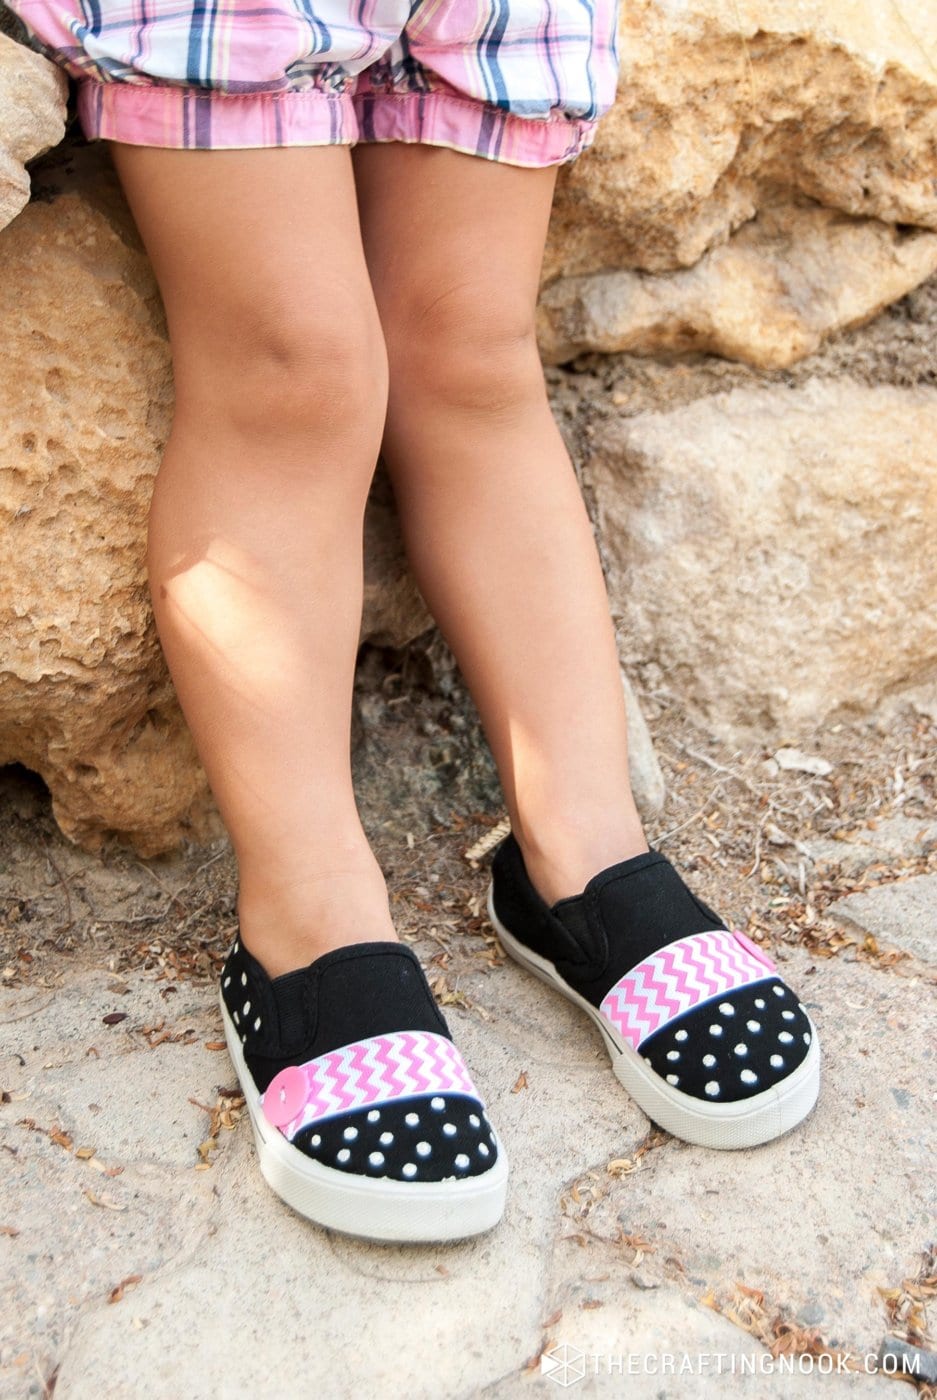
Today I’m showing you how to make adorable polka dot DIY painted shoes for kids! Customize plain and boring shoes with fun puffy paint, chevron ribbons, and cute buttons.
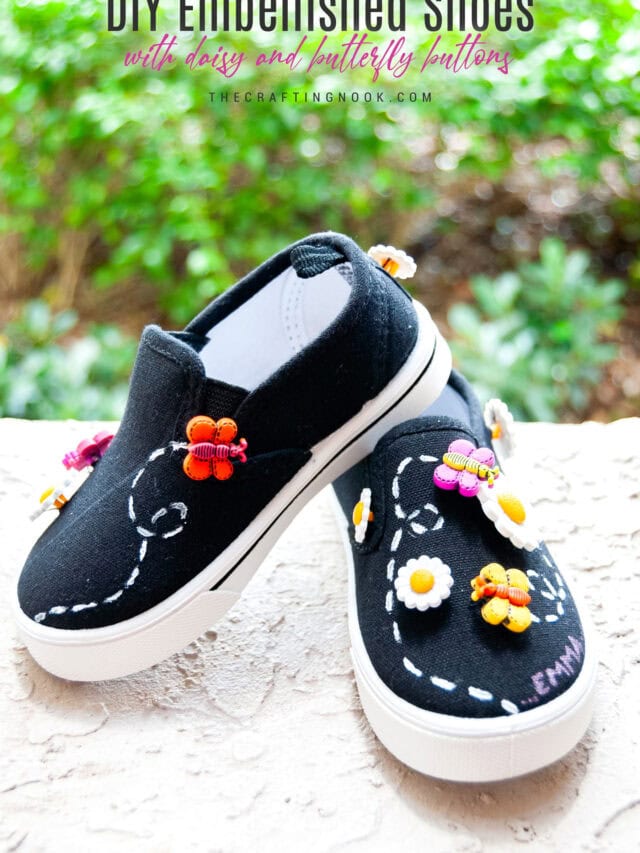
I’m excited to share this super easy tutorial on how to create adorable polka-dot shoes for your kids! These personalized shoes are a fun way to get creative and add some style to plain kids’ shoes. If you enjoyed my Daisy and Butterfly Embellished shoes from last year, you’ll love this project as well!
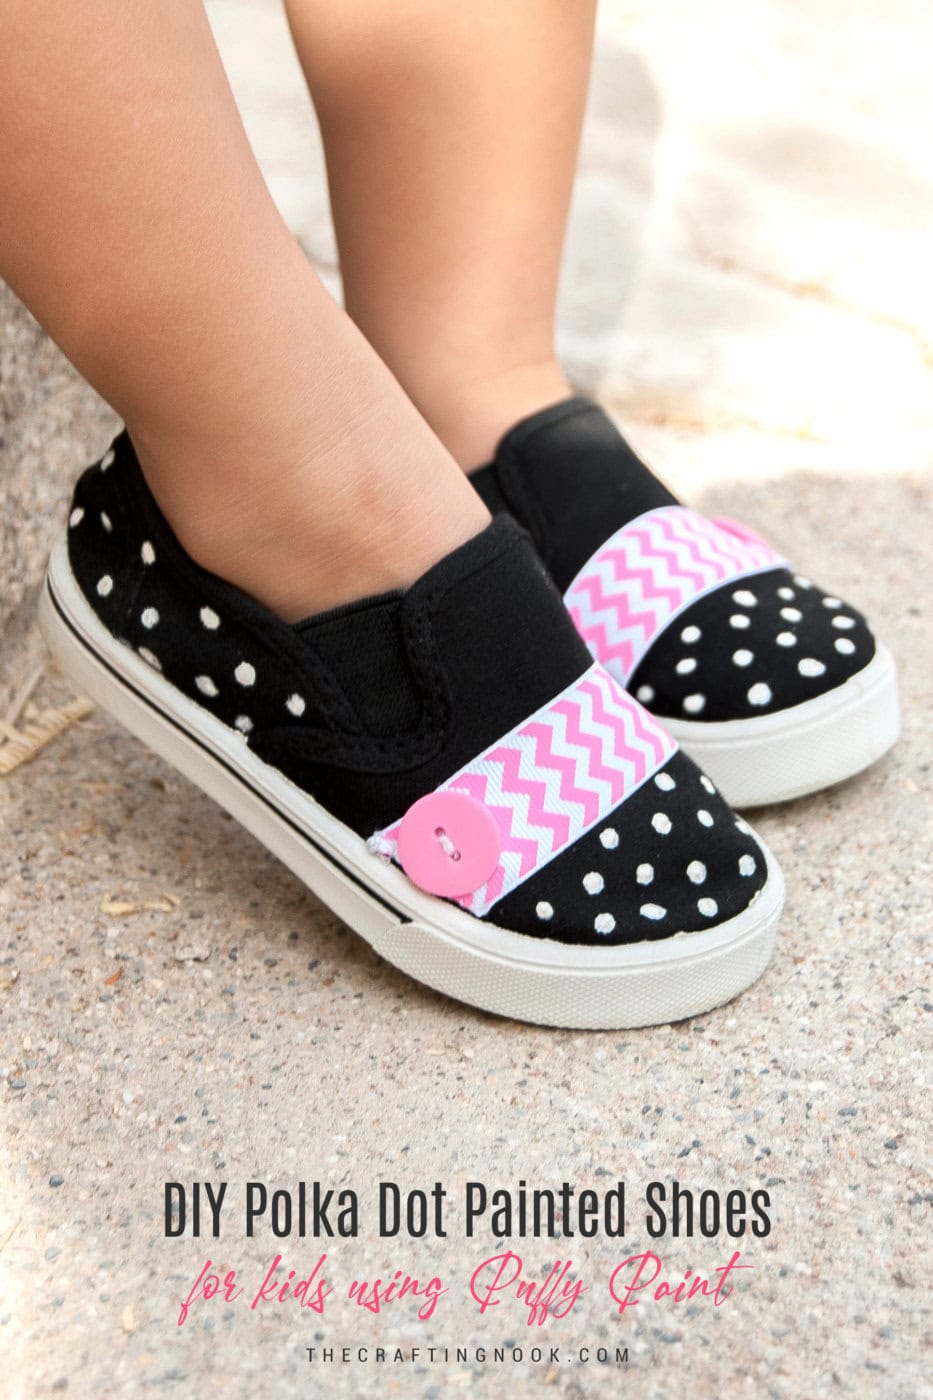
Table of Contents
Polka Dot Painted Shoes for Kids Using Puffy Paint
I totally love unique things. And one of the things that make other things unique is handmade.
This post may contain affiliate links. Please read our Disclosure Policy.
No matter how well we follow a tutorial it will never, ever be the same as someone else’s.
It will always have something from us that can never be replicated and that’s the beauty of this crafty world.
Nothing is perfect but yet every fault is what makes them special and unique.
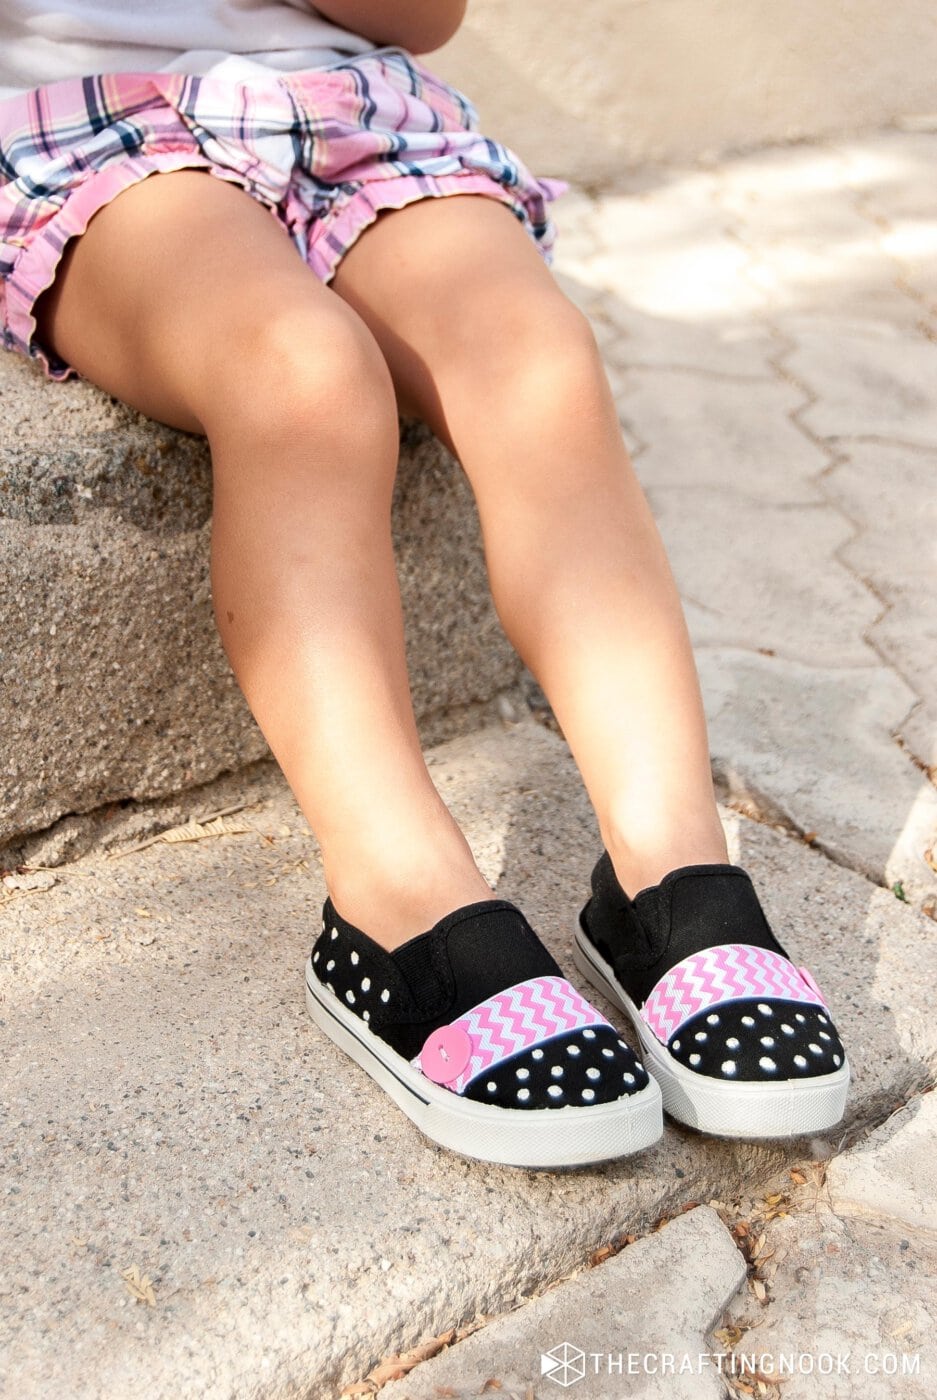
My girl loves these canva shoes. She’s comfortable and can play freely since they don’t have laces and she can put them on on her own.
That being said, you can guess, I buy these all the time but I find them bleh. So As soon as I buy then, I just decorate them.
How to make these Decorated Polka Dot Painted Shoes for Kids
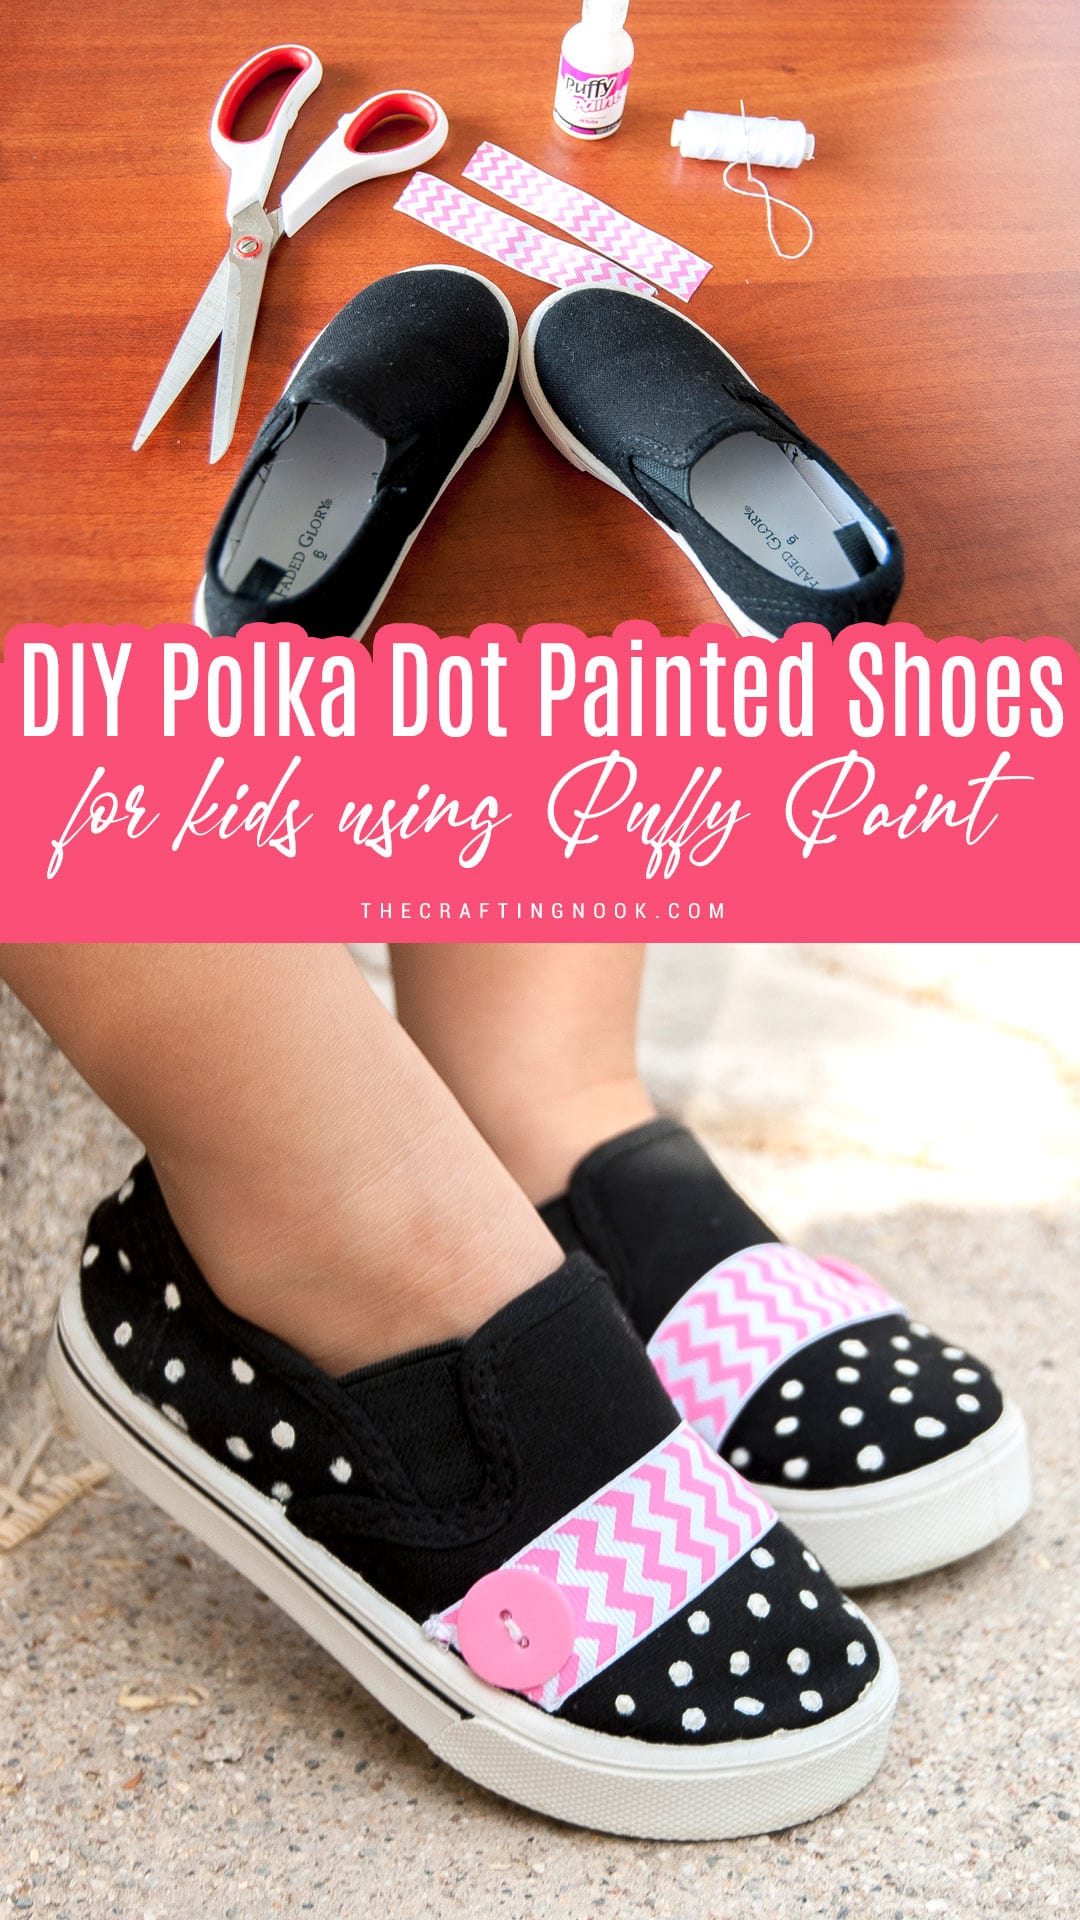
supplies:
- 1 pair of plain canvas shoes – best for painting
- White puffy fabric paint – for dark surfaces
- Chevron ribbon – any color of your choice or a different design
- Cute buttons – matching or contrasting the ribbon
Tools:
- Scissors
- Pins
- Needle and thread
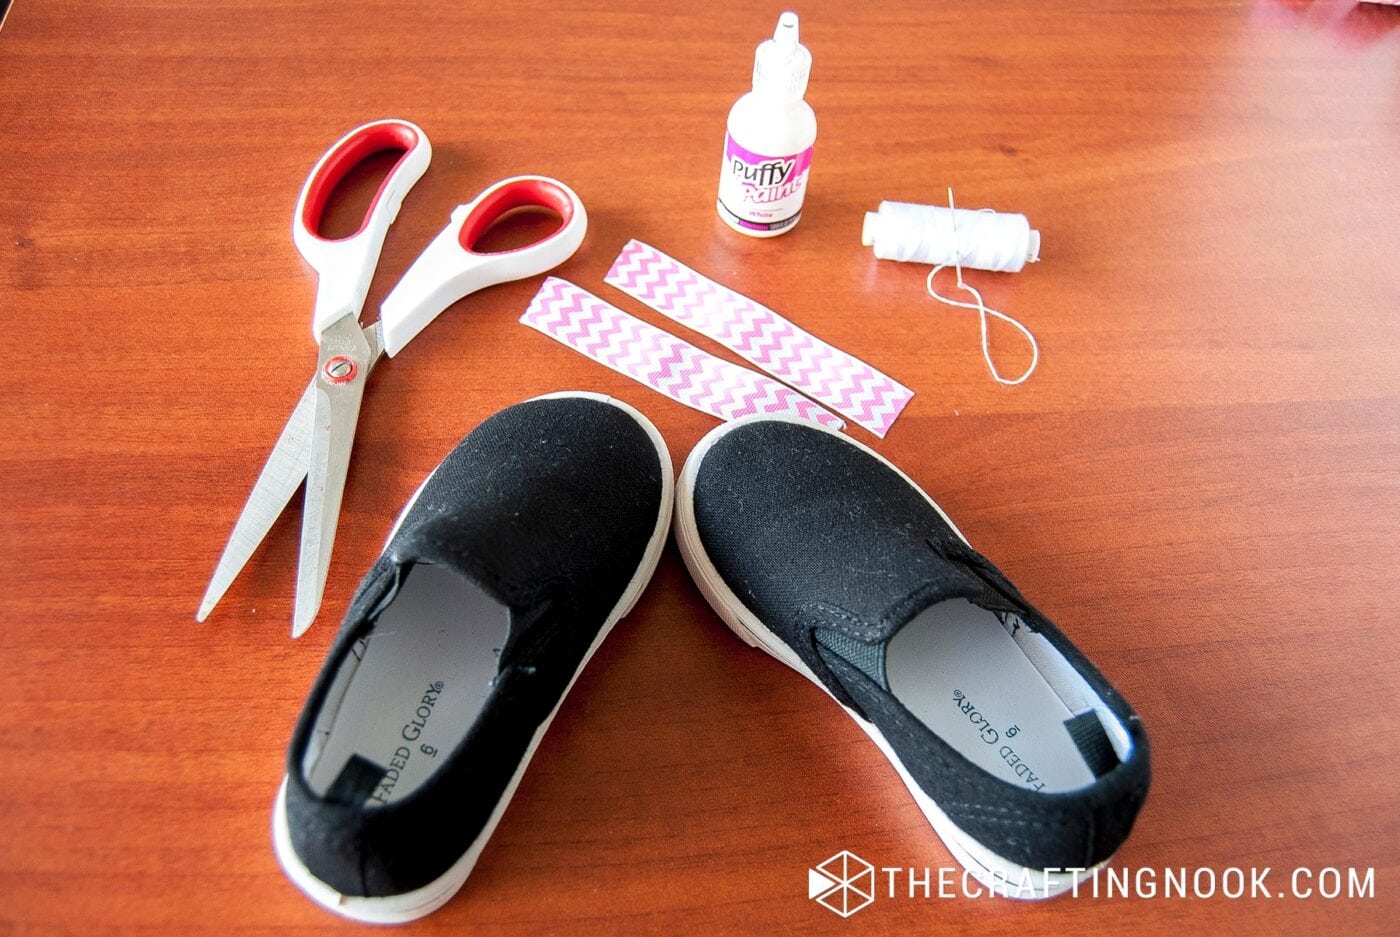
Instructions:
1. Prepare the Ribbon
Firstly, Cut 2 strips of chevron ribbon (or the design you chose).
Make sure each strip has a few extra millimeters on the sides to fold in later.
2. Pin and Sew the Ribbon
Place them where you want them to be on the shoe and pin them in place. I decided to place them in the middle of the top.
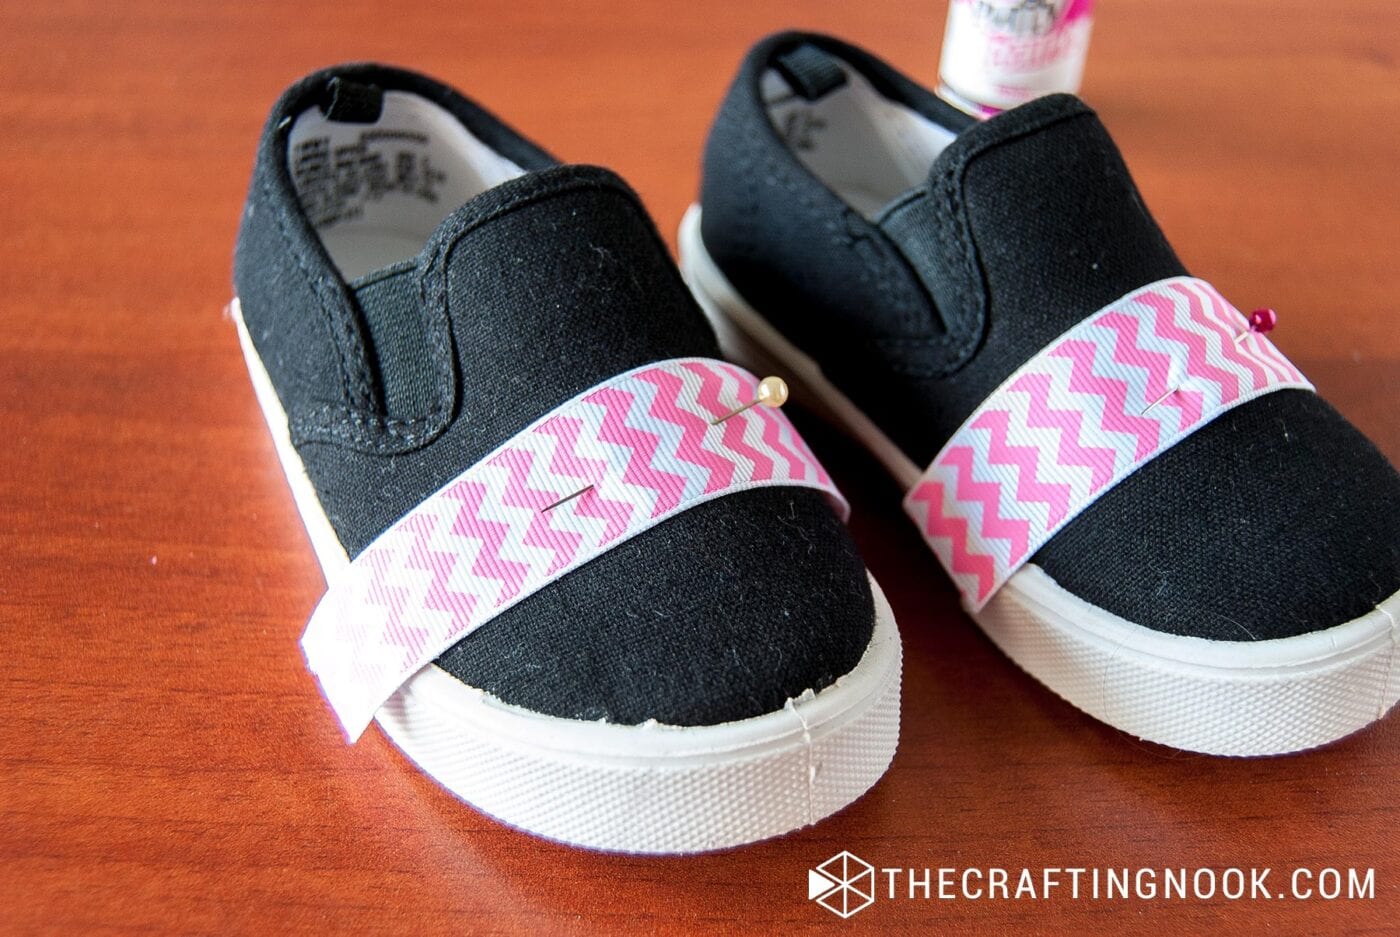
Fold the excess ribbon in, and stitch it along the very edge between the shoe fabric and the sole. Do this on each side of both shoes.
Be careful not to pull the ribbon too tight or leave it too loose—it should sit snugly but comfortably.
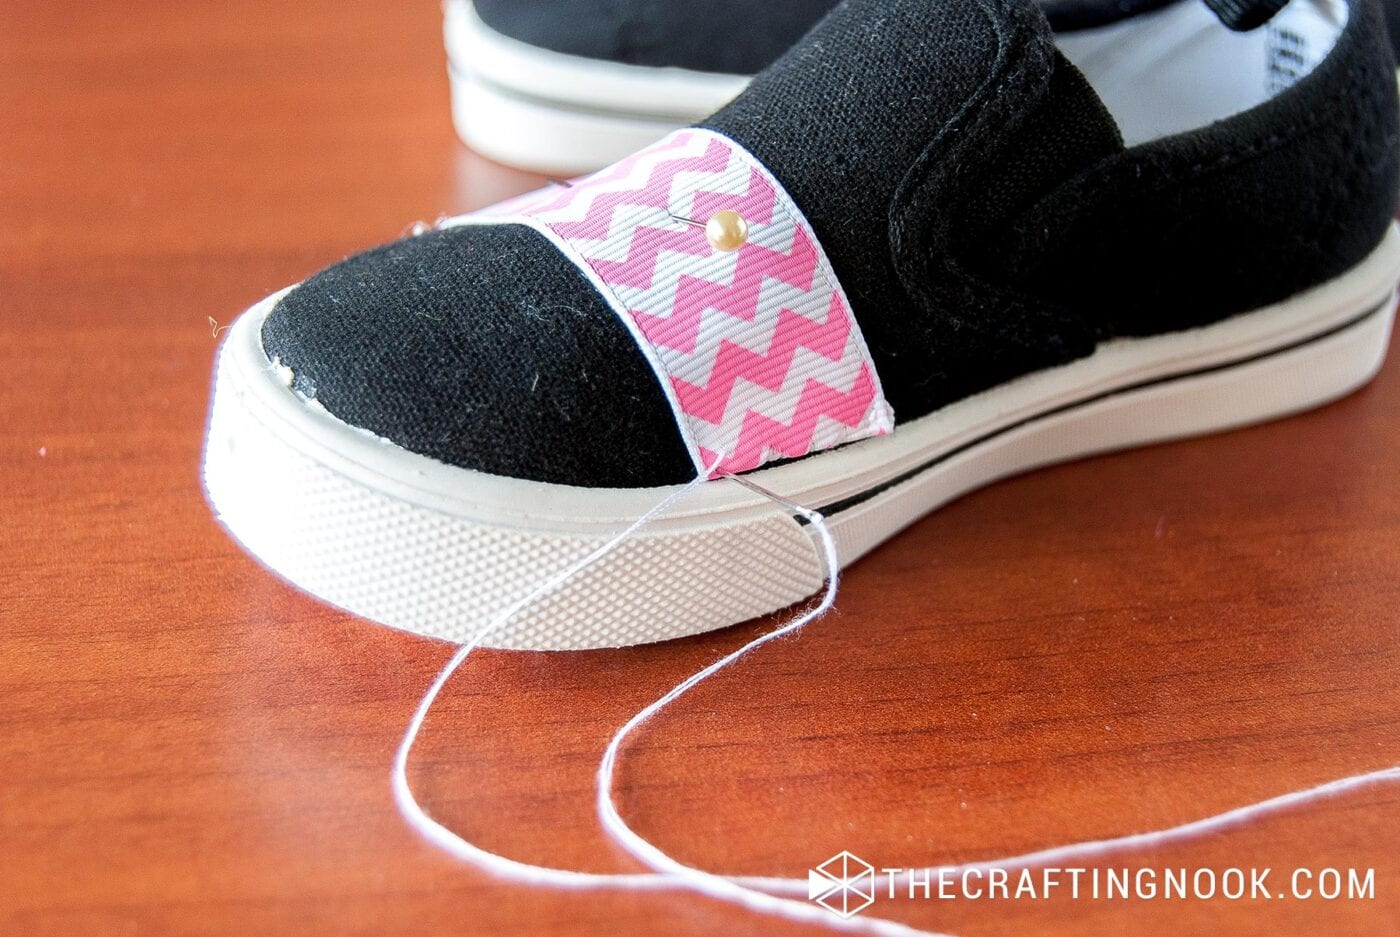
3. Create the Puffy Paint Polka Dots
Using white puffy fabric paint, apply random polka dots across the toe area and the back of the shoes. Keep the dots evenly spaced for a nice look.
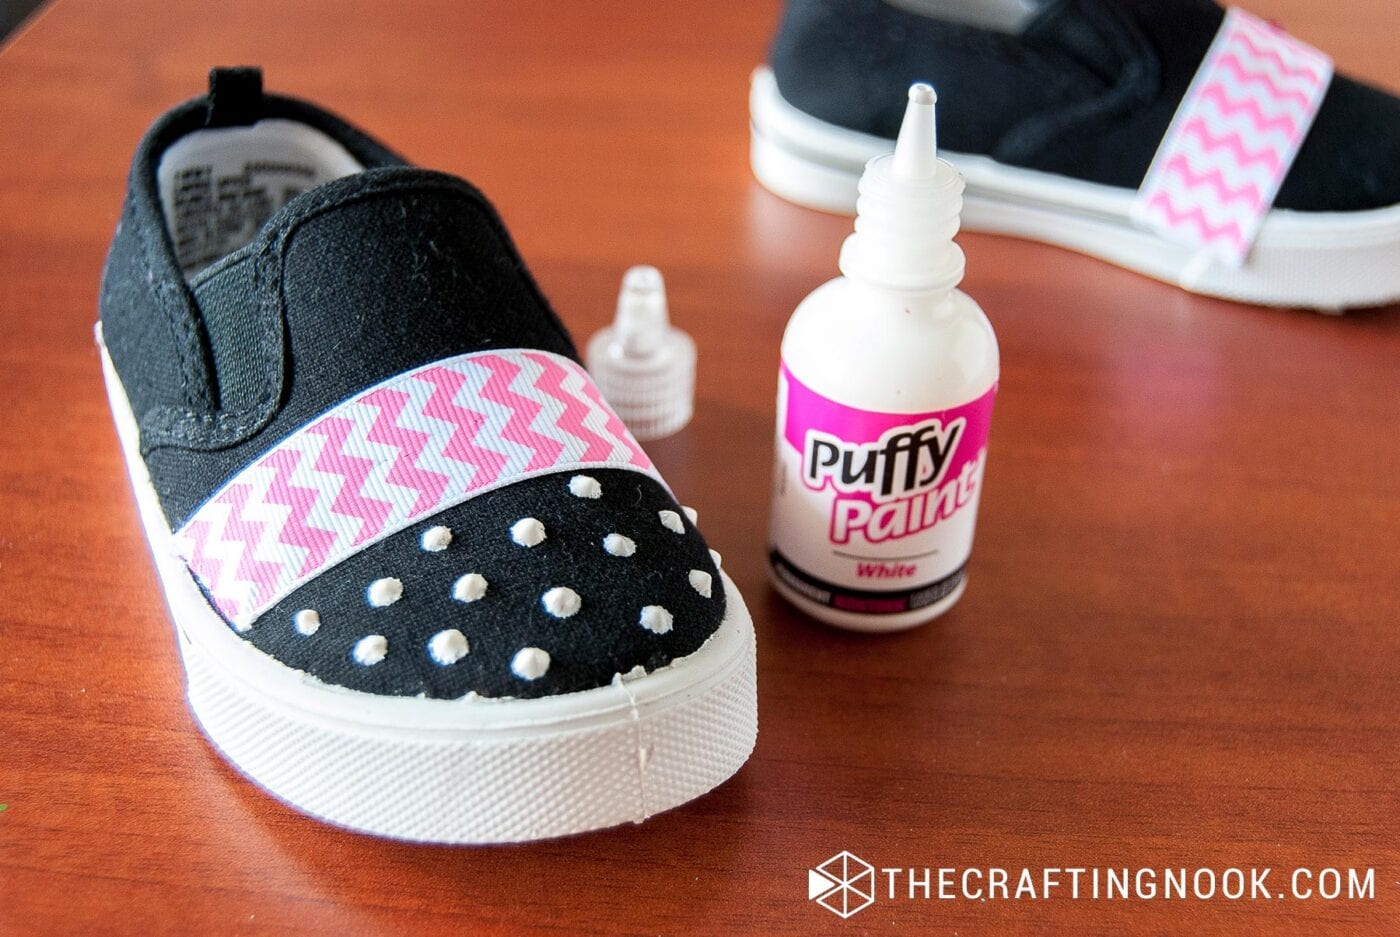
4. Let the Paint Dry
Allow the puffy paint to dry completely—ideally, let the shoes sit overnight in a cool, dry place.
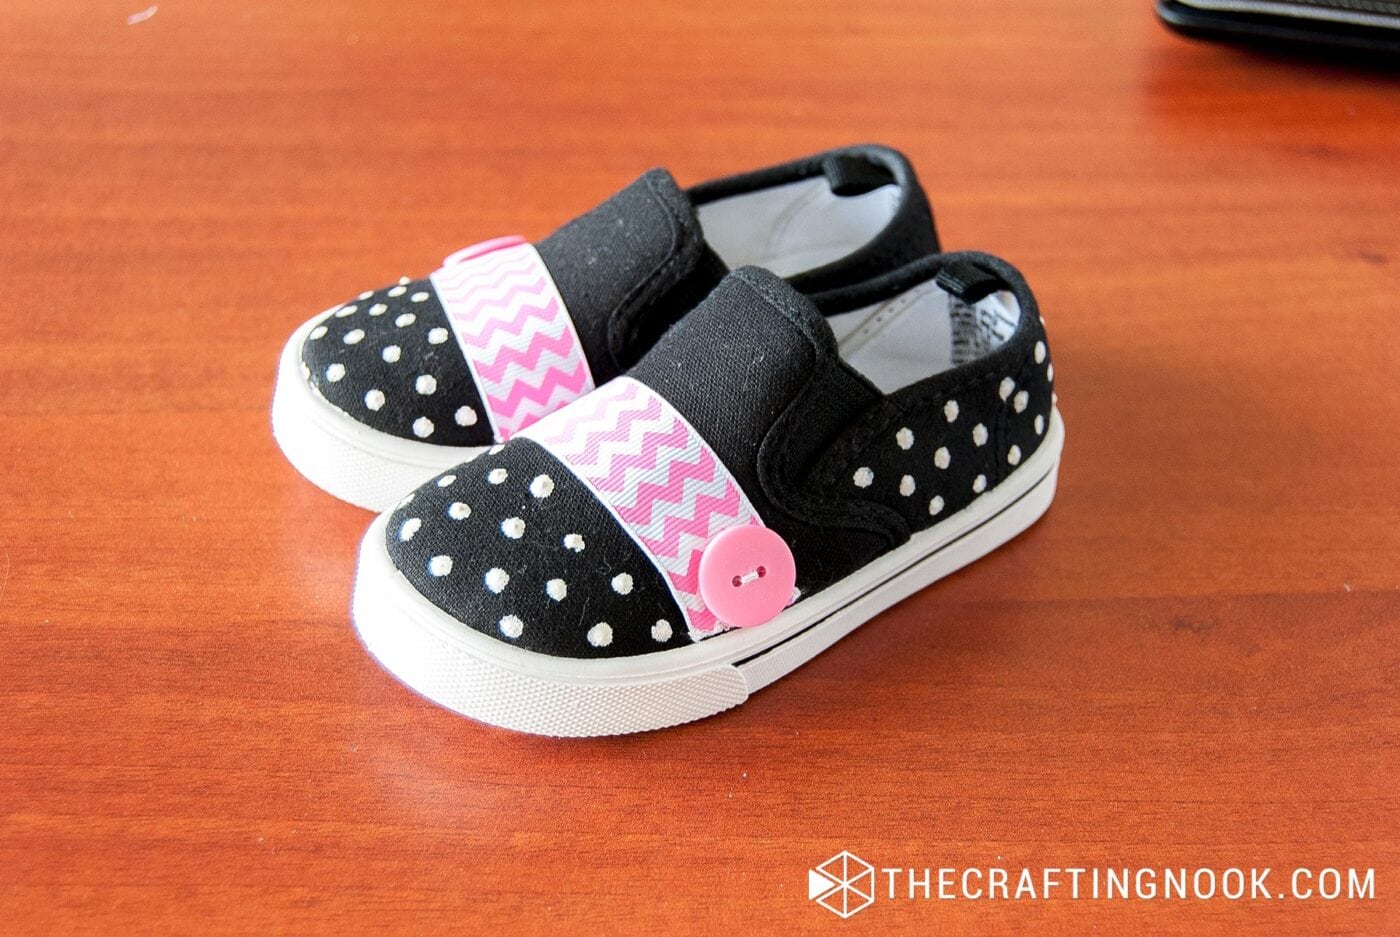
5. Sew on the Buttons
Once the paint is dry, sew one button onto the outer side of each shoe on top of the stitched ribbon.
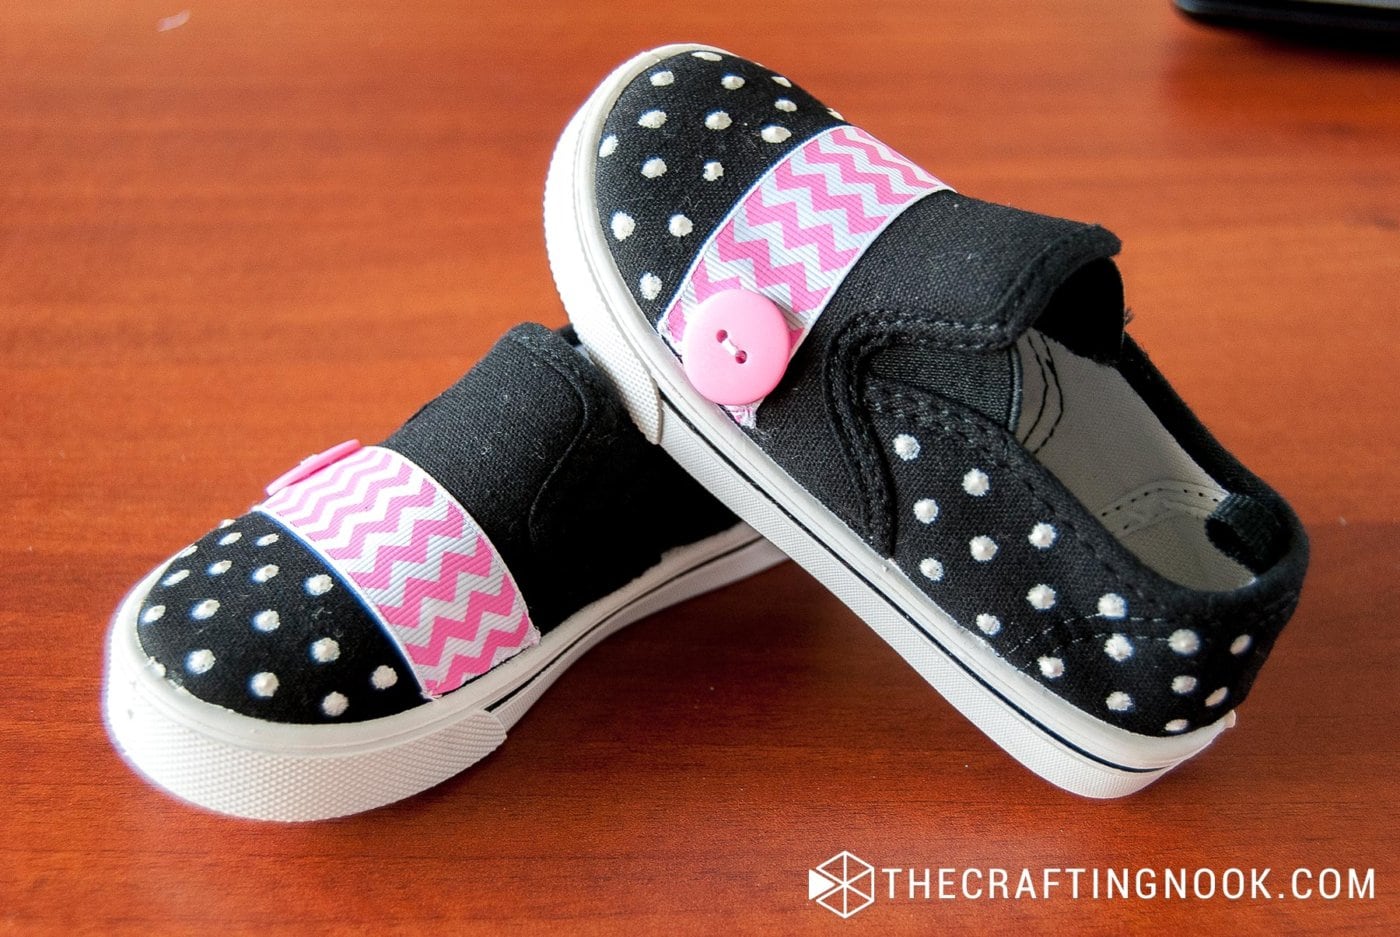
That’s it! There you have it!
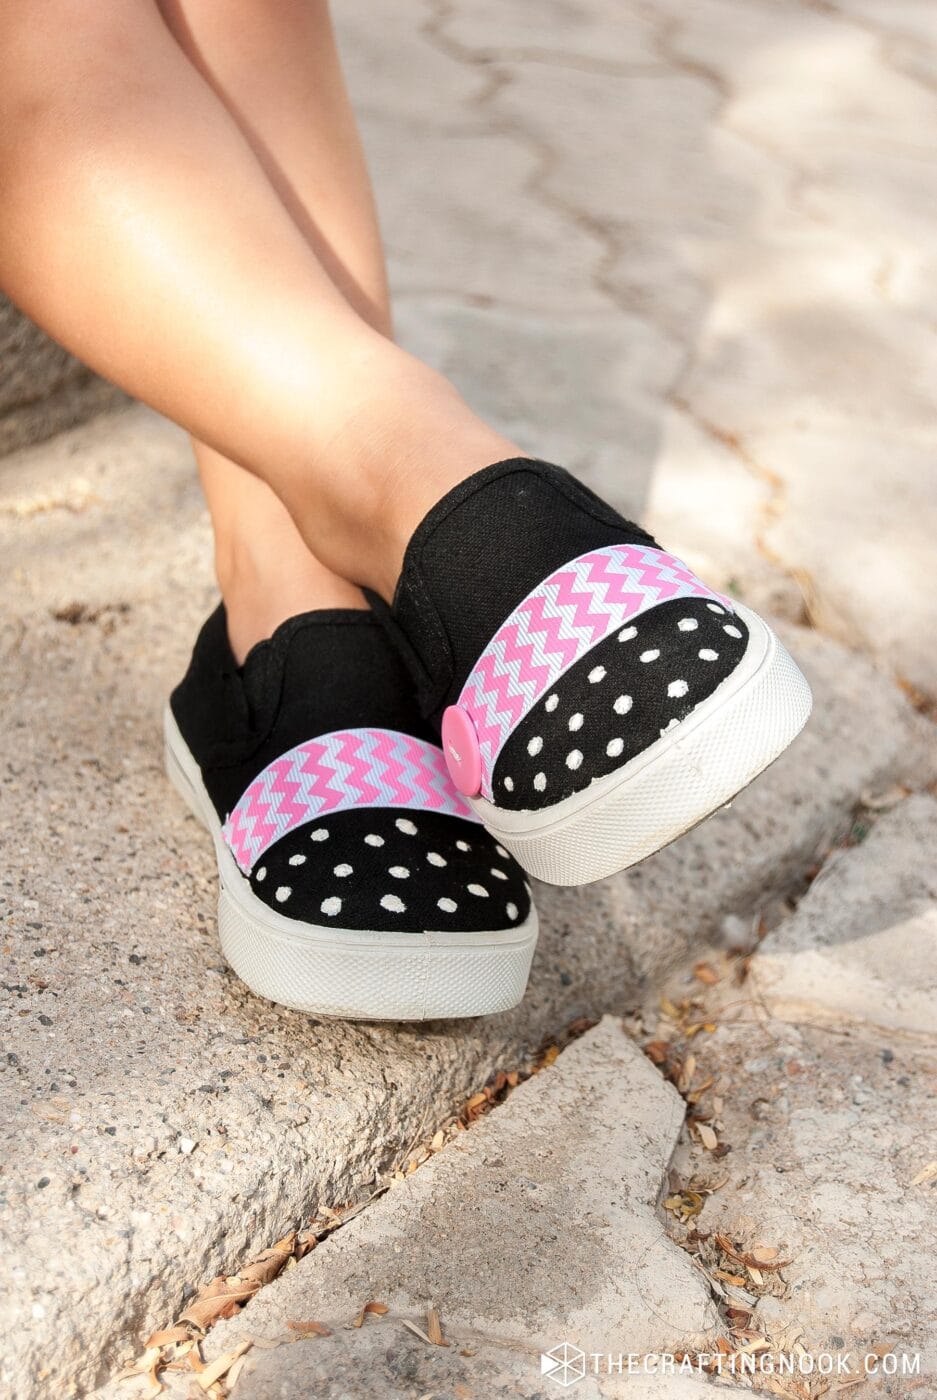
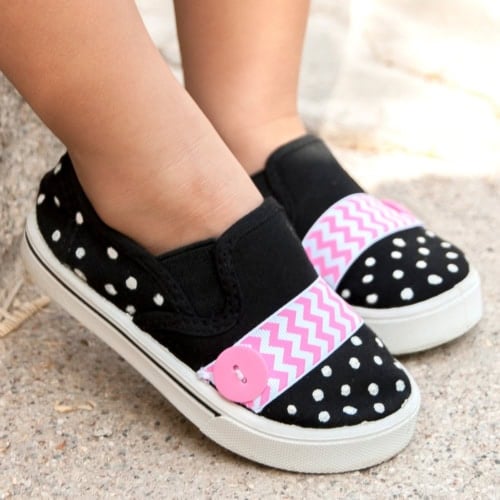
A cute and unique pair of shoes and the best part my girl LOVED it! There is no greater reward!
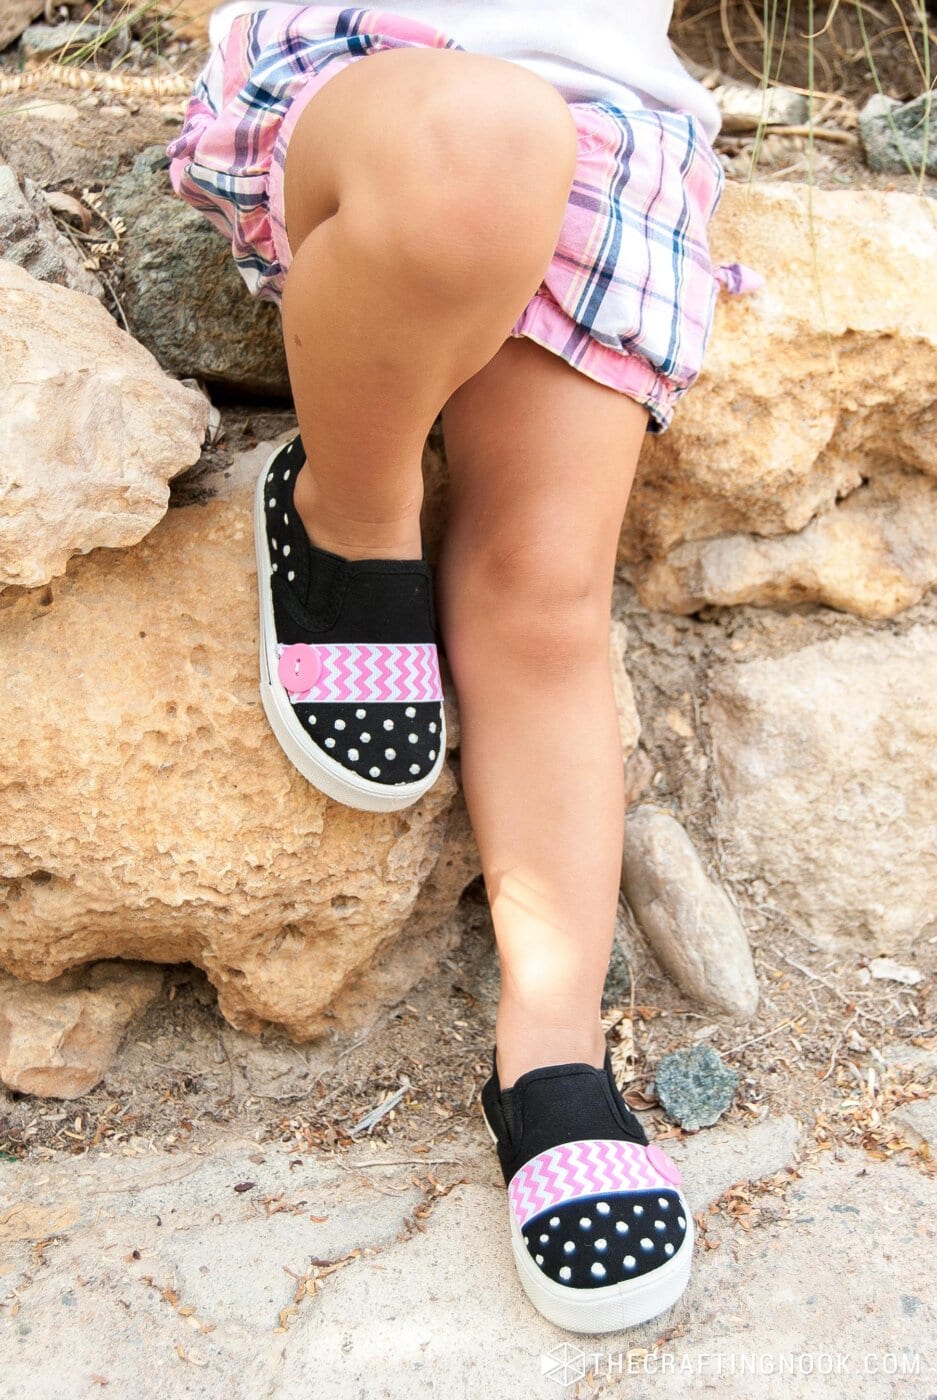
Crafting Tips
- Choose a ribbon color that contrasts well with your shoes for a more striking effect. The same goes for the button but make sure it goes well with the overall look you are after.
- Always test the paint on a scrap of fabric first to get a feel for the size of dots you want.
- You can use different colors of puffy paint or ribbons to match your child’s favorite colors or even their school colors.
- While the puffy paint is still wet, sprinkle glitter over the polka dots for a sparkling effect. You could also use glitter glue for extra shine.
Alternatives and Substitutions
Instead of regular white puffy paint, you can use glow-in-the-dark fabric paint to make the shoes light up in the dark. Kids will love how their shoes glow after sunset.
If the shoes have laces, switch out those plain shoelaces with colorful or patterned ones, or even make DIY shoelaces with fabric ribbons.
You can also instead of freehand polka dots, use small stencils (stars, hearts, or geometric shapes) to apply the puffy paint. This makes the design cleaner and gives kids more control.
Care Instructions: Hand wash only, as machine washing can affect the paint and ribbon.
Frequently Asked Questions
Plain canvas shoes are the best option for this DIY project because they hold fabric paint and embellishments well. Avoid shoes with a glossy or plastic surface, as the paint may not adhere properly. Make sure the shoes are clean and dry before starting.
Puffy paint usually dries to the touch within 4-6 hours, but to ensure it sets completely and is durable, it’s best to let the shoes dry for 24 hours before wearing them. This will also help prevent smudging or cracking. The best advice is always to read the manufacturer’s instructions.
To keep the design intact, it’s best to hand wash the shoes. Spot clean as needed, and avoid using harsh detergents or scrubbing the painted areas.
Absolutely! This is a great project to do with kids. They can help with painting the polka dots, choosing ribbons, or selecting embellishments. Just make sure to supervise them during any sewing or hot glue steps.
Love this question! Definitely yes and I even encourage it! This technique can be easily adapted for adult shoes. The steps are exactly the same, and the result can be just as fun and stylish.
More Projects For Kids To Try
Like this DIY Painted Shoes tutorial? You might definitely love these other Crafty projects ideas for kids too:
Other Shoe painting ideas I love from my favorite bloggers:
- DIY Painted Shoes For Kids With Acrylic or Fabric Paint by Gluesticks.
- SUPER EASY kids shoes tie dye DIY! by Oh! Yay Studio.
✂️ Tutorial
DIY Polka Dot Painted Shoes for Kids Using Puffy Paint
Tools
- scissors
- Pins
- Needle and thread.
Supplies
- 1 pair of plain canvas shoes – best for painting
- White puffy fabric paint – for dark surfaces
- Chevron ribbon – any color of your choice or a different design
- Cute buttons – matching or contrasting the ribbon
Instructions
Prepare the Ribbon
- Firstly, Cut 2 strips of chevron ribbon (or the design you chose).
- Make sure each strip has a few extra millimeters on the sides to fold in later.
Pin and Sew the Ribbon
- Place them where you want them to be on the shoe and pin them in place. I decided to place them in the middle of the top.
- Fold the excess ribbon in, and stitch it along the very edge between the shoe fabric and the sole. Do this on each side of both shoes.
- Be careful not to pull the ribbon too tight or leave it too loose—it should sit snugly but comfortably.
Create the Puffy Paint Polka Dots
- Using white puffy fabric paint, apply random polka dots across the toe area and the back of the shoes. Keep the dots evenly spaced for a nice look.
Let the Paint Dry
- Allow the puffy paint to dry completely—ideally, let the shoes sit overnight in a cool, dry place.
Sew on the Buttons
- Once the paint is dry, sew one button onto the outer side of each shoe on top of the stitched ribbon.
- That’s it! There you have it!
Share and PIN ME!!!
So now it’s your turn, what do you think about handmade uniqueness??? Do you like making bought stuff special???
Til’ next time…


FREE WORKBOOK
Keeping your Sweet Home Organized
Learn how to create intentional habits and simple routines to Keep Your Home Organized. Plus freebies, printables, exclusive content, and tips.
Disclaimer: By clicking on the “Yes” button above you are giving me your consent to collect and use your information according to the law and My Policy Privacy. Zero Spam I promise!
