White Chocolate Cherry Cheesecake Bars
Try these irresistible White Chocolate Cherry Cheesecake Bars recipe. Creamy cheesecake filling infused with luscious white chocolate and topped with tangy cherry goodness. Perfect for any occasion, these sweet treats will satisfy your dessert cravings.
Easy to make and impossible to resist, these bars are a delightful blend of flavors that will leave your taste buds dancing with joy. Get ready to treat yourself to a slice of heaven!
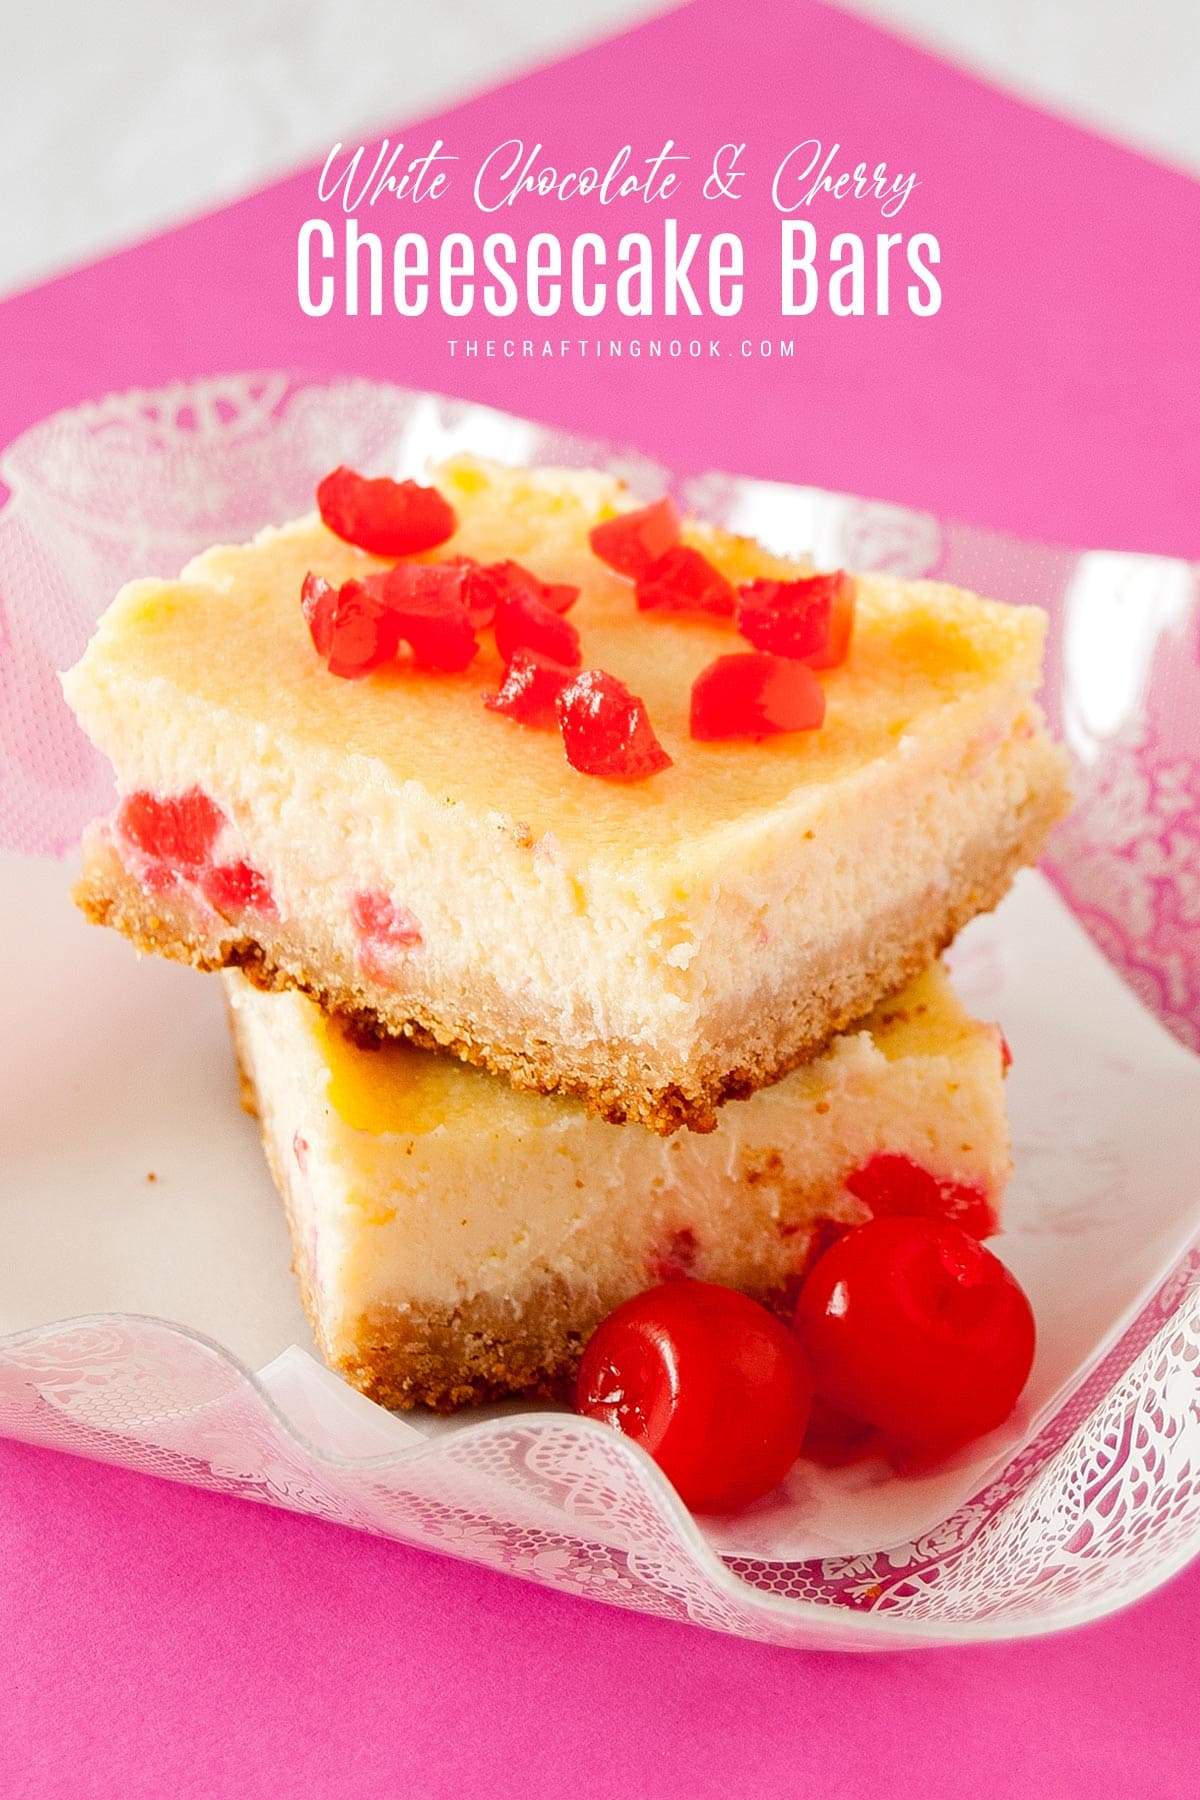
Table of Contents
White Chocolate Cherry Cheesecake Bars
These bars are the perfect blend of creamy, sweet, and tangy flavors. Imagine sinking your teeth into a velvety cheesecake filling infused with the richness of white chocolate. The crust is buttery and crumbly, providing a delightful contrast to the smooth and creamy cheesecake layer.
This post may contain affiliate links. Please read our Disclosure Policy.
It’s like a little slice of heaven in every bite. And as if that wasn’t enough, we’re topping it all off with a generous layer of tangy cherry goodness that adds a burst of fruity freshness. The cherry chops bring color and flavor like no other.
The best part? These Cheesecake Bars are incredibly easy to make.
So grab your apron, preheat your oven, and get ready to embark on a delightful baking adventure that will leave your loved ones asking for more!
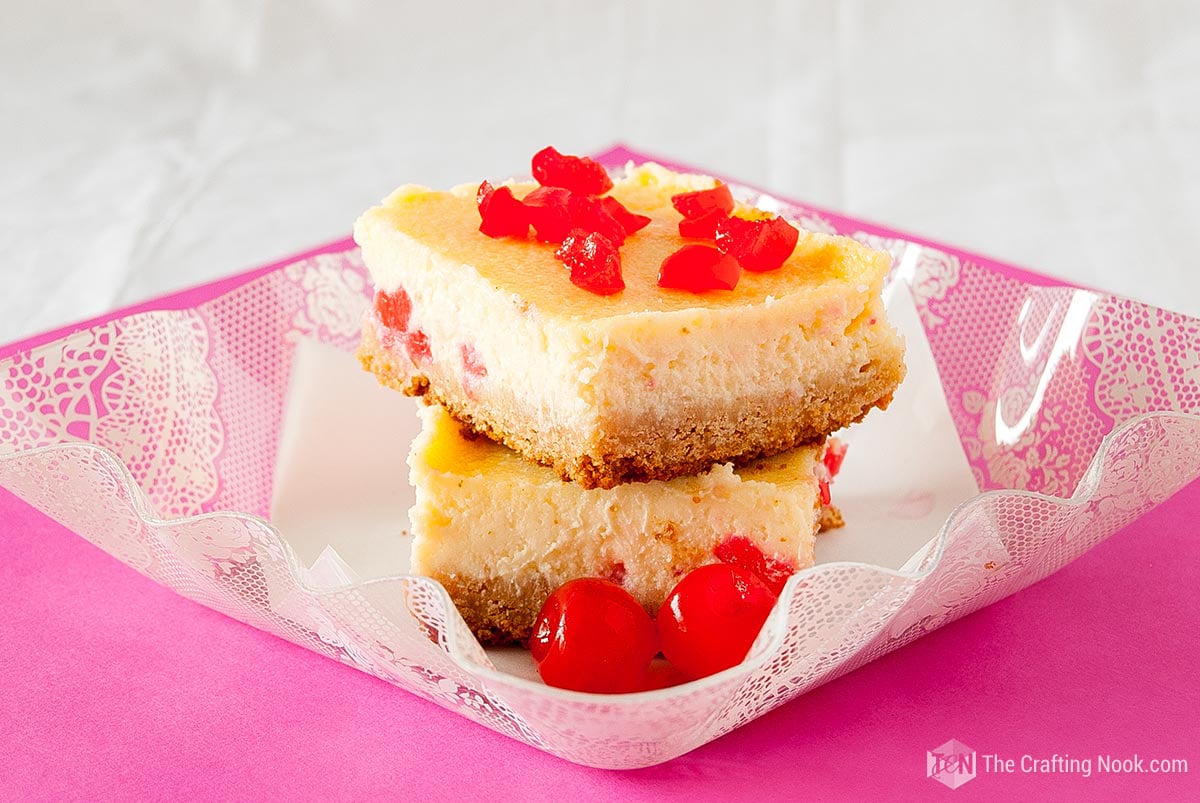
How to make White Chocolate Cherry Cheesecake Bars
These white chocolate cherry cheesecake bars are pretty easy to make and you will not believe how delicious it can be!
Ingredients:
Cheesecake
- White chocolate chips
- Chopped cherries
- Vanilla
- Cream cheese – at room temperature
- White sugar
- Eggs
Crust
- Cashew graham cracker – you can use any kind of graham cracker but with honey or nuts are my favorites
- 4 oz of melted unsalted butter
Instructions
Prep Work
- Melt the white chocolate chips in a double boiler. When melted, stir well and let it cool to room temperature.
- Chop the cherries and leave them aside.
- Preheat the oven to 350 °F – 180 °C/Gas 4/fan 16 °C and grease a 9-inch squared pan.
The Crust
- Turn the graham crackers into crumbs with a food processor.
- When the crumbs are very small, pour the melted butter and mix for about 2 min to blend it well.
- Butter or spray a 9×9″ squared pan. Pour the mixture in the pan and press and pat on the bottom until it’s even.
- Place it in your preheated oven and bake at 350 ºF 5-10 minutes. Set aside.
The Cheesecake
- Using an electric mixer on medium speed, beat cream cheese, sugar, vanilla, and eggs (one at a time), until fluffy – about 3-5 minutes.
- Add in the melted white chocolate. This could make the mixture get thinner if the chocolate is still warm, if so, let the mixture cool for about 15 minutes in the fridge.
- After 15 minutes, transfer the filling to the prepared crust.
- Spread the chopped cherry all over the mixture (reserve some for decoration) and carefully mix them a little bit with a fork.
- Bake until cheesecake puffs and edges crack slightly, about 1 1/2 hours.
- Bring the cake to a cooling rack and run a small knife around the sides of the cake to loosen it.
- Let it cool completely.
- Cut in squares and decorate with cherries. You can also make a cherry sauce.
- Serve and enjoy!

Recipe Tips
- When melting white chocolate for the cheesecake filling, make sure that the bowl and utensils are completely dry. Even a small amount of moisture can cause the chocolate to seize and become clumpy. To prevent this, wipe all utensils with a paper towel before using them.
- For a foolproof crust that won’t crumble when you cut into the bars, press the crust mixture firmly and evenly into the bottom of the baking dish. Use the back of a spoon or the bottom of a measuring cup to ensure a compact and even layer. This will help the crust hold its shape and provide a solid base for the cheesecake layer.
- To add an extra burst of cherry flavor to your bars, reserve the cherry syrup from the canned cherries. Drizzle a tablespoon or two of the syrup over the crust before adding the cheesecake layer. This simple step will take your bars to a whole new level.
- To achieve the perfect creamy texture, be cautious not to over-bake the cheesecake bars. Keep a close eye on them during the last few minutes of baking, as they can quickly go from slightly jiggly in the center to overcooked. The center should have a slight wobble when you gently shake the pan.
- To achieve clean and smooth slices, run a sharp knife under hot water and wipe it dry before making each cut. This will help prevent the cheesecake filling from sticking to the knife.
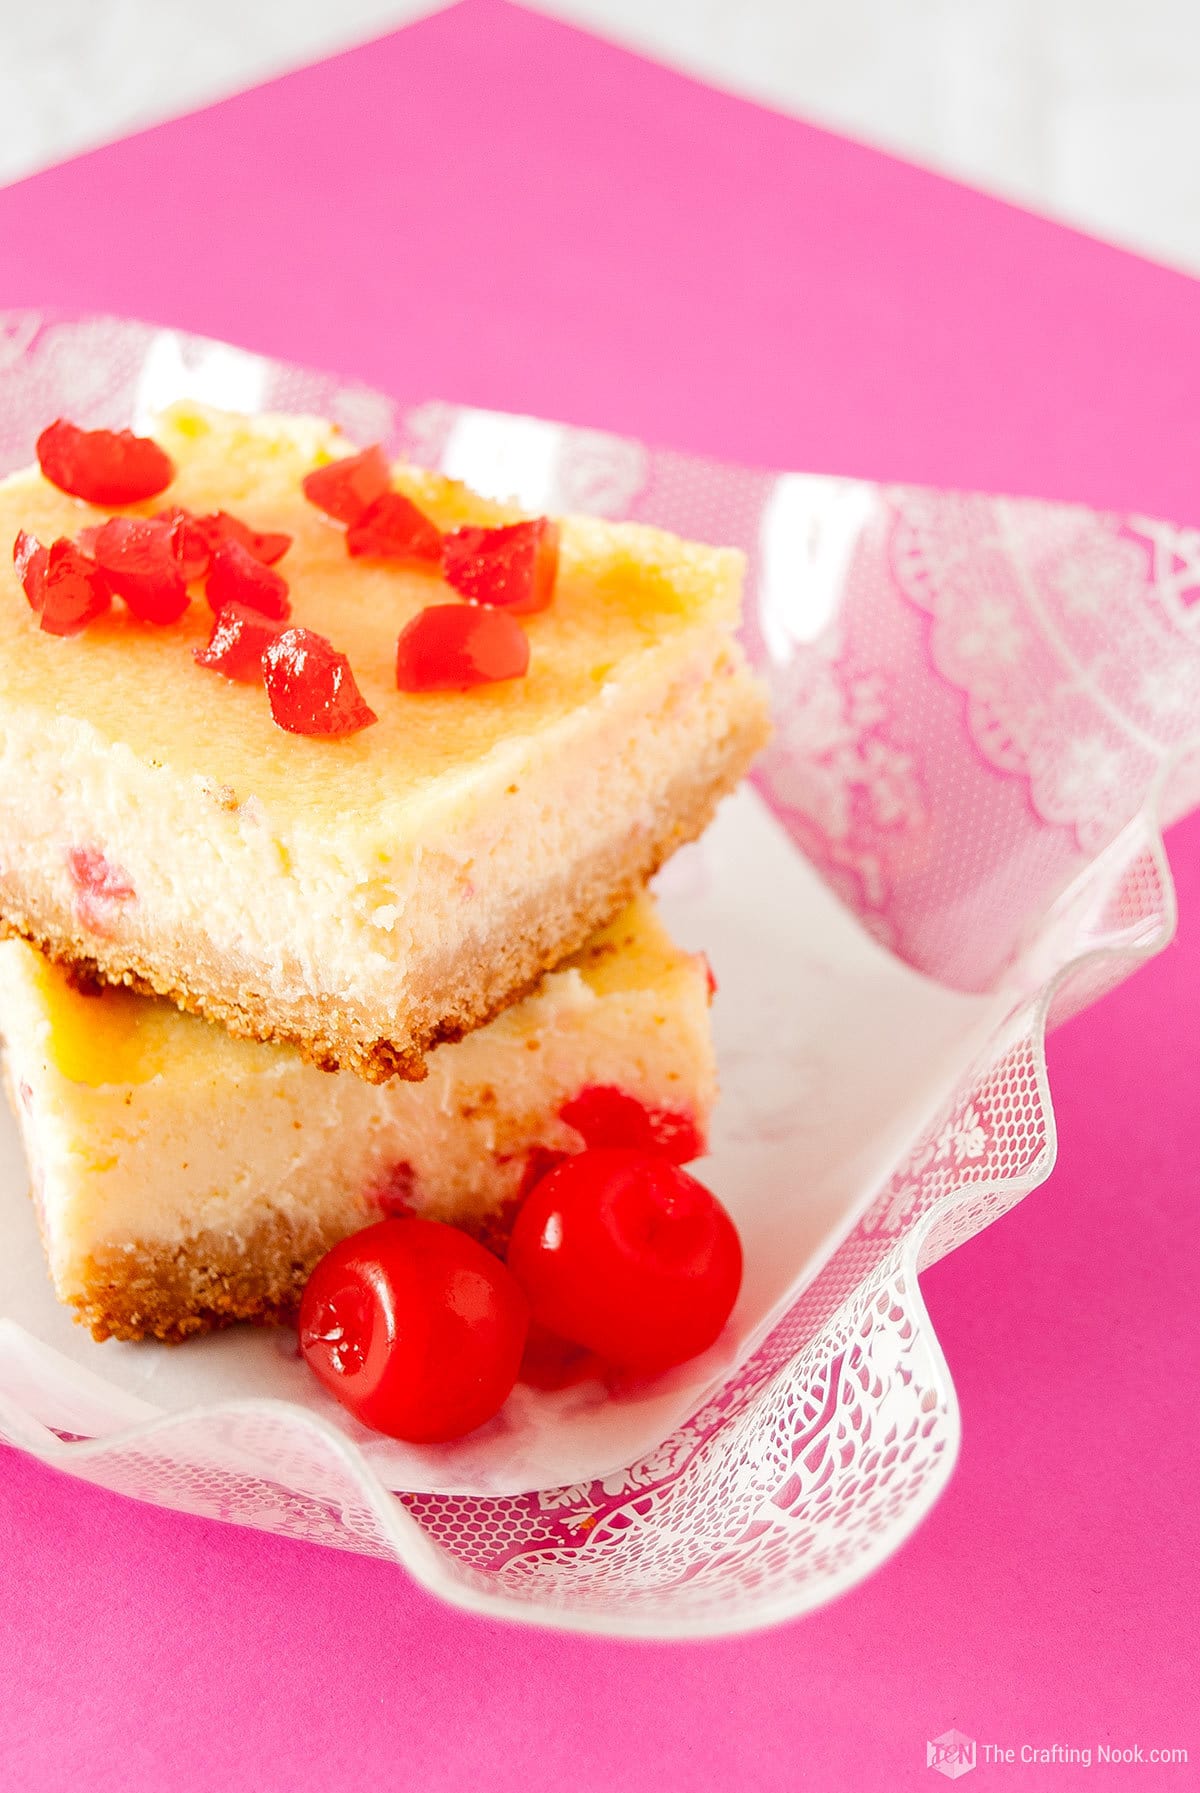
Make in Advanced
These bars can be made ahead of time and stored in the refrigerator for up to 3 days. Just be sure to cover them tightly with plastic wrap or place them in an airtight container to maintain their freshness.
Storing and Freezing
These bars should be stored in the refrigerator and stay fresh for up to 3 days. Cover them tightly with plastic wrap or place them in an airtight container to maintain their freshness.
These bars freeze beautifully. After they have cooled completely, cut them into individual portions and wrap each bar tightly in plastic wrap. Place them in a freezer-safe container or bag and freeze for up to 3 months. Thaw them in the refrigerator overnight before serving.

Frequently Asked Questions
Absolutely! While white chocolate adds a creamy and slightly sweet flavor, you can certainly use regular chocolate if you prefer. Dark or semi-sweet chocolate would work well and provide a rich and decadent twist to the bars.
Yes, you can, although the flavor will not be the same, fresh cherries can be a delightful addition to the bars. Simply pit and chop the fresh cherries into small pieces and use them as a topping. Keep in mind that the texture and sweetness may vary slightly, but the overall result will still be delicious.
It’s best to chill the bars for at least 2-3 hours, or even overnight if possible. This allows the flavors to meld together and the cheesecake layer to set properly. However, if you’re short on time, you can pop them in the freezer for about an hour to speed up the chilling process.
Of course! While the recipe suggests cashew graham cracker crumbs, you can get creative with the crust. Try using crushed vanilla wafers, chocolate cookies, or even a combination of different cookies for a unique twist. The crust provides a solid base, so feel free to experiment with your favorite flavors.
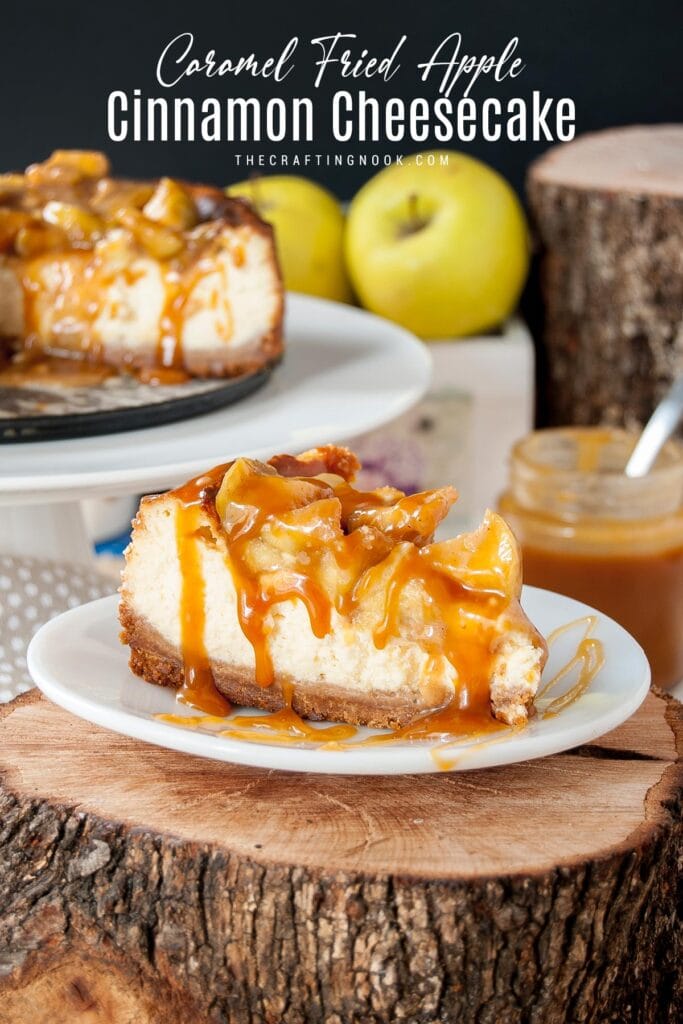
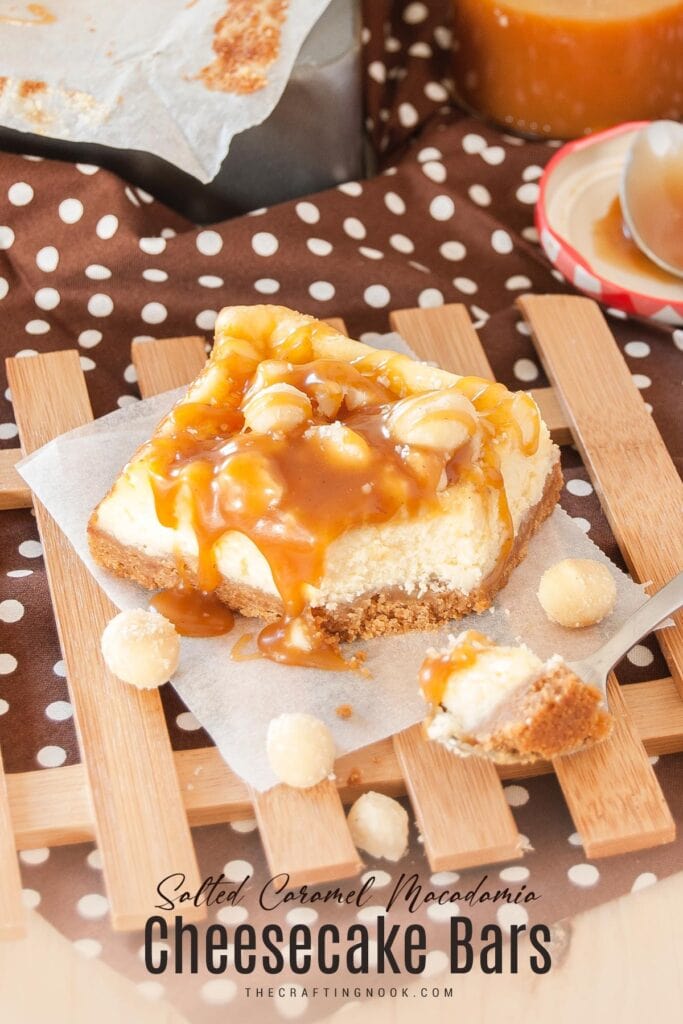
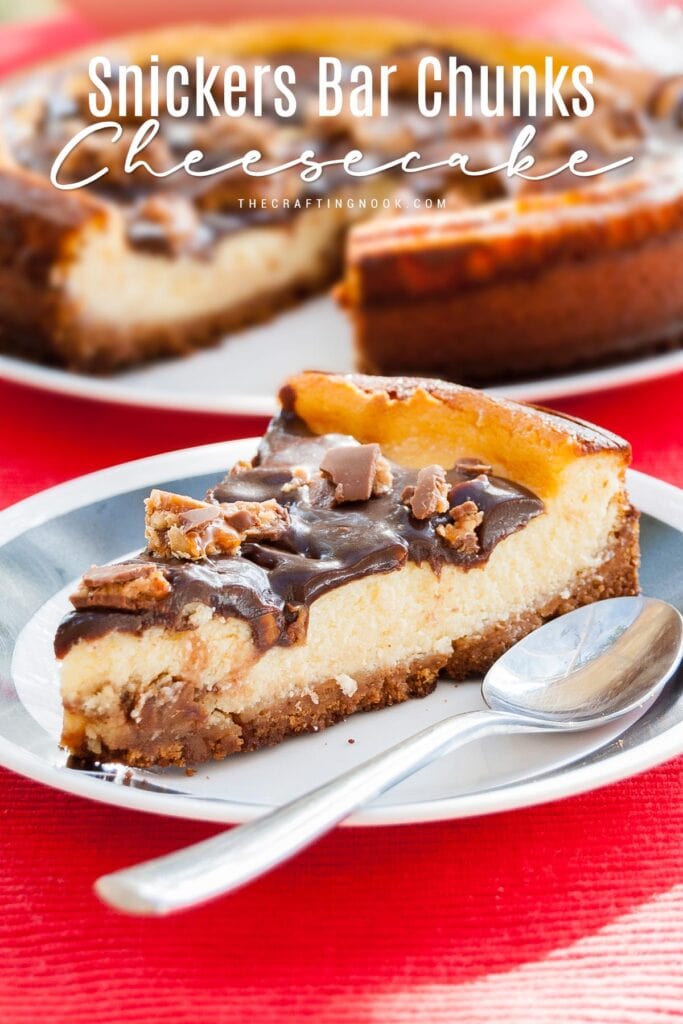
More Cheesecake Recipes to TRY
If you enjoyed this delicious white chocolate cherry cheesecake recipe, you might also love these other dessert recipe ideas too:
Other Cherry recipes I love from my favorite bloggers
- Cherry Coffee Cake Recipe by The Forked Spoon.
- Healthy Cherry Crisp by HummuSapiens.
- Cherry Ice Cream Recipe by Serious Eats.
🥣 Recipe
White Chocolate Cherry Cheesecake Bars
Equipment
- Electric mixer
- Food processor
Ingredients
- 1 cup white chocolate chips
- 1/2 cup chopped cherries
- 1 tsp of Vanilla
- 21 oz of Cream cheese {Room temperature}
- 1 cup of white sugar
- 4 Eggs
- Crust
- 12 oz of Cashew graham cracker {you can use any kind graham cracker but with honey or nuts are great}
- 4 oz of melted unsalted butter
Instructions
PREP WORK
- Melt the white chocolate chips in a double boiler. When melted, stir well and let it cool to room temperature.
- Chop the cherries and leave them aside.
- Preheat the oven to 350 °F – 180 °C/Gas 4/fan 16 °C and grease a 9-inch squared pan.
THE CRUST
- Turn the graham crackers into crumbs with a food processor.
- When the crumbs are very small, pour the melted butter and mix for about 2 min to blend it well.
- Butter or spray a 9×9″ squared pan. Pour the mixture in the pan and press and pat on the bottom until it’s even.
- Place it in your preheated oven and bake at 350 ºF 5-10 minutes. Set aside.
THE CHEESECAKE
- Using an electric mixer on medium speed, beat cream cheese, sugar, vanilla, and eggs (one at a time), until fluffy – about 3-5 minutes.
- Add in the melted white chocolate. This could make the mixture get thinner if the chocolate is still warm, if so, let the mixture cool for about 15 minutes in the fridge.
- After 15 minutes, transfer the filling to the prepared crust.
- Spread the chopped cherry all over the mixture (reserve some for decoration) and carefully mix them a little bit with a fork.
- Bake until cheesecake puffs and edges crack slightly, about 1 1/2 hours.
- Bring the cake to a cooling rack and run a small knife around the sides of the cake to loosen it.
- Let it cool completely.
- Cut in squares and decorate with cherries. You can also make a cherry sauce.
- Serve and enjoy!
What do you think guys???? Yummmmy or what??? I would like to know your thoughts.
Share and PIN ME!!!

Til’ next time…


FREE WORKBOOK
Keeping your Sweet Home Organized
Learn how to create intentional habits and simple routines to Keep Your Home Organized. Plus freebies, printables, exclusive content, and tips.
Disclaimer: By clicking on the “Yes” button above you are giving me your consent to collect and use your information according to the law and My Policy Privacy. Zero Spam I promise!
