DIY Rhinestone Shoes for Girls
This post may contain affiliate links. Please read our Disclosure Policy.
Create fun and sparkly DIY Rhinestone Shoes for girls with this easy tutorial! Add bling to plain sneakers using rhinestones and bows.
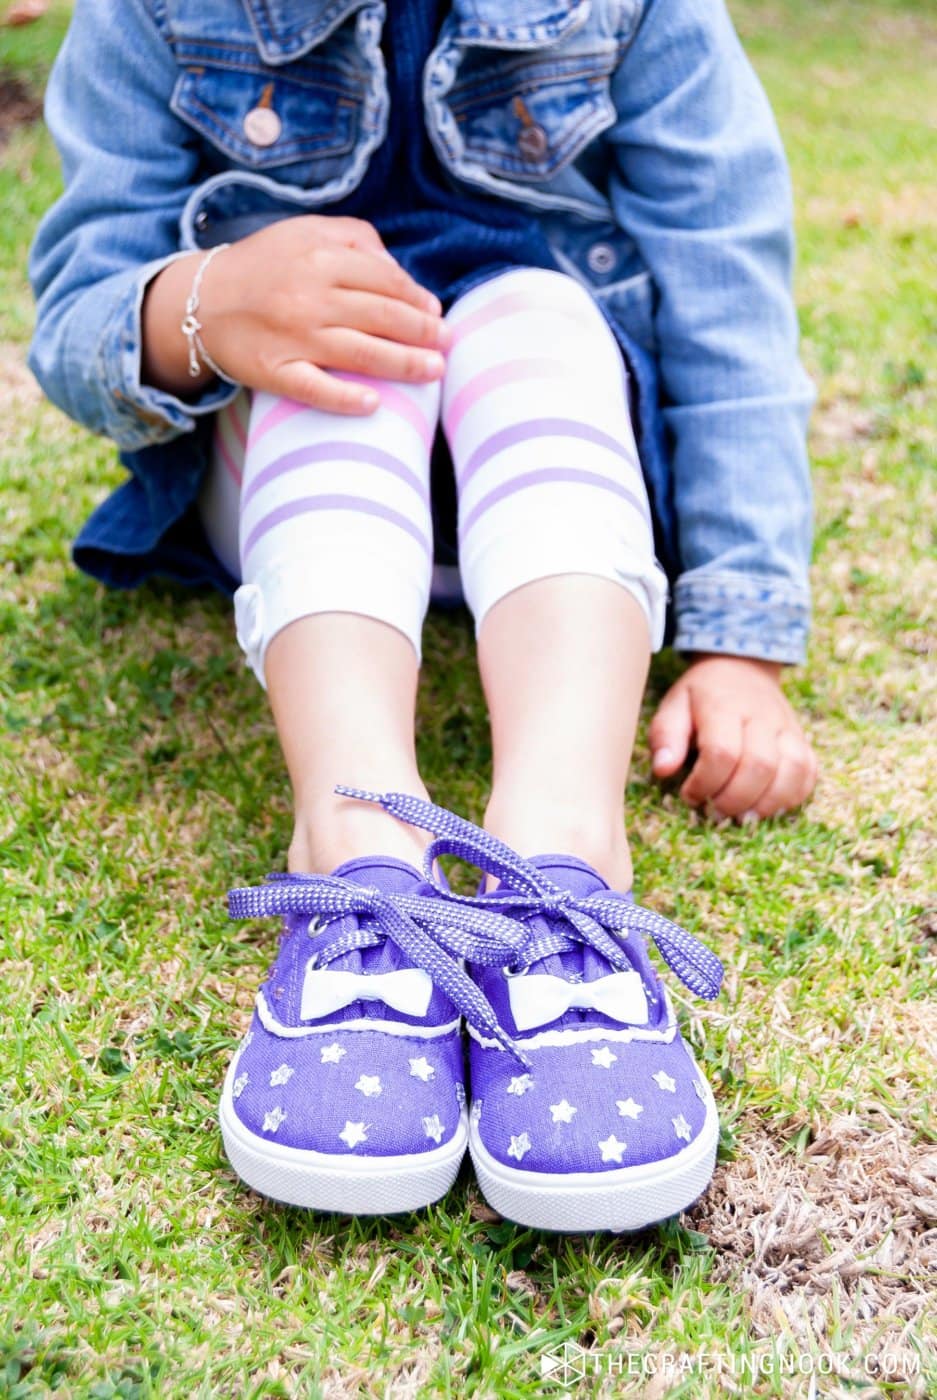
Oh my! It’s been a long time since I last made some embellished shoes. But here I am again. My girl loves anything sparkling and shiny, she also loves purple so when I saw these little sneakers I knew right away what to do. I had to make these Star Rhinestone Shoes.
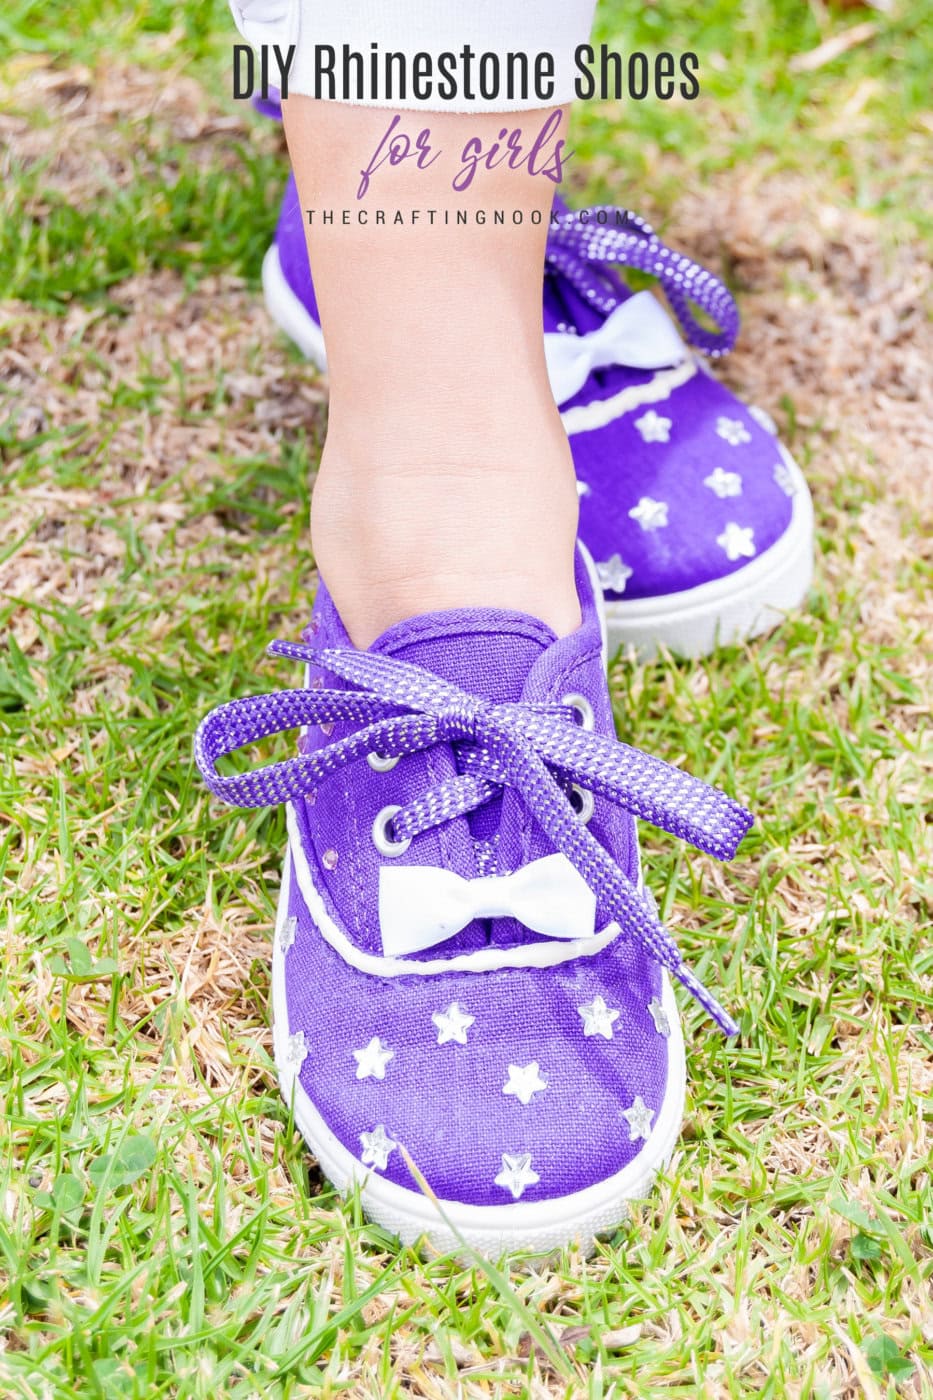
Table of Contents
DIY Rhinestone Shoes, Adding bling to your kid’s shoes
I’ve always said that I have this thing for embellished shoes, most likely because they are unique and so pretty. My girl, like any woman, loves shoes and also loves to have things handmade. We have made quite a team here!
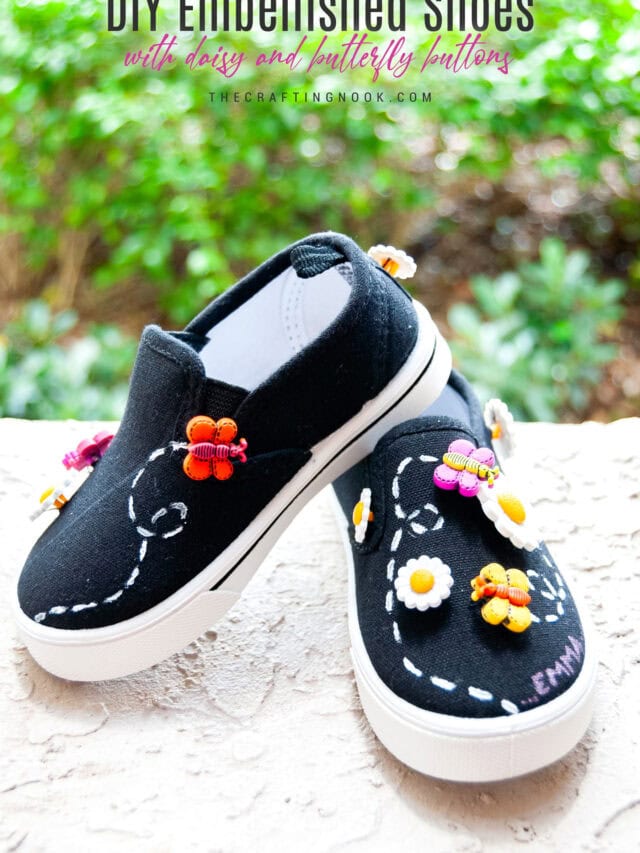
The last embellished shoes I made for her were the chevron and polka dots ones and she loved them. Not sure why I didn’t make more after that. But better late than never!
The only sad thing was that she didn’t get to use them that much because she outgrew them way too quickly but we both loved those shoes so it was worth it.
These Star Rhinestone Shoes are super easy to make. I thought because of the use, they might lose the rhinestones but it didn’t happen. My girl is not really that hard on shoes, so I’m not really sure if the glue is strong enough with a more active child wearing them. The time these were in use didn’t lose any rhinestones but if you try this it would be interesting to hear your experience.
Of course, there are lots of brands and types of glue so it’s hard to say. The glue I used was supposed to be specific for fabrics and the rhinestone onesies and t-shirts I’ve made didn’t come off after several times washing them in the washer machine and drier.
Why You’ll Love These DIY Rhinestone Shoes
These shoes are unique, adorable, and crazy fun to make. Whether your girl is obsessed with shiny things (like mine!) or you’re just looking for a cute way to upcycle some plain sneakers, this project is perfect for you.
One of the best parts? These shoes are fully customizable! You can add as many rhinestones, stars, or bows as you like and create your own custom design. They also make a great way to bond with your child and encourage creativity and imagination.
how to make these cute Rhinestone Shoes!
These rhinestone shoes are easy to make and add that extra sparkle that every girl likes. My daughter loves anything with sparkly, so these custom star rhinestone sneakers were a big hit.
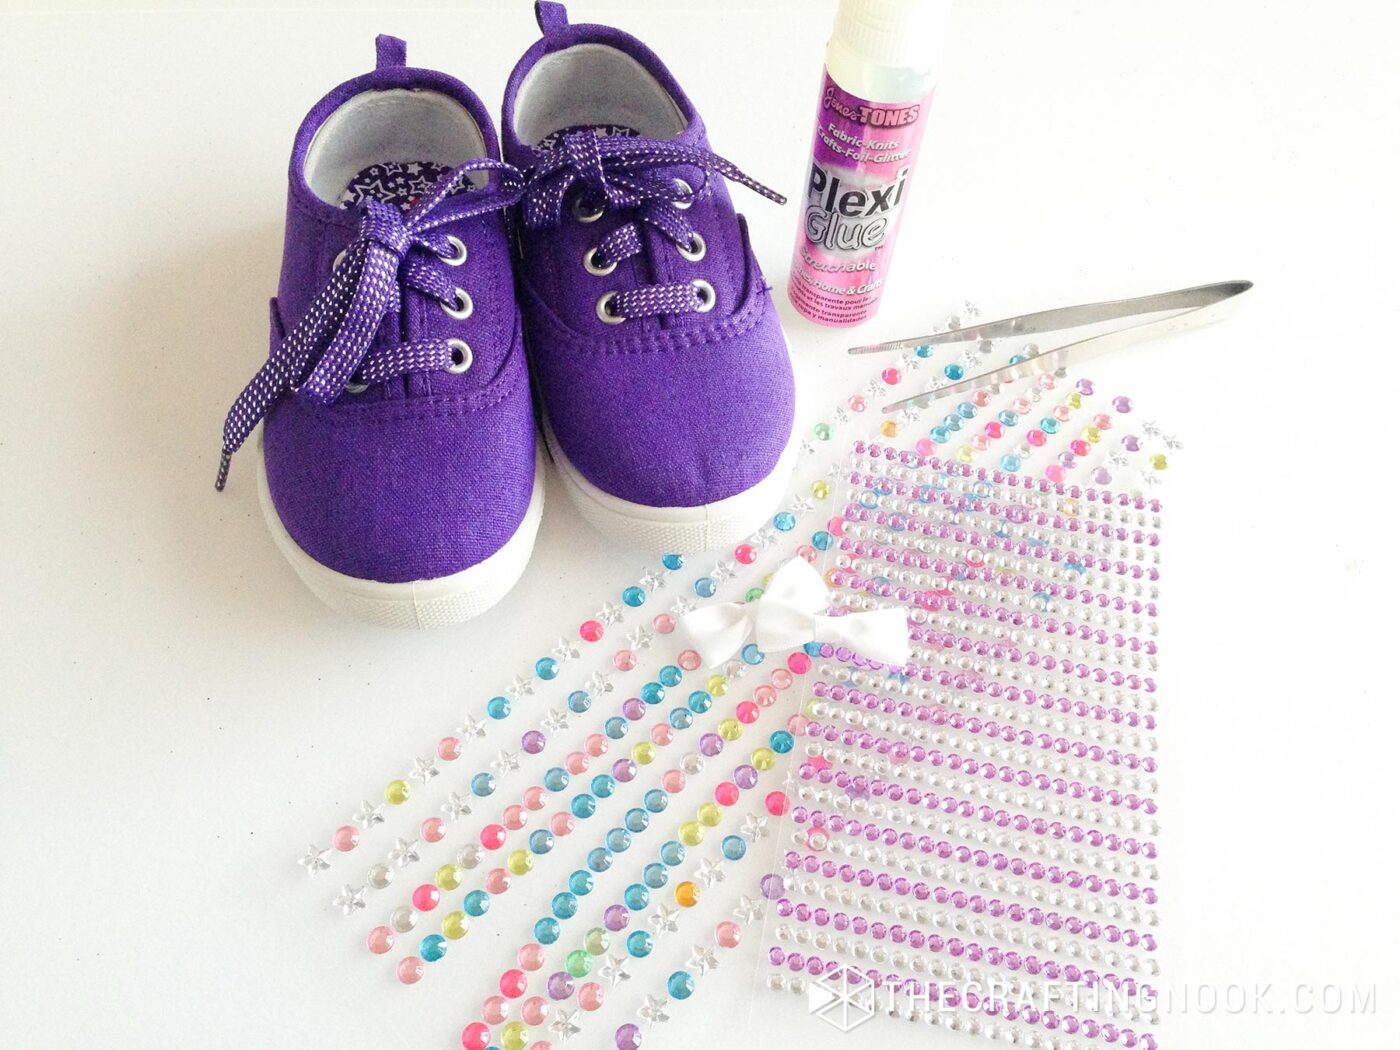
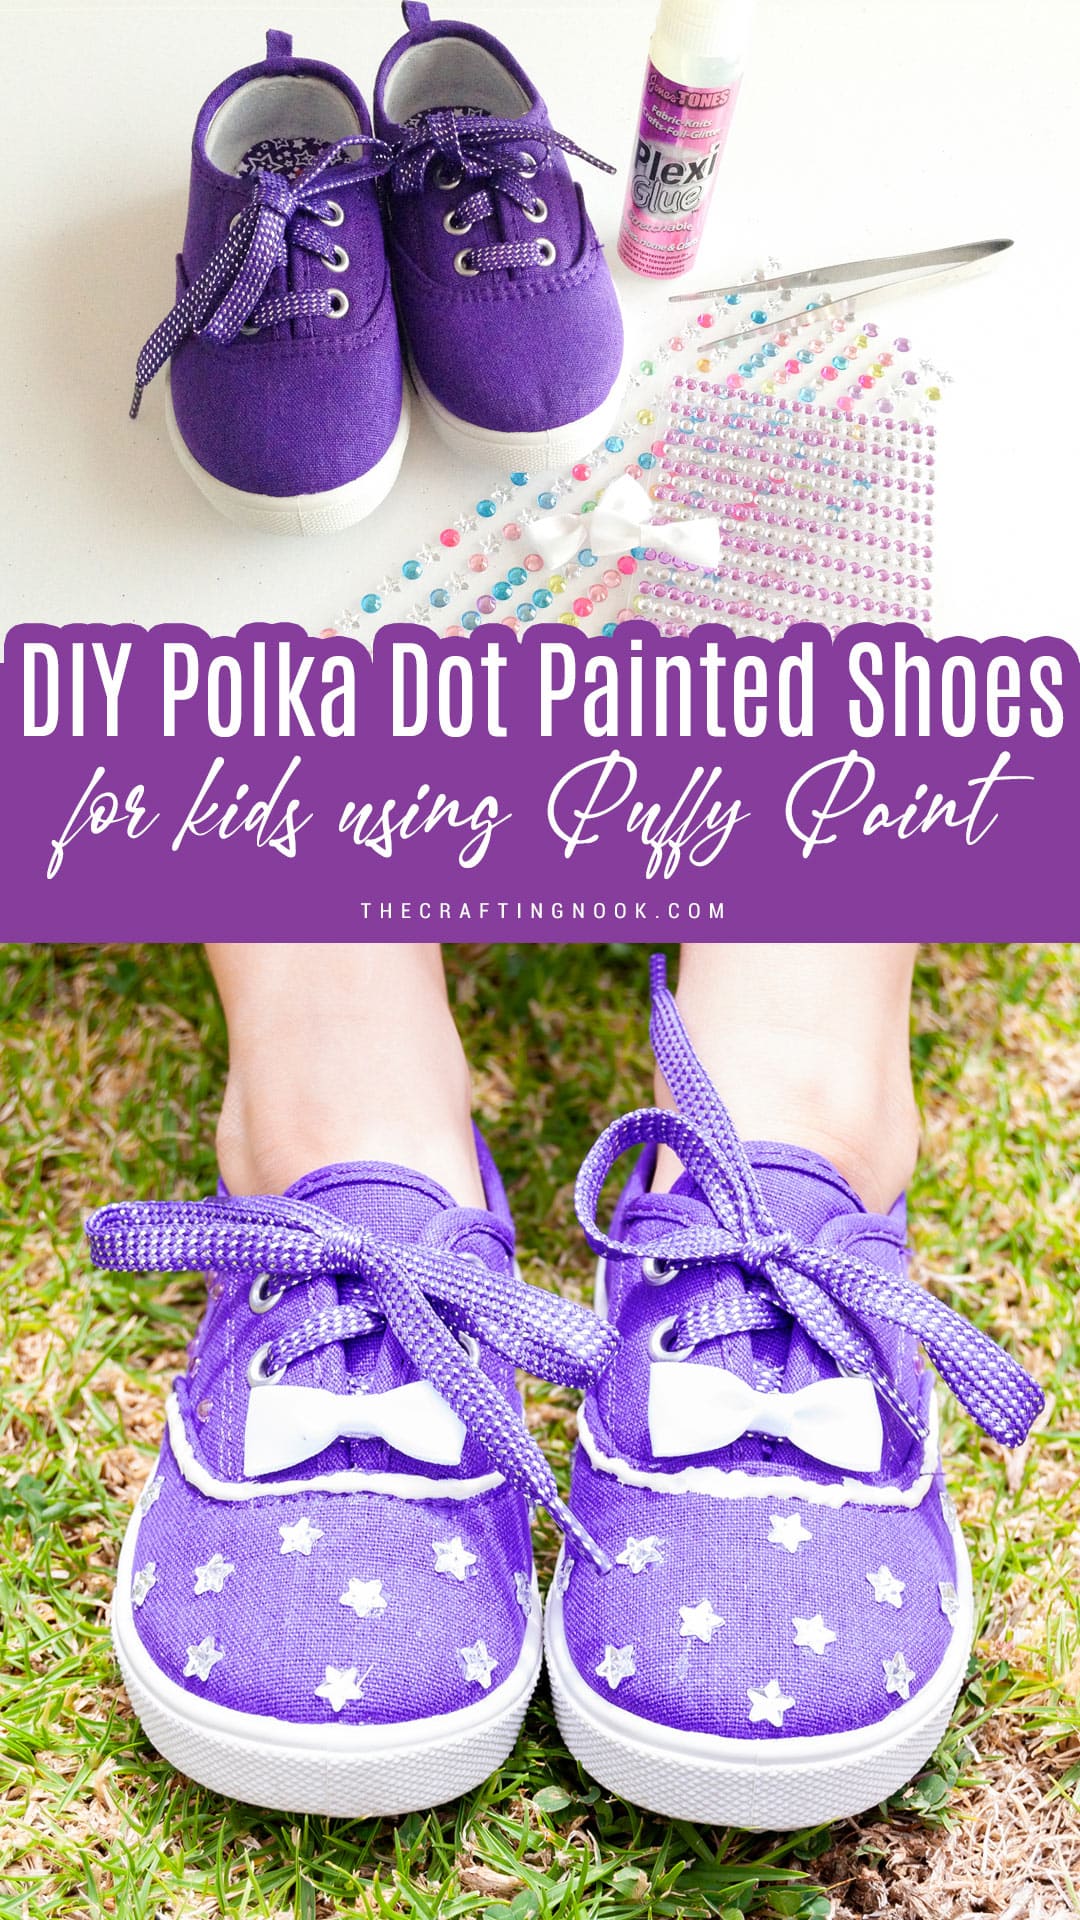
Supplies:
- Cute Sneakers – for kids and adults (any color or size you like!)
- Star crystal rhinestones
- Regular smaller rhinestones
- Fabric glue
- 2 Cute ribbon bows
- White puffy paint {optional}
- Tweezers
Instructions:
Step 1: Prep the Sneakers
Before starting, clean the sneakers well with a soft cloth or towel to remove any dust or possible dirt. This will help the glue stick better and make sure your rhinestones stay in place.
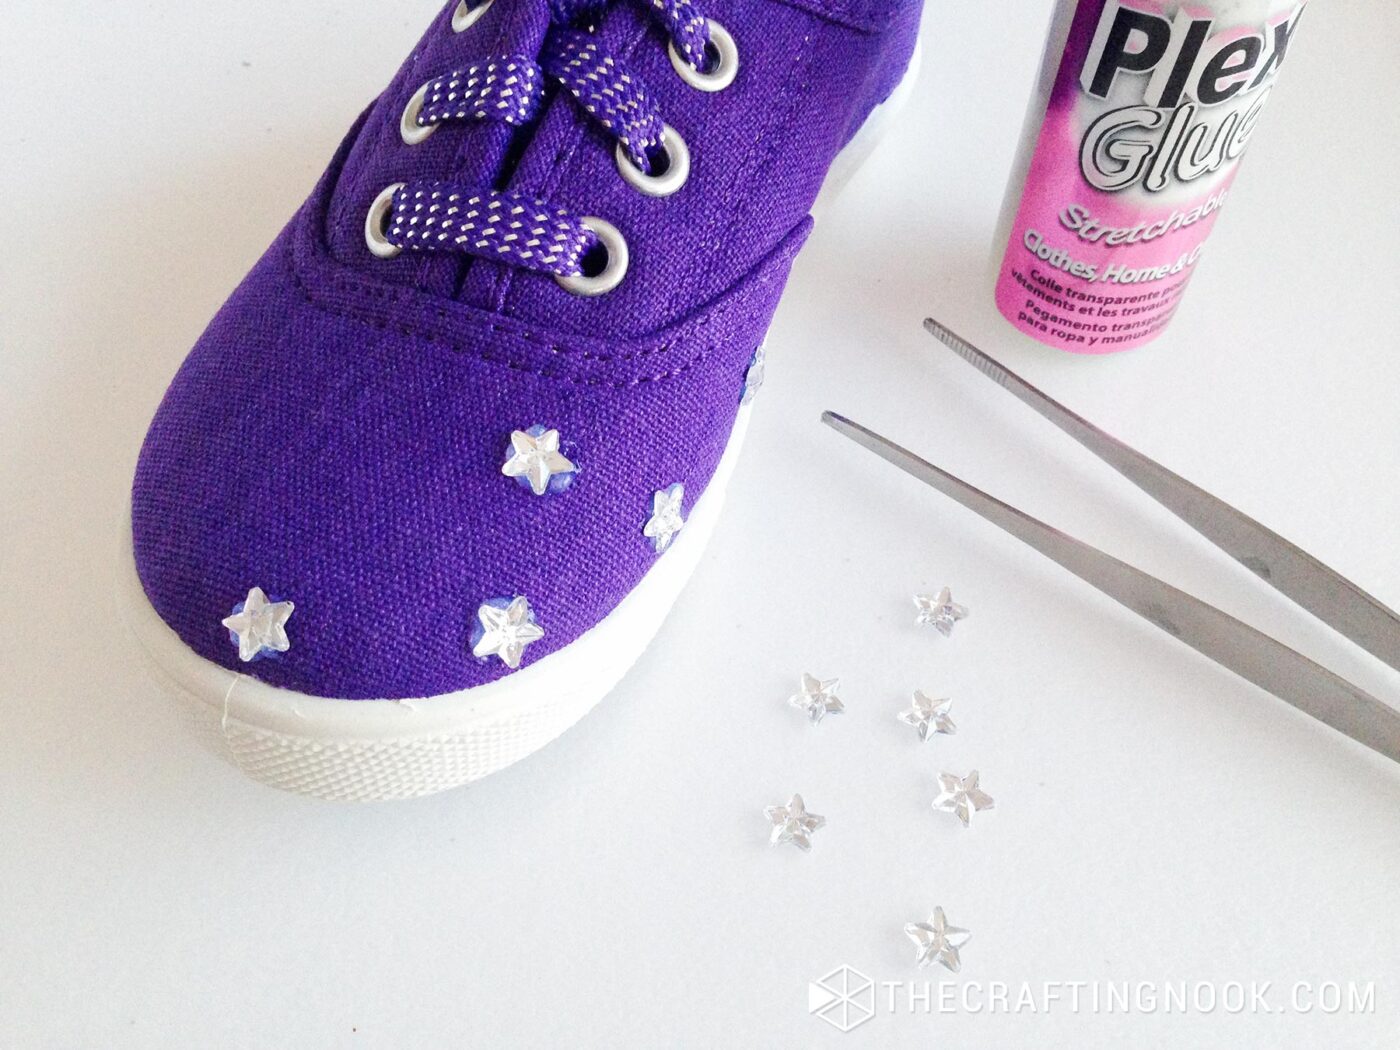
Step 2: Apply Glue for the Rhinestones
Using your fabric glue, apply small dabs across the front of the shoes where you want to place the star rhinestones.
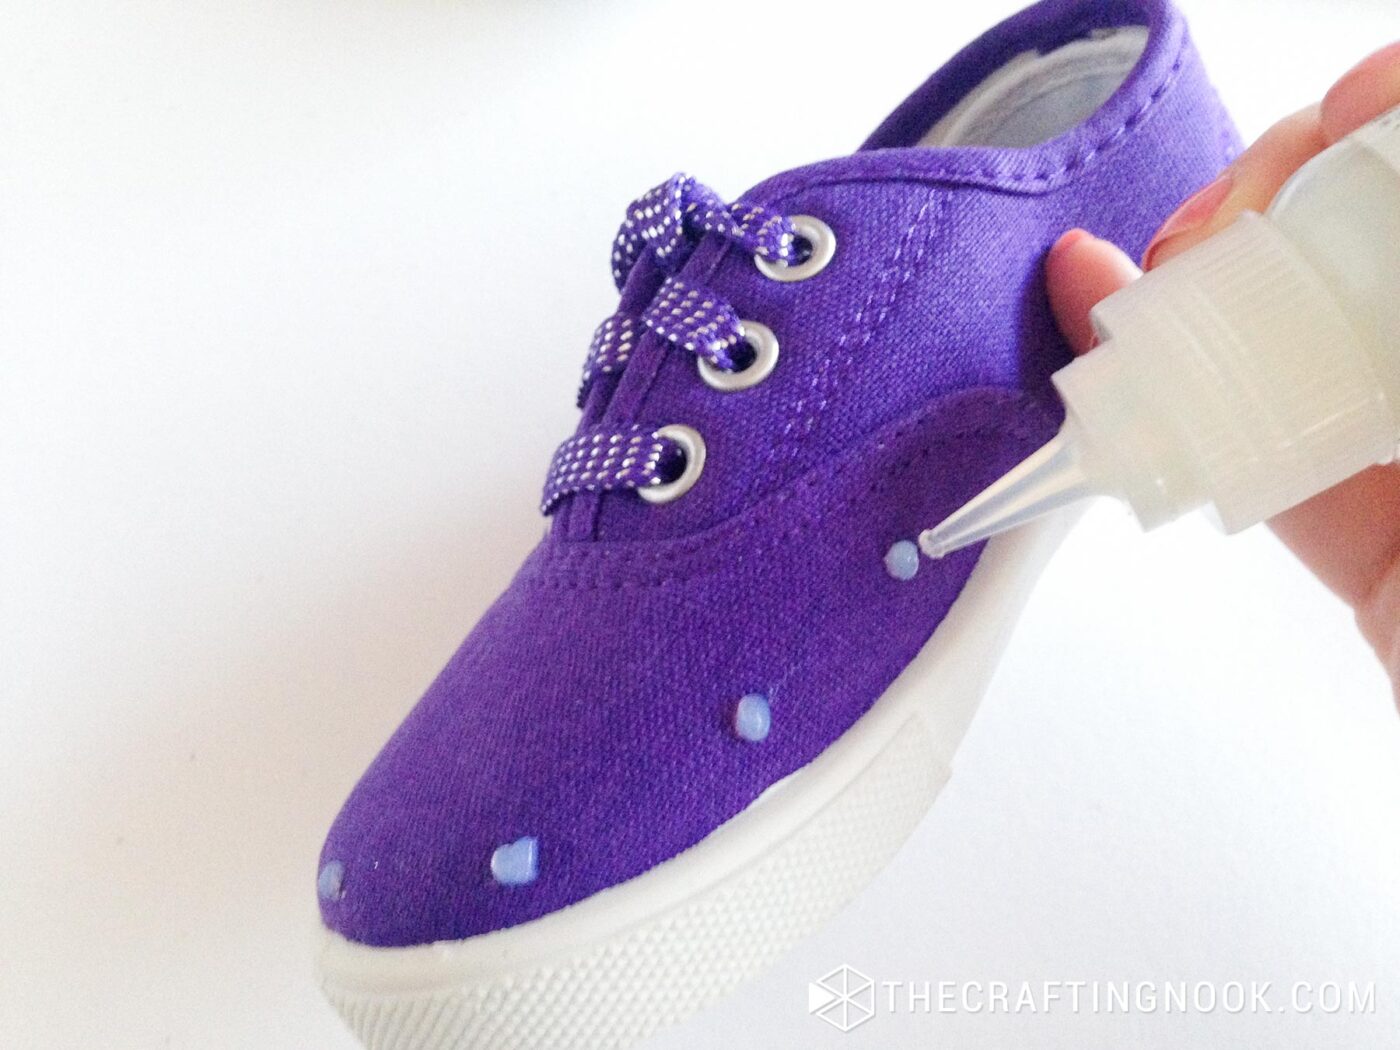
Make sure to leave space between each drop for a clean, organized look.
Step 3: Add Star Rhinestones
With your tweezers, carefully place a star rhinestone on each glue drop. Press down lightly to make sure they stick.
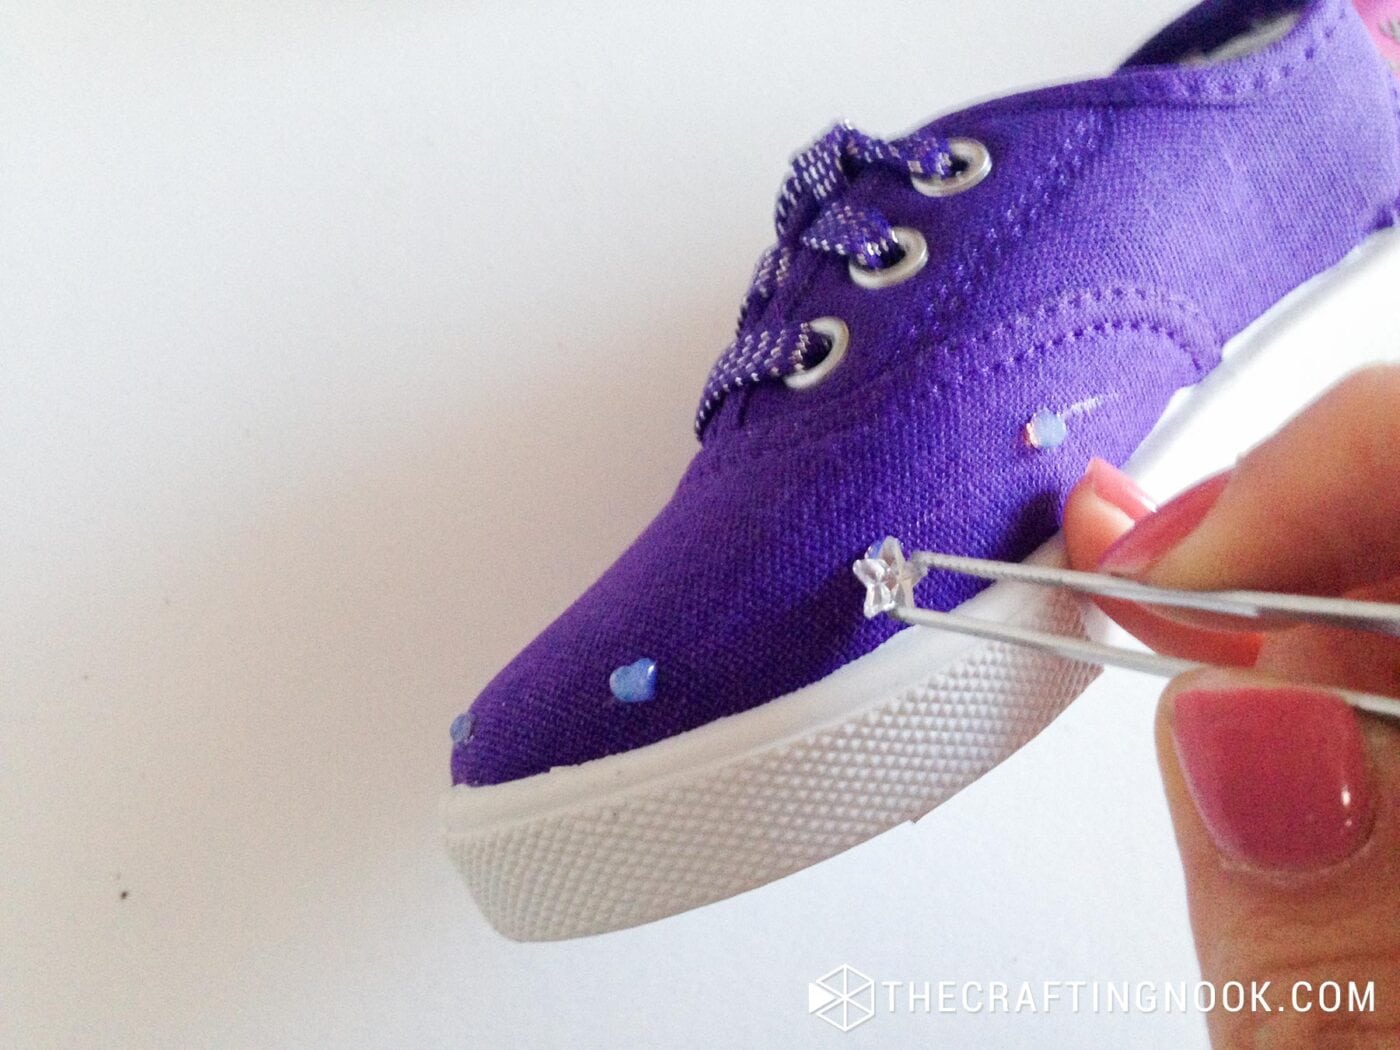
Glue as many as you like on that area.
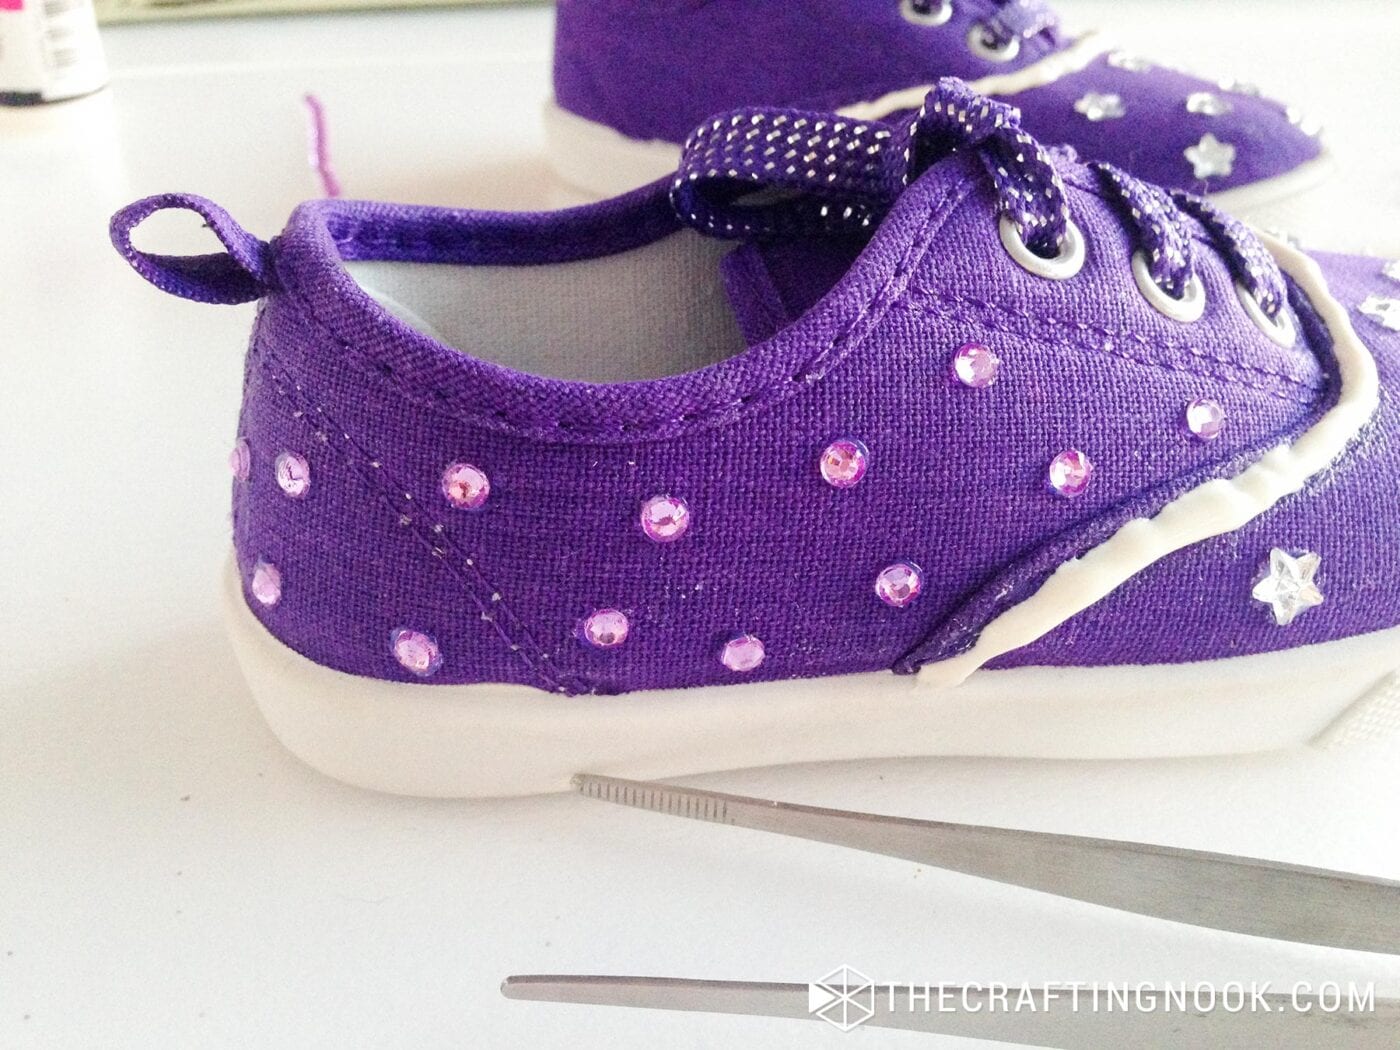
Step 4: Add Regular Rhinestones to the Back
Now for the back of the shoes, repeat the same process but this time with the regular round rhinestones. You can add as many as you want, creating your own pattern.
I used lilac rounded rhinestones to add some bling bling.
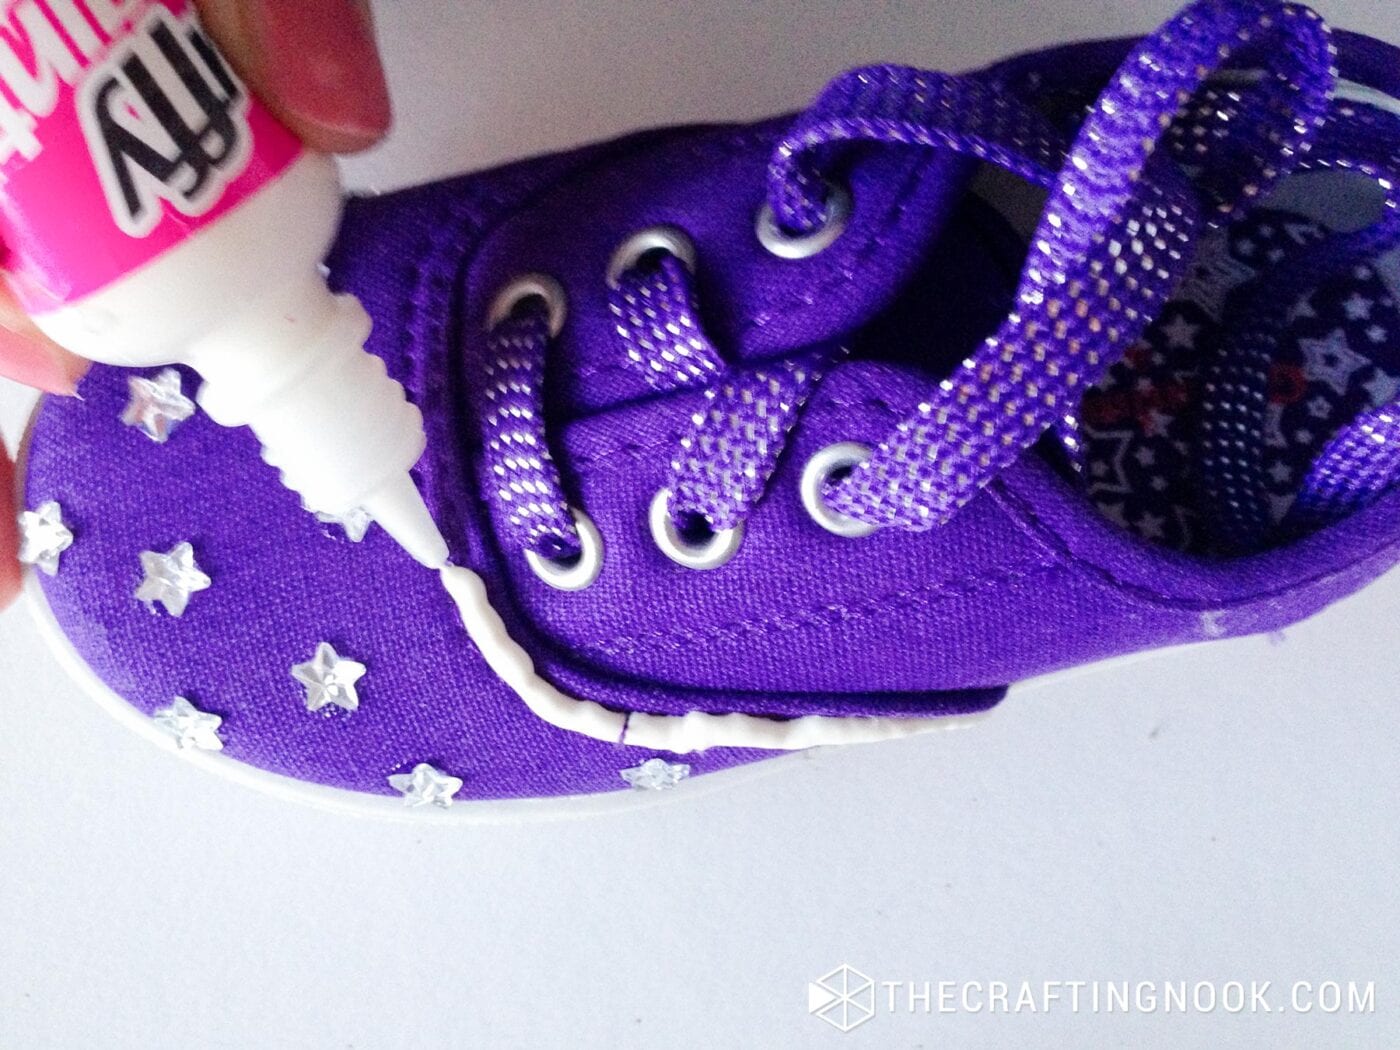
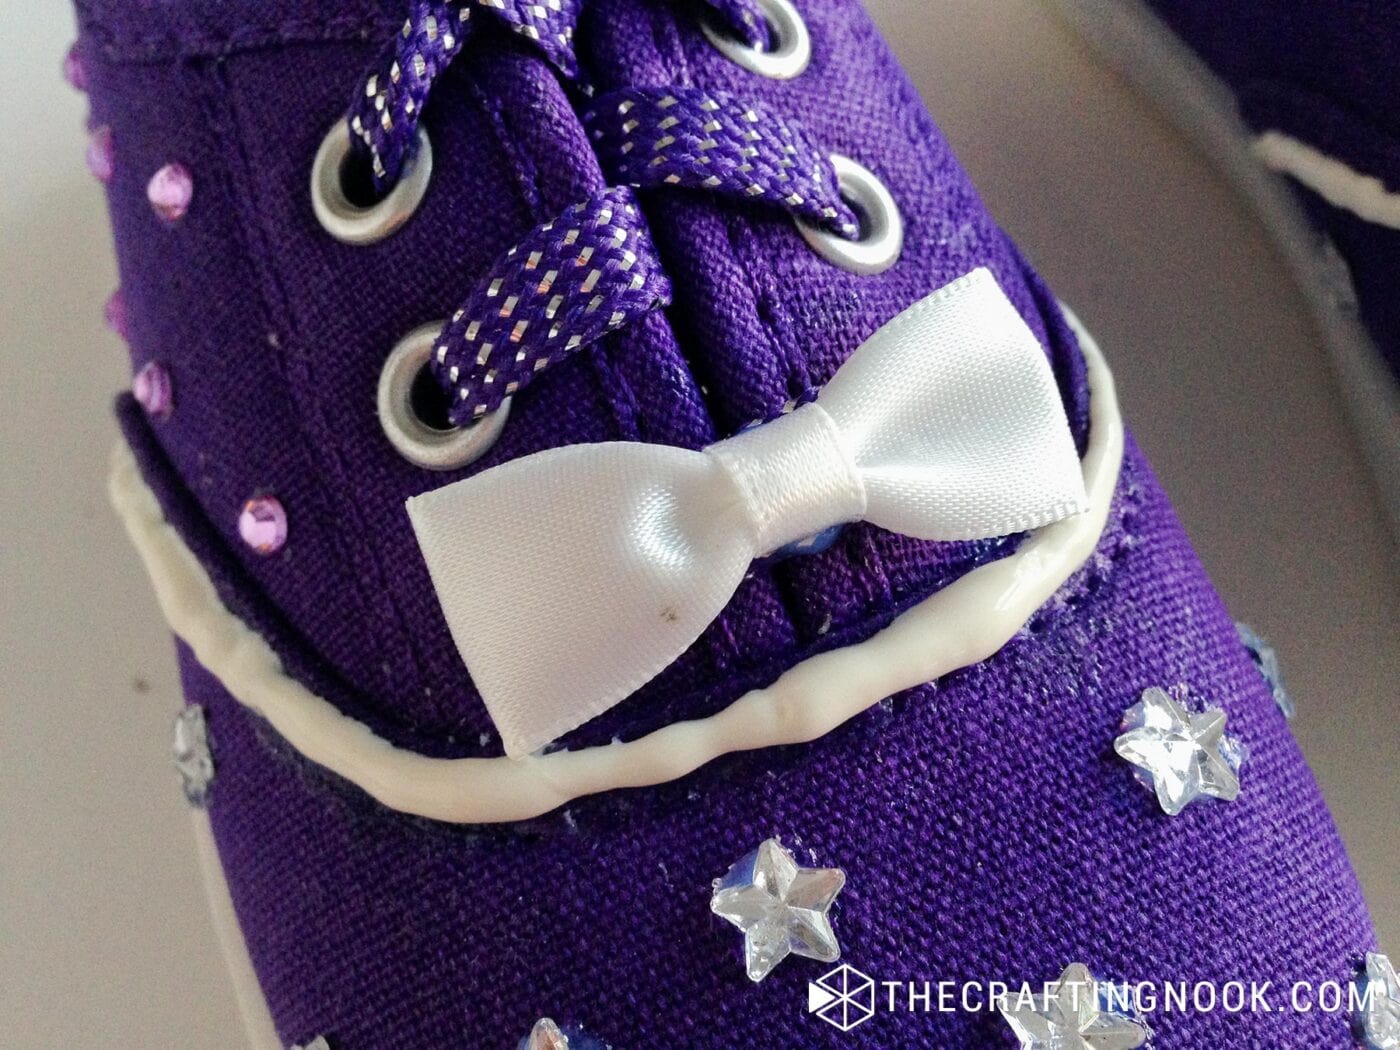
Step 5: Optional Puffy Paint
If you want to add more detail, use white puffy paint along the central seam of the sneakers. It adds a nice, finished touch, though this step is totally optional!
I didn’t have a steady hand that day so my line is not steady but I still liked the whole result.
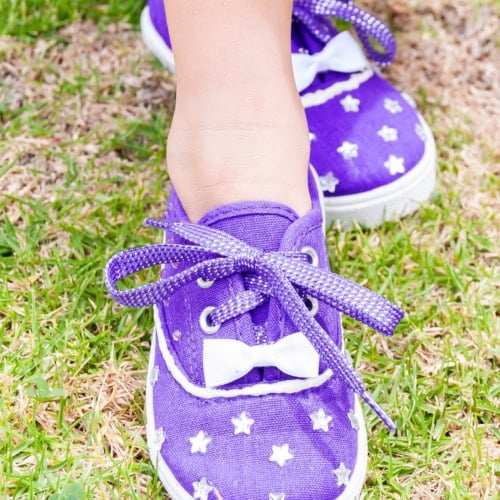
Step 6: Glue the Ribbon Bows
Lastly, add the ribbon bows on top of the shoes, just above the last line of the laces.
Step 7: Let Dry
Let the shoes dry in a cool, well-ventilated space for at least 24 hours to ensure everything is secure.
The glue should clear out so it won’t be visible.

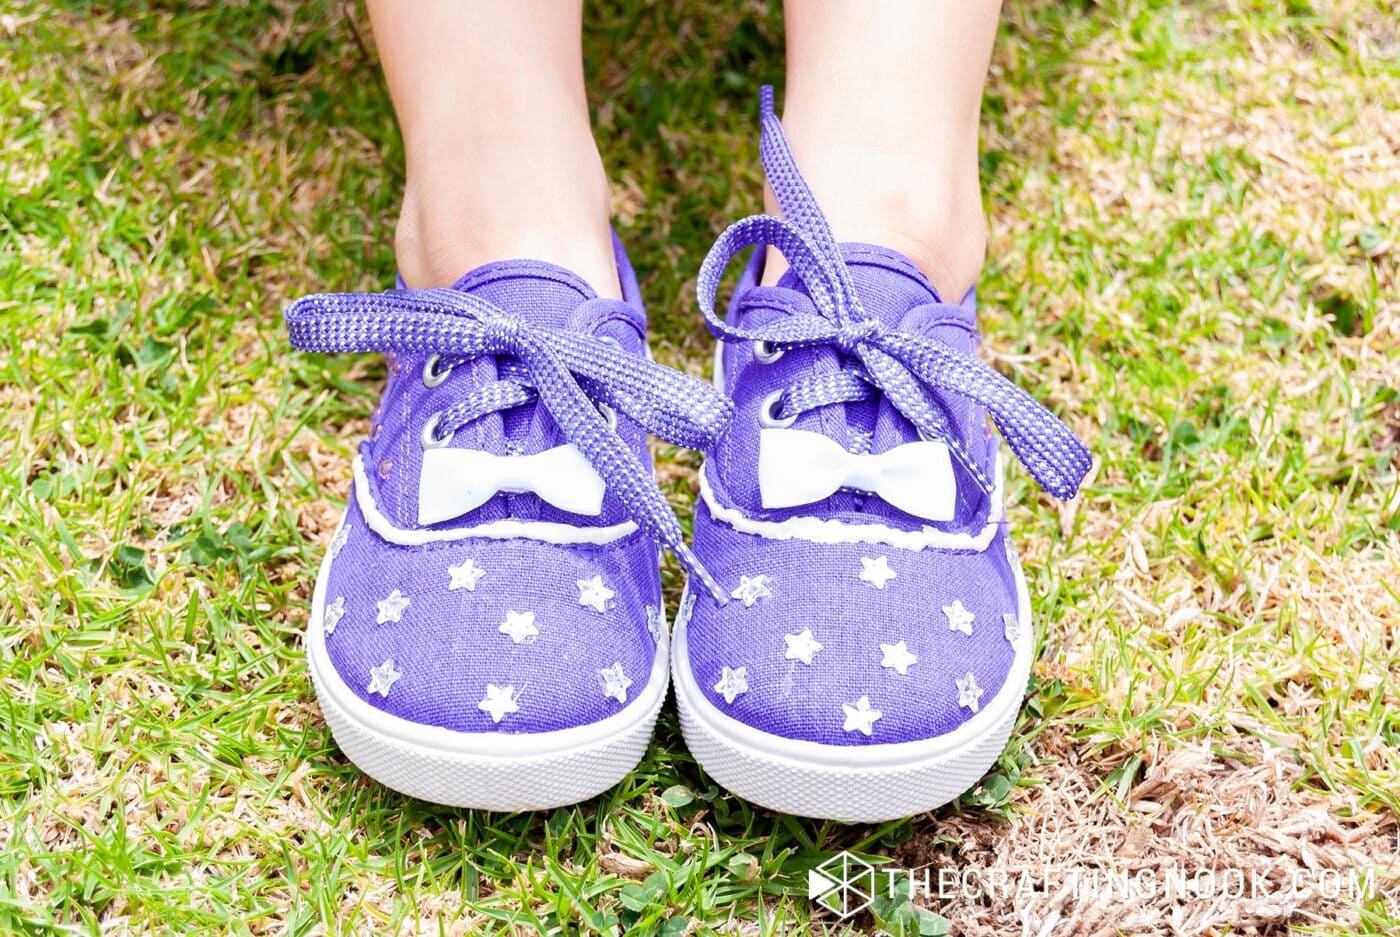
Done! Your Star Rhinestone Shoes are ready to be wore!!!
Crafting Tips
- You can also apply the glue with a toothpick for better control and avoid messes.
- Opt for high-quality fabric glue designed for shoes to ensure the rhinestones stick well.
- If by any chance you have it, try tweezers with a rubber tip. OMG, they’ll give you better grip and control when placing tiny rhinestones.
- Always test the glue on an old shoe first (one that you think is ready for a better life) to ensure it sticks well, clears out, and overall works as it should.
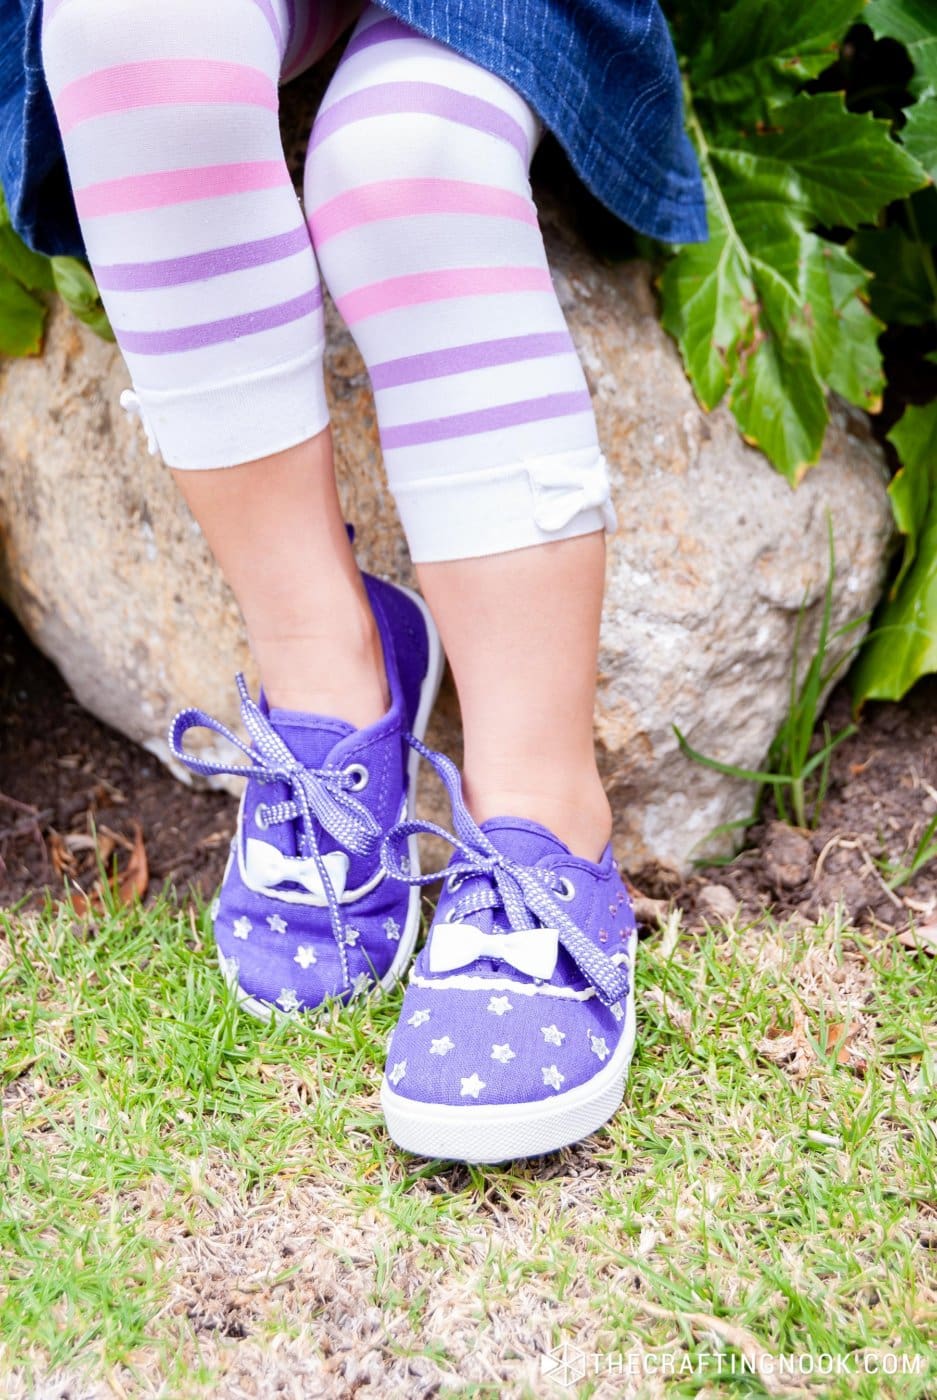
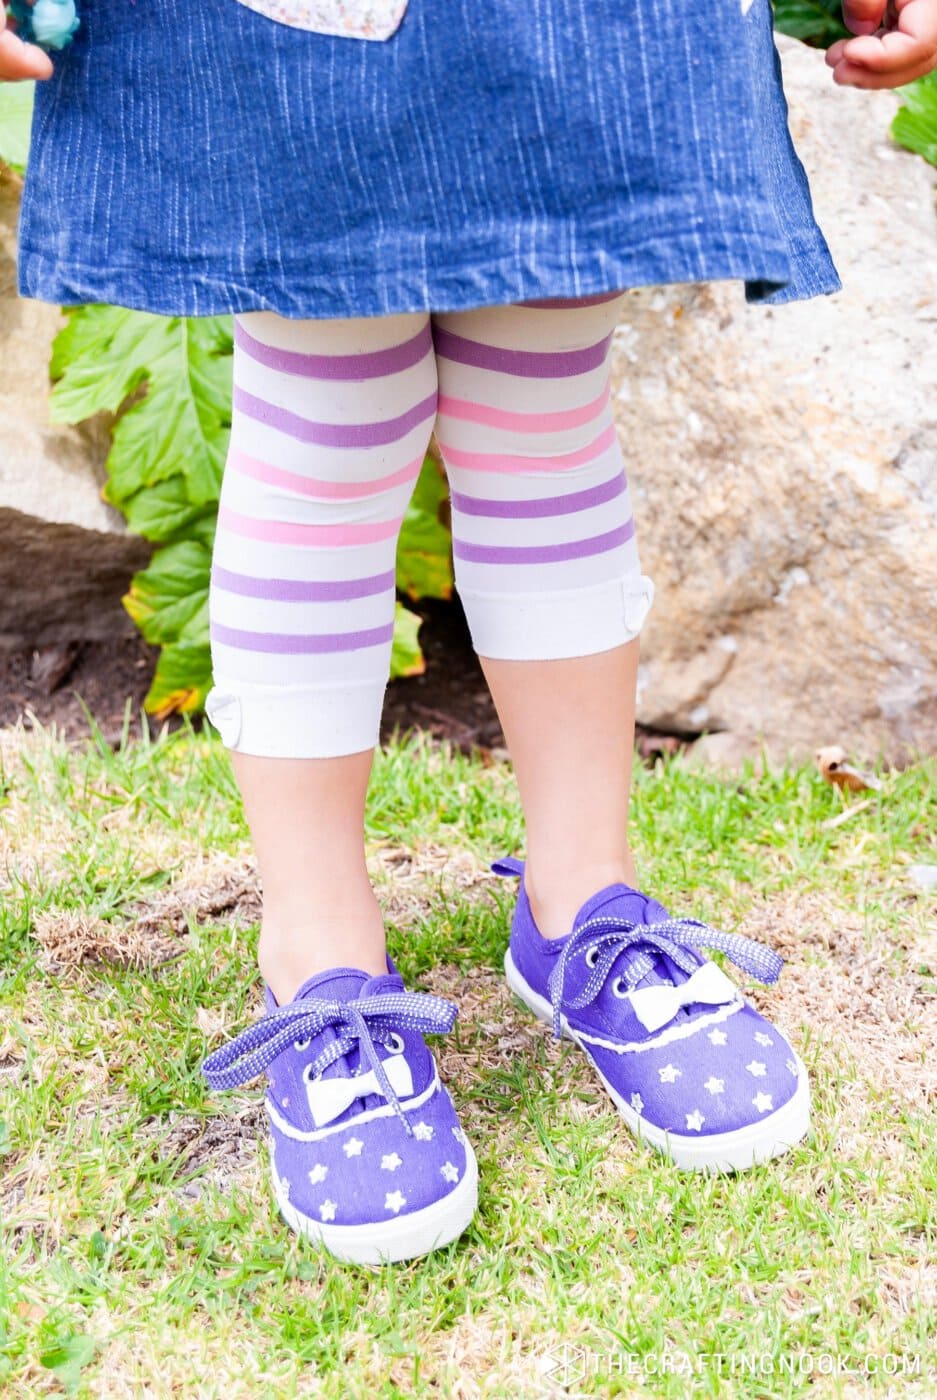
What do you think?
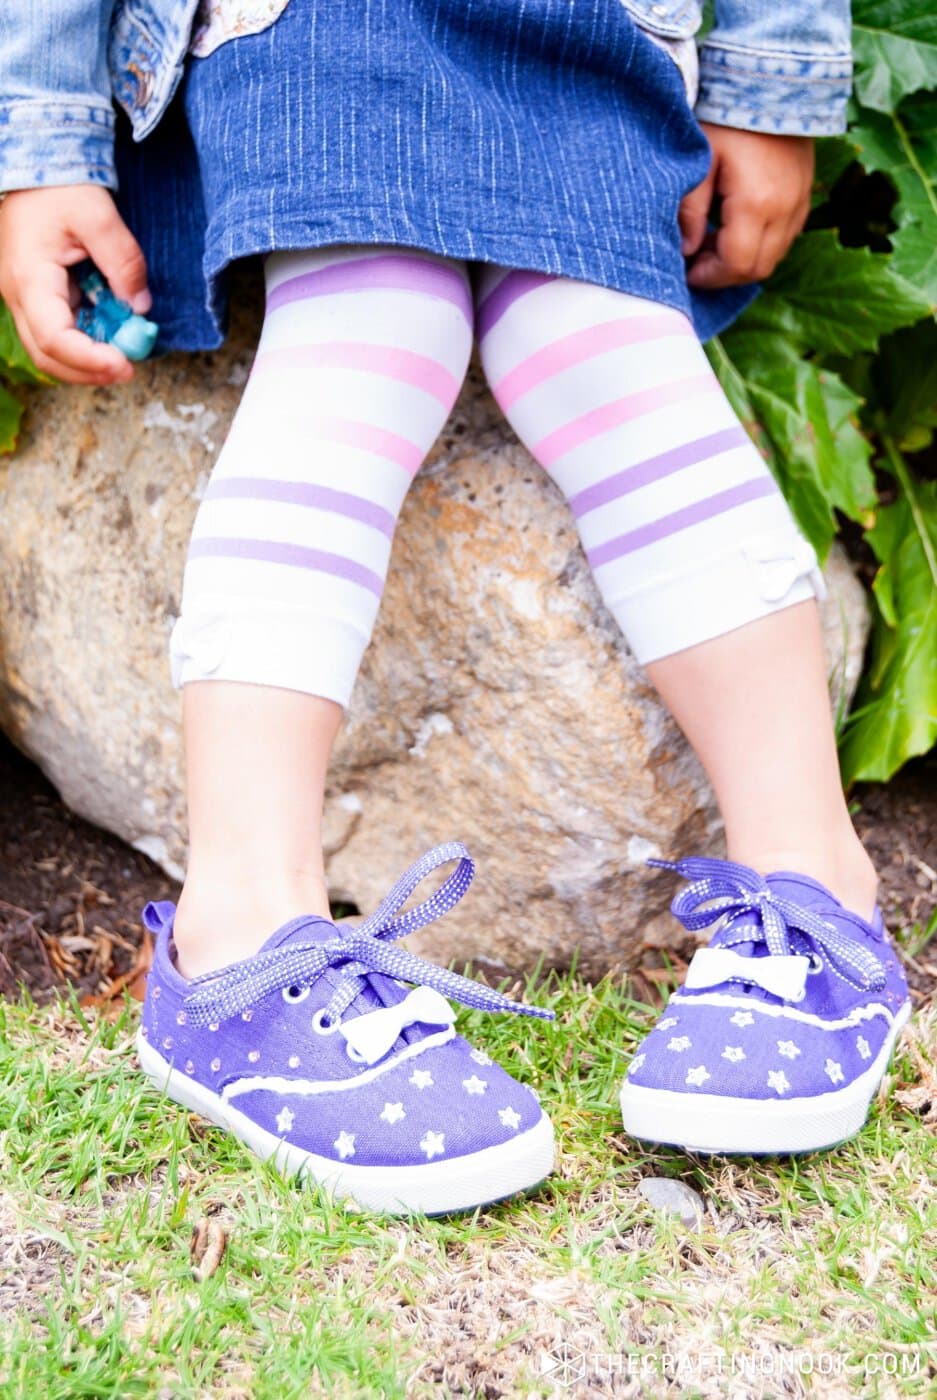
My girl loved it, especially with her favorite tights!
Alternatives and Substitutions
Instead of just stars, try hearts, flowers, or geometric rhinestones, even try different sizes for a fun, playful and unique look.
You could also use glow-in-the-dark puffy paint or rhinestones for shoes that sparkle during the day and glow at night.
Replace the regular laces with colorful or patterned ribbons for an extra pop of style.
Frequently Asked Questions
In my experience, they held up well—my daughter’s rhinestones didn’t fall off even after a few months of wear. That said, if your child is rough on shoes, it may vary based on the glue you use, so be sure to choose a fabric glue that’s known for its durability.
Hand washing is best to preserve the rhinestones, especially if they are glued on.
Use a strong fabric glue or adhesive specifically designed for shoes and textiles. Brands like E6000 or Aleene’s Fabric Fusion work well and ensure the rhinestones stay in place even with regular wear. Also, it’s important that it gets clear once dry.
Absolutely! While canvas sneakers work best, you can use any type of shoe as long as the glue bonds well to the fabric or material. I also recommend that the shoes don’t have rubber tips. For example, converse shoes type.
For best results, let the shoes dry for at least 24 hours in a well-ventilated area before wearing them. This ensures the glue sets properly and the rhinestones stay in place.
More Craft Projects for Kids To Try
Like this DIY Rhinestone Shoes tutorial? You might definitely love these other cute projects ideas for kids too:

Some other rhinestone projects I love from my favorite bloggers:
- Sparkle Headbands by Flax & Twine.
- DIY Rhinestone Makeup Bag by Shrimp Salad Circus
✂️ Tutorial
DIY Rhinestone Shoes for Girls
Tools
- Tweezers
Supplies
- Cute Sneakers – for kids and adults any color or size you like!
- Star rhinestones
- Regular rhinestones
- Fabric glue
- 2 Cute ribbon bows
- White puffy paint {optional}
Instructions
Step 1: Prep the Sneakers
- Before starting, clean the sneakers well with a soft cloth or towel to remove any dust. This will help the glue stick better and make sure your rhinestones stay in place.
Step 2: Apply Glue for the Rhinestones
- Using your fabric glue, apply small dabs across the front of the shoes where you want to place the star rhinestones.
- Make sure to leave space between each drop for a clean, organized look.
Step 3: Add Star Rhinestones
- With your tweezers, carefully place a star rhinestone on each glue drop. Press down lightly to make sure they stick.
- Glue as many as you like on that area.
Step 4: Add Regular Rhinestones to the Back
- Now for the back of the shoes, repeat the same process but this time with the regular round rhinestones. You can add as many as you want, creating your own pattern.
- I used lilac rounded rhinestones to add some bling bling.
Step 5: Optional Puffy Paint
- If you want to add more detail, use white puffy paint along the central seam of the sneakers. It adds a nice, finished touch, though this step is totally optional!
- I didn’t have a steady hand that day so my line is not steady but I still liked the whole result.
Step 6: Glue the Ribbon Bows
- Lastly, add the ribbon bows on top of the shoes, just above the last line of the laces.
Step 7: Let Dry
- Let the shoes dry in a cool, ventilated space for at least 24 hours to ensure everything is secure.
- The glue should clear out so it won’t be visible.
- Done! Your Star Rhinestone Shoes are ready to be wore!!!
Hope you enjoyed today’s easy crafty project and that you stay tuned for more project!
Share and PIN ME!!!
Til’ next time…


FREE WORKBOOK
Keeping your Sweet Home Organized
Learn how to create intentional habits and simple routines to Keep Your Home Organized. Plus freebies, printables, exclusive content, and tips.
Disclaimer: By clicking on the “Yes” button above you are giving me your consent to collect and use your information according to the law and My Policy Privacy. Zero Spam I promise!