DIY Decorative Pencil Holder (Free Printable)
This post may contain affiliate links. Please read our Disclosure Policy.
A decorative pencil Holder is an easy and inexpensive craft that will add character and color to a desk or any other place. I’m also sharing some cute free printable tags for you to create your own Decorative Pencil Holders.
I have this crazy tendency to keep jars. Not all of them but any that I see an interesting size or shape for a craft I’ll clean and keep them.

Table of Contents
DIY Decorative Pencil Holder Out of Upcycled Jars
I had kept 2 jars that I liked that the opening was almost the same diameter as the jar itself. I knew those could be useful for something. They did! After months of keeping them and hearing my husband saying: “when are you going to get rid of those jars?”, I found the purpose.
I was really short on budget and I crazily needed some pencil holders to keep organized my craft supplies. Pencil holders are not expensive but when your budget is so tight, you might not buy milk if you buy them then anything you can create at home with what you have is awesome!
what is upcycling again?
Upcycling is the process of converting something old or discarded into something useful and often a lot more beautiful.
That’s why upcycling is good practice whenever I can. And it’s actually fun.
How To Make This Decorative Pencil Holder
These decorative pencil holders are super easy to make but hope you enjoy getting your hands dirty because it’s a little bit messy but so fun!
Supplies:
- Jars
- Multicolor Yarn (any kind will do, I used one that my mother-in-law gave me)
- White glue or mod podge
- Thick brush
- Ribbon (your favorite one)
Tools:
- Hot glue gun
- Scissors
- Hole punch

Instructions:
Step 1: Prep Work
Firstly, clean well your jars and make sure they are grease and dust-free.
Since I used white glue, I diluted it a little bit with water about 60/40 glue-water. If you are using mod podge don’t dilute it.
Step 2: Wrap the jars
If it fits, insert your hands inside the jar and start applying the glue from the jar-neck to the end of the sides (right before the base starts)

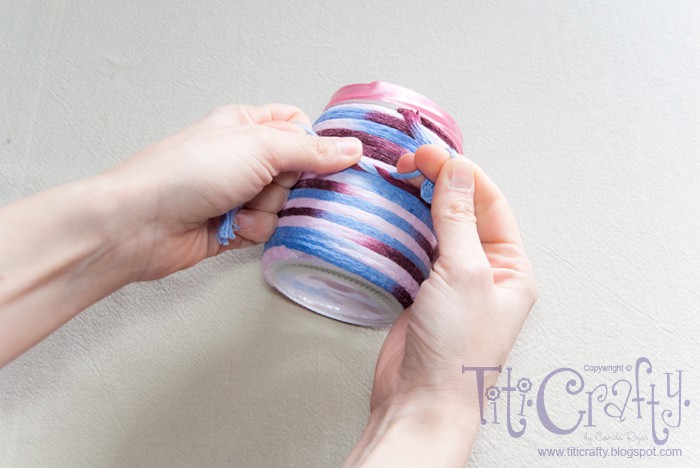
Starting right where the jar body starts, secure with your fingers one end of your yarn and start wrapping it. I recommend tightening it a little bit and make sure you don’t leave spaces between loops.
When you get to the end, it gets tricky as most jars have a rounded curve to the base. Be careful as you wrap it so it doesn’t come out.
I didn’t want to cover the base with yarn so I stopped there.

When you are done, cut your yarn, secure the end with glue and then seal the whole jar with your glue again. This will help to harden the yarn and protect it and even clean it later on.

For the base, I preferred leaving it as is because Where I used to work, I always had a tablecloth. But you can cut a piece of felt and glue it to the base so it won’t scratch or make squeaky sounds when you move it.

Let it dry overnight and move on to the next if you are making more than one.
Step 3: Pencil Holder Decoration
I used ribbon to decorate and cover the jar thread (not sure how it’s called the area where you screw the lid).
With your hot glue gun, glue your ribbon around it, leave a little bit extra to fold inwards, and have a clean finish.

To make my decorative pencil holder one step prettier, I made a cute ribbon bow and glued it to the ribbon right where it ended.

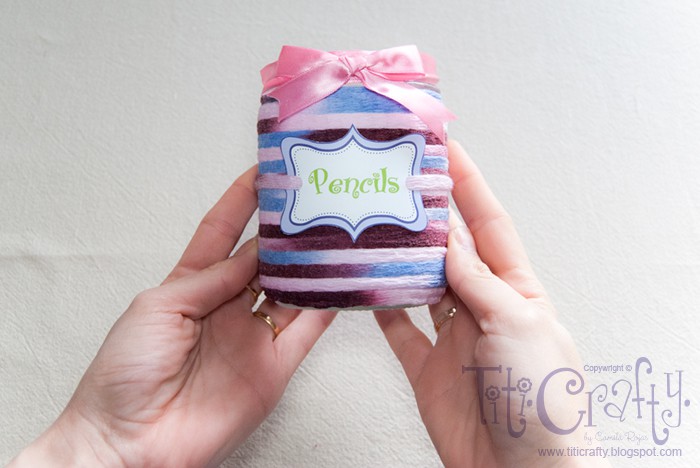
Voilà That’s how I got it so far.
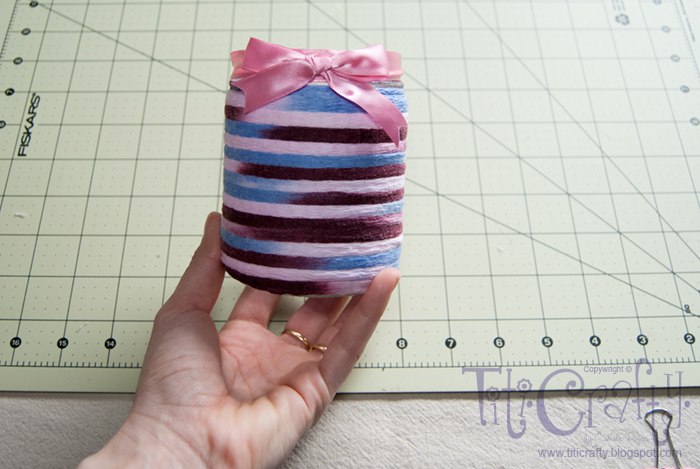
It’s time for the last touch.
Step 4: Add The cute labels.
I wanted to give it an extra touch and thought some cute labels would do the trick. So I created them. If you like them, you can snag them, print them, and cut them for yourself.
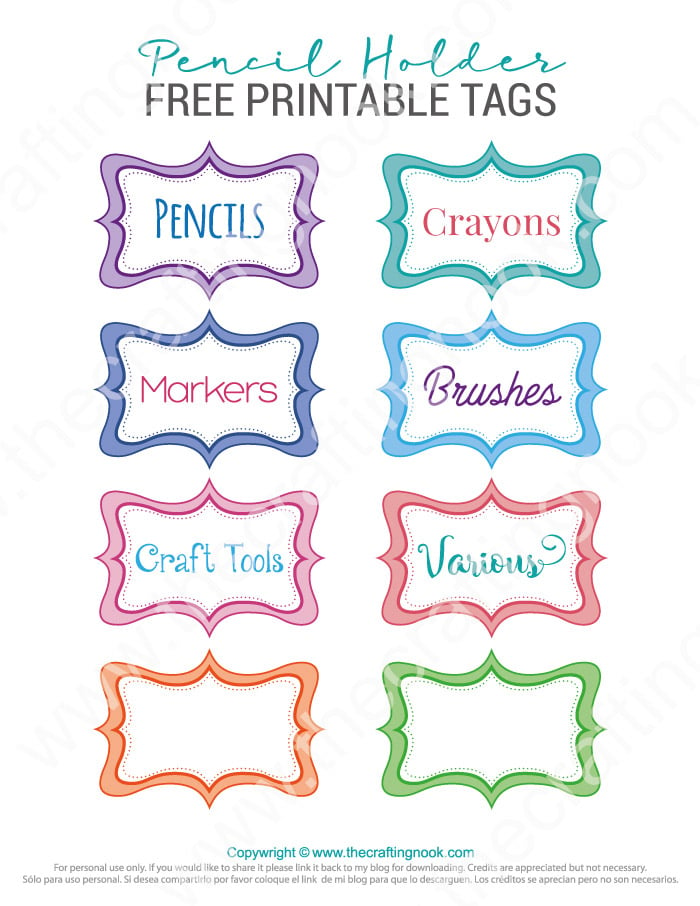

So, print your tags, and cut them carefully (if you have a cutting machine you can print and cut, so much easier).
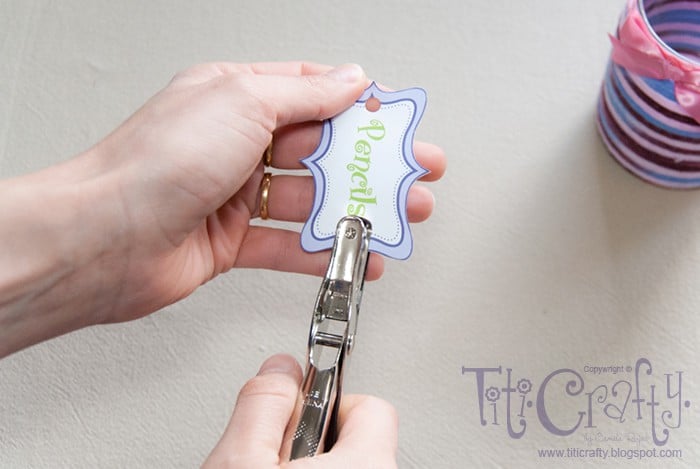
With a hole punch make holes on both sides of your labels.
With the same yarn you used to warp your jars, insert them from the back to front like this:


Then place it where you like best and tie a knot on the back of your jar.

There you go! One pretty decorative pencil holder!
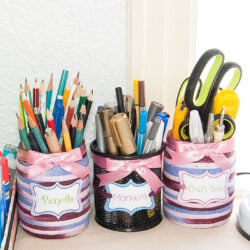
Then I decorated the second one and also the only actual pencil holder I had to match!

Cute, isn’t it?


I love them all!
What do you think?
Frequently Asked Questions
Upcycling is the process of converting something old or discarded into something useful and often a lot more beautiful.
Recycling is the process of converting waste materials into something new. While upcycling and downcycling are both examples of recycling, there are clear distinctions between the various ways we can reuse waste. Upcycling adds value to waste materials and takes less energy to process.
Upcycling is the wise practice of creating a usable product from waste or old unwanted items or adapting an existing product in some way to add value. The purpose of upcycling is to reduce waste and improve the efficiency of resource use.
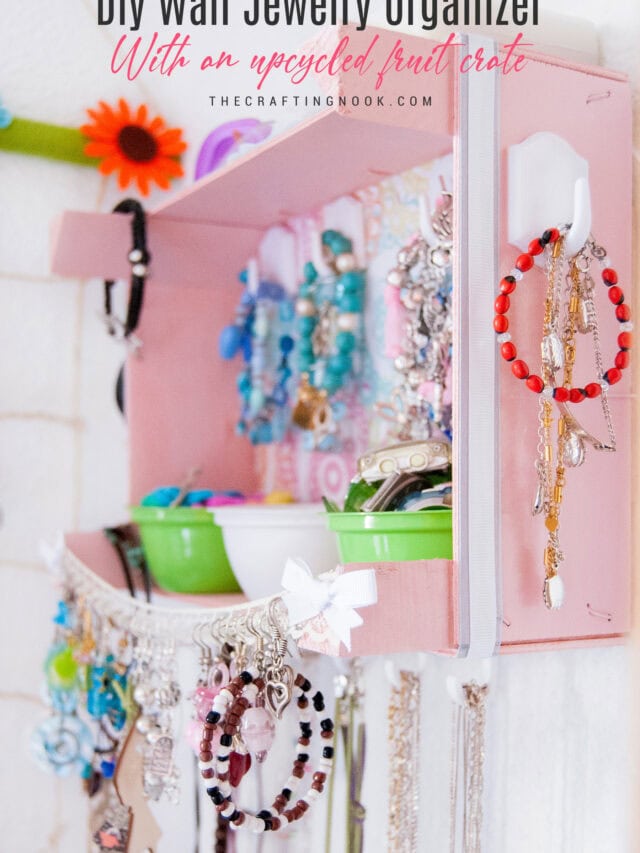
More Upcycling Projects to Try
If you enjoyed this upcycled pencil holder’s tutorial, you might also love these other upcycling project ideas too:


✂️ Tutorial
DIY Decorative Pencil Holder from Upcyced Jars
Tools
- Hot glue gun
- scissors
- Hole punch
Supplies
- Jars
- Multicolor Yarn any kind will do, I used one that my mother-in-law gave me
- White glue or mod podge
- Thick brush
- Ribbon your favorite one
Instructions
STEP 1: PREP WORK
- Firstly, clean well your jars and make sure they are grease and dust-free.
- Since I used white glue, I diluted it a little bit with water about 60/40 glue-water. If you are using mod podge don’t dilute it.
STEP 2: WRAP THE JARS
- If it fits, insert your hands inside the jar and start applying the glue from the jar-neck to the end of the sides (right before the base starts)
- Starting right where the jar body starts, secure with your fingers one end of your yarn and start wrapping it. I recommend tightening it a little bit and make sure you don’t leave spaces between loops.
- When you get to the end, it gets tricky as most jars have a rounded curve to the base. Be careful as you wrap it so it doesn’t come out.
- I didn’t want to cover the base with yarn so I stopped there.
- When you are done, cut your yarn, secure the end with glue and then seal the whole jar with your glue again. This will help to harden the yarn and protect it and even clean it later on.
- For the base, I preferred leaving it as is because Where I used to work I always had a tablecloth. But you can cut a piece of felt and glue it to the base so it won’t scratch or make squeaky sounds when you move it.
- Let it dry about 45 minutes, best overnight and move on to the next if you are making more than one.
STEP 3: PENCIL HOLDER DECORATION
- I used ribbon to decorate and cover the jar thread (not sure how it’s called the area where you screw the lid).
- With your hot glue gun, glue your ribbon around it, leave a little bit extra to fold inwards, and have a clean finish.
- To make my decorative pencil holder one step prettier, I made a cute ribbon bow and glued it to the ribbon right where it ended.
- Voilà That’s how I got it so far.
- It’s time for the last touch.
STEP 4: ADD THE CUTE LABELS.
- I wanted to give it an extra touch and thought some cute labels would do the trick. So I created them. If you like them you can snag them, print them, and cut them for yourself.
- So print your tags, and cut them carefully (if you have a cutting machine you can print and cut, so much easier).
- With a hole punch make holes on both sides of your labels.
- With the same yarn you used to warp your jars, insert them from the back to front like this:
- Then place it where you like best and tie a knot on the back of your jar.
- There you go! One pretty decorative pencil holder!
Here are some upcycling ideas from my favorite bloggers:
- Upcycled kitchen Jars by Karina over at Living and Crafting.
- Silverware Cady by Bianca over at Madame Creativa.
- DIY Copper Tin Cans and Chalkboard Tags by Amy over at Homey Oh My!
Share and PIN ME!

Til’ next time…


FREE WORKBOOK
Keeping your Sweet Home Organized
Learn how to create intentional habits and simple routines to Keep Your Home Organized. Plus freebies, printables, exclusive content, and tips.
Disclaimer: By clicking on the “Yes” button above you are giving me your consent to collect and use your information according to the law and My Policy Privacy. Zero Spam I promise!