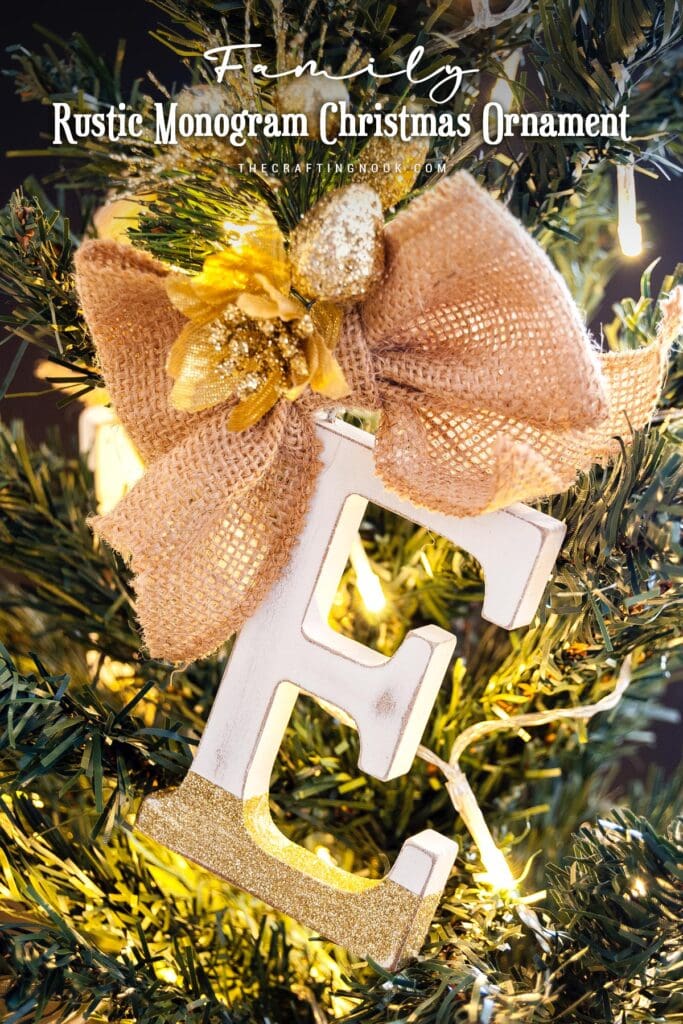
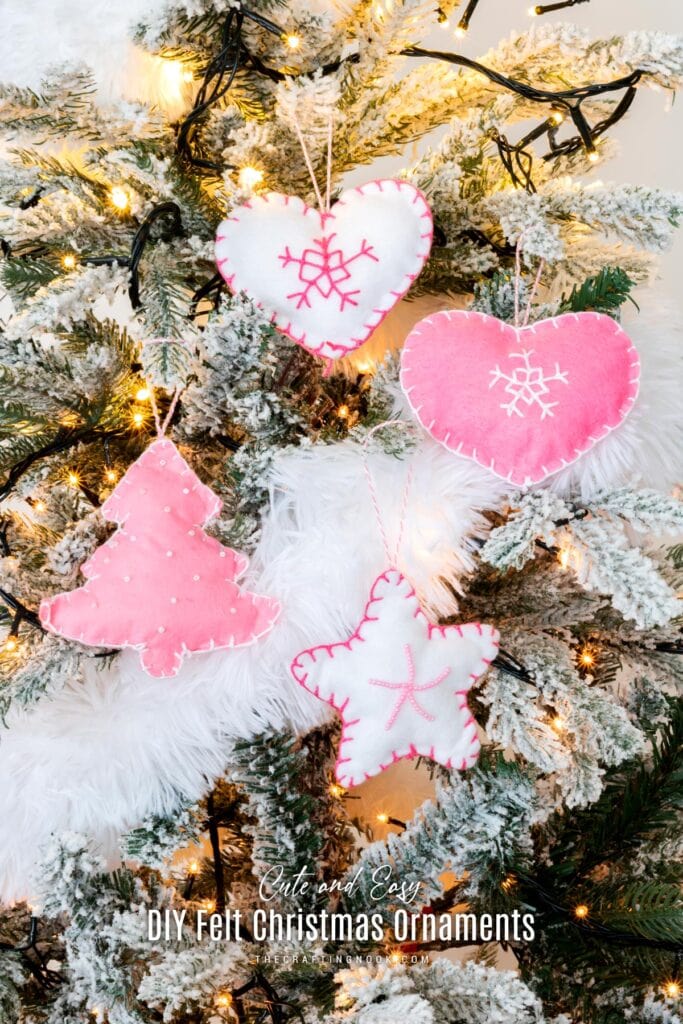
DIY Initial Letter Ornaments with Glitter
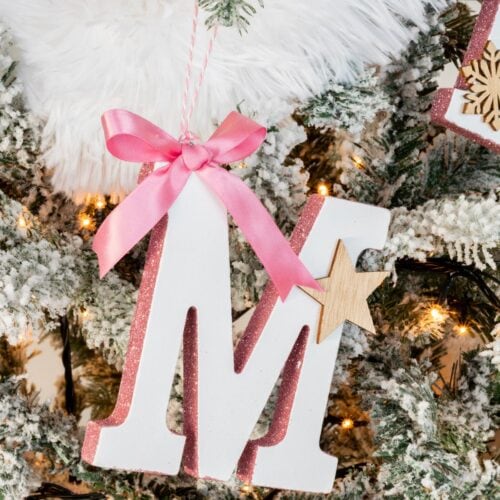
Sparkle up your Christmas tree with some adorable DIY Initial Letter Ornaments! Crafted with love, these easy ornaments add cuteness to your holiday decor. Let’s make memories, not just ornaments!
Who else gets excited about Christmas decorating their home and making the Christmas tree special for their family? Well, today’s tutorial is all about adding a personal touch to your tree with DIY Initial Ornaments. These little cuties are not just for looks, they show each person in the family’s unique personality.

Table of Contents
DIY Glitter Initial Ornaments
Oh, glitter! It’s like the magic pixie dust for crafters. It makes everything sparkle and feels like a magical world.
This post may contain affiliate links. Please read our Disclosure Policy.
Yes, there might be glitter everywhere – even in the unthinkable places – for a while, but the happiness it brings is unbeatable. The messy and glittery chaos makes ordinary crafts into special treasures.
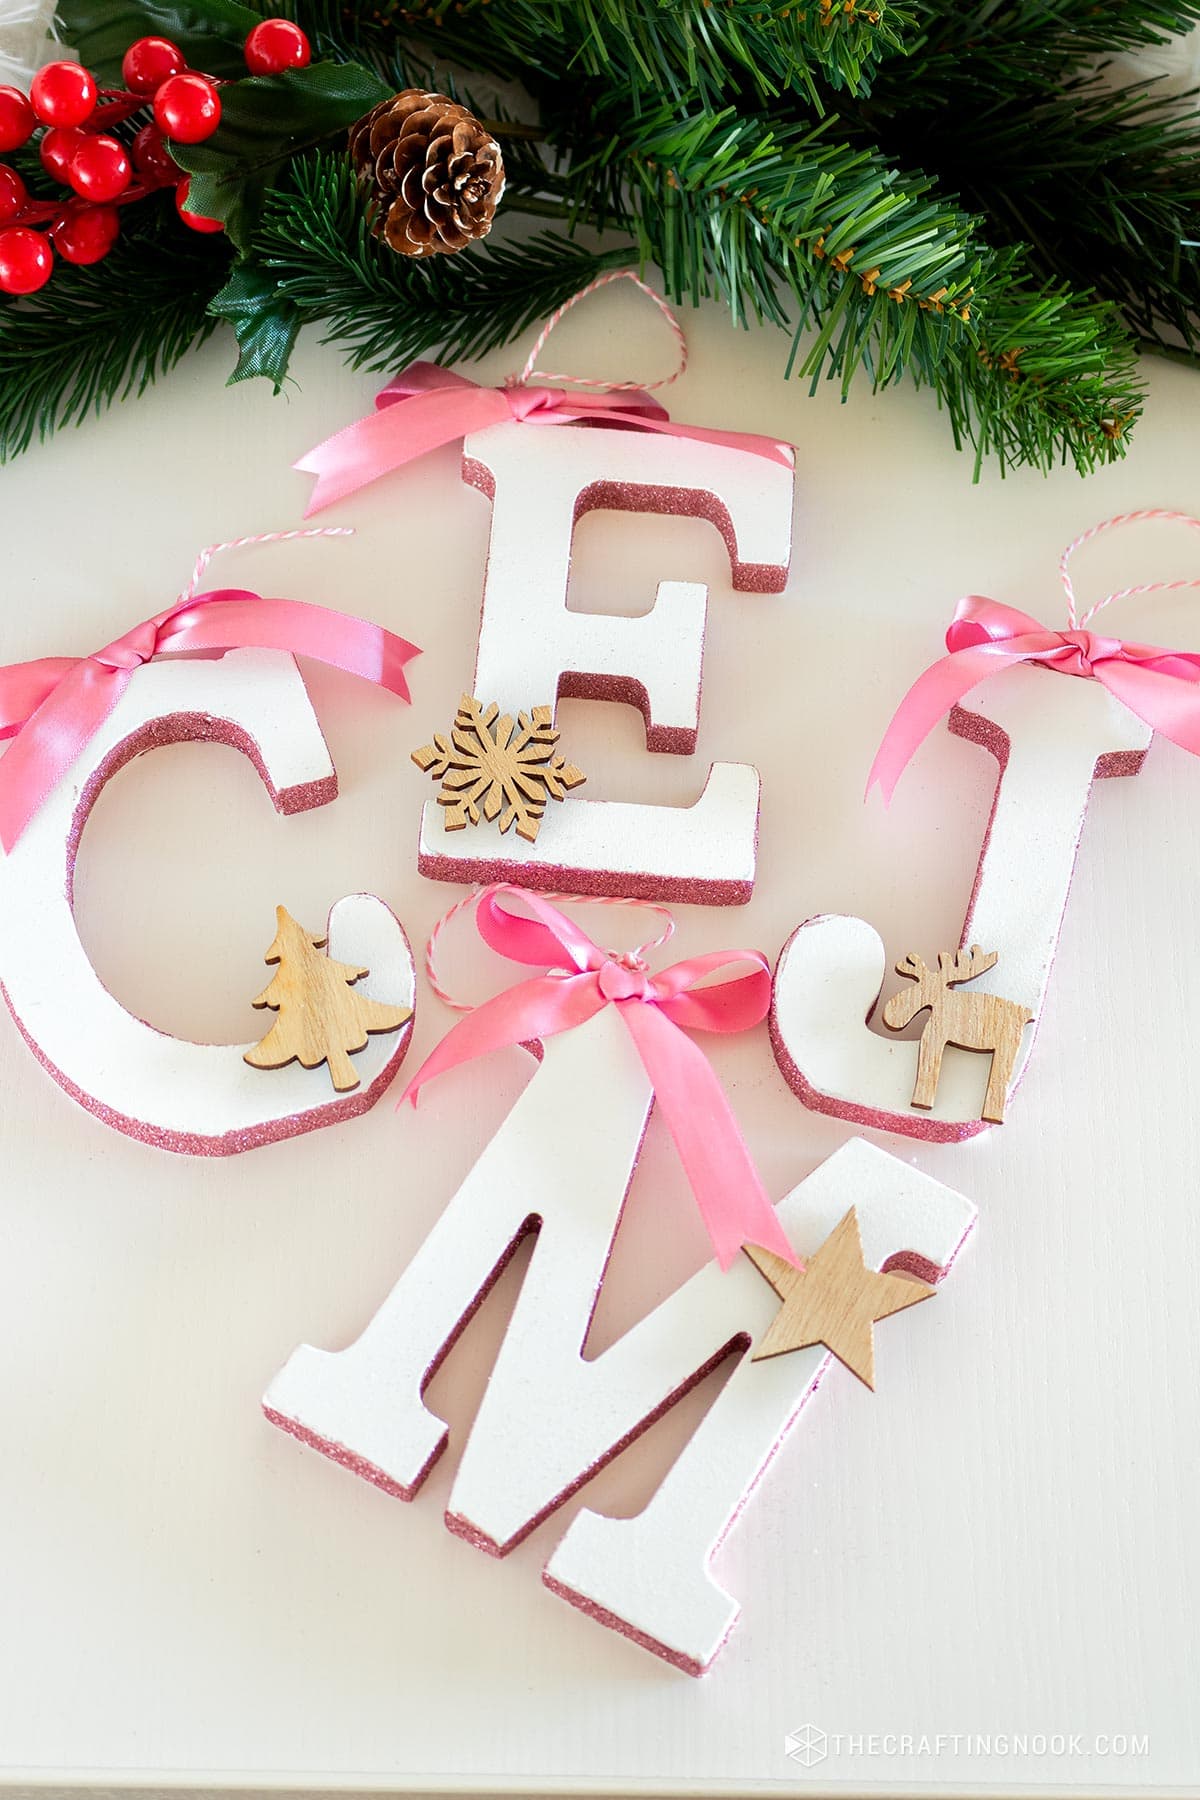
Glitter has a way of making ordinary things seem really cool and interesting. Whether you’re adding sparkle to decorations, cards, or DIY projects, glitter makes them look extra special. And don’t forget the happy memories it brings up – each sparkle reminds us of making things as a kid and the fun of making something really unique.
In the end, adding a little bit of glitter can make things look prettier, more magical, and more memorable.
Also, these cute monogram ornaments can make a great personal one-of-a-kind thoughtful gift too as they are such a personalized ornament that will last for years!
Alright, let’s get our crafting supplies and start adding our own special touch to our holiday decorations.
How to Make Glitter Initial Letter Ornaments
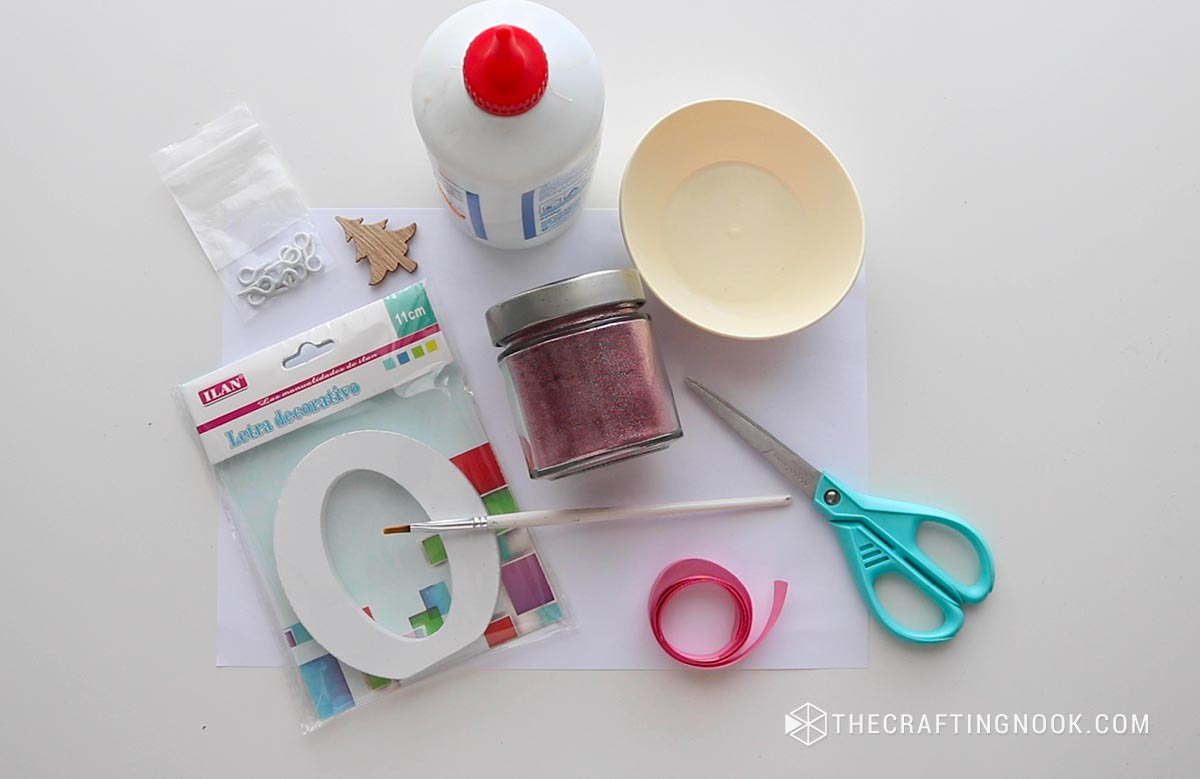
Supplies:
- White-painted MDF letters – one for each family member
- Pink glitter – or your favorite glitter colors
- White wood glue – I like this glue because offers a better adherence to the glitter allowing a longer-lasting look.
- Small wooden Christmas scrapbook appliques – I used Trees, snowflakes, stars and reindeer.
- Cute pink ribbon – or your favorite color that matches the glitter color
- Screw eye hooks
- Baker’s twine, yarn, or ribbon – for hanger
- Newspaper or a crafting mat – to keep things tidy
Tools:
- Paintbrush
- Pliers
- Scissors
- Hot glue gun and glue sticks.
Instructions:
Step 1: Get your workspace ready.
Put some newspaper or a crafting mat down to catch any glitter that falls. A sheet of paper works too if you have good control over the glitter. This will make cleaning up really easy, so you can focus on enjoying crafting.
Clean your letters well to remove dust and grease.
Step 2: Add glitter to the edges.
Serve a small amount of glue in a container so you don’t get glitter in the glue bottle.
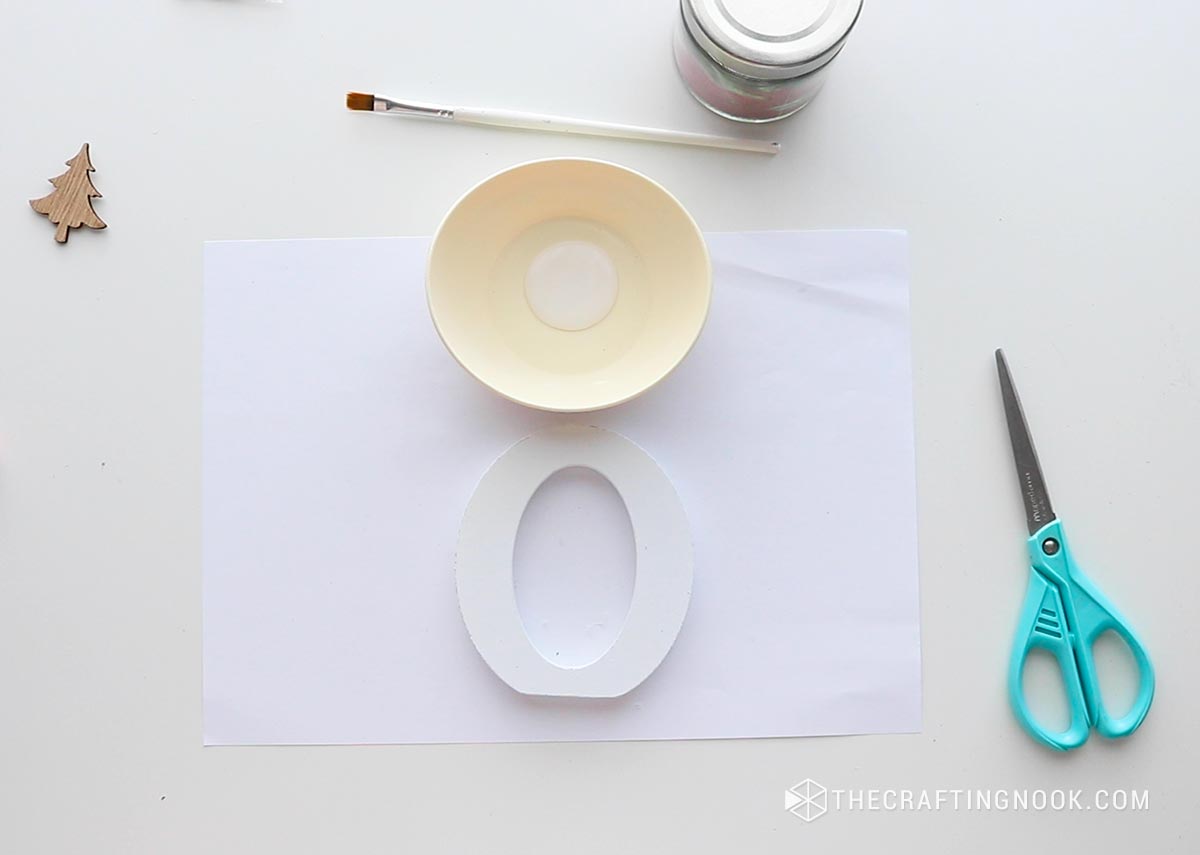
I recommend going by sections at a time to avoid drying the glue.
Use a small paintbrush to put a layer of white glue on the sides of the wood letters outside and inside. For example, letters like O, A, D, P, etc

Put abundant pink glitter on the edges.

Tap a little bit with your finger to make sure the glitter adheres well.
Shake off extra glitter into the tray and move on to the next section.
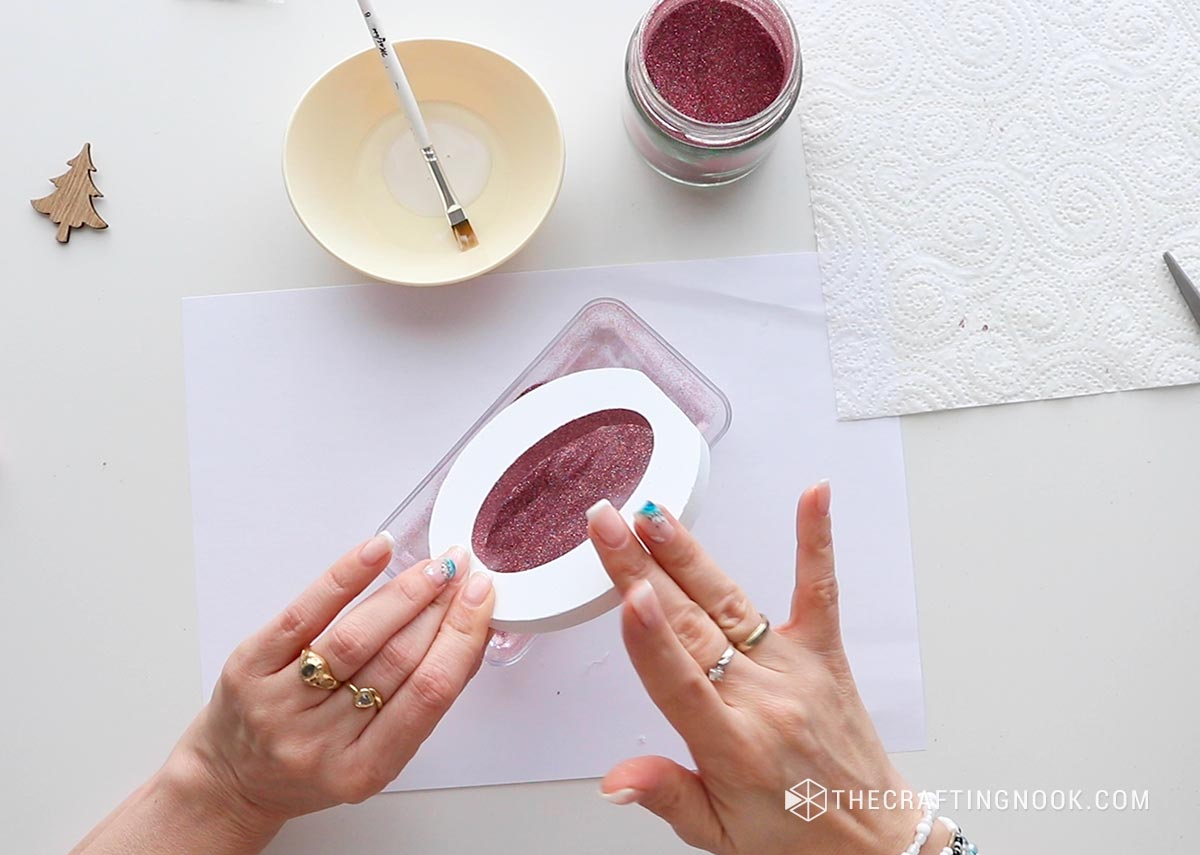
Don’t be afraid of getting some glue on the already-applied glitter.
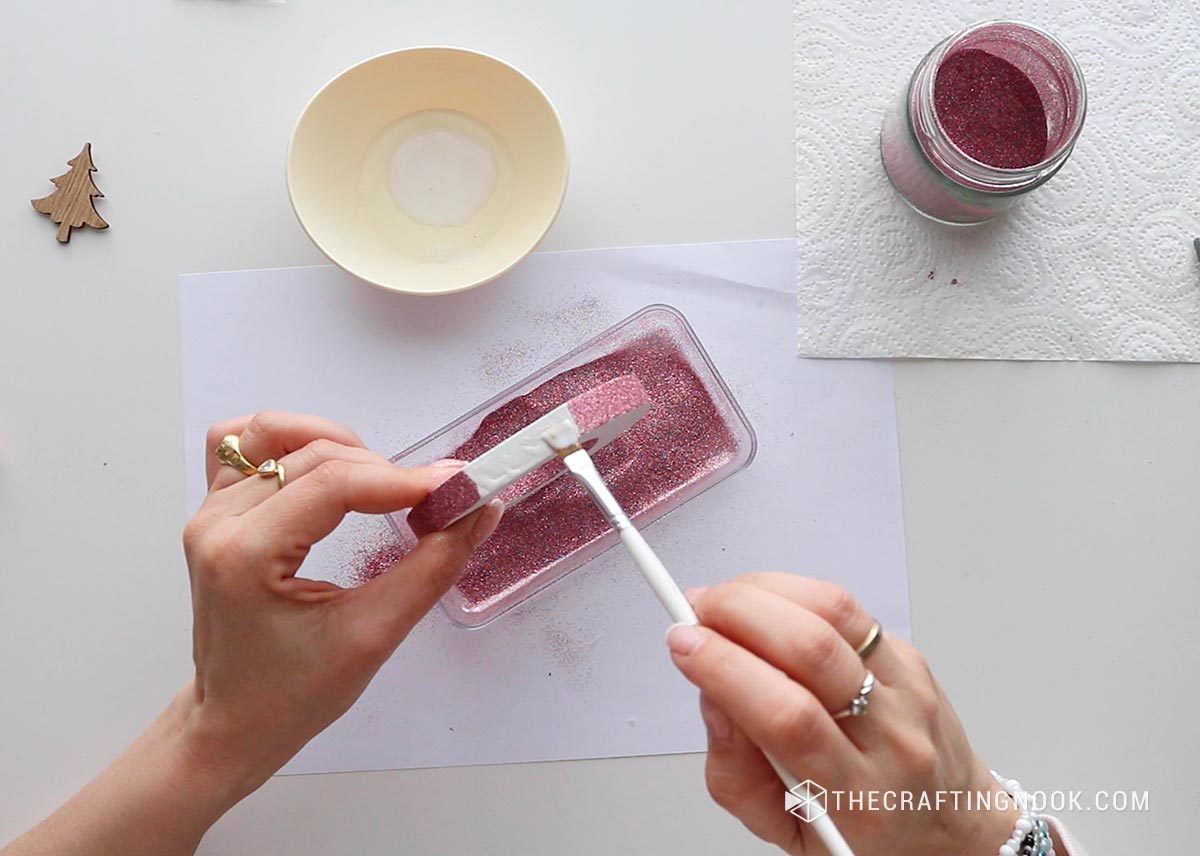
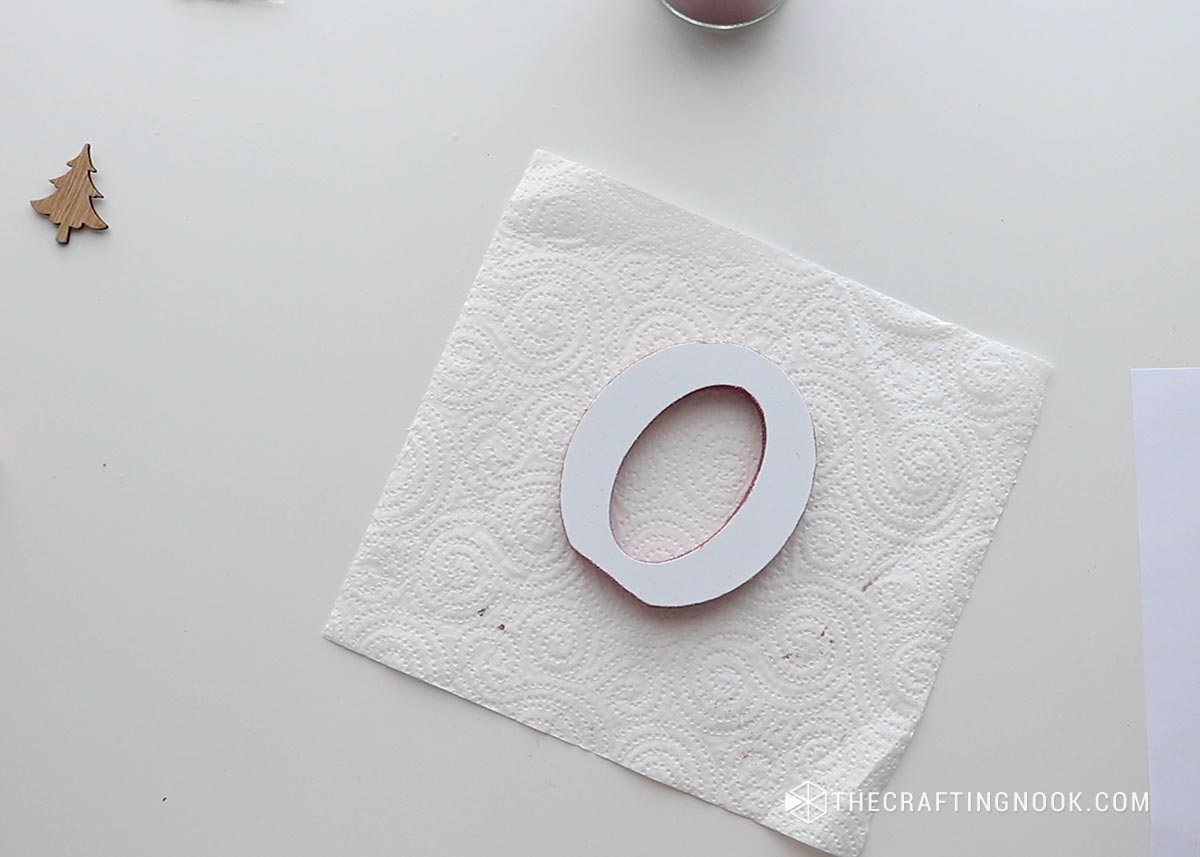
Once completely glittering the sides, let it dry on a sheet of paper towel.
Step 3: Attaching the Hook
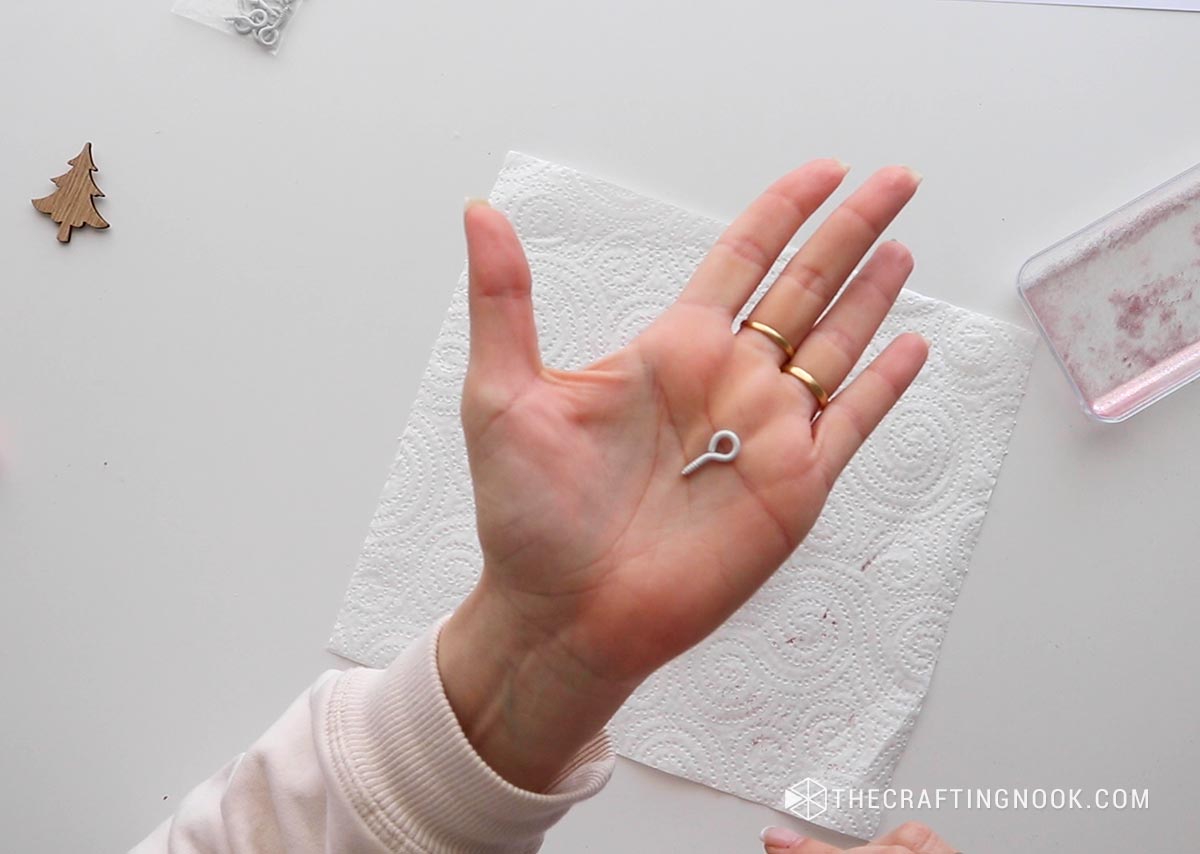
Flip the ornament and twist a small hook into the top. This part can be a little bit tricky but with patience, you can do it.
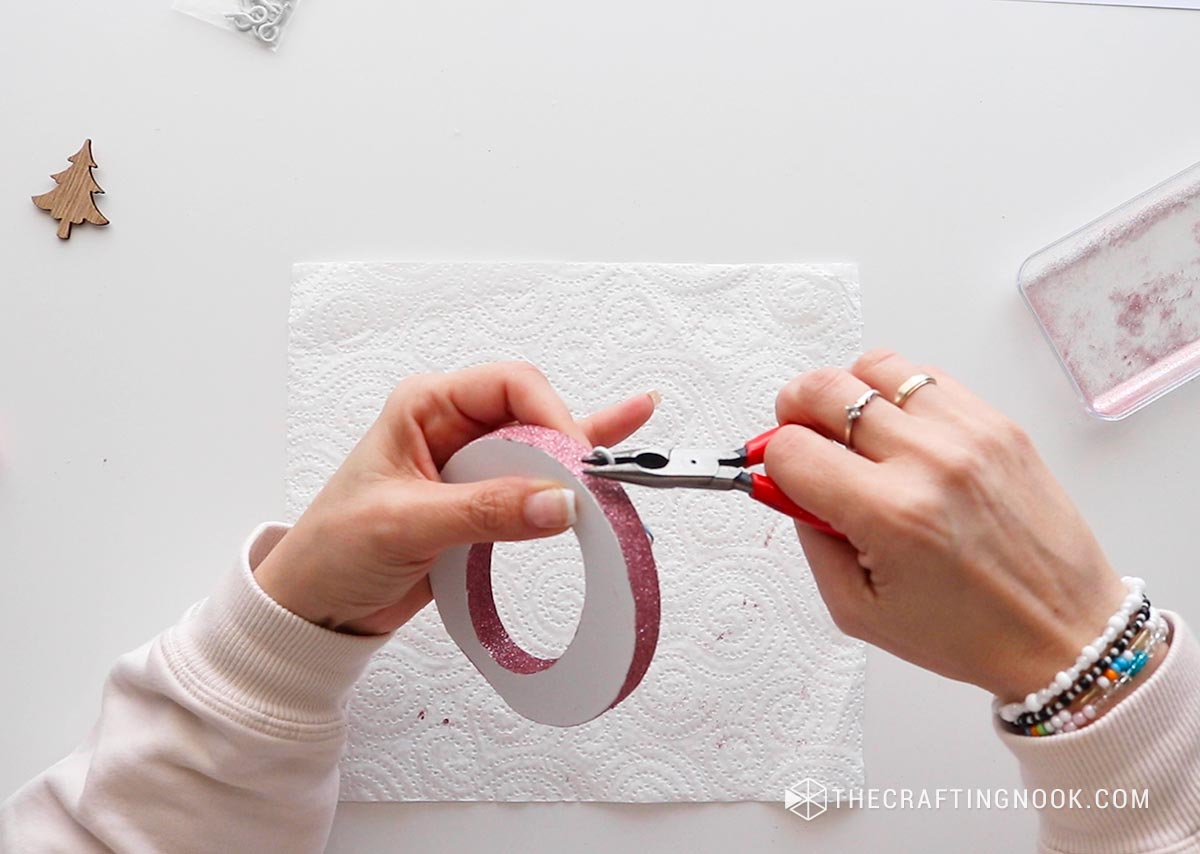
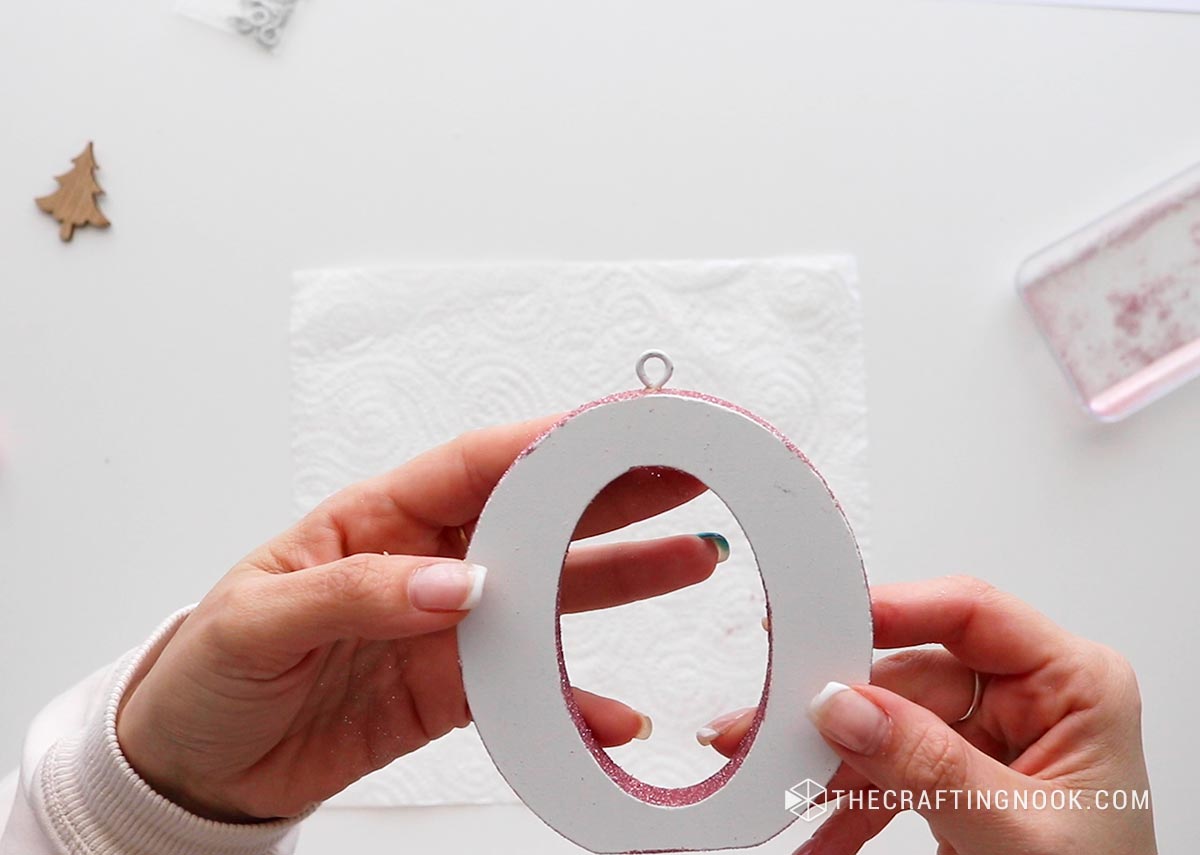
I used pliers to help me start the hole for the hook, and then with my hands I twisted as much as I could and then at the end, I used the pliers again to push it all the way through, leaving only the eye visible.
Step 4: Add decoration.
Once the glitter has completely dried, it’s time to add a little bit of fun.
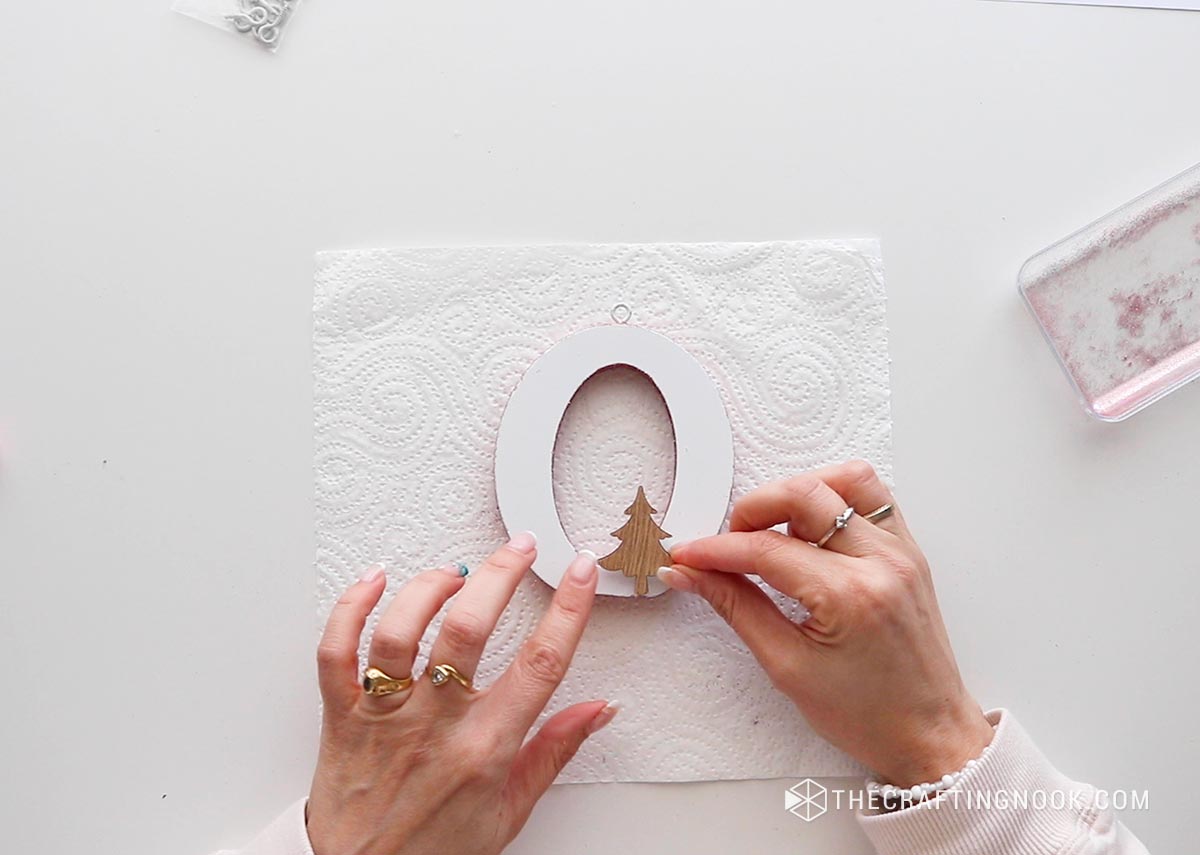
Put a little bit of hot glue on the back of the wooden Christmas tree (or your chosen appliqué) and stick it on the front of the letter where you see fit. I placed them in different places in each letter.
Now, use a pretty pink ribbon to make a bow.

Attach it to the top of the letter with hot glue but be careful not to close the hook with the glue. This makes your decoration look festive and charming.

Cut a piece of baker’s twine with a tied knot going both ends and put it through the hook to make a loop for hanging.
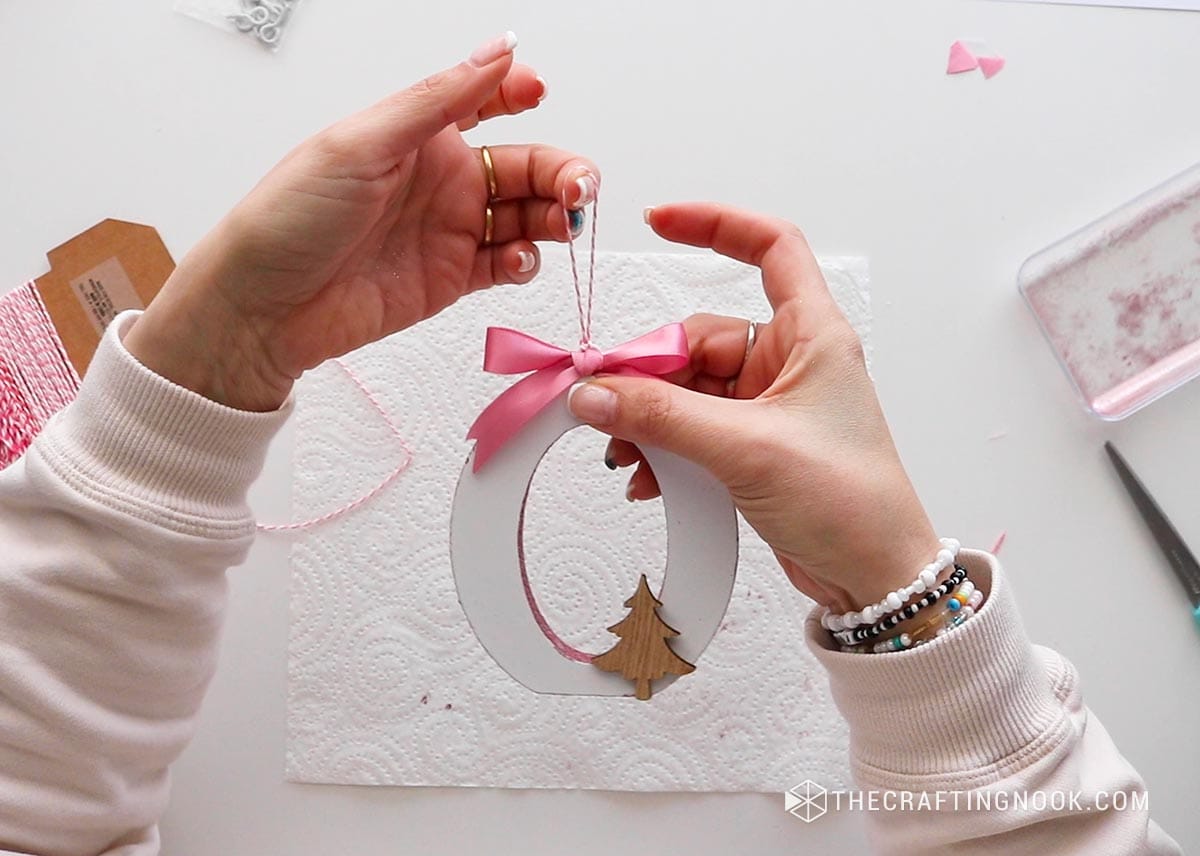
Step 5: Repeat and make as many as you like.
Do these steps for each person in the family, making the letters and decorations special for each person.
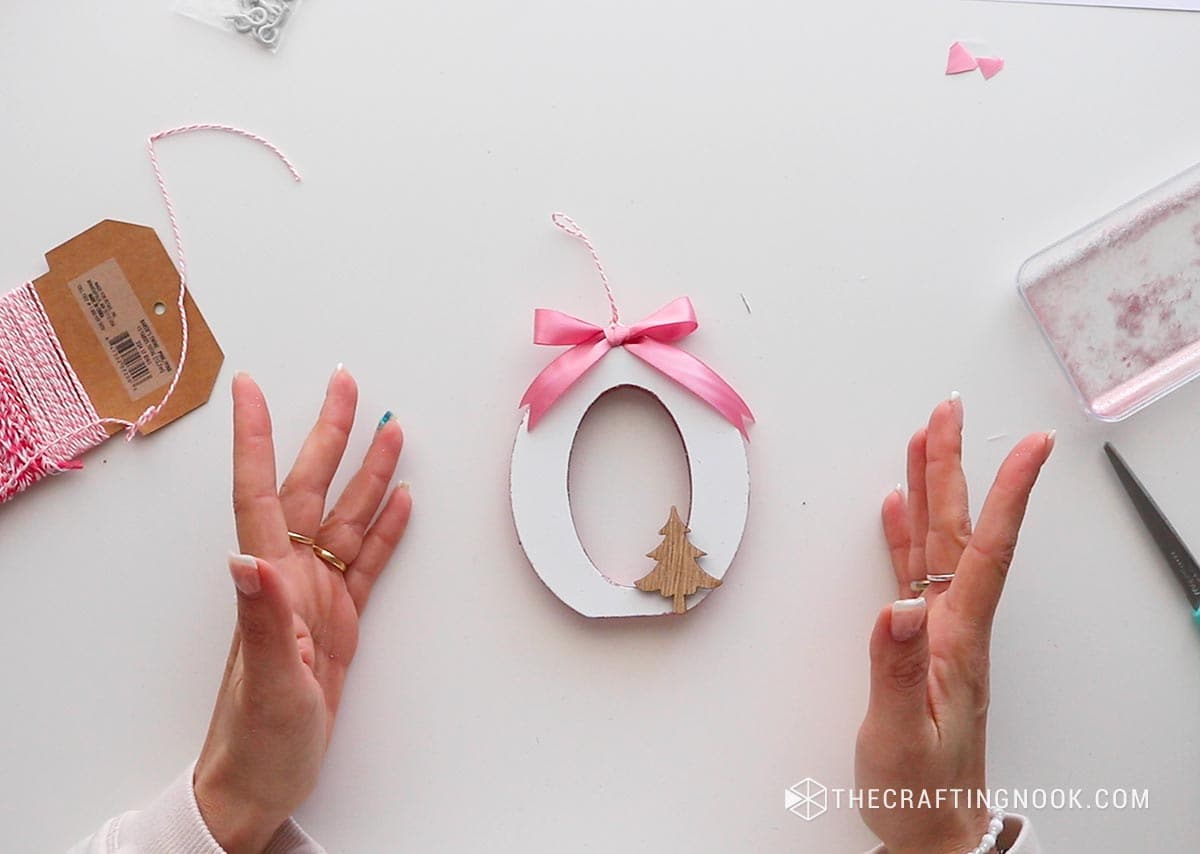

Step 6: Hang them on the Tree
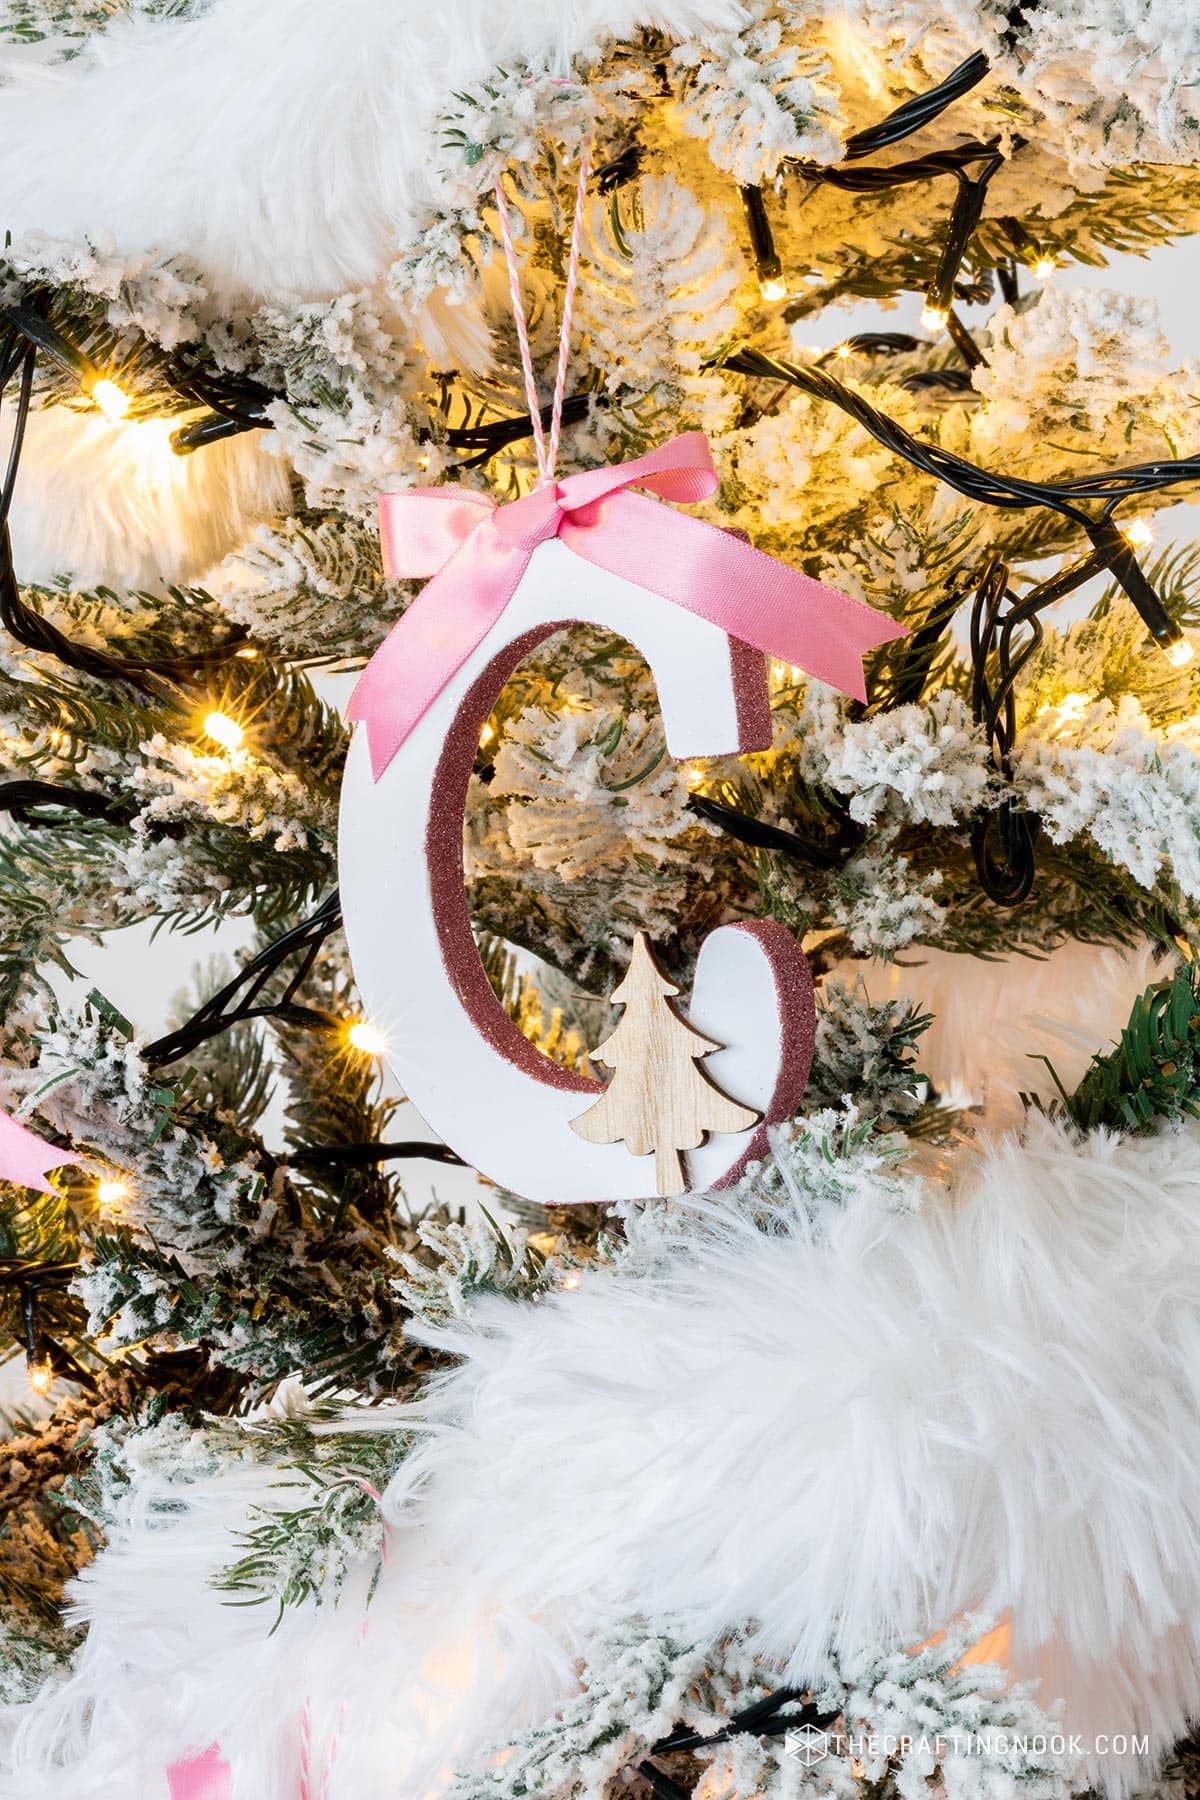
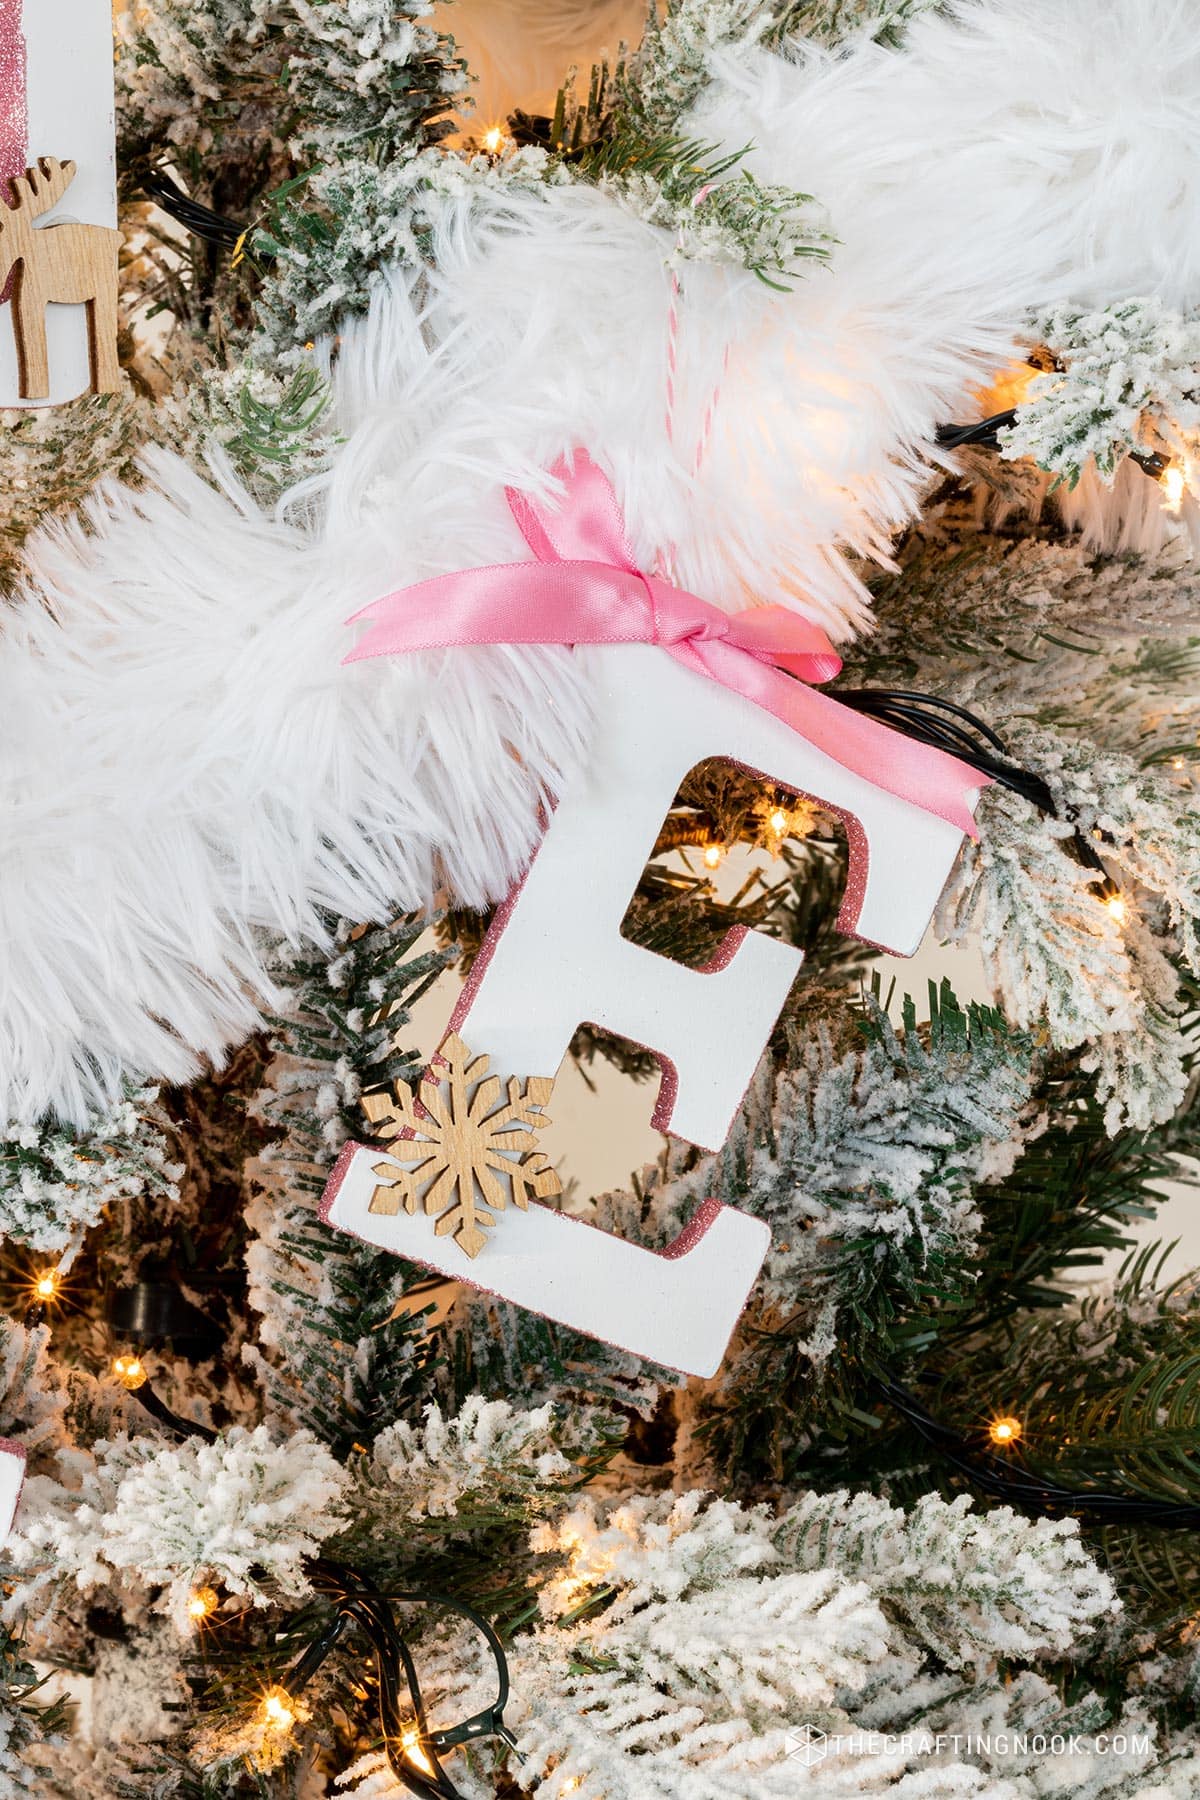
It’s time to let these cute homemade ornaments shine. Hang them on your tree and enjoy the view.

Crafting Tips:
Look for old wooden letters in nearby secondhand stores. You will be surprised by the special things you can find.
To add a magical touch, blend glow-in-the-dark powder with your glitter. Your initials will shine and sparkle all day and night, making your holiday decorations look like they are from the stars.
To keep the glitter under control, apply the glitter in a tray.
Allow each layer to dry thoroughly before moving on to the next step. Patience is key.

Frequently Asked Questions
Embrace the glitter chaos! To minimize fallout, work over a tray or box
Absolutely! Get creative. Explore numbers, and symbols, or even spell out a festive word. The crafting world is your shiny and fun place to create things.
Check out your local craft store or even online, but also consider thrift stores and hardware stores; metallic-finished letters add a touch of glam too.
Before applying glitter, ensure your surface is clean and dry. Use white wood glue for a strong bond, and optionally, seal the glitter with clear nail polish after it dries.
More Christmas Projects to Try
If you like this DIY Initial Letter Ornaments tutorial, you might also love these other Christmas Crafts ideas too:
✂️ Tutorial
DIY Initial Letter Ornaments with Glitter
Tools
- Paintbrush
- Pliers
- scissors
- Hot glue gun and glue sticks
Supplies
- White-painted MDF letters – one for each family member
- Pink glitter – or your favorite glitter colors
- White wood glue – I like this glue because offers a better adherence to the glitter allowing a longer-lasting look.
- Small wooden Christmas scrapbook appliques – I used Trees snowflakes, stars and reindeer.
- Cute pink ribbon – or your favorite color that matches the glitter color
- Screw eye hooks
- Baker’s twine yarn, or ribbon – for hanger
- Newspaper or a crafting mat – to keep things tidy
Instructions
STEP 1: GET YOUR WORKSPACE READY.
- Put some newspaper or a crafting mat down to catch any glitter that falls. A sheet of paper works too if you have good control over the glitter. This will make cleaning up really easy, so you can focus on enjoying crafting.
- Clean your letters well to remove dust and grease.
STEP 2: ADD GLITTER TO THE EDGES.
- Serve a small amount of glue in a container so you don’t get glitter in the glue bottle.
- I recommend going by sections at a time to avoid drying the glue.
- Use a small paintbrush to put a layer of white glue on the sides of the wood letters outside and inside. For example, letters like O, A, D, P, etc
- Put abundant pink glitter on the edges.
- Tap a little bit with your finger to make sure the glitter adheres well.
- Shake off extra glitter into the tray and move on to the next section.
- Don’t be afraid of getting some glue on the already-applied glitter.
- Once completely glittering the sides, let it dry on a sheet of paper towel.
STEP 3: ATTACHING THE HOOK
- Flip the ornament and twist a small hook into the top. This part can be a little bit tricky but with patience, you can do it.
- I used pliers to help me start the hole for the hook, and then with my hands I twisted as much as I could and then at the end, I used the pliers again to push it all the way through, leaving only the eye visible.
STEP 4: ADD DECORATION.
- Once the glitter has completely dried, it’s time to add a little bit of fun.
- Put a little bit of hot glue on the back of the wooden Christmas tree (or your chosen appliqué) and stick it on the front of the letter where you see fit. I placed them in different places in each letter.
- Now, use a pretty pink ribbon to make a bow.
- Attach it to the top of the letter with hot glue but be careful not to close the hook with the glue. This makes your decoration look festive and charming.
- Cut a piece of baker’s twine with a tied knot going both ends and put it through the hook to make a loop for hanging.
STEP 5: REPEAT AND MAKE AS MANY AS YOU LIKE.
- Do these steps for each person in the family, making the letters and decorations special for each person.
STEP 6: HANG THEM ON THE TREE
- It’s time to let these cute homemade ornaments shine. Hang them on your tree and enjoy the view.
Share and PIN ME!!!
Til’ next time…


FREE WORKBOOK
Keeping your Sweet Home Organized
Learn how to create intentional habits and simple routines to Keep Your Home Organized. Plus freebies, printables, exclusive content, and tips.
Disclaimer: By clicking on the “Yes” button above you are giving me your consent to collect and use your information according to the law and My Policy Privacy. Zero Spam I promise!

